by Julie McConnell | Jul 16, 2020
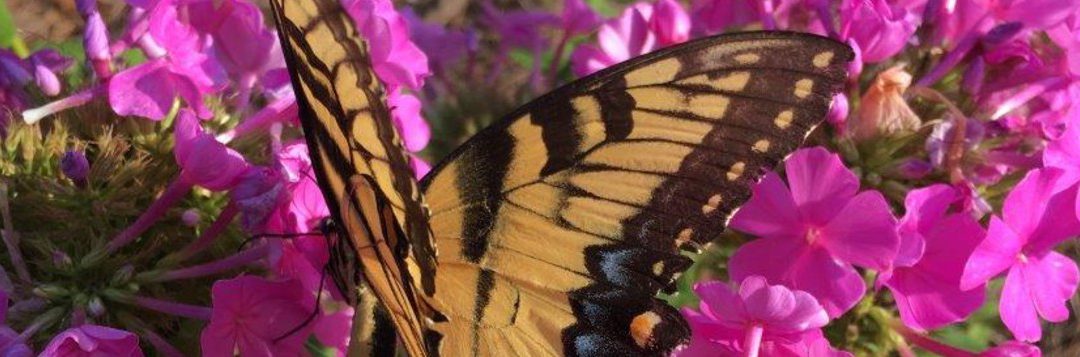
We hope you were able to join us for Gardening in the Panhandle LIVE! Butterfly Gardening on July 9th to learn about attracting butterflies to your Florida gardens. As promised, we have compiled a list of butterfly resources that we talked about during the webinar and a few extra that we didn’t have time to cover.
If you were not able to join us live, you can still watch the videos on Facebook or YouTube
Click on the topic of interest for links to resources:
Don’t forget to tune in for our next Gardening in the Panhandle LIVE! on July 23rd for Prepping for the Fall Garden. Register for that webinar on Zoom or Follow our Facebook Event for updates.
For a full list of upcoming webinars visit Gardening in the Panhandle: LIVE!
by Matt Lollar | Jun 23, 2020
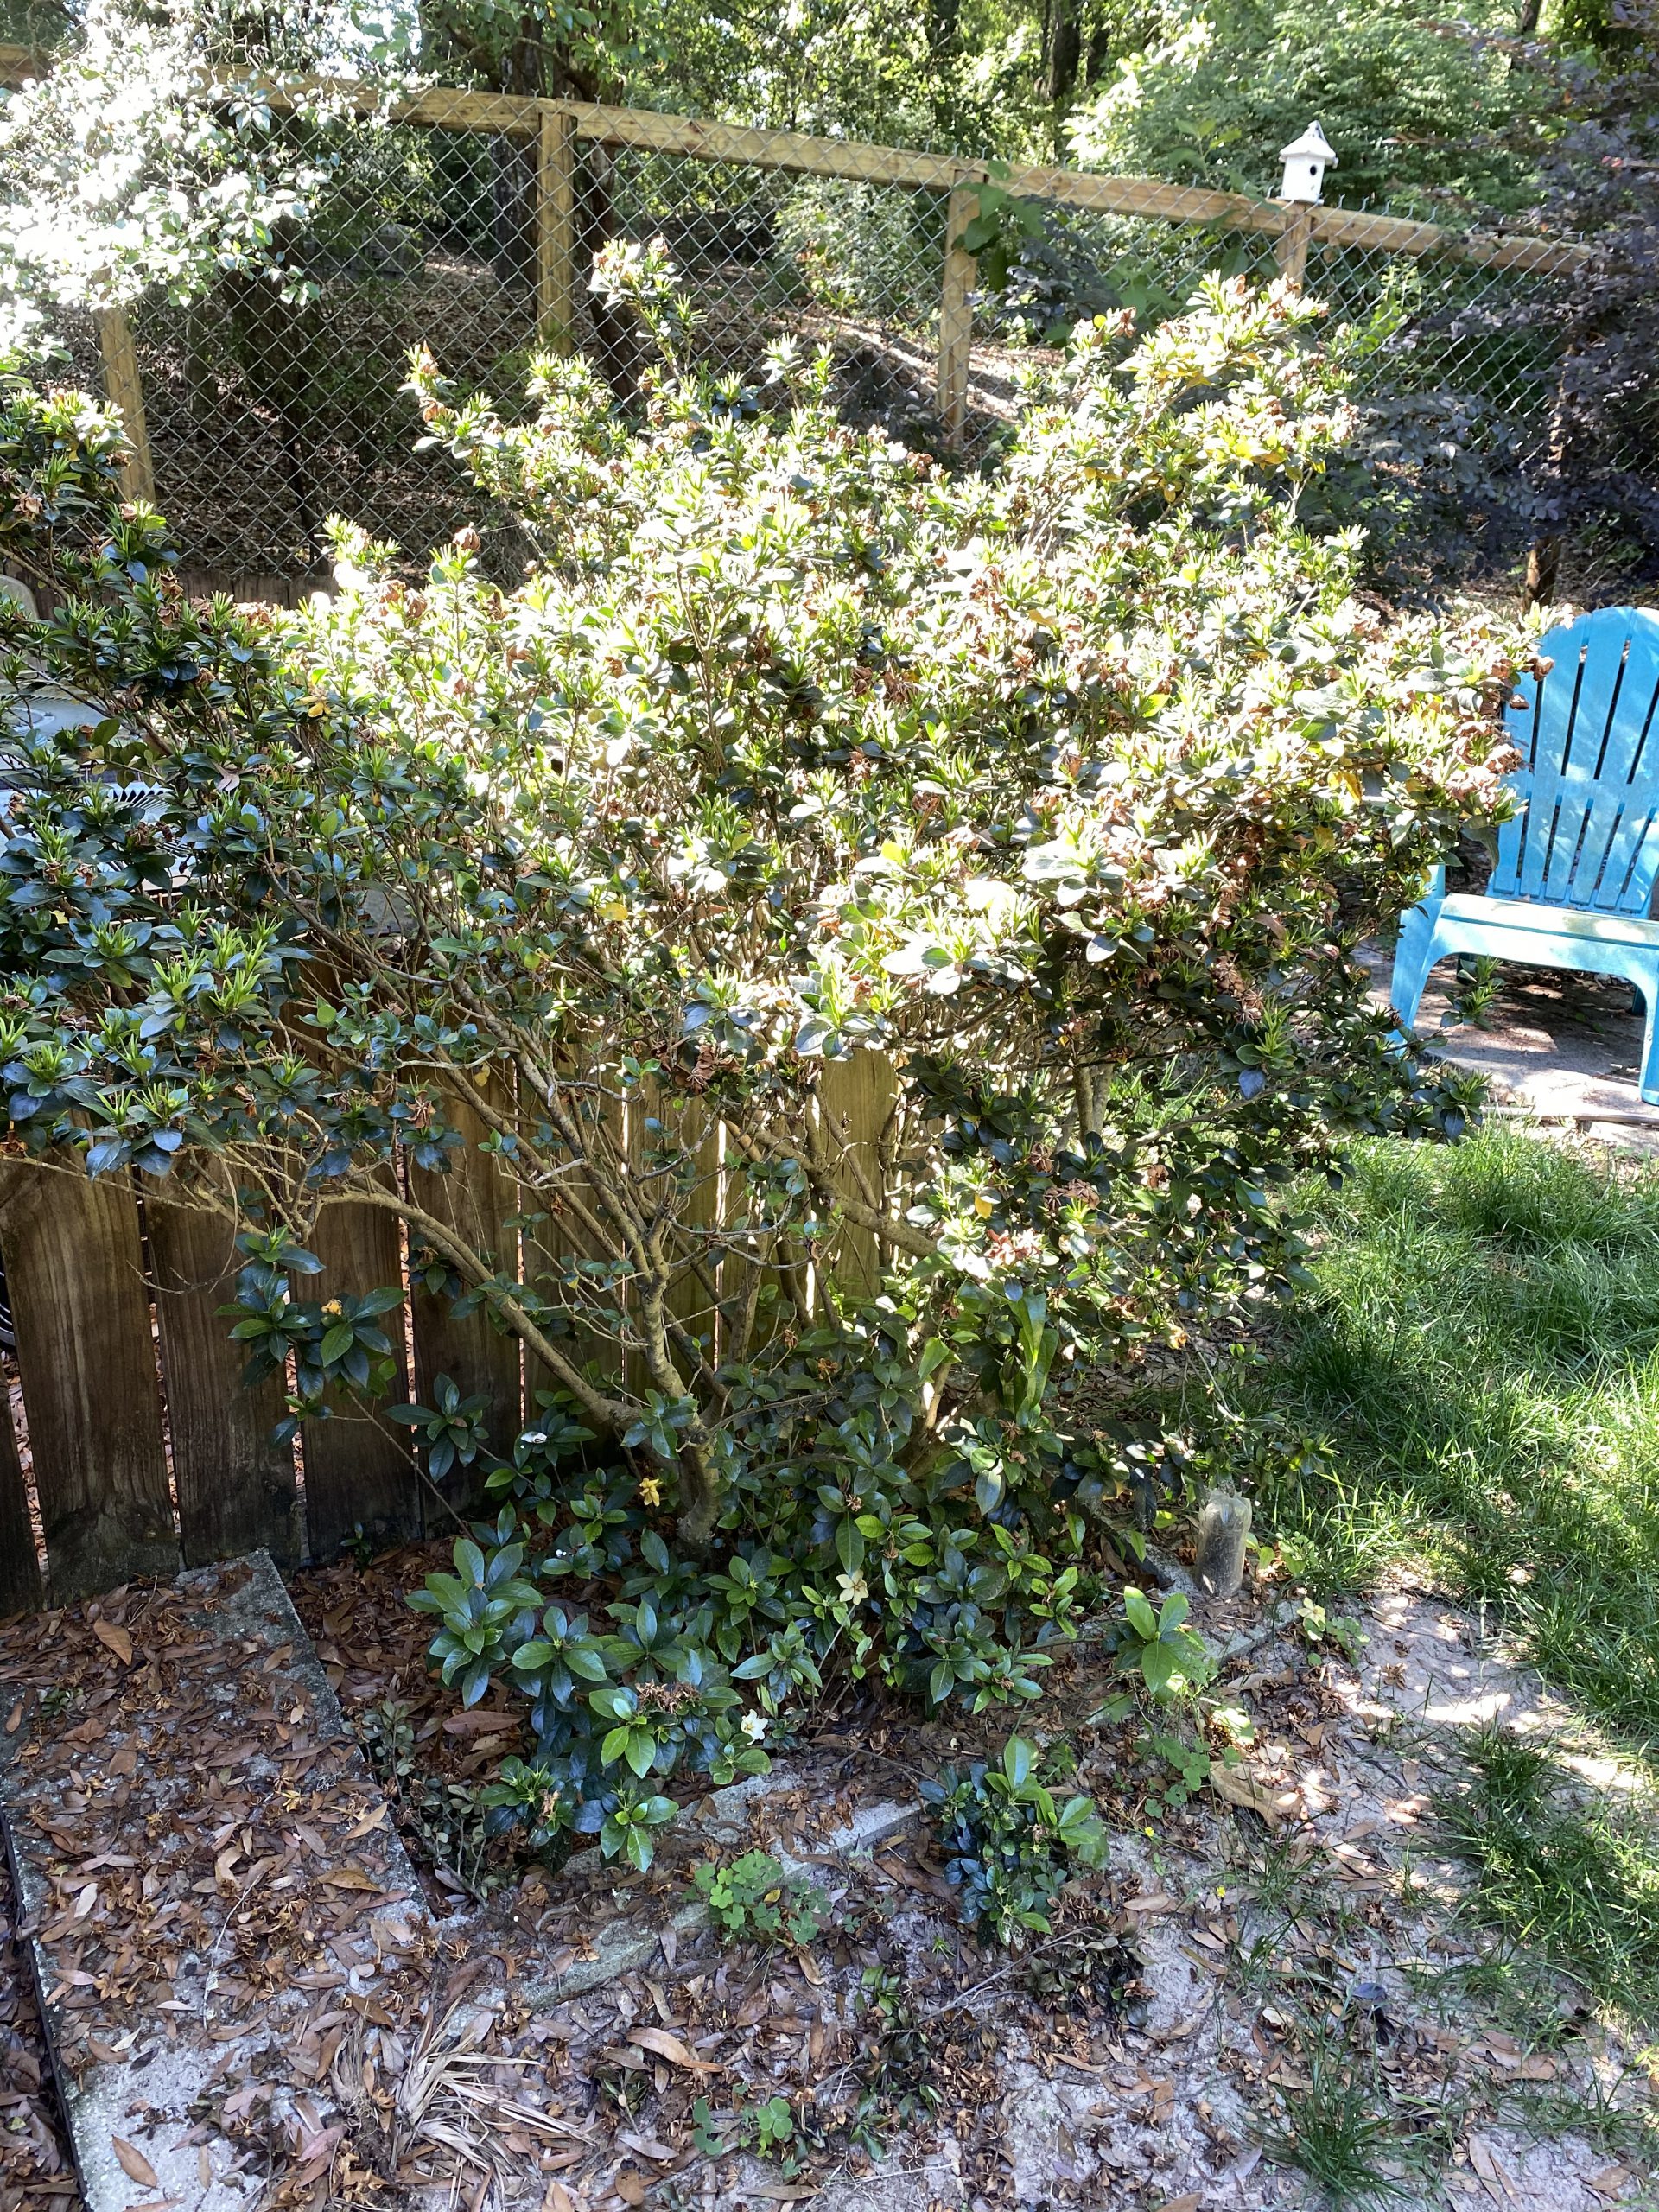
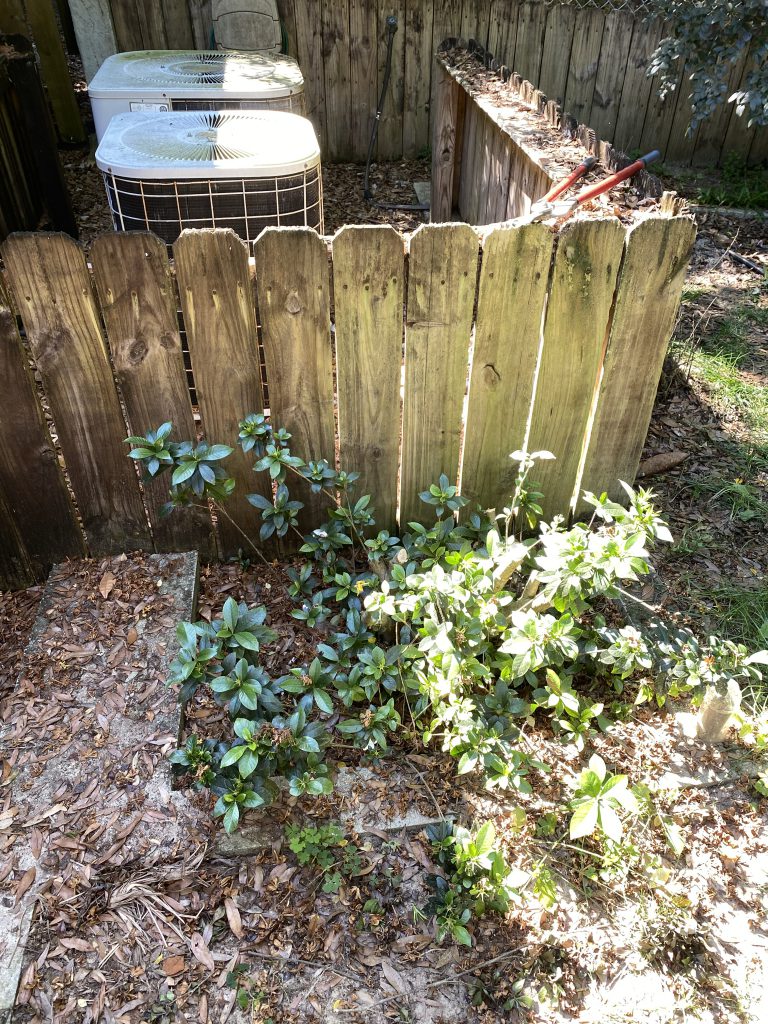
I live in the woods, so I mainly have a “natural” landscape. I remove trees, shrubs, and weeds as I see fit, but for the most part things just grow wild. However, there are a few spots in the yard where the previous owners did a little landscaping. Unfortunately, these spots have become a bit overgrown. One spot in particular features some gardenia plants around the HVAC units. At first, I was a little hesitant to prune these shrubs because they provide some shade to the units. However, they have become overgrown and I know they will grow back. I was patient to wait for them to finish flowering.
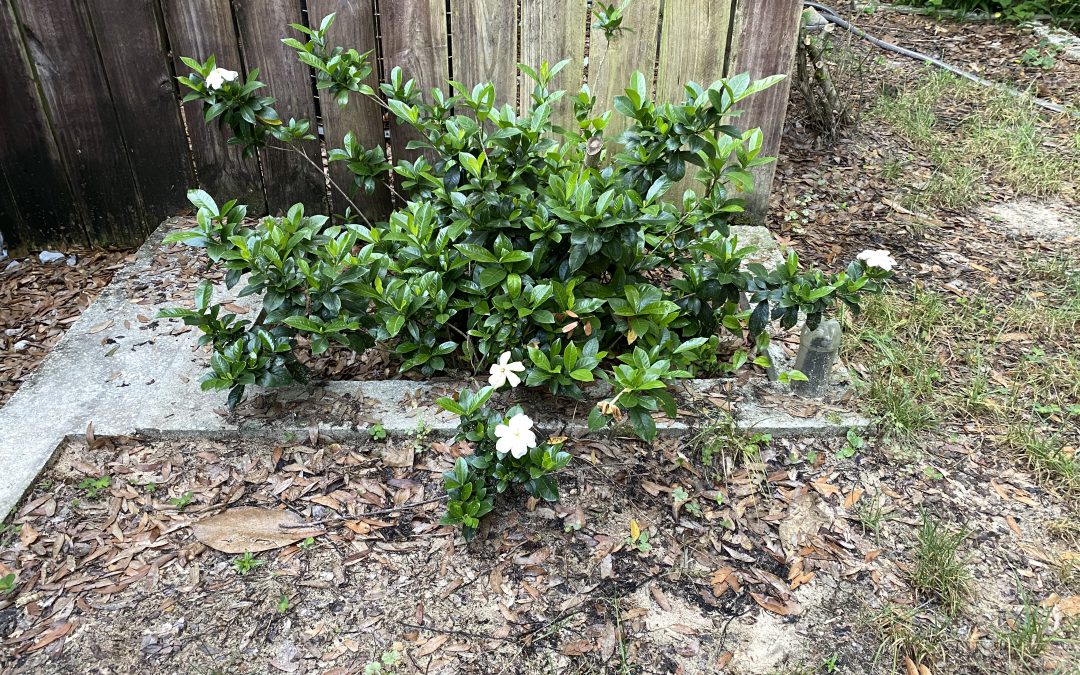
A gardenia shrub that has become a bit overgrown. Photo Credit: Matt Lollar, University of Florida/IFAS Extension – Santa Rosa County
As you can see in the photo above, this gardenia has become a bit leggy. It is important to also note the good amount of branching and new growth at the base of the plant. There are a few pruning options available for shaping shrubs such as hedging/terminal pruning, selective pruning, and renewal pruning. While a tree form gardenia can be attractive, it wasn’t desired in this situation. This particular case called for renewal pruning to improve the form of the plant. Renewal pruning is probably the easiest type of pruning, because it requires the least amount of thinking. It basically involves removing the majority of old growth.
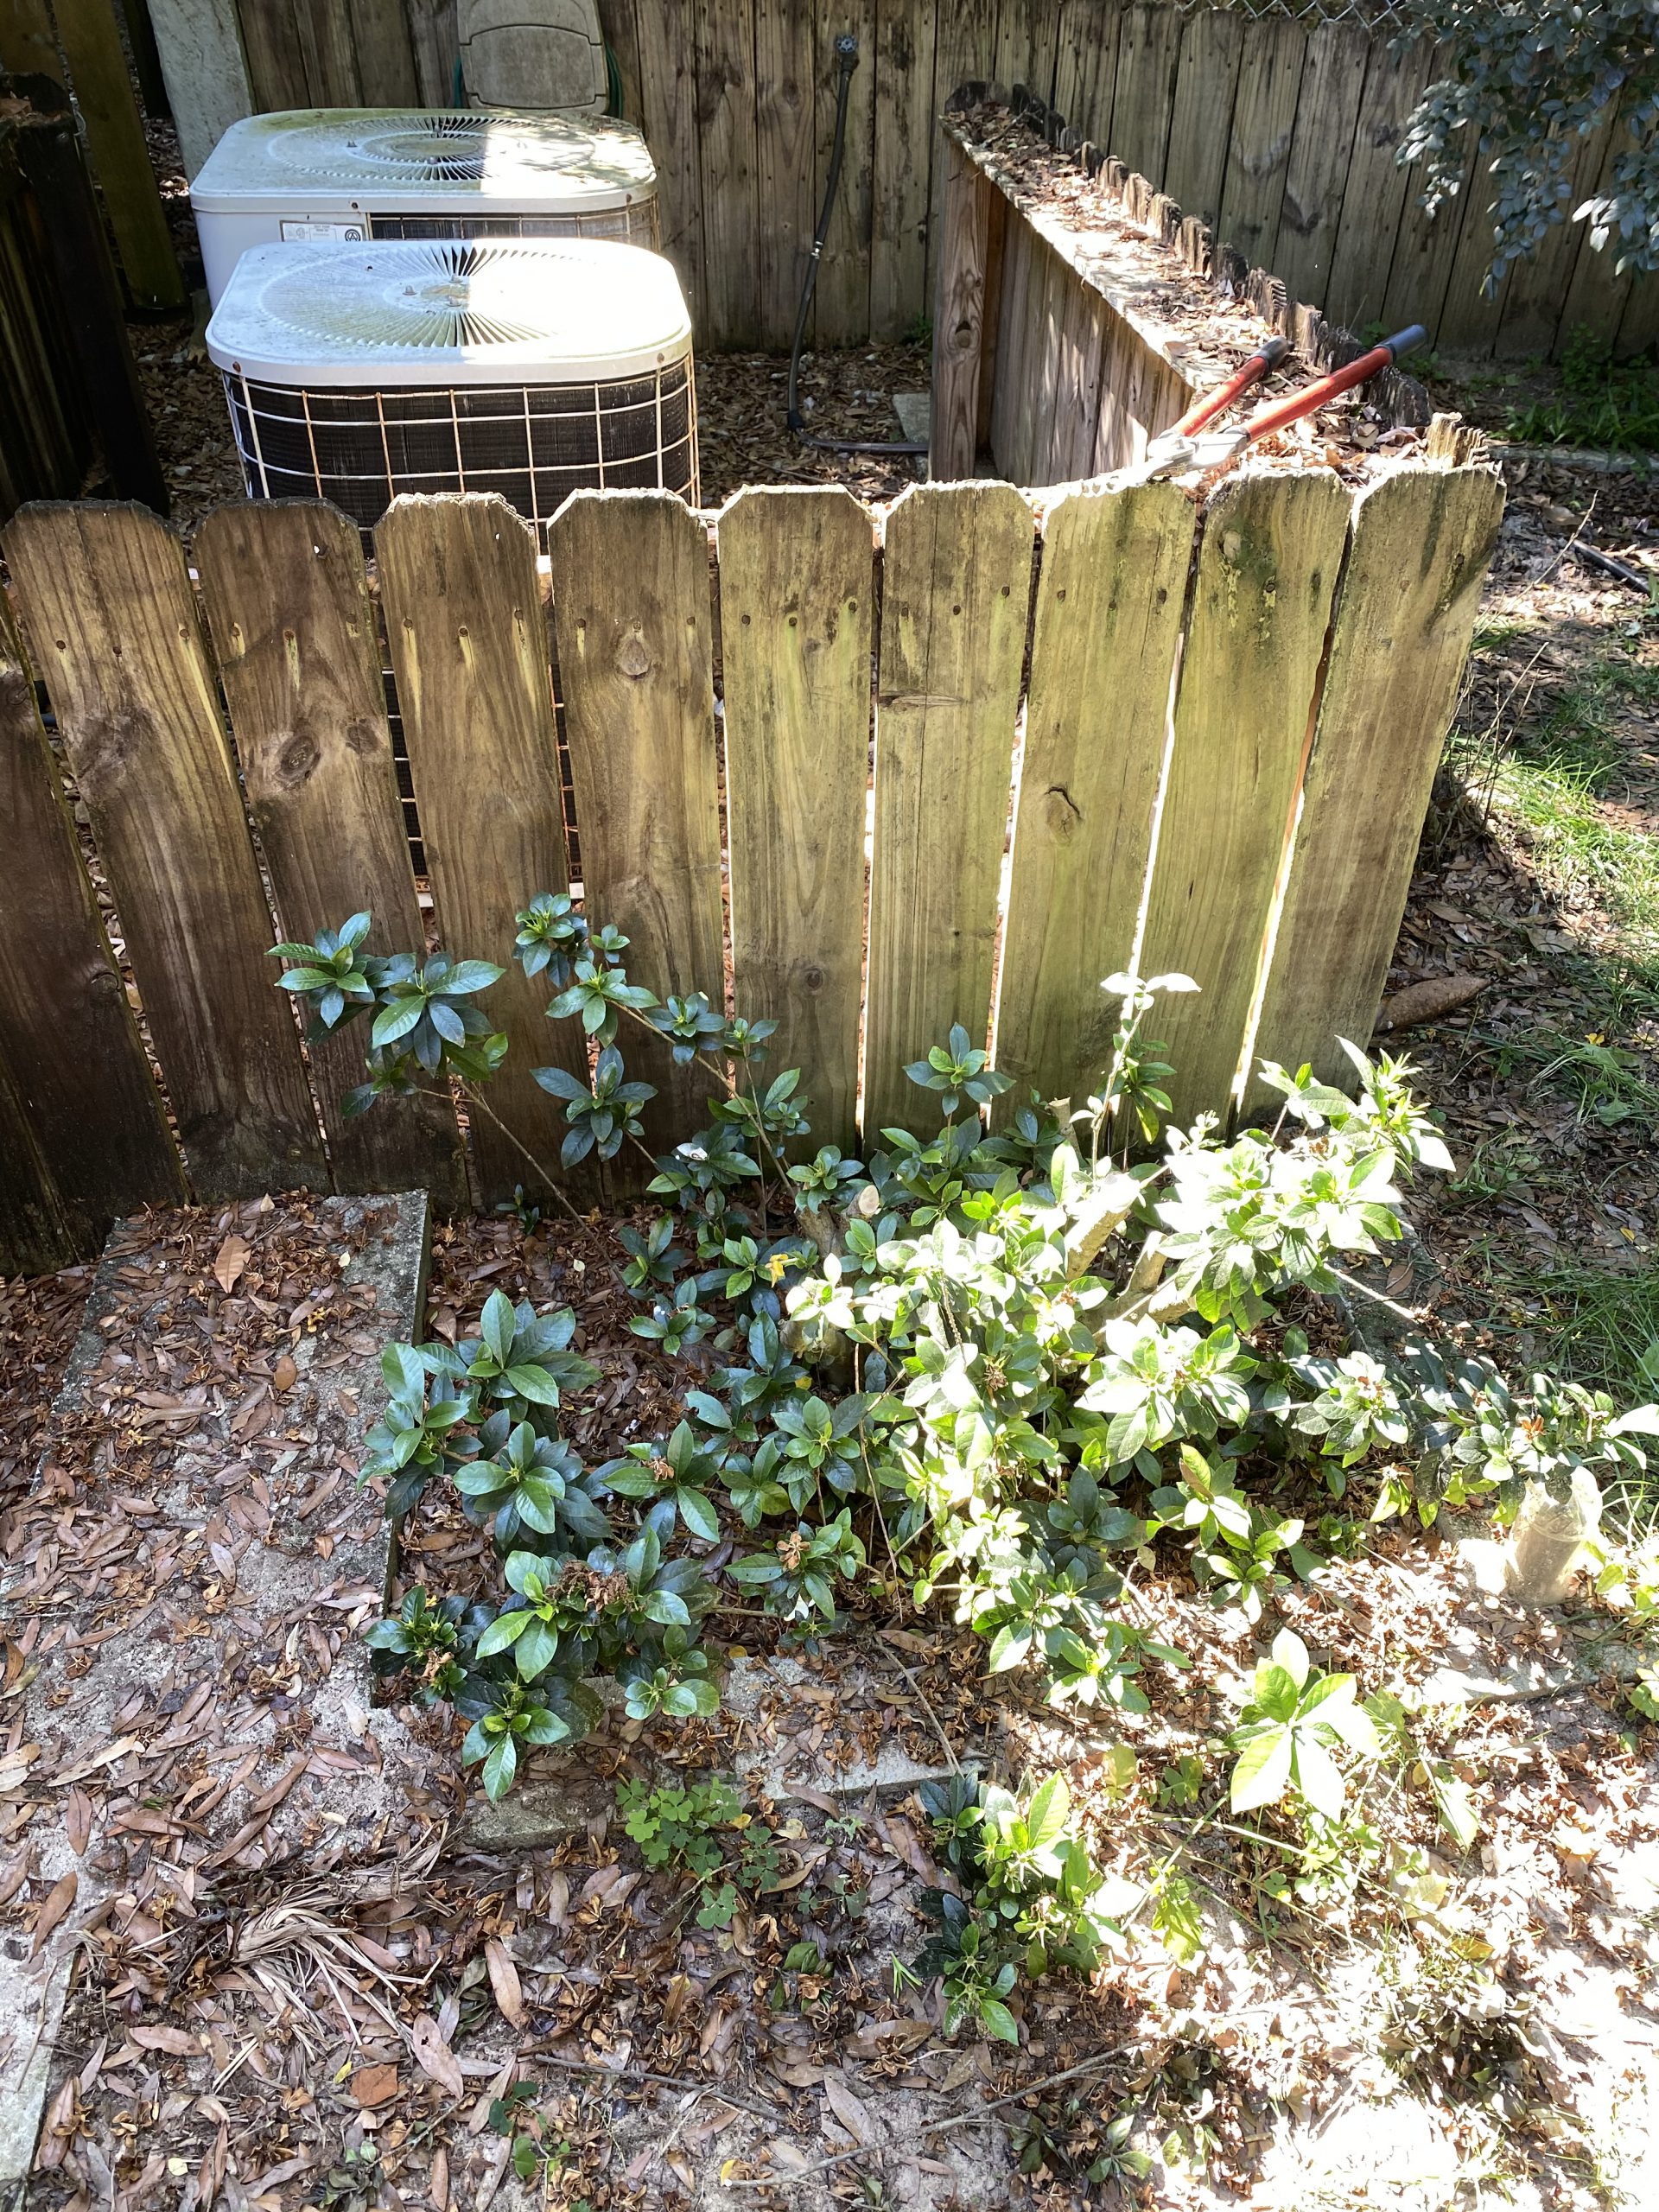
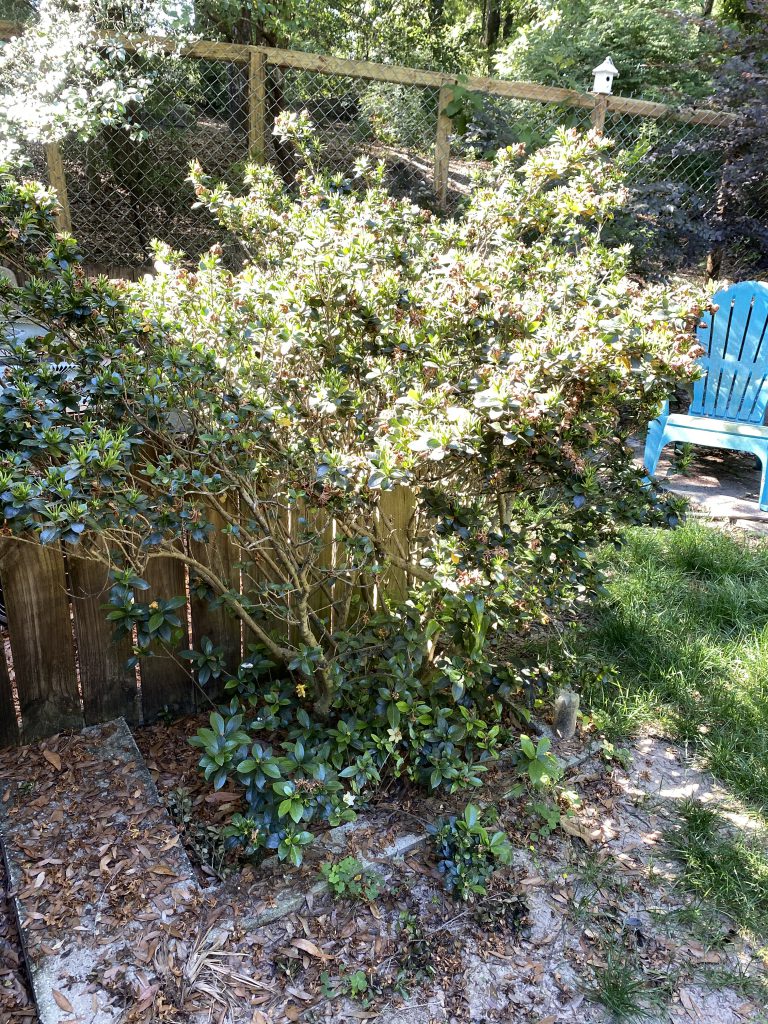
A gardenia shrub that has been renewal pruned. Photo Credit: Matt Lollar, University of Florida/IFAS Extension – Santa Rosa County
The picture above is of the same shrub that has been pruned heavily. Not only have the older, leggy branches been removed, but some of the newer growth has been removed to allow for better air circulation within the shrub. This will help reduce the incidence of disease.
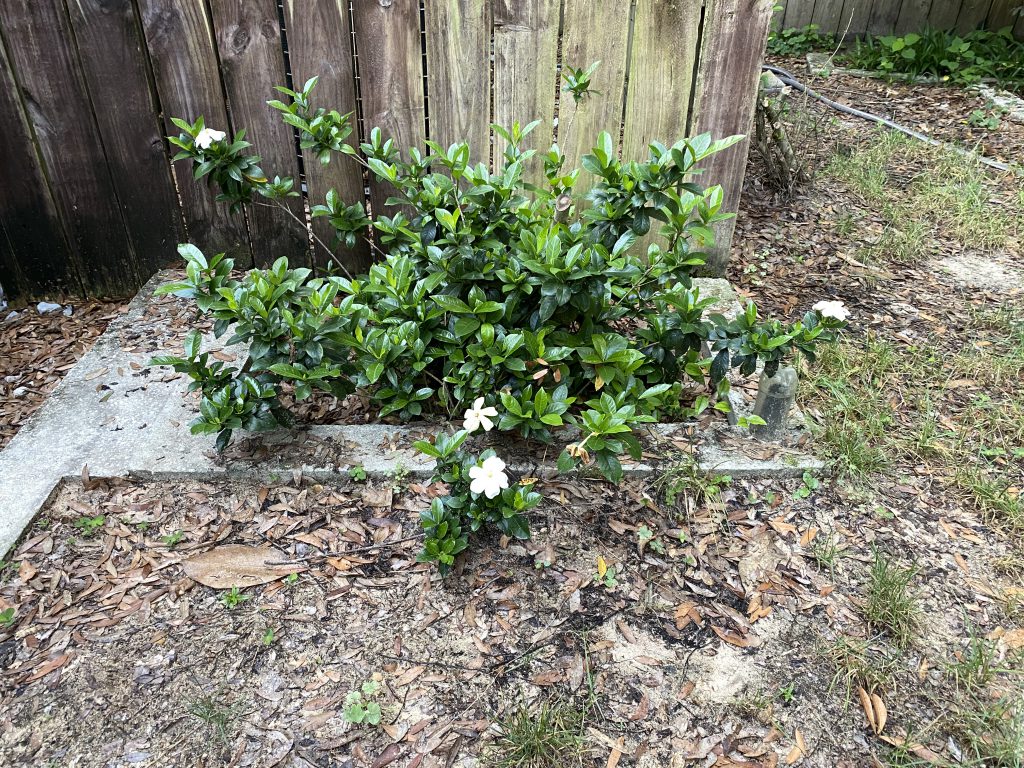
A gardenia shrub six weeks after renewal pruning. Photo Credit: Matt Lollar, University of Florida/IFAS Extension – Santa Rosa County
Six weeks after being pruned, this shrub is flowering for a second time. In a matter of short time it will be providing much needed shade for the HVAC units again. (That is..if I remember to selectively prune throughout the year.) For more information on how to prune and what to prune, please visit the UF/IFAS Gardening Solutions page on pruning.
by Daniel J. Leonard | Jun 2, 2020
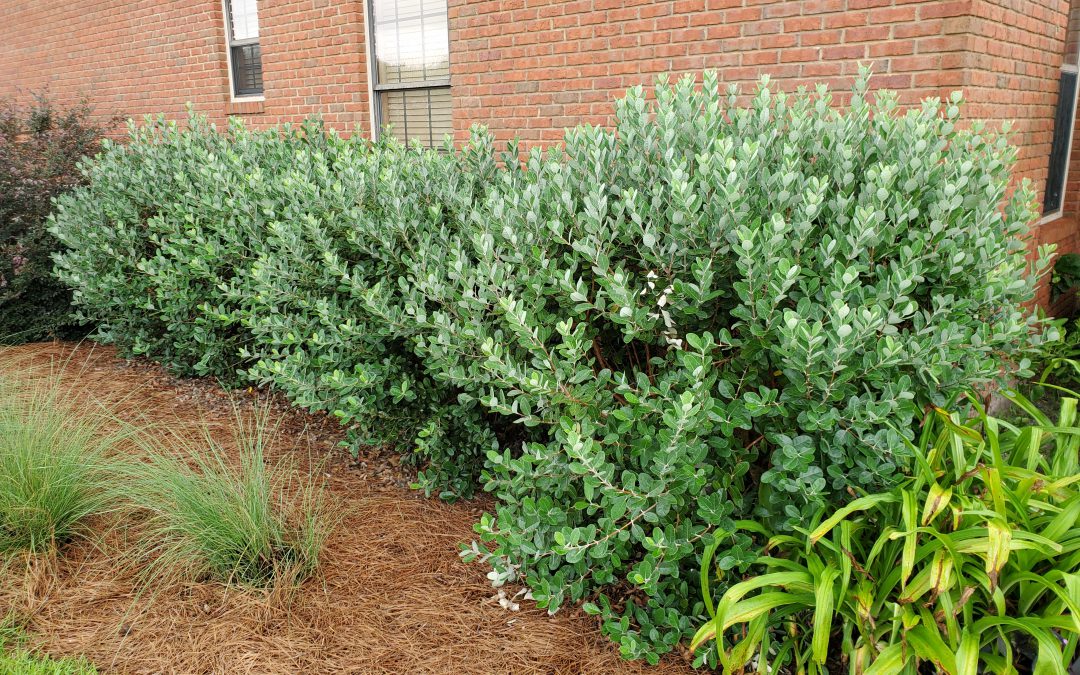
Pineapple Guava (Acca sellowiana) hedge. Photo courtesy of the author.
One of the most common questions I’ve gotten across the Panhandle over the last several years is “What can I plant to screen my house and property?” I surmise this has a lot to do with Hurricane Michael wiping properties clean and an explosion of new construction, but whatever the reason, people want privacy, they want it quickly, and they often want something a little more natural looking and aesthetically pleasing than a fence. Like everything else, the answer to the question is nuanced depending on the site situation. However, if the situation is right, I almost always recommend that clientele at least consider a woefully underutilized plant in the Panhandle, Pineapple Guava (Acca sellowiana).
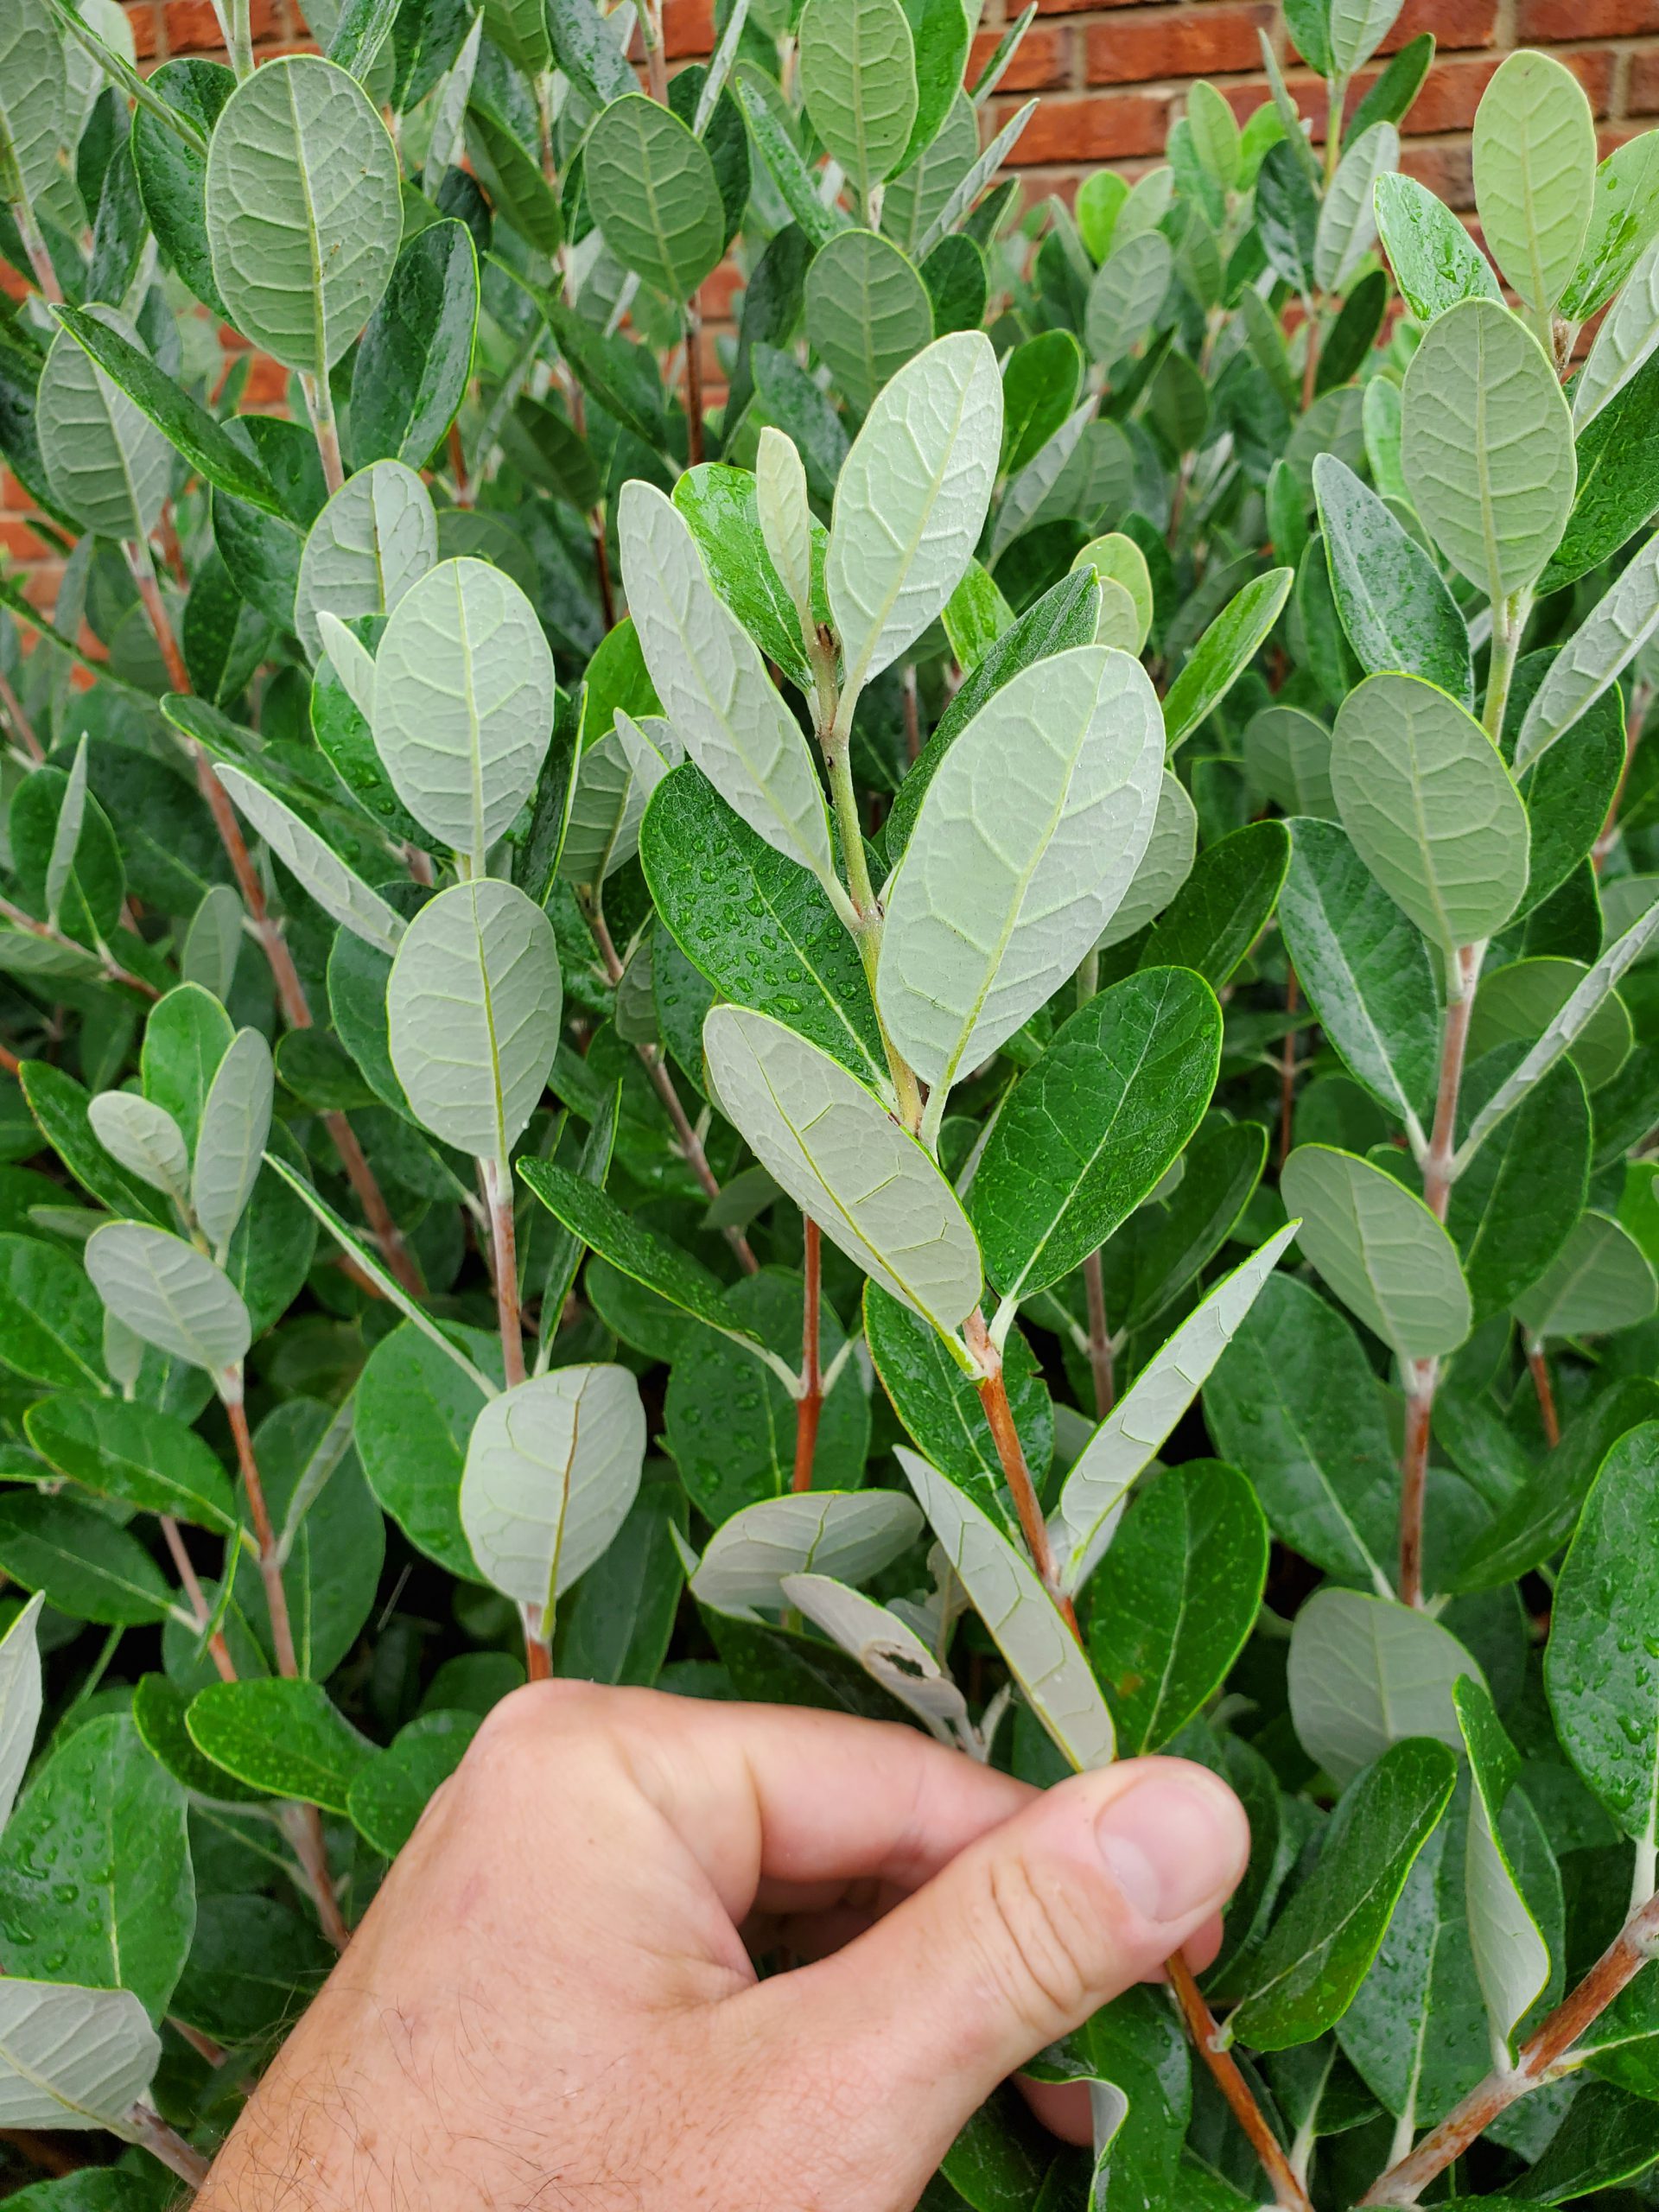
Named a Florida Garden Select Plant by the Florida Nursery Growers and Landscape Association (FNGLA) in 2009, Pineapple Guava is a standout screening and specimen plant, passing all the usual tests homeowners demand from shrubs. Growing 15’x15’ or so if never pruned or sheared, these quick-growing evergreen shrubs sport pretty, leathery green leaves with gray to white undersides. This leaf underside coloring causes the plants to emit a striking silvery blue hue from a distance, a very unusual feature in the screening shrub world.

Pineapple Guava (Acca sellowiana) silvery blue leaf undersides. Photo courtesy of the author.
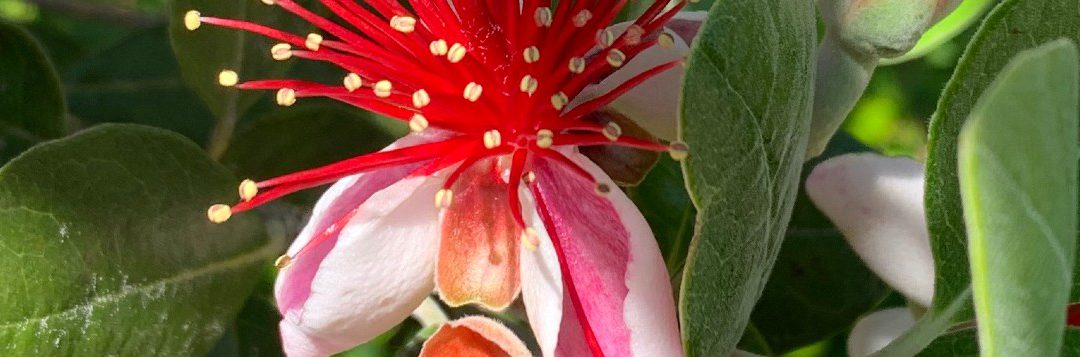
Look past the leaves and you’ll notice that Pineapple Guava also possesses attractive brownish, orange bark when young that fades to a pretty, peely gray with age. To complete the aesthetic trifecta, in late spring/early summer (generally May in the Panhandle), the plants, if not heavily sheared, develop gorgeous edible, pollinator-friendly flowers. These flowers, comprised of white petals with bright red to burgundy stamens in the center, then develop over the summer into tasty fruit that may be harvested in the fall.
In addition to being a superbly attractive species, Pineapple Guava is extremely easy to grow. They like full, all-day, blazing sunshine but will tolerate some shading if they receive at least six hours of direct sun. Well-drained soil is also a must. Pineapple Guava, like many of us, is not a fan of wet feet! Site them where excessive water from rain will drain relatively quickly. Adding to its merits, the species is not plagued by any serious pests or diseases and is also drought-tolerant, needing no supplemental irrigation once plants are established. A once a year application of a general-purpose fertilizer, if indicated by a soil test, may be useful in getting plants going in their first couple of years following planting, but is rarely necessary in subsequent years. To maintain Pineapple Guava as a formal hedge or screen, a simple shear or two each growing season is normally enough. The species also makes an outstanding small specimen tree when allowed to grow to its mature height and “limbed-up” to expose the interesting bark and limb structure.
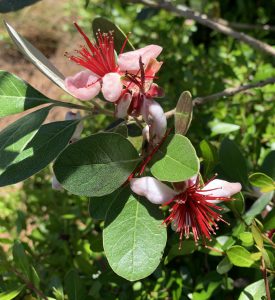
Edible, pollinator-friendly Pineapple Guava flowers in bloom. Photo credit: Larry Williams
If you’ve been looking for a quick-growing, low-maintenance screen or a specimen plant for a large landscape bed, you could do a lot worse than the Florida-Friendly Pineapple Guava! As always, if you have any questions about Pineapple Guava or any other horticulture, agriculture or natural resource related issue, contact your local UF/IFAS County Extension Office!
by Larry Williams | May 14, 2020
When we go through dry periods in North Florida some residents become interested in drought-tolerant plants to include in their landscapes. The need for irrigation can be reduced when drought-tolerant plants are used. But don’t overuse these plants. Remember we have periods of rainy weather, too.
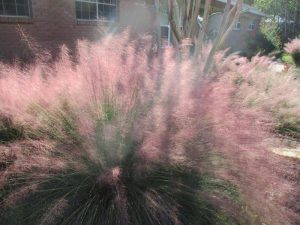
Gulf Muhly Grass in Flower. Photo credit: Larry Williams
Some drought-tolerant plants have poor tolerance to the other extreme – too much water. There are a few plants that can tolerate both extremes but they are the exception. Avoid using drought-tolerant plants on naturally wet or poorly drained sites. But if you have the typical deep sandy well drained soil Florida is famous for, you’d do well to include some drought-tolerant plants on your site.
Drought-tolerant plants are especially well suited for areas that receive little to no irrigation.
Some plants are genetically better able to withstand drought. They have a built-in tolerance of drought. Many of our Florida native plants are designed to grow in our poor water holding sandy soils. Many of the plants native to arid areas of the world possess high drought-tolerance. These plants have characteristics that allow them to better survive dry weather. These features include thicker or waxier leaves, large surface root areas or deep roots and the ability to drop leaves in drought and regain them when moisture is adequate.
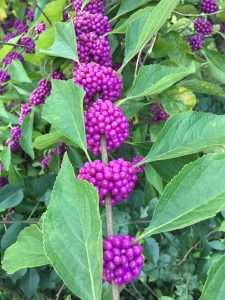
Beautyberry with fruit. Photo credit: Larry Williams
It’s important to realize that these plants must first establish a root system before they can cope with severe dry weather. Plan to irrigate during dry periods for the first season to allow them to become established.
Some outstanding trees to consider include crape myrtle, redbud, Chinese pistache, cedar (Cedrus species), hawthorn (Crataegus species), American holly, yaupon holly, Southern red cedar (Juniperus species), Live oak, Sand live oak, winged elm, pond cypress and bald cypress. Some people are surprised to learn that pond cypress and bald cypress have high drought-tolerance because these trees are associated with swamps, many times growing in standing water. But once established on a dry site, they exhibit very good drought-tolerance.
Some outstanding shrubs with drought-tolerance include glossy abelia, dwarf yaupon holly, Indian hawthorn (Rhaphiolepis species), beauty berry (Callicarpa americana), pineapple guava, junipers, oleander, spiraea, blueberry or sparkleberry (Vaccinium species), viburnum, Chaste tree (Vitex agnus-castus) and coontie (Zamia pumila).
Pineapple guava in bloom. Photo credit: Larry Williams
Some outstanding drought-tolerant groundcovers to consider include beach sunflower (Helianthus debilis), daylily, juniper, lantana, liriope, rosemary (Ceratiola ericoides), Asiatic jasmine and society garlic. Many of the ornamental grasses such as Gulf muhly are good choices as well.
For more ideas on developing a Florida-friendly, water wise landscape, contact the UF/IFAS Extension Office in your County or visit the below website. https://ffl.ifas.ufl.edu/index.html
by Larry Williams | Apr 29, 2020
In times like these, it seems that our own perceived “problems” pale in comparison to the “big picture.” In my day-to-day work, I have the opportunity to help people solve problems with their landscapes, lawns and gardens. I enjoy the problem solving part of my job as an extension agent.

Winter annual weeds in lawn in early spring. Photo credit: Larry Williams
You’d be surprised how upset some people can be about a few weeds, a dying petunia or a tomato with a crack in it. They’ll let small things like this upset their entire world. It’s as if they think we live in a perfect world when it comes to expectations for the plants in their own landscape.
It has become apparent to me that too many people spend too much time letting too many small things bother them too much.
When my twin sister, Linda, and I were growing up in a small town in middle Georgia, an elderly couple (Mr. and Mrs. Hunt) would crack pecans and give the shelled halves to us to eat. They’d hand the shelled pecans to us over the fence that separated our yards. At five or six years old this was a treat for my sister and me.
I remember their landscape. I remember Mrs. Hunt sweeping their dirt driveway lined with coconut sized rocks. She used handmade brooms. I remember their pink flowering dogwoods in spring. I remember their old-fashioned yellow and orange daylilies during summer. I remember the fascination of seeing red spider lilies seemingly come from nowhere in the fall underneath deciduous trees as they displayed their autumn colors. I remember Mrs. Hunt letting me smell a flower from a sweetshrub plant, which reminded me of sweet apples. The deep red blooms and dark green leaves of this shrub complemented the white wooden wall on the east side of their home.
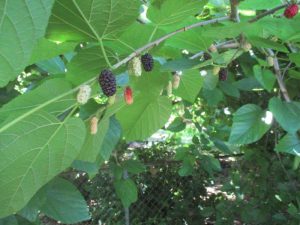
Mulberry tree with fruit. Photo credit: Larry Williams
I remember climbing a large mulberry tree in their backyard and picking and eating the berries. I remember watching Mr. Hunt prune grapevines growing on an overhead trellis. I remember learning about the history of a ginkgo tree planted just outside a chicken pin in their side yard. I remember watching hummingbirds flying in and out of the reddish orange funnel-shaped blooms of a large trumpet vine growing on an old metal frame of a water tank.
I don’t remember the weeds, even though I know there must have been weeds in the Hunt’s landscape. I know there was the occasional pecan that didn’t fill out or that was worm infested. And I’m sure an occasional plant had to be replaced. But these are not the things that made lasting impressions for me.
The big picture is not the weeds, the dying petunia plant or the pecan with a worm in it. Sure you will have weeds in your yard and certain plants that don’t survive. Just don’t let these things become the source of worry. In my opinion, a landscape should be a source of pleasure, a place to learn and a place to pass along lasting memories. Besides, with all the things there are to worry about in this world (as recent days have revealed), why let your own backyard be one of them?
by Daniel J. Leonard | Apr 8, 2020
There aren’t a lot of quality landscape plant options that fit the description nearly every homeowner desires: native, low-maintenance, slow-growing, pest free, drought tolerant while tolerating wet soils, loving both sun or shade, and green year-round. Needle Palm (Rhapidophyllum hystrix) is the rare plant that checks all those boxes and deserves consideration when adding plants to your landscape!
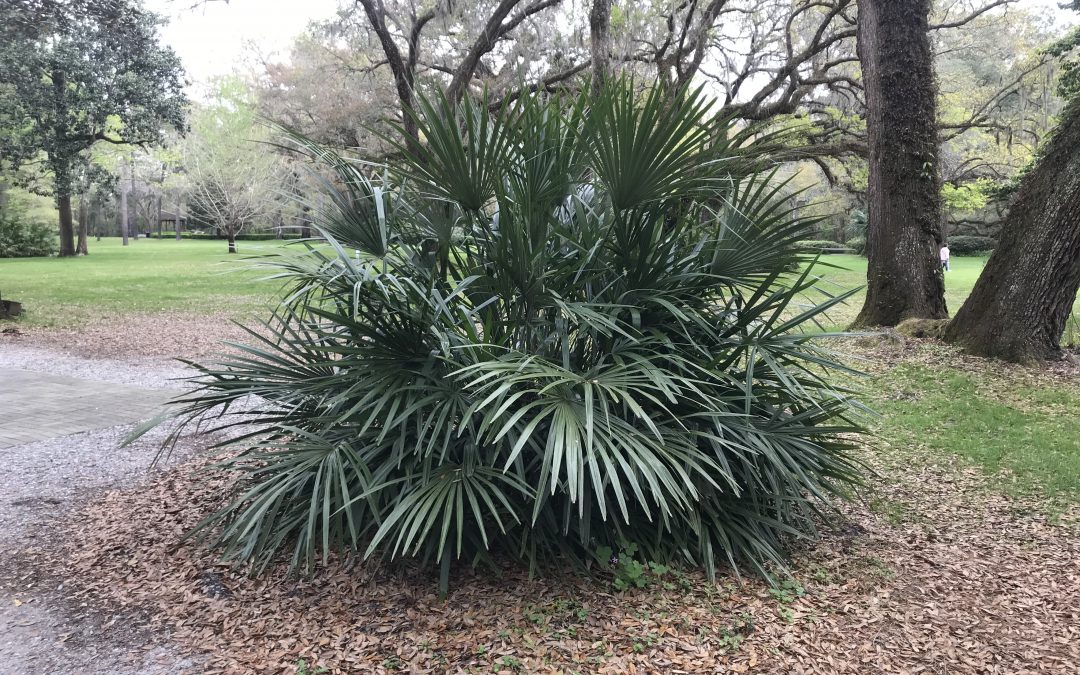
6 year old Needle Palm in a local landscape. Photo courtesy the author
Needle Palm is an endangered native, growing in a narrow range in the coastal Southeastern US, Calhoun and Liberty counties included. It is primarily found in the understories of wet wooded areas along slopes, ravines, and bottoms; if you’ve ever hiked the Apalachicola Ravines or Torreya State Park trails, you’ve likely encountered Needle Palm in the wild! Being native is nice, but what makes Needle Palm an outstanding landscape option?
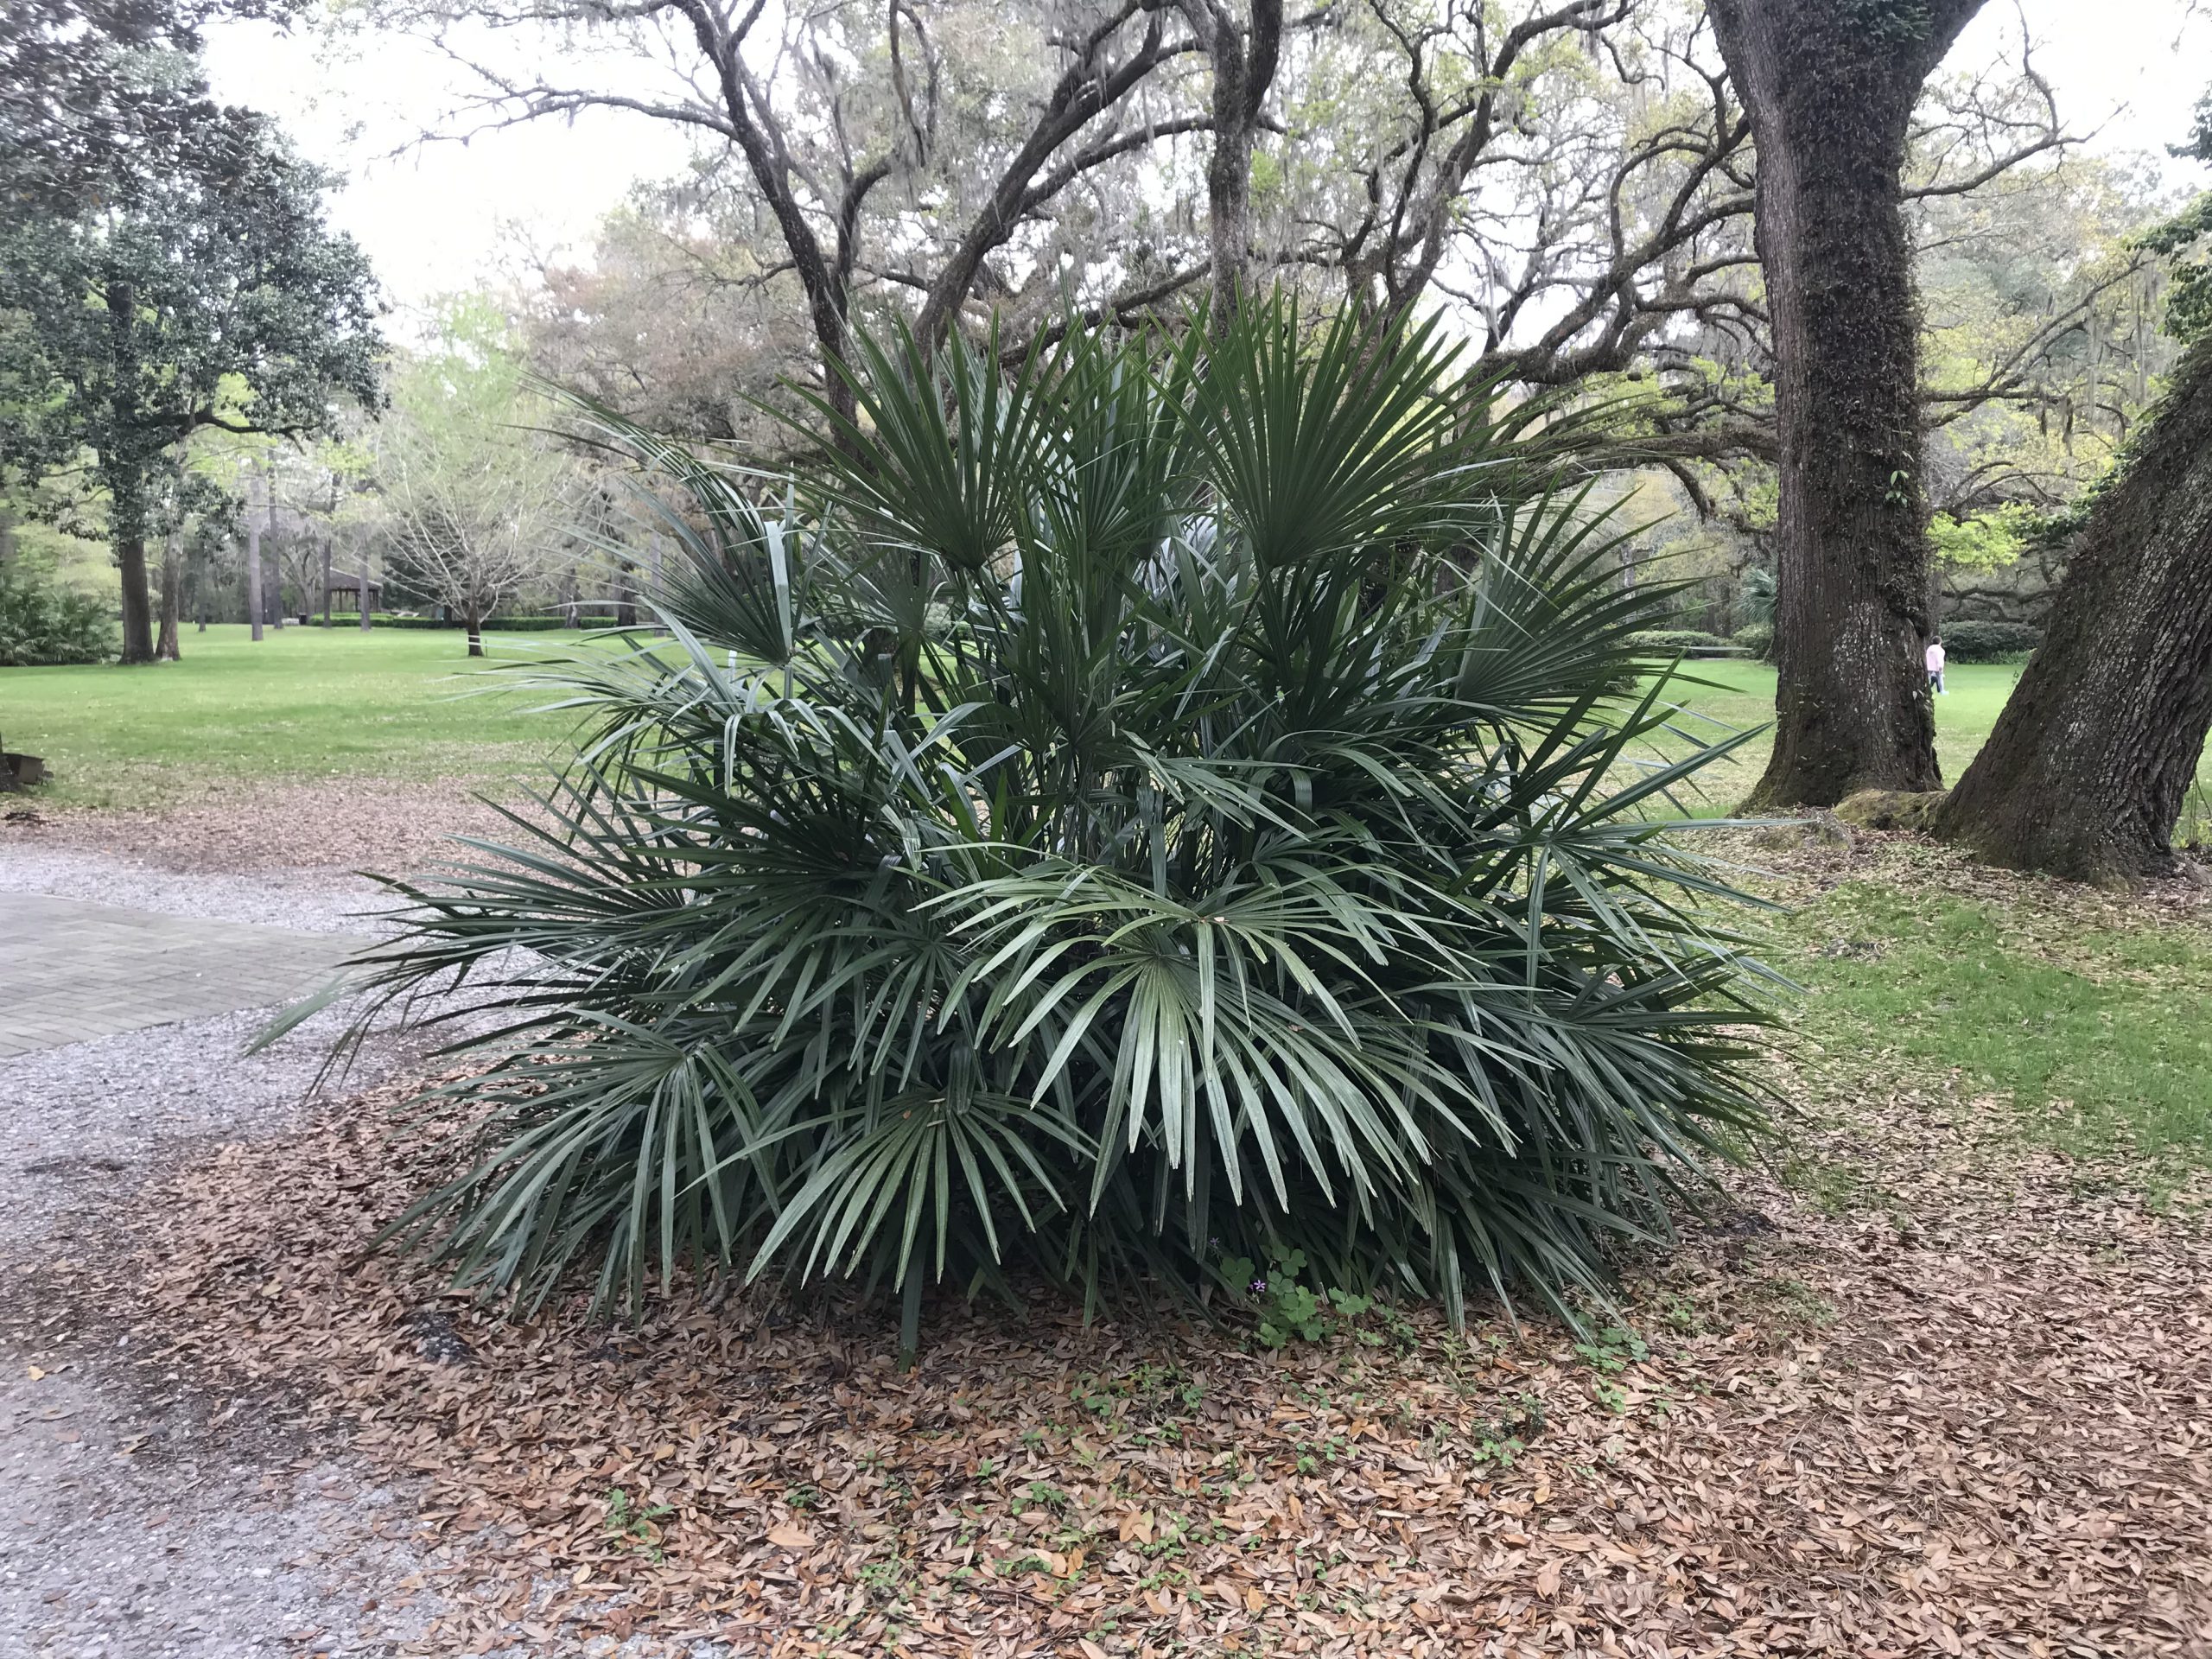
Needle Palm is the prettier, more refined cousin of Saw Palmetto (Serenoa repens), which it is sometimes confused with. Unlike the rambling, aggressive, stiff-leaved palmetto, Needle palm possesses “softer”, finely cut, lustrous evergreen leaves, allowing it to add amazing texture to any landscape. Also, unlike palmetto, it doesn’t need a yearly “cleaning” to prune out brown, dead leaves, rather its leaves persist green and clean for many years! You might not want to reach into the interior of a Needle Palm plant anyway, as generally unseen 6-8” namesake “needles” surround the base of its trunk. Needle Palm grows very slowly, eventually reaching 8’ tall or so, but is more often seen in the 4-6’ range in landscapes. This is absolutely a shrub that will never outgrow its welcome. It is a nearly trunkless palm, almost always appearing as a shrub, though with extreme old age it can begin to look a bit like a small tree with a muted trunk. With outstanding aesthetics and a low-maintenance growth habit, Needle Palm has a place in nearly any landscape.

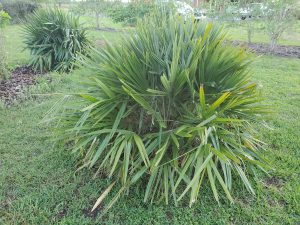
Mature needle palm, 6′ tall and wide. Photo courtesy the author.
In the landscape, Needle Palm does best when sited with some shade in the afternoon but also thrives in full sun. They appreciate regular water during establishment but survive on their own without any extra irrigation after! Needle Palm also doesn’t need much in the way of supplemental fertilization. They do look their best with a light spring application of a general purpose, slow-release fertilizer, but this is not required. Needle Palms are not afflicted with the pest and pathogen problems the much more commonly used non-native Sago Palms (Cycas revlolutas) attracts. I’ve grown Needle Palm for 6 years in the landscape and have never noticed any pest or disease issues. With Needle Palms becoming more common in the nursery trade, I don’t see a place in most landscapes for the inferior, high-maintenance, insect infested Sagos. If you want the tropical, textured look of Sagos, plant Needle Palm instead.
Needle Palm is an extremely attractive, low-maintenance Northwest Florida native plant that you should absolutely seek out and add to your landscape! If you want more information or have any questions about Needle Palm or any other landscape/garden topic, please give your local UF/IFAS County Extension Office a call. Happy Gardening!