by Evan Anderson | Dec 16, 2020
Plants need water. This isn’t an outrageous insight, but the details behind this statement can be more complicated than it might seem. While it is true that plants, like all living things, need water to survive, they don’t all need the same amount and they may need more or less at different times. For a healthy landscape, garden, container planting, or lawn, it’s important to pay attention to the little quirks of watering that may not be immediately obvious.
During the wintertime, temperatures are lower and days are shorter. Less heat and sunlight means water will evaporate much more slowly and the soil will stay wetter. With less heat and sunlight, plants grow at a much slower rate (if at all). This means that irrigation systems set for summertime watering are probably going to keep conditions too damp for many plants during the winter. For example, a St. Augustinegrass lawn might only be able to survive 1 to 5 days without irrigation or rain in the summer, but the same lawn can last 8 to 28 days between waterings in the winter. Consider adjusting your irrigation system or watering schedule to account for seasonal differences. Remember also that a practiced eye can tell when a lawn needs water – folding or curled blades of grass, a dulling of color from bright green to bluish-gray, and footprints that remain in turf rather than springing back are signs of drought stress. Before these signs show up, it may not be necessary or beneficial to water.
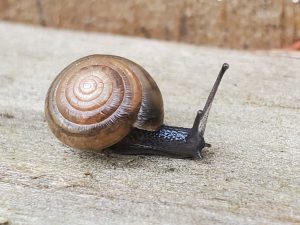
Snails love moisture, and an abundance of them may be a sign of too much irrigation.
If plants are overwatered, they often show different signs of distress. Lawns may have more issues with fungal diseases or become patchy, which can let weeds begin to take over. Ornamental plants such as shrubs and trees might show signs of nutrient deficiency or begin to drop leaves, appearing sparse and unhealthy. You may notice an increase in moisture-loving pests as well, such as slugs or snails. Check for watering issues if you notice any of these symptoms.
Cooler weather can be a good time to get outside and do regular maintenance on irrigation systems and plantings. Replace or unclog malfunctioning nozzles, patch
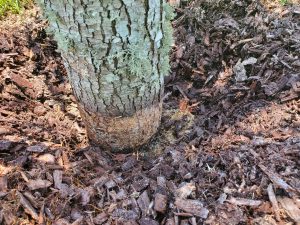
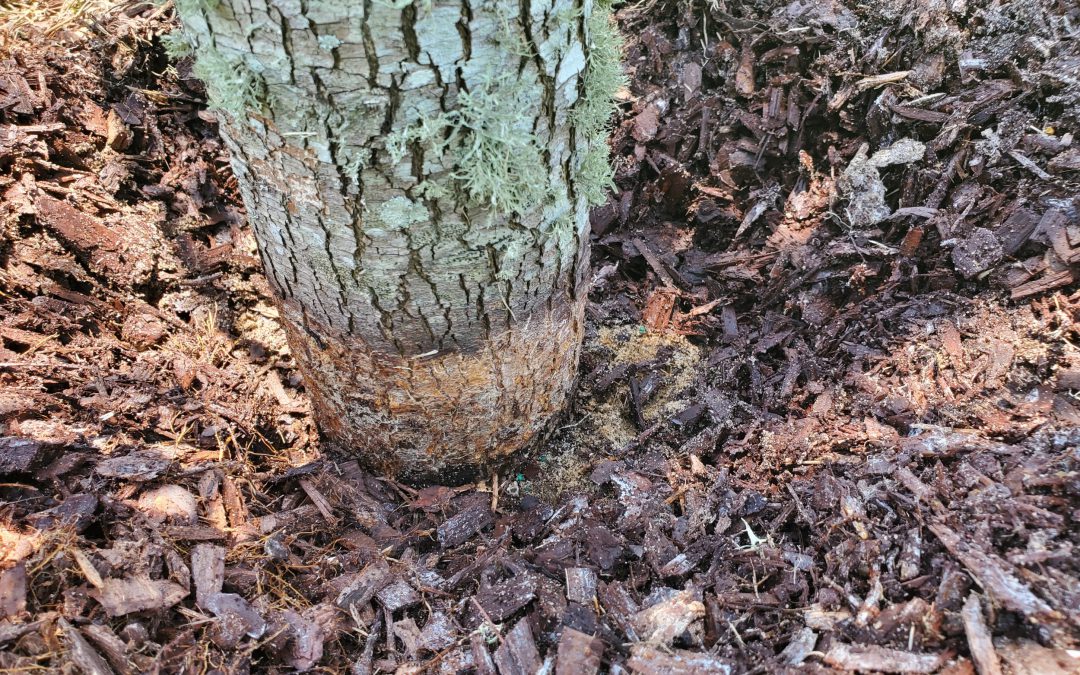
Moisture held against the base of a tree by mulch can eventually damage the plant.
holes in water lines, and adjust irrigation heads that may no longer be pointed in the right direction. Prune back plants that have grown into irrigation sprinkler patterns and may disrupt even watering. Put in new or replacement plants and make any adjustments needed to their irrigation. Lastly, add mulch around plants. This can help retain soil moisture, even out changes in soil temperature, suppress weed growth, and add organic matter to the soil as mulch breaks down. Avoid piling mulch against the base of plants, however, or it will hold moisture against the plant and can promote the growth of molds and other fungi.
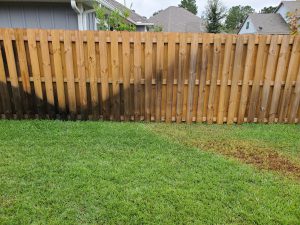
Improperly placed or calibrated sprinklers can cause problems.
For more information on watering, there is a wealth of knowledge online. The Florida Friendly Landscaping program has a lot to read on the topic: https://ffl.ifas.ufl.edu/handbook/Water_Efficiently_vSept09.pdf
The University of Florida EDIS publications cover many watering topics as well: https://edis.ifas.ufl.edu/topic_landscape_irrigation
And, as always, contact your local extension office for help as well!
by Danielle S. Williams | Nov 13, 2020
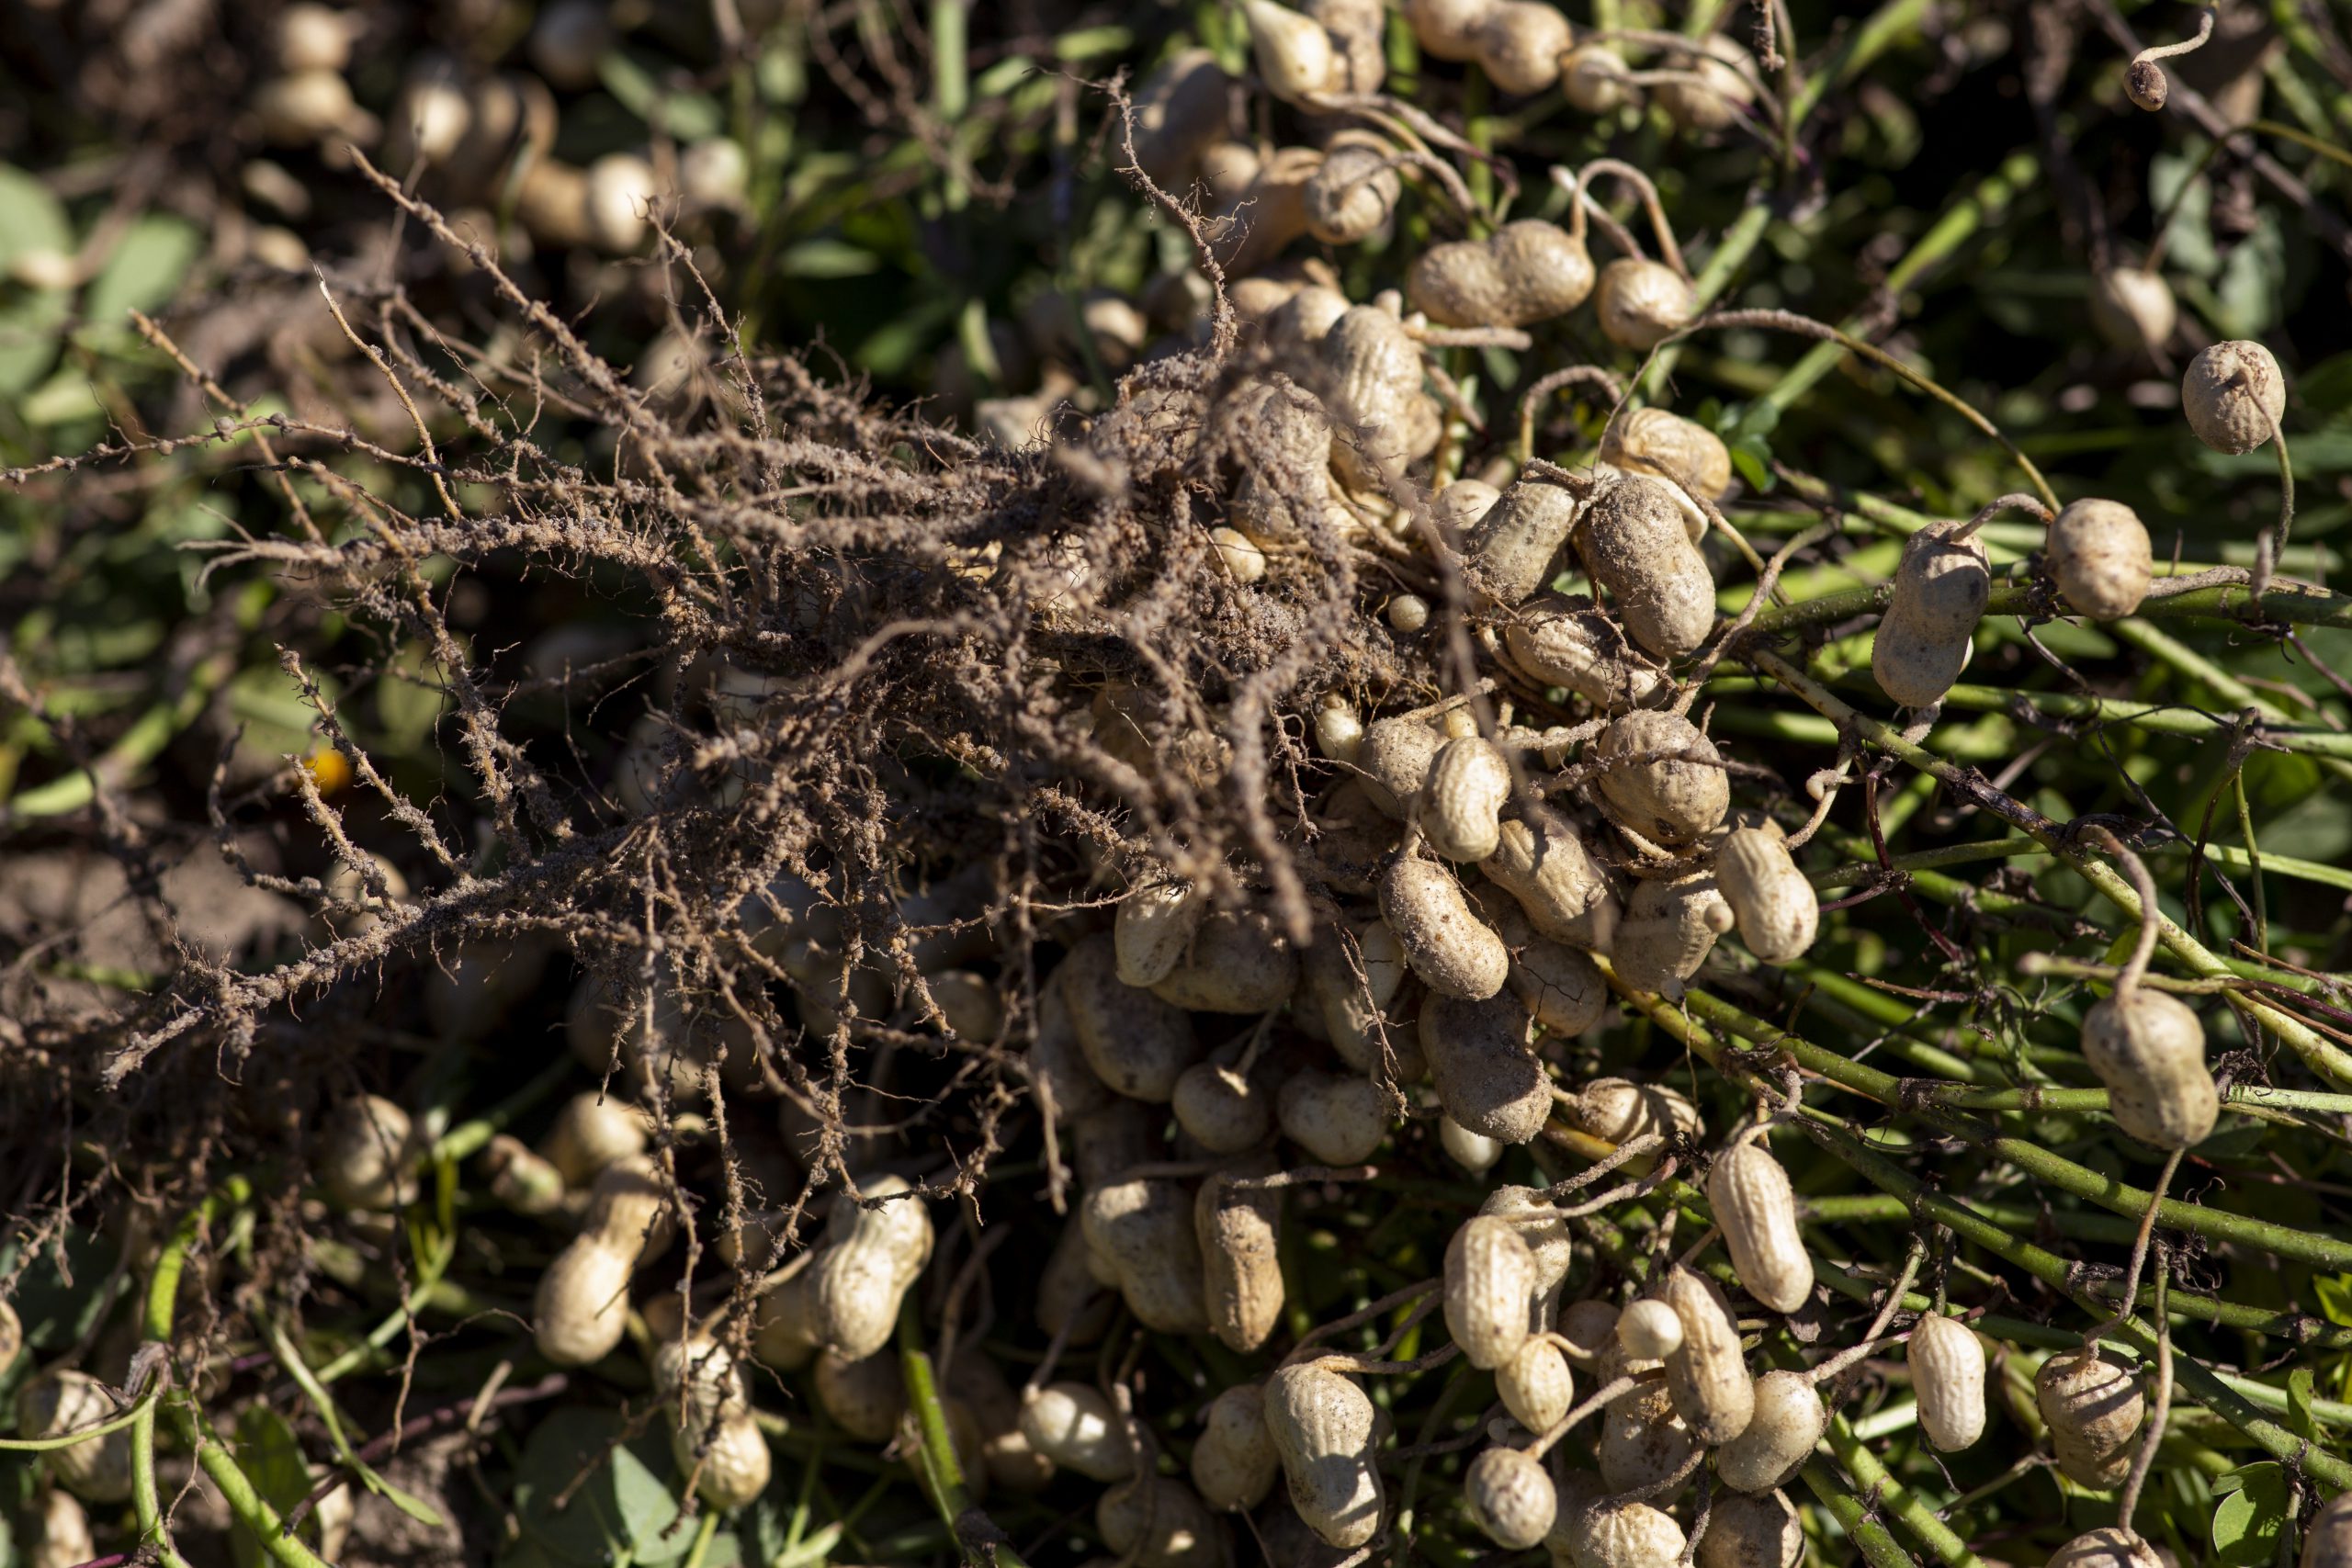
Peanuts, also known as groundnuts, earthnuts or goobers have a long history of cultivation. Unlike other nuts, peanuts are grown underground and not on a tree (hence the name nickname groundnut or earthnut). Originally native to South America, peanuts made their way to North America from Africa, where they were introduced by African slaves in the early 1800’s.

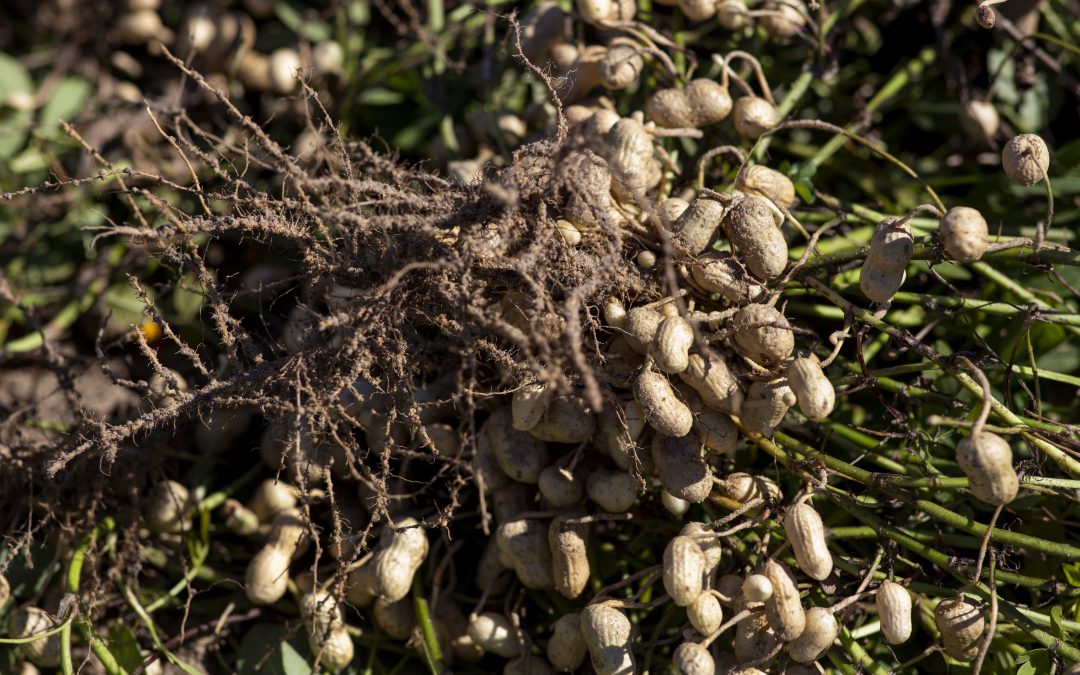
Overturned peanuts in a field ready to be harvested. Photo credit: UF/IFAS
First grown in Virginia, peanuts were grown mainly for oil, food, and as a cocoa substitute. During this time, they were regarded as food for livestock and the poor. It wasn’t until the late 1800’s did their demand increase as there was a need for an affordable, high-protein food during the Civil War and world wars. Their popularity also increased when P.T. Barnum began selling hot roasted peanuts at circuses.
In the 1900’s, peanuts became a significant agricultural crop when the cotton boll weevil threatened the South’s cotton crop. Through the research findings and suggestions of Dr. George Washington Carver, peanuts were grown as a successful cash crop and contributed greatly to the sustainability of the farm. Though Dr. Carver did not invent peanut butter, he did invent more than 300 new uses for the peanut and peanut byproducts including shaving cream, leather dye, coffee, ink and shoe polish.
Now, peanuts are grown in 13 states, across the United States and the U.S. is the third largest producer of peanuts in the world. In 2019, Florida grew 155,000 acres of peanuts with a production value of roughly $119 million. Did you know you can even grow peanuts in your home garden? Check out the UF/IFAS EDIS publication: Producing Peanuts for Home Use to learn more!
Peanut Fun Facts:
- 99% of peanut farms are family-owned, businesses averaging 200 acres
- There are four different types of peanuts – Runner, Valencia, Spanish and Virginia
- Peanut plants are legumes and fix beneficial nitrogen back into the soil
- Peanut butter is an excellent source of niacin, and a good source of vitamin E and magnesium
- Peanuts do not contain cholesterol and are low in saturated fat
- Peanut butter accounts for half of all peanuts eaten in the U.S.
- It takes about 540 peanuts to make a 12-ounce jar of peanut butter
- There are enough peanuts in one acre to make 35,000 peanut butter and jelly sandwiches
- The average person will eat almost 3,000 peanut butter and jelly sandwiches in their lifetime
- Women and children prefer creamy peanut butter, while most men opt for chunky
- Peanut allergies affect just 0.6% of the U.S. population
UF/IFAS Peanut Butter Challenge
Help us fight hunger in the Panhandle by donating unopened jars of peanut butter to the Peanut Butter Challenge! Every year UF/IFAS Extension Offices across the Panhandle coordinate the Peanut Butter Challenge to address hunger and food insecurity in our area. You can support the challenge and help fight hunger by donating unopened jars of peanut butter, now through November 25th to your local UF/IFAS Extension office. Through a partnership with the Florida Peanut Producers Association and the Florida Peanut Federation, for every one pound of peanut butter you donate, TWO pounds are given back locally to those in need!

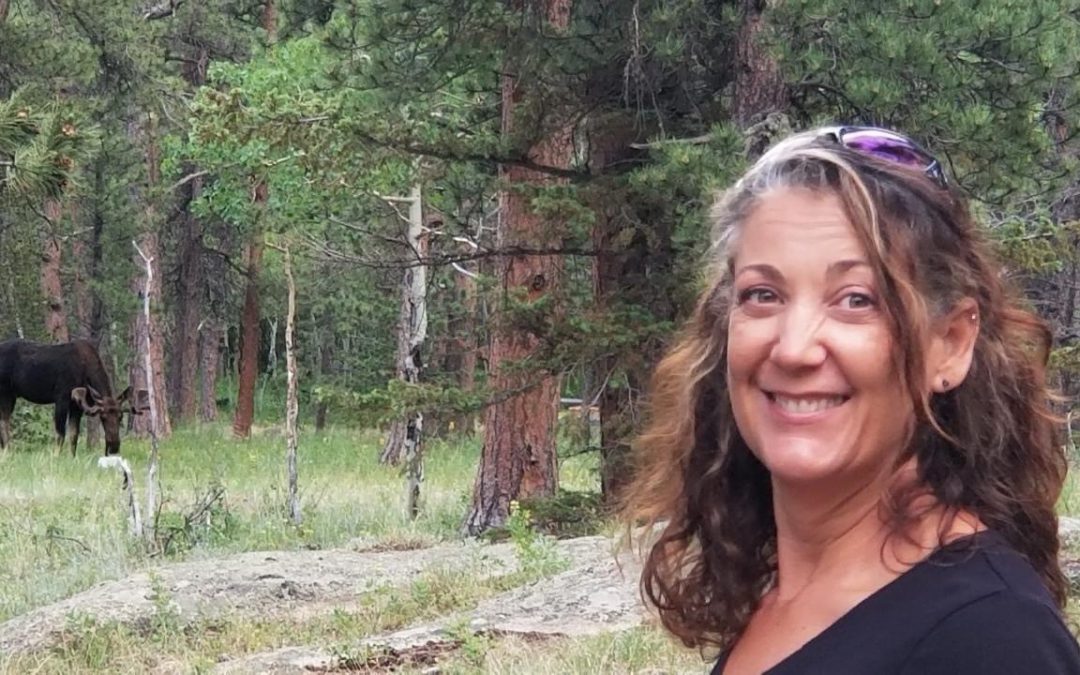
by Julie McConnell | Nov 12, 2020
Stopped for a photo with a moose in Allenspark, Colorado this summer.
Julie McConnell is the Horticulture Agent with UF/IFAS Extension Bay County. She was hired in 2012 with a Bachelor of Science in Ornamental Horticulture from Auburn University, but the position also required a master’s degree. From 2014-2016 Julie attended the University of Florida’s distance learning program to earn a Master of Science in Entomology and Nematology and a Graduate Certificate in Landscape Pest Management. Although it was challenging to juggle family, work, and classes she quickly found that insects are fascinating creatures and the knowledge she was gaining could be applied daily on the job.
An Army brat, Julie lived all over the Southeast and in Hawaii before her parents settled in South Florida where she spent most of her childhood. Growing up she had no interest in plants or insects but loved animals and hoped to one day be a veterinarian. Fast forward many years to a few failed physics and chemistry classes triggering undergraduate major changes and eventually Julie found a good fit with Horticulture while studying at Auburn. She flourished in that program and found a job in wholesale nursery sales in the metro-Atlanta market upon graduation in 2001.
While working on her degree at Auburn, Julie worked as a Public Safety Communications Officer with the City of Auburn for 6 years. In that role she helped write standard operating procedures and a formalized training program and trained new hires. She also served 8 years in the U.S. Army Reserves at an Aviation Headquarters Unit at Ft. Rucker, Alabama.
Julie has been married for 15 years and has 4 children and 3 grandchildren. She lives in northern Bay County with her husband and their youngest child. They love spending time in or on the water and have picked up new hobbies including kayaking and diving since moving to Florida. They also enjoy traveling and hosting family and friends visiting from out of state. In addition to sharing the beautiful beaches of Bay County, they like to introduce visitors to other outdoor recreational spots such as the crystal-clear springs and dune lakes in Northwest Florida.

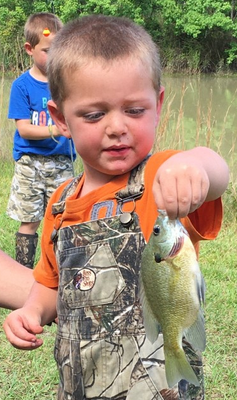
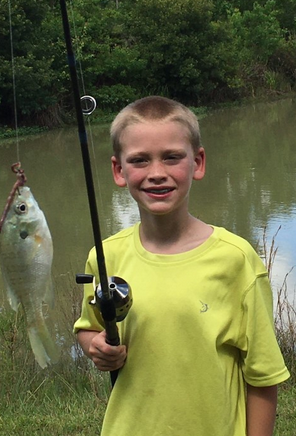
Although I never catch any fish, I love family time on the water.

Bill and Julie McConnell diving at St. Andrews State Park. 2019

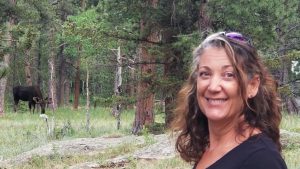
by Sheila Dunning | Oct 21, 2020

Sheila Dunning is the Commercial Horticulture Agent with the University of Florida Extension Service in Okaloosa County. She holds a Bachelor of Science degree in Environmental Horticulture and a Master of Science degree in Agricultural Education and Communication from the University of Florida, as well as, several industry certifications including International Society of Arboriculture Arborist, Associate Certified Entomologist, and Florida Nursery Growers and Landscape Association Landscape Contractor. Her background is in the nursery industry, of which she was employed for twenty-two years before joining Extension over eighteen years ago.
Sheila’s programs for Green Industry professionals include Best Management Practices; pesticide applicator certification; and environmentally friendly landscaping design, installation and maintenance. In addition, she provides programming in natural resource stewardship through the Florida Master Naturalist Program.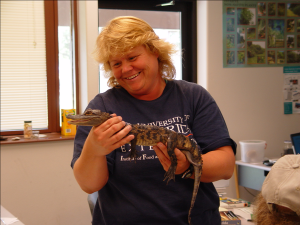
Born in rural Wisconsin, she spent her early childhood as the son and hunting dog that her father never had, going on hunting, trapping and forest adventures. After moving to Brevard County, FL in 1976, Sheila’s interests turned to cultivating plants and rehabilitating local wildlife by working at a local 40-acre wholesale nursery and tending to the many wounded animals that roamed her parents’ home. She never knew what kind of creature she might find in her bed.
Married to an Air Force mechanic, Sheila spent 14 years traveling the world as a military wife, having two children along the way. Playing softball was a family activity, practicing or competing daily for over 22 years. Sheila was the catcher on the Icelandic NATO Forces Woman’s softball team, the European champions from 1986 -1989. She worked in a large greenhouse and florist while overseas, enabling here to learn even more plant material and utilize those Latin night school classes.
 Sheila’s vast knowledge of Florida’s natural resources and cultivated plants was sparked early in life and has continued to grow as she settled into Northwest Florida, working at local retail nurseries and completing her education. Working closely with landscapers, pest control operators and government parks crew to keep up-to-date on plant maintenance, water protection and integrated pest management have become her main daily focus. But, she still finds time to introduce her grandchildren to the wonders of nature.

by Julie McConnell | Sep 28, 2020
 Earlier this summer I talked about getting to know your weeds, so they’ll be easier to control. If you missed that article you can review it here “Why Can’t I Kill Weeds?”
Today we will look at the types of herbicides available so your selection will fit your situation.
Understand your herbicide options. Picking out the appropriate herbicide can be overwhelming. The options seem unlimited when you are standing in the store looking at aisles of containers. By preparing yourself before you shop you can save time and increase your chances of making the most effective selection. Here are some herbicide basics:
- Label interpretation. The pesticide label is a multipage document that describes ingredients, how a pesticide works, application instructions, safety requirements, and other important information for the user. Before applying any pesticide (yes, herbicides are pesticides!) you should read the entire label. Pulling the label off the package in the store may be frowned upon and the print is very small. For this reason, I would recommend looking up a few options before you go shopping and reading the labels online. This allows you to take your time to be sure you understand if it is the appropriate product and you can make your shopping list for personal protective and application equipment before you leave the house. Three important things to look for when selecting your product are active ingredient, labeled site (site includes the location such as residential landscape vs. agricultural crops and the plants it is safe to use on), and targeted pest.
-
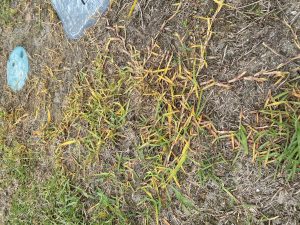
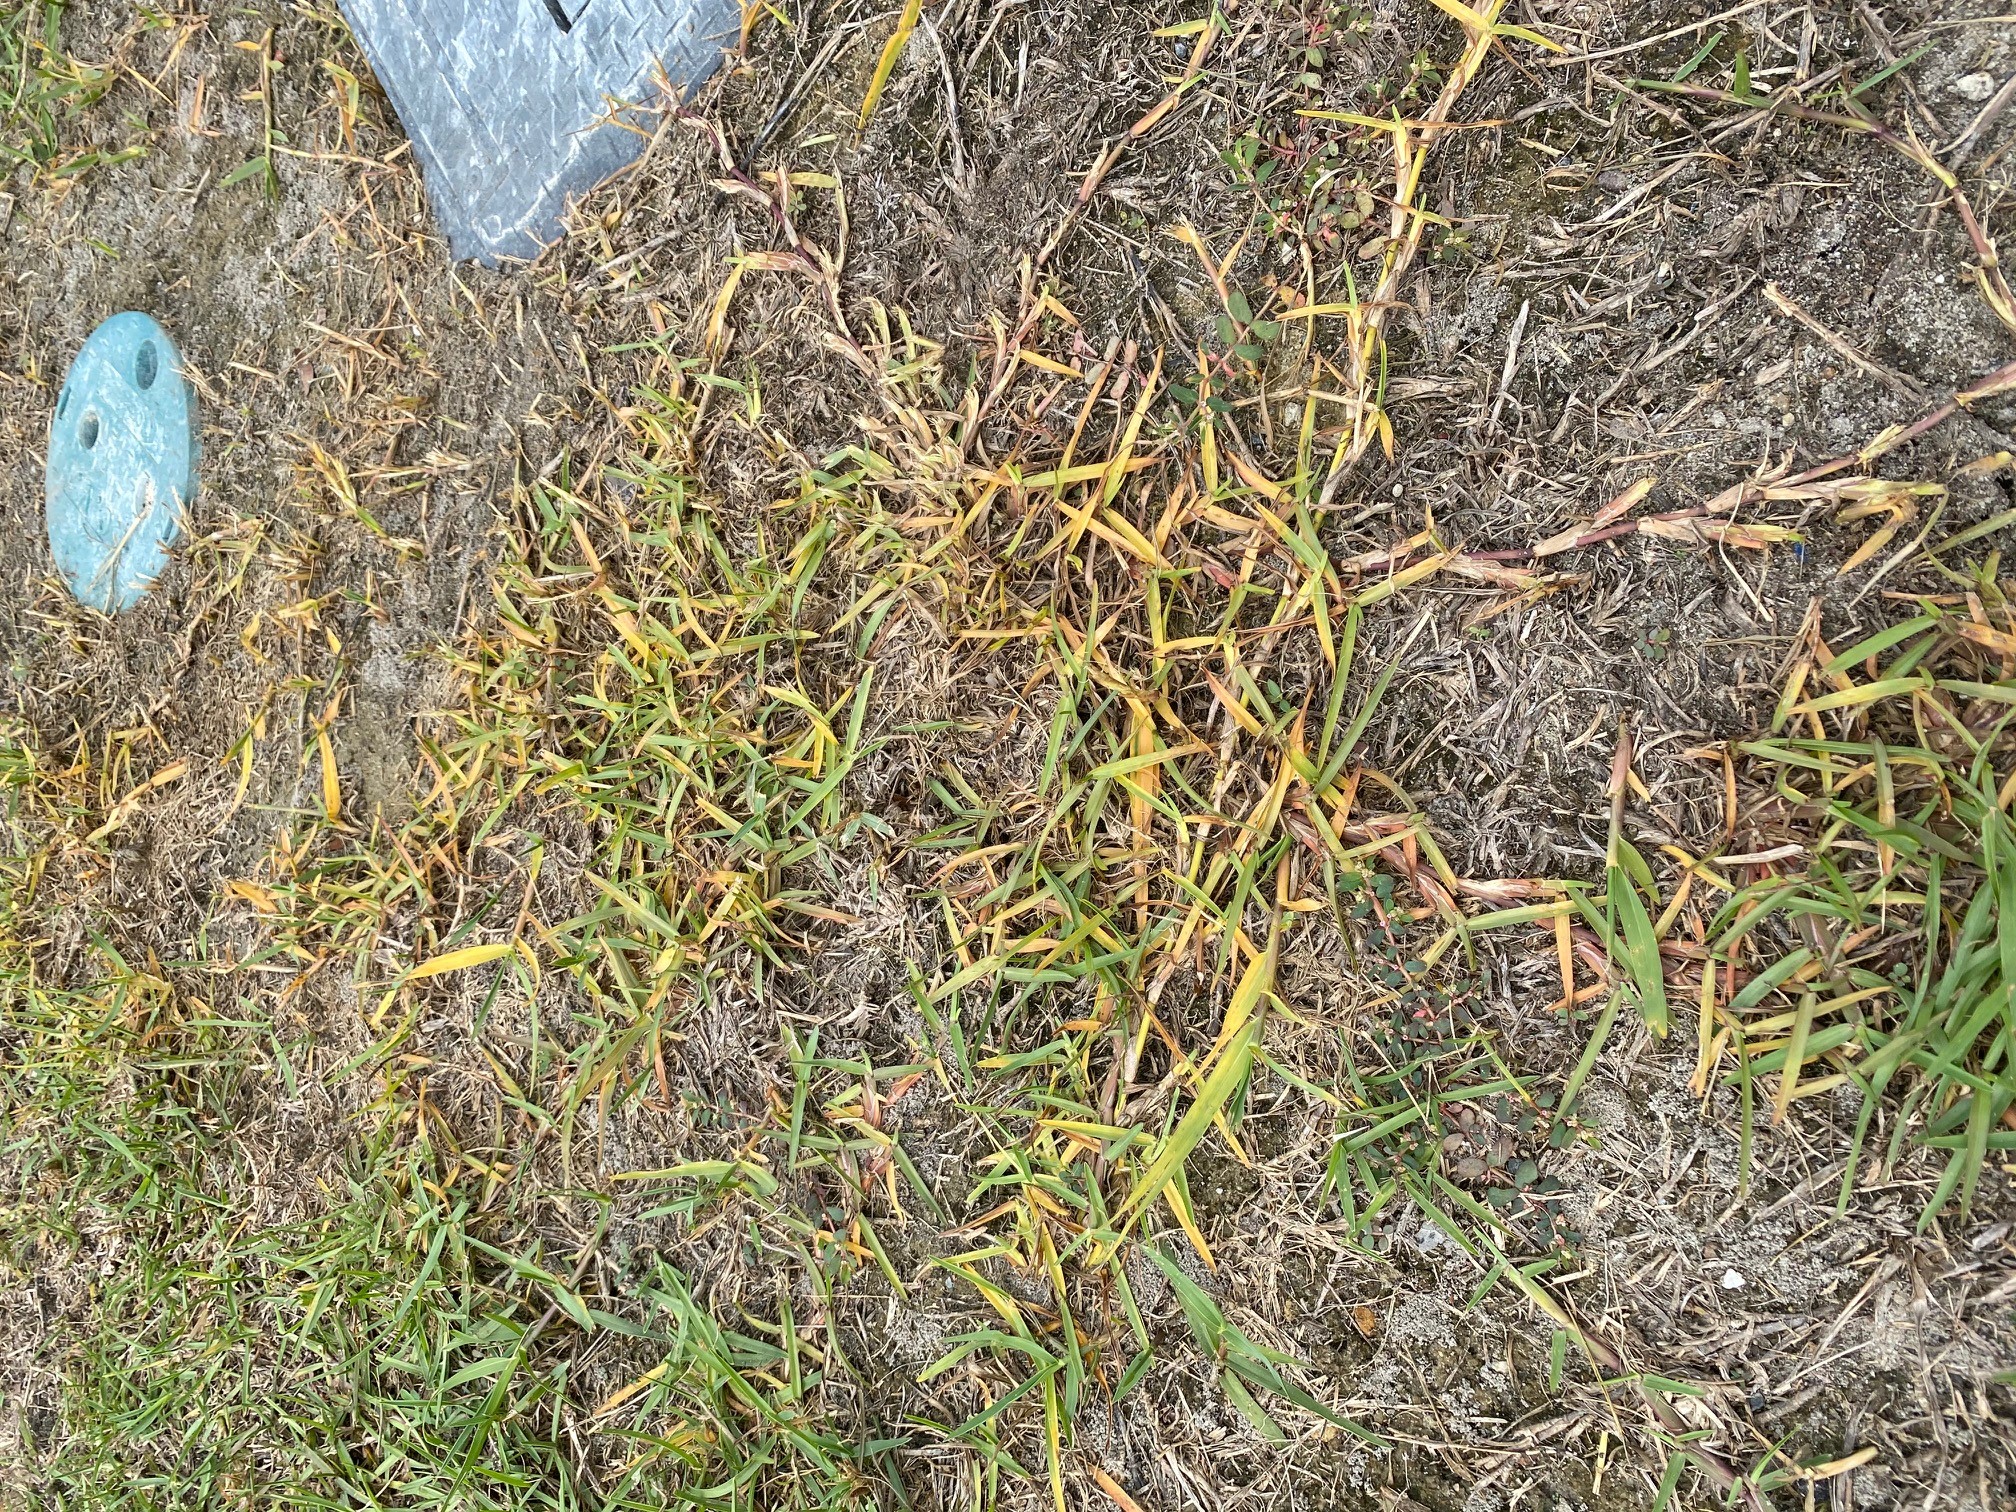
Non-selective, systemic herbicide damage on grass. Photo: J_McConnell, UF/IFAS
Pre-emergent herbicides. Pre-emergent herbicides provide control when applied BEFORE seed germination of your target weed. They do not prevent germination, rather they prevent emergence of shoots and roots essentially inhibiting normal plant growth which eventually results in plant death. It is important to have your product in place during the correct window of time. Typically, 1-2 weeks before germination of your target weed is ideal.
- For warm season annual weeds (crabgrass, goosegrass, sandspur, and spurge are examples) apply pre-emergent herbicides when day temperatures in early spring reach 65-70°F for 4-5 consecutive days. This may be mid-February or as early as January.
- For winter annual weeds (henbit, black medic, geranium, and chickweed are examples) watch for night temperatures in the Fall to reach 55-60°F for several nights in a row to indicate proper application timing.
- Some products are selective to plant types such as grasses, sedges or broadleaf weeds. Other products are more broad-spectrum and are effective on multiple weed types.
- Pre-emergent herbicide should not be used if you intend to plant seed – it will affect your desired plant in addition to the weed! There may also be effects on newly planted lawns or plants, so be sure to read the label closely to avoid damage to non-target plants.
- Post-emergent herbicides. These products are used on weeds that have already emerged, regardless of life cycle (annual, perennial, biennial). This type of herbicide will be applied directly to the weed you are trying to kill. There are a few categories within this group.
- Selective or non-selective.
Selective herbicides work on particular categories of plants: broadleaf, sedge, grass, or woody plant.
Non-selective herbicides can kill any type of plant regardless of category.
- Contact or systemic.
Contact herbicides kill the plant tissue it comes into contact with and does not translocate to the rest of the plant.
Systemic herbicides are translocated throughout the plant to affect more than just the place of absorption. These are ideal for perennial weeds that would regenerate from roots, bulbs, or tubers if the top is damaged or killed.
Effective weed management requires some preparation and research for the best outcome. For help with weed identification and control recommendations, contact your local UF/IFAS Extension Office.
Further reading on weeds and herbicides:
Florida Homeowner Herbicide Guide: Considerations, Applications, and Selection
Postemergent Herbicides for Use in Ornamentals
Weed Management Guide for Florida Lawns
by Larry Williams | Jul 23, 2020
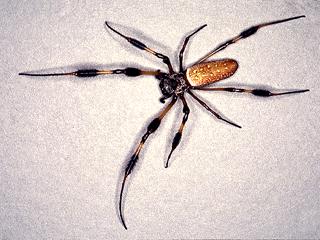
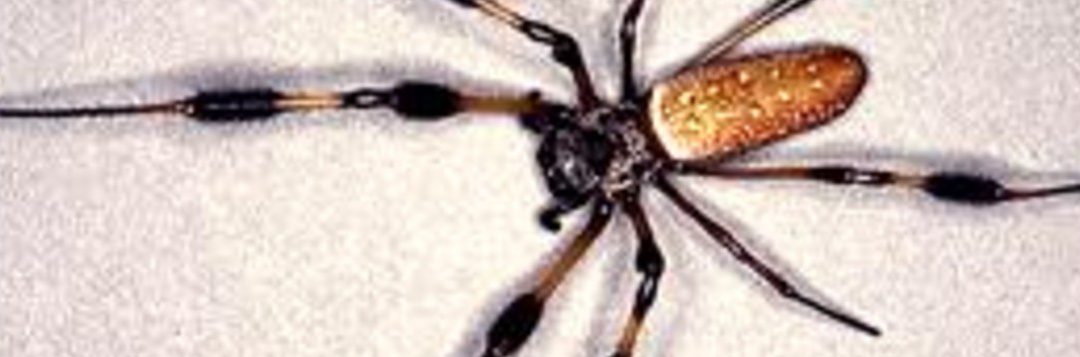
A number of years ago a gentleman told me about an orb weaver spider that was living by his front door. He said that it had been there for about two months and that it was interesting to watch the construction of the intricate “bug catching” web. However, he explained that he had a number of people coming to visit and he wanted to know about relocating the spider to his backyard.
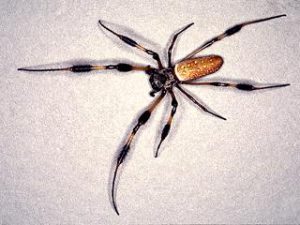
Golden silk orb-weaver spider. Photo credit: UF/IFAS
These types of spiders typically construct their webs in an area and stay in that location based on the environment. Many of the orb weaver spiders rely on flying insects and usually construct their webs several feet or more above the ground. This is a good height to capture many flying insects. As a result, there needs to be items within a reasonable distance to attach and place the web. If a spider is randomly relocated, there may be nothing in reasonable distance to support a web. There needs to be at least a couple of tall shrubs or tree trunks for the spider to construct a web in-between the plants several feet above ground level. It needs to be in an area with limited people movement to prevent disturbance by people walking into it. It needs to be in a location with enough flying insect activity to satisfy the spider. If it’s not the right location, the spider may move back to another location, perhaps the front door area.
Webs built by these types of spiders can be quite large and may be suspended several feet or more above the ground. Some people become annoyed and/or frightened as they accidentally come in contact with these webs, brushing the webs from their face and arms. I’m sure the spider becomes annoyed, too, having to rebuild its web.
Despite their size, orb weaver spiders pose little threat to people. They’re considered beneficial because they feed on a wide range of flying insects. They usually construct webs in relatively sunny, open areas with little wind.
Even though these spiders are beneficial, many people don’t like spiders. If you choose to control spiders in and around your home, keep in mind it’s unwise and impractical, if not impossible, to control all spiders.
By the way, the gentleman concerned about the spider decided to leave the spider at the front door area. He posted a sign next to the web in hopes that his guests would steer clear of the web. He offered his garage entrance to those frightened by the spider.
For more information on orb weaver spiders, visit the below UF/IFAS Extension website.
https://edis.ifas.ufl.edu/topic_orb_weavers