Since 2020, we have delivered timely webinars using Zoom and Facebook Live to reach Gardening in the Panhandle LIVE! viewers. In 2024, we are changing things up just a bit. Due to changes in the way Zoom and Facebook interface we will only be transmitting live through Zoom.
What does that mean for our Facebook viewers? We will still post Events about upcoming programs with links to register for the episode and will continue to share videos after they are uploaded to YouTube (usually this is within 24 hours). Thank you for your patience as we make this change
Below is our lineup for 2024 – we hope you will join us!
Vermicomposting is an eco-friendly method for recycling organic waste, improving soil fertility, and boosting plant health. Photo by UF/IFAS.
In a world increasingly focused on sustainability, vermicomposting has quietly emerged as a simple, eco-friendly method to reduce waste and enhance garden soil health. This natural process involves specialized earthworms that convert kitchen and garden waste into nutrient-rich vermicompost, often dubbed “black gold.”
Beyond the environmental benefits, vermicomposting brings tangible advantages to your garden. When integrated into your garden soil, vermicompost enhances soil structure, improving water retention and reducing soil compaction. Moreover, it serves as a slow-release fertilizer, converting nutrients into readily available forms for plant roots. Vermicompost also enriches your soil ecosystem by introducing beneficial microorganisms that help suppress soil-borne pathogens, fostering a healthy environment for your garden and landscape plants.
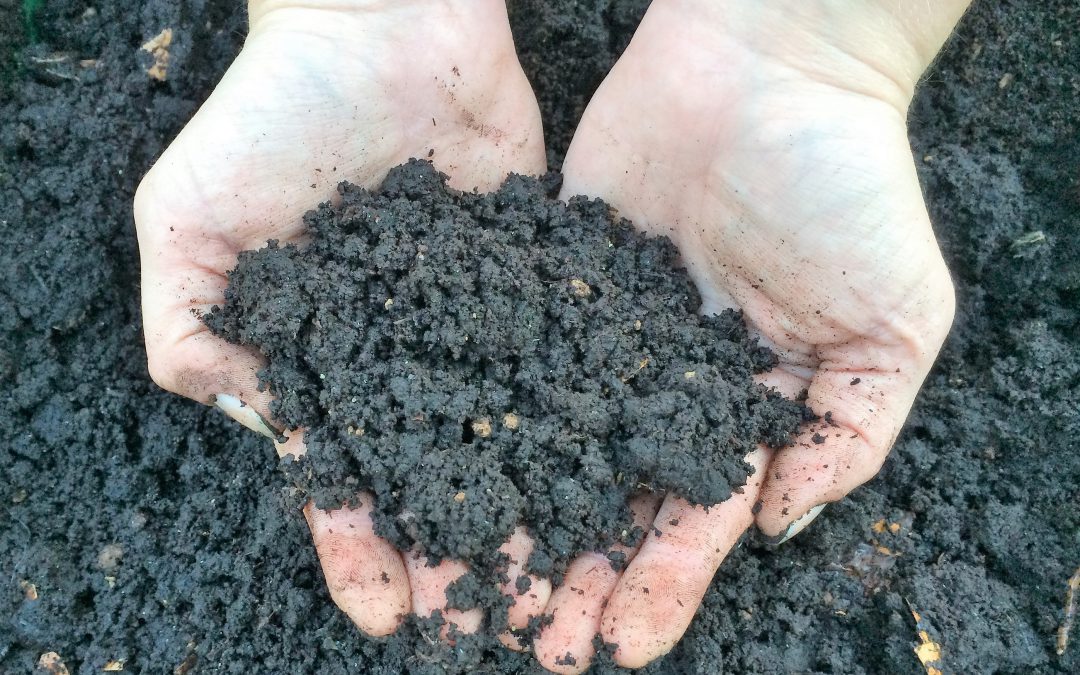
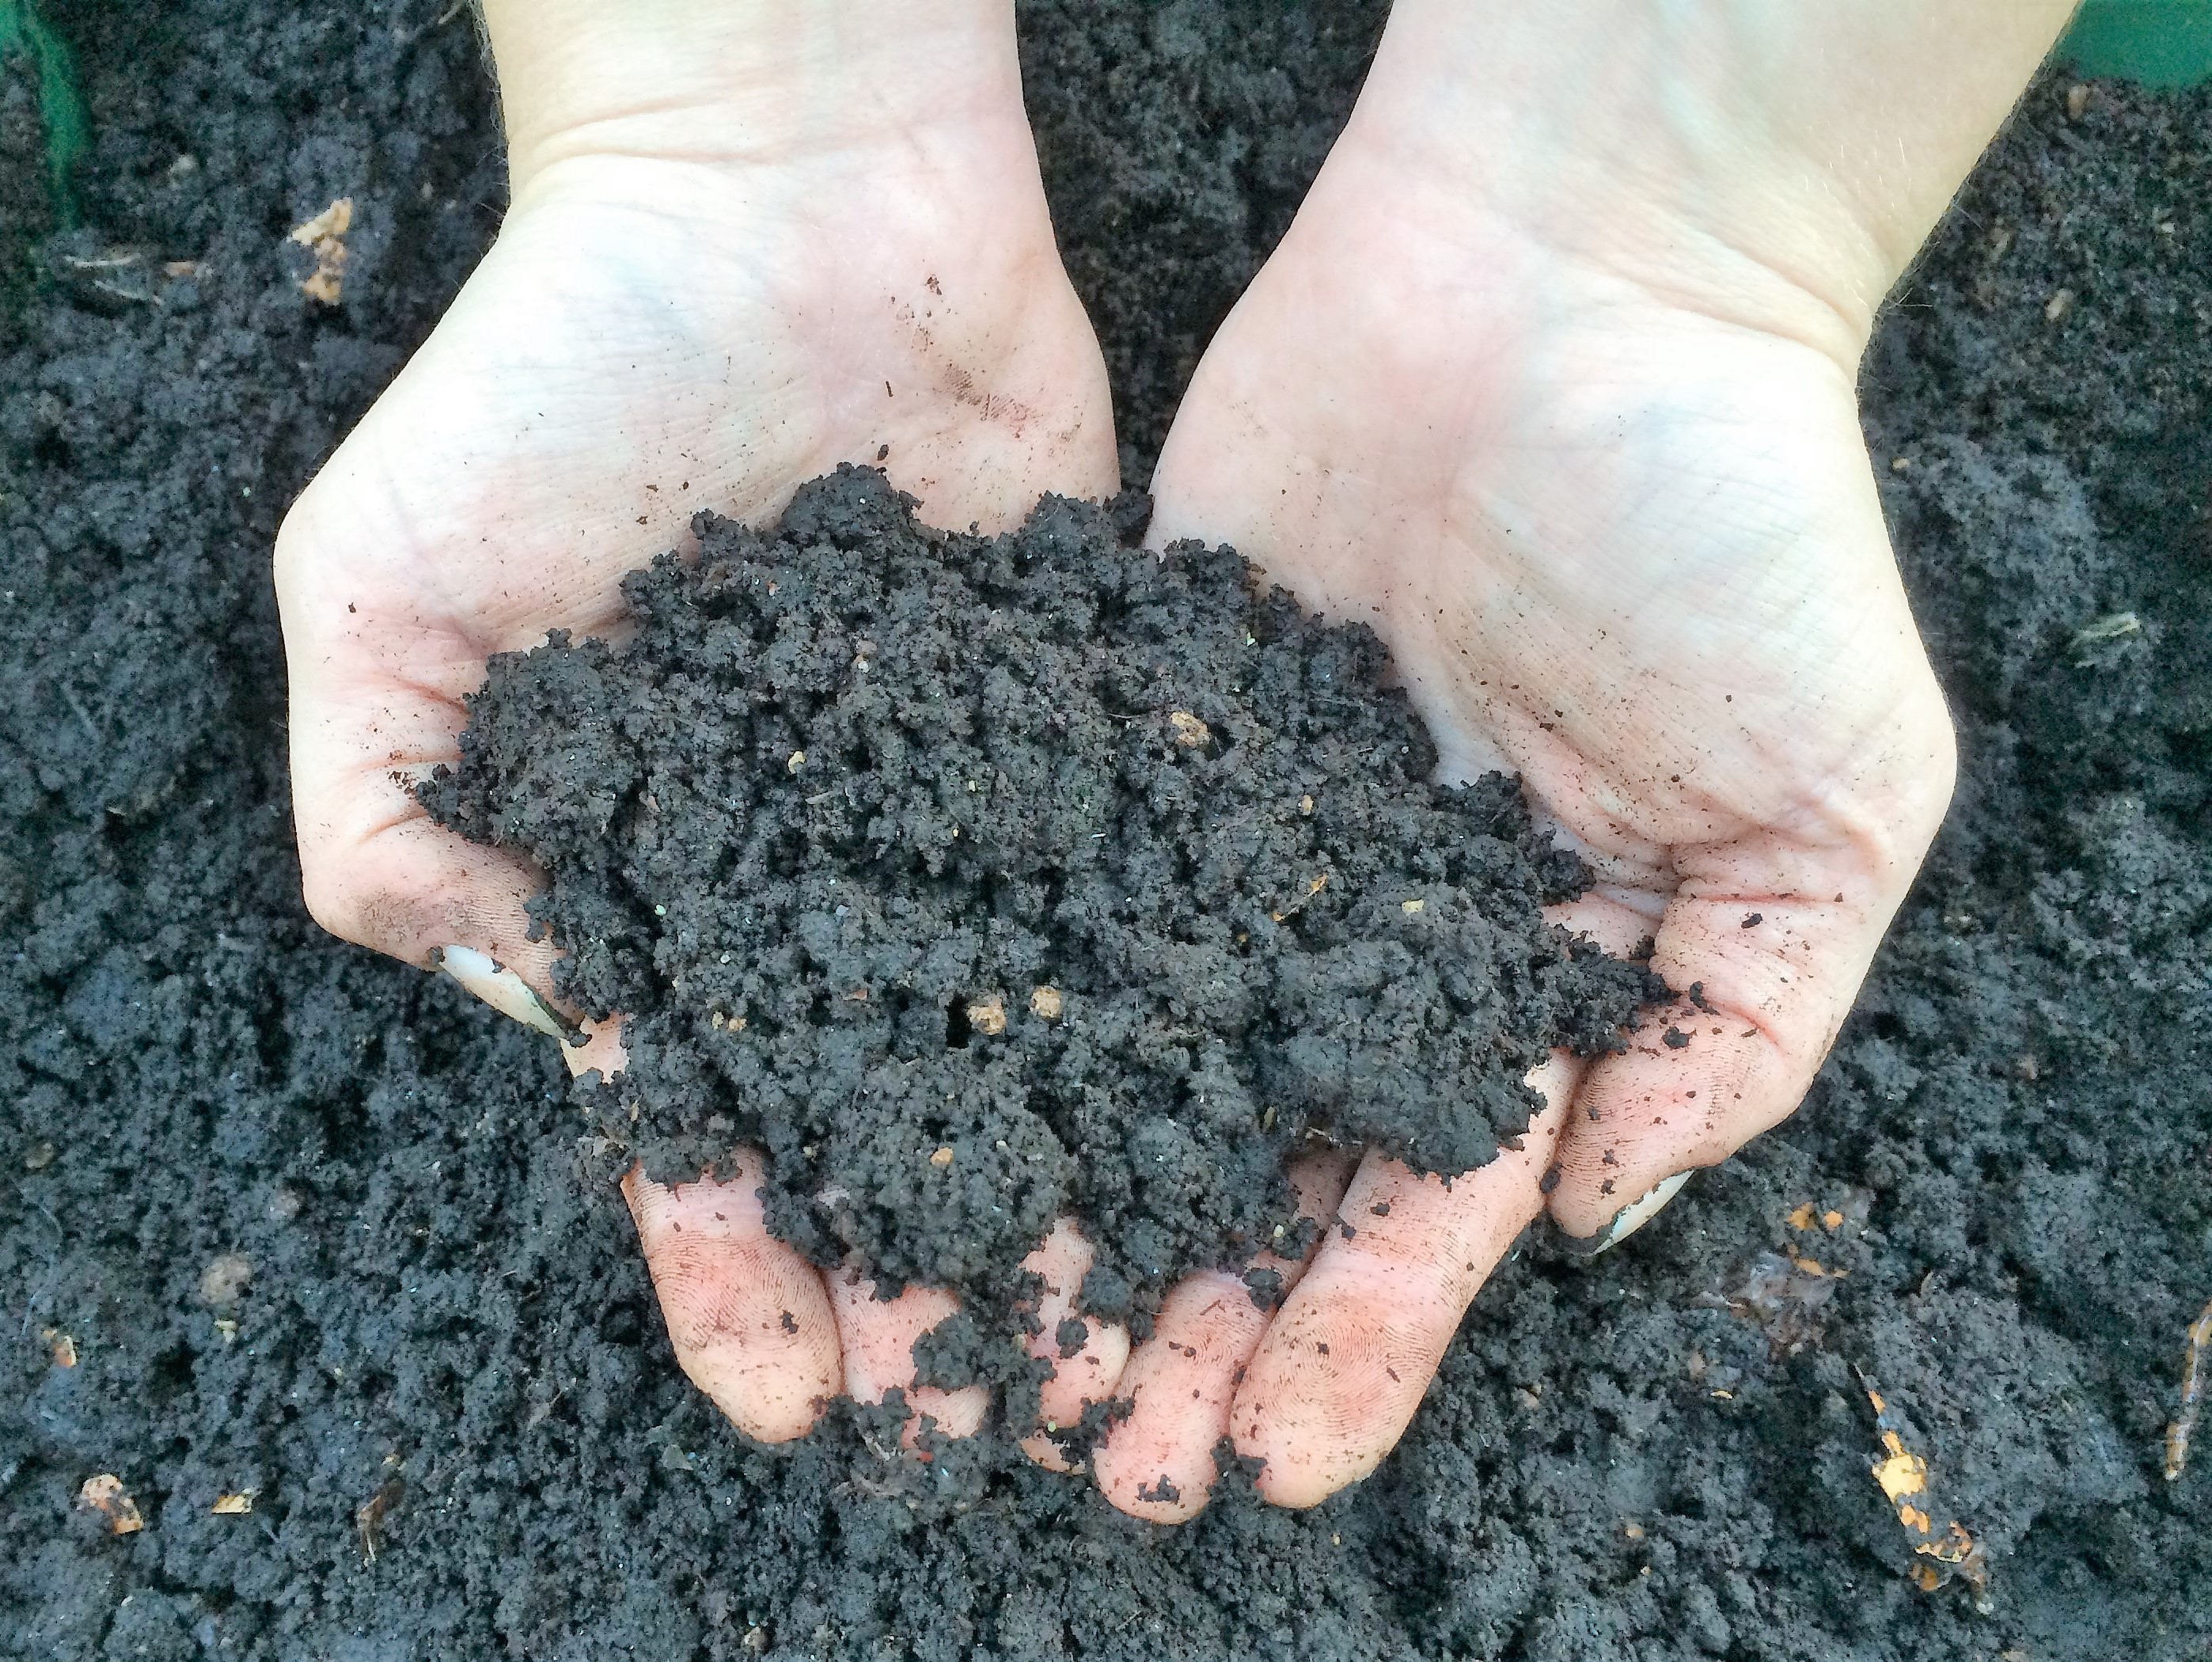
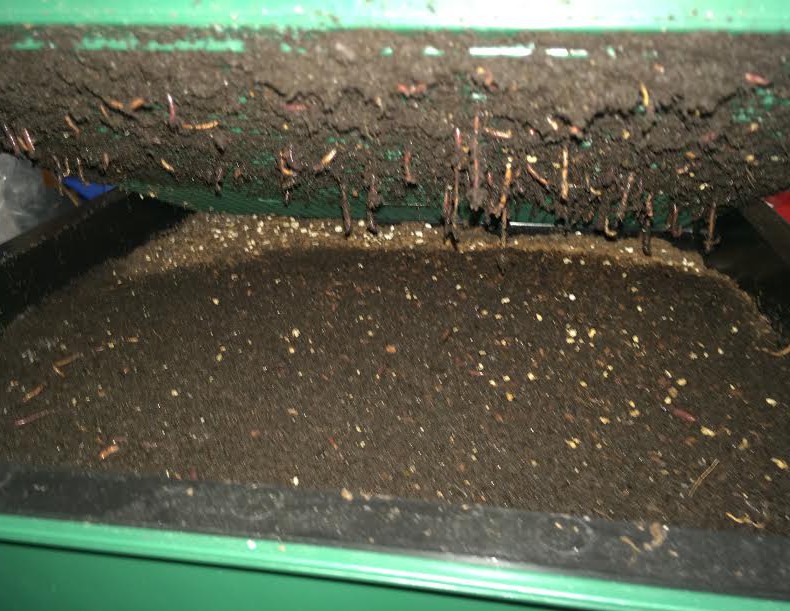
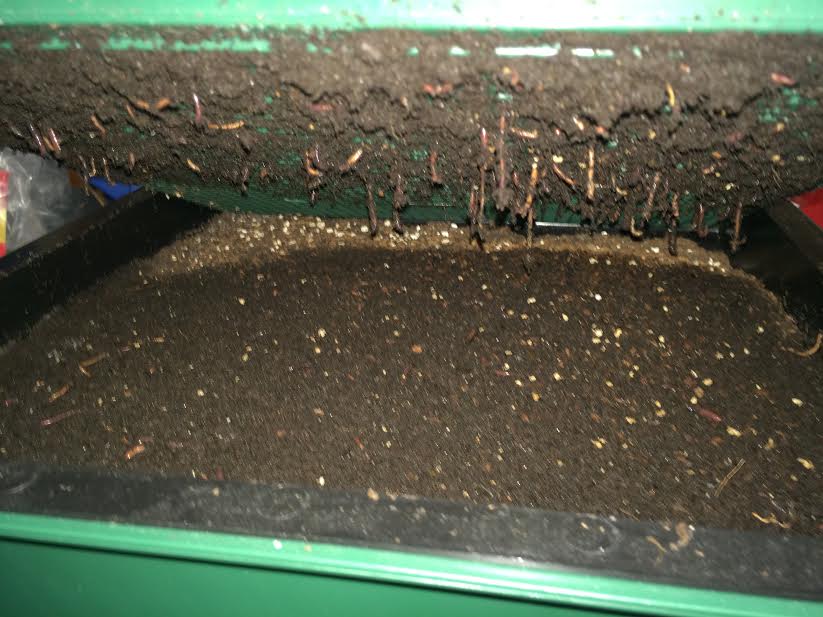
Finished vermicompost has a crumbly, earthy texture that enhances soil structure, improving its water retention and aeration properties for healthier, more resilient plants. Photo by UF/IFAS.
Below is a summary of the components needed to successfully vermicompost at home.
Worm Bin: Choose a dark-colored, breathable bin that is no deeper than 20 inches. The size of your bin should align with the amount of food waste you produce weekly. As a general guideline, you’ll need approximately 1 sq. ft. of surface area for every pound of weekly food waste. If you’re building a vertical system, consider using three 10-gallon bins, which work well for this purpose.
Worms: You’ll need approximately 1 lb. of Eisenia fetida worm species, which equates to about 1,000 worms, for every 1 sq. ft. of surface area in your bin.
Bedding: Choose moistened carbon-rich organic materials such as newspaper strips with plant-based ink, leaf litter, shredded corrugated cardboard, or coir for bedding. Fill the bin about one-third full of bedding or create a layer no thicker than 6 inches.
Grit: To aid in digestion, mix in one handful of regular soil when you’re starting a new bin.
Food: Worms have a taste for chopped vegetable scraps and most fruits, as well as coffee filters/grounds, leaves, crushed eggshells, and plain grains. As your worm population becomes established, begin feeding them slowly and ensure the food is being consumed before adding more. Smaller food pieces, with greater surface area, are easier for worms to digest. In general, 1 lb. of worms can consume roughly 1/3 lb. of food per day once they are well-established.
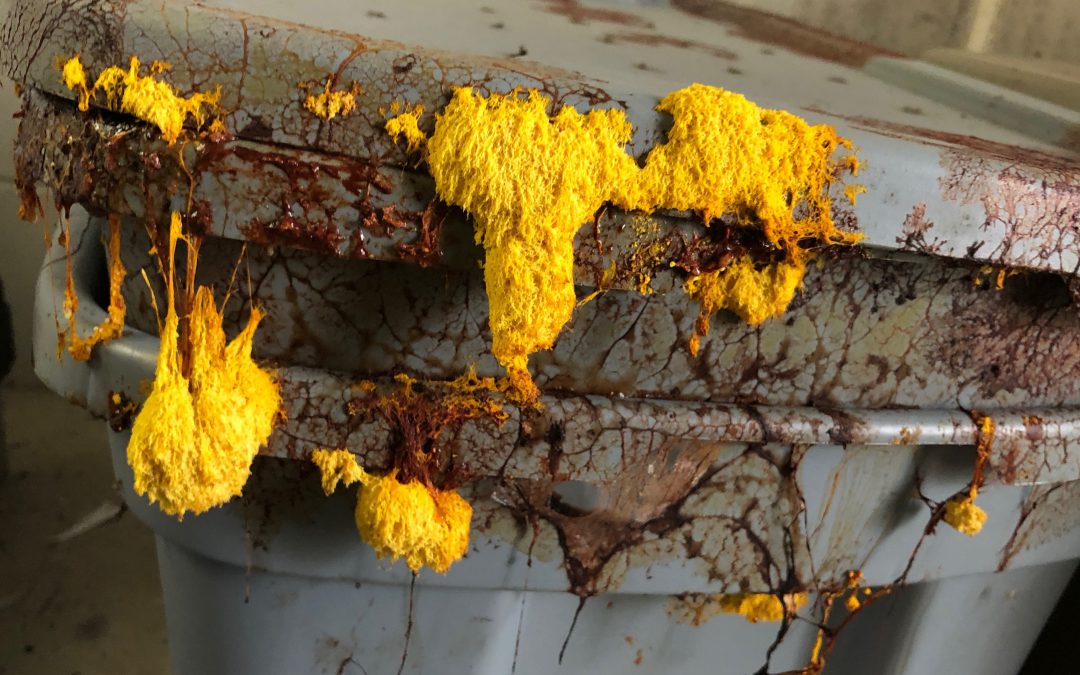
The plasmodium of Fuligo septica slime mold consuming bacteria and fungi inside the office worm bin. Photo by Molly Jameson.
Just when we thought we had our Leon County Extension vermicompost bins all figured out for recycling office food waste with the aid of worms…aliens invaded. I instinctively started looking all over for my “Ghostbusters” proton gun and backpack – but when they didn’t turn up, I decided to retreat and do a little research.
Fuligo septica moves as a mass of protoplasm about a millimeter an hour. Photo by Molly Jameson.
A mesmerizing bright yellow substance had taken over the entire top of the office worm bin, and when the lid was lifted, the yellow ooze was streaming down the inside of the lid and into the bin. Long, squiggly zig zags seemed to be engulfing nearly all the contents within the worm bin.
Unlike Ray Stantz’s reaction when he first meets Slimer devouring the room-service leftovers in the hotel hallway in the original “Ghostbusters,” we were all a little taken aback by our surprise intruder.
“Oh my! Will it kill our worms? Is it toxic? Where did it come from?”
Turns out our slimy yellow visitor was Fuligo septica; a species otherwise known as – and here’s hoping you’re not eating – dog vomit slime mold. A fitting name, indeed. To our amazement, Fuligo septica is not actually a mold (aka: fungus). Nor is it a plant, animal, or bacteria. It is actually a plastid, in the kingdom Protista and class Myxogastria, whose wind- or insect-spread spores converge and divide into a singular giant cell containing millions of nuclei, known as a plasmodium. These individuals come together to form a larger plasmodium and move as a mass of protoplasm, about a millimeter per hour, to feed on microorganisms living in decaying plant material.
I know what you’re thinking…this smattering of scientific terms has you right back in high school science class, and you’re feeling a bit woozy. But really – who needs science fiction movies like “Ghostbusters” when we have scientifically-explained neon slime molds all around us?
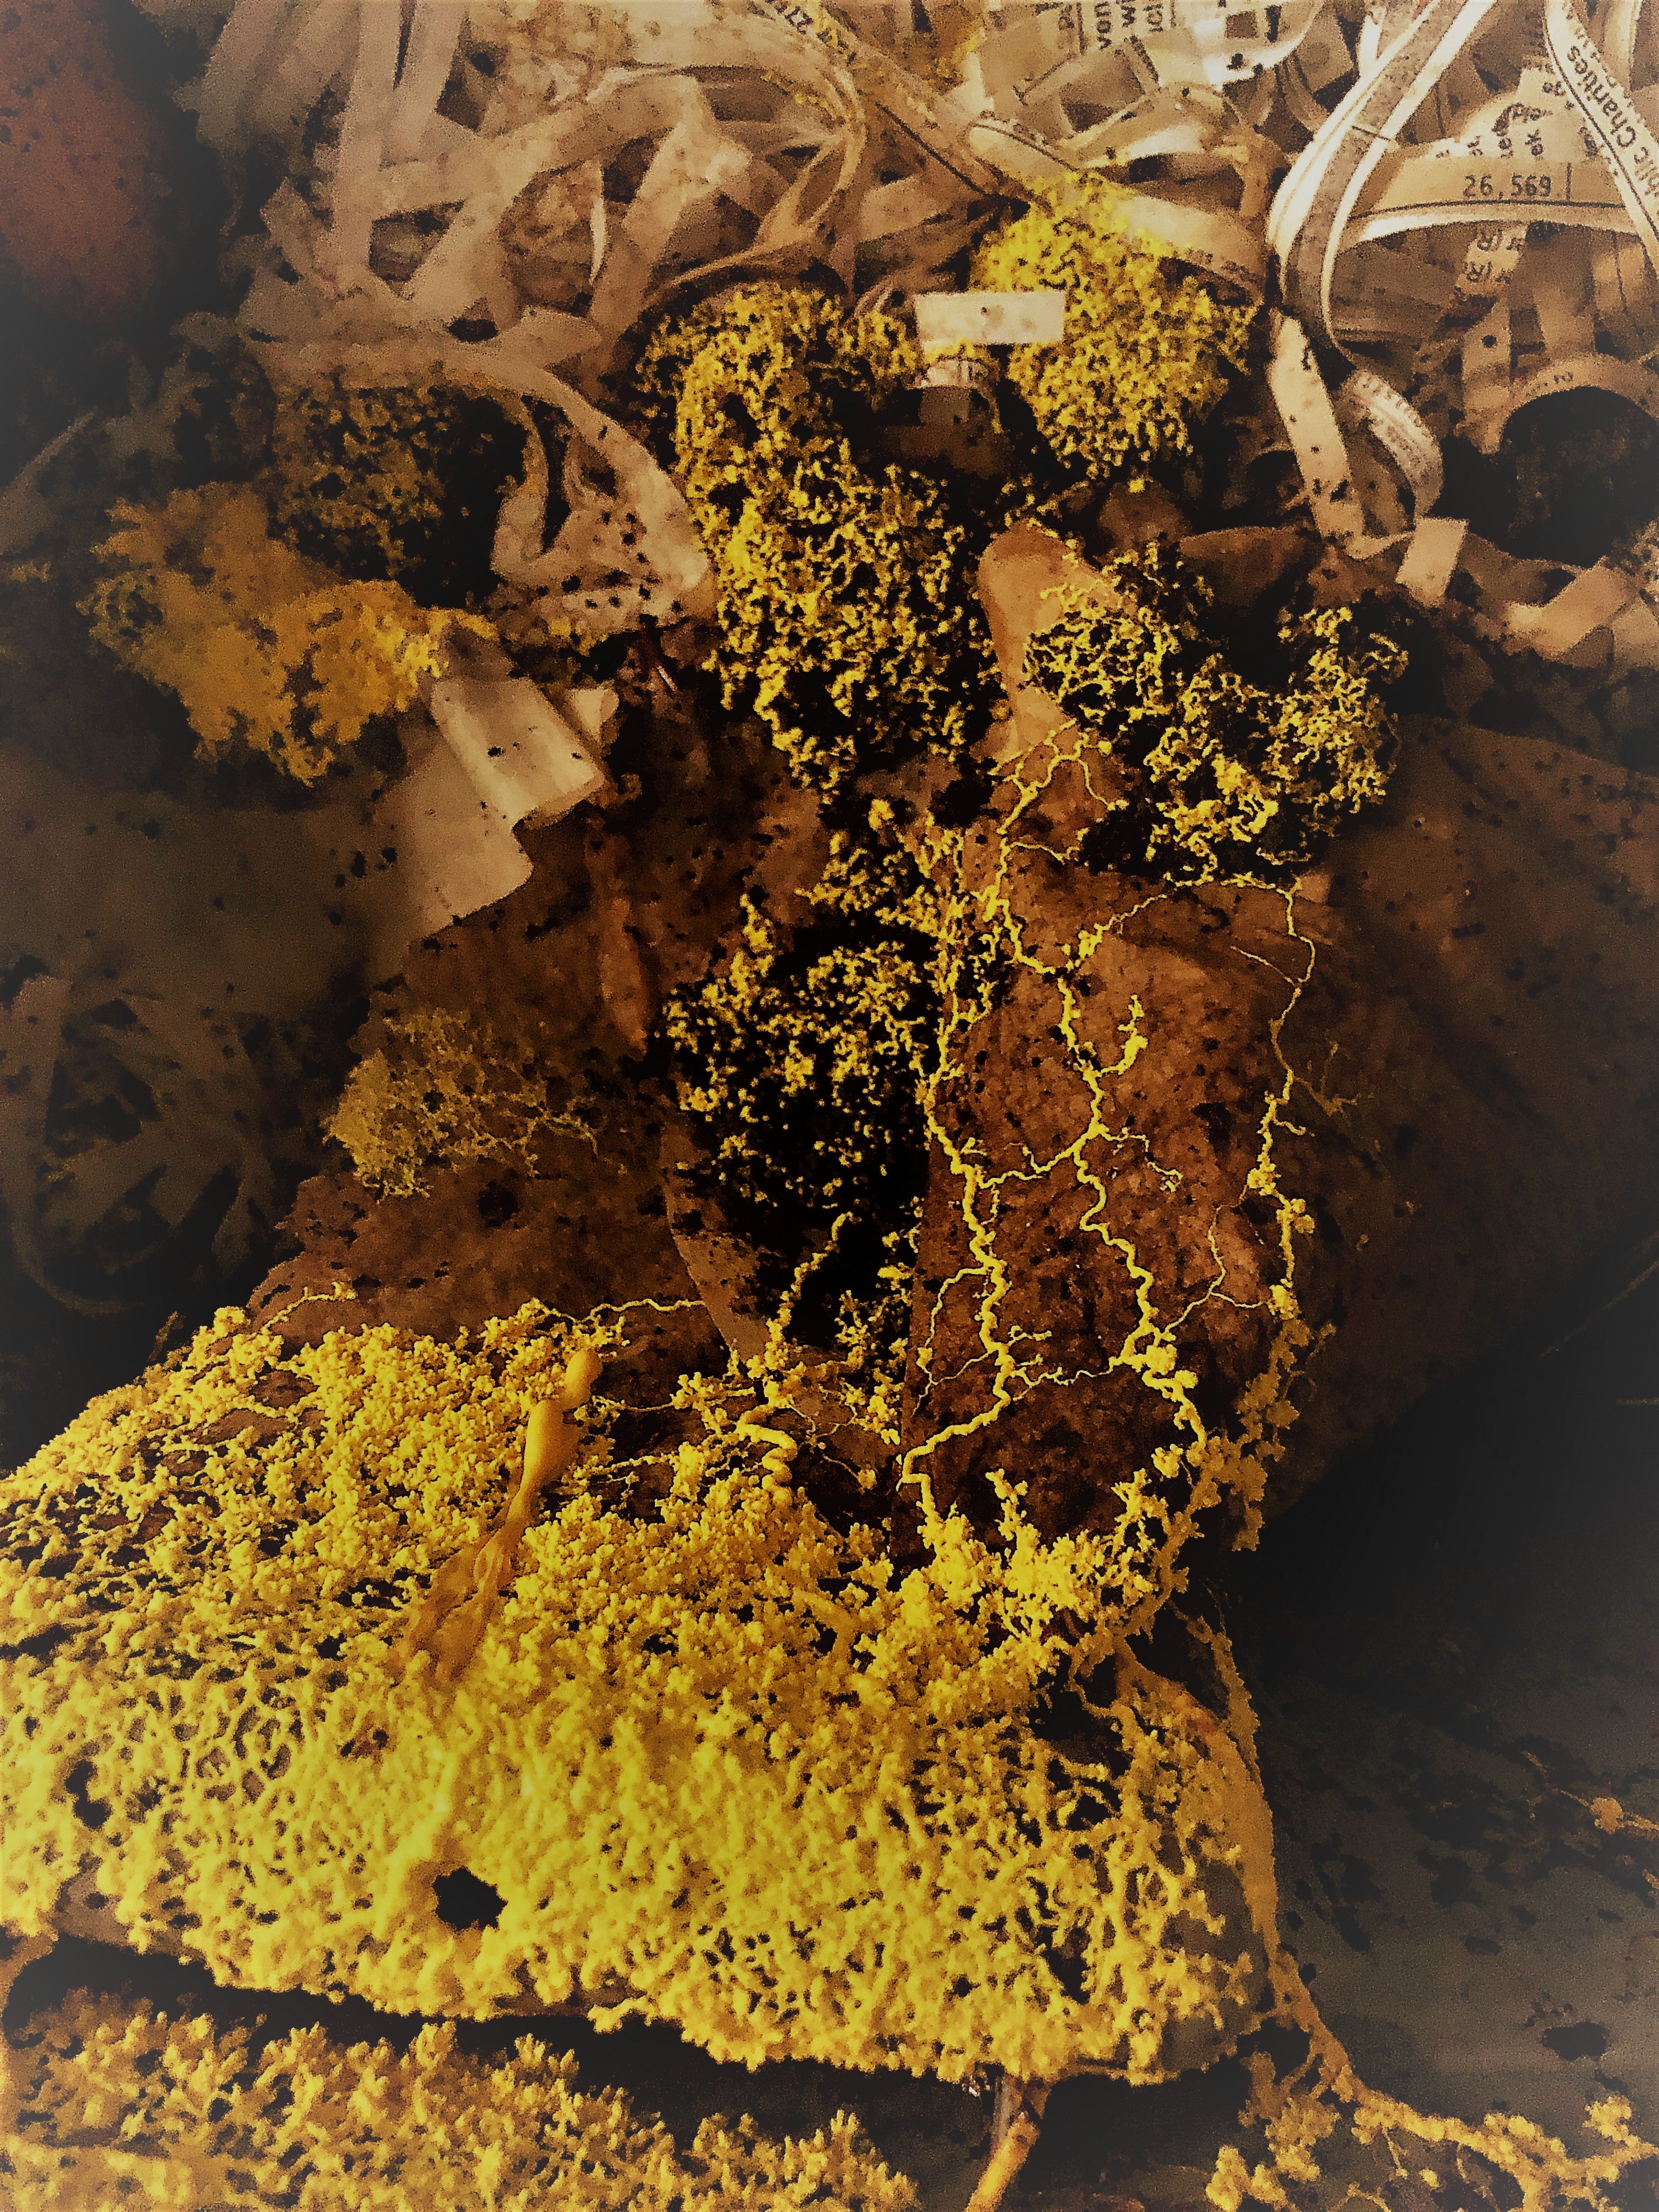
After a few days, Fuligo septica transforms into a pillow-like fruiting body in preparation for spore dispersal. Photo by Molly Jameson.
Besides the potential of Fuligo septica spores to be an allergen to those who are susceptible, this surprisingly common slime mold is not toxic to people, plants, or animals. It can be found on rotting bark and forest floors in nature – or on wood mulch in urban areas – normally when conditions are moist. The microorganisms the slime mold consumes are mainly bacteria and fungi, which are also very much present in the decaying food scraps and coffee grounds within a worm bin. And although Fuligo septica is harmless to people, it needs to watch out for us, as it is actually edible! Appropriately, another name for dog vomit slime mold is scrambled egg slime, as indigenous people in some areas of Mexico have collected the mold and scrambled it like eggs. Breakfast anyone?
Although real-life slime molds give Slimer a run for his money, the plasmodium blob of Fuligo septica will not stay its striking yellow amorphous shape for long. After a few days, it transforms into a pillow-like aethalium – a spore-bearing fruiting body like that of a mushroom – then degrades, darkens to a pinkish tan color, and finally releases its spores to start anew when conditions are right.
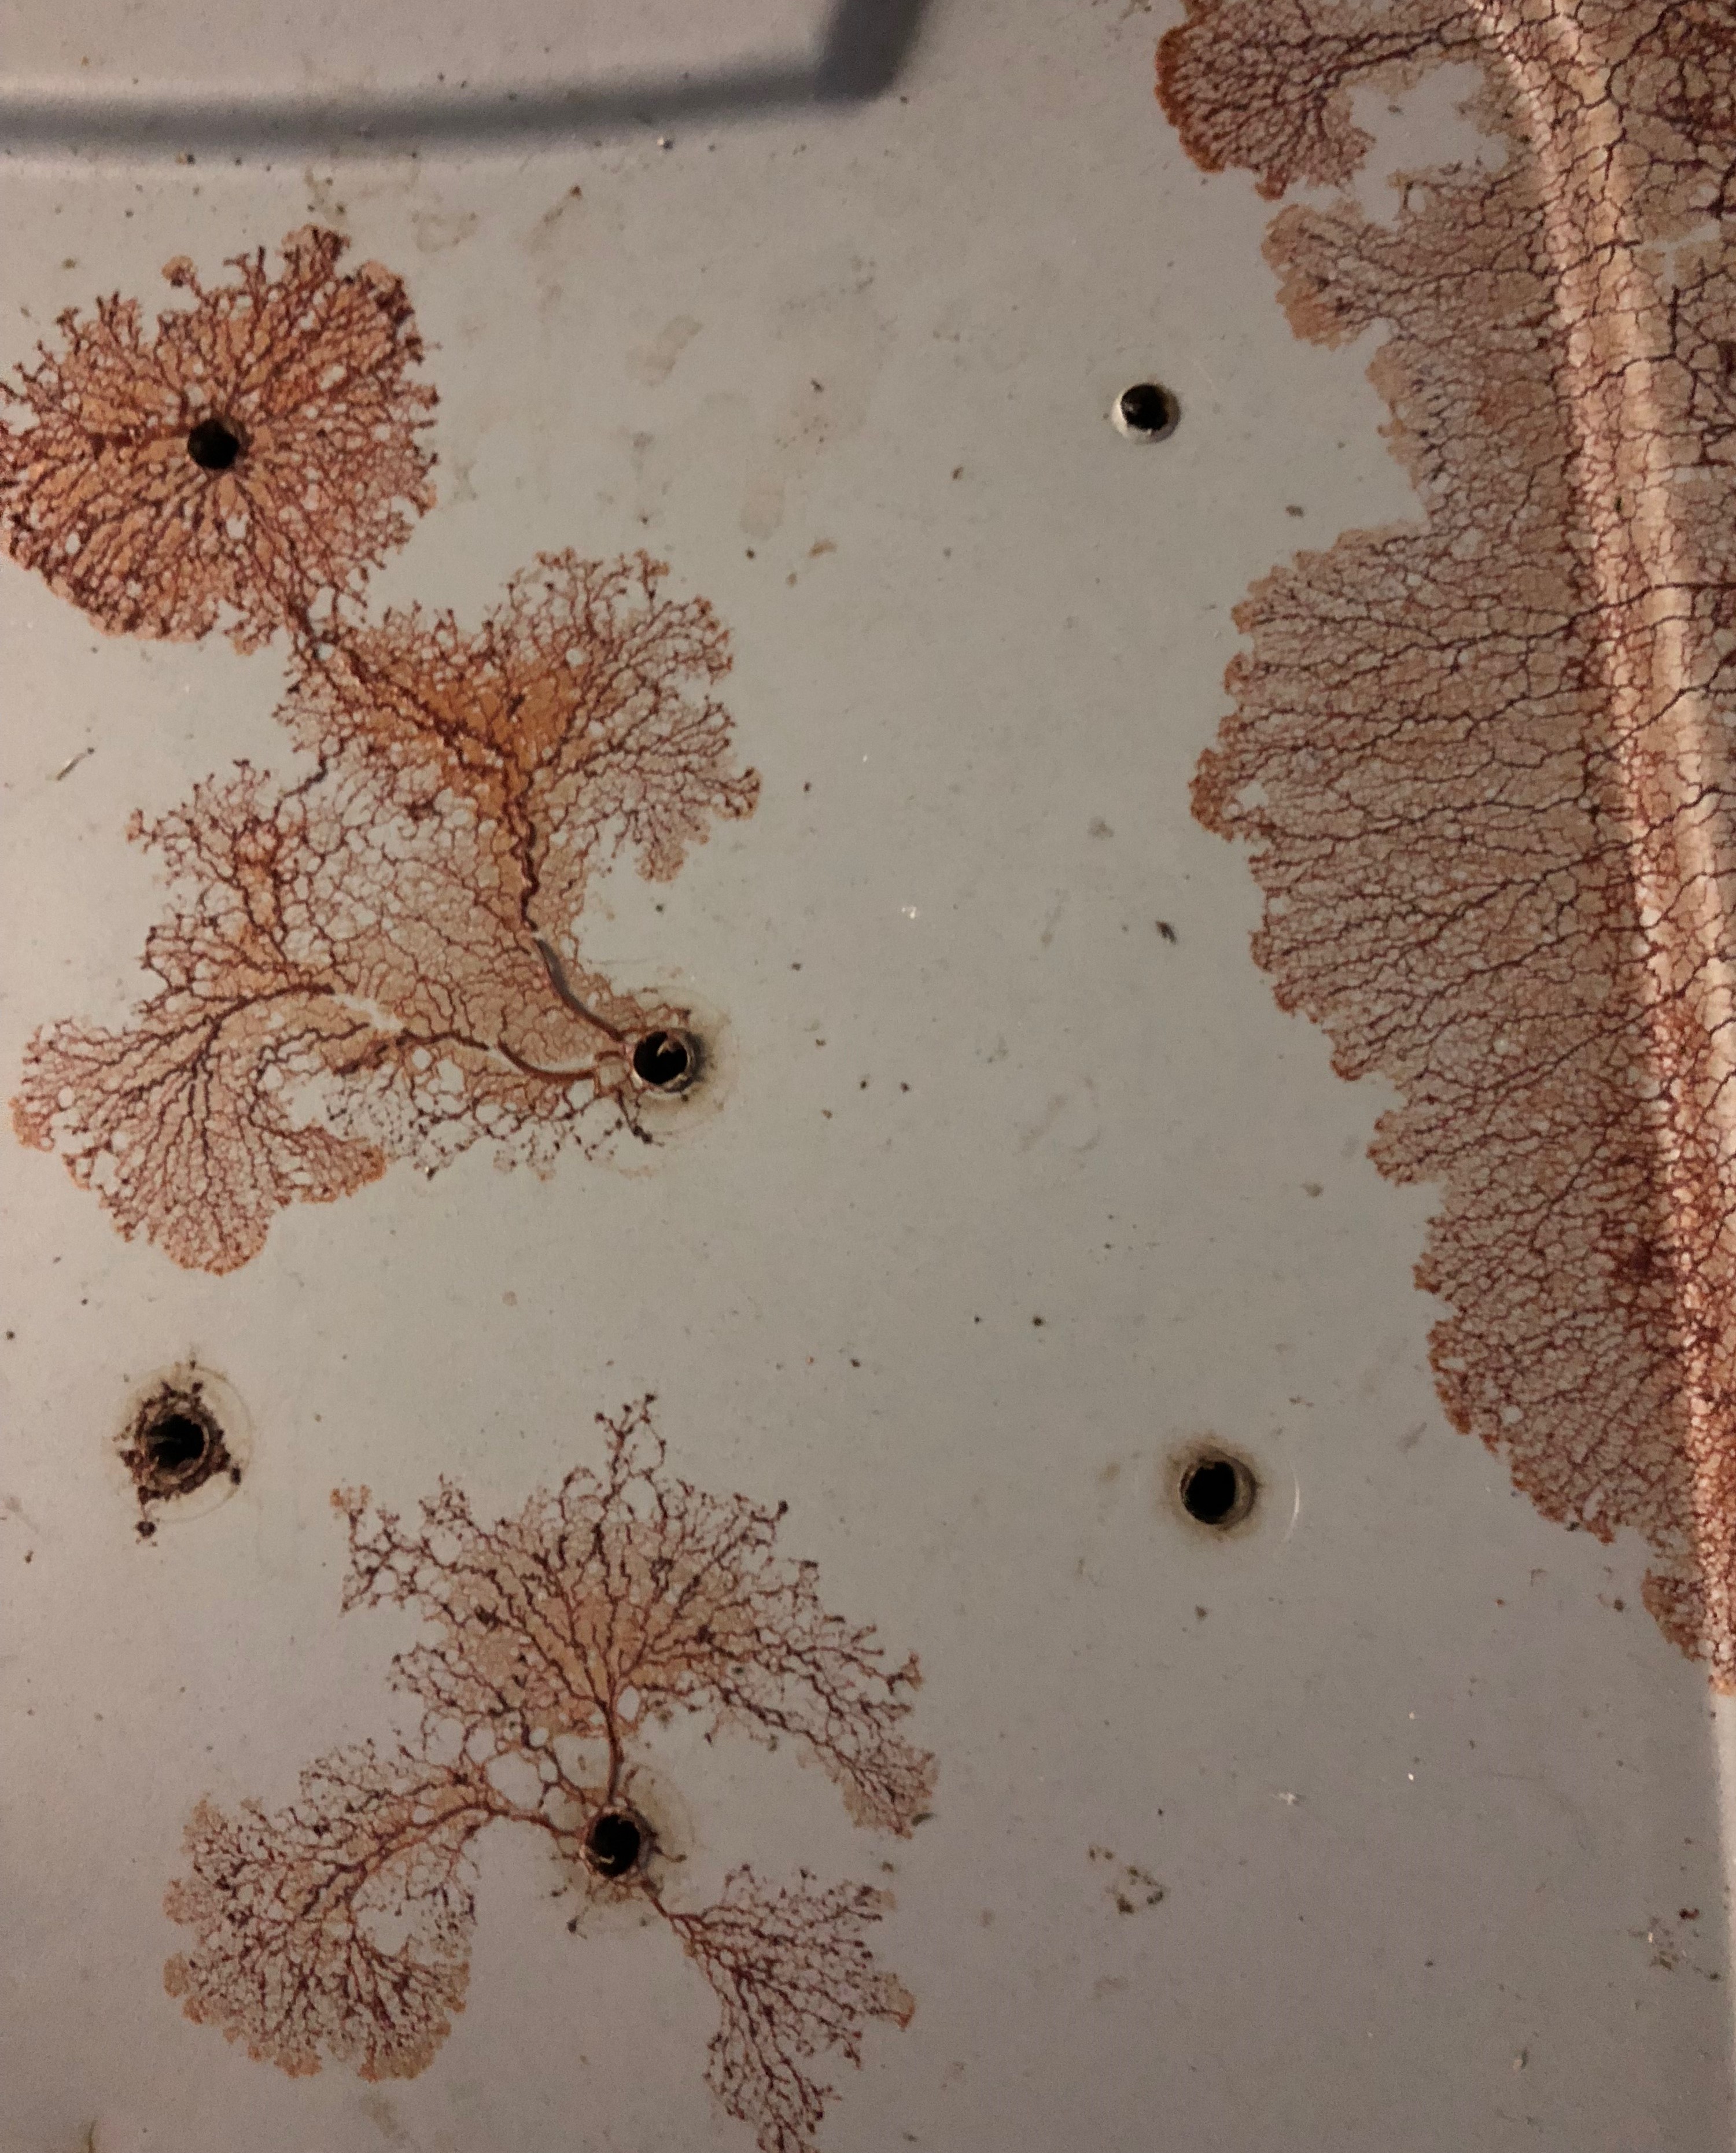
As the slime mold degrades, it darkens to a pinkish tan color, and releases its spores into the air. Photo by Molly Jameson.
Slime molds have stood the test of time, as analyses of their DNA has revealed they’ve been on Earth approximately a billion years! For reference, that’s hundreds of millions of years before plants or animals. And it’s a good thing Fuligo septica is here, because some of its characteristics has shown a lot of potential to be helpful, including as antibiotics, an ability to fight cancer cells, as antimicrobials, and environmental site remediation due to its ability to hyper-accumulate toxic heavy metals, such as zinc, and convert them to inactive forms. Scientists have discovered it’s the same yellow pigment that gives Fuligo septica its striking color that also forms a chelate with the heavy metals.
So, if you’re walking through a forest, down a path of mulch, or tending to your worm bin and come across this eye-catching, bright-yellow blobby creature, let this plasmodium do its thing. Probably better to scramble some actual eggs, lest your guests be squeamish.
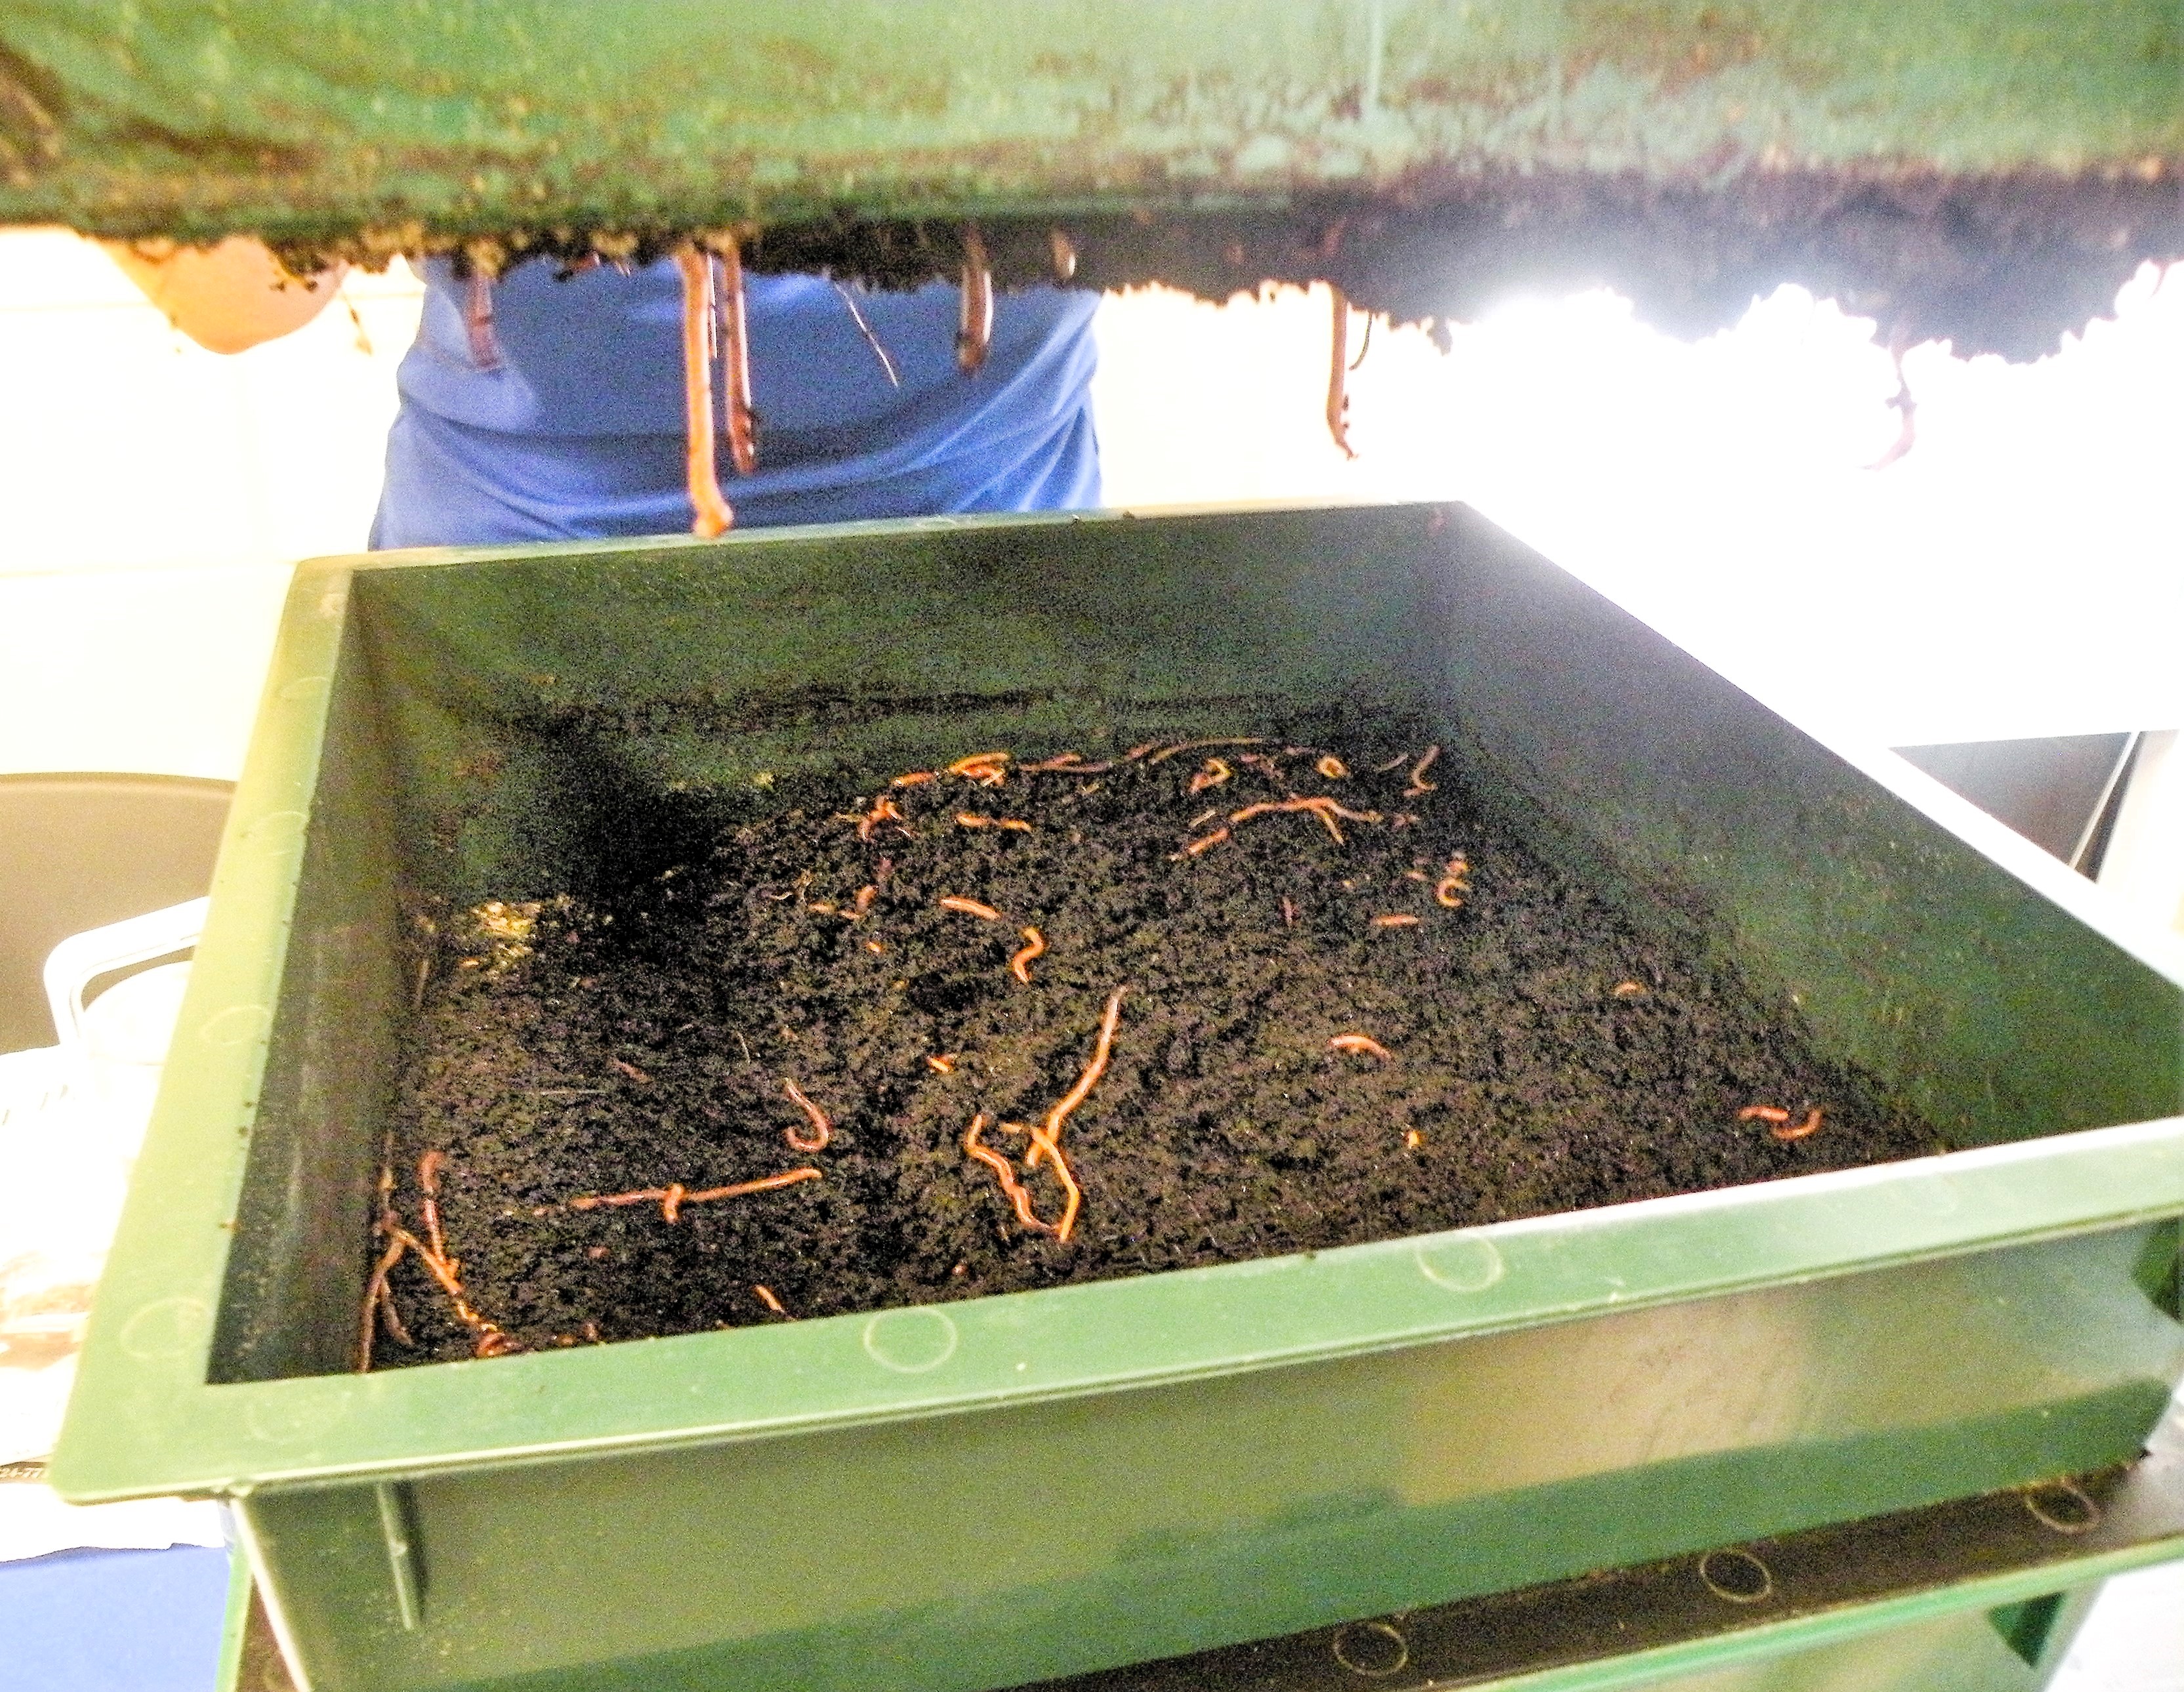
Red wigglers hanging through the bottom bin of a “Worm Factory” vermicompost system. Photo by Molly Jameson.
What if I told you there was a way to create compost indoors? No pitchfork required, no hot steamy temperatures, a simple mix of ingredients, and it would fit right under your kitchen sink? As long as you can convince your family to have worms in the house… you can start vermicomposting.
Vermicomposting uses a type of worm called red wigglers. These worms specialize in digesting organic matter, can digest their own body weight in food each day, and can double their population within months. It is, therefore, a wonderful way to responsibly dispose of food waste and can reduce your garbage by more than a third. Microorganisms inside the worms are actually doing most of the work, and the “castings” excreted are teaming with beneficial microbes and nutrients that will condition your soil and make the plants in your garden shine.
You can easily construct a vermicompost bin at home, but you can also purchase one online. Bins should hold about five gallons for one to two people or ten gallons for three to four (Rubbermaid containers work nicely). Your container should not exceed 12 inches in depth, as red wigglers do not like to burrow deeply. You will also want good aeration, so drill holes in the bottom of the bin and either place the bin in another container or put the bin on bricks and use a tray underneath to capture escaped materials. Either way, you will want a lid – as worms do not like light and need moisture – but they also need to breathe, so make sure it is not airtight. Be sure your bin is never in direct sunlight or in a location that regularly exceeds 80°F.
To get started, you will need about 1,000 worms, which weighs about one pound. Red wigglers can also be purchased online, at local nurseries, and some bait shops. Better yet – if you know vermicompost enthusiasts, they may be happy to share.
Before you purchase your worms, you want to prepare your worm bedding. Shredded newspaper and coconut fiber (coir) – which you can find at your local nursery – work great. You will also need to add a small scoop of garden soil to inoculate your bin with microbes. To get started, lightly moisten your bedding material and fill your bin about two-thirds full.
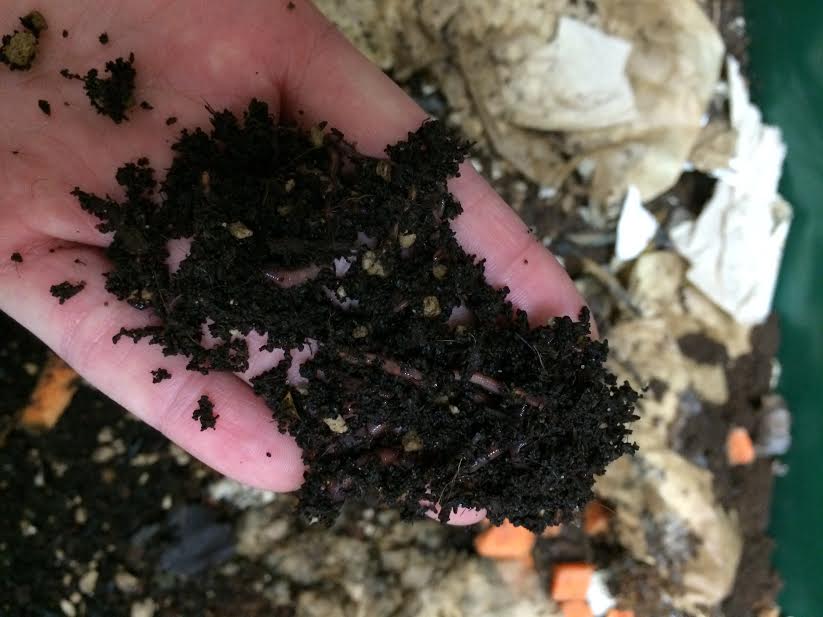
Finished worm castings will be dark, slightly moist, and will have an earthy smell. Photo by Molly Jameson.
Now it is time to add the food. Worms love vegetable scraps, most fruits, moldy bread, coffee filters and grounds, tea bags, and crushed eggshells. Chop their food into small pieces for fastest consumption. Foods to avoid include meat, dairy, large amount of citrus, and onion peels. Start out slow, and put the chopped food in the corner of your worm bin. Once your worms are settled, maintain the bin as half bedding, half food scraps. If your bin looks too dry, add more food. If your bin looks too wet, add more bedding or hold back on food a few days. Bad odors will develop only if the worms are overfed.
Give your worm bin about three to four months, and then you can begin to harvest. Add a handful of castings to potting mix or a thin layer directly to your garden. Give vermicomposting a try – your plants will thank you, your trash will not stink, and you will reduce your global impact.