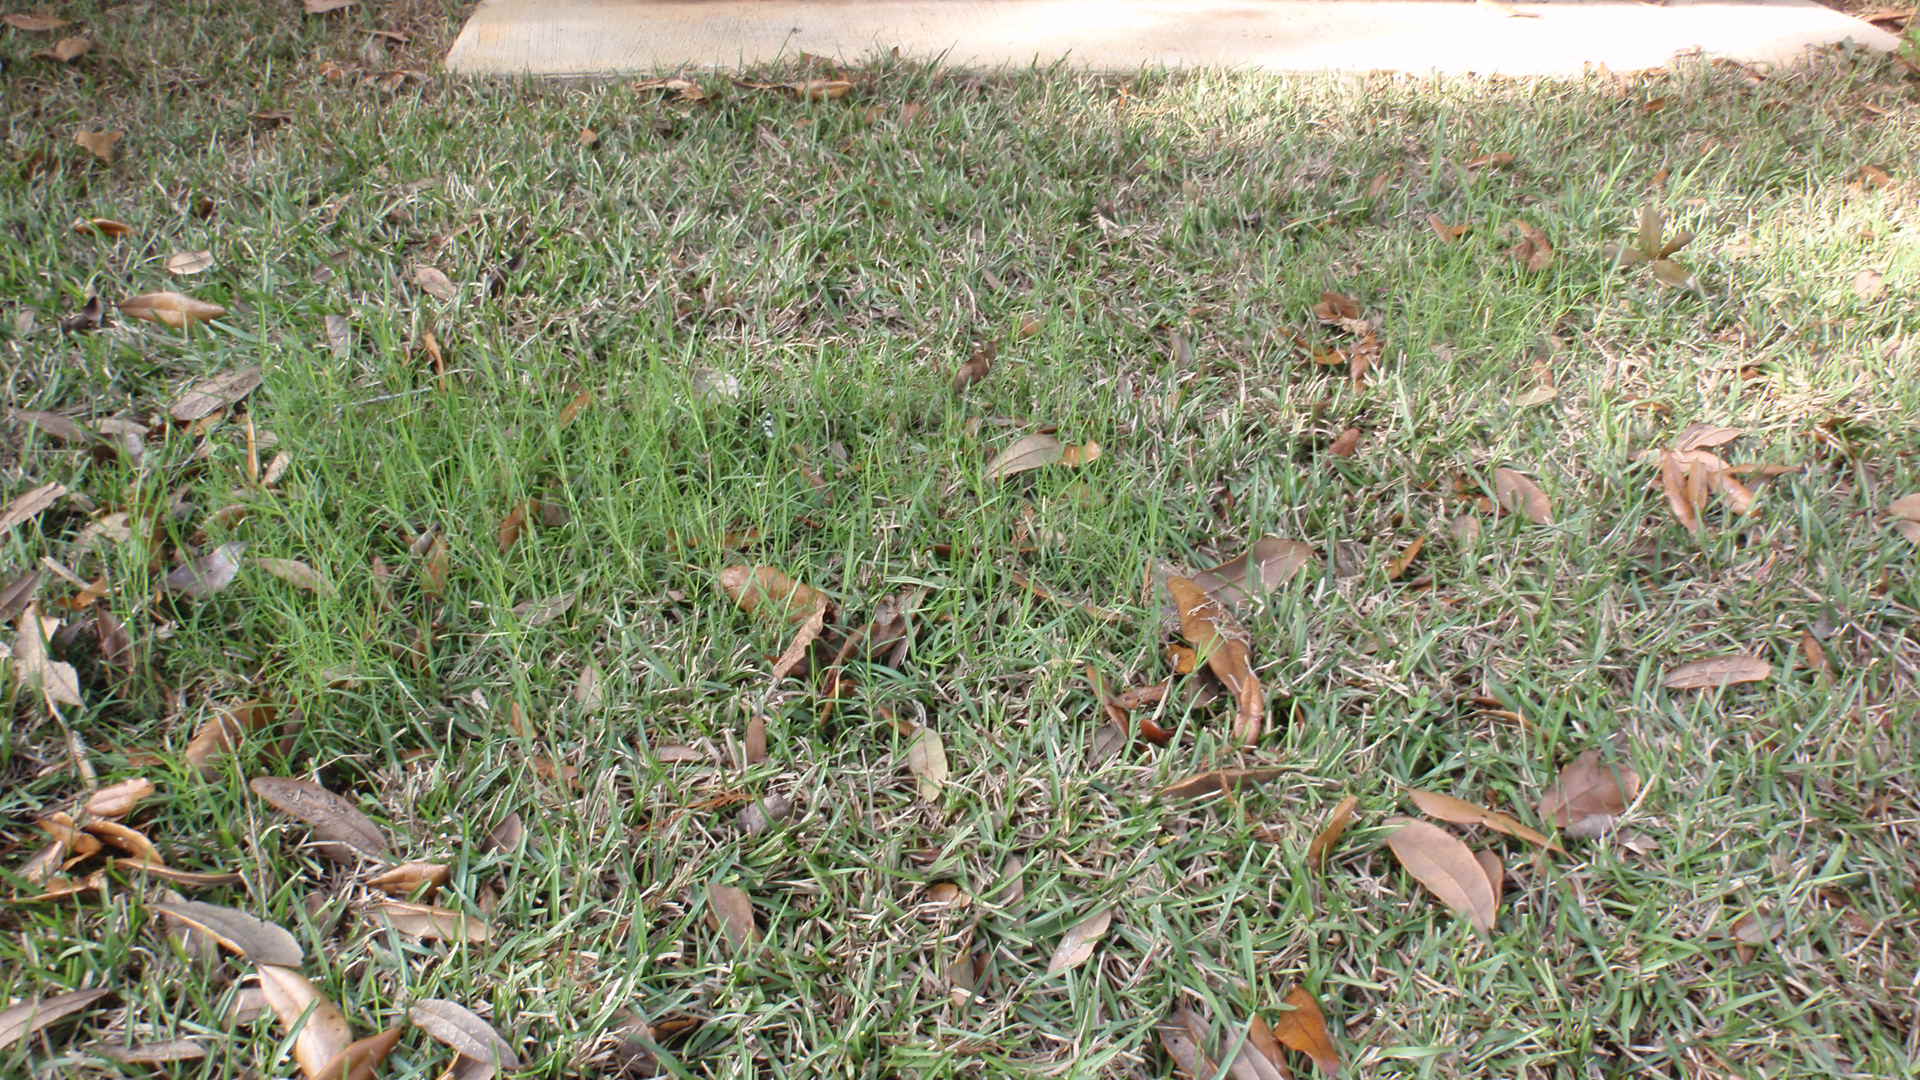
Remember last summer? The hot, dry days. Grass drying up and turning brown. Yet, the weeds are green and doing fine. However, every herbicide label warns against applying when the temperatures are above 85 degrees and especially under drought conditions. Those weeds flourished and dispersed seed everywhere. Now, they are just sitting there ready to sprout again.
It’s time to start thinking about weed prevention. Pre-emergent herbicides need to be applied prior to seed germination. Late winter is the time to focus on summer annual weeds. The narrow window of application is challenging. Homeowners often wait too late into spring to put out preventative products. A general rule of thumb for pre-emergent herbicide timing is February 15 – March 1 in North Florida.
However, weed seeds germinate in response to soil temperature, not calendar dates. By monitoring day time temperatures, one can determine a more effective application date. When there are 4-5 consecutive days that reach 65 to 70 degrees weeds will germinate. This generally coincides with the first blooms appearing on azaleas and dogwood. With a warm winter it may occur as early as mid-January.
Some of the active ingredients in pre-emergent herbicides include dithiopyr, isoxaben, oryzalin, pendimethalin, prodiamine and simazine. Always read the label for specific weed controlled and observe all directions, restrictions and precautions.
Weed and feed products that contain nitrogen are not suitable as pre-emergent herbicides. Irrigation before and after application is necessary to activate these products. The chemical binds to soil particles, creating a barrier that remains effective for 6-12 weeks. Reapplication will be necessary for season long control, especially with constantly fluctuating winter temperatures. Now is the time to purchase pre-emergent herbicides and prepare to apply them. For more information on weed control in lawns go to: http://edis.ifas.ufl.edu/ep141
It won’t be long before homeowners start thinking about sodding a new lawn or renovating areas of their existing turf. Although sodding when turf is dormant is acceptable, it is best to install sod that is green. One reason is that you can see if any sod pieces are infested with weeds such as bermudagrass . This perennial grass is very difficult to manage once it becomes established in centipede, St. Augustine, or zoysiagrass. Always remove turf pieces with bermudagrass during the installation process to prevent it from taking over a patch of your new lawn.
Bermudagrass growing in a piece of centipede sod. This piece should have been removed during installation to prevent the bermudagrass from taking over a patch of new centipede lawn. Photo by Beth Bolles, UFAS IFAS Escambia County Extension
If you have a piece of turf or a small area where common bermudagrass has emerged in your desirable grass, take care of the issue as soon as it is seen. The best option is dig out the infested area making sure that you get the underground runners of the bermudagrass. Smooth out the bare soil and then install new sod pieces. You may have to hand water these pieces as needed since the surrounding turf will already be established.
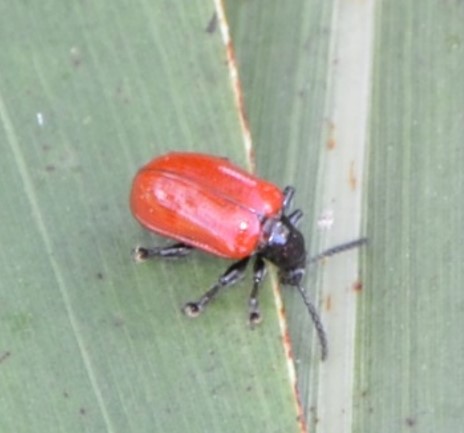
Air potato leaf beetle. Photo credit: Les Harrison, UF/IFAS.
A small, but brightly colored beetle has appeared in north Florida: the air potato leaf beetle (Liliocetis cheni), a native of East Asia. The beetle, less than half an inch long, has a candy apple red body that stands out against green leaves and the more muted earth tones of most other bugs. The striking bright glossy red coating would be the envy of any sports car owner or fire truck driver.
Unlike other arrivals to the U.S., this insect was deliberately released in 2012 for biological control of air potato. After years of testing, approval was finally given to release air potato leaf beetles to begin their foraging campaign against this invasive plant species. The beetle has very specific dietary requirements and only can complete its life cycle on air potato. The larvae and adults of this species consume the leaf tissue and occasionally feed on the tubers.
When a population of air potato leaf beetles finish off an air potato thicket, they go in search of nourishment from the next patch of air potato. They are sometimes seen during stopovers while in search of their next meal.
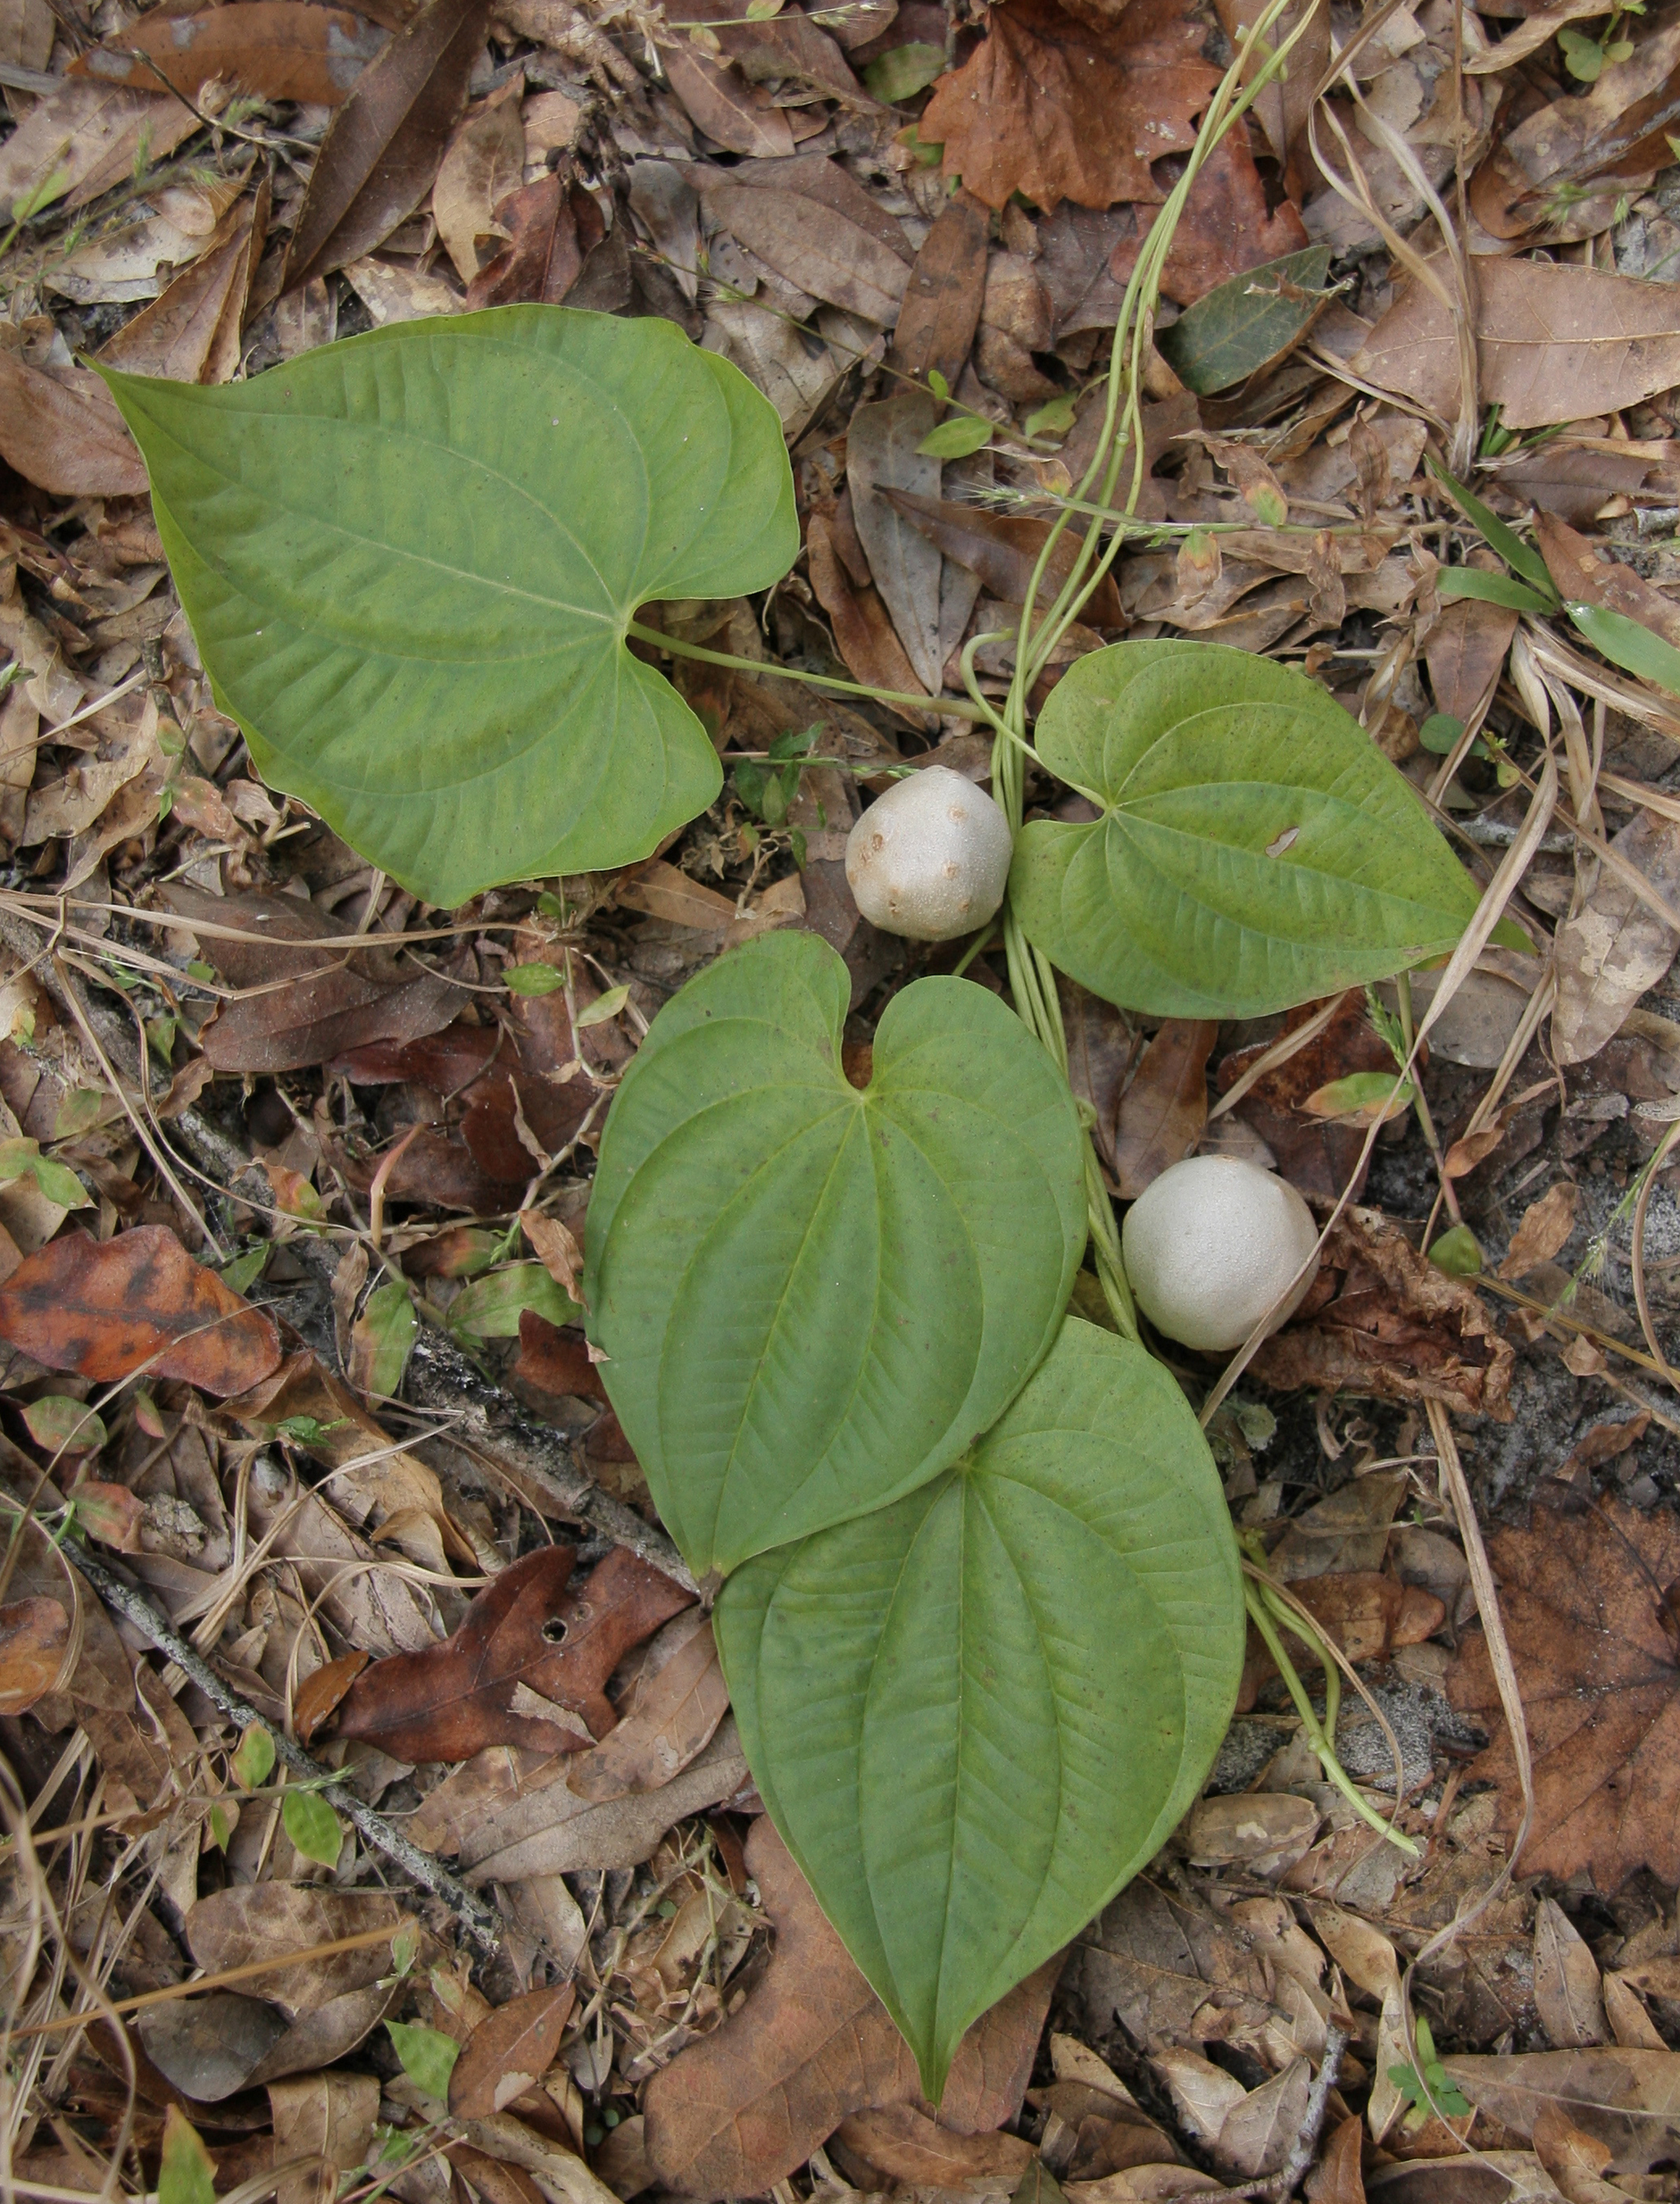
Air potato (Dioscorea bulbifera) is an herbaceous perennial vine which is easily capable of exceeding 60 feet in length. It quickly will climb over any plant, tree or structure unfortunate enough to be in its vicinity. The vine also produces copious quantities of potato-like tubers suspended from its vines. Unless collected and destroyed, most of the easily camouflaged potatoes will germinate and intensify the infestation.
Air potato. UF/IFAS Photo: Thomas Wright.
Air potato came to Florida in 1905 from China and quickly escaped into the wild. By the 1980’s it was a serious pest species in south and central Florida, but has gradually become established in the panhandle, too. Chemical control of the air potato has been difficult. Repeated herbicide treatments are required to kill a thicket with multiple plants.
Unlike the air potato leaf beetle that only eats air potato, kudzu bugs eat their namesake vine (kudzu), but also feed on a number of other plants including a wide selection of valuable legumes and be quite destructive. Kudzu bugs were accidently introduced in north Georgia in 2009 and have spread across the south in the ensuing years and become established in north Florida.
It is a pleasant surprise to know air potato leaf beetles are working to limit the invasive air potato vine, but it is sad to think there is plenty more for them to eat.
To learn more about the air potato and the beetle:
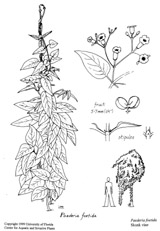
Skunkvine illustration. UF/IFAS Center for Aquatic and Invasive Plants.
North Florida gardeners have many non-native, invasive plants to deal with, but none quite as stinky as skunkvine (Paederia foetida). As the name implies, skunkvine has a noticeable smell, especially when the leaves are crushed, and it is an aggressive-growing vine, capable of smothering desirable landscape plants. Gardeners should learn to recognize and control this plant before it gets a foothold in the garden.
Skunkvine is native to eastern and southern Asia and a member of the coffee family (Rubiaceae). It was introduced to Florida prior to 1897 as a potential fiber crop, but quickly spread and is now considered a Category I invasive plant by the Florida Exotic Pest Plant Council (FLEPPC) and as a noxious weed by the Florida Department of Agriculture and Consumer Sciences (FDACS).
Skunkvine can be identified by the following characteristics:
Aggressive twining vine
Leaves are opposite each other
There is a thin flap of tissue on the stem between the leaves
Leaves have a strong skunk-like odor when crushed
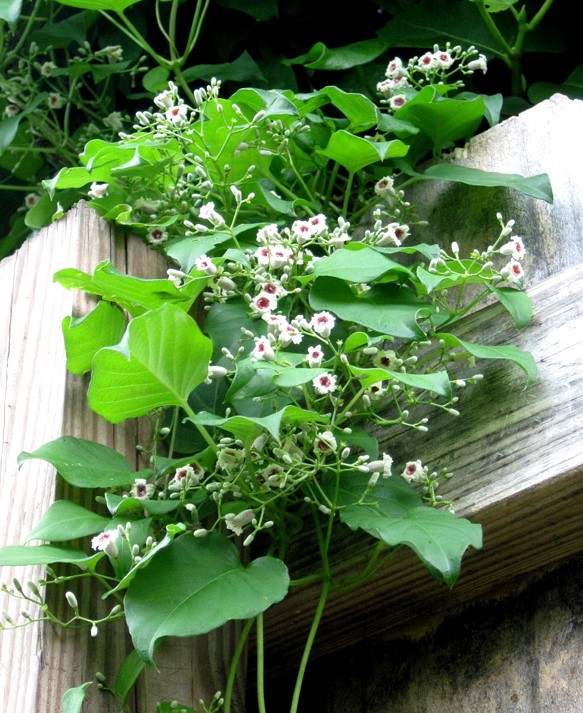
Clusters of small, tubular, lilac-colored flowers appear in late summer to fall
Fruits are shiny brown and can persist through winter
Skunkvine flowering. Photo by Ken Ferrin, UF/IFAS Center for Aquatic and Invasive Plants. Used with permission.
Once you have identified skunkvine in your garden, the next step is to work to remove it. For small patches, pulling by hand can be effective but will require monitoring to ensure it doesn’t resprout. When hand pulling, you want to be sure to get as much of the root as possible. For larger areas, chemical control using herbicide products that contain triclopyr, imazapic, or aminopyralid are most effective. Carefully reading the product label will help determine which product to purchase.
Since skunkvine can be easily spread by seed and fragments of stem, care must be taken when disposing of it. The best solution is to place plant debris into a trash bag and dispose of it with your regular household garbage.
By knowing how to identify and manage skunkvine, north Florida gardeners can keep it from stinking up their own gardens, their neighbor’s gardens, and surrounding natural areas that support our native wildlife.
References:
Langeland, K. A., Stocker, R. K., and Brazis, D. M. 2013. Natural Area Weeds: Skunkvine (Paederia foetida). Agronomy Department, Florida Cooperative Extension Service, Institute of Food and Agricultural Sciences, University of Florida. EDIS document SS-AGR-80.
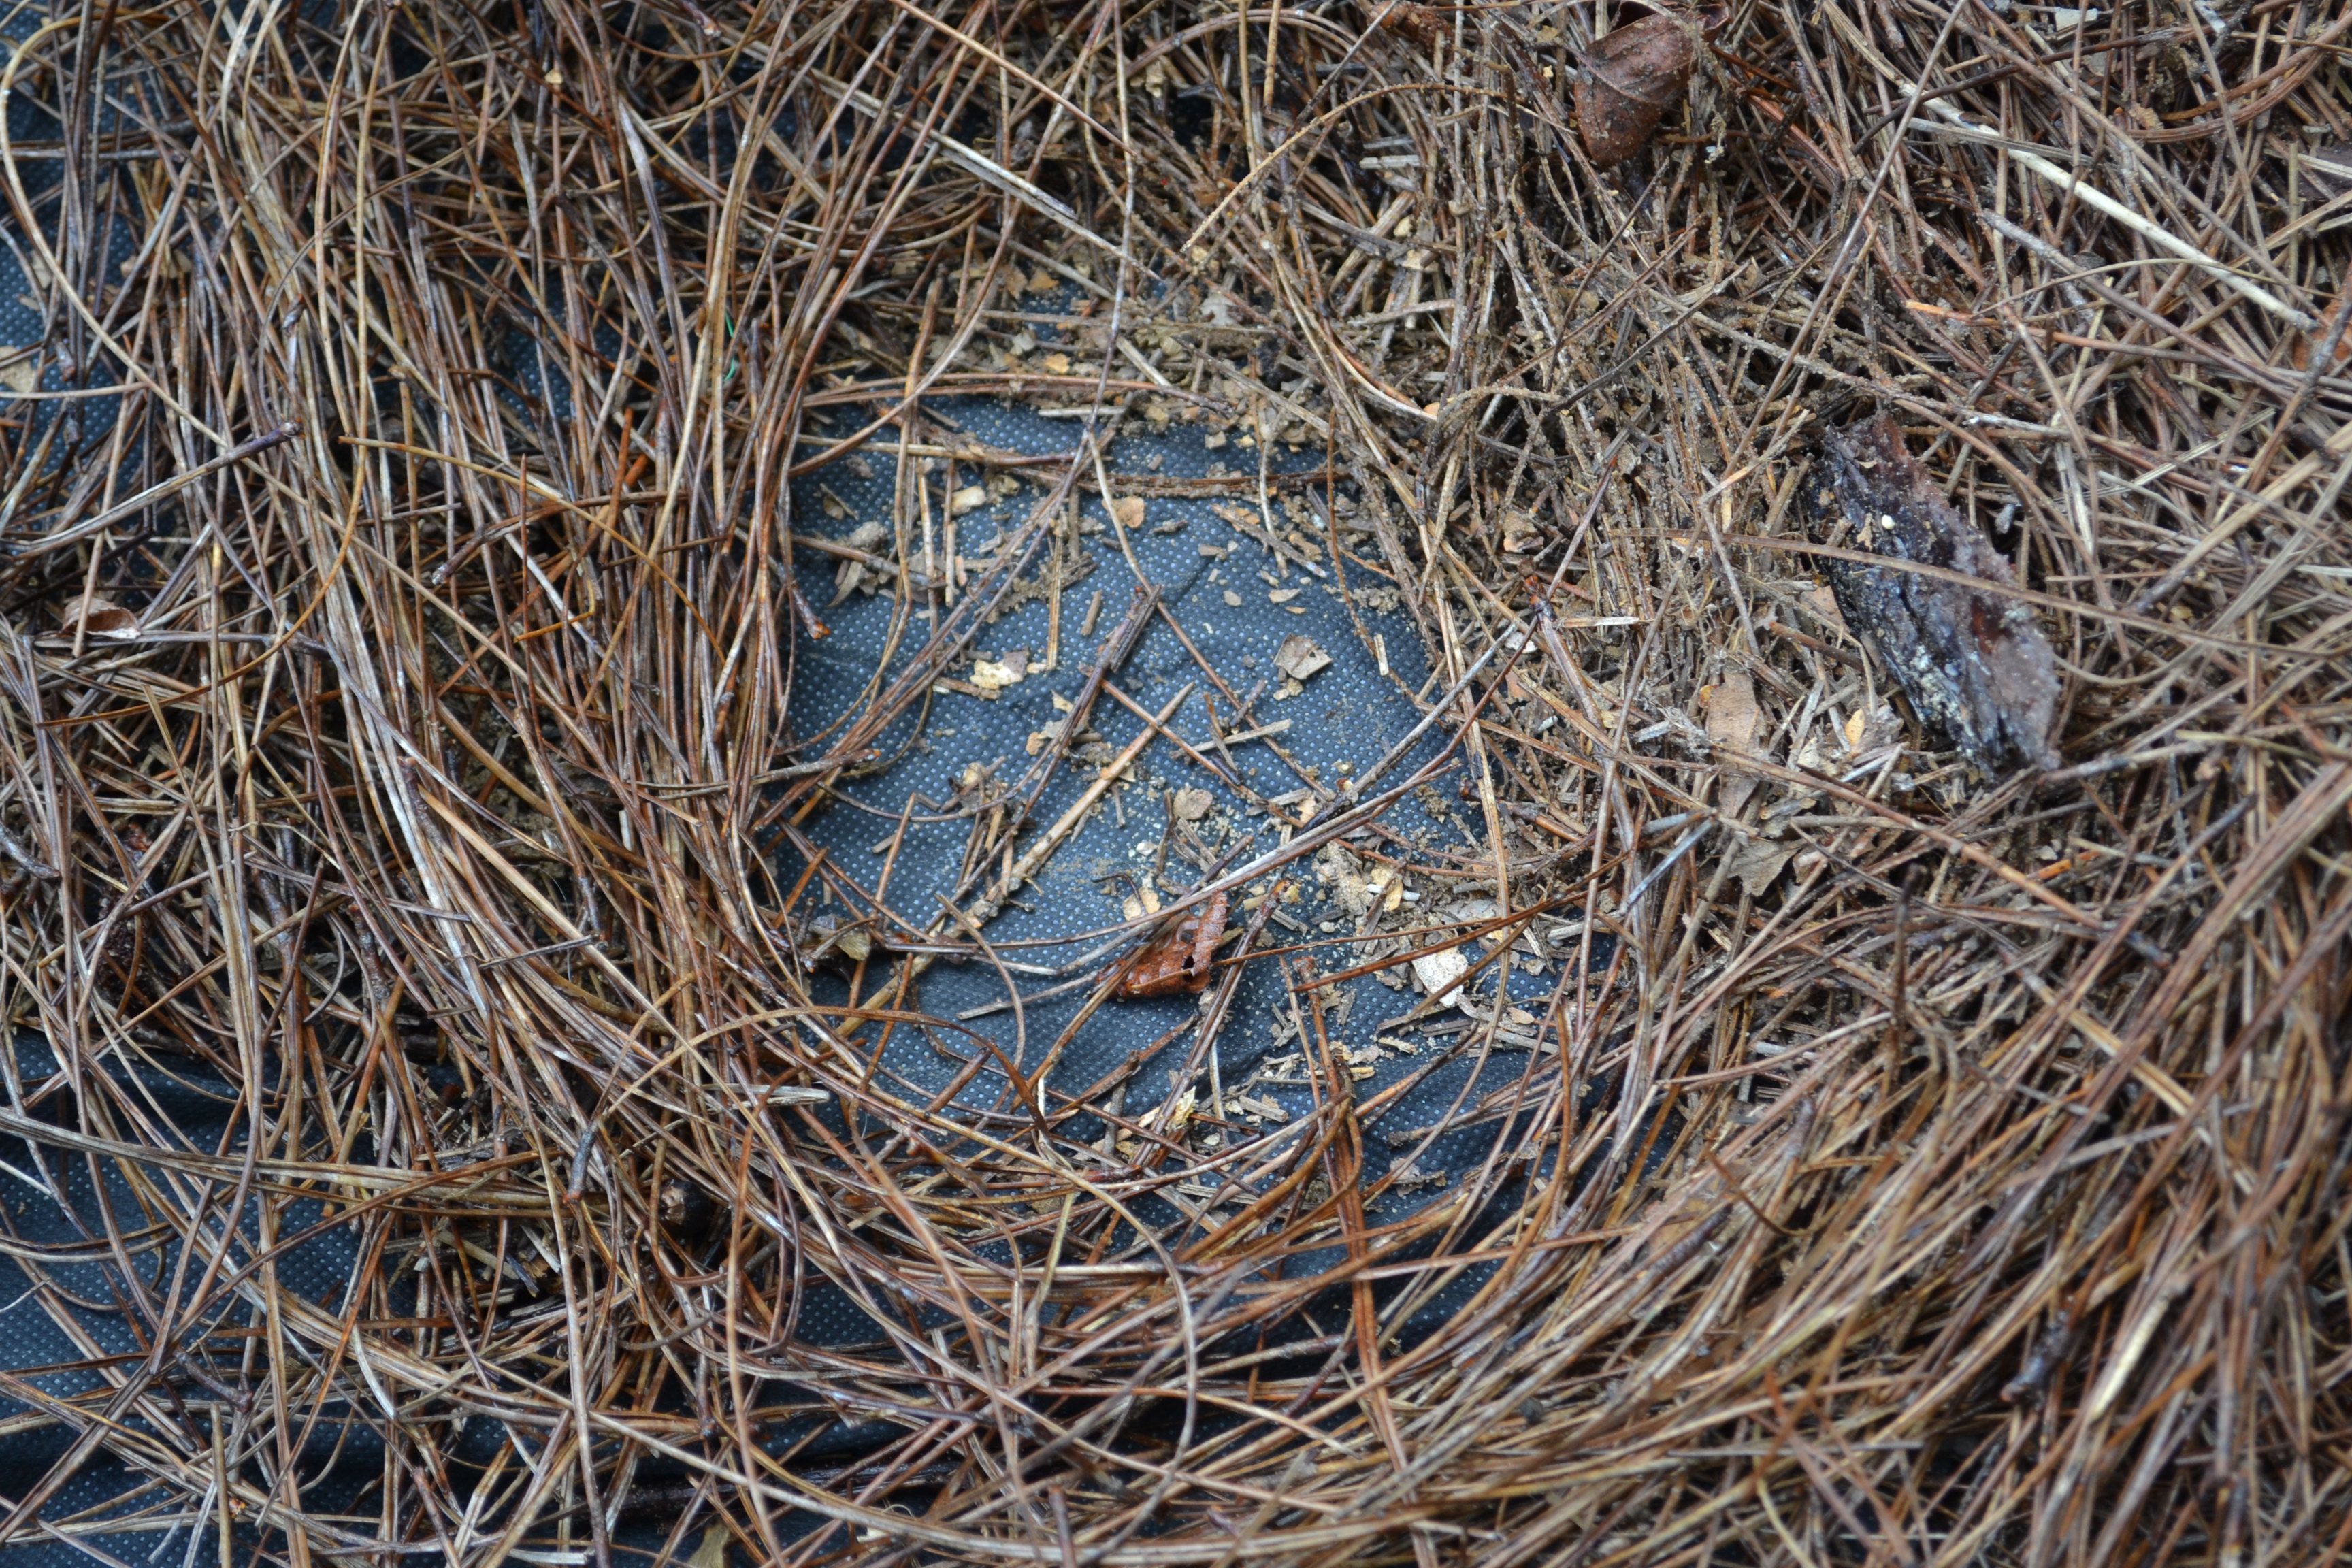
Homeowners and horticulture professionals spend time to develop an attractive ornamental bed only to have weeds take over months or a few years later. One common method in the attempt to prevent weeds is to apply a landscape fabric around plants in beds and place a layer of mulch on top to dress it up. The thought is that this barrier on top of the soil will prevent a large number of weeds from emerging. The fabric physically prevents the growth of weeds form the soil below and blocks sunlight from reaching weed seeds. Available fabrics are labeled as porous to allow air and water to move through them and reach ornamental plant roots.
On paper, landscape fabric sounds like a good idea and it may work for a little while. Over time, soil particles and decomposing mulch fill up the porous spaces in the fabric which prevent air and water from reaching plant roots. Even with irrigation or routine rainfall, plant roots often do not receive the needed water and air for healthy growth. Plants may respond by trying to send roots through fabric seams which breaks down the intended weed barrier. Other plants slowly decline or may die quickly due to water stress or lack of sufficient air movement into the soil.
Fabric may initially prevent some weeds but it can also prevent air and water movement. Photo by Beth Bolles, UF Extension Escambia County
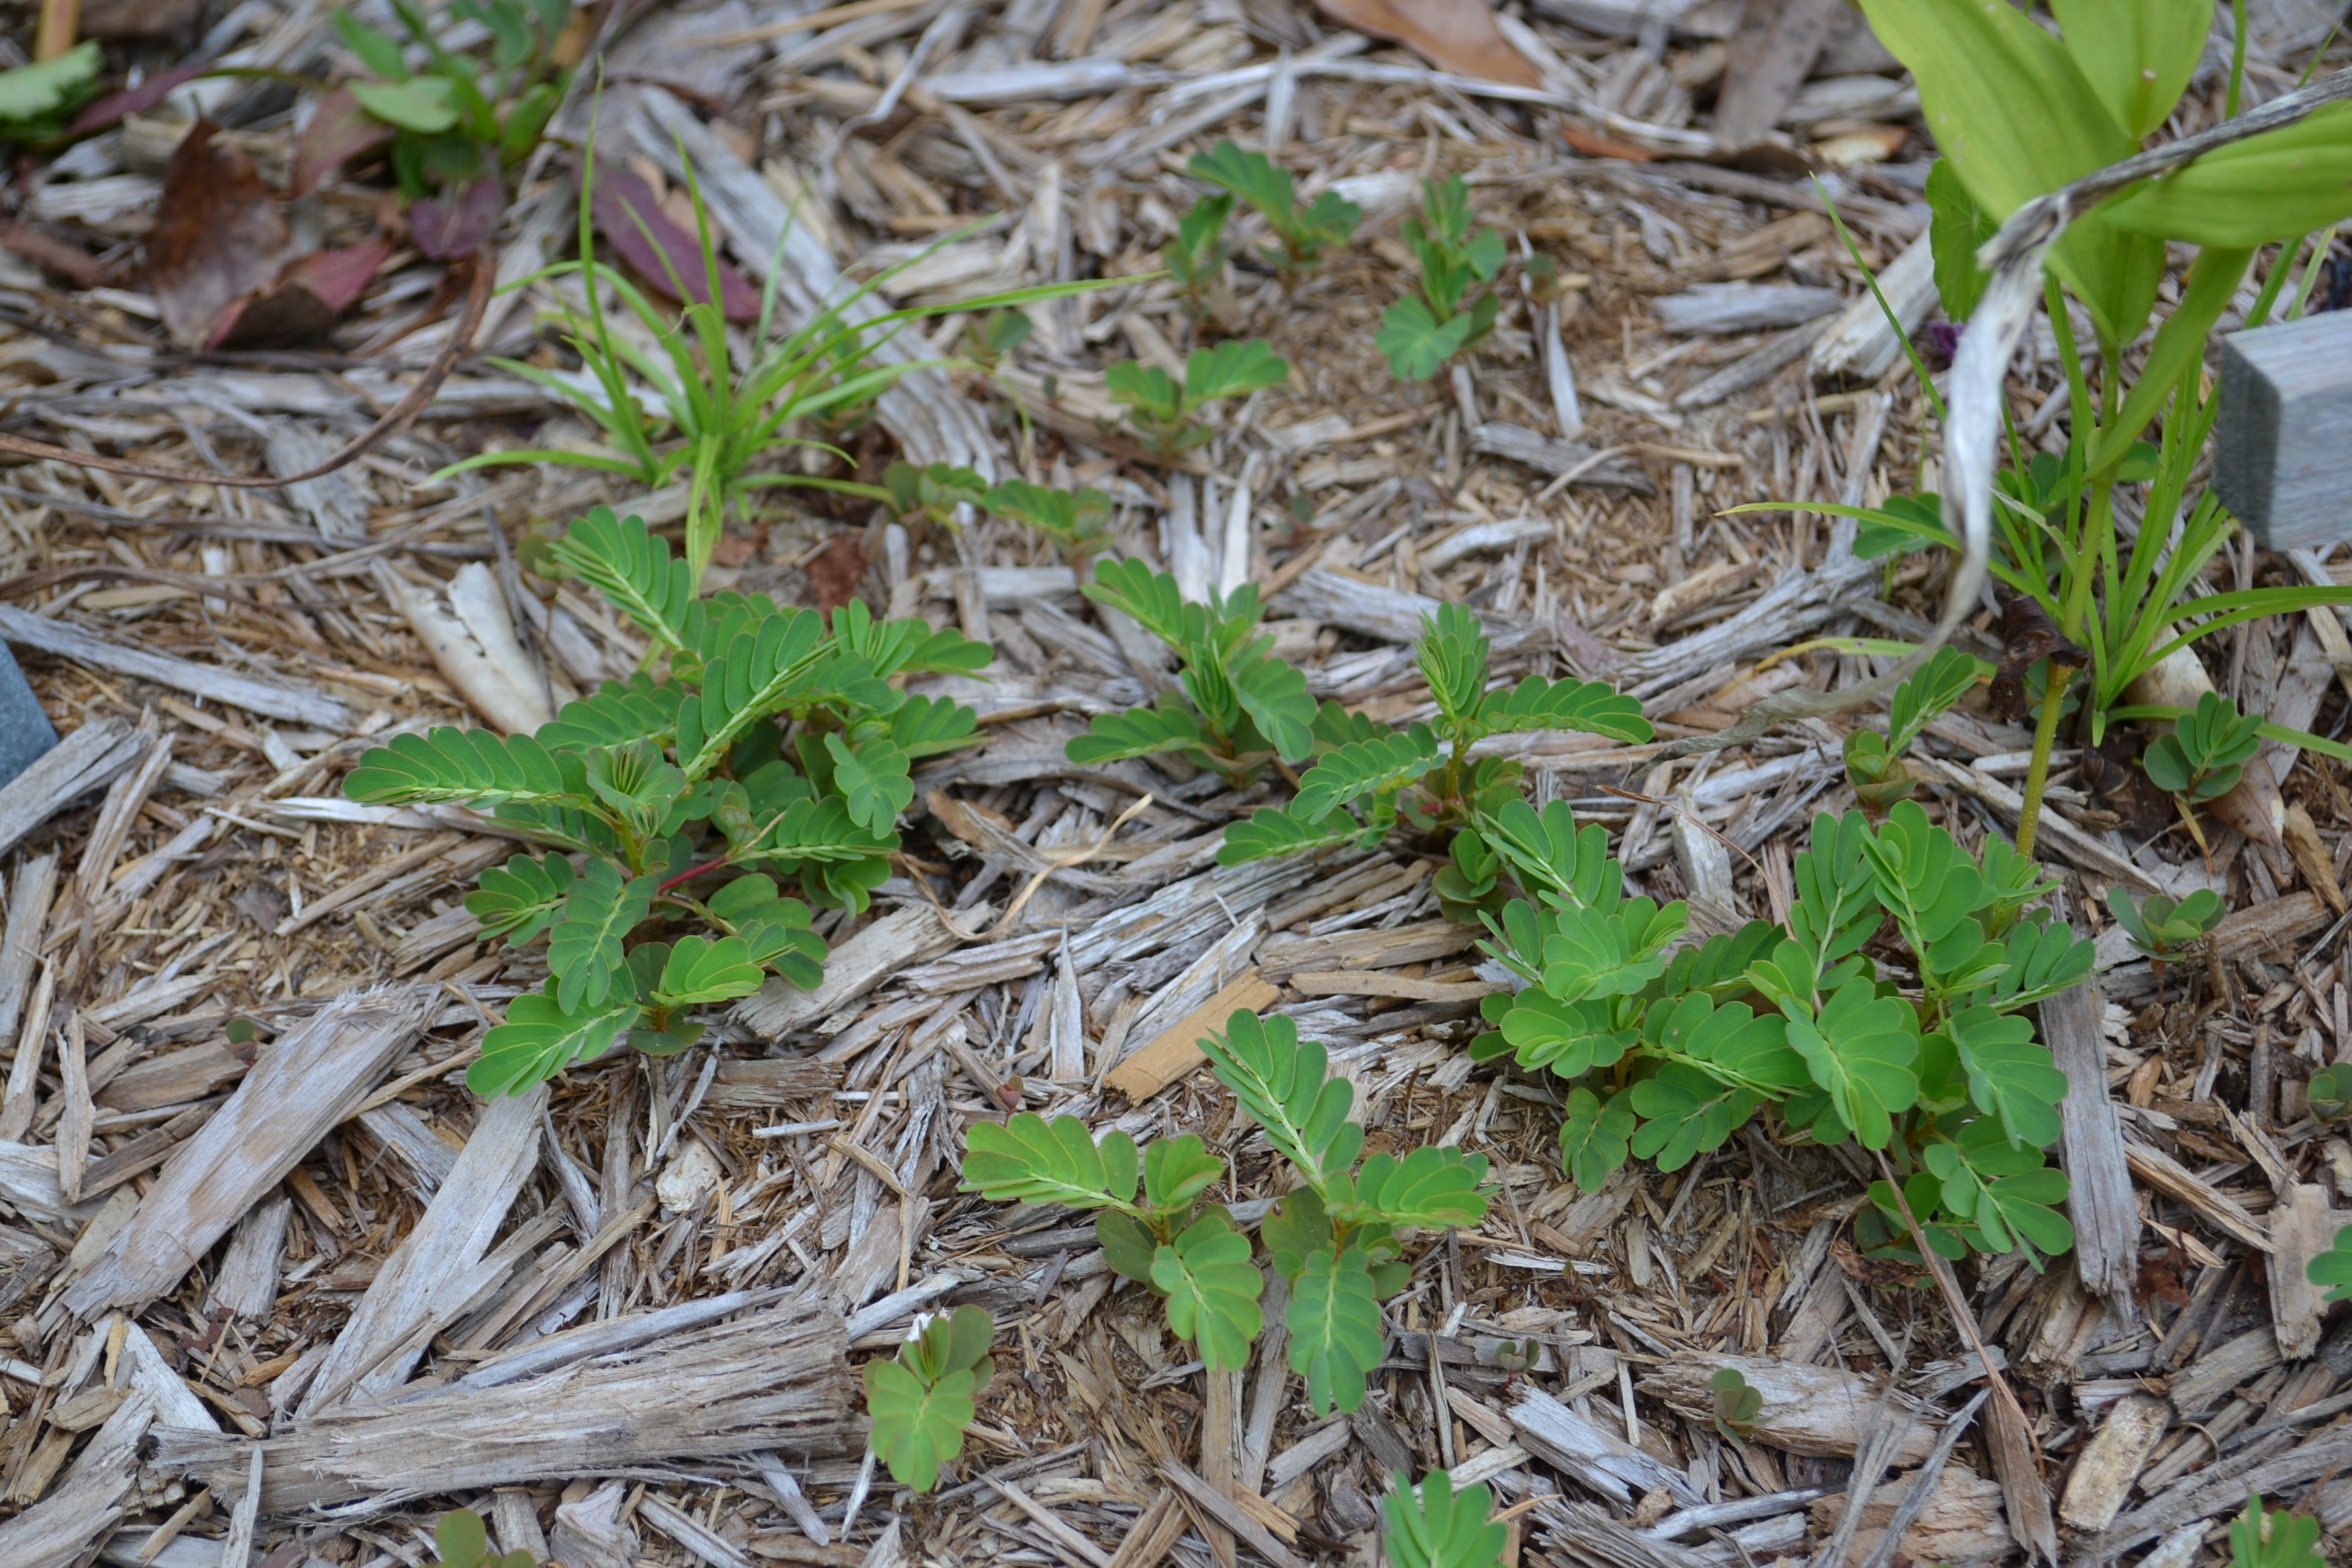
Weed seeds also find their way into the mulch that is on top of the fabric from nearby lawns and landscapes. The next thing you know, you have an entire weed crop growing in the mulch on top of your landscape fabric. Perennial weeds such as torpedograss and purple nutsedge eventually grow through fabrics.
Seeds from annuals like Chamberbitter easily get into mulch from surrounding areas and grow on top of fabrics. Photo by Beth Bolles, UF Extension Escambia County
The best place to consider fabric if you want to install it in the landscape is under mulched paths or other areas without ornamental plantings where a synthetic groundcover is needed. In order to have a healthy root environment for your ornamental bed plants, it is best to keep landscape fabric out of these areas.
Homeowners and businesses will often send in plant and insect pictures to the Extension Office. This is a convenient practice for both clientele and Extension Agents, but sometimes it may make diagnosis more difficult and more time-consuming. More often though, a fresh or living specimen is necessary for proper identification.
In an age when high quality pictures can be taken and viewed within milliseconds, plant, disease and insect ID can still take time. Often it is due to the fact we simply don’t know the answer right away and research is required. Sometimes poor picture quality and scale can make the diagnostic process more difficult. To improve identification turnaround time follow these basic steps:
When it comes to taking pictures for diagnostic purposes, more is better. The more pictures depicting angles and magnifications received for a sample the better. If you want a plant identified, take a picture of the entire plant including flowers, leaves, and roots. Take pictures of various stages of spots on leaves, stems, and fruits if you suspect a disease or nutritional disorder. Take pictures from multiple angles and of various body parts for insect identification.
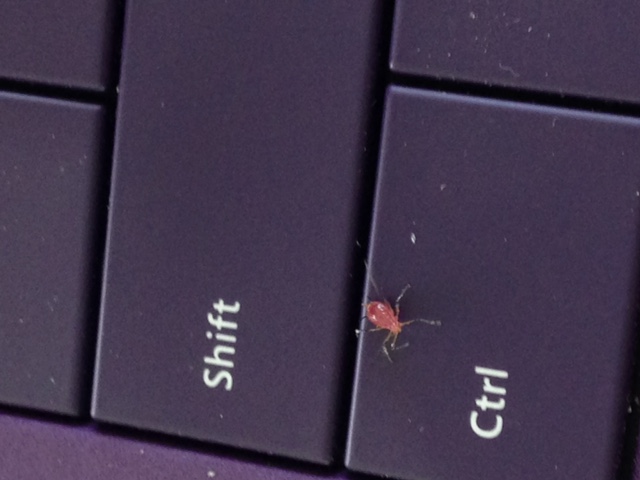
Place an item in the frame of the picture to give a good idea of the size of the specimen through the concept of scale. You could use a ruler, a coin, or even a ballpoint pen. Objects such as coins work well for tiny insects when the measurements on a ruler may be too hard to see in the photo. You can even place the insect on the coin.
A computer keyboard used to show scale for a photo of an aphid. Photo Credit: Julie McConnell – UF/IFAS Extension Bay County
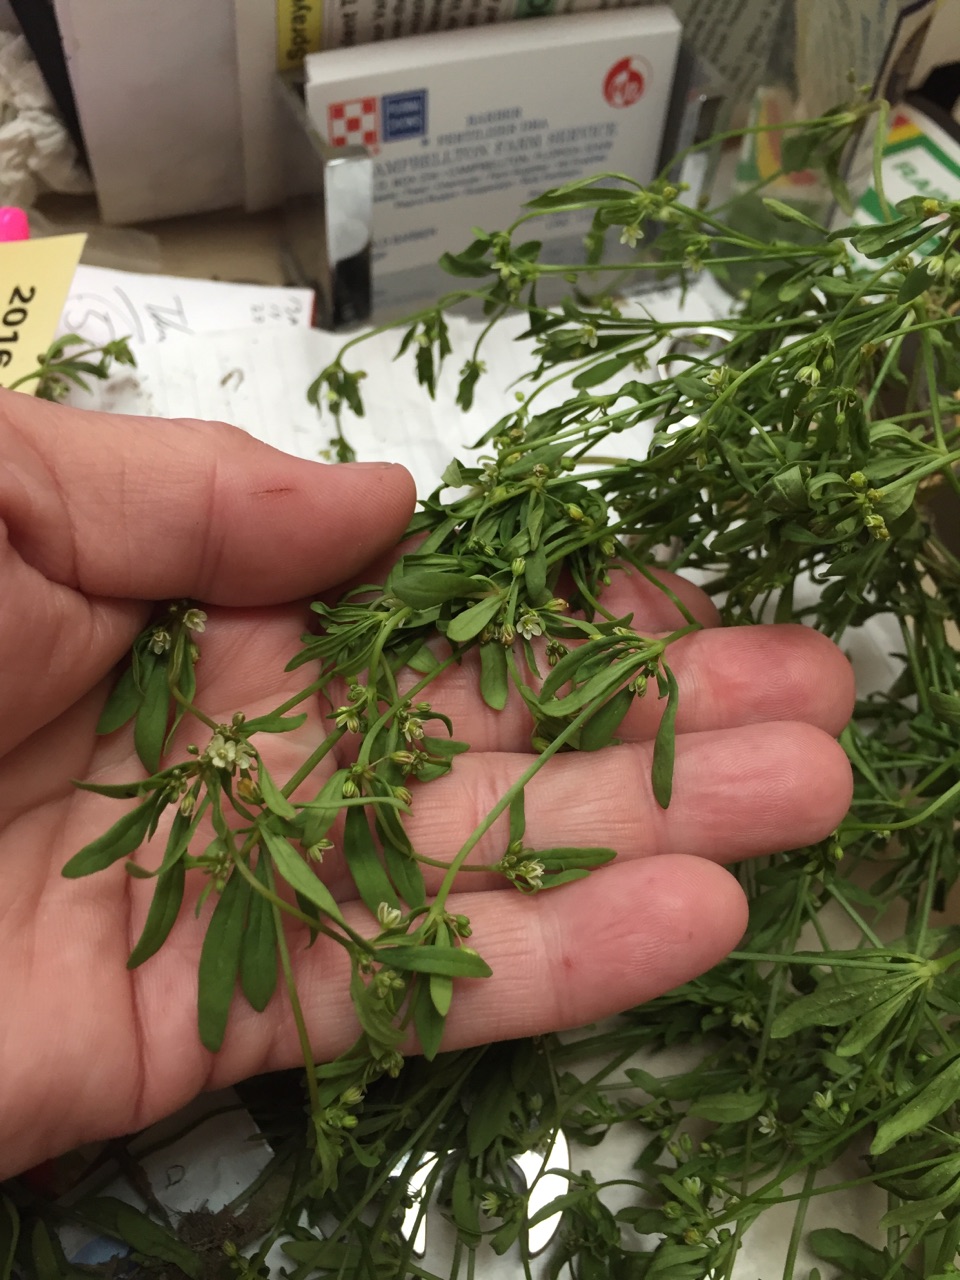
Pay attention to focus on the subject. This is especially true when taking closeup photos and photos of small things with a cell phone camera. Cell phone cameras tend to focus on the background instead of the foreground. Sometimes the quickest solution is to place your hand behind the subject to change the automatic focus and then either leave it in the picture for scale or remove it and snap the picture quickly. It is also important to have a contrasting background such as placing a white or black paper or plastic card behind the subject.
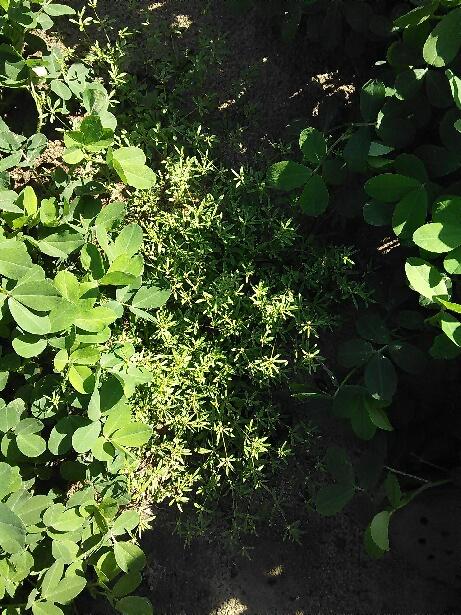
A poor picture of carpetweed growing in a peanut crop.
A good picture of carpetweed using a hand for focus and perspective.
Although it is quicker and easier to email or text plant and insect pictures, the most accurate identification can be accomplished with a fresh sample. Whether you are bringing a sample into your local Extension Office or one of the diagnostic clinics located throughout the state, it is important to follow the guidelines detailed in this publication http://edis.ifas.ufl.edu/sr007.
Extra Credit – If you want to improve you ability to take magnified photos, you may want to build the device featured in the following video “Turn Your Smartphone Into a Digital Microscope”.

 Remember last summer? The hot, dry days. Grass drying up and turning brown. Yet, the weeds are green and doing fine. However, every herbicide label warns against applying when the temperatures are above 85 degrees and especially under drought conditions. Those weeds flourished and dispersed seed everywhere. Now, they are just sitting there ready to sprout again.