by Danielle S. Williams | Aug 28, 2025
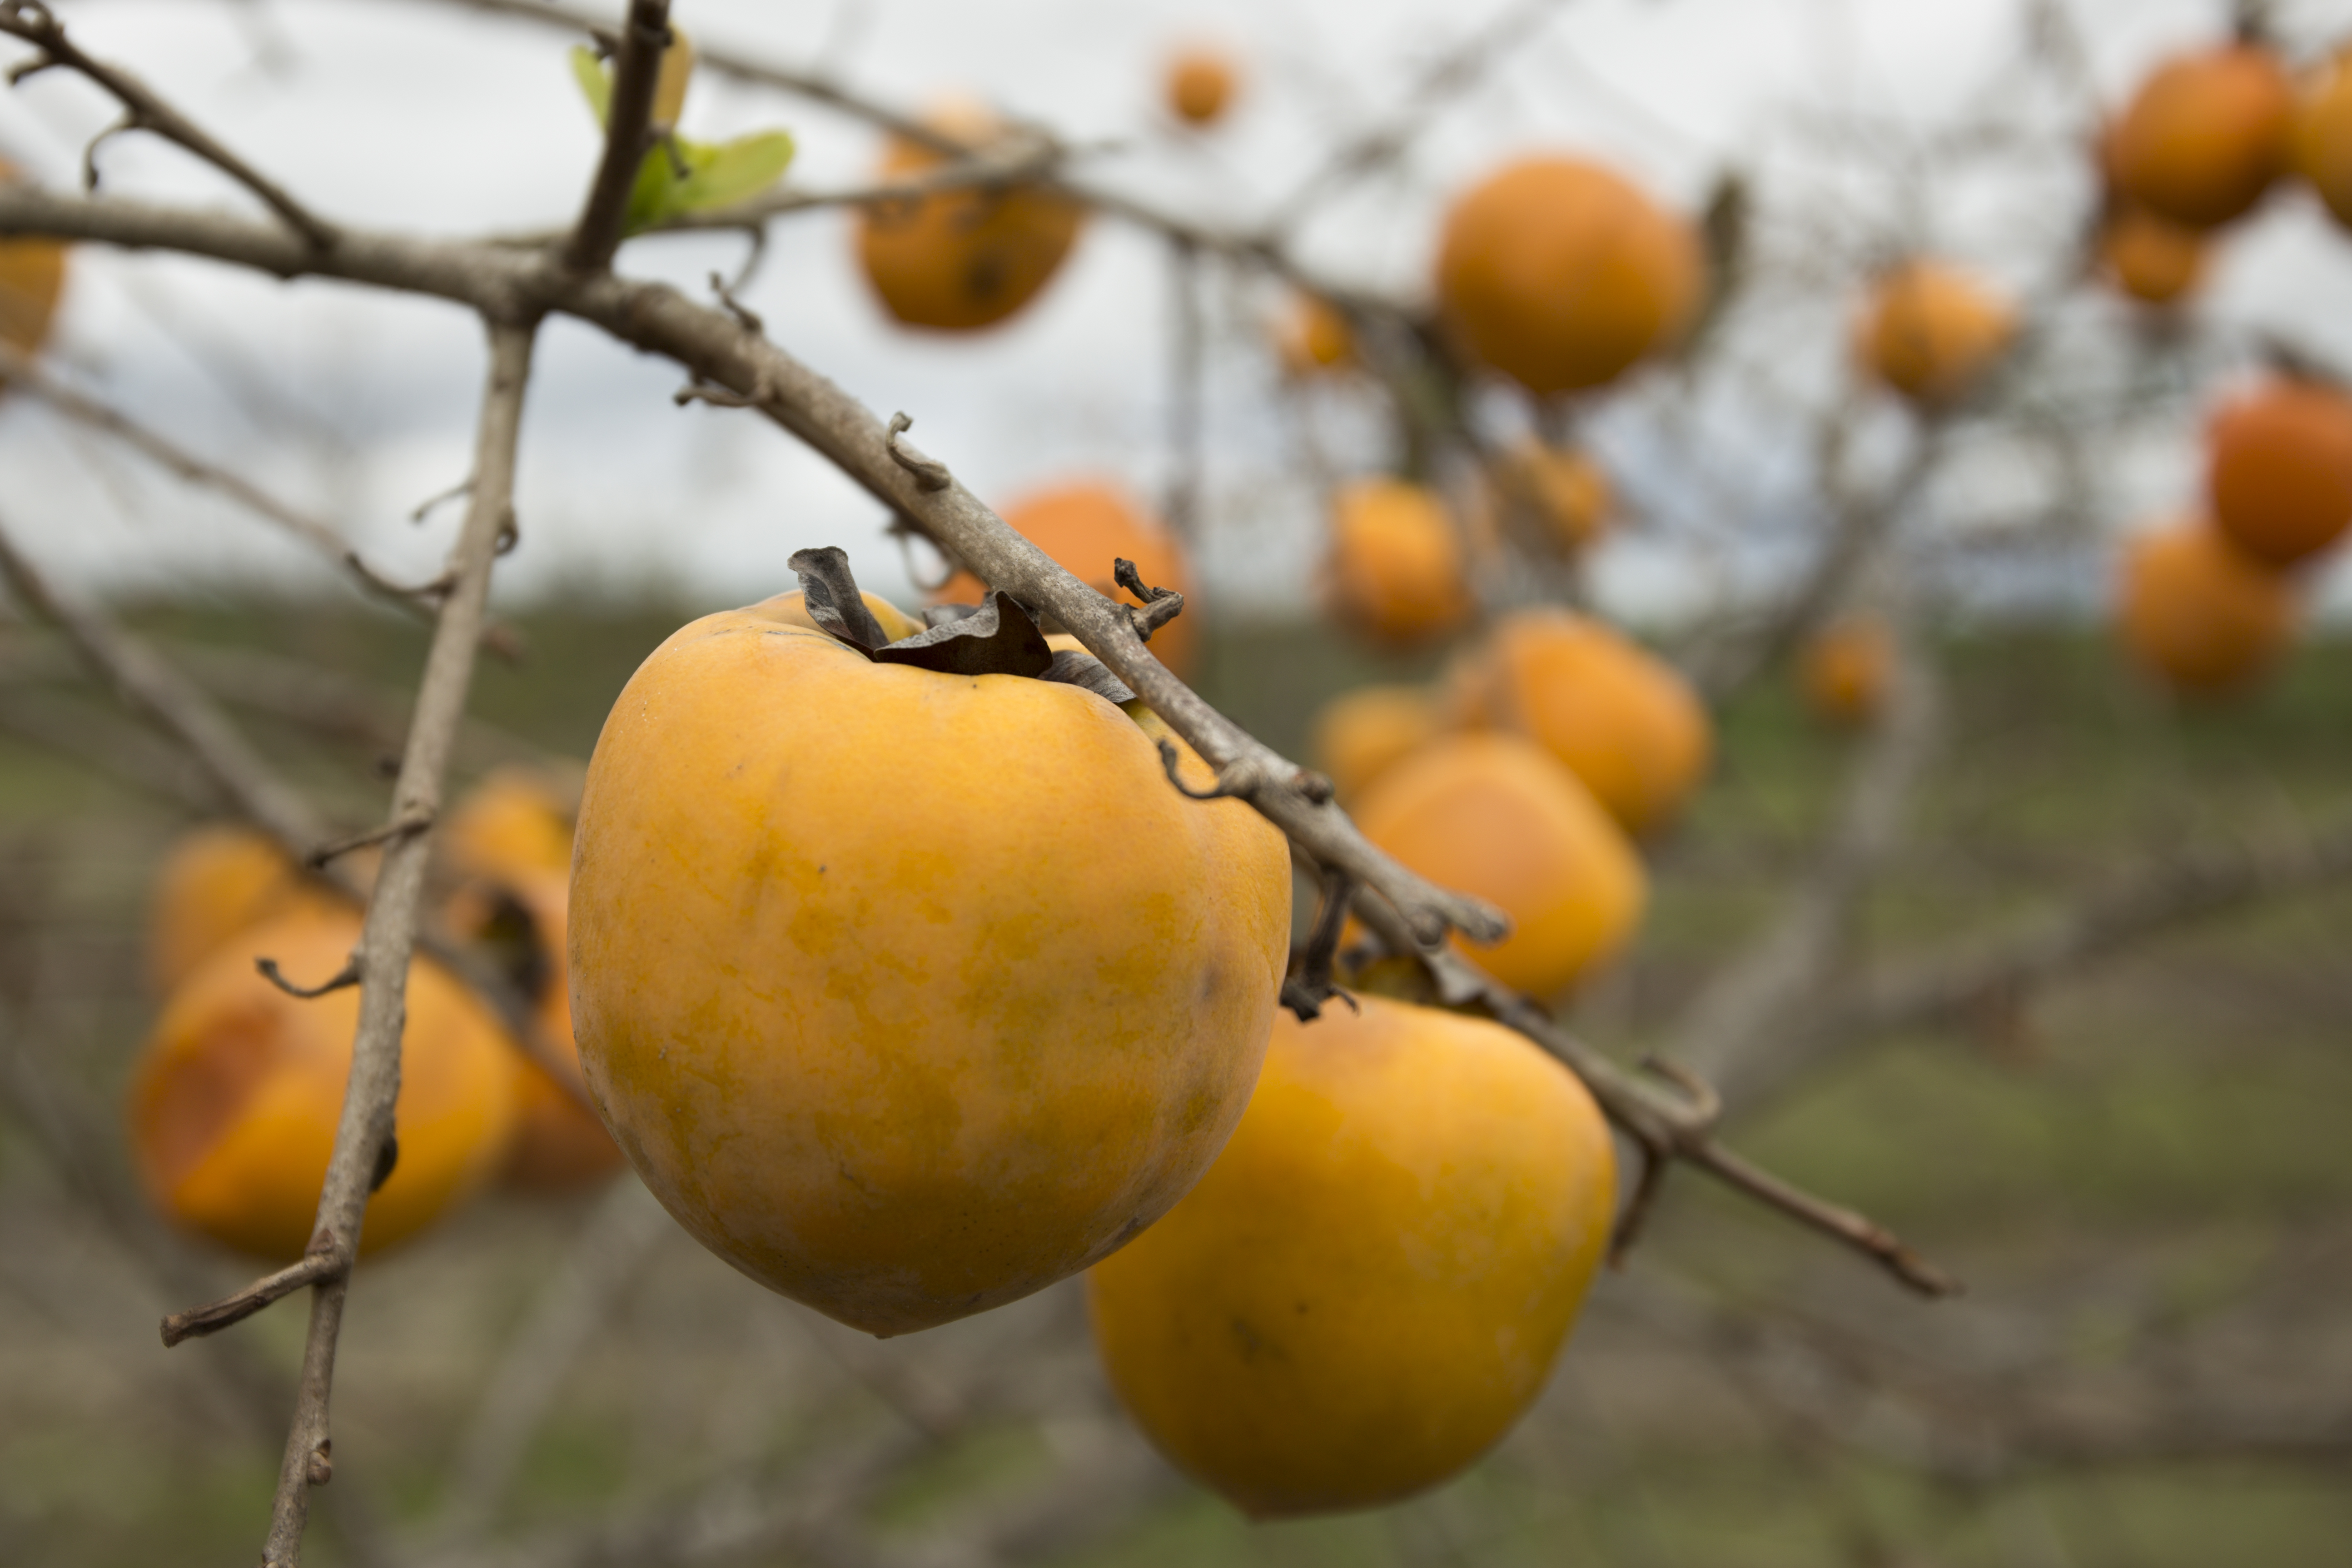
Persimmons are an increasingly popular fruit crop in North Florida that are prized for their rich flavor, vibrant color, and adaptability to the state’s climate. With varieties ranging from astringent to non-astringent, persimmons offer growers and consumers a diverse and delicious harvest. Persimmons thrive in well-drained soils and require minimal pest management, making them an attractive crop for both commercial and backyard growers.

Persimmons. Photo by Tyler Jones, UF IFAS
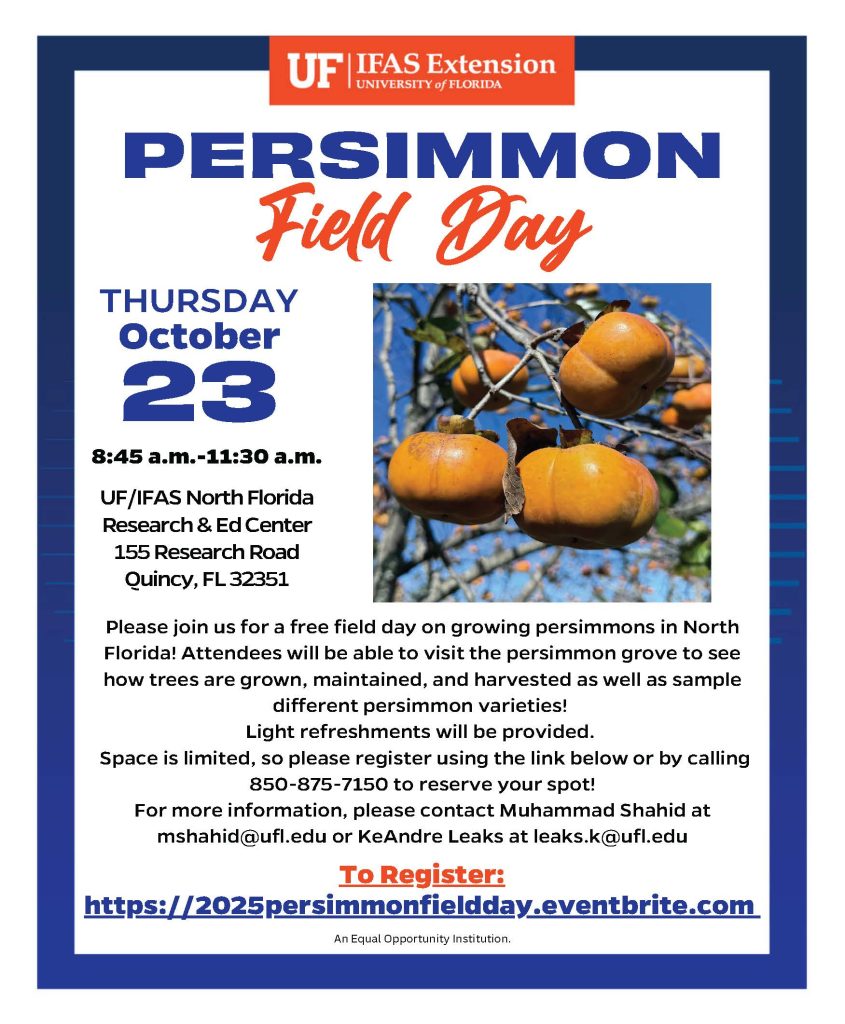
To help growers, home gardeners, landowners, and enthusiasts learn more about persimmons, UF/IFAS Extension is hosting the 2025 Persimmon Field Day on Thursday, October 23rd from 8:45AM to 11:30AM EST at the UF/IFAS North Florida Research and Education Center (NFREC), located at 155 Research Road, Quincy, FL.
Attendees will:
- Tour the NFREC’s persimmon grove to learn about tree care, maintenance, and harvesting techniques
- Sample a variety of persimmon cultivars
- Connect with experts and fellow growers
Light refreshments will be provided. Space is limited, so please register using the link below to reserve your spot!
For more information, please contact Muhammad Shahid at 850-875-7150 or via e-mail at mshahid@ufl.edu
The University of Florida is committed to providing universal access to all our events. For disability accommodations such as sign language interpreters and listening devices, please contact Muhammad Shahid, (mshahid@ufl.edu, 850-875-7255) at least 2 weeks in advance. Advance notice is necessary to arrange for some accessibility needs.
by Larry Williams | Aug 23, 2025
Hot, summer months are not the time to be using most lawn herbicides.
One issue is the heat of summer. Most lawn herbicide labels include statements such as the following. “Do not apply when temperature exceeds 90°F.” “Do not broadcast apply this product when air temperatures are above 90°F (85°F for St. Augustinegrass) unless temporary turf injury can be tolerated.”
Every year lawns are injured or killed because of lawn herbicides being applied when temperatures are too hot.
Summer is usually a rainy and windy time of the year. Many lawn herbicide labels include statements such as the following. “Allow 12 hours after application before watering lawn for maximum effectives on listed weeds.” “Apply only when wind is no more than 10 mph.” “Applying this product in calm weather when rain is not predicted for the next 24 hours will help to ensure that wind or rain does not blow or wash pesticide off the treatment area.”
It is critical to read and follow the label directions and precautions for any pesticide you use. Pesticide labels, including herbicides, include the following statements. “To the extent consistent with applicable law, the buyer assumes all risks of use, storage or handling of this product not in accordance with label directions.” “It is a violation of Federal law to use this product in a manner inconsistent with its labeling.”
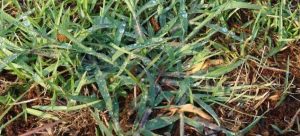
Crabgrass growing in centipedegrass lawn. Photo credit: UF/IFAS Extension
By the time summer arrives, many of the lawn weeds are mature, which means they are well established with extensive root systems. These mature, well-established weeds are more difficult to control. The same weeds are more susceptible to herbicides when they are small, young and not well established. Also, these mature weeds have produced countless numbers of seeds by summer. Most weeds are prolific seed producers.
A single crabgrass plant (a common summer lawn weed) can produce 150,000 seeds!
Applying a preemergence lawn herbicide in February to help prevent summer annual weeds such as crabgrass or applying a postemergence lawn herbicide during spring while the temperature is mild and before the weeds are out of control simply makes more sense than waiting until summer.
The best options now with lawn weed control involve continuing to follow good mowing practices, maybe hand removal of some weeds and just simply waiting for next February and spring to use lawn herbicides.
In the meantime, you may want to read the following UF/IFAS Extension publication on lawn weed control. https://edis.ifas.ufl.edu/pdf/EP/EP14100.pdf

by Joshua Criss | Aug 23, 2025
Identifying the plants present in your gardens and landscapes is a critical skill. These plants are the sculptors of our local environment. As such, it’s important to understand how they affect local ecology, and what services they may provide. Three overarching categories you’ll find as you delve into plant ID are “native”, “introduced”, and “invasive”. The latter of these is the subject of this post. Invasive is often a misunderstood term but hopefully this will clear up some of that misconception.
Definitions
Before any other conversation can even take place, it’s important to define terms. The first, and most important of these is “Invasive”. Believe it or not, there is an official definition laid out by the USDA under Executive Order 13112. It states, “an alien species whose introduction does or is likely to cause economic or environmental harm or harm to human health.” Alien in this instance being any propagation material of a species not native to a particular ecosystem.
Invasive contrasts with “Native” or “Introduced” species which either naturally occur in an ecosystem or were brought to said system through human activity. Keep in mind that many introduced species have served gardeners very well providing food, beauty, and pollinator support without the risks associated with invasive plants. You can find all these terms defined on the USDA’s website.
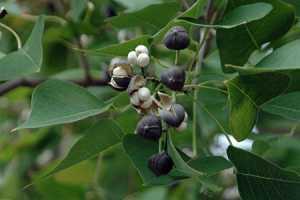
Chinese Tallow “Popcorn Tree” Photo: J. LaForest UGA
What’s the Damage
So why is it important to know these species, and more importantly what can gardeners do about them? The primary issue with these plants is how they impact our natural areas. They compete for real estate crowding out more desirable species. They also deprive these species of resources such as sunlight or nutrients often denying nectar to our pollinators.
Not worried about the impact on natural areas? On an economic front, it costs Florida’s taxpayers roughly $179 million per year to manage invasive species, the majority of which is applied to plant species. This number may seem high, but considering a single invasive insect has cost the citrus industry billions in lost production it seems appropriate.
Economics not persuasive? Some invasive plants such as castor bean (Ricinus communis) are very dangerous for humans. Ingestion of this plant carries a high potential of illness and often results in fatality.
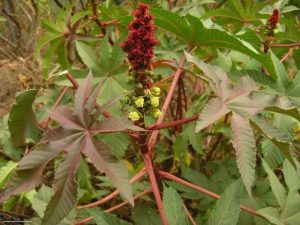
Castor Bean Plant
Photo: J. Hollinger
Summing it all up
The bottom line is that invasive plants are not innocuous. The plants we grow in our landscape can and do have detrimental effects on the surrounding environment, the economy, and are potentially deadly to humans. It’s incumbent upon all gardeners to know how to identify these plants. Once you have identified them, it’s important to learn how to eliminate them so they don’t return.
There are many resources out there to help with identification. UF/IFAS has an assessment tool here. This tool allows you to search for individual plants and provides their known status. Another great way to discover the invasive status of your plants, is through the Florida Invasive Species Council or FISC. They are the convergence point between scientists, land managers, and local governments which inform a list of plants with invasive tendencies. That list may be found here.
For more information on controlling invasive species or any other gardening topic, please contact you local UF/IFAS Extension office.
by Donna Arnold | Aug 15, 2025
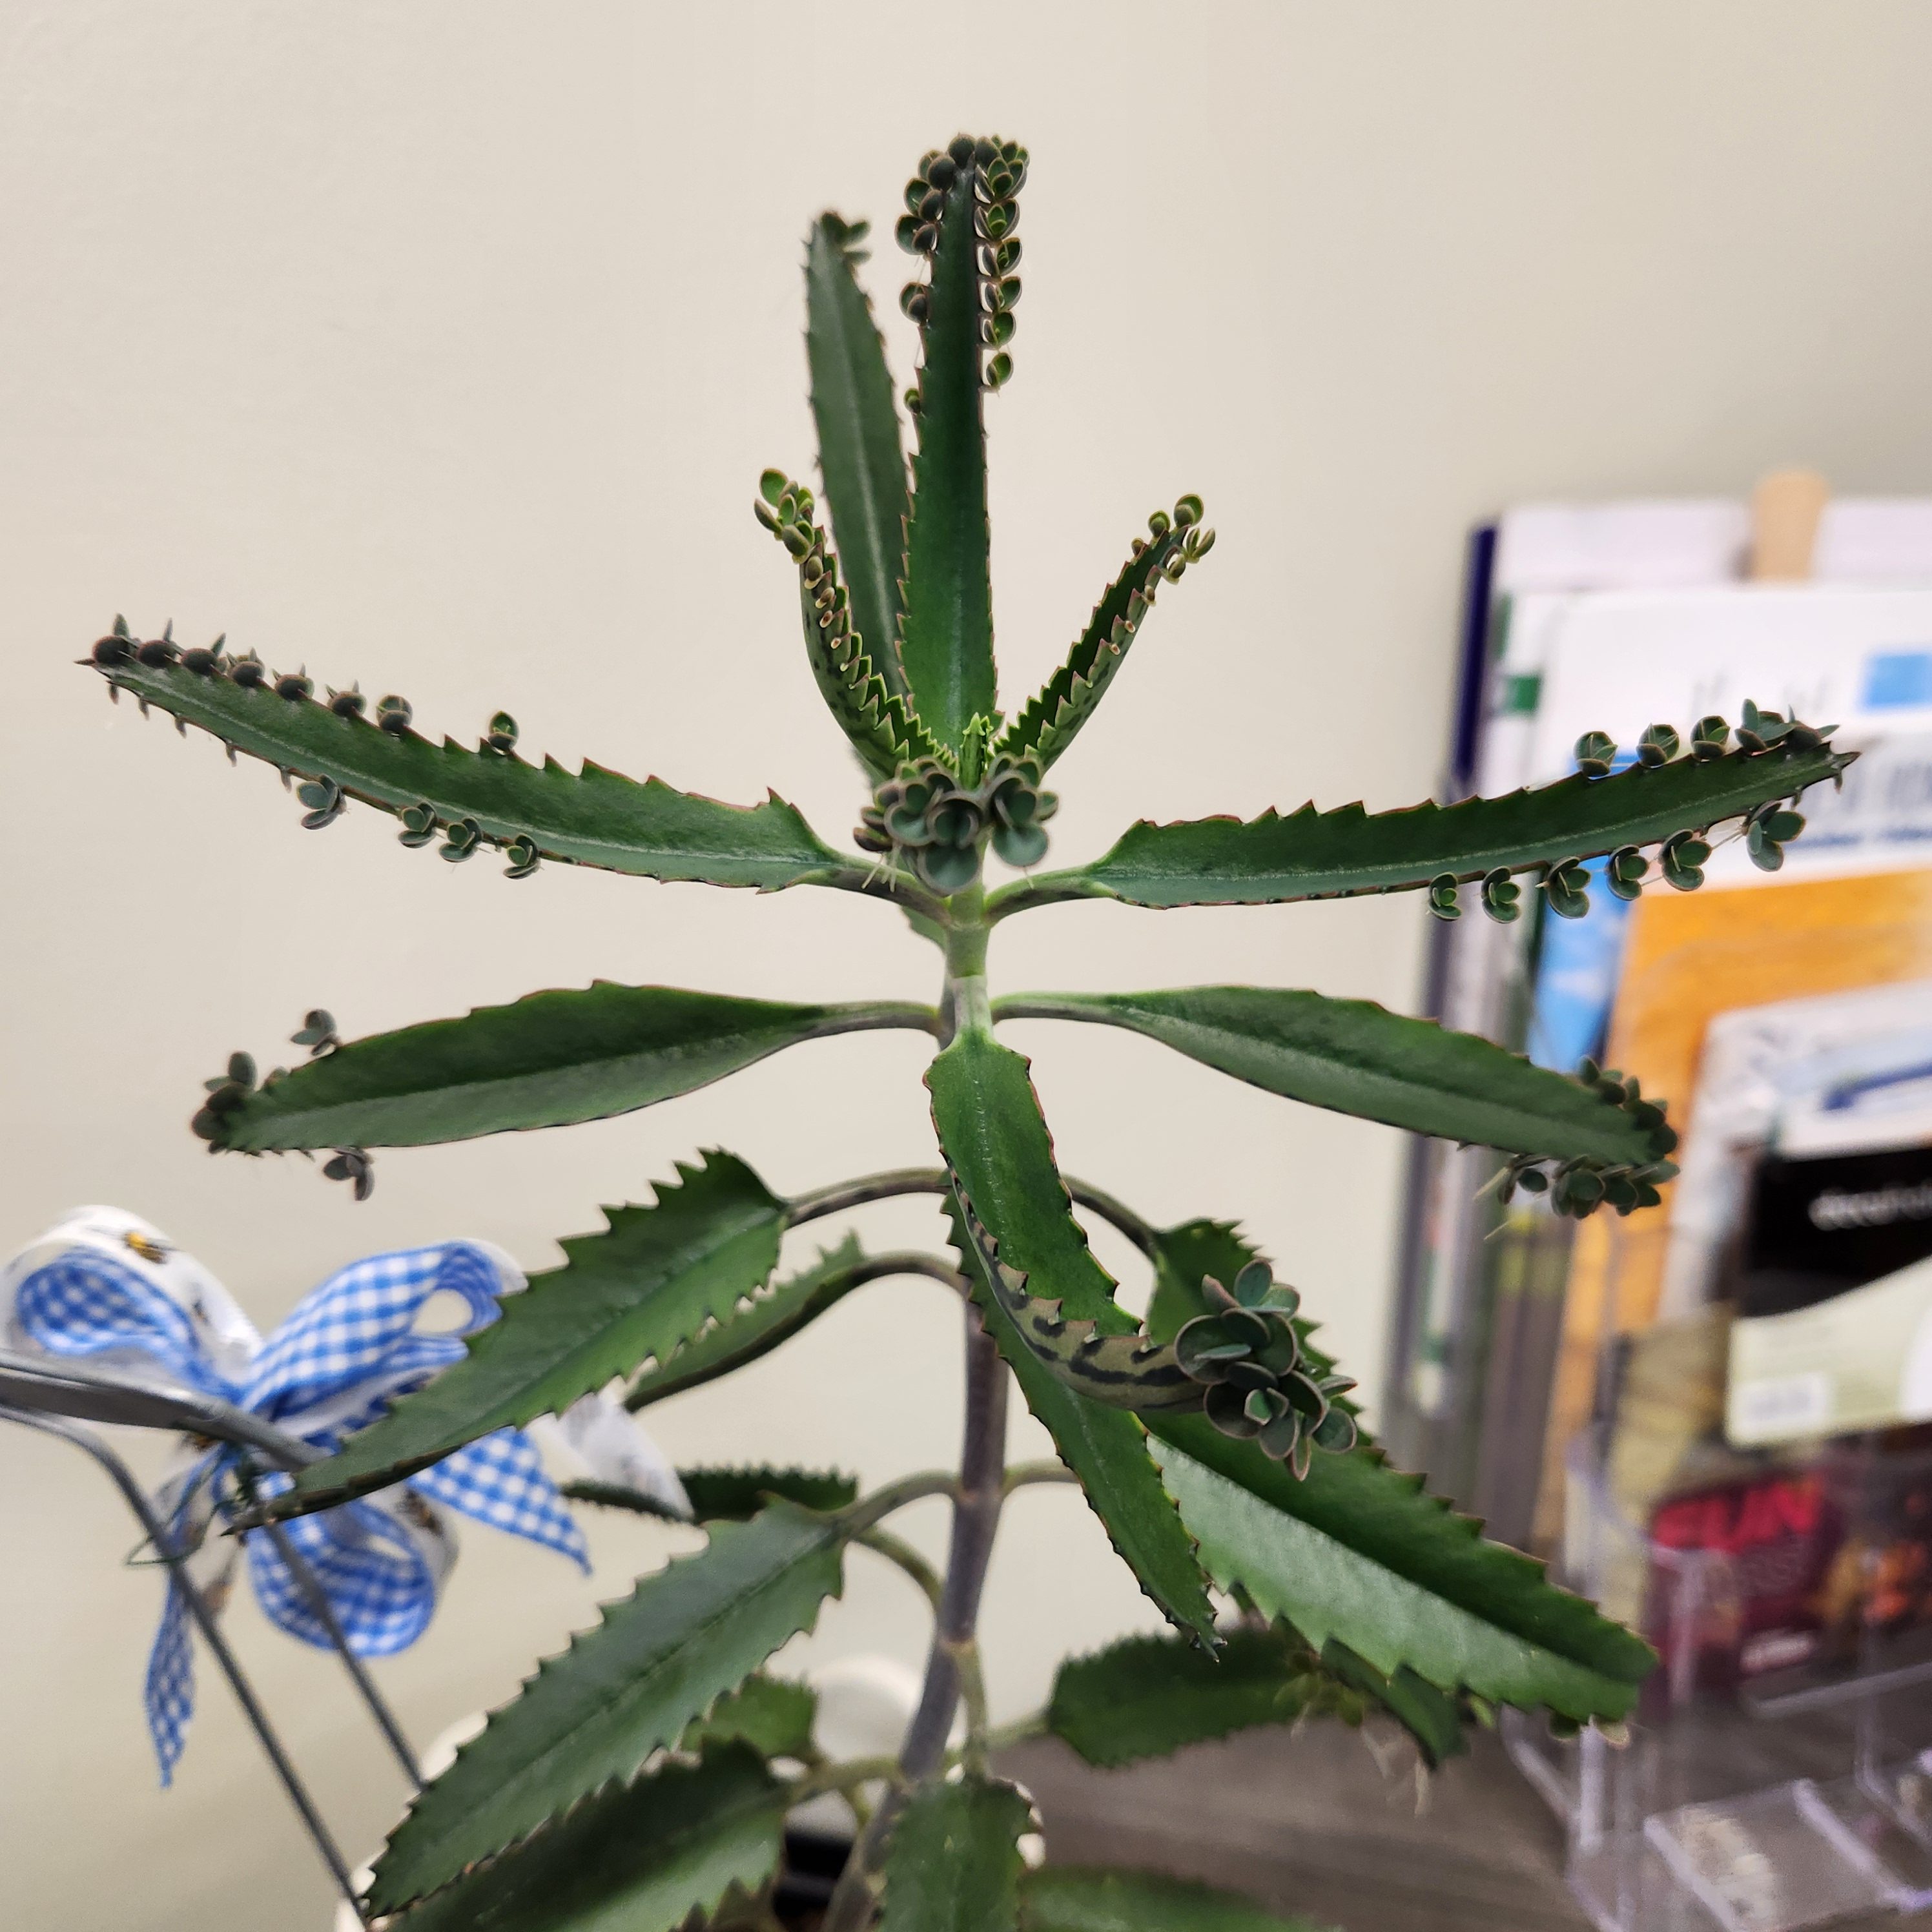
Kalanchoe Species in Florida: Invasive Threats and Management
Several species of Kalanchoe, widely distributed through horticulture as popular containers and landscape plants, have escaped cultivation and become invasive in Florida. Of the approximately seven species reported outside of cultivation, two have been documented as particularly problematic: Kalanchoe pinnata (commonly known as Cathedral Bells) and Kalanchoe × houghtonii (known as Mother of Millions). Both are listed as Category II invasive plants by the Florida Invasive Species Council (FISC), indicating they have the potential to disrupt native ecosystems. “In Central and South Florida, the plant is listed as invasive; hhowever, there is a cautionary note for North Florida.”
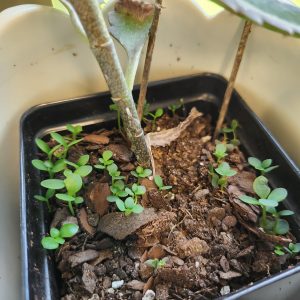
Photo Credit: Donna Arnold, FAMU Extension
Kalanchoe × houghtonii is a hybrid of K. delagoensis and K. daigremontiana, which has led to some confusion in reporting and distribution records. These species belong to the Crassulaceae family and are characterized as succulent herbs with hollow, fleshy stems. K. pinnata features rounded, scalloped leaves, while K. × houghtonii has slender, pointed, fleshy leaves. Their bell-shaped, pendulous flowers range in color from green to red. In Florida, these plants are primarily found in South Florida and along the East Coast, extending as far north as Nassau County.
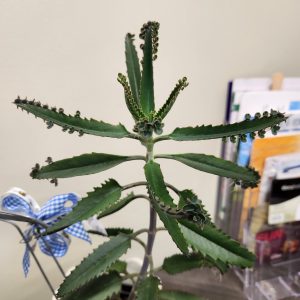
Photo Credit: Donna Arnold, FAMU Extension
The ecological impacts of Kalanchoe species are significant. Reproduction occurs both sexually and vegetatively, with plantlets forming along leaf margins and even on inflorescences. This species high reproductive rate and ability to thrive in dry, arid environments allow them to invade coastal dune habitats, where they form dense carpets that crowd out native species. Shallow root systems contribute to destabilization of sandy areas by displacing native plants such as sea oats, which are essential for anchoring sand and preserving dune integrity.
Effective management begins with prevention. Homeowners are advised not to plant Kalanchoe species and to avoid dumping landscape material in natural or disturbed areas. Physical control methods include hand-pulling and secure disposal of plant material to prevent regrowth. Chemical control can be achieved using a 5% glyphosate foliar spray, which is effective in killing individual leaves that might otherwise produce new plantlets. Follow-up removal of detached leaves is essential to prevent further spread. Currently, there are no known biological control methods for these species.
For more information and personalized management recommendations, homeowners should consult their local UF/IFAS Extension office. Additional resources are available through the UF/IFAS Center for Aquatic and Invasive Plants, and the Florida Invasive Species Council Plant List.
by Lauren Goldsby | Jul 31, 2025
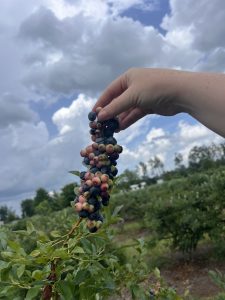
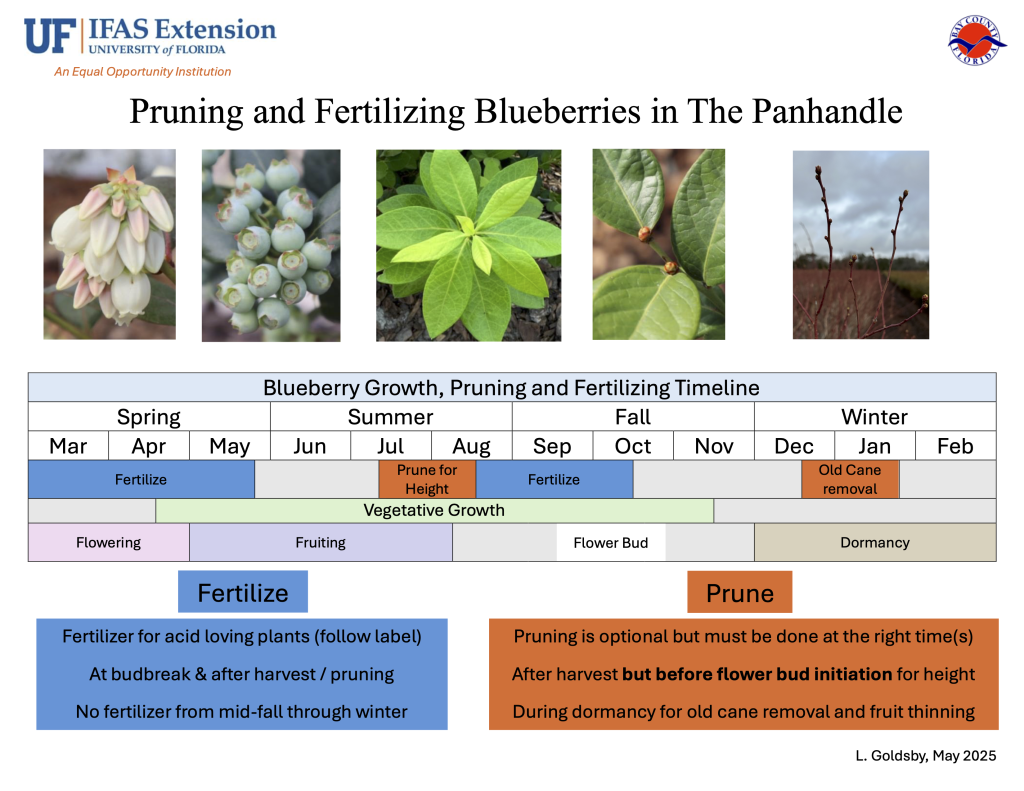
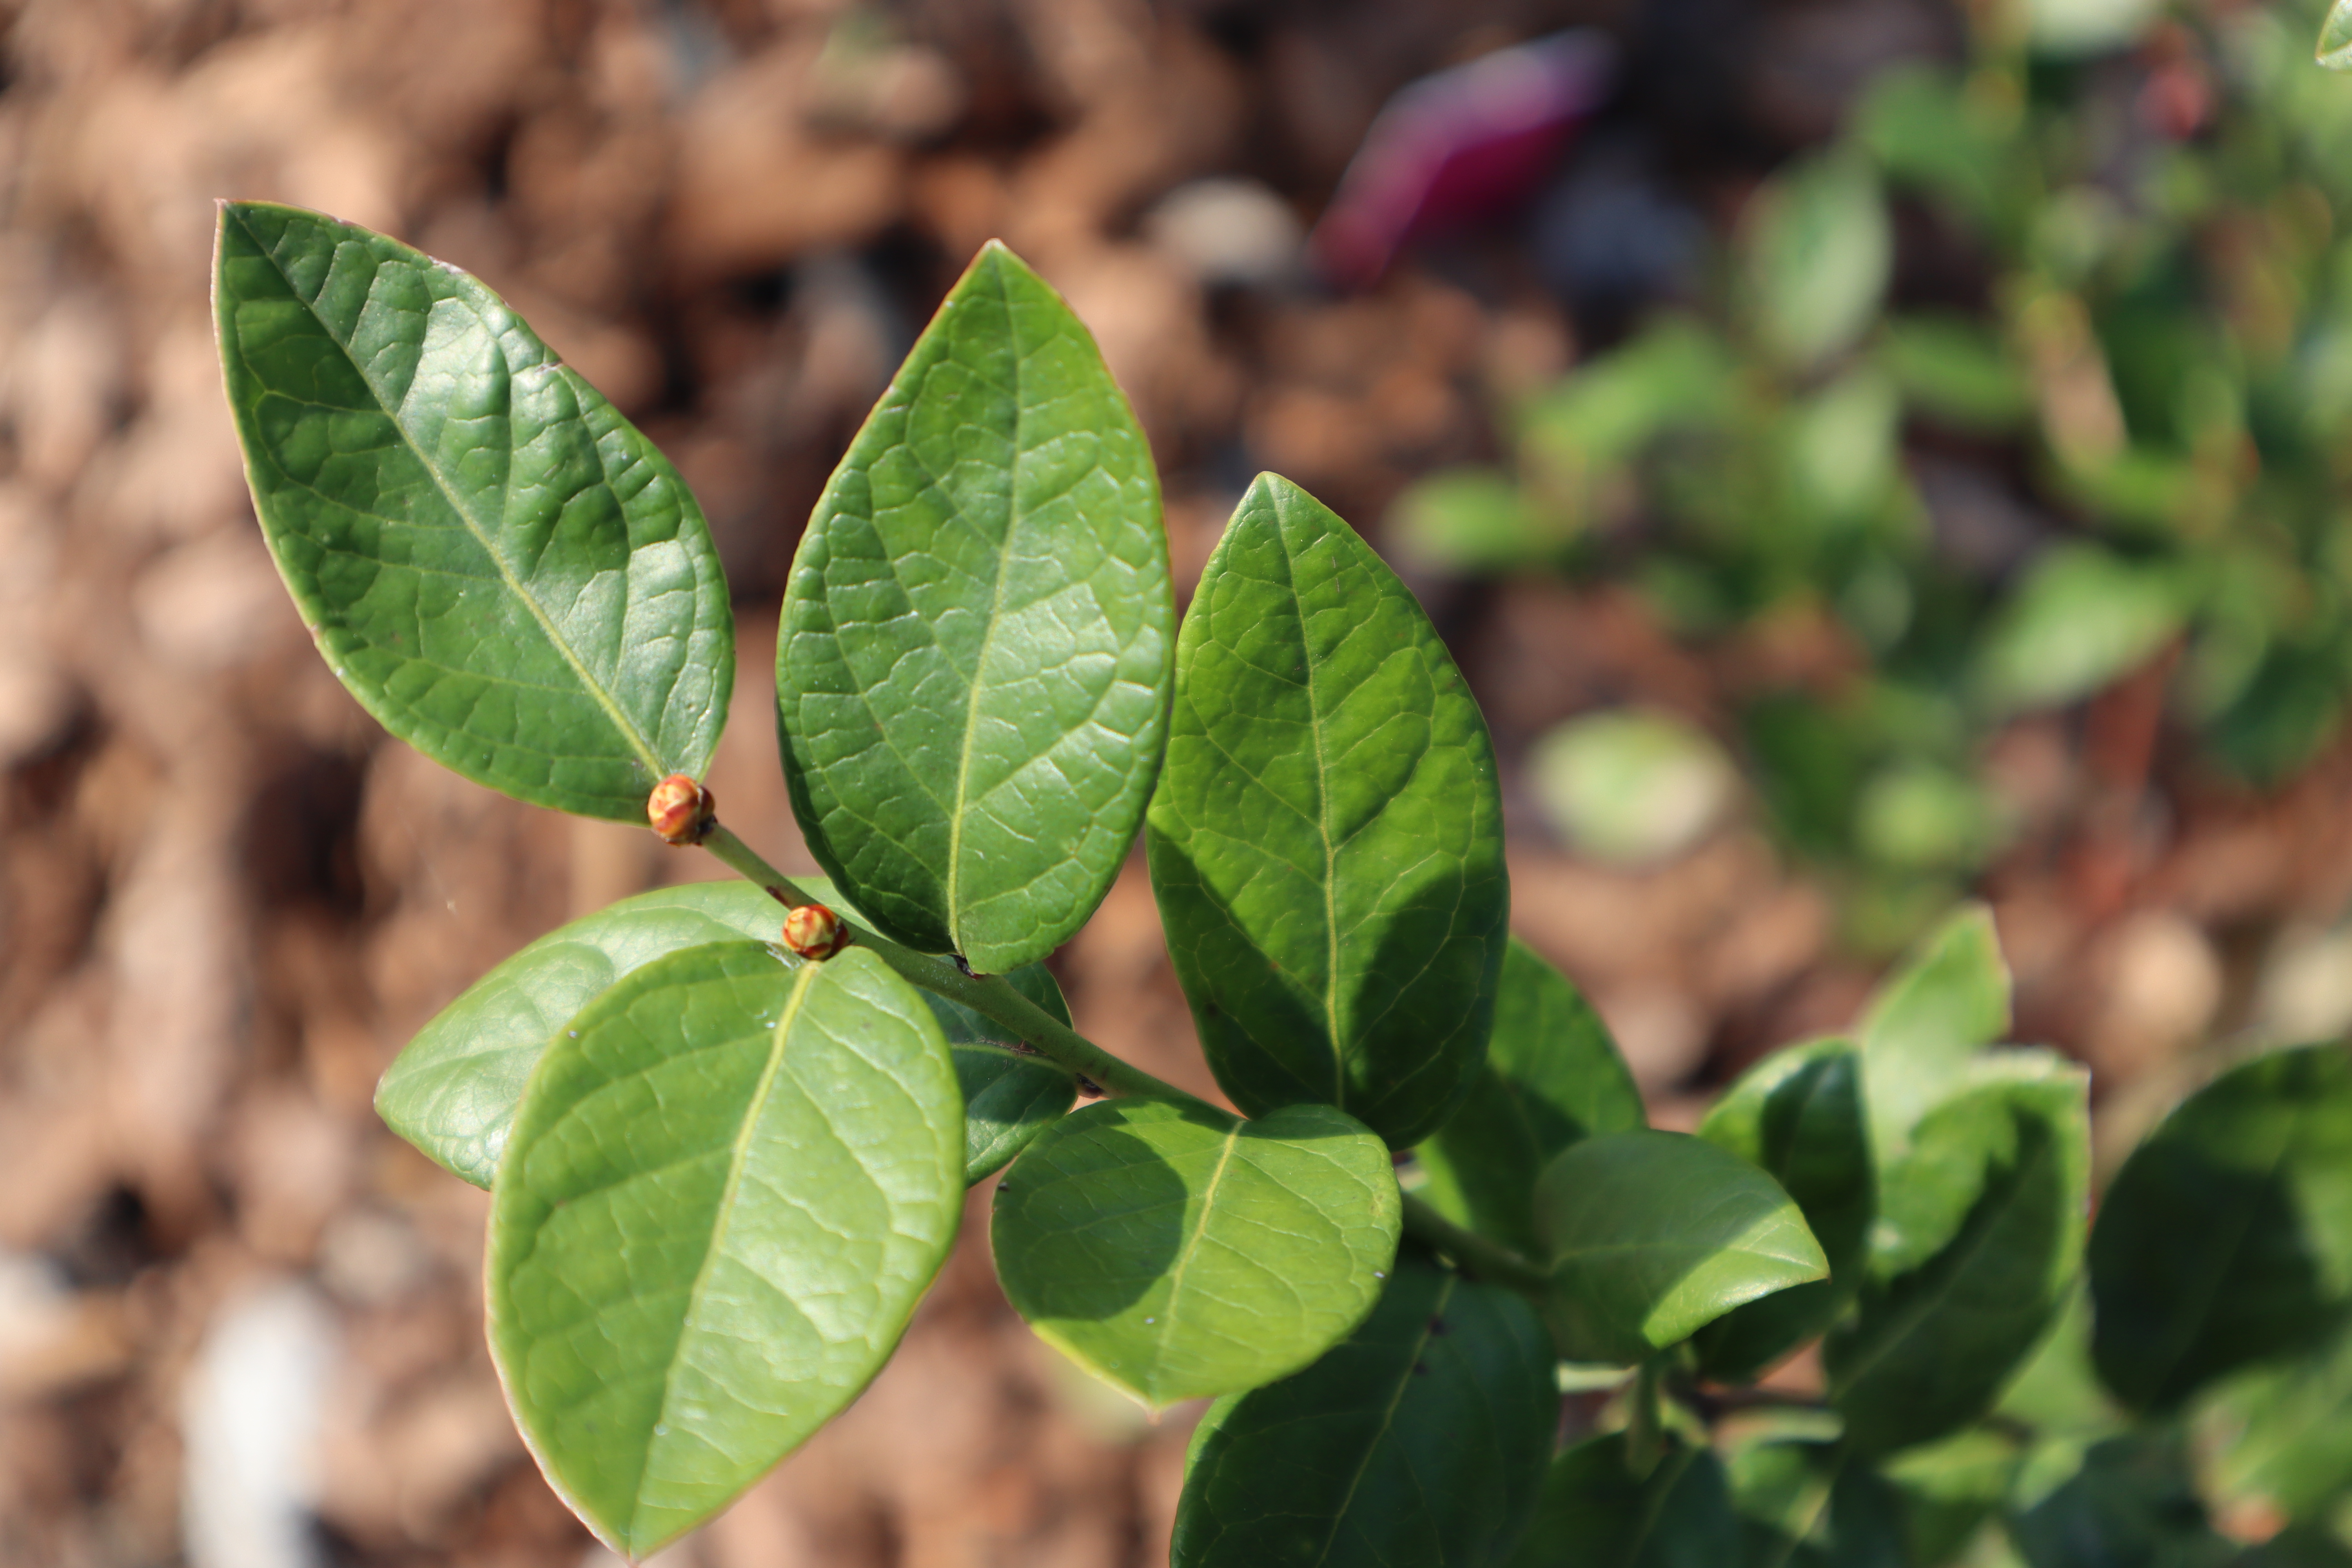
Blueberry flower buds are formed at the cane ends.
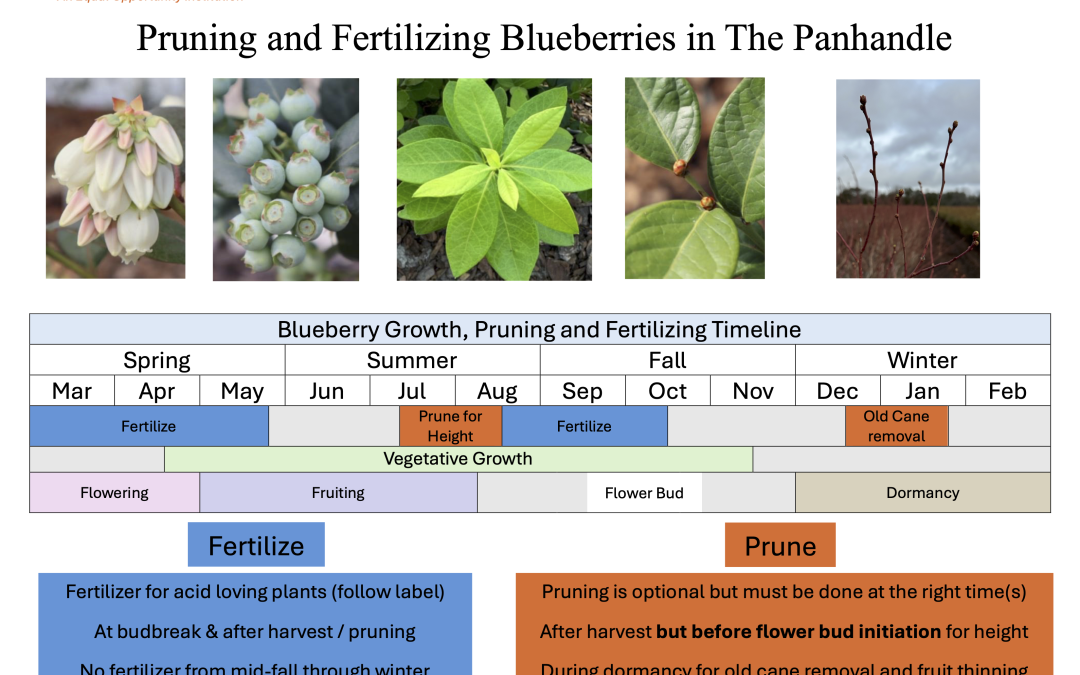
When, how, and if you prune your blueberries depends on your goals and how you want to manage your plants. Pruning is usually done to control plant height, open up the canopy, and remove older canes that are less productive. Blueberry canes form flower buds starting from the upper ends of the stems. As plants grow taller, the best berries develop higher and higher. Lower, shorter canes will still produce fruit, but the upper canopy can shade them, leading to fewer berries within easy picking height. Rabbiteye varieties common in the Panhandle can reach 20 feet (7 m) if left unpruned. Some gardeners like leaving the upper berries for birds while harvesting the lower fruit for themselves, while others prefer to prune plants shorter to keep berries within easy reach.
Blueberry plants can be pruned at two main times of year:
After harvest (summer): This is the time to reduce plant height, but it must be done soon after the last berries are picked and before fall, when flower buds form inside the stems. If you wait too long, you risk cutting off next season’s flowers and losing fruit. After summer pruning, it’s a good time to apply an acid-loving plant fertilizer to encourage new growth.

Once buds are visible, it’s too late to prune for height without losing berries.
During dormancy (winter): In winter, you can remove dead, damaged, or old unproductive canes to open up the canopy and allow for new growth. Avoid removing more than 30% of the total canes in a single year. Winter is also when fruit thinning can be done. If there are too many buds on the plant, the berries may stay small. By selectively removing canes, the plant can produce fewer but larger berries.
Pruning can be an important management tool, but it isn’t mandatory. If you choose to prune, make sure to do it at the right time for your goal- whether it’s controlling height, encouraging bigger berries, or simply refreshing older plants. See the chart below for a seasonal guide to pruning and fertilizing blueberries in the Panhandle. Pruning and Fertilizing Handout Download