by Mark Tancig | Dec 18, 2025
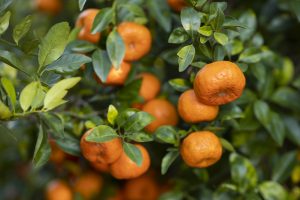
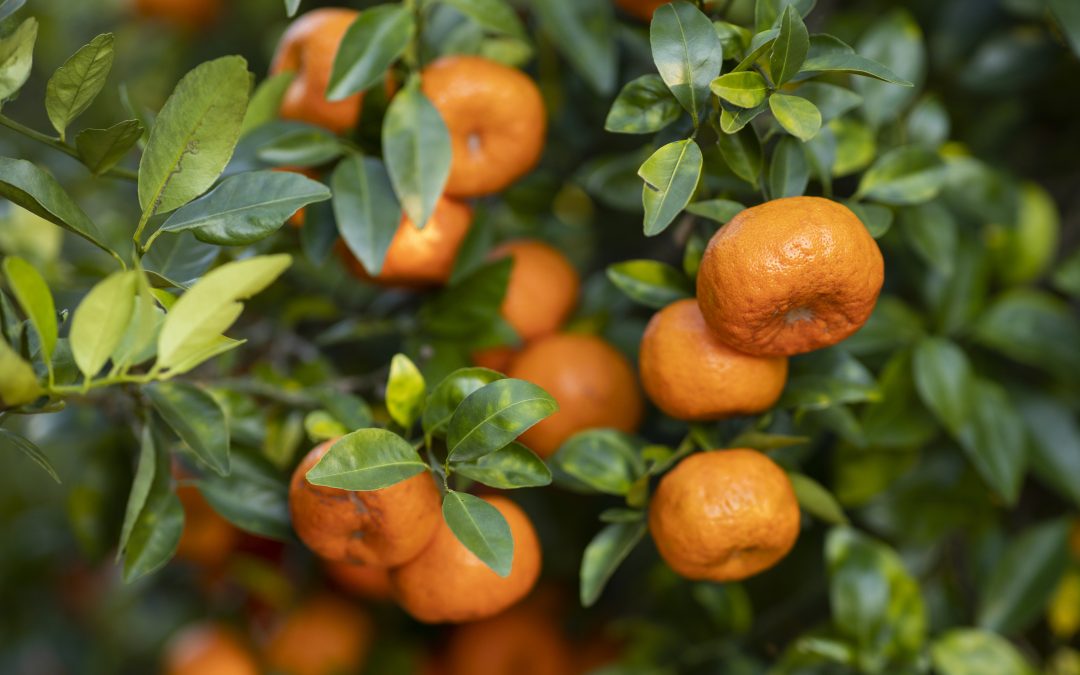
Cold hardy citrus are a treat for north Florida gardeners. Credit: Tyler Jones, UF/IFAS
Growing citrus in the backyard is definitely a gardening perk for those living in north Florida. However, our frequent cold snaps are also a source of anxiety for many backyard citrus growers. With weather forecasters excited to highlight dips in temperature, many folks call their local extension office, or head to social media, fretting over what they should do with their citrus. This article is intended to walk you through what to consider when deciding how cold it needs to get before worrying.
First of all, you can really help yourself out by selecting and planting varieties that are known to be cold hardy. In addition to Myer lemon, calamondins, kumquats, grapefruit, and pummelo, other cold hardy citrus varieties include:
- mandarins – satsuma, shiranui, Sugar Belle, Tango and Bingo
- oranges – navel, Hamlin, Minneola Honeybell, and Valencia
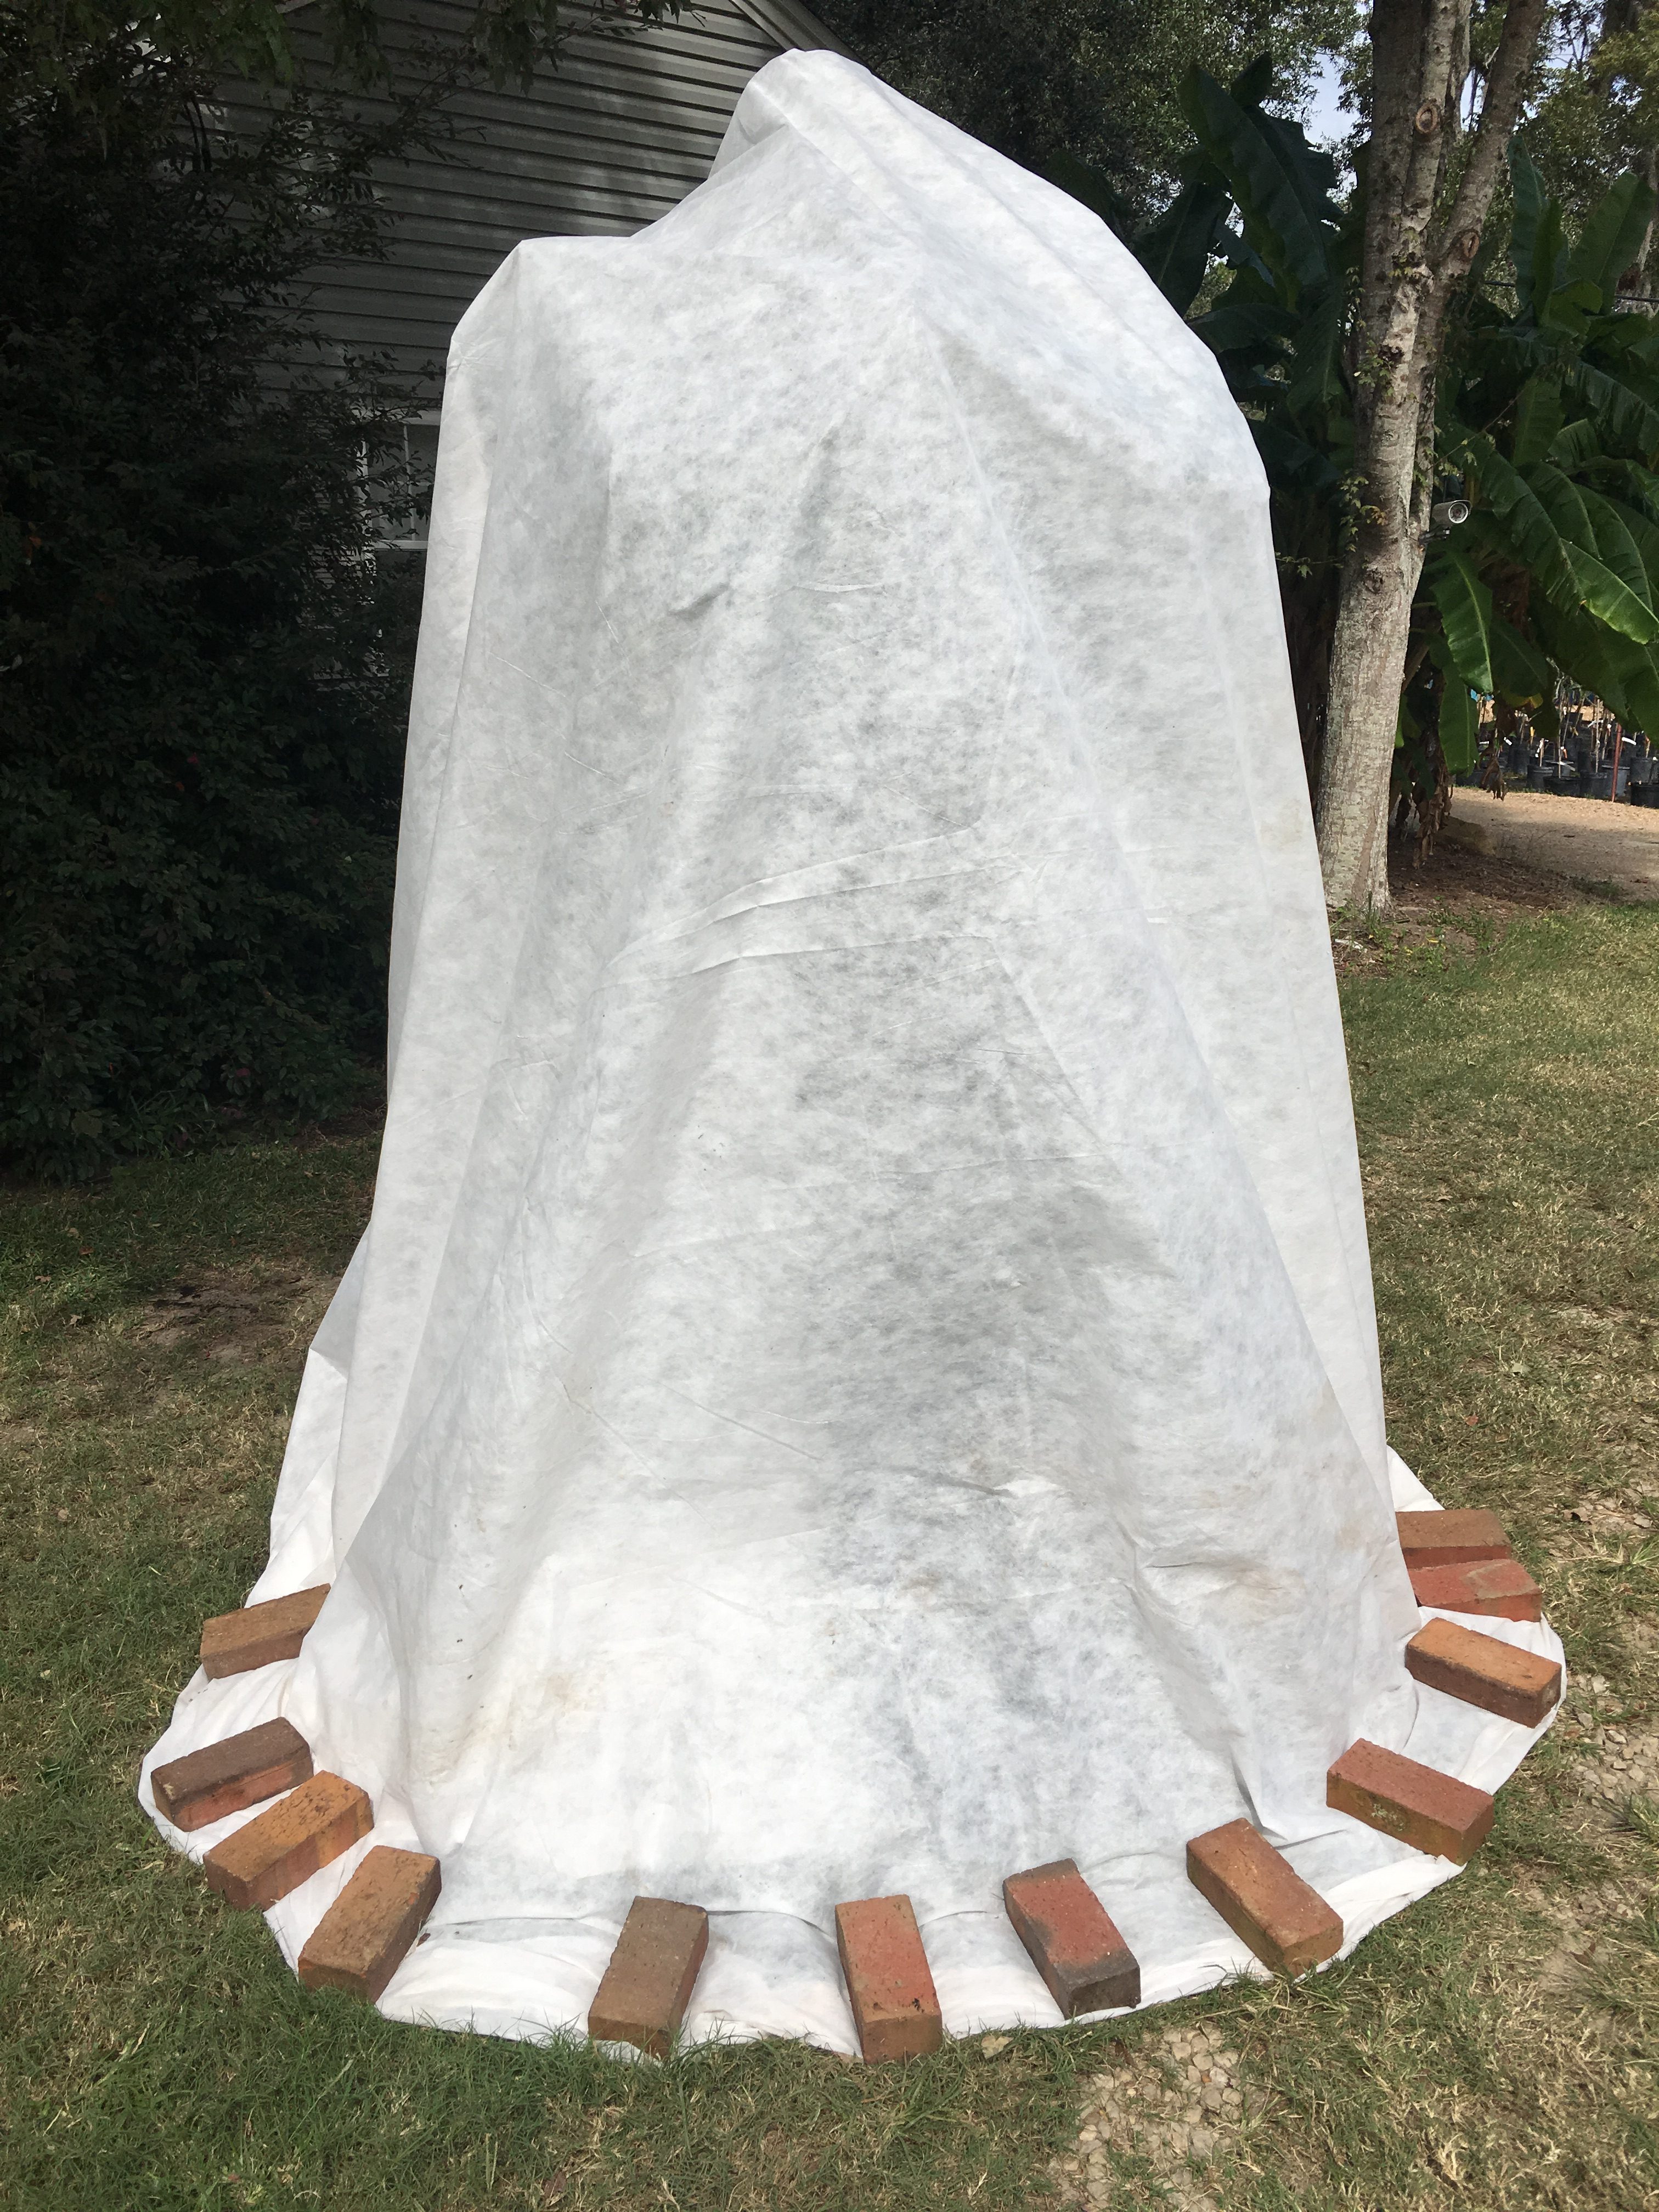
Again, the above varieties are known to be hardy, as trees, down to at least temperatures in the mid-20s. Young trees are more susceptible to these temperatures, but once mature, you shouldn’t worry about having to cover them down to the mid-20s. Remember, when covering plants for cold protection, you want the material – whether it be fancy frost cloth or just a simple blanket – to completely cover the tree and drape on the ground. It is the heat leaving the soil that you are trying to capture to keep the tree protected.
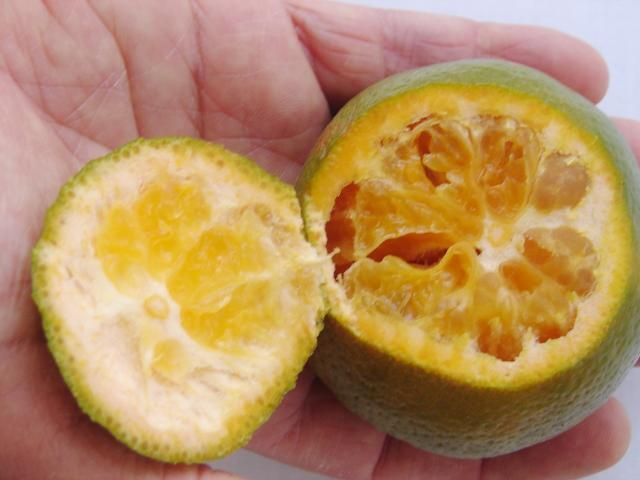
When it comes to the fruit, temperatures reaching 26 to 28 degrees for more than two hours may begin to freeze and cause damage. Satsumas, navels, and Meyer lemon fruit have thinner skins compared to grapefruit and so are more likely to freeze. Ripe citrus fruit is more cold-tolerant than unripe fruit due to their sugar content. Unfortunately, if you have unripe fruit, remember that citrus does not ripen off the tree. If you notice frozen fruit after a freeze, salvage any fruit as soon as possible, mostly for juicing, or dispose of in the compost pile.

Citrus fruit showing damage after a freeze. Credit: Mongi Zekri, UF/IFAS
Now, back to the forecasters. They seem to get excited every time we begin to reach anywhere near 32 degrees and begin issuing frost and/or freeze warnings. These are important to consider, but as we now know, just because we’re getting frost or freeze temperatures, it doesn’t mean we’ll lose our citrus. According to the National Weather Service, here’s what all of these advisories mean:
- Frost Advisory – minimum temperature is forecast to be 33 to 36 degrees on clear and calm nights during the growing season
- Freeze Watch – issued when there is a potential for significant, widespread freezing temperatures (32 degrees and below) within the next 24-36 hours.
- Freeze Warning – issued when significant, widespread freezing temperatures (32 degrees and below) are expected.
So, if you hear there is a frost advisory, not much need to worry. If we get all the way to a freeze warning, now we need to pay attention to what the minimum low temperature is forecasted to be. If it’s 28 or below, now we begin to worry about any fruit on the tree. It does have to hold at these low temperatures for several hours before damage occurs, so maybe we’ll be okay. Once we get to the lower 20s, we should probably go ahead pick all of the ripe fruit and hope for the best on any unripe fruit. At these sub-freezing temperatures, we also need to start implementing measures to protect the tree, especially the graft union where the top of the tree has been united with the rootstock, typically indicated by a thickened or swollen like area at the base of the tree. This includes tree covers and soil banking – mounding soil over the graft union through the sub-freezing temperatures.

When covering a tree for cold protection, be sure to drape the cover all the way to the ground. Credit: Jonathan Burns.
Hopefully, this information can help you sleep better during a north Florida cold snap. For more information about citrus and cold damage, there are some great UF/IFAS resources available online. As always, you can also contact your local Extension Office.
by Larry Williams | Dec 18, 2025

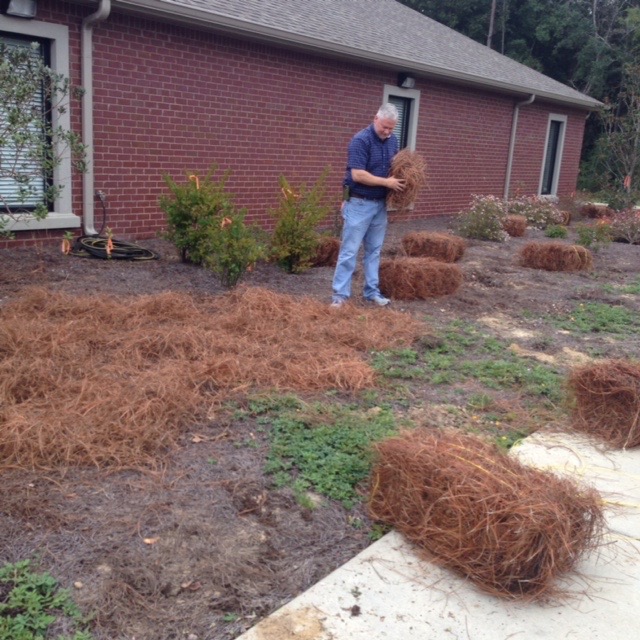
Pine straw being used as mulch in plant bed. Credit: Larry Williams
There is a difference between mulching and amending the soil. Mulching involves placing material such as pine straw, leaves or pine bark on top of the soil. Amending the soil is the incorporation of the material into the soil (in the root area).
Soil amendments and mulch can be organic or inorganic. Most soil amendments are organic (coming from a living organism) such as pine straw or peat moss. A few inorganic (non-living) soil amendments include sand, perlite and vermiculite.
Many common organic soil amendments don’t last long in our soils and climate. Materials such as peat moss decompose rapidly in our sandy soils, under our warm, moist conditions. Microorganisms break the “stuff” down rapidly, once it is in the soil. As a result, the benefits from the additional organic matter are quickly lost unless additional organic matter is repeatedly incorporated within the soil.
Slower decomposing materials such as sawdust or other wood products will last longer. But microorganisms that help decompose wood within the soil use or tie up some of the available plant nutrients such as nitrogen during the decomposition process. So additional nitrogen may need to be added to meet the nitrogen requirements for plants that are growing in the amended soil when wood is used as a soil amendment. Additional nitrogen may be needed until the wood is thoroughly decomposed. This may take months to years based on how well rotted the wood was when incorporated. It’s best to use well-rotted sawdust as a soil amendment. Nitrogen deficiency results in a general light green to yellow color in plant leaves.
Mushroom compost contains a high degree of lime. As a result, it will raise the soil pH, making the soil more alkaline or less acidic. It has its place as a soil amendment but should not be used where “acid loving” plants are to be grown. This would include plants such as centipedegrass, blueberries, azaleas, camellias and gardenias. It’s best to know the soil pH before using mushroom compost to avoid ending up with soil that’s too alkaline for the plants you intend to grow.
There needs to be a reason to amend the soil. Is the soil too heavy and poorly drained such as is the case with clay or muck type soils? Then, you may need to add something such as perlite or sand to “open” the soil to improve drainage. Is the soil sandy with a low pH? Then, you may want to use mushroom compost.
Amending soil for no good reason can be a time consuming and costly mistake.
by Donna Arnold | Dec 11, 2025
Winter Bliss and Climate Challenges in North Florida Gardens
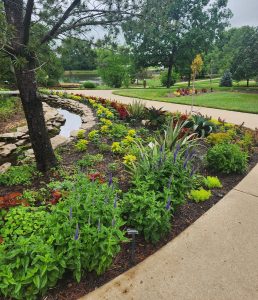
Gardening is far more than a pastime, it’s an endeavor that demands patience, skill, and dedication. Every plant requires careful attention to thrive, and every gardener knows the challenge of protecting their landscape against nature’s shifting moods.
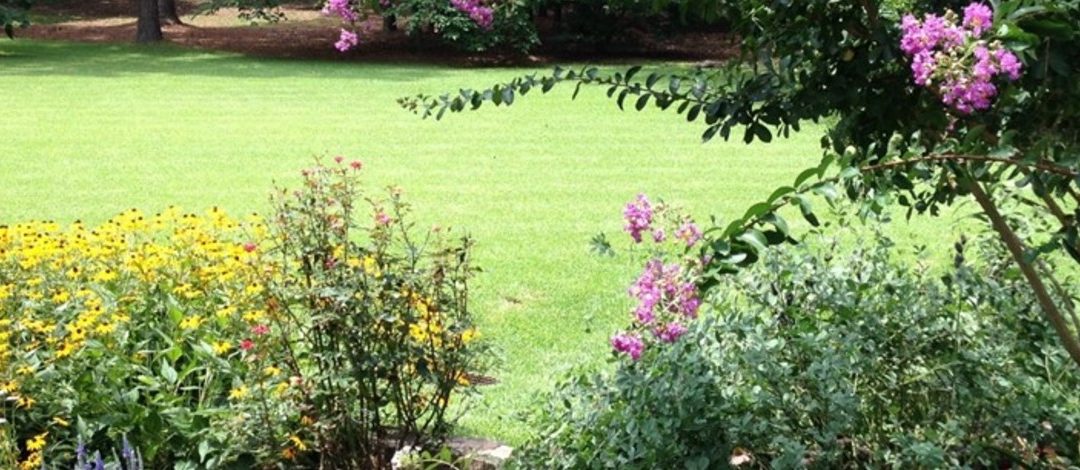
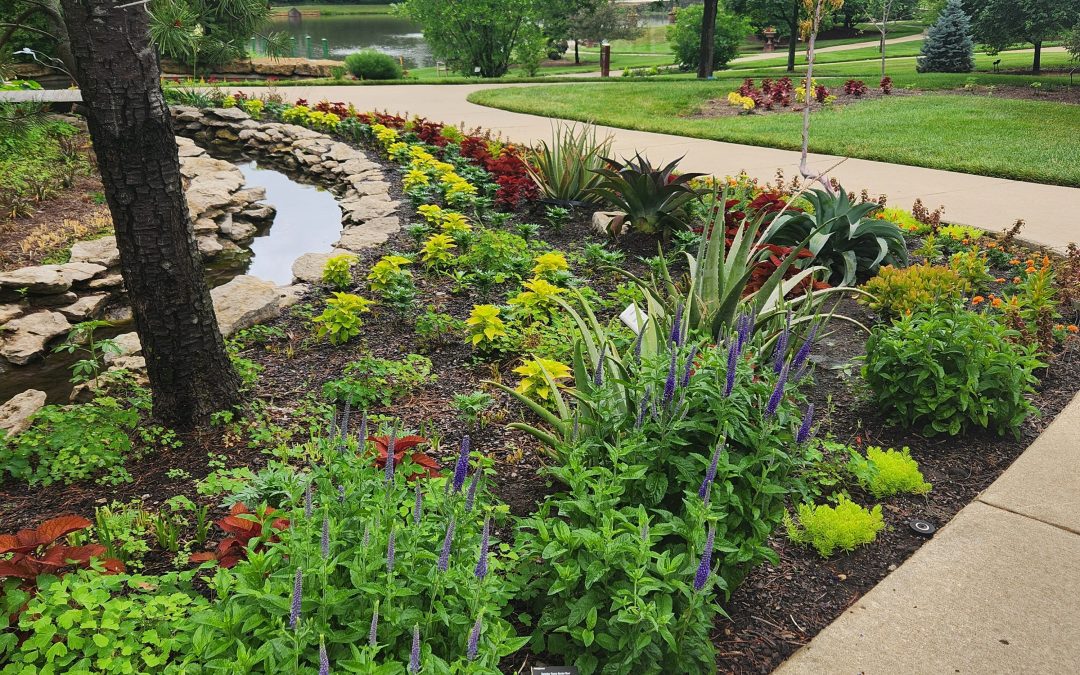
In North Florida, winters from December through February are typically mild, offering residents the chance to cultivate cool-season vegetables, hardy ornamentals, and lush greenery that brighten homes even in the colder months. These gardens are more than decoration; they are living investments in beauty, wellness, and community pride.
Yet, the increasing instability of seasonal patterns has thrown gardeners off balance. Sudden frosts, unexpected heat spikes, and shifting rhythms test both resilience and creativity. What once felt like a predictable cycle now requires constant vigilance, as climate change reshapes the very environment in which these gardens grow. For North Florida residents, tending a garden is not just about nurturing plants, it’s about nurturing joy, identity, and a connection to place, even as the climate itself becomes more uncertain.
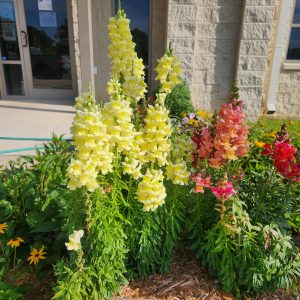
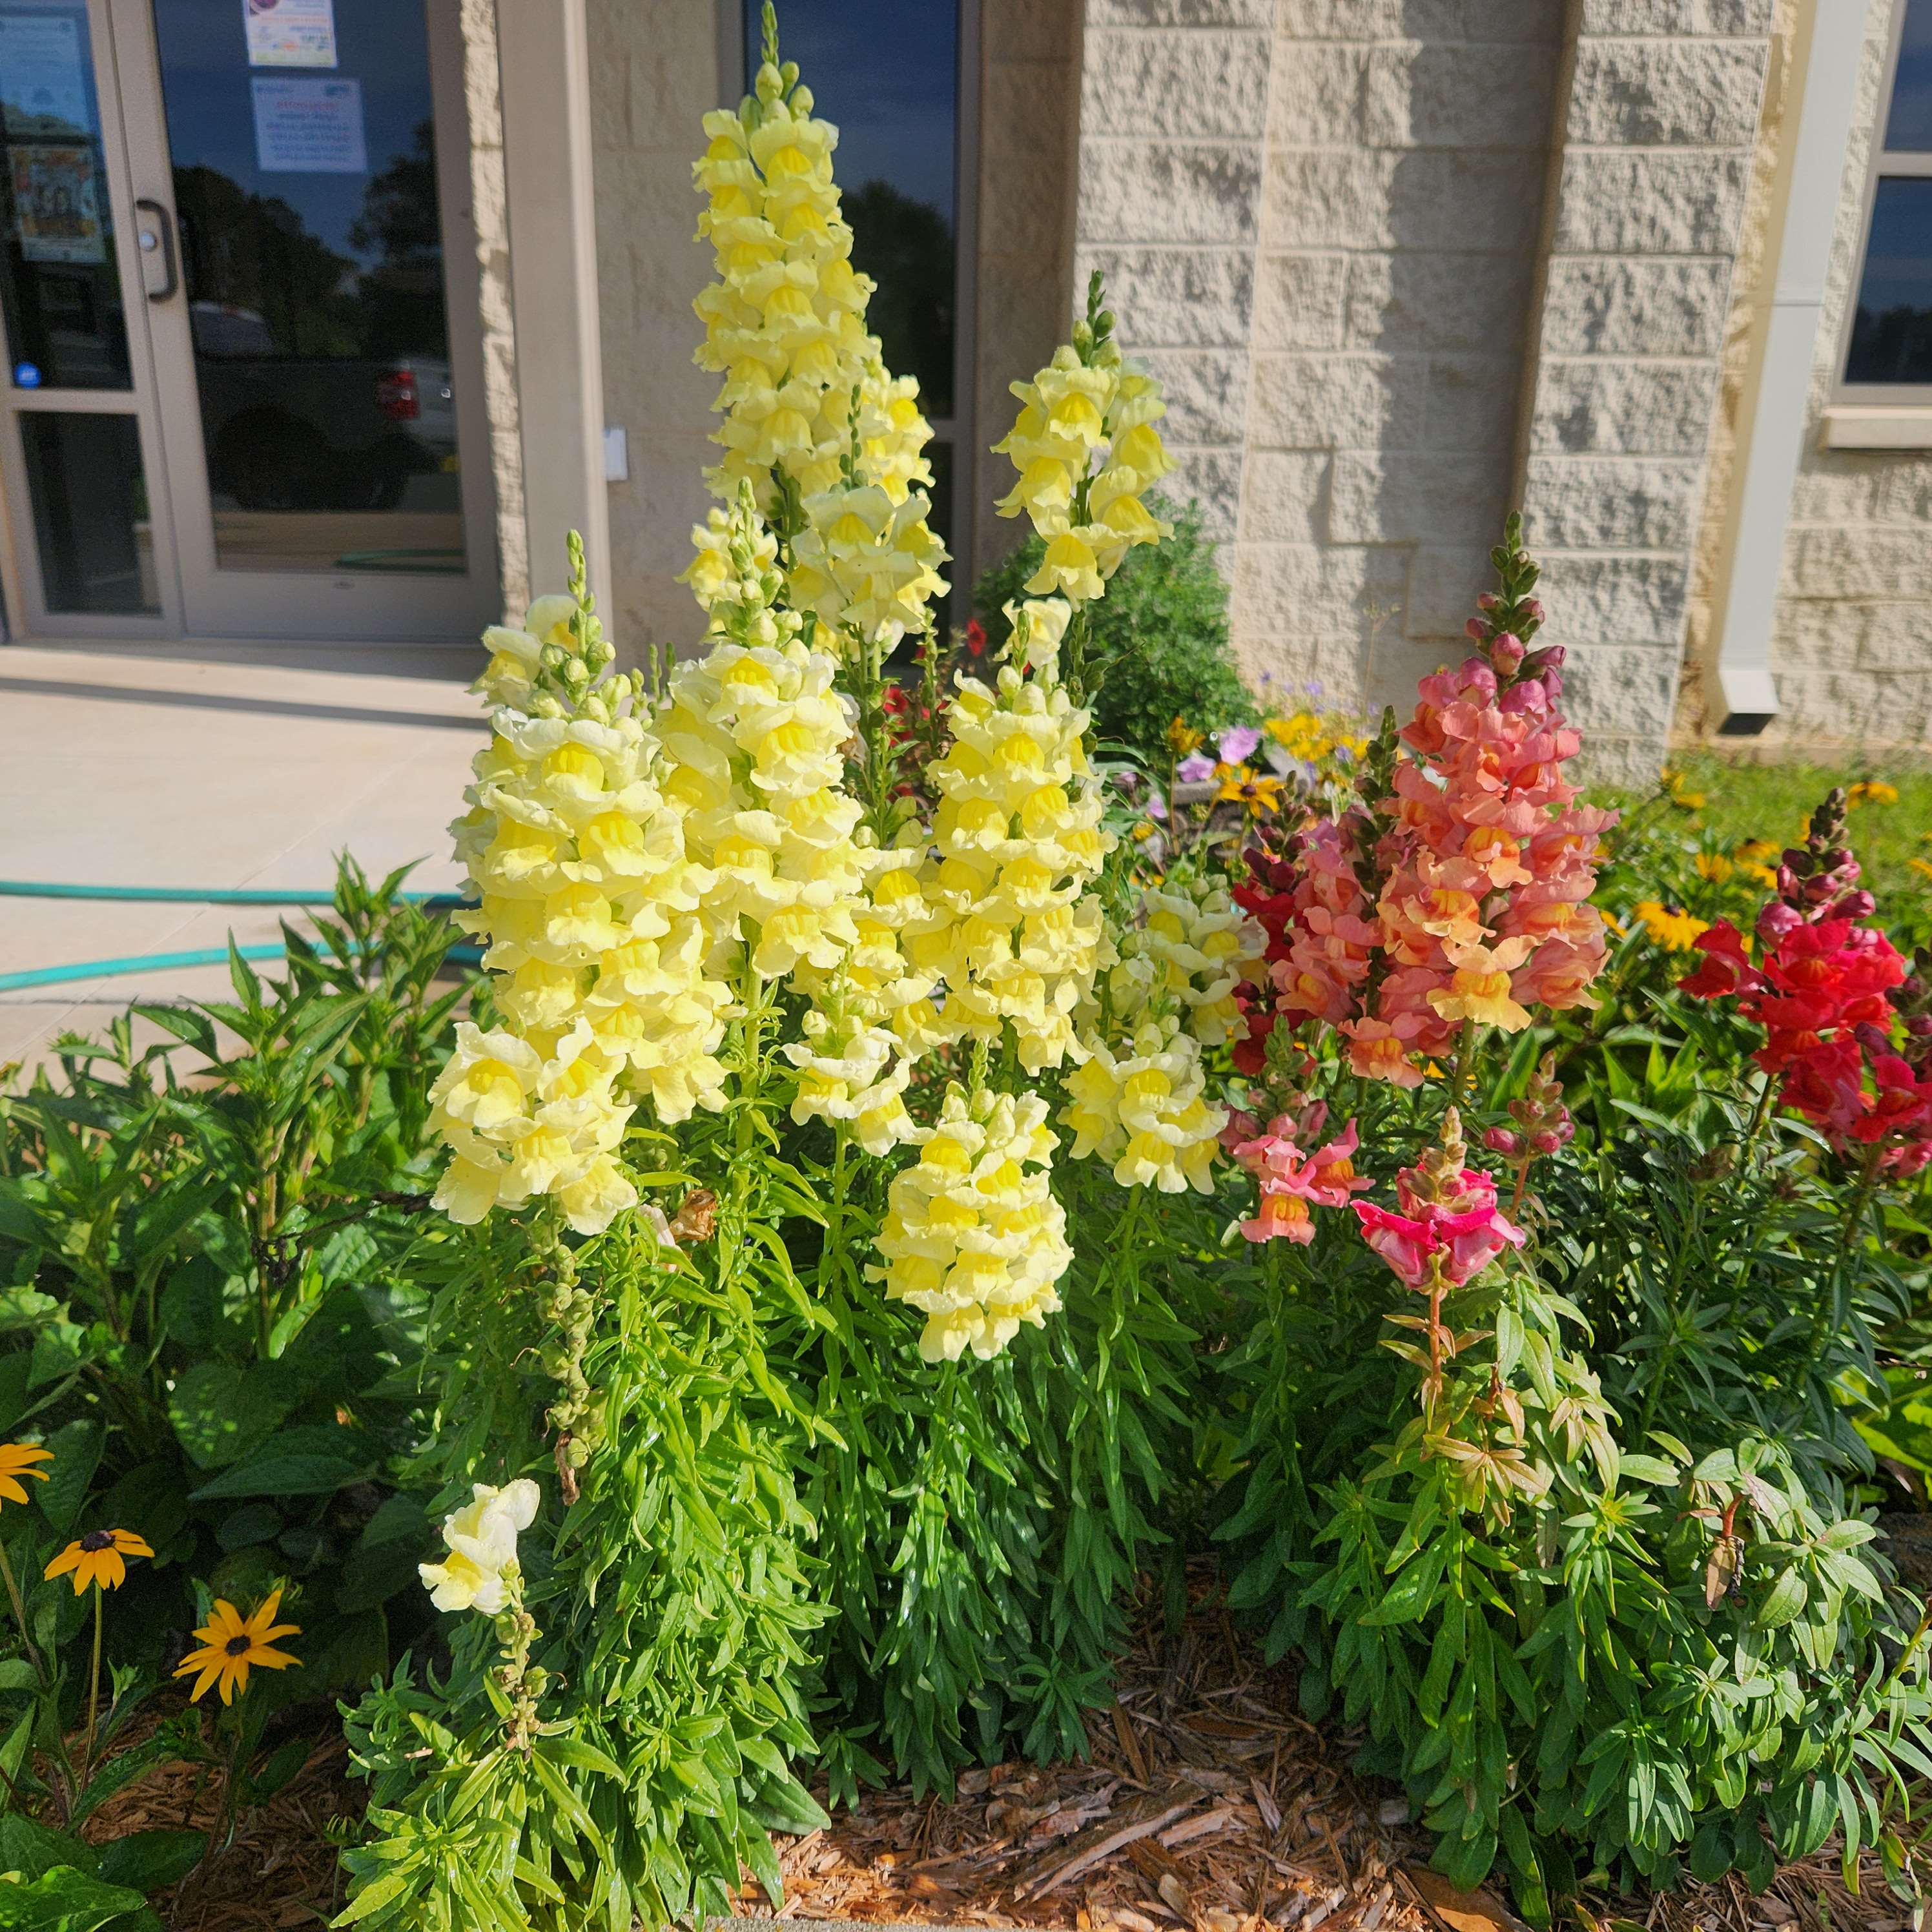
Photo credit: Donna Arnold,FAMU Extension.
The Growing Challenge of Climate Change
In recent years, gardeners have faced out-of-season frosts that damage cold-sensitive plants such as citrus, hibiscus, and tropical ornamentals. Unlike commercial growers with greenhouses, most homeowners lack protective infrastructure, leaving their landscapes exposed. The financial loss of damaged plantings can be significant, but the emotional toll of watching cherished gardens succumb to sudden freezes is equally profound.
Climate change intensifies these challenges. Stronger cold fronts and occasional winter heat spikes disrupt plant growth, weakening resilience and reducing vitality. Homeowners often resort to improvised measures, blankets, plastic sheeting, or makeshift covers, that provide only temporary protection. Without specialized forecasting tools, residents rely on local news or apps, which may overlook microclimate variations across neighborhoods.
Weather vs. Climate: Why It Matters
It’s important to distinguish between weather and climate.
- Weather refers to the day-to-day conditions, temperature, rainfall, humidity, and more, that we experience locally.
- Climate is the long-term average of these conditions, measured over seasons, years, or even decades, across regions or globally.
Florida, for example, has a wet season and a dry season, but rainfall within those periods can vary greatly from day to day. While climate patterns help us anticipate seasonal trends, the unpredictability of weather events, like sudden frosts or heat spikes, creates challenges for gardeners. Understanding this distinction helps residents prepare for short-term weather swings while adapting to long-term climate shifts.
Adapting for Resilience
Climate change is no longer a distant concept; it’s a daily reality for North Florida gardeners. To adapt, communities must embrace:
- Education programs on cold protection and plant selection.
- Affordable protective solutions like frost cloths and portable covers.
- Resilient landscaping strategies, including native plants better suited to fluctuating conditions.
For further reading on climate impacts and gardening adaptation in Florida, see: Cold Protection for North Florida | UF/IFAS Extension; Climate Change and Florida’s Native Plants – Florida Wildflower Foundation; Surviving Winter Storms: Smart Gardening; Frost in the Panhandle? Practical Tips for Protecting Your Garden | Gardening in the Panhandle Practices for Northern Florida Gardens
by Molly Jameson | Dec 11, 2025
Parsley establishes well in late fall and provides steady harvests throughout the winter. Photo by Molly Jameson.
Cool Season Annual Herbs to Plant in December

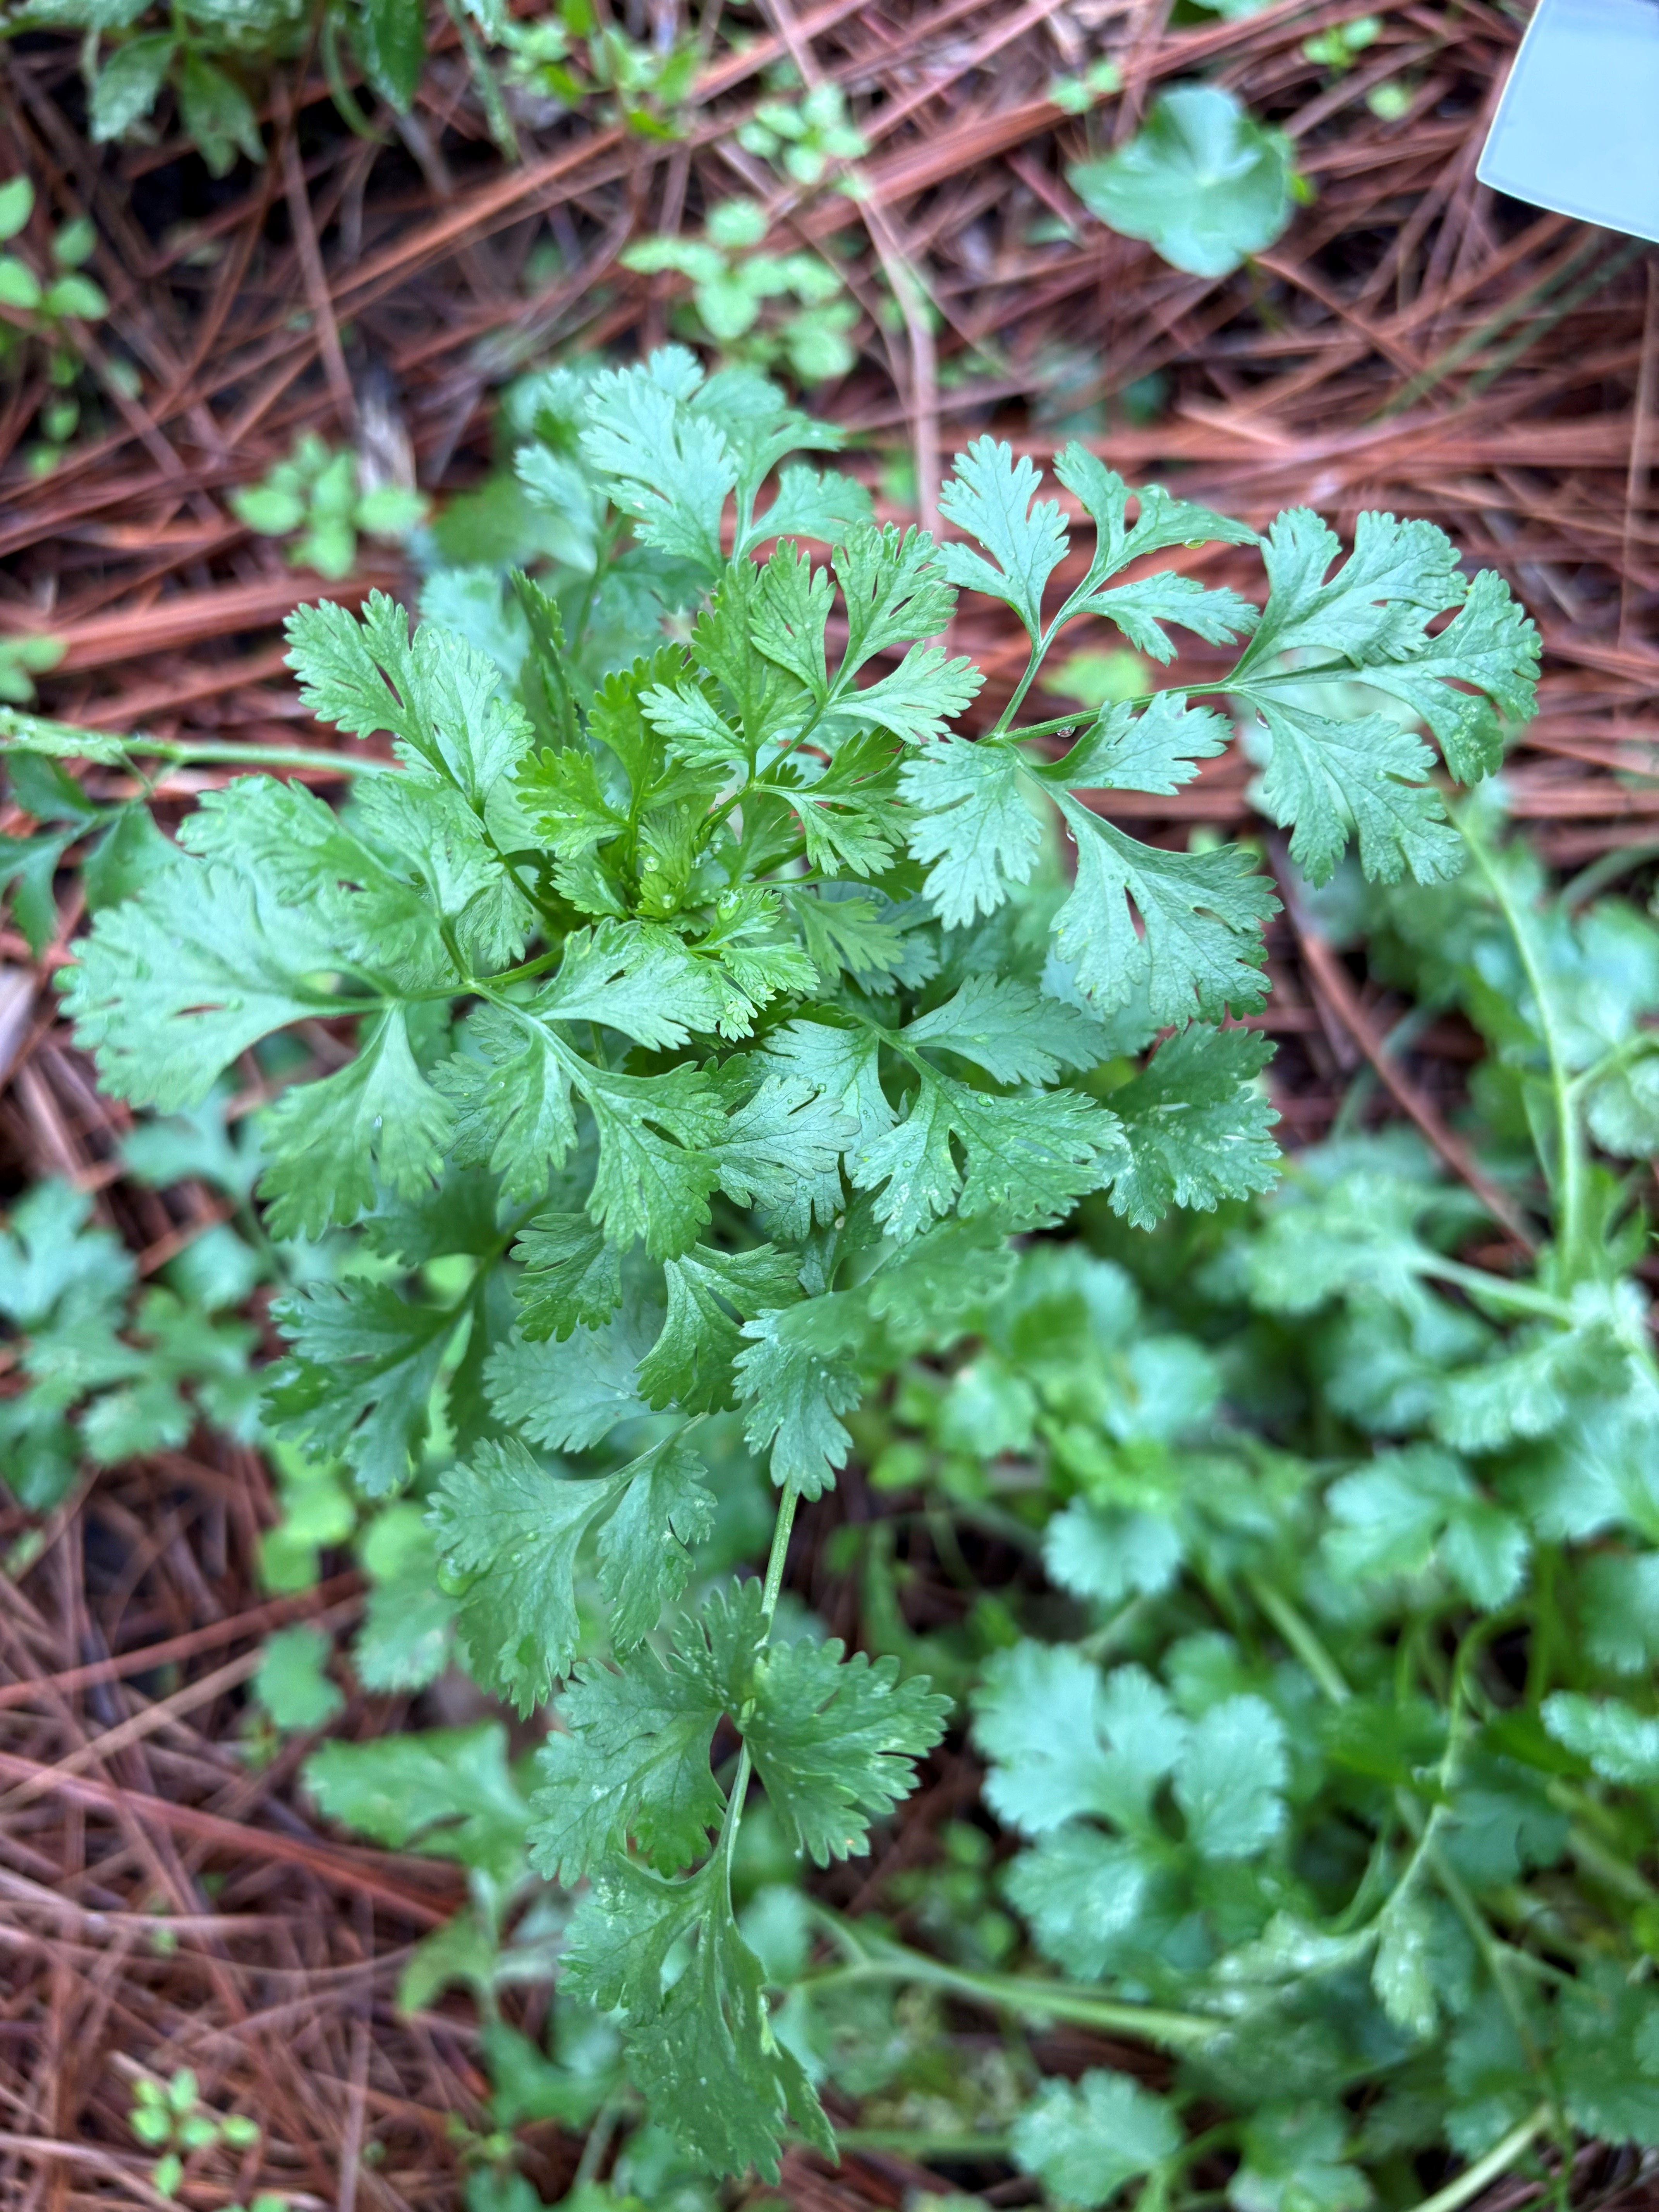
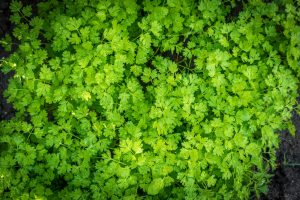
Cool-season cilantro grows quickly in mild weather and benefits from regular harvesting. Photo by Molly Jameson.
Winter might seem like the quiet season in the garden, but for cool-season herbs, it’s the time they settle in and really show off. While tomatoes and peppers and other warm-season crops may have succumbed to our first cold snaps, many herbs absolutely love the mild, bright, chilly weather we get from December through early spring.
If you’re itching to plant something right now, annual herbs are one of the easiest ways to keep the garden feeling lively through the colder months.
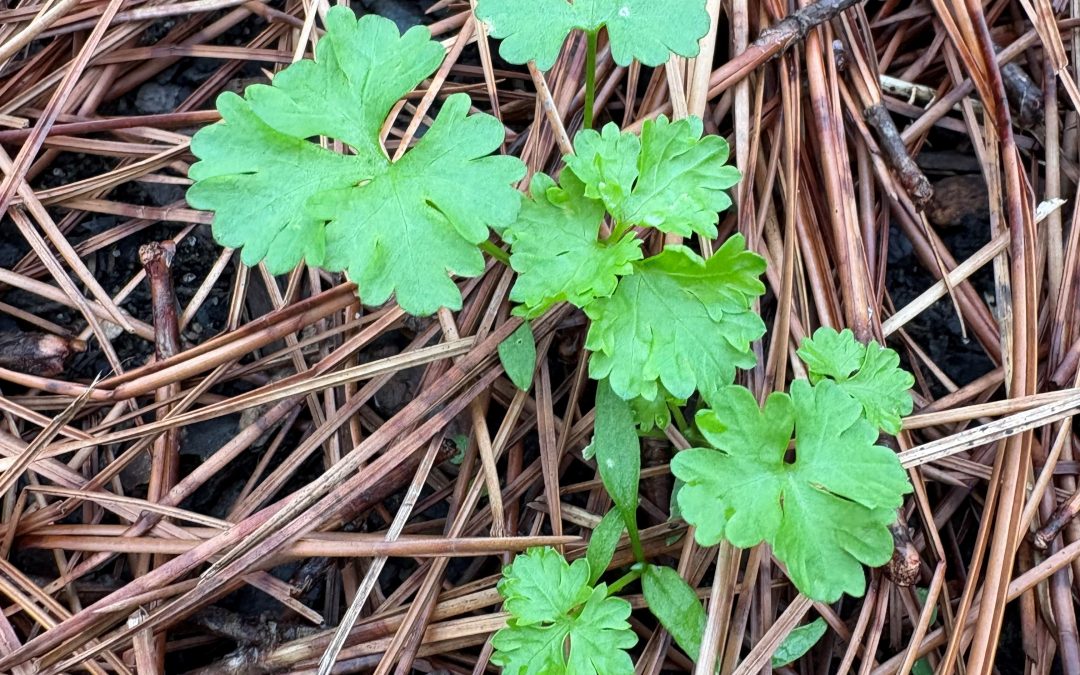
Cilantro (Coriandrum sativum)
Cilantro is one of the most reliable herbs you can grow in winter. It thrives in cool temperatures and short days, which makes December an excellent time to plant. You can scatter the seeds directly into containers or a raised bed, thin seedlings to six to eight inches apart, and harvest regularly to keep them producing.
Once warmer days return, cilantro will bolt and complete its life cycle, but that’s not always a bad thing. If you let the plants go to seed, the little green fruits ripen into the familiar brown coriander seeds. They’re useful in the kitchen, and you can save a handful to start next year’s crop.
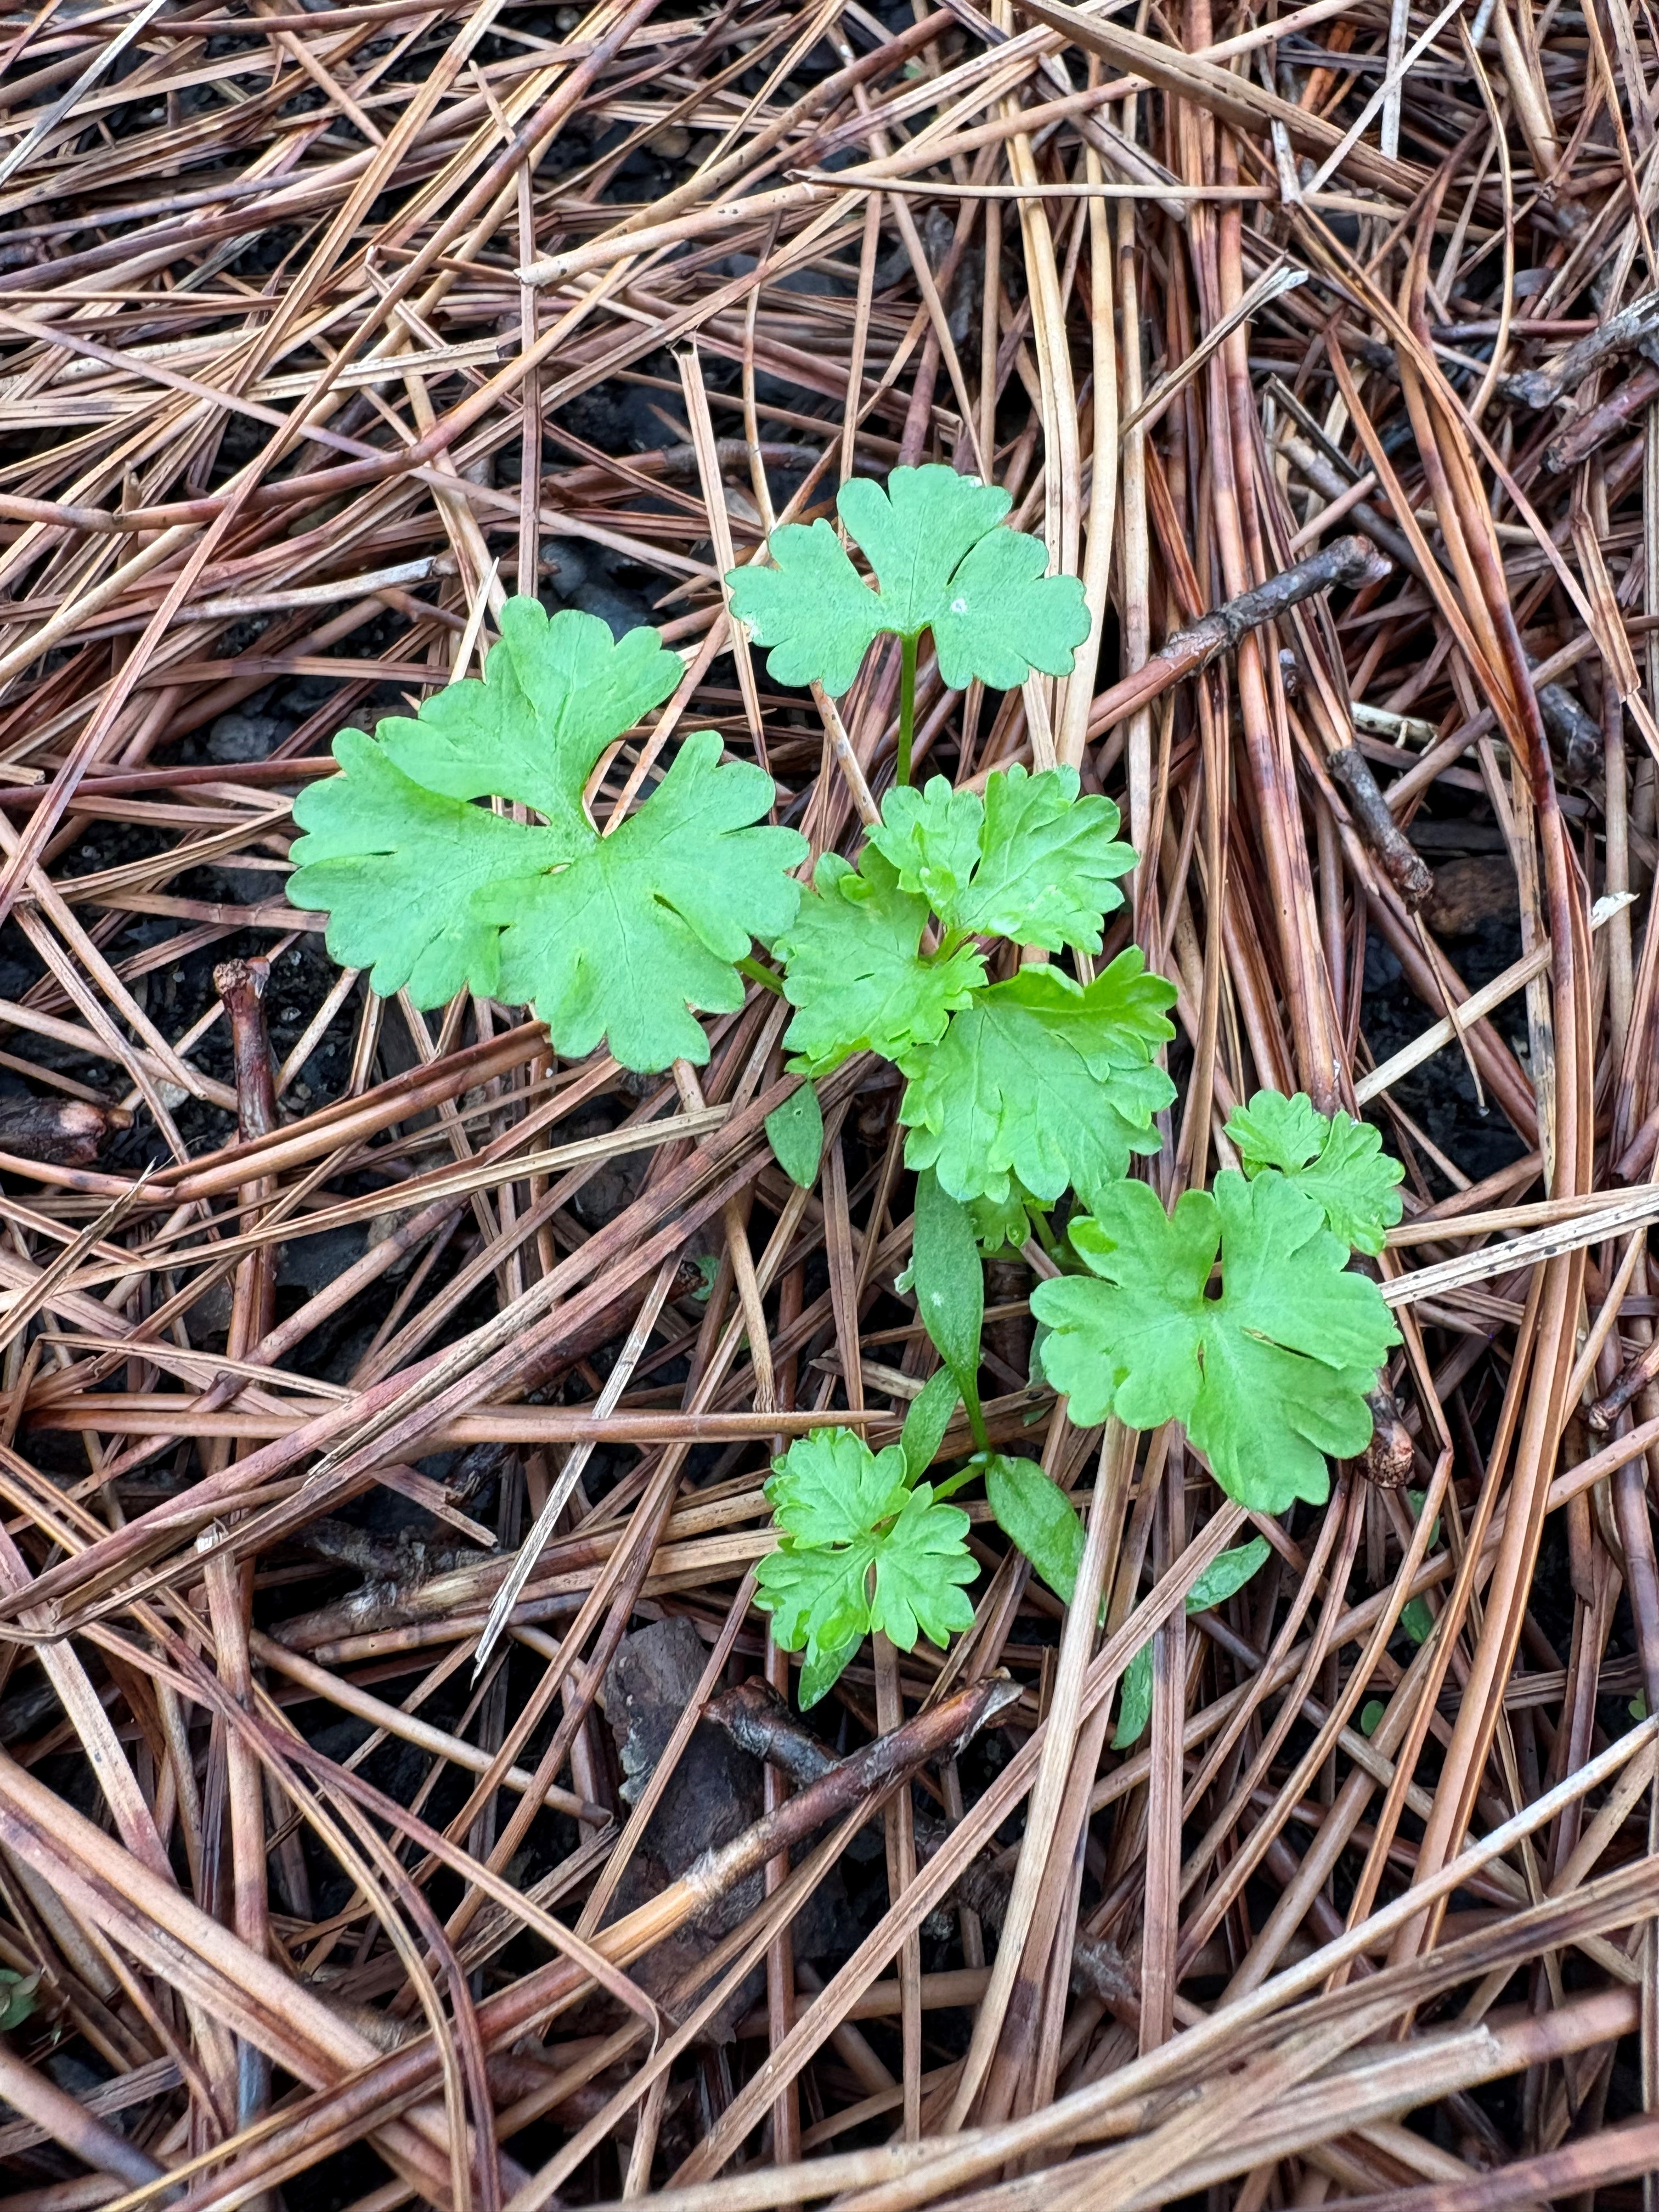
Parsley (Petroselinum crispum)
Parsley is technically a biennial, but here in Florida, we treat it as a winter annual. Plant it in late fall and it usually settles in without much complaint, producing a steady mound of leaves you can snip all season. Flat-leaf parsley tends to have stronger flavor, while curly parsley is often used as a garnish, though both types are perfectly good in salads, sauces, and soups.
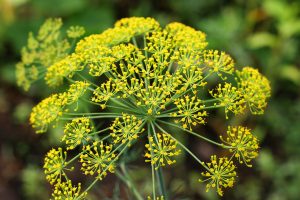
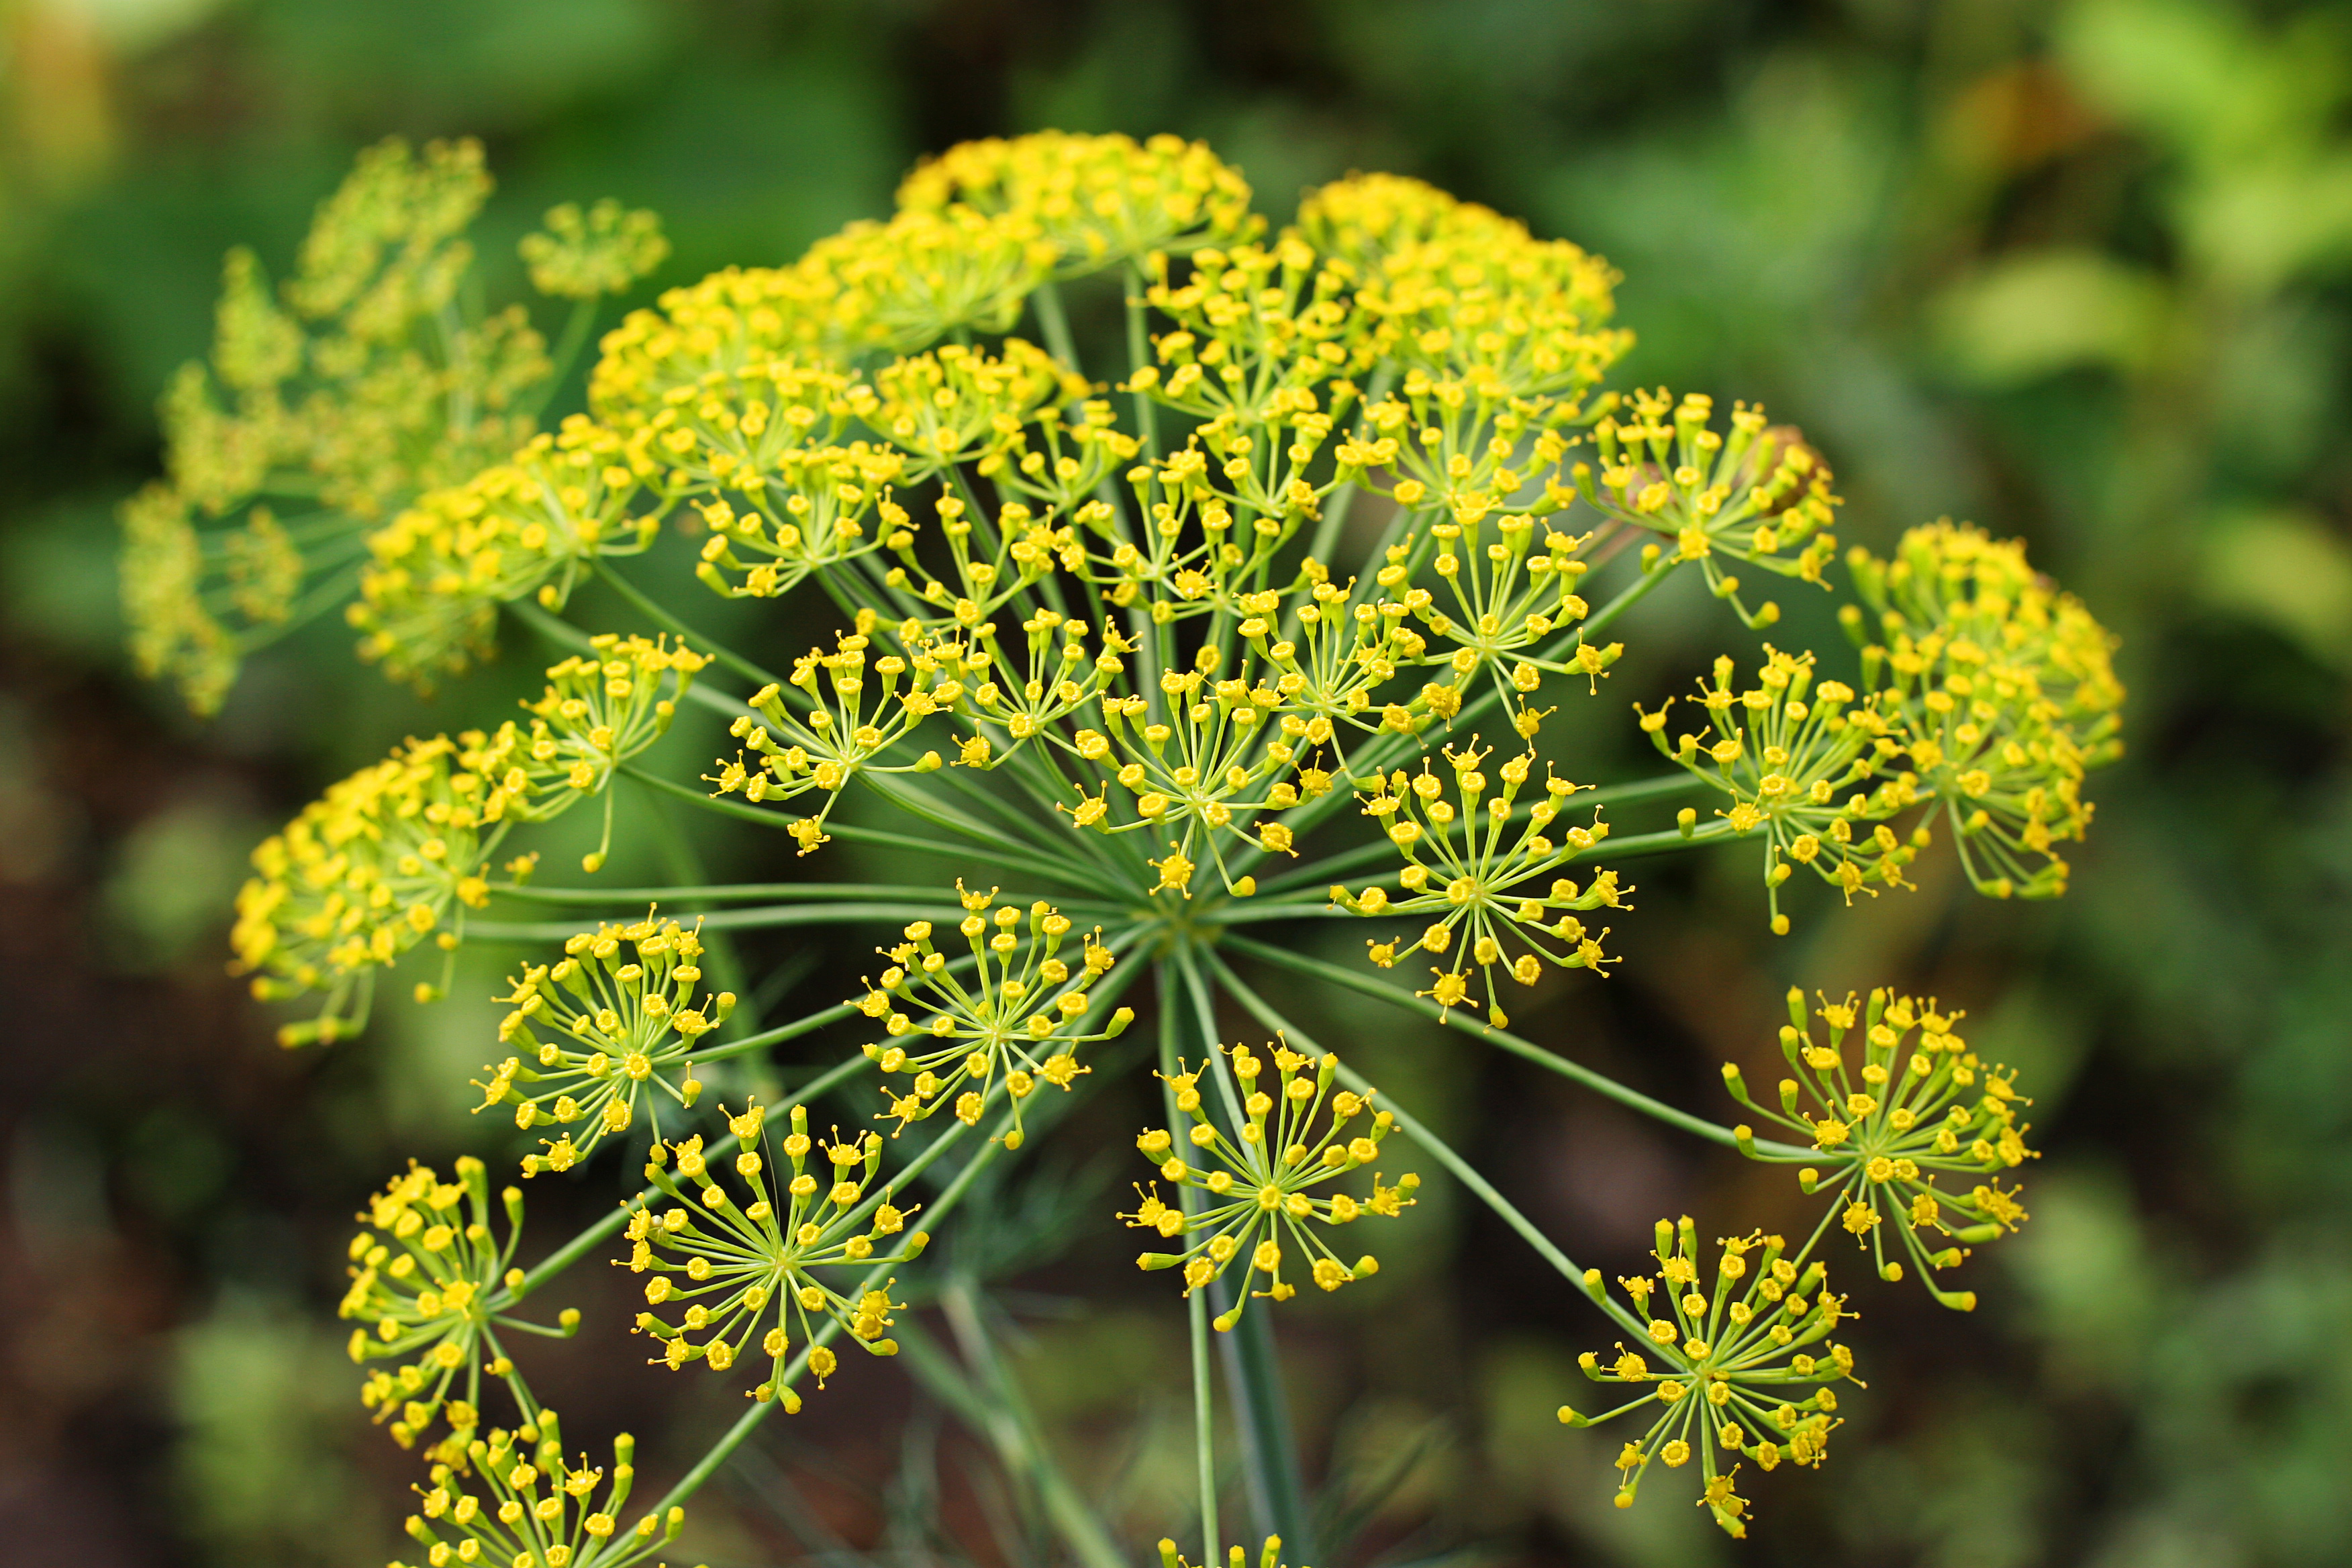
Dill produces umbrella-shaped clusters of tiny yellow flowers that attract pollinators. Photo by Irina Khomenko, Adobe Stock.
Give parsley sun or light shade and soil that doesn’t dry out too quickly. By the time the weather starts warming again, it naturally shifts its energy toward flowering, which signals the end of its leafy season.
Dill (Anethum graveolens)
Dill is one of those herbs you can spot from across the garden thanks to its fine, feathery texture. The scent alone makes it worth growing. The leaves, stems, and seeds all bring that familiar dill flavor to roasted vegetables, yogurt dips, potatoes, and seafood. The plants can stretch surprisingly tall if they’re happy, especially once the yellow flower heads start forming seeds.
And as long as the weather stays cool, dill usually keeps right on going. Give it a sunny spot with well-drained soil, and you’ll be harvesting for months. Like parsley and fennel, it also draws black swallowtail caterpillars. Many gardeners plant a little extra simply because the payoff – a few bright swallowtails drifting through the garden – is worth sharing.
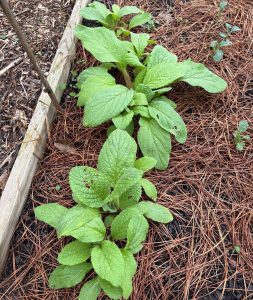
Borage produces edible leaves and flowers throughout the winter. Photo by Molly Jameson.
Borage (Borago officinalis)
Borage isn’t as widely grown as some of the other herbs here, but it’s one of the more charming additions to a winter bed. The leaves have a faint cucumber scent, and the blue, star-shaped flowers look like something out of a fairytale. Both are edible, and the flowers especially tend to disappear quickly into salads or iced drinks once you start using them. Bees seem to find borage immediately, even on cool days, and it often reseeds itself in the same spot for years.
It doesn’t ask for much – sun, a bit of space, and soil that drains reasonably well. Coming from the Mediterranean, it handles dry weather and even deer browsing better than many soft-leaved herbs.
Chervil (Anthriscus cerefolium)
Chervil, sometimes called French parsley, is a delicate, ferny herb with a mild anise flavor that’s perfect for winter cooking. It’s one of those herbs you want to use fresh – just toss a handful in at the end of cooking and it melts right into whatever you’re making. A few specialty forms even produce edible roots similar to small carrots, though the leafy types are what you’ll most often see.
Chervil’s delicate, fern-like leaves thrive in cool weather. Photo by Jiri D., Adobe Stock.
Chervil grows best in full to part sun with rich, moist soil, and it handles cold weather well. Warm temperatures, however, will quickly cause it to bolt and turn bitter, so winter is the ideal window for growing it here.
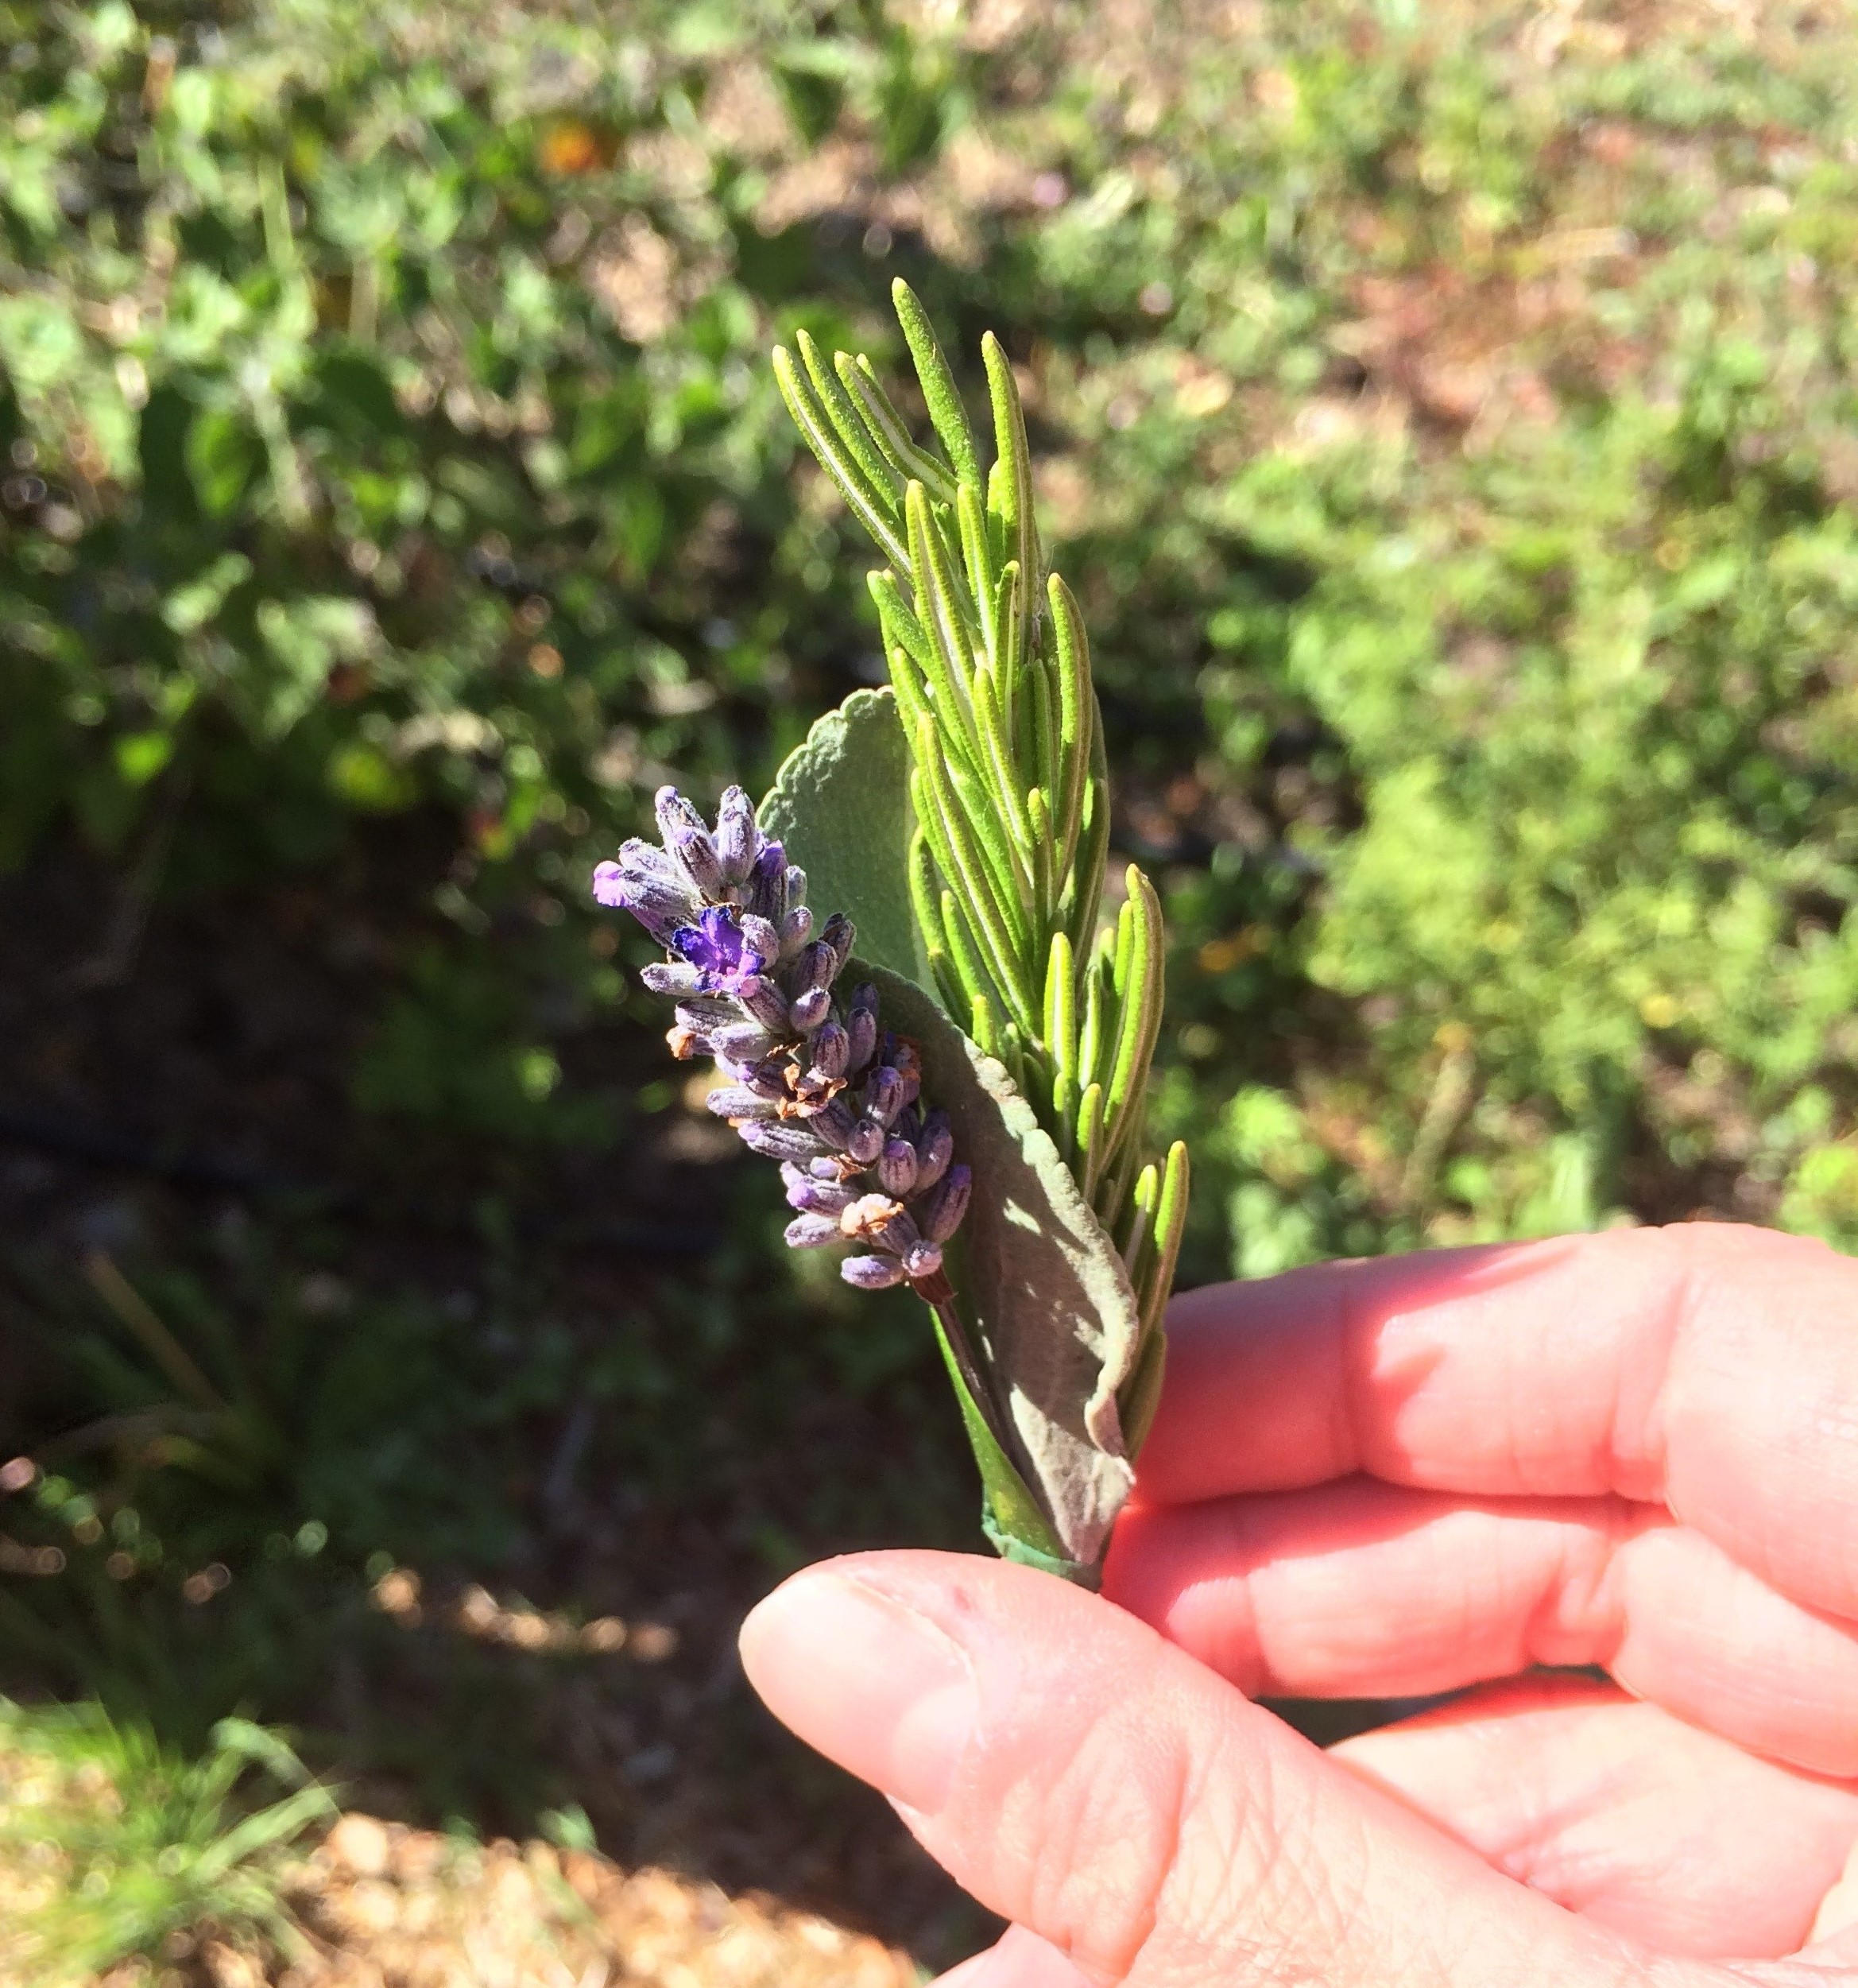
Lavender (Lavandula spp.)
Lavender always seems to lend a sense of calm to a garden. Most of us know it for the soothing scent used in soaps, lotions, and oils, but it’s also showing up more often in the kitchen. A tiny pinch can add a gentle floral note to pastries, syrups, jams, or a cup of tea.
Because it evolved in the dry hills of the western Mediterranean, lavender appreciates our winter weather far more than our humid summers. Spanish and French types generally handle our climate better than the classic English lavender, but be sure to give it the right conditions, including full sun, well-drained soil, and good air movement.

Spanish lavender blooms during Florida’s cool season and pairs well with rosemary in the kitchen. Photo by Molly Jameson.
Water lavender lightly as it settles in, then let the soil dry between waterings. Once established, it is one of those plants you end up brushing against every time you pass it, simply to enjoy the fragrance.
Fennel (Foeniculum vulgare)
Fennel is both ornamental and practical. The feathery foliage brings a soft, airy look to winter beds, and the flavor of the fronds works beautifully with citrus, fish, or hearty winter salads. If you let fennel grow tall, it eventually produces large umbrella-shaped flower clusters that draw in pollinators and later ripen into seeds you can use in the kitchen.
Most gardeners grow the non-bulbing type for its foliage, though bulb fennel can be planted in early winter if you want to experiment. Like dill and parsley, fennel is a host plant for black swallowtail caterpillars, so it’s worth planting extra if you enjoy watching the full butterfly life cycle. Fennel grows best in full sun with well-drained soil.
Growing Tips for Winter Herbs
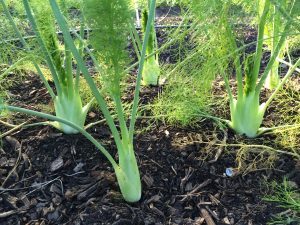
Fennel grows well in the cool months, producing feathery foliage and sweet, anise-flavored fronds. Photo by Molly Jameson.
Our winter sun is gentle enough that most herbs appreciate as much light as you can give them. Containers and raised beds work well because they drain quickly, which is important for almost all cool-season herbs. Keep soil evenly moist, and on nights with hard freezes (less than 28°F for over an hour), a light sheet or frost cloth over young plants offers protection. Most of these herbs will rebound quickly after brief cold snaps.
Cool-season herbs are some of the easiest plants you can grow this time of year. They’re fast, flavorful, and usually much less bothered by pests or disease than anything you grow in summer.
A few pots of cilantro, parsley, dill, borage, chervil, lavender, or fennel can brighten up both your meals and your garden all the way to spring.
by Daniel J. Leonard | Dec 4, 2025
My previous article outlined the benefits of planting trees during the winter dormant season. Once planted, it’s then time to implement one of the best practices that helps ensure successful establishment of recently installed trees and shrubs – mulching.
Mulching, by definition, is simply the process of adding a layer of material over the top of the soil. Like planting at the right time, mulching does many great things for your landscape. Mulching helps moderate temperatures; the soil stays warmer in the winter and cooler in the summer. Mulching increases water retention; when the sun isn’t blasting directly onto the soil, it dries out much more slowly. Mulching reduces weed pressure; most weed seeds require sunlight to germinate. Etc. Etc. The benefits of mulch abound. But what material you use and how you apply mulch figure heavily into whether your mulch helps or harms the plants whose roots it lies over.
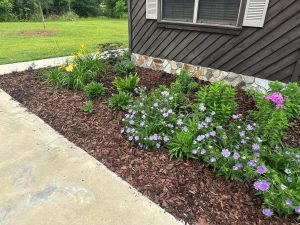
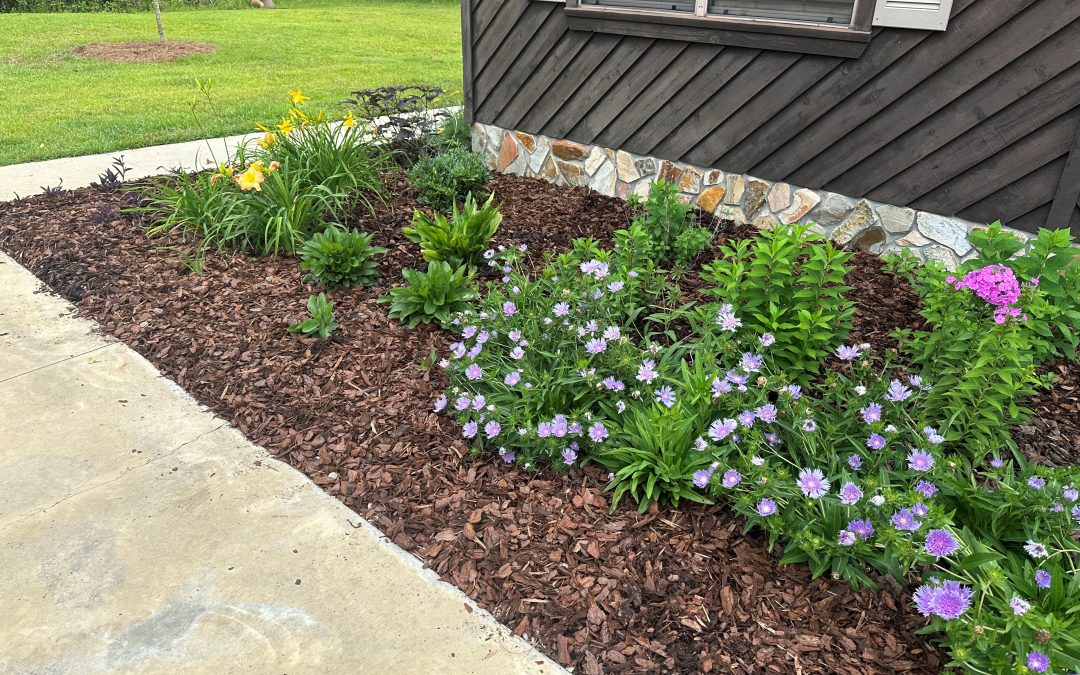
Pine bark mulch applied correctly in a landscape. Photo courtesy of Daniel Leonard.
There are two basic options when considering mulch: organic or inorganic sources. In general, you should always select an organic mulch that is derived from local sources. Organic mulches are mulches derived from natural materials like pine straw, leaves, tree bark, or shredded wood chips. These mulches break down over time and benefit soil health through bettering water holding capacity, increasing soil porosity and organic matter content, and drastically expanding the soil biome (beneficial worms, fungus, and bacteria that live in the soil). Organic mulches also allow landscapes to blend in with the natural areas surrounding homesites as they typically use materials found in local ecosystems. For example, in the coastal south, pine forests dominate, pine straw is plentiful, and purchasing usually supports local businesses that grow, harvest, and market the straw. So, unless you happen to live in a desert environment where rocks are natural, steer clear of rocks or other inorganic mulches.

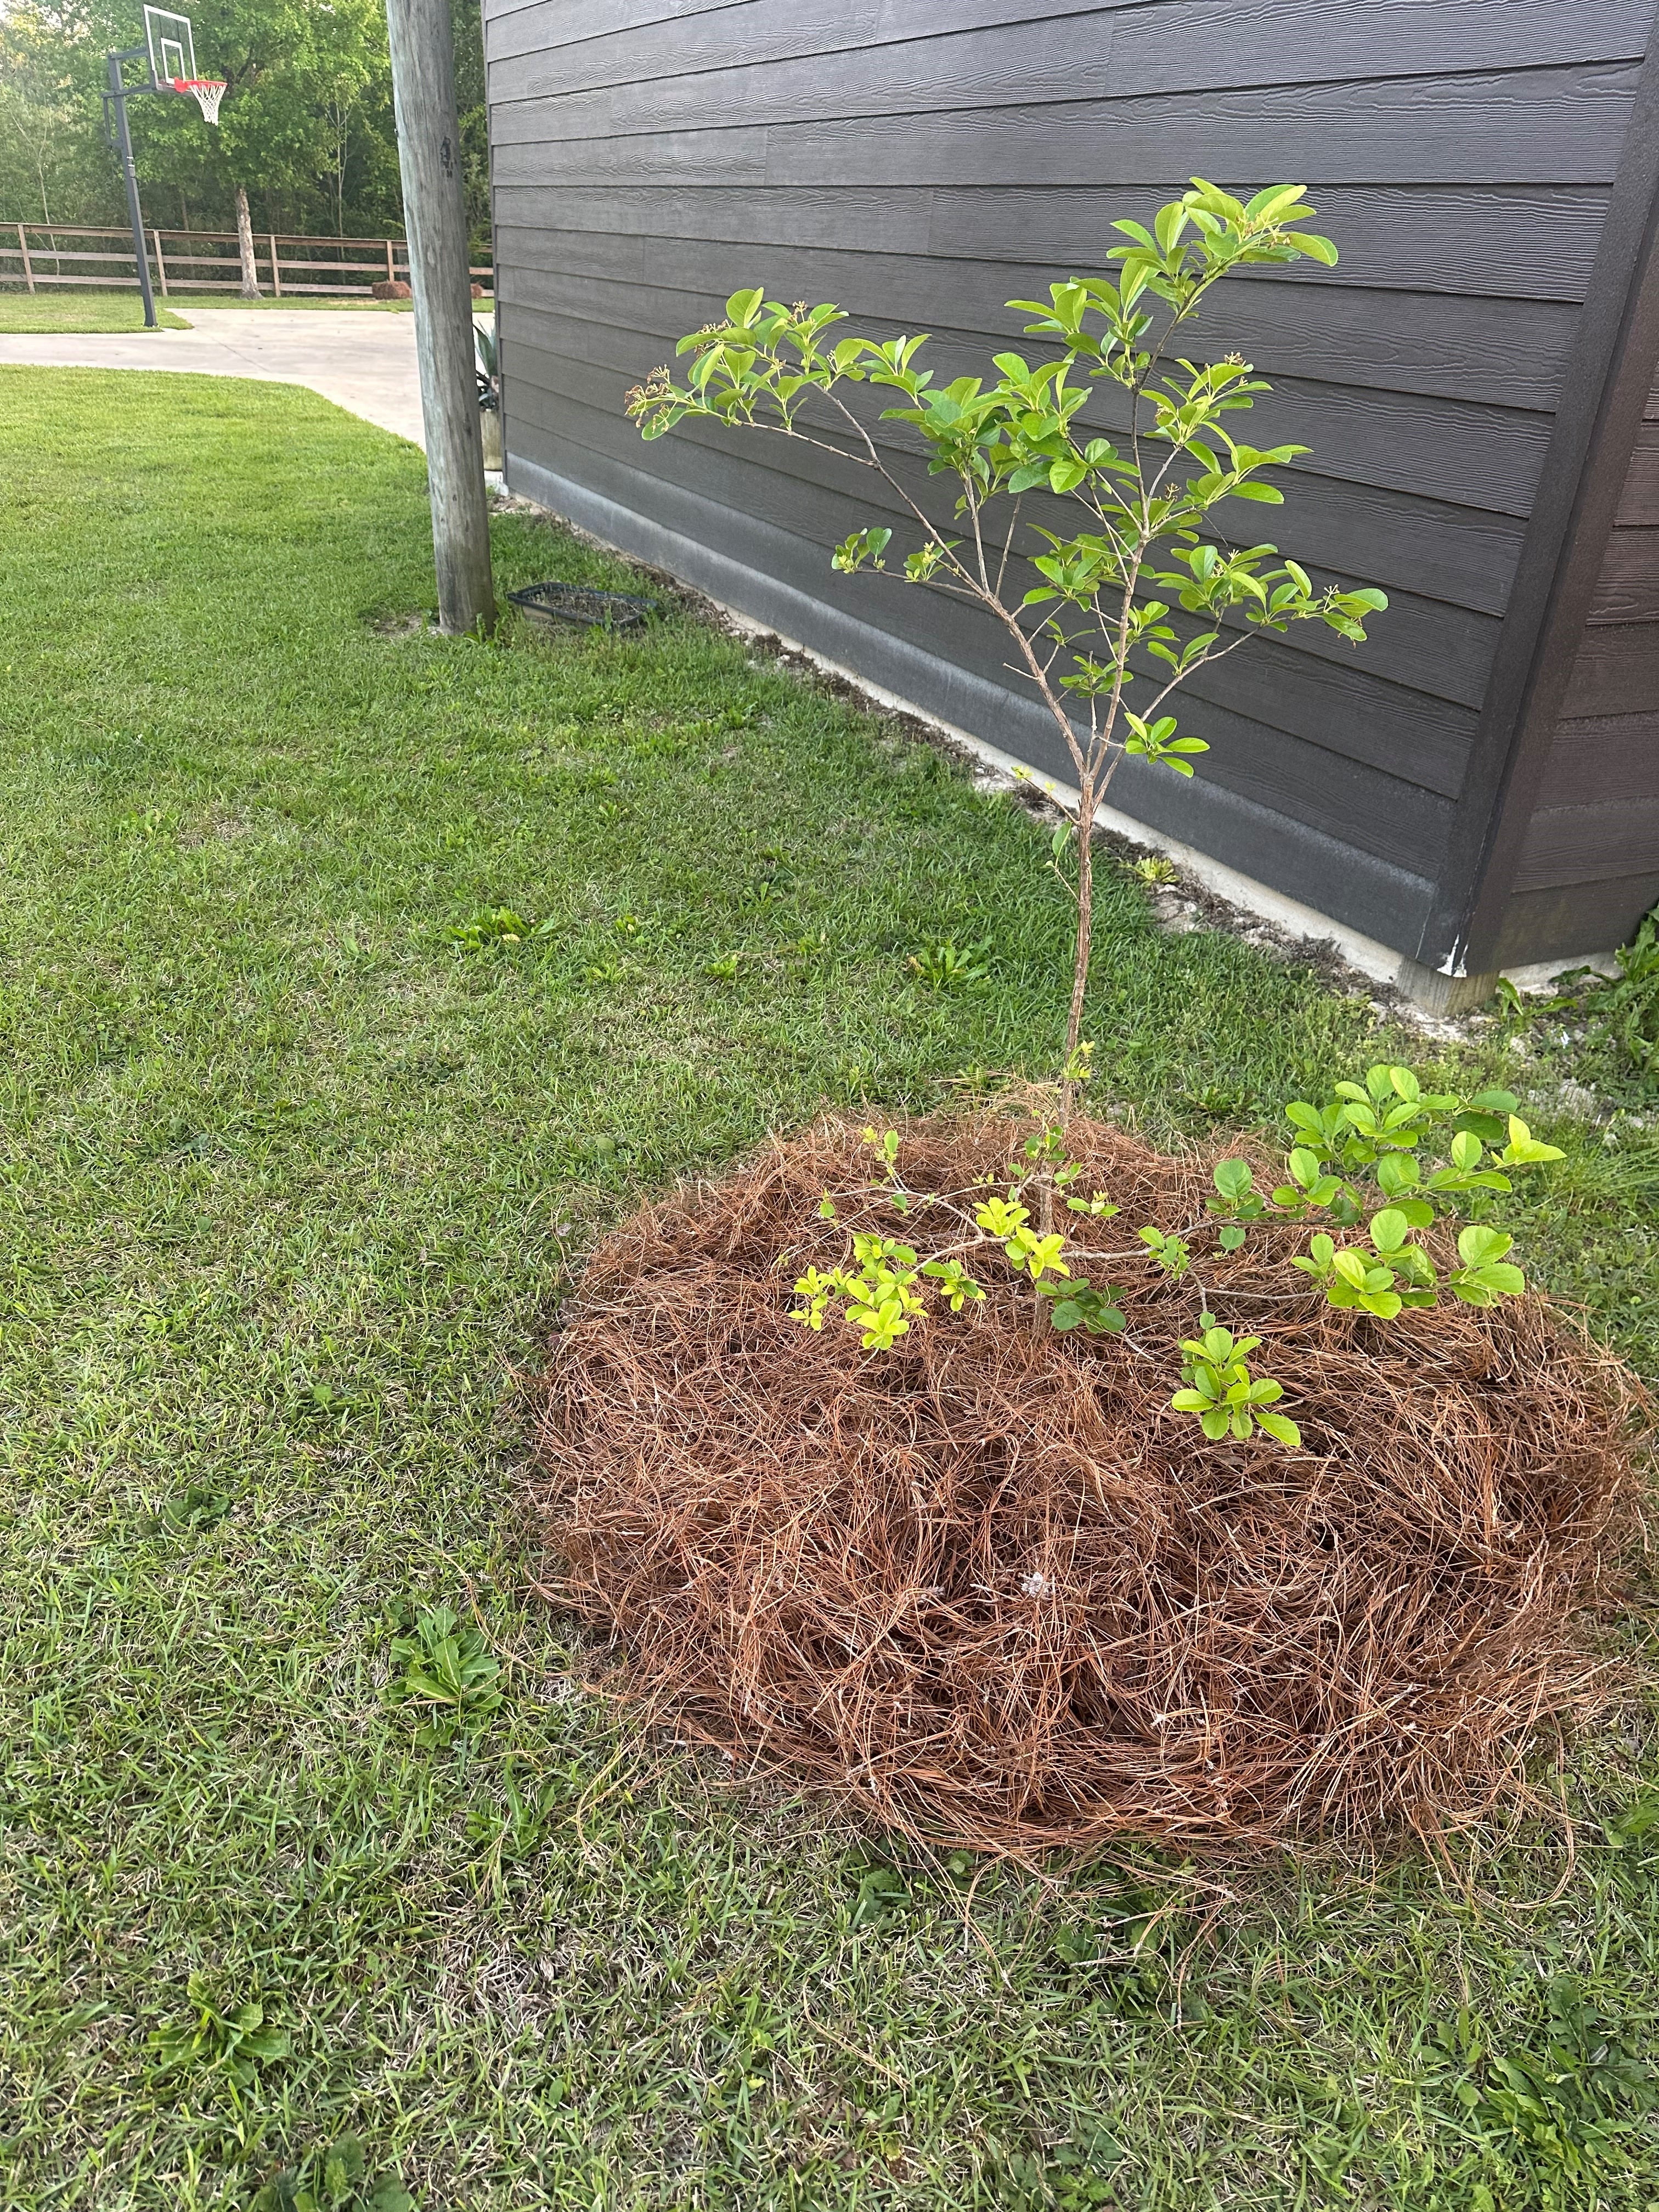
Pinestraw mulch applied around a newly planted tree. Photo courtesy of Daniel Leonard.
As with most things, there is a Goldilocks zone for mulch. Too little isn’t enough to keep weeds from easily poking through and soil from quickly drying. Too much and you risk depriving plant roots from oxygen exchange with air above, trapping too much moisture and causing rot issues, or even creating a hydrophobic layer of dried mulch that repels rainfall and irrigation. Instead, just the right amount of mulch should be applied, enough to create a 2-3” layer of helpful mulch. With some mulches like straw, this may mean applying a 6-8” layer that will settle down to the magic 2-3” number with a good rain, interlocking the individual pieces of straw. With others like wood chips or bark nuggets, there will be little settling, and the applied amount should be 2-3” deep. A final tip is to always pull mulch back a little from the crowns of plants and the trunks of woody trees and shrubs to prevent potential disease issues.
So, after you install your new landscape plants this winter, remember to mulch well. Be sure to select an organic mulch that supports local industries, enhances the soil in your landscapes, protects your plants’ roots, prevents weeds, and looks natural! For more information about mulch or any other horticultural topic, contact your local UF/IFAS County Extension Office. Happy Gardening!