Every time we have a dry period in spring or summer, I get those predictable calls about some mysterious pest that’s playing havoc in lawns.
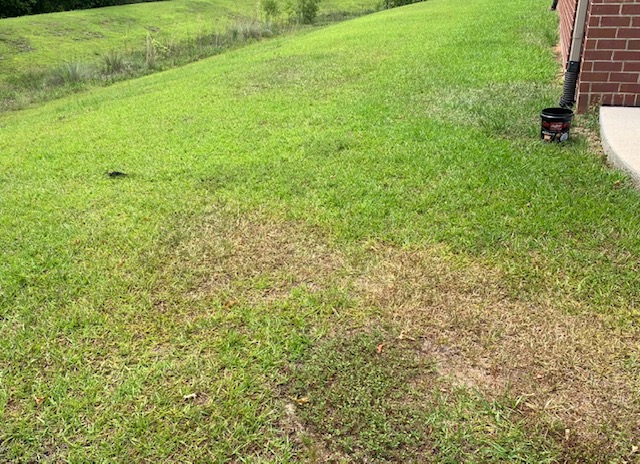
Dry spots in lawn. Photo credit: Larry Williams
Without realizing it, the caller usually describes a textbook example of dry spots in a lawn. And many times that’s what the problem areas are – dry spots.
Dry spots are the result of imperfections in an irrigation system. They are revealed during dry weather. Adequate rainfall masks the imperfections in an irrigation system.
Possible imperfections are many. The homeowner may easily fix some irrigation system problems while other problems may require the expertise of a licensed irrigation contractor. There may be too few sprinkler heads for adequate coverage, insufficient pressure to operate each zone, incorrect choice of nozzles or wrongly mixing rotors with spray heads on the same zone. The cause for dry spots may be as simple as a maladjusted spray head, a broken spray head, a plugged nozzle, a tree or shrub blocking the water, grass that has grown over a pop-up spray head, etc.
Regardless of the cause, there are a couple of simple tests that can help confirm that the problem areas are to be blamed on lack of sufficient water vs. a mysterious pest.
First, check the affected areas by taking a soil sample in the root zone. Use a soil probe or shovel to remove a core of soil to a depth of 6 to 8 inches. Visually inspect and feel the soil sample for moisture. Do the same test in an area of the lawn that looks normal and compare the difference. It should be obvious if there is a difference in moisture between the areas tested.
The second test involves placing several empty straight-sided cans such as tuna fish cans in the affected area and several in a “normal” area of the lawn. Then let the irrigation system run long enough to collect some water in the cans. Compare the amount of water collected in the two areas. It should be obvious if there is a difference in the amount of water applied in the areas tested.
These tests are cheaper, less trouble and more environmentally friendly as compared to purchasing and applying pesticides for nonexistent pests as a result of incorrectly diagnosing the problem. If these tests do not identify the problem as lack of water, you may have a lawn pest. But don’t guess.
Occasionally inspect your irrigation system while it’s running for obvious, easily corrected problems such as a maladjusted or broken spray head. The following UF/IFAS Extension publications will help with your inspection. https://edis.ifas.ufl.edu/entity/topic/residential_sprinkler_systems
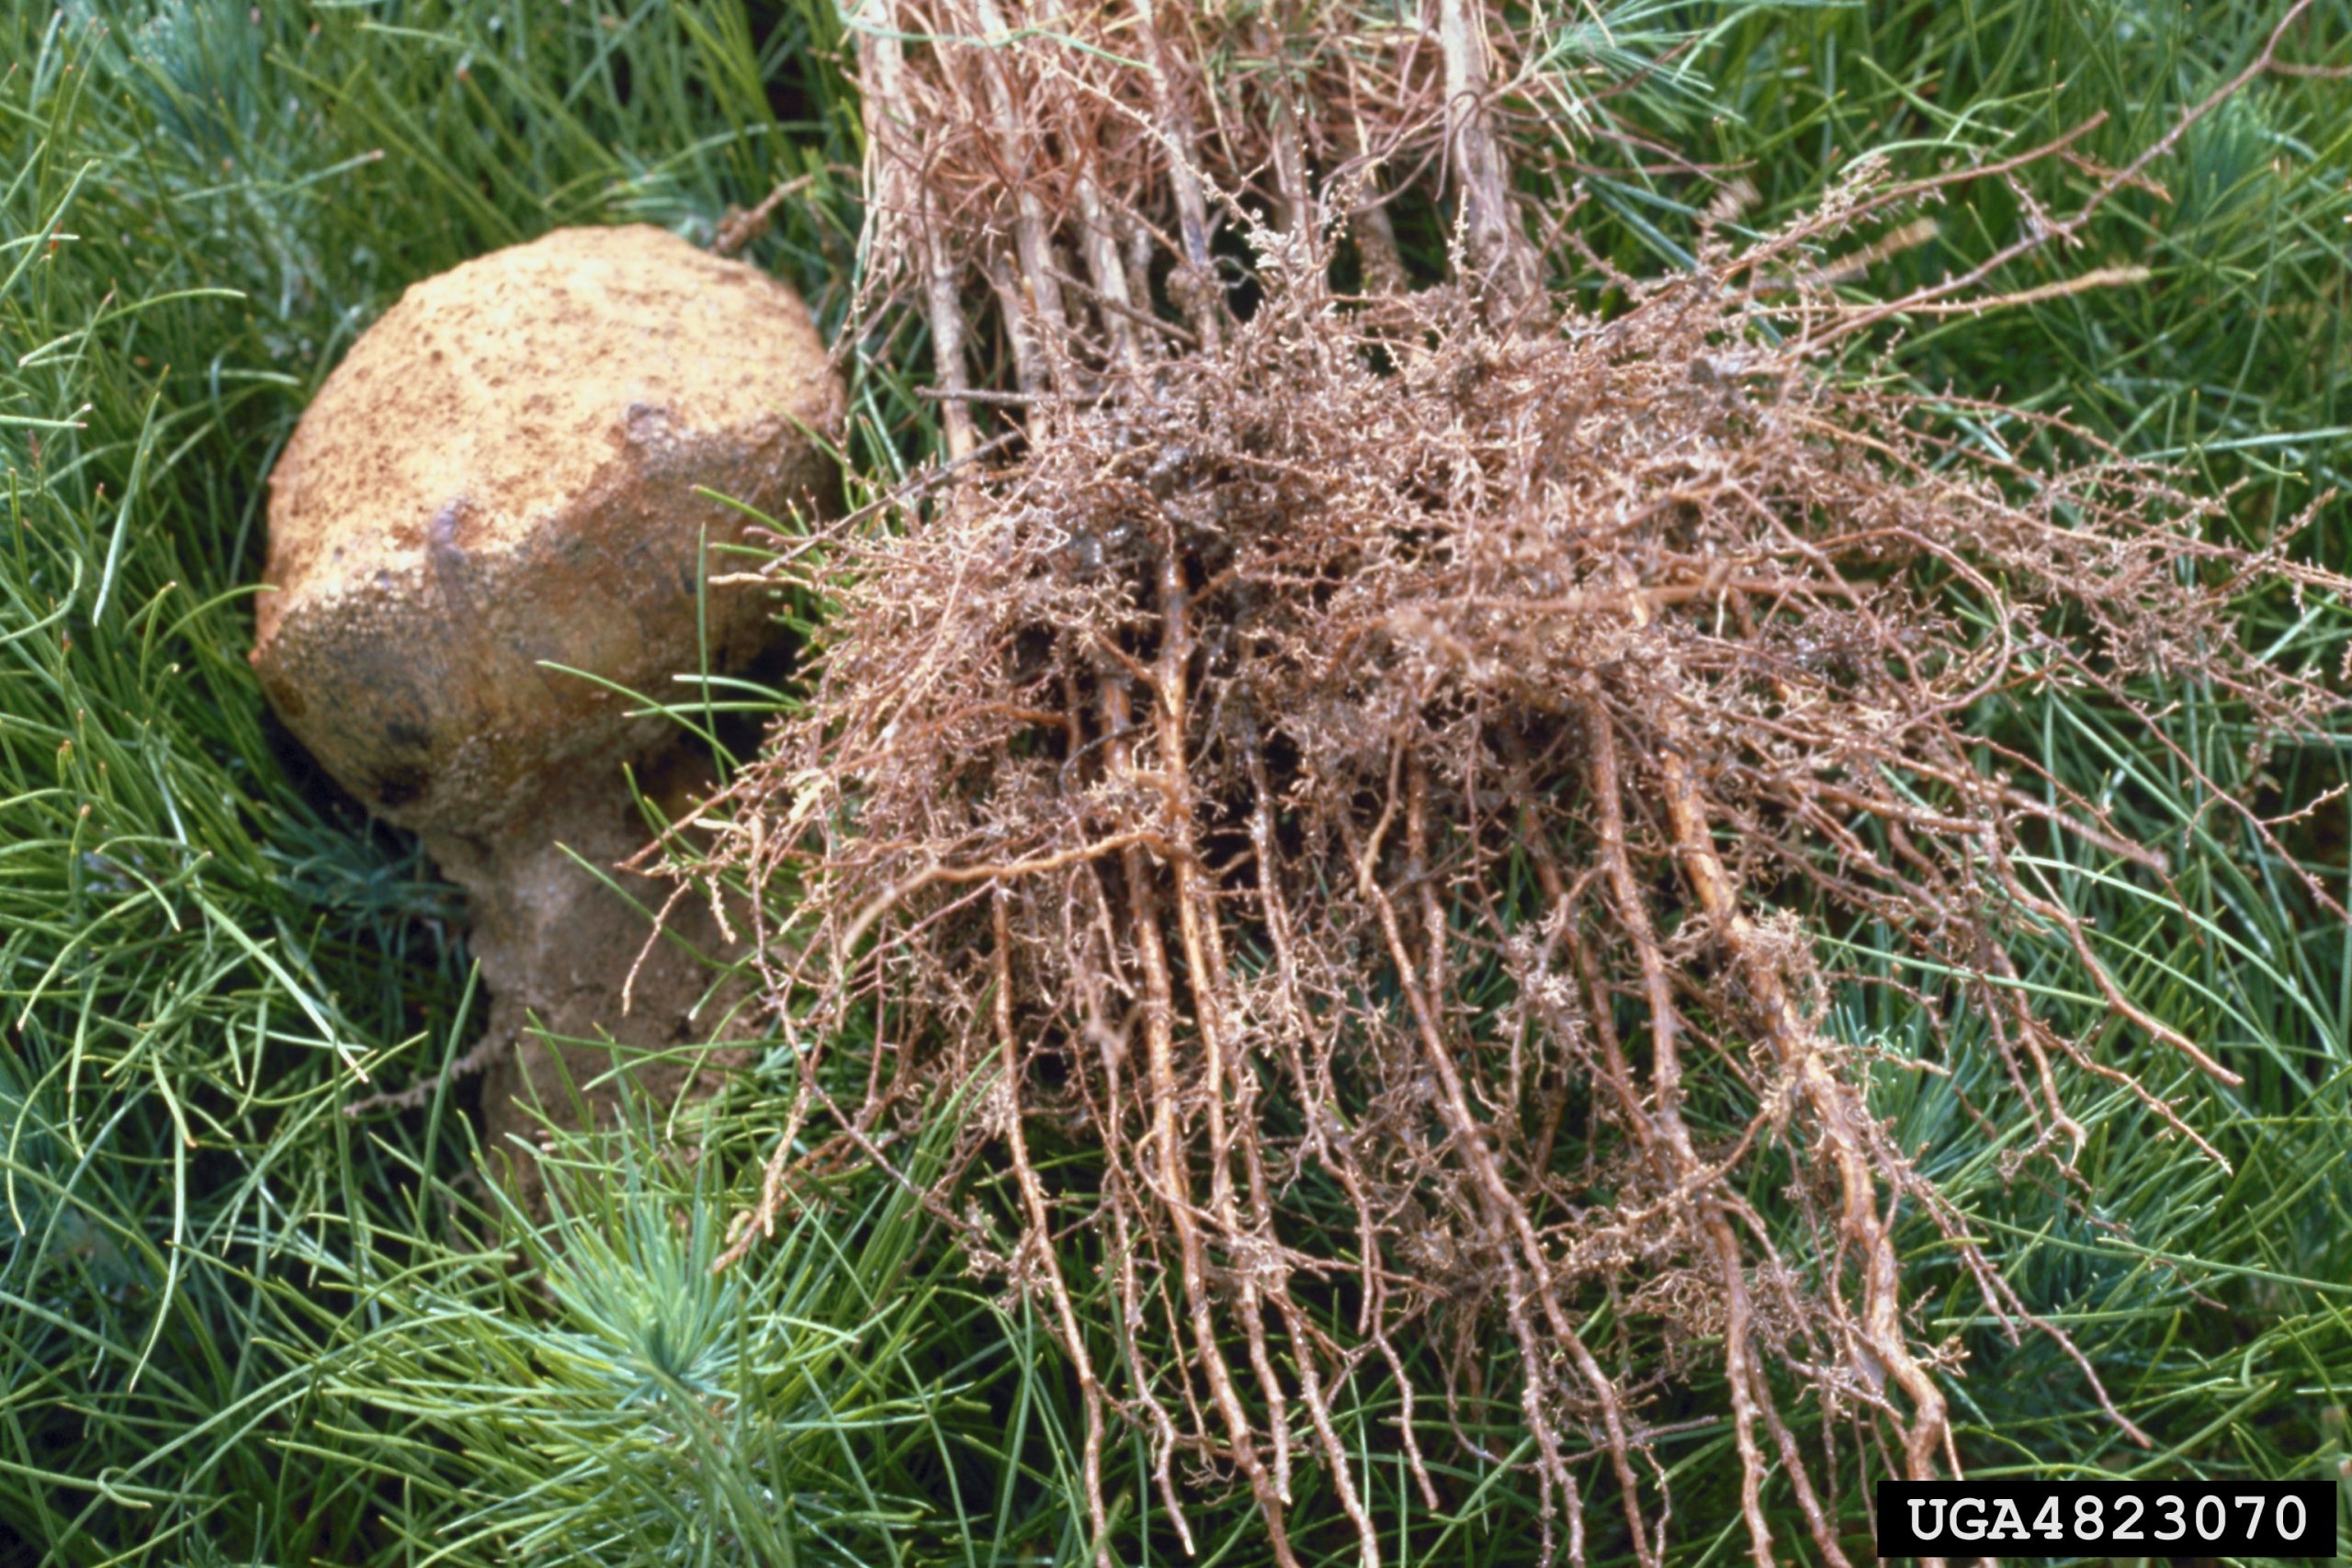
Mycorrhizal fungi develop mutually beneficial symbiotic relationships with plant roots. Photo by Edward L. Barnard, Florida Department of Agriculture and Consumer Services, Bugwood.org.
If you have taken an elementary school science class, you have probably learned the basics of photosynthesis. In case you are a bit rusty, photosynthesis is the process by which plants capture sunlight to manufacture their food. They absorb carbon dioxide from the atmosphere and water from the soil. With these ingredients, they create carbohydrates, or sugars, that supply the energy to grow and develop.
As you can imagine, this energy is vital to the health of the plant. But fascinatingly, plants expel between 20 and 40 percent of these sugars from their roots into the surrounding area around the roots. The sugars that the plant releases, along with amino acids, organic acids, enzymes, and other substances, are called root exudates. The area just inside the root where the sugars are released, and the area just outside the root where the sugars end up, is called the rhizosphere.
But why would a plant waste this energy? This is because they derive benefits from the unique microbial population that inhabits the rhizosphere. Plant roots are limited by the amount of nutrients they can take up in the soil. By feeding microorganisms their sugars, they are essentially recruiting workers to help them scavenge for nutrients in areas that they cannot access on their own.
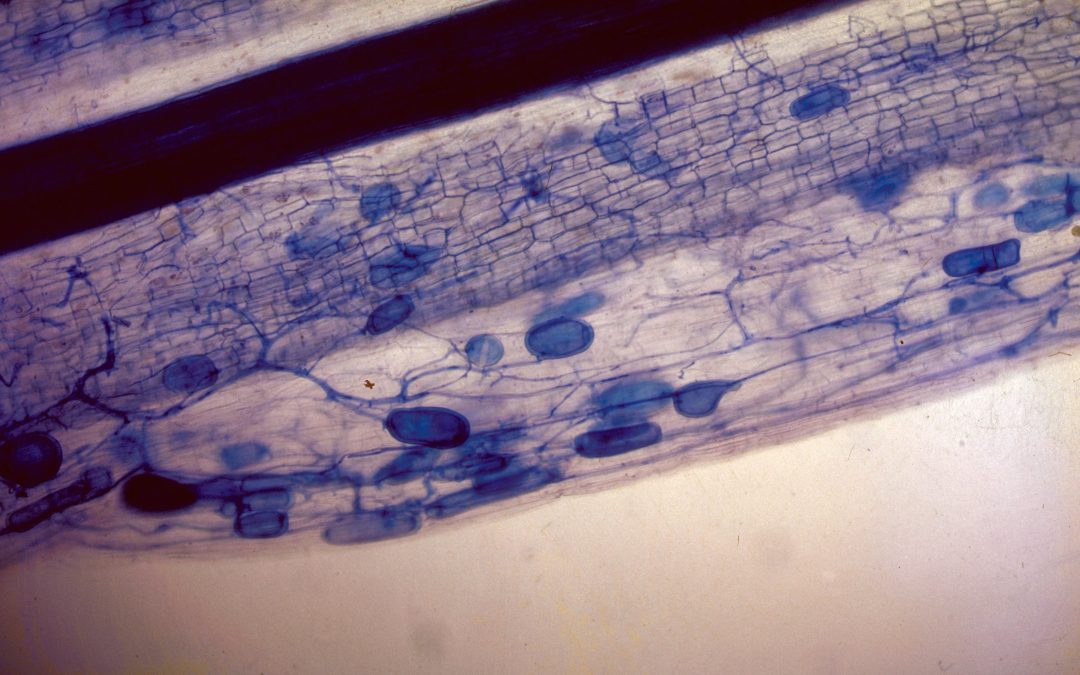
A microscopic image of mycorrhizal fungi in black walnut. Photo by Robert L. Anderson, USDA Forest Service, Bugwood.org.
Bacterial colonies, which are types of microorganisms, establish themselves within the rhizosphere and feed on the root exudates, allowing the bacteria to multiply. Along with the sugars they take in from the root exudates, they also take in nutrients from the soil. The waste that is produced by the bacteria is rich in bioavailable plant nutrients, which the plant then uses, creating a plant-microbe symbiotic relationship where everyone wins.
Another type of specialized microorganism, mycorrhizal fungi, also develops a symbiotic relationship with plants. Its meaning is within its name, as “myco” literally means fungus and “rhiza” literally means root. There are an estimated 50,000 fungal species that form these beneficial relationships with approximately 95 percent of plant families.
The mycorrhizal fungal hyphae, which are tiny fungal filaments one cell thick, do not have chlorophyll and are therefore not able to photosynthesize. Instead, the fungal networks have a large surface area that allows them to be particularly good at extracting nutrients from the soil. This enables them to access nutrients that plant roots would not be able to access on their own. The fungi drill into the plant root and trade these nutrients, along with water, with the plant in exchange for the sugary root exudates. In this way, both the fungi and the plant benefit from the relationship. Interestingly, these types of relationships will only develop once the plant releases particular root exudates that attract the microorganisms they are seeking. In essence, the mycorrhizal fungal hyphae will not associate with the root until they are invited.
Along with root exudates, root hairs and other plant cells accumulate within the rhizosphere as they grow and die throughout the plant’s life cycle. The combination of the root exudates, dead root hairs, and dead plant cells creates essentially a compost pile within the rhizosphere. This combination of substances establishes an environment where beneficial microorganisms can thrive, and a plant can maximize its nutrient uptake capacity.
Amazingly, there can be up to a billion bacteria and several yards of fungal hyphae living in just one teaspoon of soil! Of course, not all microorganisms are beneficial to the plant. But remarkably, plants have developed many ways in which they benefit, and ultimately thrive, in this diverse soil ecosystem.
As humans, we continue to learn more and more about these complicated and interesting interactions taking place in the soil beneath us. And the more we learn, the more we discover just how important these diverse ecosystems are to the health of the food web, and therefore, to the health of our planet as a whole.
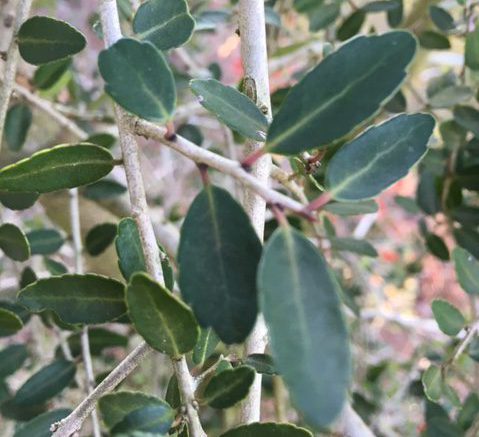
If you are looking for an interesting native plant that attracts wildlife and makes a statement, look no further than Weeping Yaupon Holly Ilex vomitoria ‘Pendula’. The weeping growth habit with olive green leaves and white bark are attractive year-round. A bonus are the showy bright red berries that attract birds in the fall and winter. It is a cultivar of Yaupon Holly Ilex vomitoria which is tolerant of variable light and soil conditions making it a very adaptable plant.
Weeping Yaupon is a small evergreen tree that grows 15-30 feet tall with a mature width of 6-12 feet. Once established it has a high tolerance to drought conditions and is also able to sustain salt spray making it a good fit for coastal landscapes.
Applying the right amount of water to the lawn when the turf actually needs water is not always the easiest task for busy homeowners. UF IFAS Extension Escambia County Master Gardener Volunteer Greg Leach shares information about a soil moisture monitoring system that attaches to a home sprinkler system. This can help you apply water to the turf when it is actually needed by measuring soil moisture availability.
Our Gardening in the Panhandle blogs cover many horticultural topics concerning yards, however let us not forget about properties that contain a body of water (pond, lake, retention or detention basin, stream, river or Gulf of Mexico). Out of the nine Florida-Friendly Landscaping™ principles, five directly deal with water quality. Those principles are #2 Water Efficiently, #3 Fertilize Appropriately, #6 Manage Yard Pests Responsibly, #8 Prevent Stormwater Runoff, and #9 Protect the Waterfront. An easy argument can be made that the remaining four principles (#1 Right Plant, Right Place, #4 Mulch, #5 Attract Wildlife, and #7 Recycle) can also impact water quality on your properties.
Photo Credit: University of Florida/IFAS Extension
The quickest and easiest way to start improving water quality is setting up a maintenance-free zone along your shore. At minimum, you should keep all chemicals 10′ away from the water’s edge and increase that distance as your slope becomes steeper. Chemicals include all fertilizers (#3) and any pesticides/herbicides (#6) meant for the landscape (there are times when situations arise where treatment of the water is warranted). If you must fertilize up slope, make sure to reduce irrigation (#2) to about 25% of normal the first time which keeps the fertilizer from dissolving and running down your slope’s surface (#9).
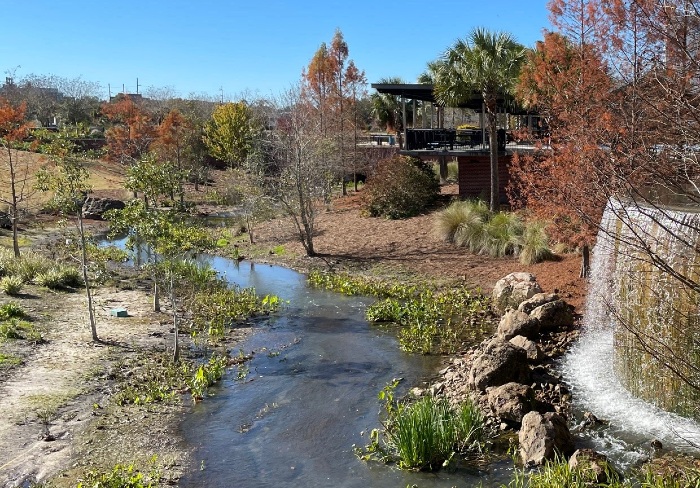
Cascades Park in Tallahassee, FL.
If possible replace turfgrass with a no mow zone containing plants adapted for shorelines to prevent applications of fertilizer and chemicals. Plants (#1) other than turfgrass will have deeper roots, stabilize the bank better and absorb more chemicals before entering the water. These taller plants in turn can become habitats (#5) for birds and other specimens which can increase your ecosystem’s biodiversity. Some properties have collection swales or low lying areas where water pools and then flows into the water. It is best to understand how water flows through the property and reduce chemicals in those areas too (#8).
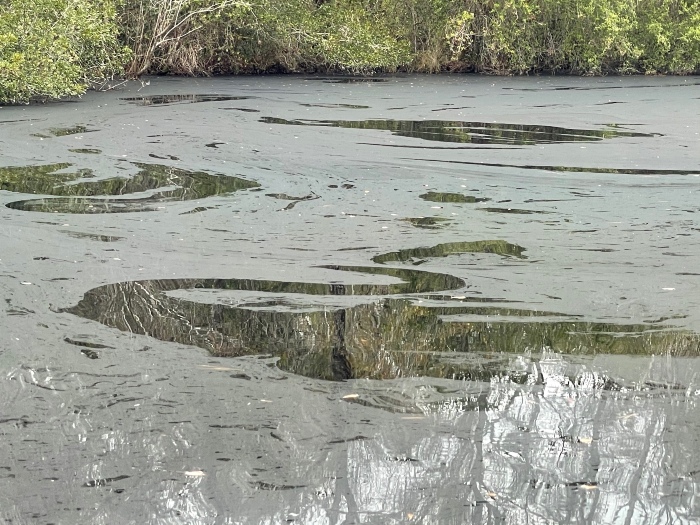
Heavy rains caused water levels to raise around this pond and decomposing leaf litter added a film over the pond.
As gardeners, we tend to compost our leaves and yard debris (#7) plus use mulch (#4) to reduce water loss from our soils. Keep mulches and compost piles away from flood zones and when possible keep leaves from washing into your water as they can create films on the surface. Never allow grass clippings to land on water surfaces as they will add nutrients when tissue decays.
As Florida continues to grow, we all must play an important role in keeping our water clean and safe for us, animals, birds, and aquatic life. If you have questions on improving your water quality, please contact your local county Extension Agent or Water Regional Specialized Agent (RSA). For additional information visit these other sites.
Urban Fertilizer Ordinances in the Context of Environmental Horticulture and Water Quality Extension Programs: Frequently Asked Questions: https://edis.ifas.ufl.edu/publication/AE534