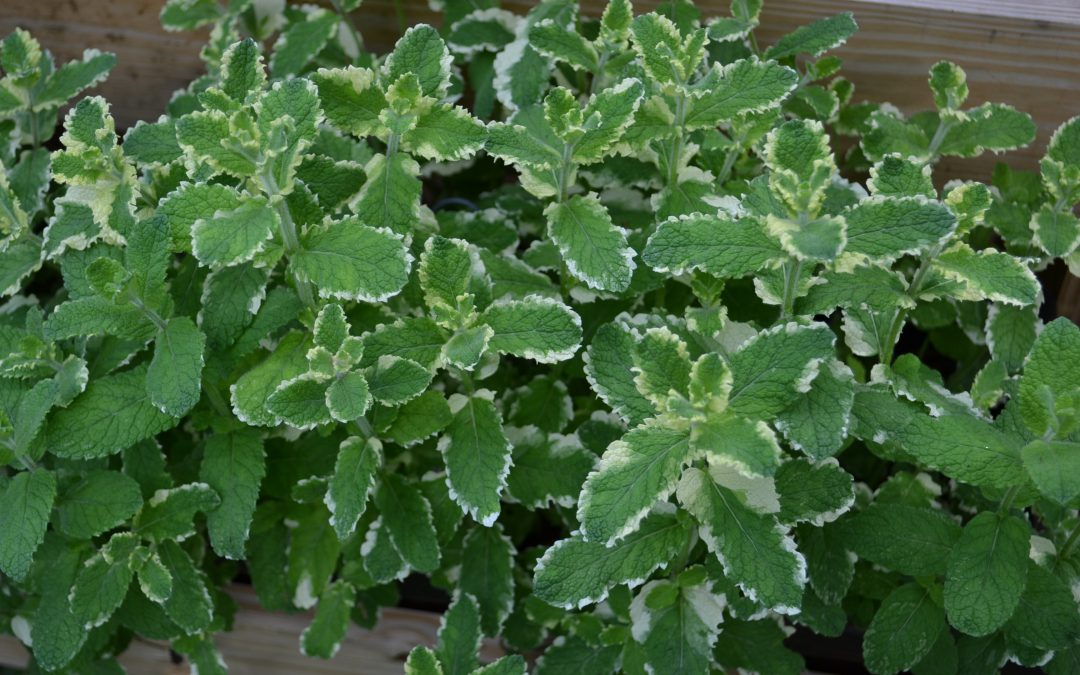
Video: Mint for the Garden and Kitchen
Mint is an easy herb to grow in the North Florida Garden. Learn the basics of plant care and culinary uses with UF IFAS Extension Escambia County’s Garden to Table series.

Mint is an easy herb to grow in the North Florida Garden. Learn the basics of plant care and culinary uses with UF IFAS Extension Escambia County’s Garden to Table series.
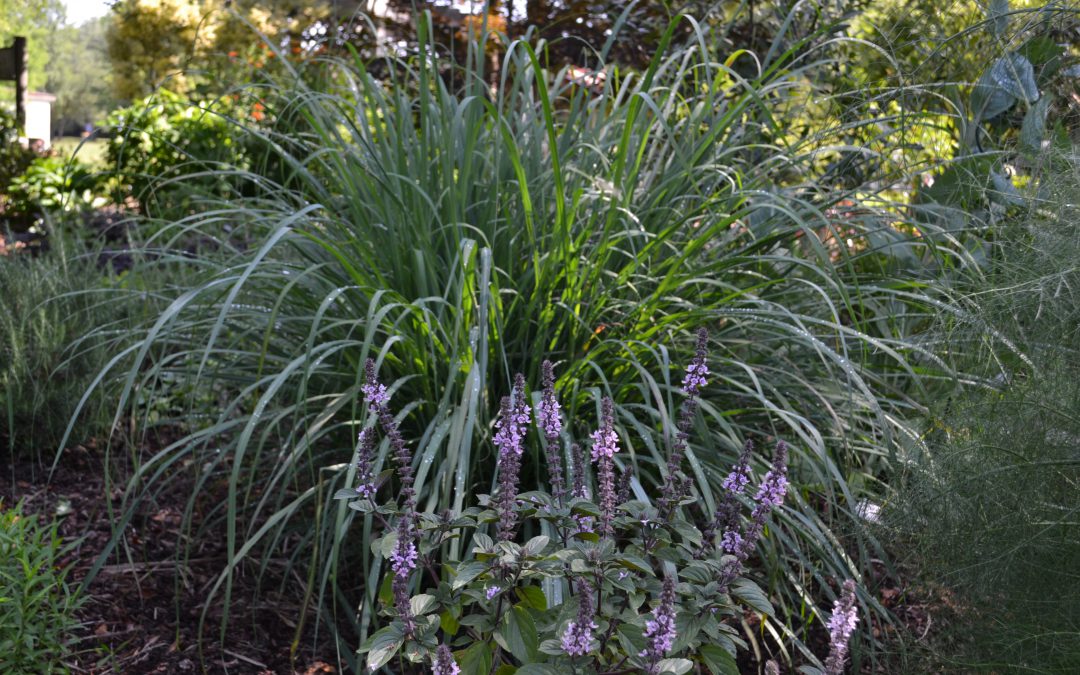
Lemongrass is an easy herb to grow in the North Florida Garden. Learn the basics of plant care and ideas for use in the kitchen with UF IFAS Extension Escambia County.
Whether it’s the warm or cool season of the year, vegetable gardening is as popular activity as any. In writing articles, I usually discuss best management practices on a backyard garden scale. But, what if you don’t have much of a backyard?
Many Floridians live in apartments, condominiums, mobile home parks, or simply homes built on small parcel lots with little open gardening space. This doesn’t mean you can’t grow vegetables. You just have to be a bit creative and that’s when the fun starts. In addition to being an enjoyable activity, mini vegetable gardening can be practical and ornamental. Containers can fit almost anywhere in the landscape, such as porches, balconies, roof tops and that spot on your property where nothing seems to fit.
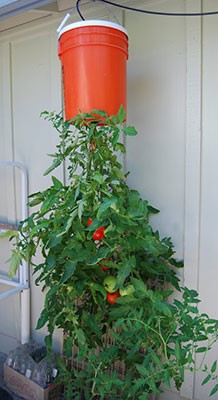
Tomato Bucket Gardening. Photo courtesy UF/IFAS Gardening Solutions.
There’s practically no limit to the kinds of containers one can use for mini vegetable gardening. Some examples are pots and pans, milk jugs, hollow concrete blocks, bushel baskets, trash cans, barrels, buckets and even plastics bags and “to go” food containers. As long as the container will hold soil and let excess water drain, you’re good to garden.
So, what can I use as a growing medium? Traditional garden soil will work fine. Mixing garden soil 1:1 with mushroom compost is also acceptable. Adding lightweight components to the soil mixture such as perlite or vermiculite will make it easier if you need move the container from time to time. This will also help with drainage. Sprinkling a handful of 6-6-6 or 8-8-8 fertilizer and gardening lime into the mixture will give plants much needed nutrients for development.
This growing medium will not require fertilizer applications very often. A small amount every two to three weeks should be adequate for most vegetable plants. Whether the fertilizer you choose is solution or dry form, be sure to use small amounts and water the product thoroughly into the root zone. A heavy application of fertilizer may cause plant burn.
So what vegetable crops grow best in containers? Most any crop will do well in containers. Some examples are tomato, pepper, eggplant, collard, cabbage, turnip, mustard, strawberry, broccoli, cauliflower and many herbs. Container gardening is a fun and rewarding hobby. You’ll enjoy both the activity and the delicious produce you’ve grown.
For more information contact your local county extension office.
Supporting information for this article was provided by Extension’s Emeritus Vegetable Specialist Jim Stephens of UF/IFAS Extension. More information can be found at this website: http://gardeningsolutions.ifas.ufl.edu/plants/edibles/vegetables/growing-vegetables-in-containers.html
UF/IFAS Extension is an Equal Opportunity Institution.
Escambia County Master Gardener Volunteer Carol Perryman shares information to help choose and grow lavender in the herb garden.
If you want to grow lavender in our hot & humid climate you must follow a few considerations which can be “do or die” rules. Will your lavender be an annual or a perennial? Hybridizers are always busy at work but, in the meantime:
Choose the right variety. (English lavender cannot easily be grown in our climate.)
1.Spanish Lavender- Lavandula stoechas- 18 to 24” tall, lighter scent, early bloomer & long blooming, drought & heat tolerant, good for mild winters, gray/green foliage, magenta-pink flowers with purple bract shaped like a pineapple with bunny ears.
2.’Goodwin Greek Gray’ Lavandula dentata x L. lanata – 2 to 3 feet tall & wide, silvery/gray toothed edged leaves, short spikes of deep purple to blue blooms, heat & humidity tolerant, good to 15 degrees F in winter,
3.French Lavender- Lavandula dentata -3 feet tall, lighter scent, summer bloomer & long blooming, heat tolerant (Protect from frost.), narrow gray & green leaf varieties, “dented” lavender colored flower buds that make up flower head/bract.
4. Sweet Lavender- Lavandula heterophylla – Tolerant of heat & humidity & cold tolerant to 15 degrees F. 1 1/2 to 2 feet tall, gray/green leaves &bright lavender flowers. Allow to dry between watering.
5. ‘Phenomenal’ Lavandula x intermedia – This is a newer evergreen hybrid developed for extreme heat or cold. It is disease resistant, tolerates our humidity, 24” x 32” high & wide with blue to purple blooms and gray/green leaves.
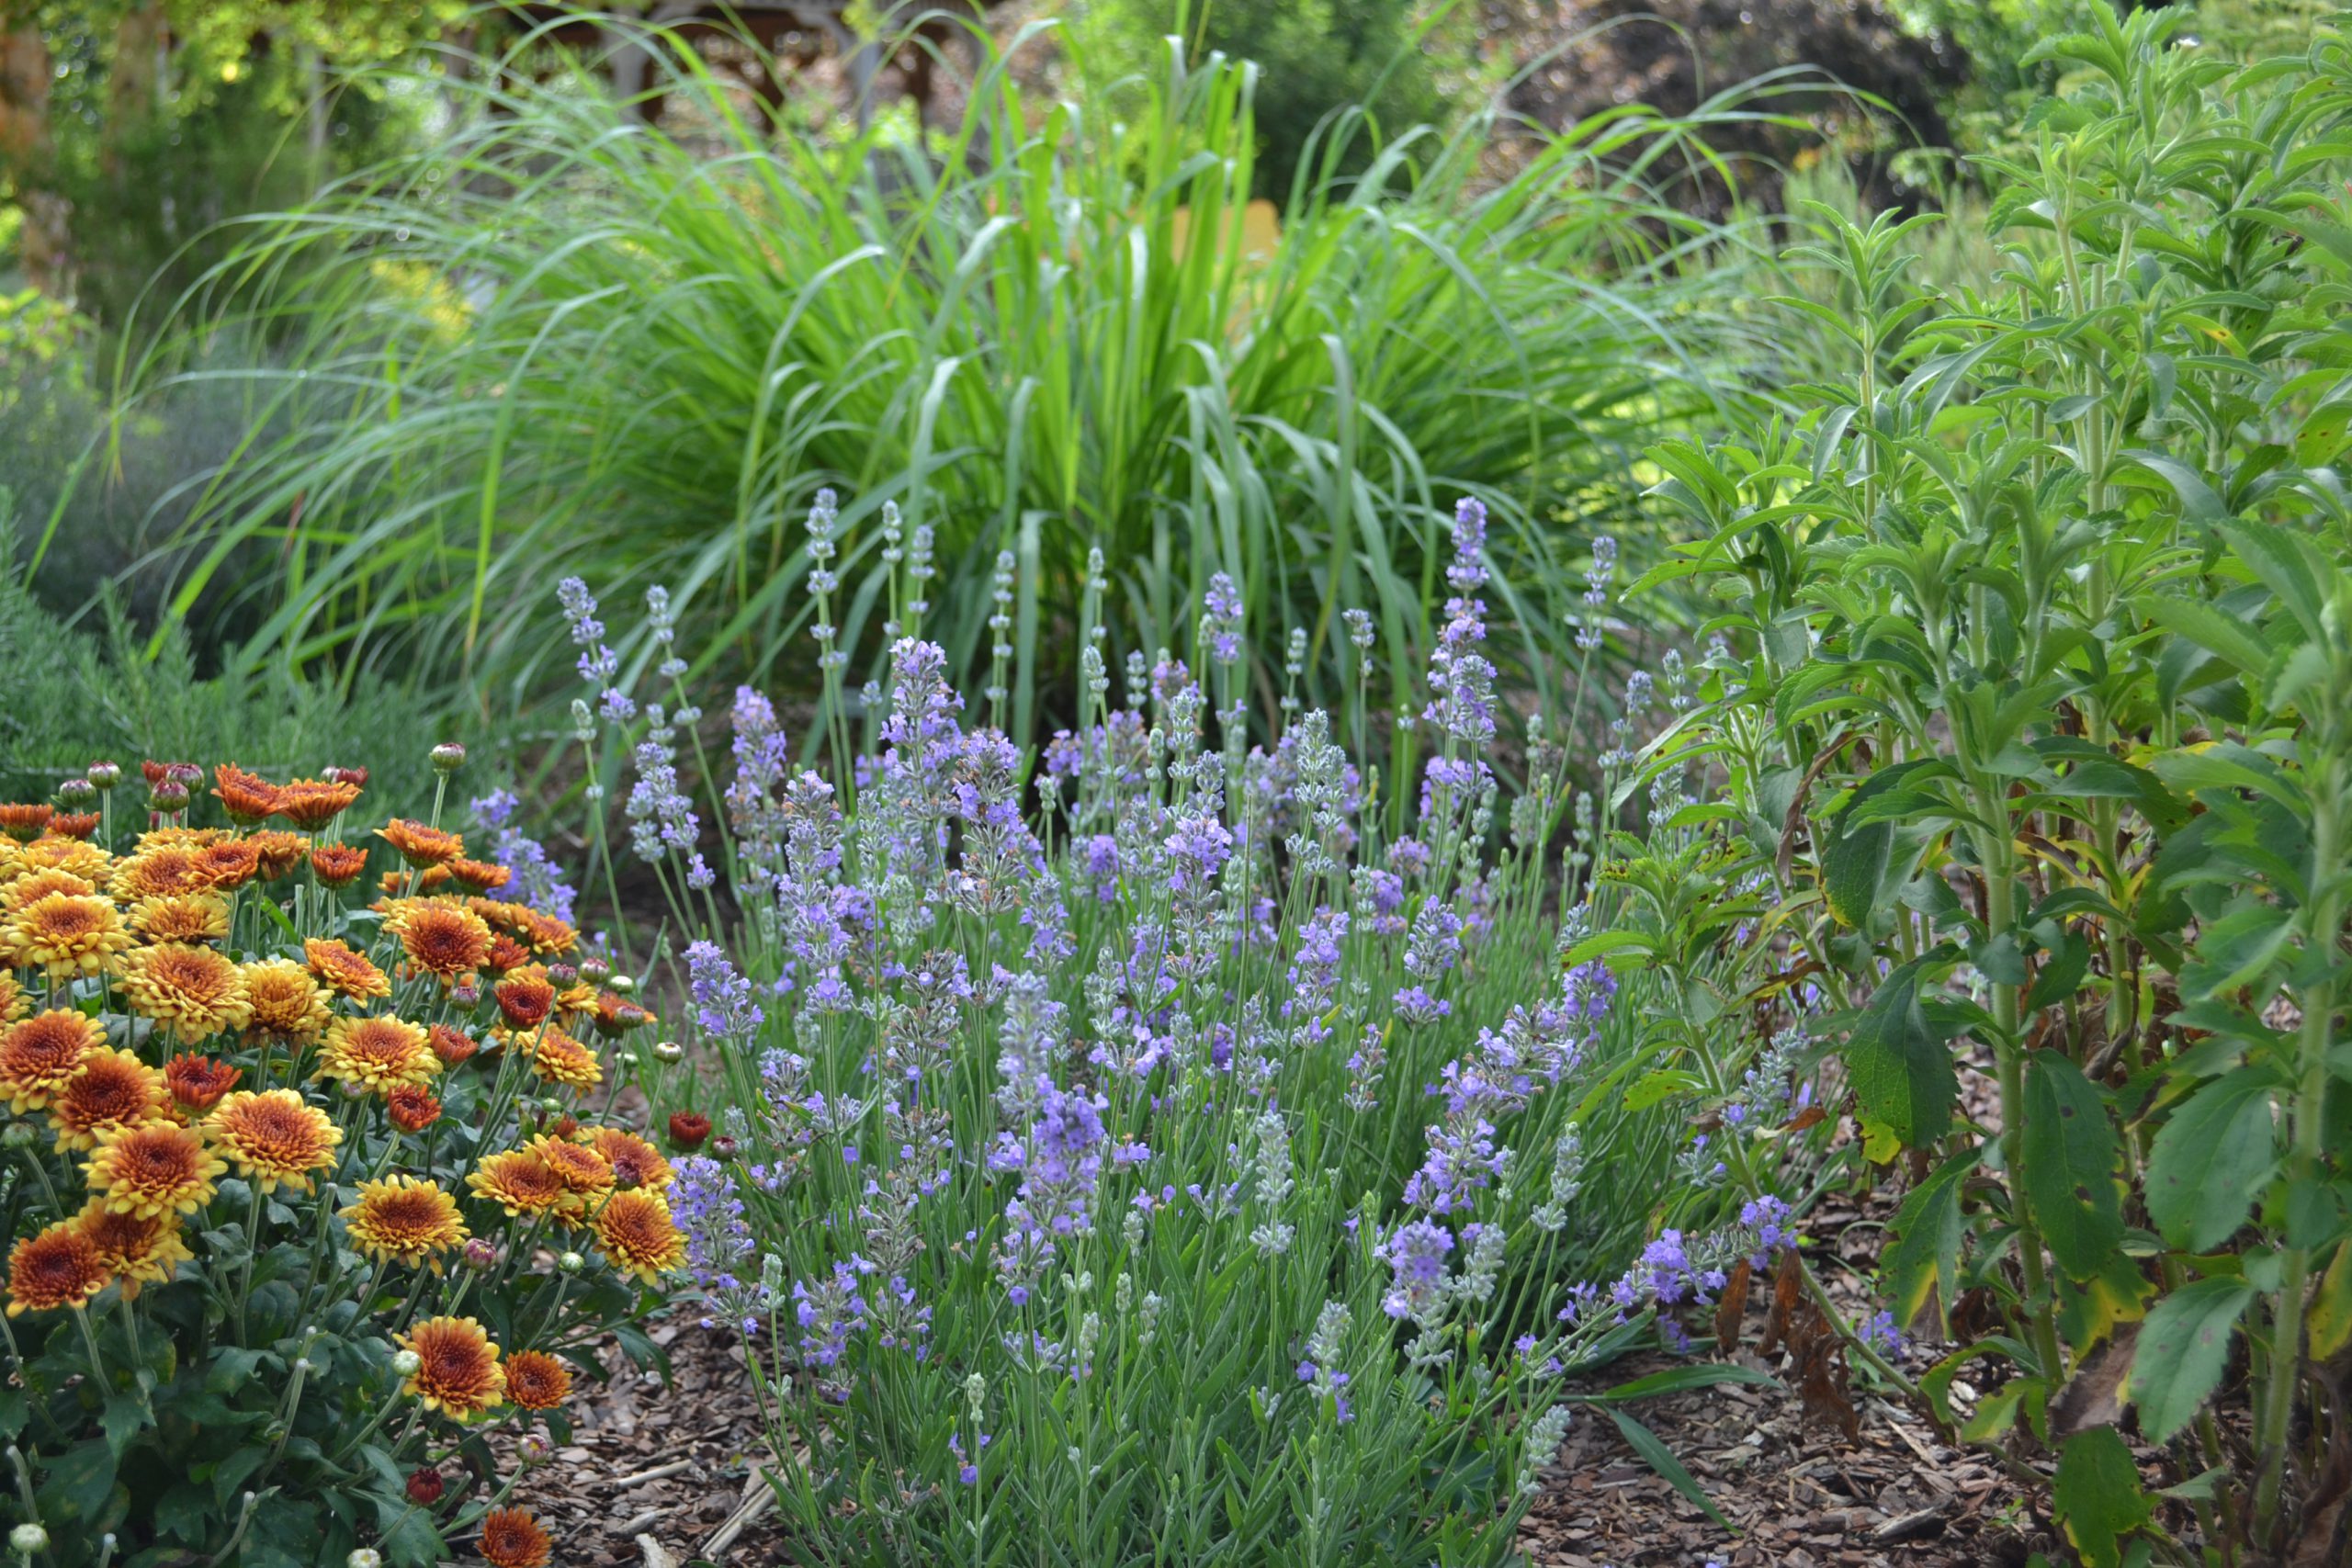
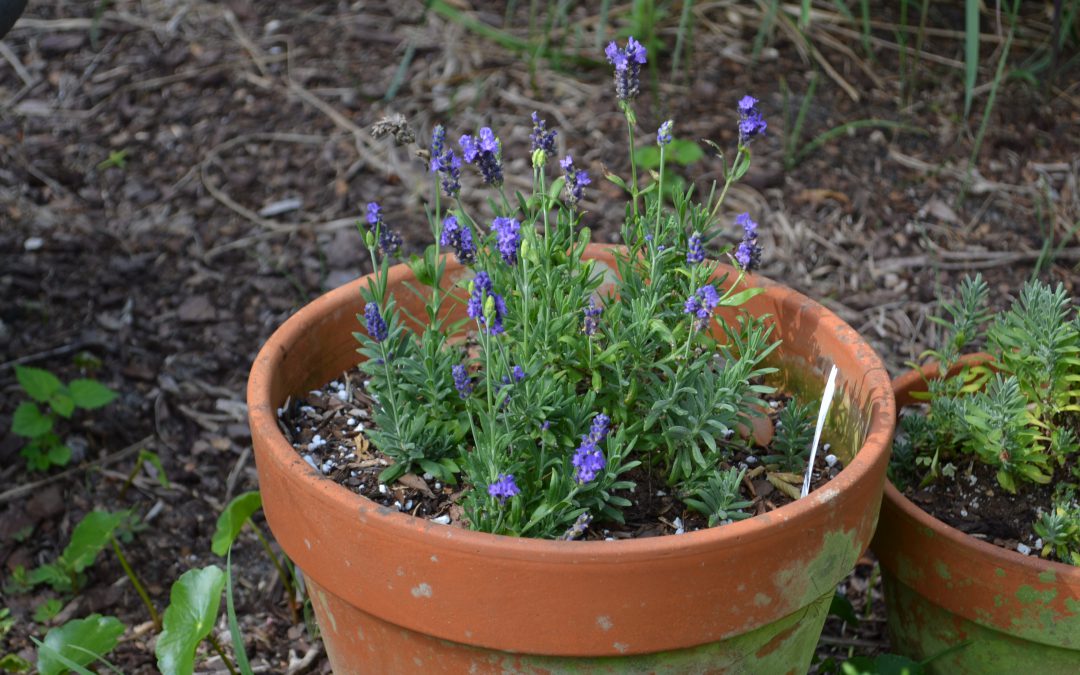
Lavender in the Escambia County Extension herb garden. Photo by Beth Bolles, UF IFAS Extension Escambia County.
Choose your site well or consider growing in pots.
1. LIGHT – Full sun.
2. DRAINAGE – Focus on drainage. MUST be well-draining site or pot or modified to be so.
3. SOIL – Loose almost neutral soil.
4. AIRFLOW – Focus on air circulation which will help dry off the leaves after rain. Space appropriately.
5. WATER – Focus on water source. Lavender does not like to be watered overhead. A dripline
is best or water by hand around roots, not on leaves. Check water requirements for your chosen variety.
6. MULCH- Whether in the ground or in pots, use light-colored gravel or small rocks as mulch
to help reflect sunlight & heat to help keep foliage dry. Heat & light reflected off a nearby brick, stone, or stucco wall, help keep foliage dry too.
7. ACCESS- Must be able to deadhead & prune. Lavender only blooms on new growth. In our climate it should be pruned back about 1/3 of it’s height & shaped to keep the mound-like shape in early January unless we have an extremely cold winter. If so, then early spring. You can prune lightly after deadheading spent blooms to promote new growth throughout bloom season. Add 1 inch of composted materials around plant each spring or lightly fertilize with slow time-release fertilizer. Do not over fertilize. Lavender doesn’t need much fertilizer.
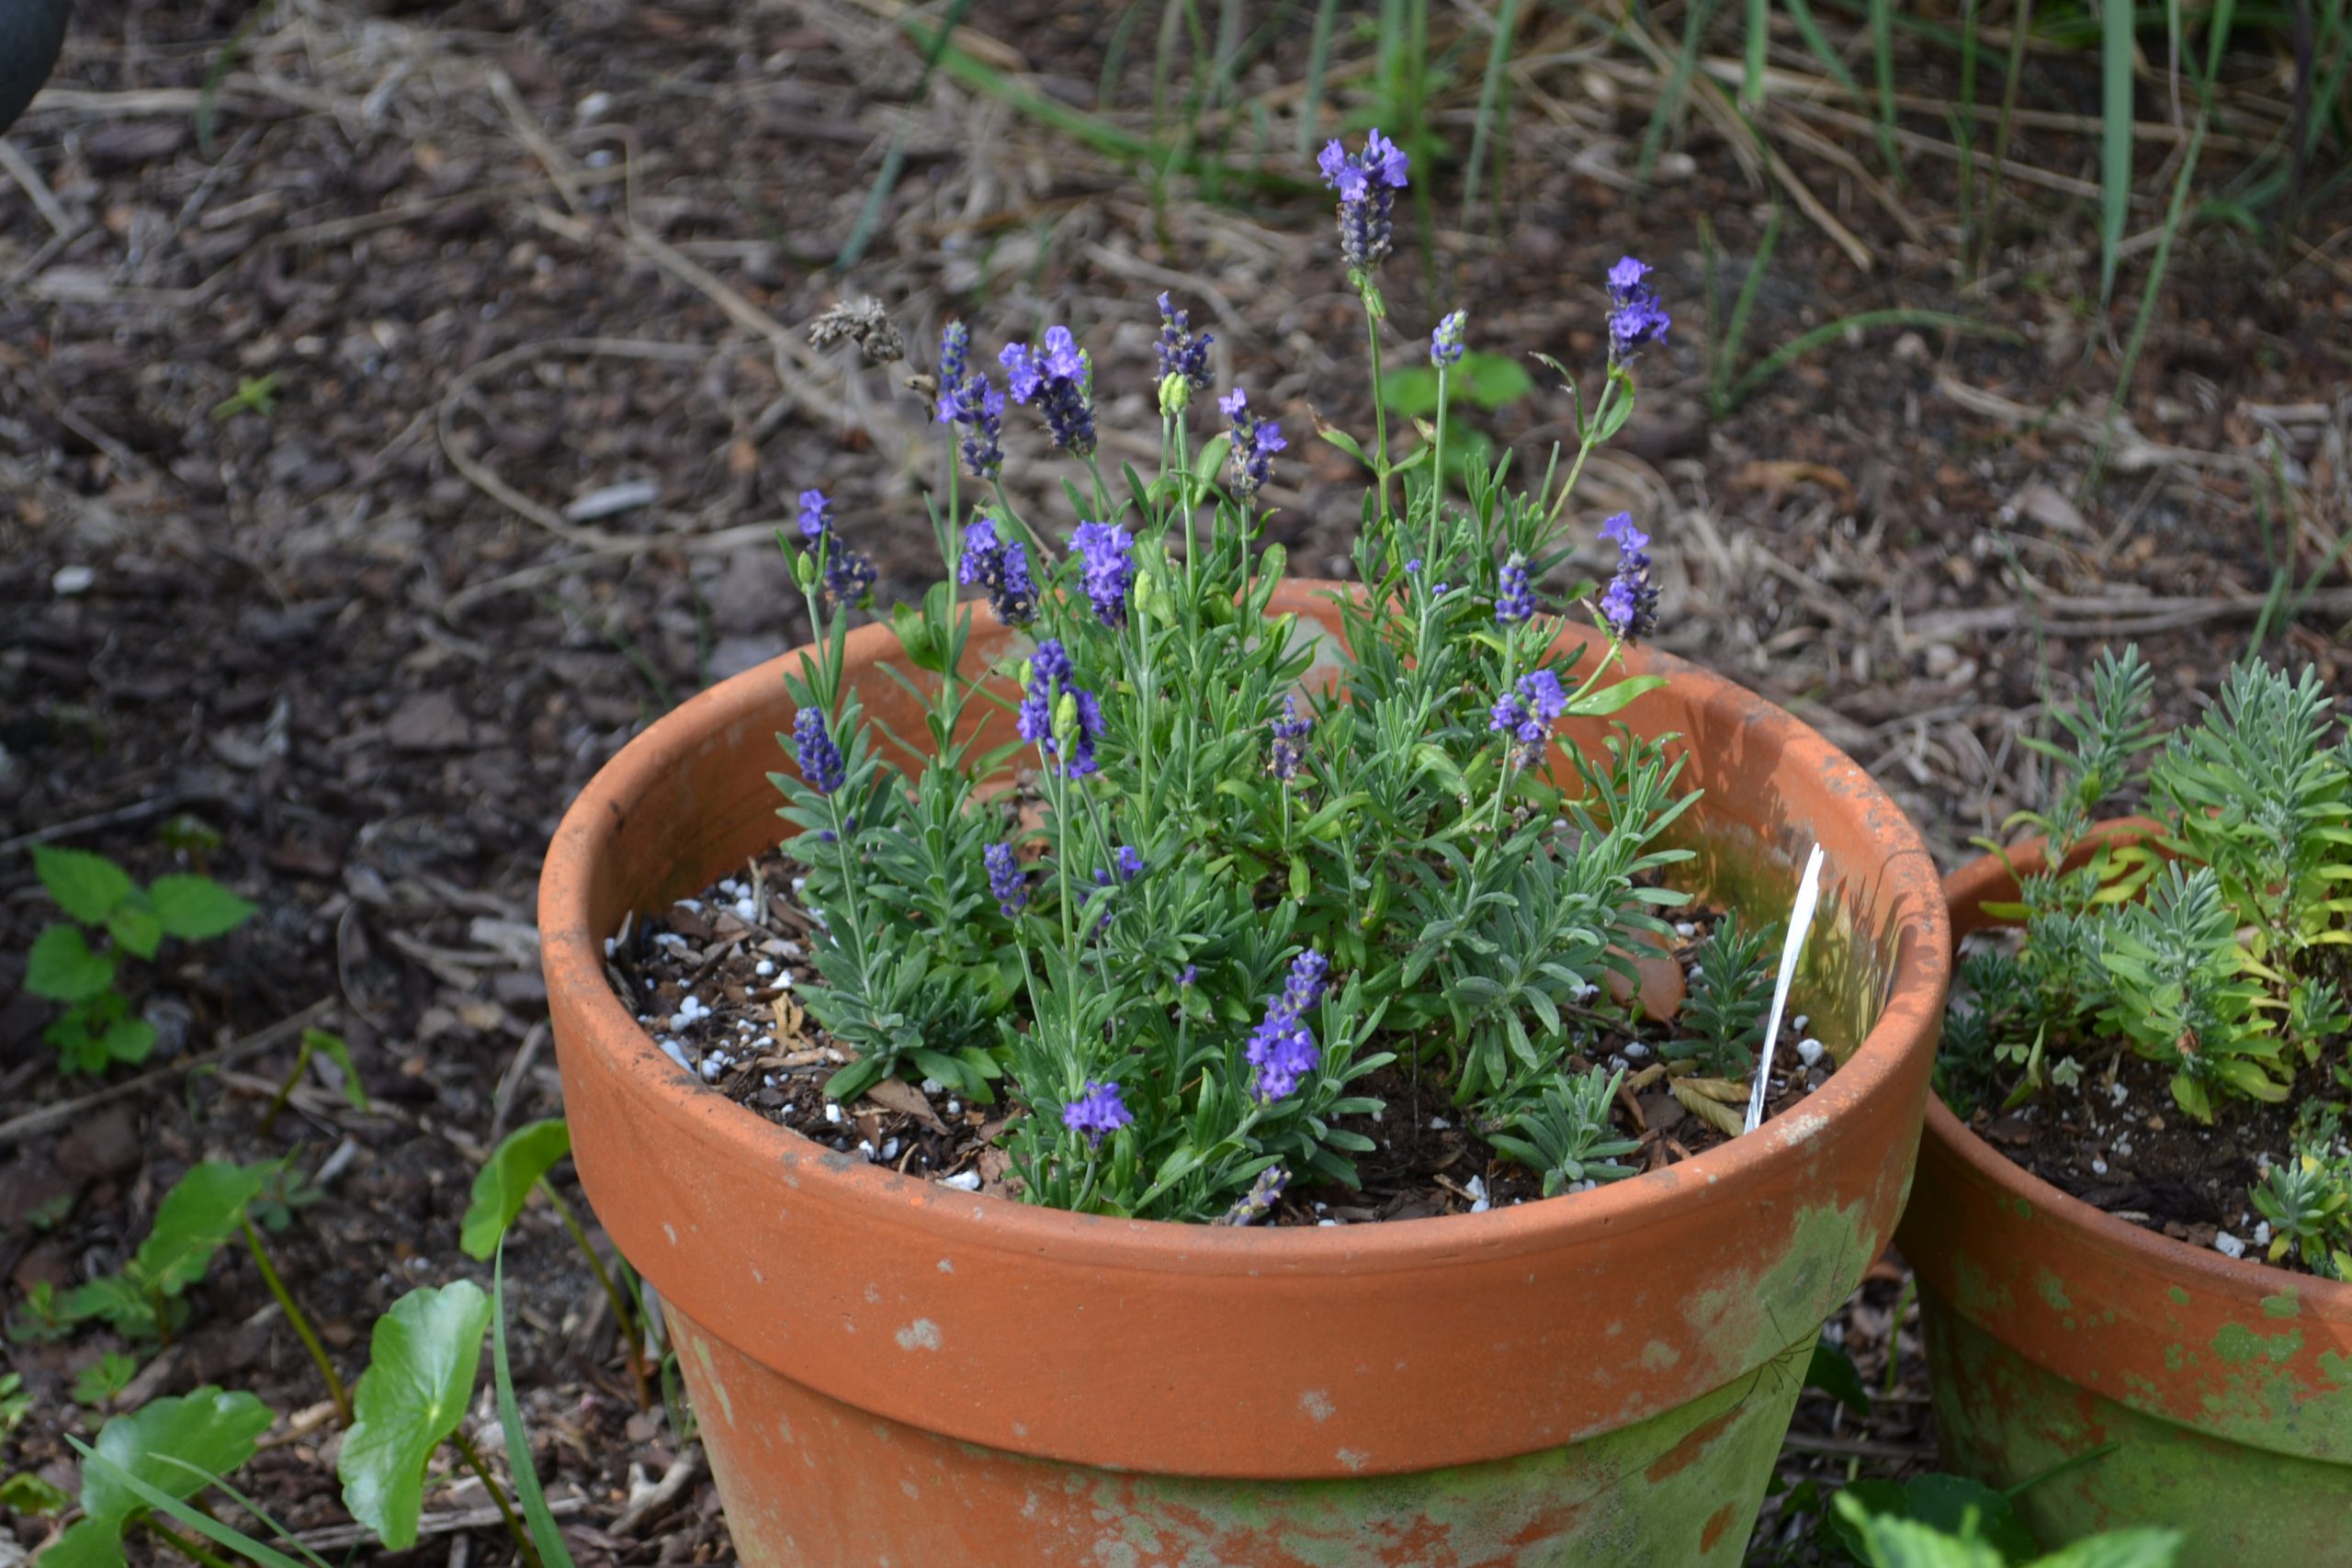
Lavender may grow best for you in a container. Photo by Beth Bolles, UF IFAS Extension Escambia County.
If you are new at growing lavender, try pots. You could try several varieties in different locations to better understand which conditions & locations will work best in your garden. The beauty of pots is their portability. If one location doesn’t work, you can move the pot.
All lavender is edible. You can use the leaves or flowers, fresh or dried. Fragrant lavender is a wonderful addition to your garden although in our climate, most lavenders are not going to be long lived. If you have found “the spot” in your own little microclimate & your lavender thrives year after year, consider yourself lucky.
Are you a patient gardener? If not, try you hand at growing microgreens. Why wait for at least a month or so for a harvest when you can enjoy fresh greens in as little as 7 days.
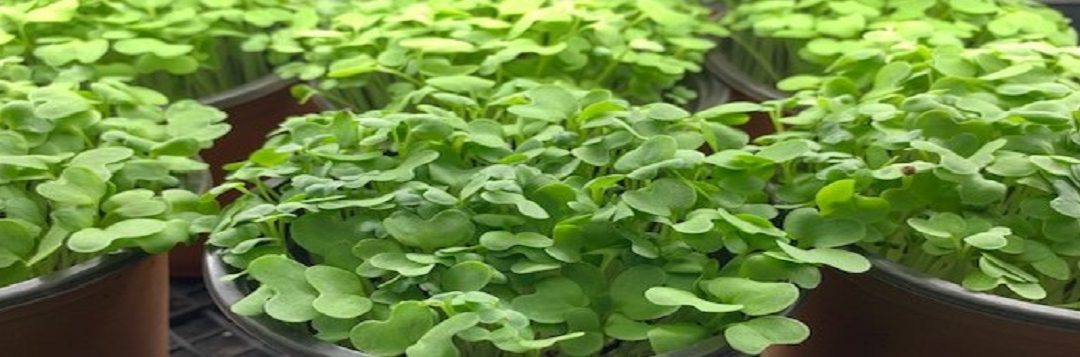
Microgreens are the tender seedlings of your favorite vegetable or herb. They are grown in containers or flats and harvested when the first seed leaves are fully emerged. You may also wait until you see the first true leaf. Unlike sprouts, microgreens require light and are cut when harvesting to only include the stem and leaves. Depending on the seeds you start, you may enjoy mild or spicy greens, or refreshing lemony flavors of a young herb.
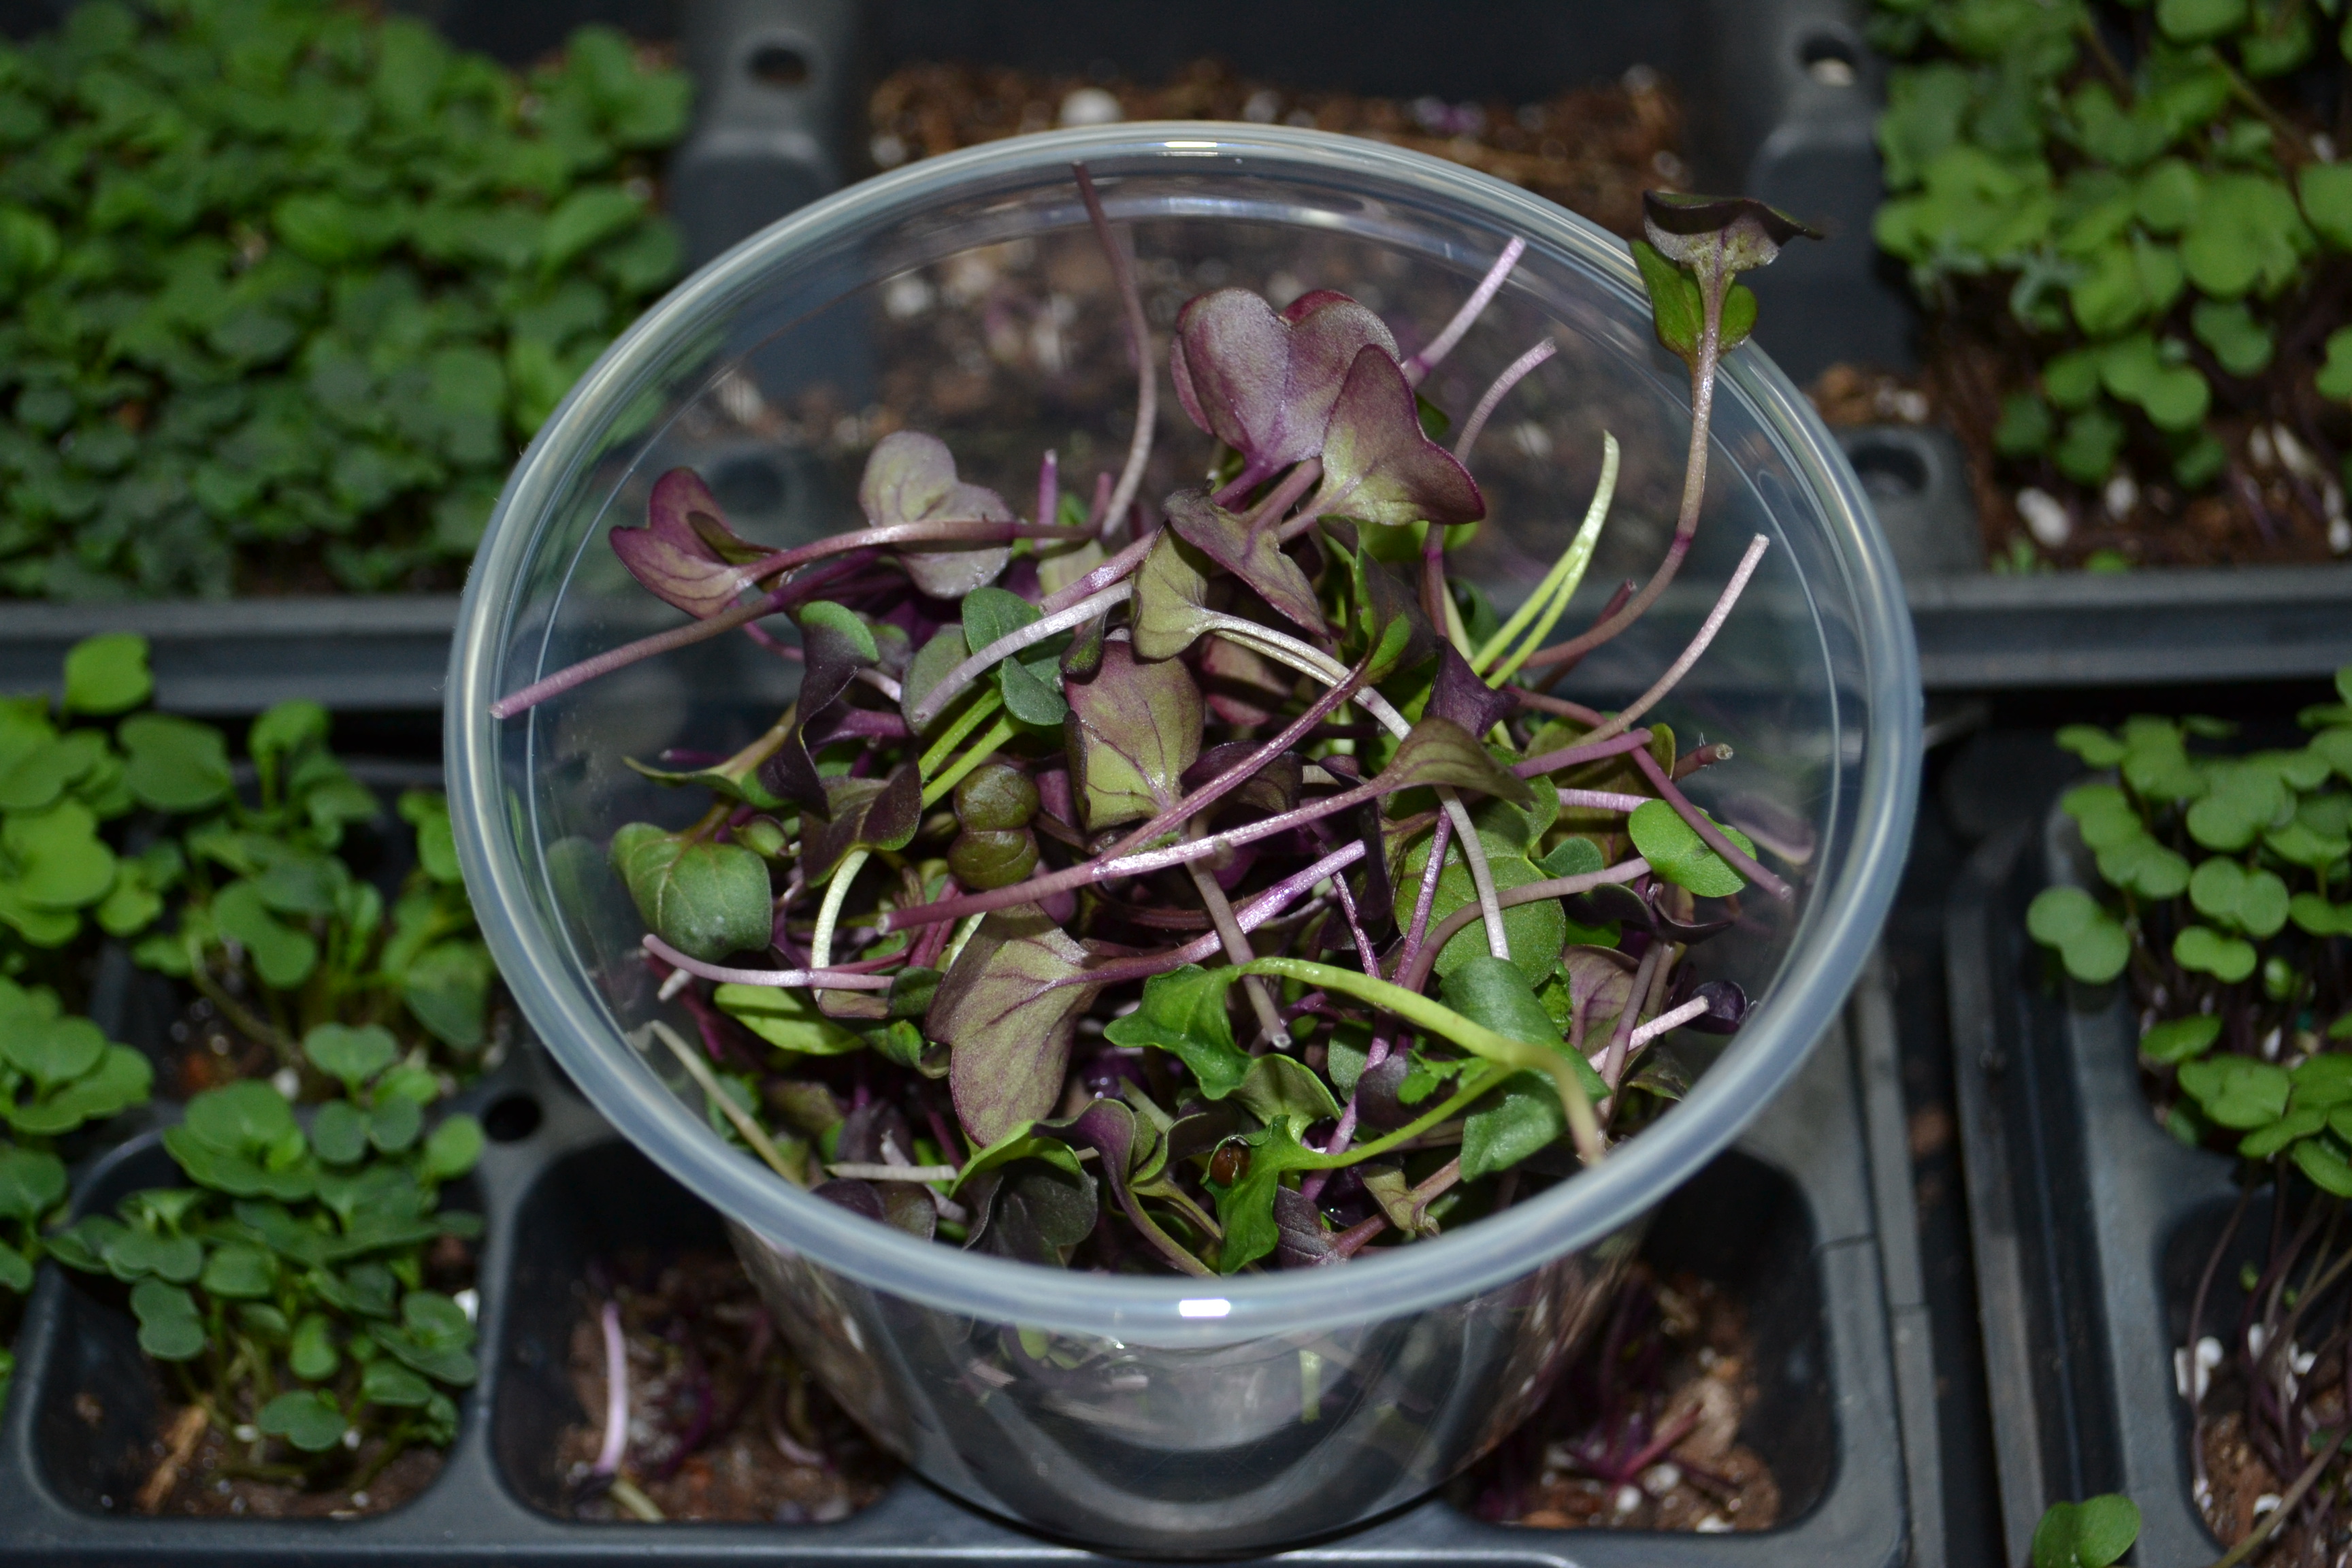
Microgreens can offer beautiful colors for your dish. Photo by Beth Bolles, UF IFAS Extension Escambia County.
Here are the basic steps to get started growing microgreens.
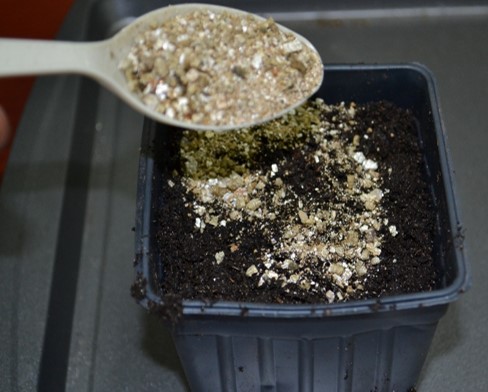
Vermiculite allows moisture to get to seeds and may reduce seedling disease pressures. Photo by Beth Bolles, UF IFAS Extension Escambia County
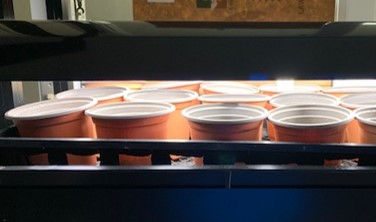
New seedlings need bright light. Indoor lights that are 2-3 inches from seedlings prevent thin, spindly stems. Photo by Beth Bolles, UF IFAS Extension Escambia County
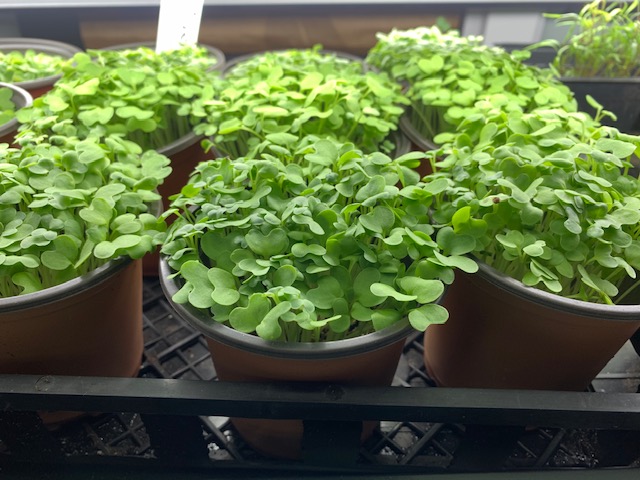
Microgreens are ready to harvest. Photo by Beth Bolles, UF IFAS Extension Escambia County
The good news about growing microgreens, is if you find they are not to your liking or too much trouble, you it has only been a couple of weeks of effort.