Start Your Spring Garden Indoors
Get a head start on your spring vegetable garden by planting seed now for some of your favorite spring crops. A great advantage to starting from seed is the seemingly endless number of varieties of your favorite vegetables that are available from online seed companies. You can experiment with new and heirloom varieties. Look to plant several different varieties that will mature at different times, thereby lengthening your harvest season.
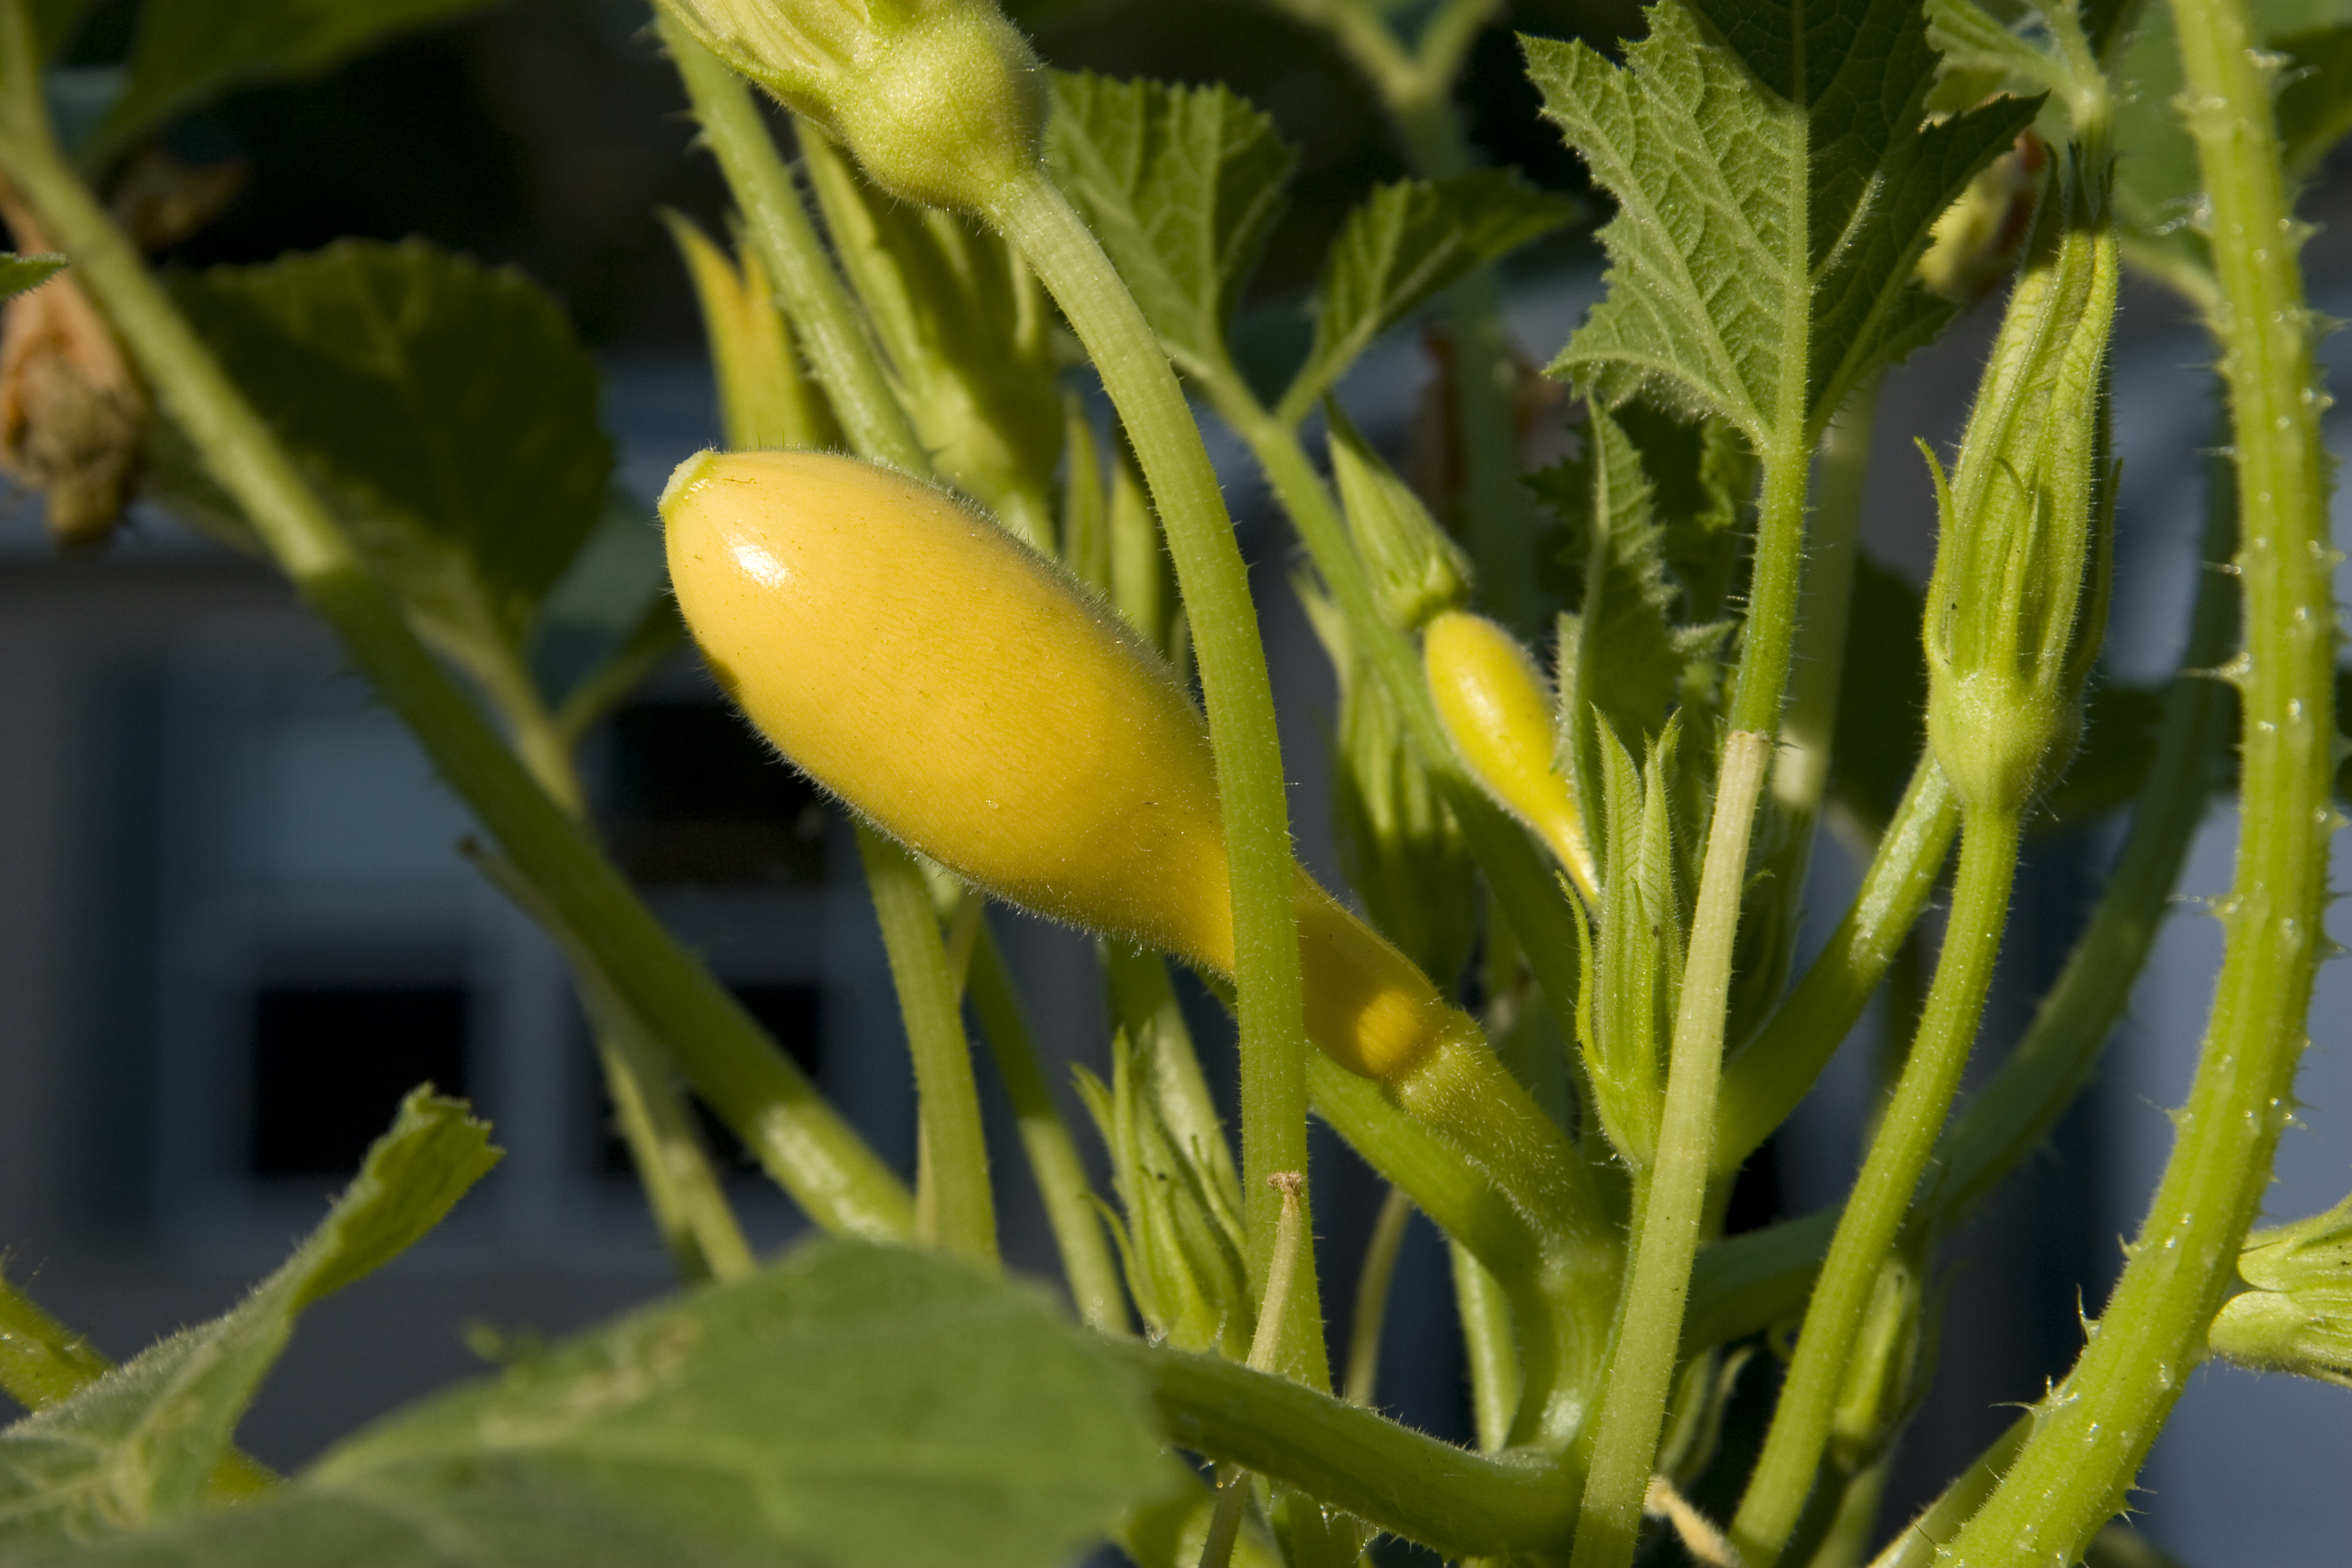
Home grown squash. UF/IFAS Photo by Tom Wright.
Seed is also cheaper than purchasing transplants, especially if you save your seeds in optimal conditions. To save leftover seed, keep it tightly closed in the original packet and store in a closed jar or plastic storage bag along with a desiccant (one of the little packs that come in vitamin bottles or shoe boxes) to absorb any excess moisture. Place in a consistently cool place, like your refrigerator. Some seeds naturally keep longer than others.
No fancy pots are needed, just about anything several inches wide and deep with a drainage hole will work. The pots should sit in a shallow waterproof tray to catch the runoff. Be sure to sterilize any reused pots with a solution of 1 part chlorine bleach to 9 parts water to destroy any lingering pathogens from the previous plants.
A commercial seed-starting mix is your best choice. Compressed peat or coir pots are also a good choice. Some all-purpose potting mixes are okay, but others are heavy and can hold too much water and promote fungal disease.
Plant the seed according the packet instructions, water well and place in a nice sunny spot where you can check them every day. If you don’t have a convenient sunny spot, a shop light with florescent and/or grow lights mounted about 6 inches above the tops of the plants will work well. A timer for the light is a handy device to make sure your seedlings have a good 14-16 hours of light a day. If your pots are in a sunny window, rotate them 180° daily to insure uniform growth. If you find your seedlings skinny and stretched, they are not getting enough sun.
Make sure that the soil stays evenly moist from the time of planting until the young plants are ready for your garden. A clear cover over the pots or tray will help to keep moisture consistent while the seeds germinate.
When the time comes to transition your plants to the outdoors, do it gradually. Expose them to the sun for an hour or two the first day and gradually increase their ‘sunbathing’ time each day for about a week and then transplant them to their new home.
Happy Gardening!
For more information:
Florida Vegetable Gardening Guide
Organic Vegetable Gardening in Florida
Starting the Garden with Transplants