by Mark Tancig | Mar 26, 2018
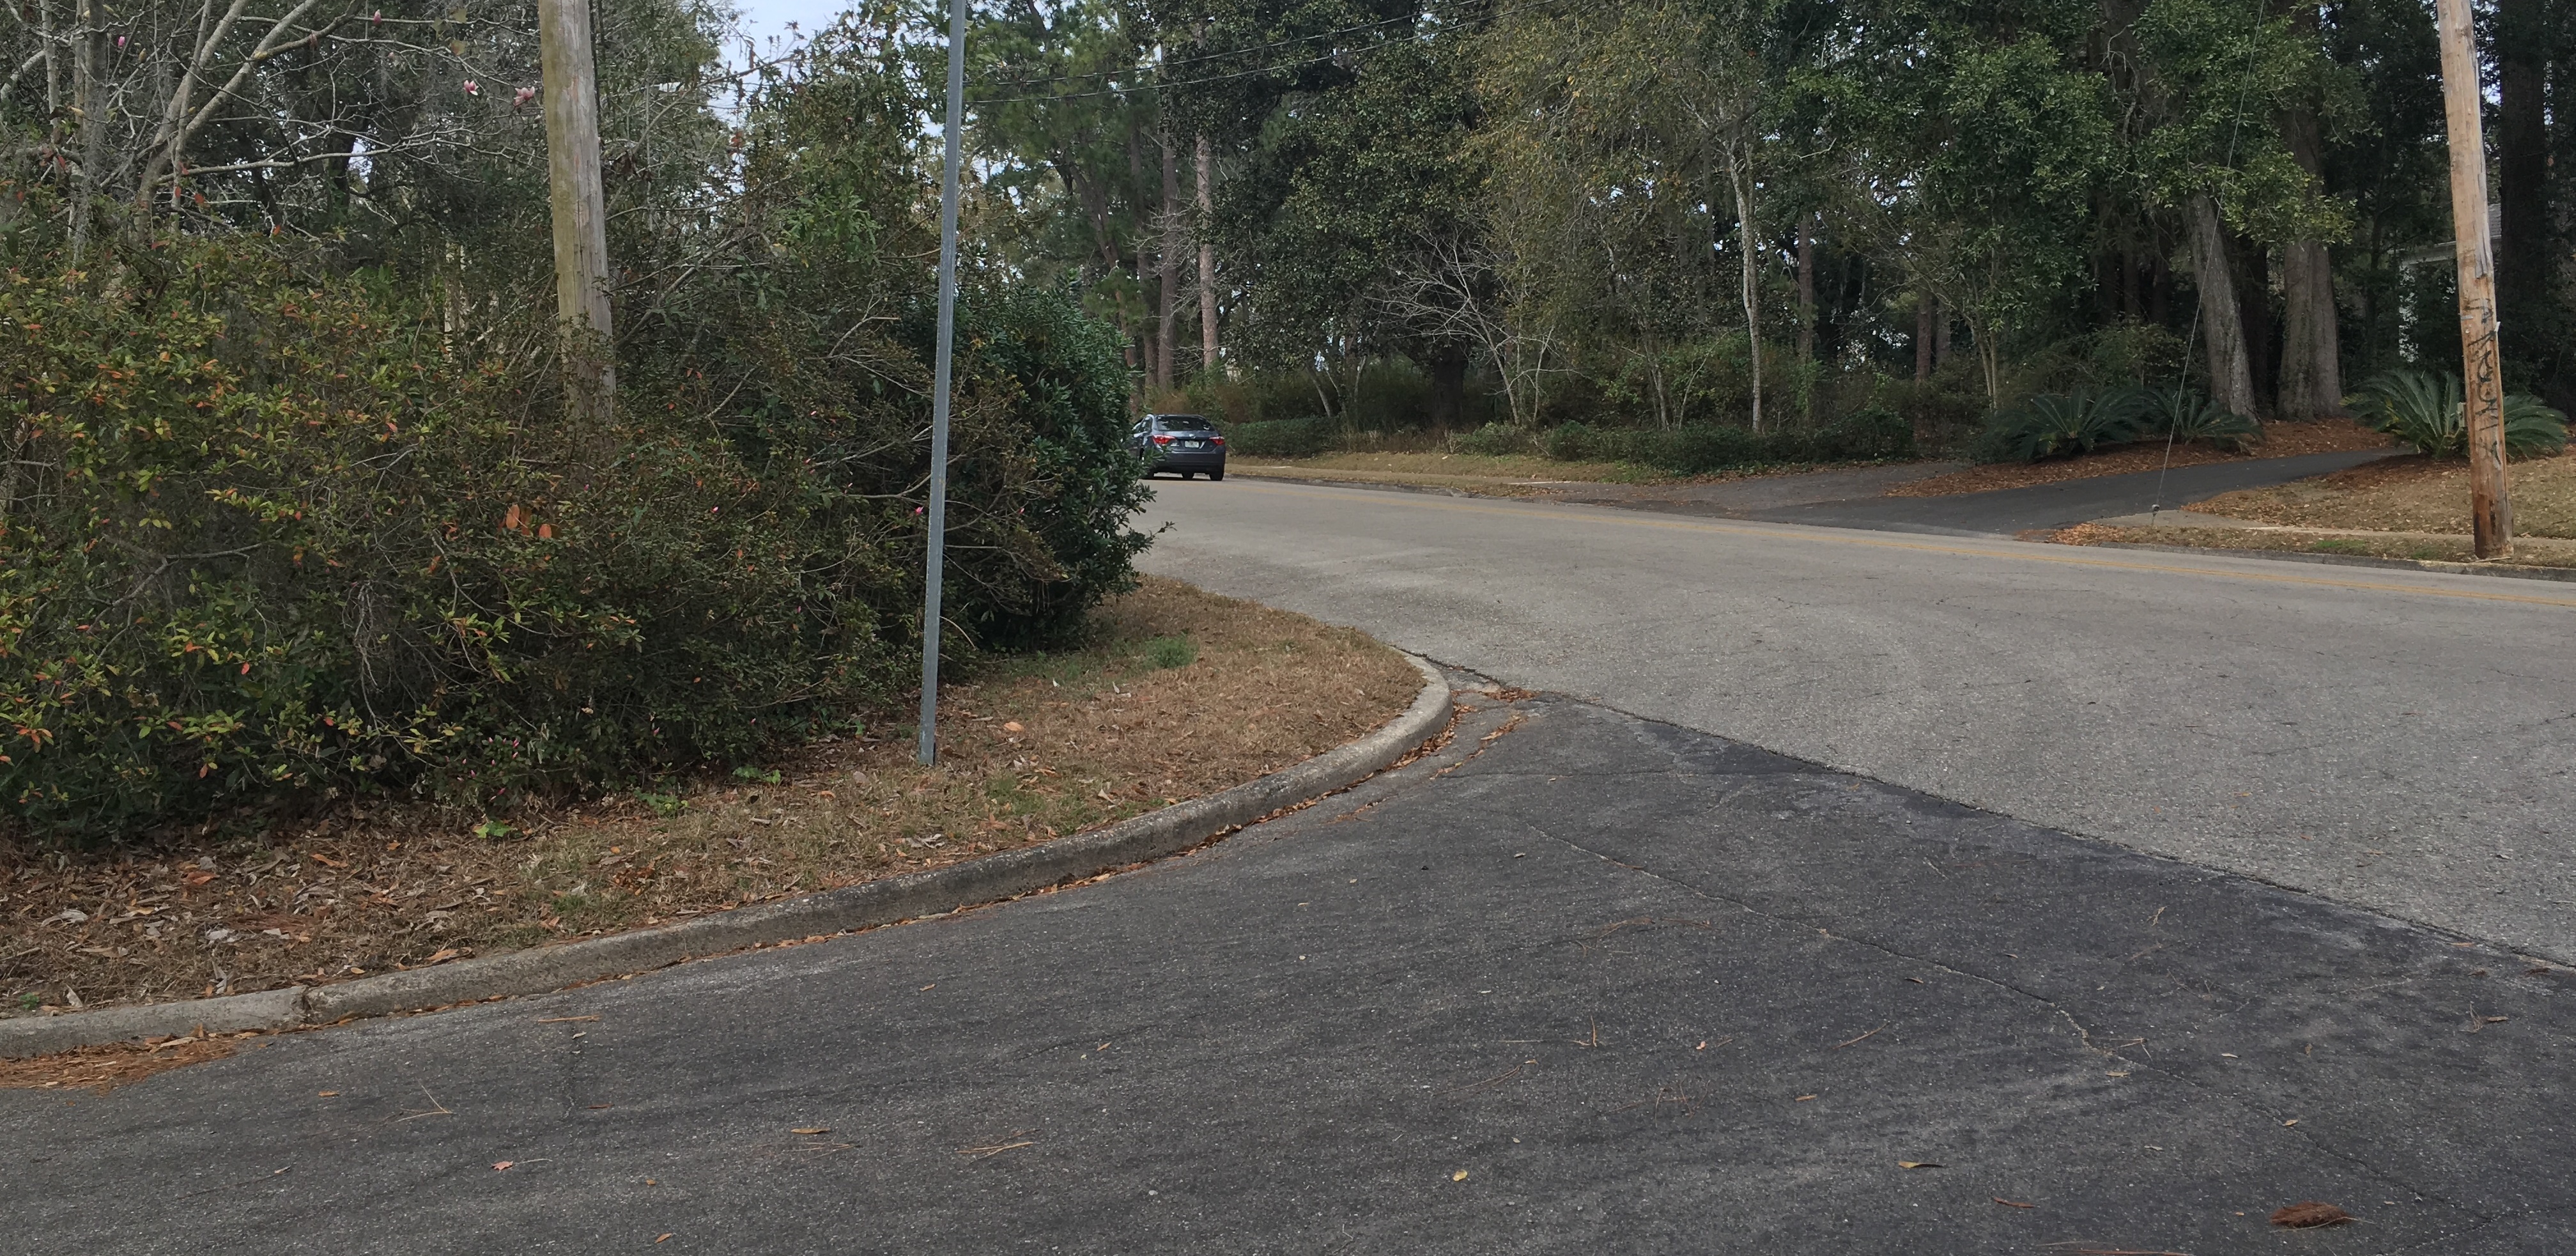
How many times have you pulled up to an intersection and couldn’t see oncoming traffic because a shrub was in the way? It’s frustrating, and unsafe. To help each other out, we should all pay attention to landscape plants that may be blocking the view of oncoming traffic and/or pedestrians, including your own driveway. Keeping a clear sight distance doesn’t mean you need a moonscape, but proper planning and maintenance of the landscape can look good and keep a clear sight distance.
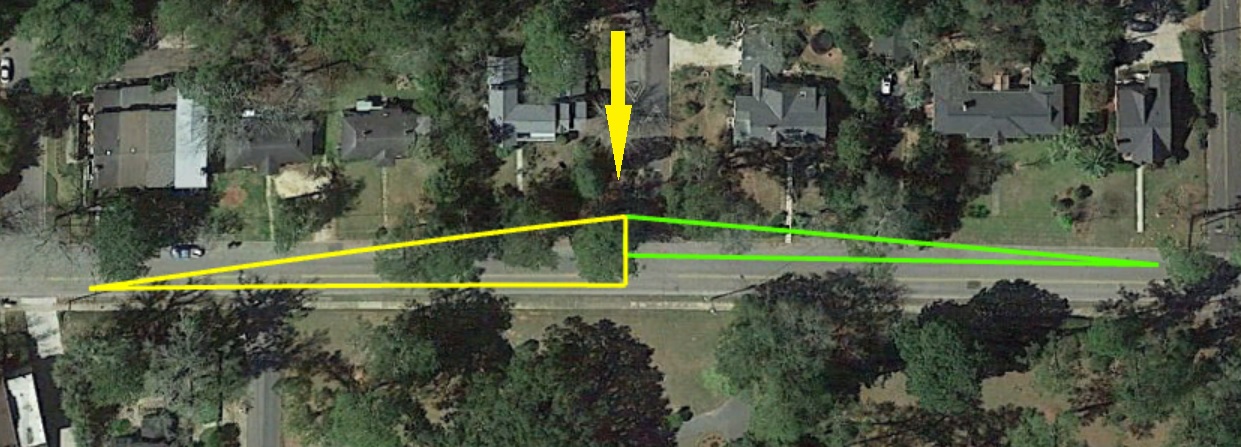
“Site distance” is what traffic engineers call being able to see driving lanes and sidewalks, in both directions. I knew engineers had such a term and assumed they would have a precise way to measure it. Of course, since they’re engineers, they did. A local traffic engineer with the Leon County Public Works Department sent me the sketch. The figure should help, but, basically, you need to think of it as a sight triangles. The three points in each triangle are 1) the driver’s location at an intersection stop (where triangles meet), 2) the centerline of each lane, and 3) a point 300 – 500 down each lane. To determine if the view is clear, stand where a driver would stop, and approximate the height of the driver’s eye.
Please be safe as you rush to measure!
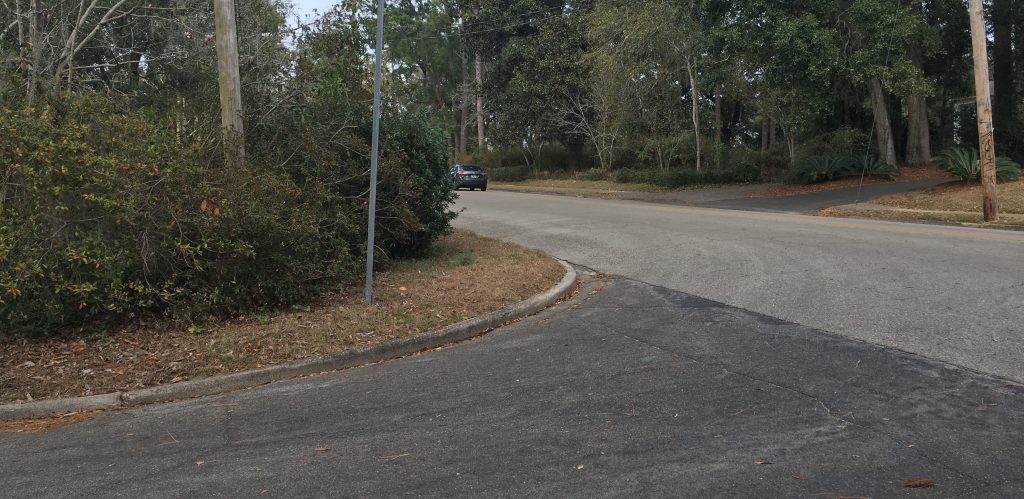
I can’t see if anyone’s coming! Credit: Mark Tancig/UF IFAS.
If you have vegetation in the way, assess the situation. First thing to determine is what plant(s) you have. If you don’t know, send a photo to your local Extension Office. Next, determine if the identified plant(s) can be pruned to get out of view and/or below the height of the driver’s eye. Transplanting to another location is a possibility, if it’s a plant that transplants well and isn’t too large. Otherwise, removing and replacing is the best option for the safety of the community.
When needing a low-growing replacement, consider the following Florida-Friendly plants:
African Iris (Dietes vegata) – Part Sun/Shade
Black-eyed Susan (Rudbeckia spp.) – Sun
Blue-eyed grass (Sisyrinchium angustifolium) – Part Sun/Shade
Butterweed (Packera glabella) – Shade
Coontie (Zamia florida) – Sun – Shade
Lily of the Nile (Agapanthus orientalis) – Part Sun/Shade
There are many, many more plants to choose from, including dwarf varieties of common ornamental plants. Your local Extension Office can help provide resources to help you make a good choice. Online resources, such as the Florida-Friendly Landscaping Pattern Books and the Guide to Plant Selection and Landscape Design, are also available.

by Daniel J. Leonard | Feb 2, 2018
It is a common misconception that winter is a time of rest in the landscape, for both plants and people. In the Panhandle, the winter months tend to be rainy and miserable, with wild weather fluctuations in between. These conditions cause folks to think their chores are done until the weather warms up and plants begin to grow again. In reality, winter lays the foundation for the next year of growth! This is because, though most plants are dormant or have at least slowed their growth above ground, their root systems continue to develop through the cold. This “catch-up” time when plants are not growing above ground is the ideal time to plant woody trees and shrubs so they can focus their energy on getting a root system established without having to worry about supporting shoot growth! However, even if you plant at the proper time, several common mistakes can still torpedo your planting efforts. I once worked for a snarky nurseryman who, when new employees would ask how he wanted trees to be planted, would answer, “Green side up, of course.” So, remember to plant green side up and also keep the following in mind when you plant this winter!
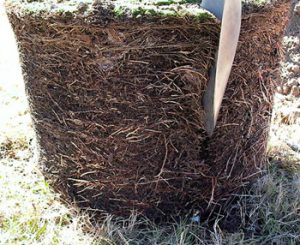
Cutting circling roots.
- Digging the right hole. The quickest way to resign a plant to failure before even removing it from the container is to dig a bad hole. In order to facilitate ideal root development and allow the plant to establish as rapidly as possible, the planting hole should be 2-3 times the diameter of the rootball. The easiest way to measure this is to set the plant were you want it and begin digging the hole around it; this step allows you to visualize the size of the hole. Most holes that are “eyeballed” are not wide enough. A little extra digging in the beginning can make a lot of difference later. In addition, the planting hole should be, at minimum, the same depth as the rootball. In a perfect scenario, after planting, the top of the rootball should be a half an inch to an inch higher than the surrounding soil to accommodate for settling of the soil underneath the rootball. This prevents the plant from sitting in a depression that water could pool in, leading to disease issues. It can be hard to believe, but simply digging a proper hole helps ensure plant establishment and enables long-term survival!
- Preventing Circling Roots. Often, plants are constrained in a container that is a little too small for a little too long on the floor of a nursery. When this situation occurs, the roots of the plant do not stop growing once they reach the “wall” of the container, but rather keep going in a circular pattern around the edge of the pot. This is a problem because, if not corrected, the roots will continue this growth pattern once in the ground, eventually strangling the plant. However, this problem is easily corrected by severing the circling roots. This is where gardeners often get squeamish however. It is time to check your plant conscience at the door and know the plant will thank you later! I like to make vertical slices, evenly spaced, around the rootball. These slices should cut about an inch into the rootball to ensure both superficial and unseen circling roots are cut; this somewhat brutal task can be accomplished with a sharp shovel, machete, or even a heavy-duty pair of pruners. At every cut, the previously circling root will branch, creating a nice web of new roots that will serve as anchors for the fledgling plant.
 Backfilling Correctly. The single most asked question involving plants trees and shrubs is, “Should I backfill the hole with compost?” The single most common answer I give in return is, “Absolutely not.” Although it seems counterintuitive, it is almost never a good idea to backfill with a soil that is not your native soil. There is a simple reason for this. If a tree were planted in a hole that is backfilled with rich soil and is surrounded by our infertile, native Florida sands, why would it ever want to leave that hole? Turns out, it does not want to leave that easy environment because it has all the nutrients it needs right there, which is a problem. What happens when a drought, hurricane, or other stress event comes calling? The plant will not have a wide-spreading root system for support and will suffer from lack of water or lodging from high winds. By backfilling with your native soil, you encourage the plant’s roots to grow out and seek water and nutrients.
As you can see, there is a little more to planting than “green side up.” But, if you plant at the right time, dig the right hole, prevent circling roots, and backfill with your native soil, you will have set your newly bought tree or shrub up for success and will be able to enjoy it for many years to come! For more information on planting and other horticultural topics, contact your local UF/IFAS Extension office and as always, happy gardening!
by Daniel J. Leonard | Jan 10, 2018
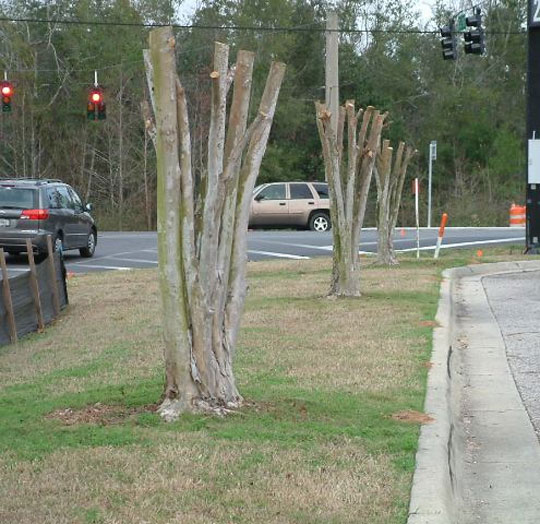
Are you guilty of “Crape Murder”, the dreaded horticultural sin that involves lopping off your beautiful Crape Myrtles fence post high and creating gnarly looking knuckles? No need to raise hands, you know who you are! Despite the cruelness of this act, all is not lost; there is still time to repent and change your ways! The facts of the matter are, if you have made a habit of lopping the tops off your crapes, you are most definitely not alone, you probably thought you were doing the right thing, and it can be corrected.

Improper pruning of crape myrtles. Photo Courtesy – Beth Bolles.
Crape Myrtle (Lagerstroemia spp.) are one of the most beautiful trees Southerners have in their horticultural arsenal. Unsurpassed in both form and flower, it is easy to see why Crape Myrtle is the most widely planted tree in the Southeastern United States. A mature Crape Myrtle properly grown is a remarkable sight, sinewy limbs reaching high in a vase shape supporting lilac-like flowers that come in a rainbow of colors. These qualities make it even more strange that homeowners and landscape professionals alike insist on butchering them every winter.
Before we move on to corrective procedures, let us examine a few of the reasons that crape murder is committed. First, I think peer pressure has a lot to do with it. When one sees every house on the street and all the business landscapes doing things a certain way, one tends to think that is the correct way. Second, there are folks who believe that pruning their crapes back each year creates a superior flower show. In reality, this practice creates an overabundance of succulent, weak, whippy branches (with admittedly larger flowers) that tend to bend over and break after a summer wind or rainstorm and are more prone to pests and disease. In addition, many homeowners over prune their crapes in this way because they planted a cultivar that grows too large for the site. There are dozens of crape myrtle cultivars sold, be mindful to pick one with a mature size and shape that will fit with the scale of the site!
So, now that we know why crape murder is committed, let’s discuss how to remedy it once the atrocity has already occurred.
- If the improper pruning has not been going on very long (a couple of years or less), it may be possible to correct over time without taking drastic measures. If this is the case, select two or three of the young “whippy” canes that are growing up and out and remove the rest. Ideally, the canes you select will be growing away from the center of the plant and not back into the middle of the plant or straight up to facilitate proper branch spacing as the tree continues to grow. The canes you select now will become primary branches in the years to come, so plan and prune carefully. Repeat for each main trunk that has been “murdered”. You will have to keep watch on the cut areas, as they will attempt to regrow as suckers after pruning; simply remove these juvenile shoots until they stop emerging.
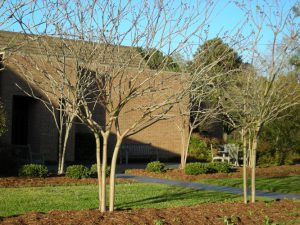
Properly pruned crape myrtle. Photo courtesy – North Carolina Cooperative Extension
- If the murder has been going on for more than a year or two, it likely cannot be corrected without a major rejuvenation of the plant. Though it will likely be painful for you emotionally and seemingly run counterintuitive to your instincts, the best method to rejuvenate a disfigured crape is to break out the chainsaw and cut the plant back to the ground! This forces the plant to do one of two things; either grow an outrageous number of new shoots or die. In most cases however, the crape myrtle’s tough constitution permits it to regrow from the stump. The first growing season after performing this procedure, allow the shoots that sprout to grow and do not prune. The winter following the first growing season, remove all except three to five strong, well-spaced shoots and allow these to become the new plant’s main trunks. In all succeeding years, only prune to remove dead wood, crossing branches and branches growing toward the center of the plant.
If you have been guilty of crape murder, it is not too late to change your ways! Follow these steps, get out and enjoy the cool weather, and get to correcting your mistakes while the plants are still dormant! As always, if you have any questions about the topic of this article or any other horticultural topics, please contact your local Extension office and happy gardening!

by Larry Williams | Nov 6, 2017
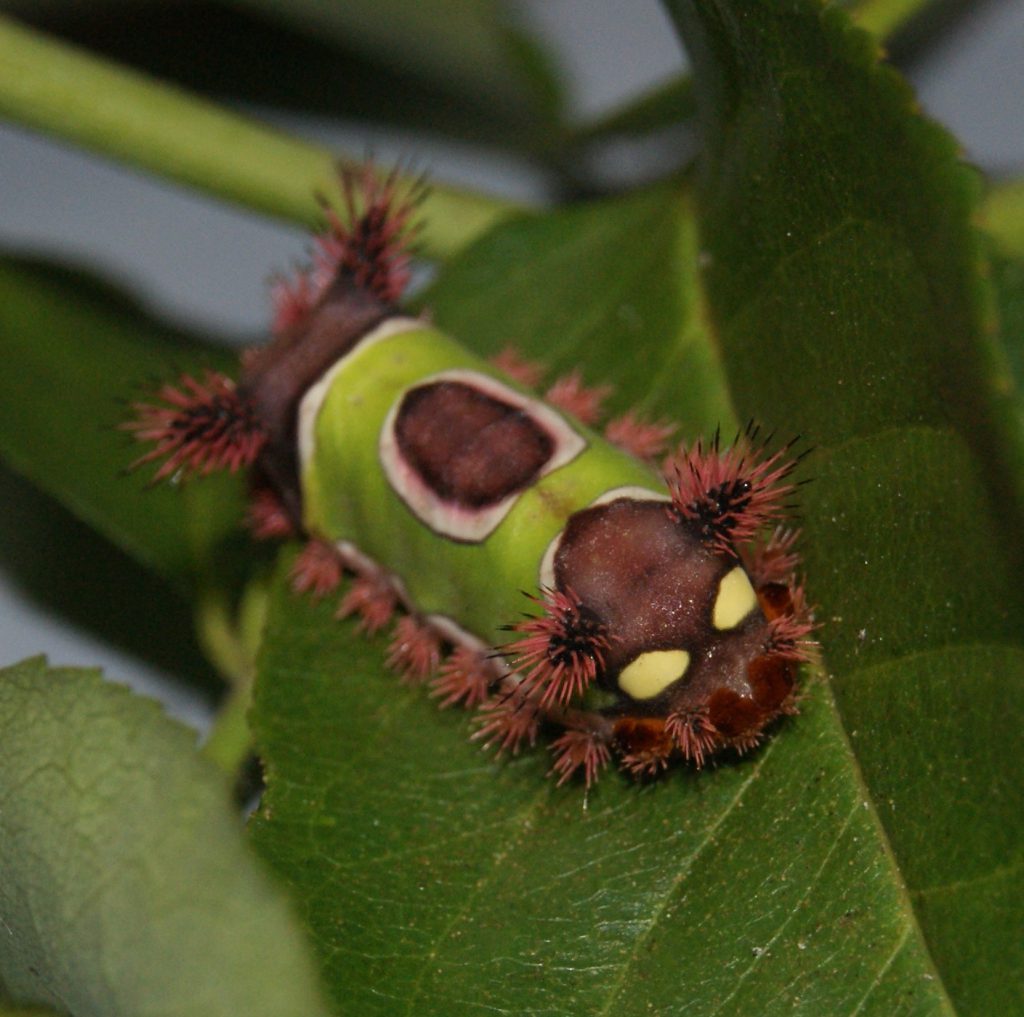
Saddleback Caterpillar. Image Credit: Matthew Orwat UF / IFAS
Did you know we have caterpillars that sting here in Northwest Florida? Well, we do and you’d be wise to learn about them and how to recognize them.
These caterpillars do not sting in the same way that a wasp or bee might sting. They do not have “stingers.” But they do have spines, also called nettling hairs, which are connected to poison glands that can inflict a painful reaction if touched.
The four nettling caterpillars that you are more likely to encounter in Florida are the hag caterpillar, Io moth caterpillar, puss caterpillar and saddleback caterpillar. Those that you are less likely to come in contact with include the buck moth caterpillar, flannel moth caterpillar, spiny oak-slug caterpillar and tussock moth caterpillar.
The “sting” is unintentional, not deliberate. When brushed against or touched, the toxin-bearing spines break off, releasing toxins. In some cases, broken spines pierce the skin. In other cases, toxins leak out onto the surface of the skin.
A University of Florida-IFAS Extension publication about these caterpillars states, “Some people experience severe reactions to the poison released by the spines and require medical attention. Others experience only an itching or burning sensation.”
The kind of reaction can depend on the type of caterpillar, extent of contact and susceptibility of individual. Fortunately, most of these caterpillars spend most of their time high up in trees away from us. But they can blow out of the trees during windy weather or come down still attached to branches and limbs that fall.
The saddleback caterpillar is more likely to be encountered because it feeds on many of our common landscape plants such as hibiscus and palms. But it is also known to feed on azaleas, fruit trees and even canna lilies. The saddleback caterpillar is striking in appearance with what looks like a bright green “blanket” draped over its back and a brown saddle-shaped oval area in the center of the blanket. Its spines are colorful, sharp and protrude from the front, back and sides of the caterpillar. It is stout and 1 to 1.5 inches long.
I’ve received questions about the puss caterpillar recently from people who have encountered it. This caterpillar is stout-bodied, almost 1 inch long and completely covered with gray to brown soft hairs. They seem to prefer leaves of oaks and citrus but they will feed on a variety of broadleaf trees and shrubs,
Because of their bright colors and interesting appearance, children may be tempted to touch or pick up some of these stinging caterpillars.
More information on these caterpillars is available at these websites:
http://edis.ifas.ufl.edu/pdffiles/IN/IN01400.pdf
http://www.poisoncentertampa.org/poison-topics/venomous-critters/caterpillars
by Beth Bolles | Oct 23, 2017
Trees are a landscape asset for many homeowners. When a new tree is installed in our landscapes, we can’t wait for it to mature to provide shade or landscape interest. The heartbreak for many homeowners comes when this important part of their landscape, begins to decline five to ten years after establishment. We often consider a pest as the cause. The common culprit is often hidden below the mulch and soil and is easily preventable.
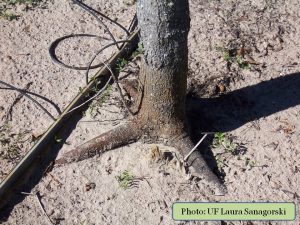
When larger specimen trees are installed in residential and commercial landscapes, they may be delivered with materials that help hold the rootball in place. Strapping often runs over the rootball and when trees are young is several inches away from the trunk. Installers or homeowners often do not cut the strapping during installation.

As this tree continue to grow, the rootball straps will interfere with normal trunk development. Cutting the straps takes only a few seconds at the time of planting. Photo by Beth Bolles, UF / IFAS Extension Escambia County
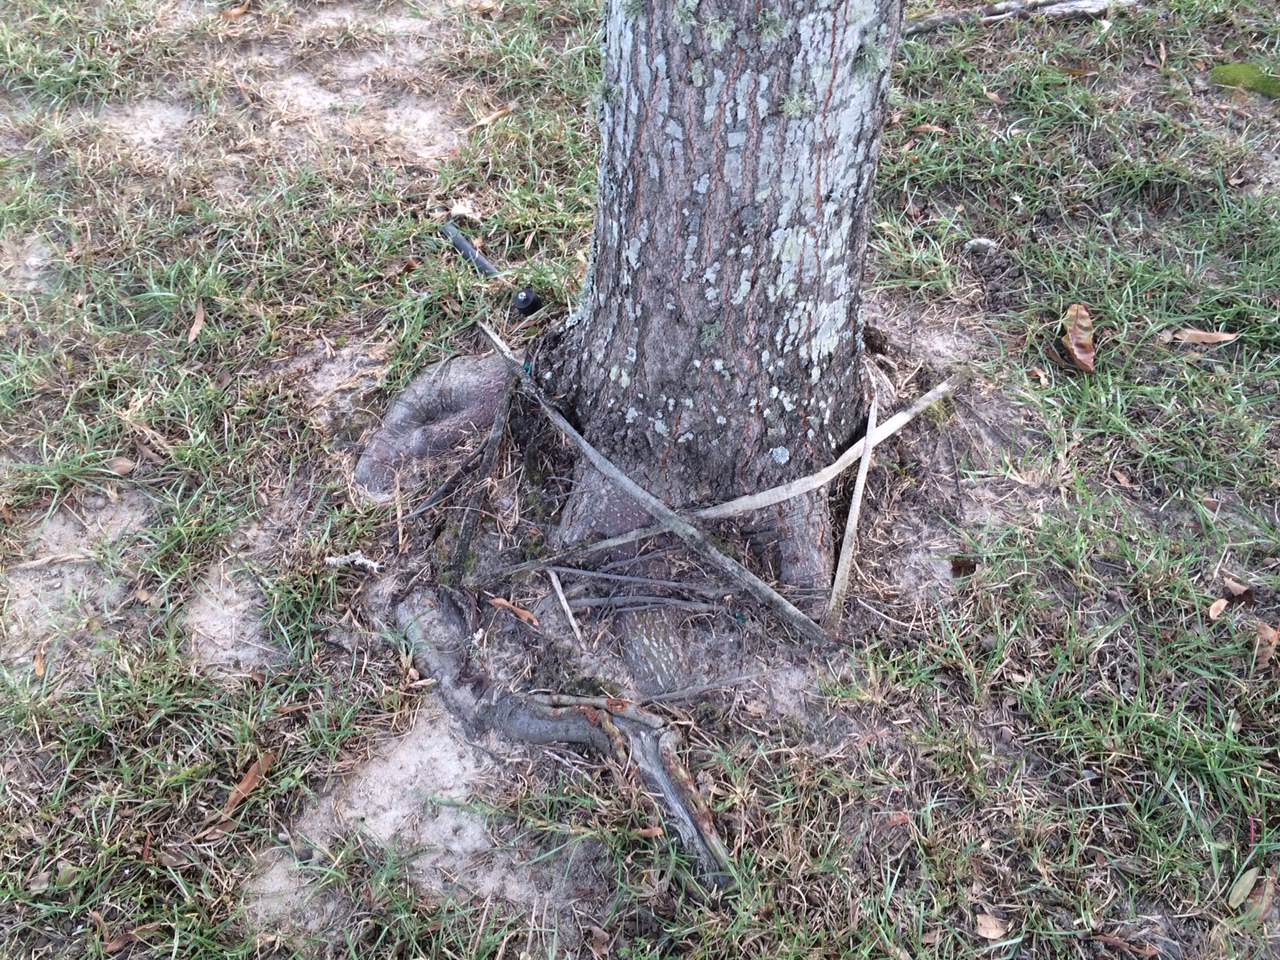
Over the years, tree trunks will grow in diameter and eventually reach the strapping. Because the strapping is still firmly in place, it can cut into a growing tree, resulting in girdling. Although many trees try to overcome the injured area by forming new wood over and around the girdling, this is a major stress that interferes with water and food movement in the plant. What we see is a tree that may be slower to leaf out in the spring, a thinning canopy, and twig dieback. These symptoms may be confused with another cause since the strapping is normally hidden from view.
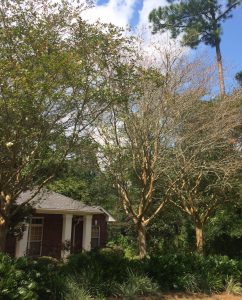
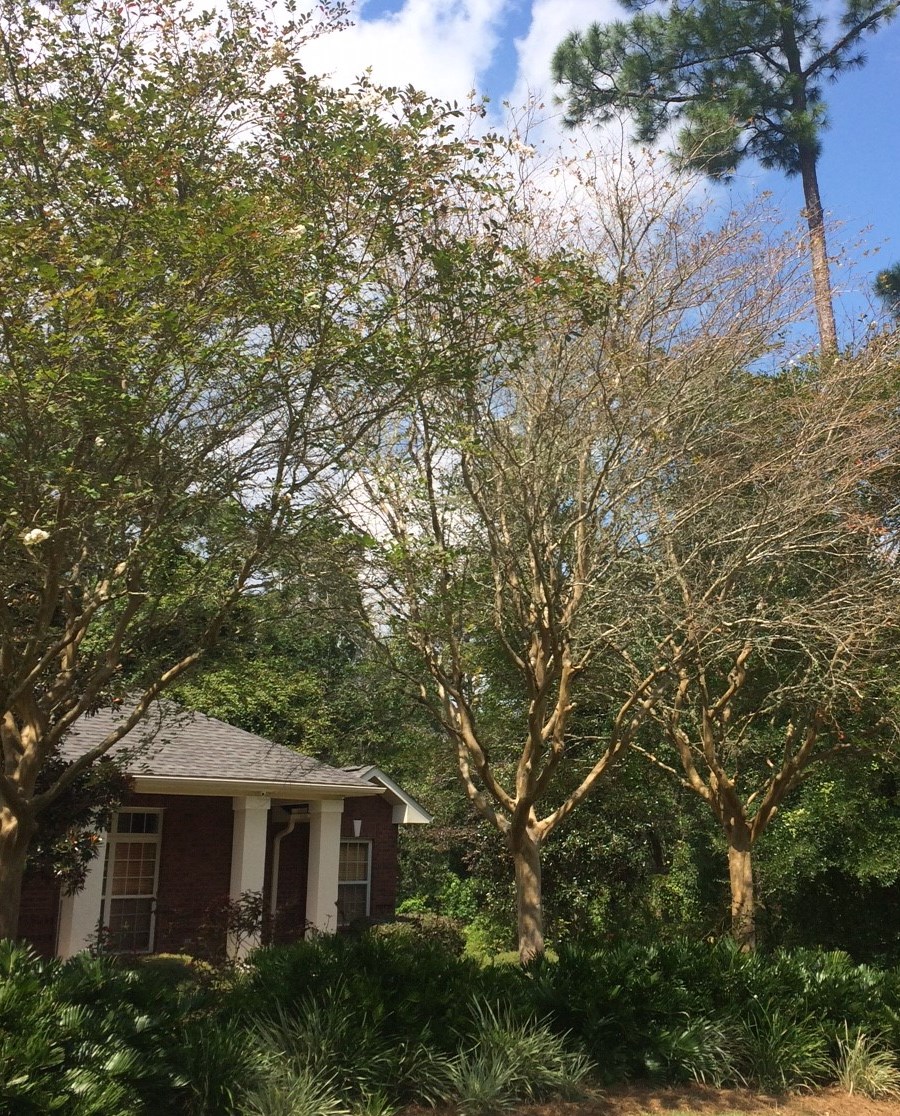
The crape myrtle on the right has a very thin canopy. Investigation found a severe area of girdling from strapping left uncut at planting. Photo by Beth Bolles, UF / IFAS Extension Escambia County.
If you do have a tree that exhibits the above listed symptoms, it never hurts to look at the trunk and root flare just below the mulch and soil surface. If you find strapping still in place, cut it so that it is loose. Depending on the severity of the problem, this may not save the tree but it is worth a try on your important investment.