by Daniel J. Leonard | Jun 8, 2022
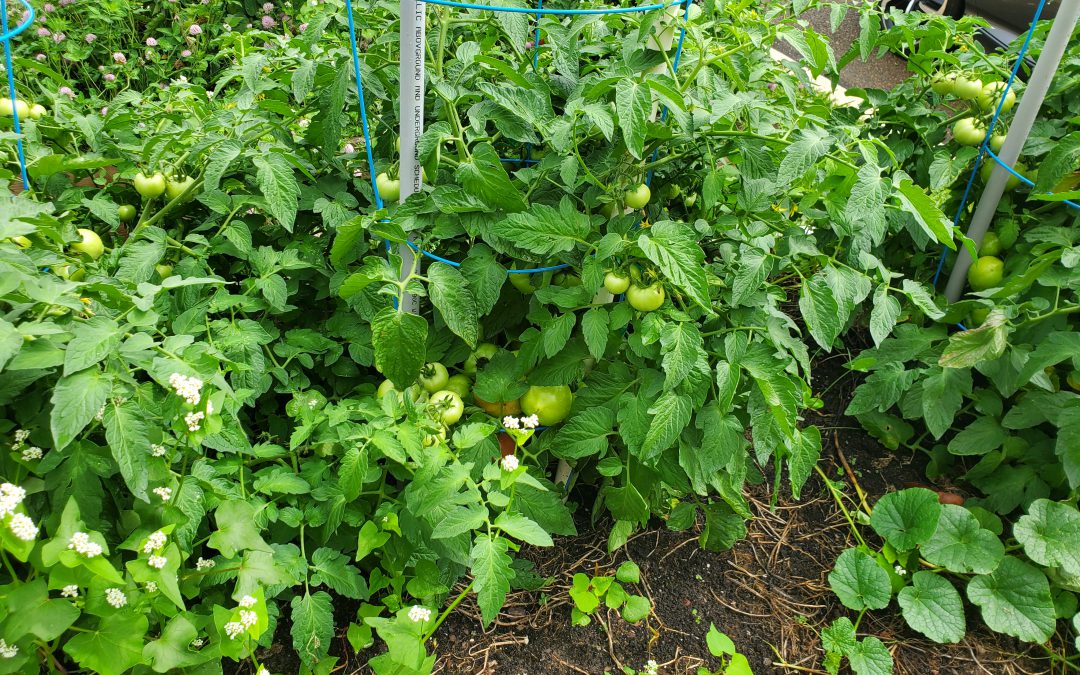
2022 has been a good tomato growing year for many Panhandle gardeners, myself included. It would have been difficult to have better climatic conditions to aid a terrific tomato harvest. After enduring a late frost just before Easter, the Panhandle then experienced two mild months in April and May that combined with nearly a month of dry weather during fruit development to deliver an excellent fruit set season with minimal disease and insect pressure. However, despite the favorable growing conditions, I have talked with several gardeners that once again struggled to yield a good crop of fresh garden tomatoes. Why is that? With the Panhandle tomato home gardening season nearing its conclusion, now is a perfect time to revisit 3 of the most common mistakes that prevent an excellent harvest!
Not Starting Early – Since Memorial Day, the rain and heat have really ramped up. These hot, wet conditions are perfect for developing tomato plant problems like fungal and bacterial diseases, not to mention the fact that tomato plants will stop setting fruit once nighttime temperatures rise above 75 F. While spraying fungicides preventatively can certainly help decrease disease incidence, the absolute best thing a gardener can do is try to get ahead of the disease-bringing heat and humidity by starting plants early when more favorable growing conditions prevail. So, what is early? I try to have tomato transplants in the ground by March 15 or soon after*. If you plan to grow plants from seed, they should be started indoors mid-January for planting outdoors in mid-March. Most tomato varieties take between 60 and 80 days to mature after planting, so a mid-March planting date normally yields harvestable tomatoes by the middle of May, comfortably beating the June disease deadline. *Planting early means protecting plants from occasional late frosts. Be prepared!
Not Scouting Your Plants – Pest and disease problems are a lot easier to manage if caught early and the best way to do that is to spend time with your plants. If you scout (just walking by and giving plants a short inspection) daily, you’ll learn what tomato plants and the beneficial insects that hang around all the time are supposed to look like an and be able to spot abnormalities and bad bugs when they occur. While tomato diseases and pest outbreaks can certainly cause a lot of damage in a short amount of time, they don’t reach disastrous levels immediately – be vigilant and catch them early!
Not Fertilizing and Watering Correctly – It takes a lot of energy for a tomato plant to grow a nice, bushy plant AND yield an abundance of America’s favorite vegetable (or fruit, depending on who you ask). To produce that necessary energy, gardeners must ensure plants receive adequate nutrition and water. Here’s my general prescription. At planting, apply a general purpose, slow-release fertilizer according to the label rate (for example, Osmocote, Harrell’s, or similar) and gypsum (a calcium supplement that helps prevent blossom end rot) at one pound per hundred square feet of garden. Then, supplement later in the season with a quick-release general purpose fertilizer sufficient to drive growth and fruit development. Watering is more of an ongoing concern. For the first couple of weeks of the tomato plant’s life, you can get by with watering once a day or every other day. As the plants get larger and the days get hotter however, watering twice daily is often needed to prevent wilting down in the heat of the day. Allowing tomato plants to wilt, even for a little while, is an excellent way to encourage blossom end rot and a subpar harvest!
When tomato season rolls around in 2023, remember to start early, scout often, and water and fertilize correctly. Follow those few tips and you’ll be well on your way to a great harvest in 2023! For more information about growing tomatoes or any other horticultural or agricultural topic, contact us at the UF/IFAS Calhoun County Extension Office at 850-674-8323 or email d.leonard@ufl.edu. Happy Gardening!
by Ashley Stonecipher | Mar 9, 2022
This is the third session in a 3-part series focused on growing and cooking food from your own garden.
About this event
Do you want to grow vegetables such as okra, peas and summer squash? Join us for a workshop focusing on how to best grow and care for your summer vegetable garden and learn some new recipes to make with your harvest!
Participants will have the chance to taste several foods and will take home a variety of seeds and starter plants.
For persons with disabilities requiring special accommodations, please contact the Extension Office (TDD, via Florida Relay Service, 1-800-955-8771) at least five working days prior to the class so that proper consideration may be given to the request.
The University of Florida (UF), Institute of Food and Agricultural Sciences (IFAS), UF/IFAS Extension is an Equal Opportunity Institution authorized to provide educational information without discrimination with respect to race, creed, color, religion, age, disability, sex, sexual orientation, marital status, national origin, political opinions or affiliations.
by Daniel J. Leonard | Jan 20, 2022
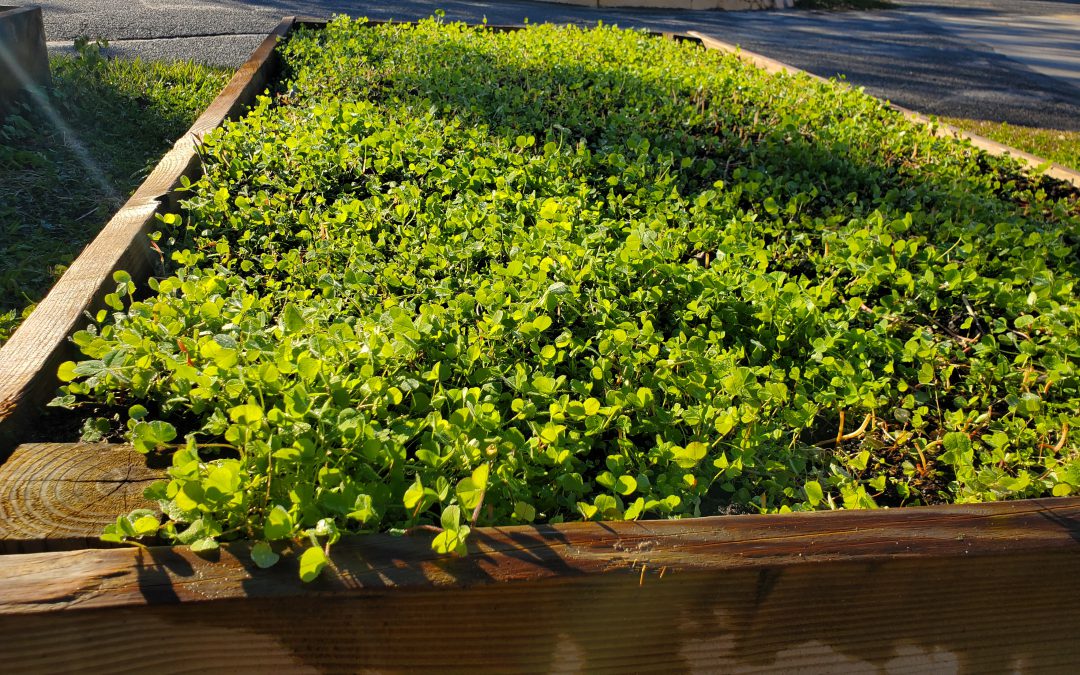
One of the major recent movements in production agriculture has been the widespread adoption of cover crops. This practice gives farmers a host of benefits, from erosion prevention to nutrient retention and recycling. However, using cover crops isn’t just for large scale farming operations. Hobby vegetable gardeners can absolutely employ similar systems on a smaller scale to reap the same benefits. For the past two years, I’ve used Buckwheat to provide a soil building cover during the heat of summer between spring and fall gardens. This winter, after my fall greens garden succumbed to frost, I decided to employ the same tactic with a mix of Red Clover (Trifolium pratense), White Clover (Trifolium Repens), and Crimson Clover (Trifolium incarnatum) to enhance my soil during the coldest months until spring tomato planting arrives!
Clover mix used as a cool season cover crop in raised beds. Photo courtesy Daniel Leonard.
While there are many different species of plants (rye, oats, wheat, various brassicas, etc.) that can be planted in November or December as cool season covers to deliver benefits like winter weed suppression, enhance soil organic matter, retain and harvest leftover nutrients, and provide habitat for beneficial insects, I chose Clover for an additional reason. In addition to the above benefits, Clover is a legume and also fixes atmospheric nitrogen, making it available for subsequent plantings! Not only is Clover an excellent soil cover, but it also provides some nitrogen fertilizer to the following vegetable garden!
Growing Clover, while not quite as simple as Buckwheat or small grain covers like oats and rye, is relatively easy for most gardeners. The first step is selecting which clover species and/or variety to grow. I chose a mix of Crimson, White, and Red Clover simply because I had several pounds of each left over from a previous field planting. However, any one of the three may be used by themselves or in various combinations. All are excellent choices for garden cover crops and have similar growing requirements. Crimson Clover is the most readily available, but all three species can be found at most farm and garden supply stores.
The next step is to prep your garden beds for clover seeding. I thoroughly remove weeds from my raised beds, lightly till the top couple of inches of soil, and rake to provide a level surface. Since clover seed is tiny, a smooth, clean seedbed is a must for excellent germination. Once this is done, your next should determine how much seed to plant. Recommended clover seeding rates are usually given on a per acre basis and range from 3-4 lbs/acre (White Clover) to 20-25 lbs/acre (Crimson Clover). Given these seeding rates, planting in a 4’x8’ (32 ft2) raised bed is only going to require a miniscule amount of seed.
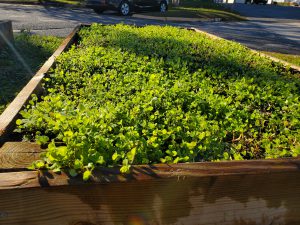
Clover mix used as a cool season cover crop in raised beds. Photo courtesy of Daniel Leonard.
To ensure a good stand while minimizing risk of overplanting, I mix equal parts clover seed and either sand, vermiculite, or other media similar in size to clover seed and hand scatter over the surface of my beds, making sure to uniformly cover the entire bed. If you think the stand is too thick, you can always hand-thin after emergence.
As a group, clovers prefer moist soil that is not allowed to dry out completely. This isn’t usually a problem given the Panhandle’s frequent rainy cold fronts in winter, but if rainfall is inconsistent, some irrigation will be required. Supplemental fertilizer isn’t normally necessary when planting a clover cover in vegetable gardens because nutrients remaining from the previous veggie crops are usually sufficient for growth and development (N especially is not needed as legumes produce their own through N fixation). 2-3 weeks before you’re ready to plant your spring veggies, chop the clover cover into the top few inches of your bed to terminate it and release its nutrients back into the garden. It’s that easy!
Planting a winter legume cover crop like clover is a great way to harness the benefits of cover crops for your spring veggies and enhance the aesthetics of your otherwise barren and drab garden beds! For more information about growing winter cover crops or any other horticultural topic, contact your local UF/IFAS County Extension office. Happy Gardening!
by Daniel J. Leonard | Dec 15, 2021
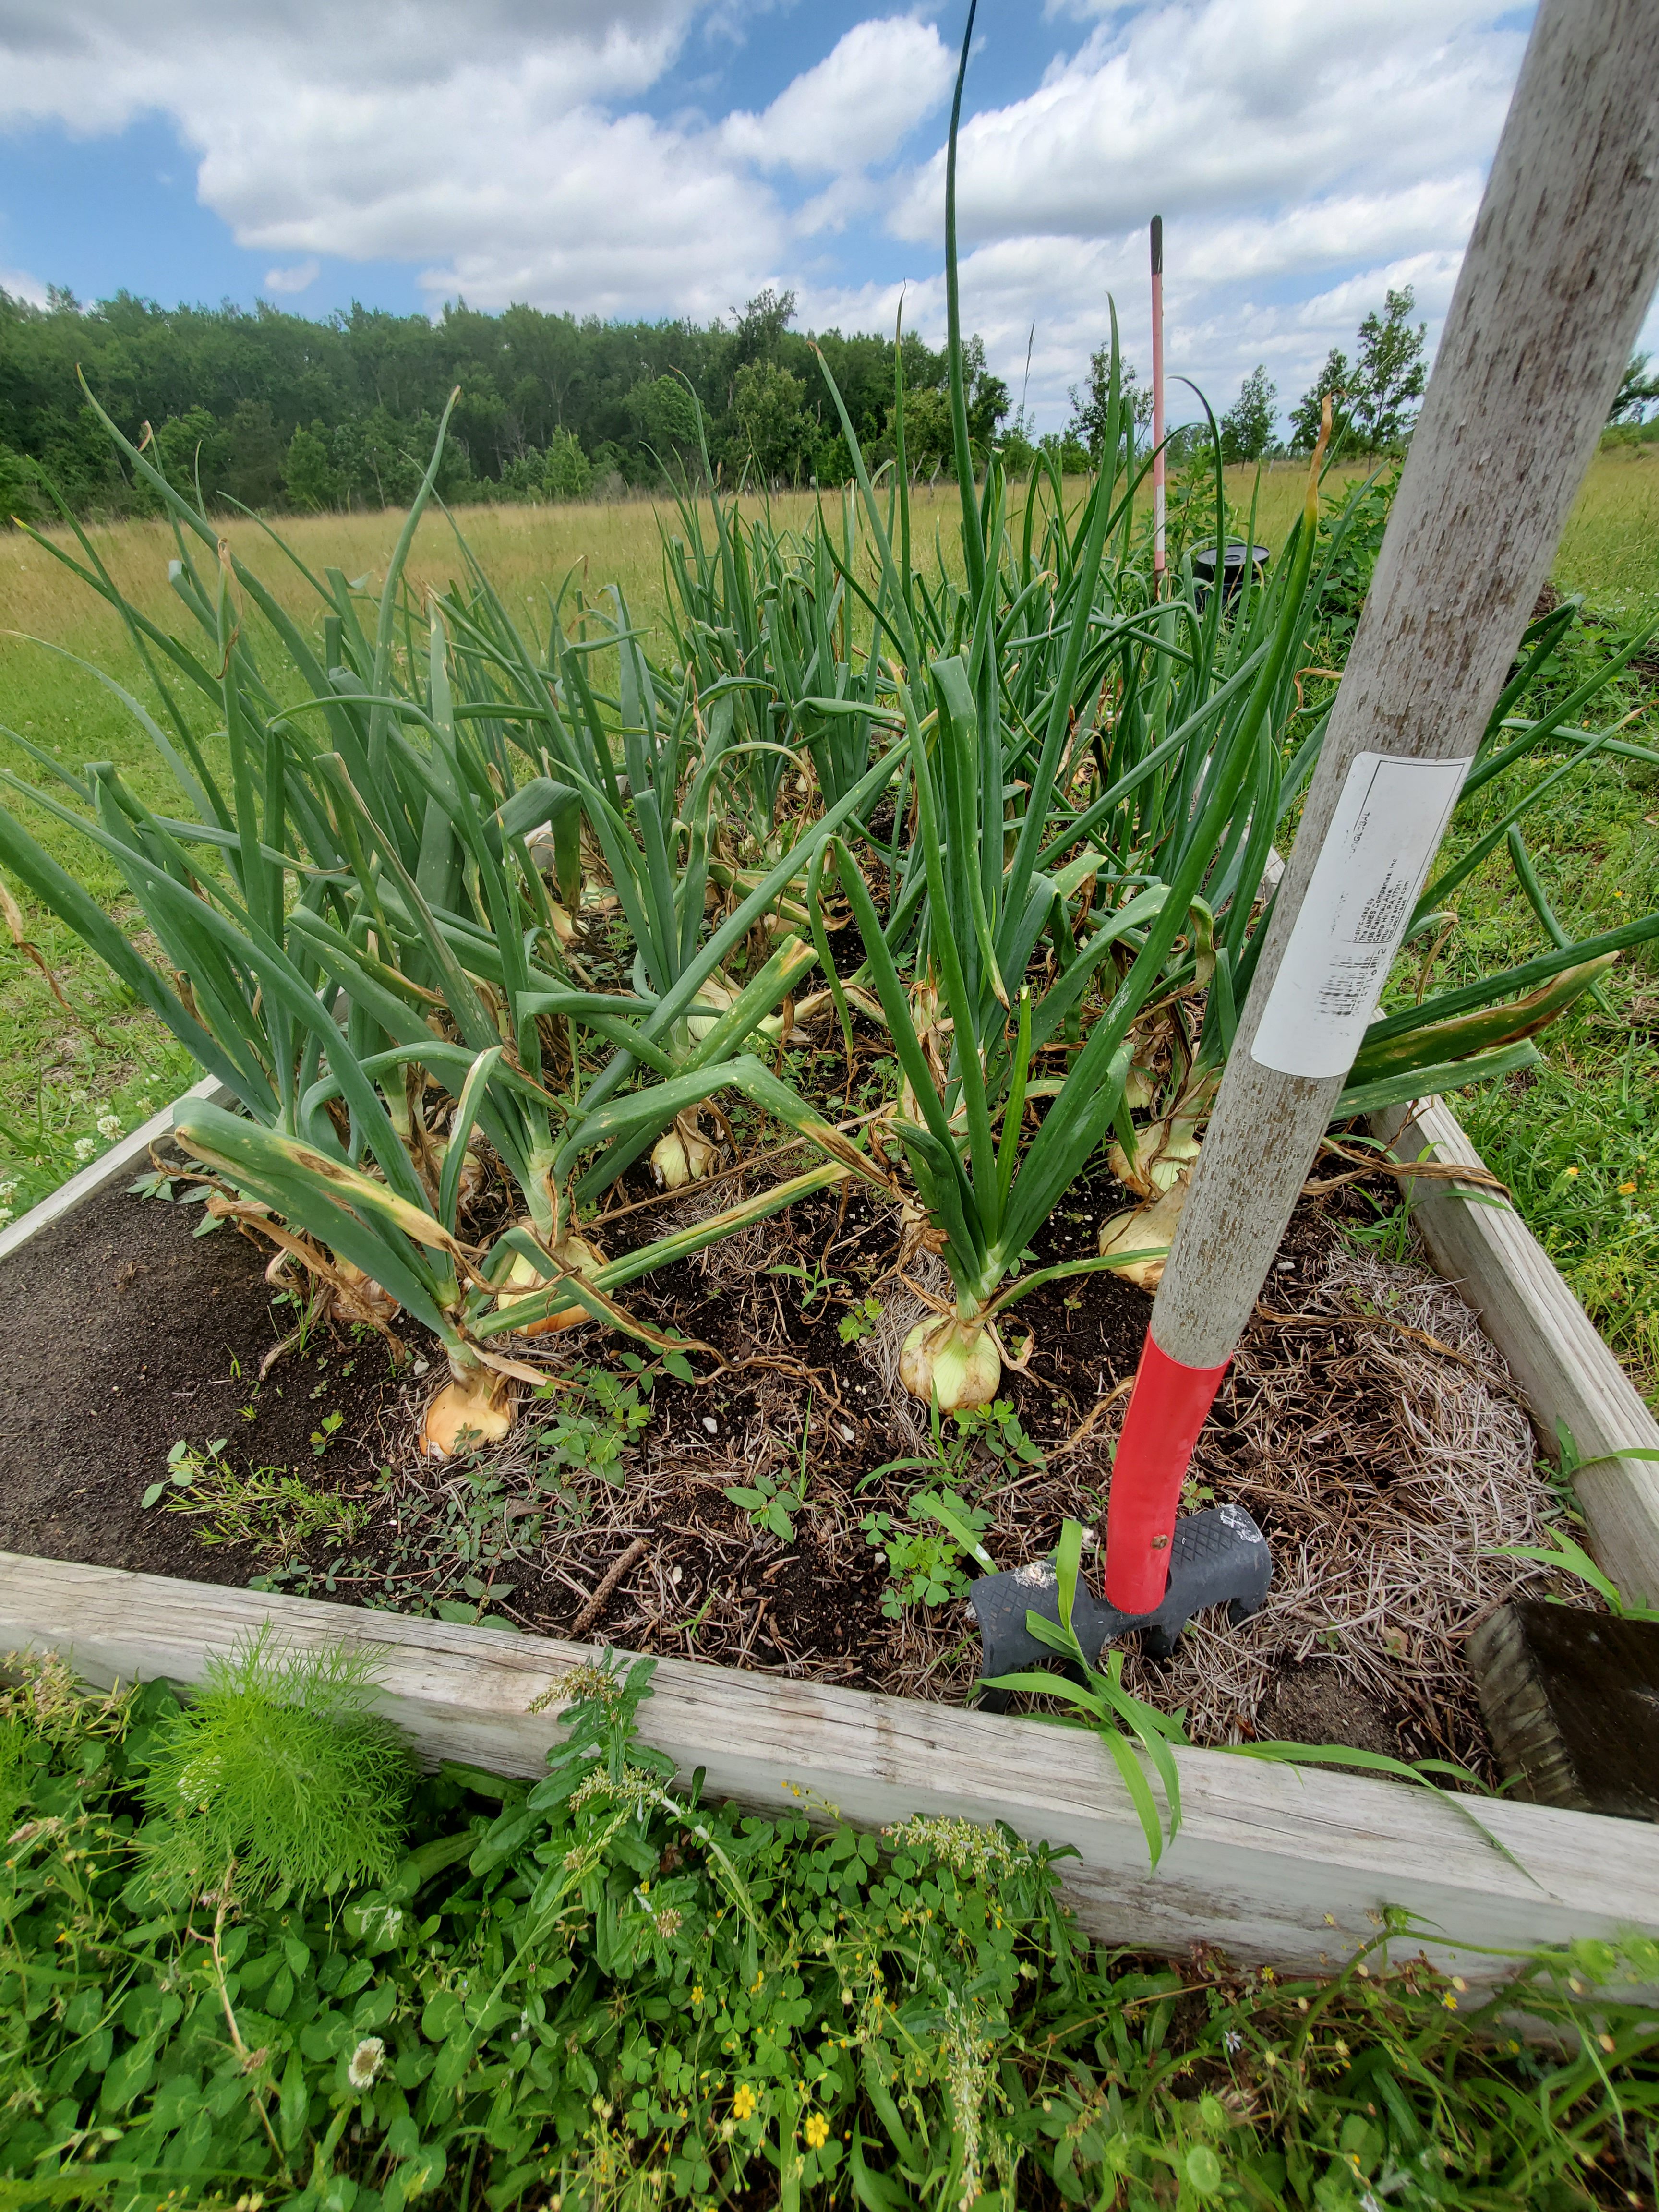
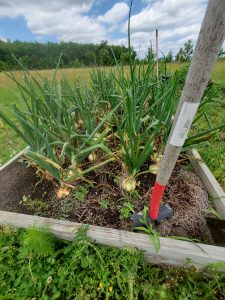
For many people in the Panhandle, gardening season begins when the weather warms in spring and nurseries start setting out tomato transplants. While I understand the allure of the yummy summer veggies and spring/early summer are the most traditional times to garden, cultivating a winter garden in the Panhandle unlocks many tasty options. Among these cool-season garden veggies is a classic southern staple that is among the easiest and most rewarding of all vegetables to grow, sweet onions!
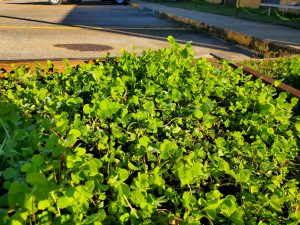
‘Texas Super Sweet’ Onions almost ready for harvest in a Calhoun County garden. Photo courtesy of Joe Leonard.
Sweet onions are very popular in the culinary world for their mild flavor and soft texture and are among the most widely grown group of onions across the world, but the most famous of them, Vidalia’s, hail from Georgia! Despite its fame, the “Vidalia” onion is actually nothing more than a trademarked name for a specific variety of sweet onion that was bred in Texas (‘Yellow Granex’ and its derivatives), grown in a 20-county region in South Georgia with excellent onion-growing soil, and made famous by excellent marketing from the Vidalia Onion Committee. While they can’t be called Vidalias legally, you can absolutely grow your very own Vidalia type sweet onions at home here in the Florida Panhandle!
Sweet Onions are most easily grown at home if purchased in the fall as “sets”. Sets are small bulbs that have been started, harvested, dried to prevent rotting during storage, and shipped to garden centers ready to be “set” out in home gardens. Sweet onions may also be grown from seed but take much longer and have a lower success rate. When browsing onion set varieties for purchase at garden centers or in seed catalogues, make sure to purchase a short-day “Granex” type like “Texas Super Sweet” or similar. It is critical to remember that sweet onions are classified by how many hours of daylength they require to produce bulbs. The three classifications are Short, Mid, and Long-Day. Since sweet onions require cool weather to develop properly, Floridians must grow short-day varieties to compensate for decreased daylight hours in the winter. In the less hot Northern states, long-day sweet onions are grown in the summer, where they’ll be able to soak up 15-16 hours of daylight. Therefore, for best results in the Panhandle, select ONLY short-day onion varieties.
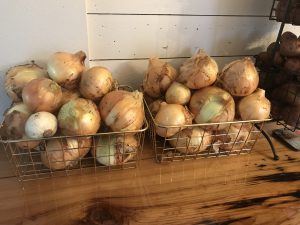
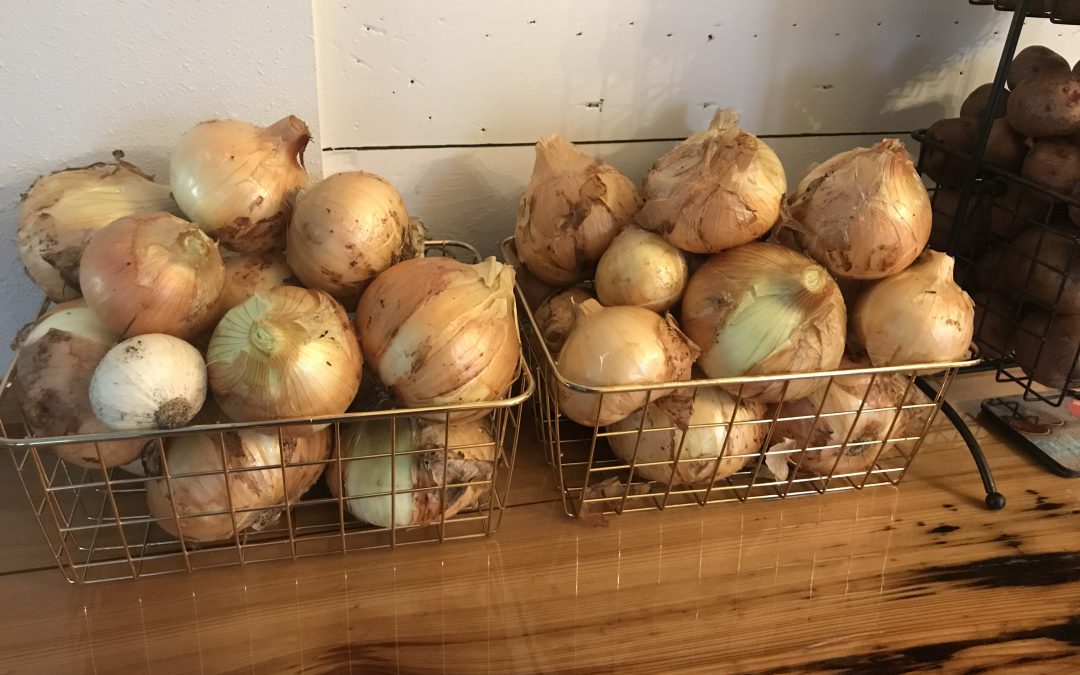
‘Texas Super Sweet’ Onions that have been harvested and are ready for use! Photo courtesy of Daniel Leonard.
Once you’ve selected your onion sets in the fall, they can be planted in the garden anytime from early October to mid-December. Individual bulbs should be planted about an inch deep in well-drained garden soil with high organic matter content (mushroom compost, composted manure, or other rich organic matter works) and spaced 4-6” between plants and about a foot between rows. Onions in general, and sweet onions in particular, are heavy feeders and require ample nutrition to meet their potential! To meet these fertility needs, I apply a slow-release fertilizer like Osmocote or a Harrell’s product at planting and supplement that with either a quick release granular or liquid fertilizer monthly during the bulb enlargement phase. Sweet onions also have a shallow root system and require frequent watering to develop properly and avoid splits, doubles, and small bulbs. Don’t let your onion bed dry out!
Finally, sweet onions planted in late fall/early winter are normally ready to harvest in April and May. However, rather than relying on a calendar, begin harvesting your onions when the tops start to turn yellow and fall over, this indicates maturity. After harvesting, allow your onions to “cure” with tops and roots still attached for a couple of weeks outside in a shaded, protected area. Once they’ve had an opportunity to “cure”, remove tops and roots and store the cured bulbs in a cool, dry place (a dark pantry in an air-conditioned room or the refrigerator crisper drawer work fine) and use at your convenience!
While they can’t be called Vidalias, sweet onions grown at home are oh so rewarding and very tasty! Provided they are planted in quality soil, receive plenty of water and fertilizer, and are harvested/stored correctly, sweet onions will provide a delicious, home-grown culinary treat throughout the year! For more information about growing onions in the home garden or any other horticultural/agricultural topic, contact us at the UF/IFAS Calhoun County Extension Office. Happy Gardening!
by Ashley Stonecipher | Oct 28, 2021
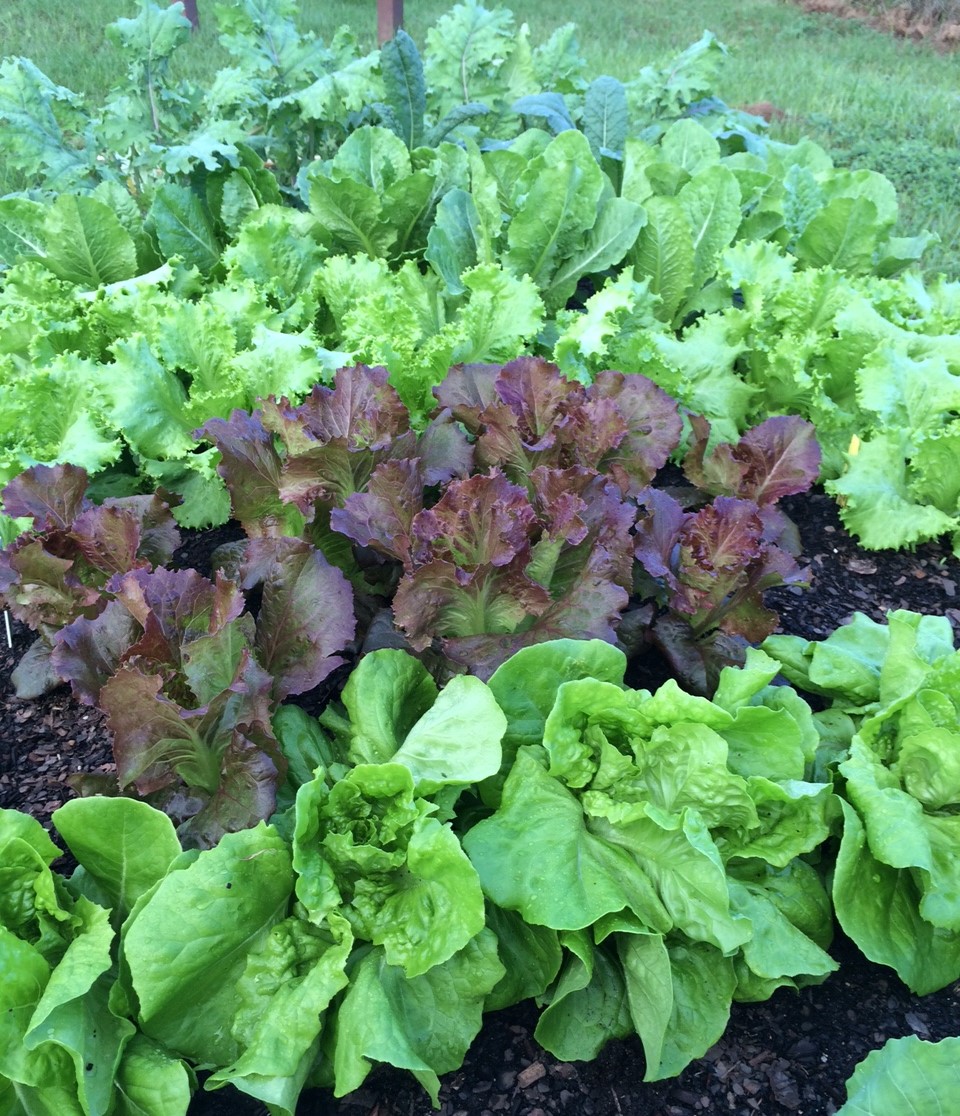
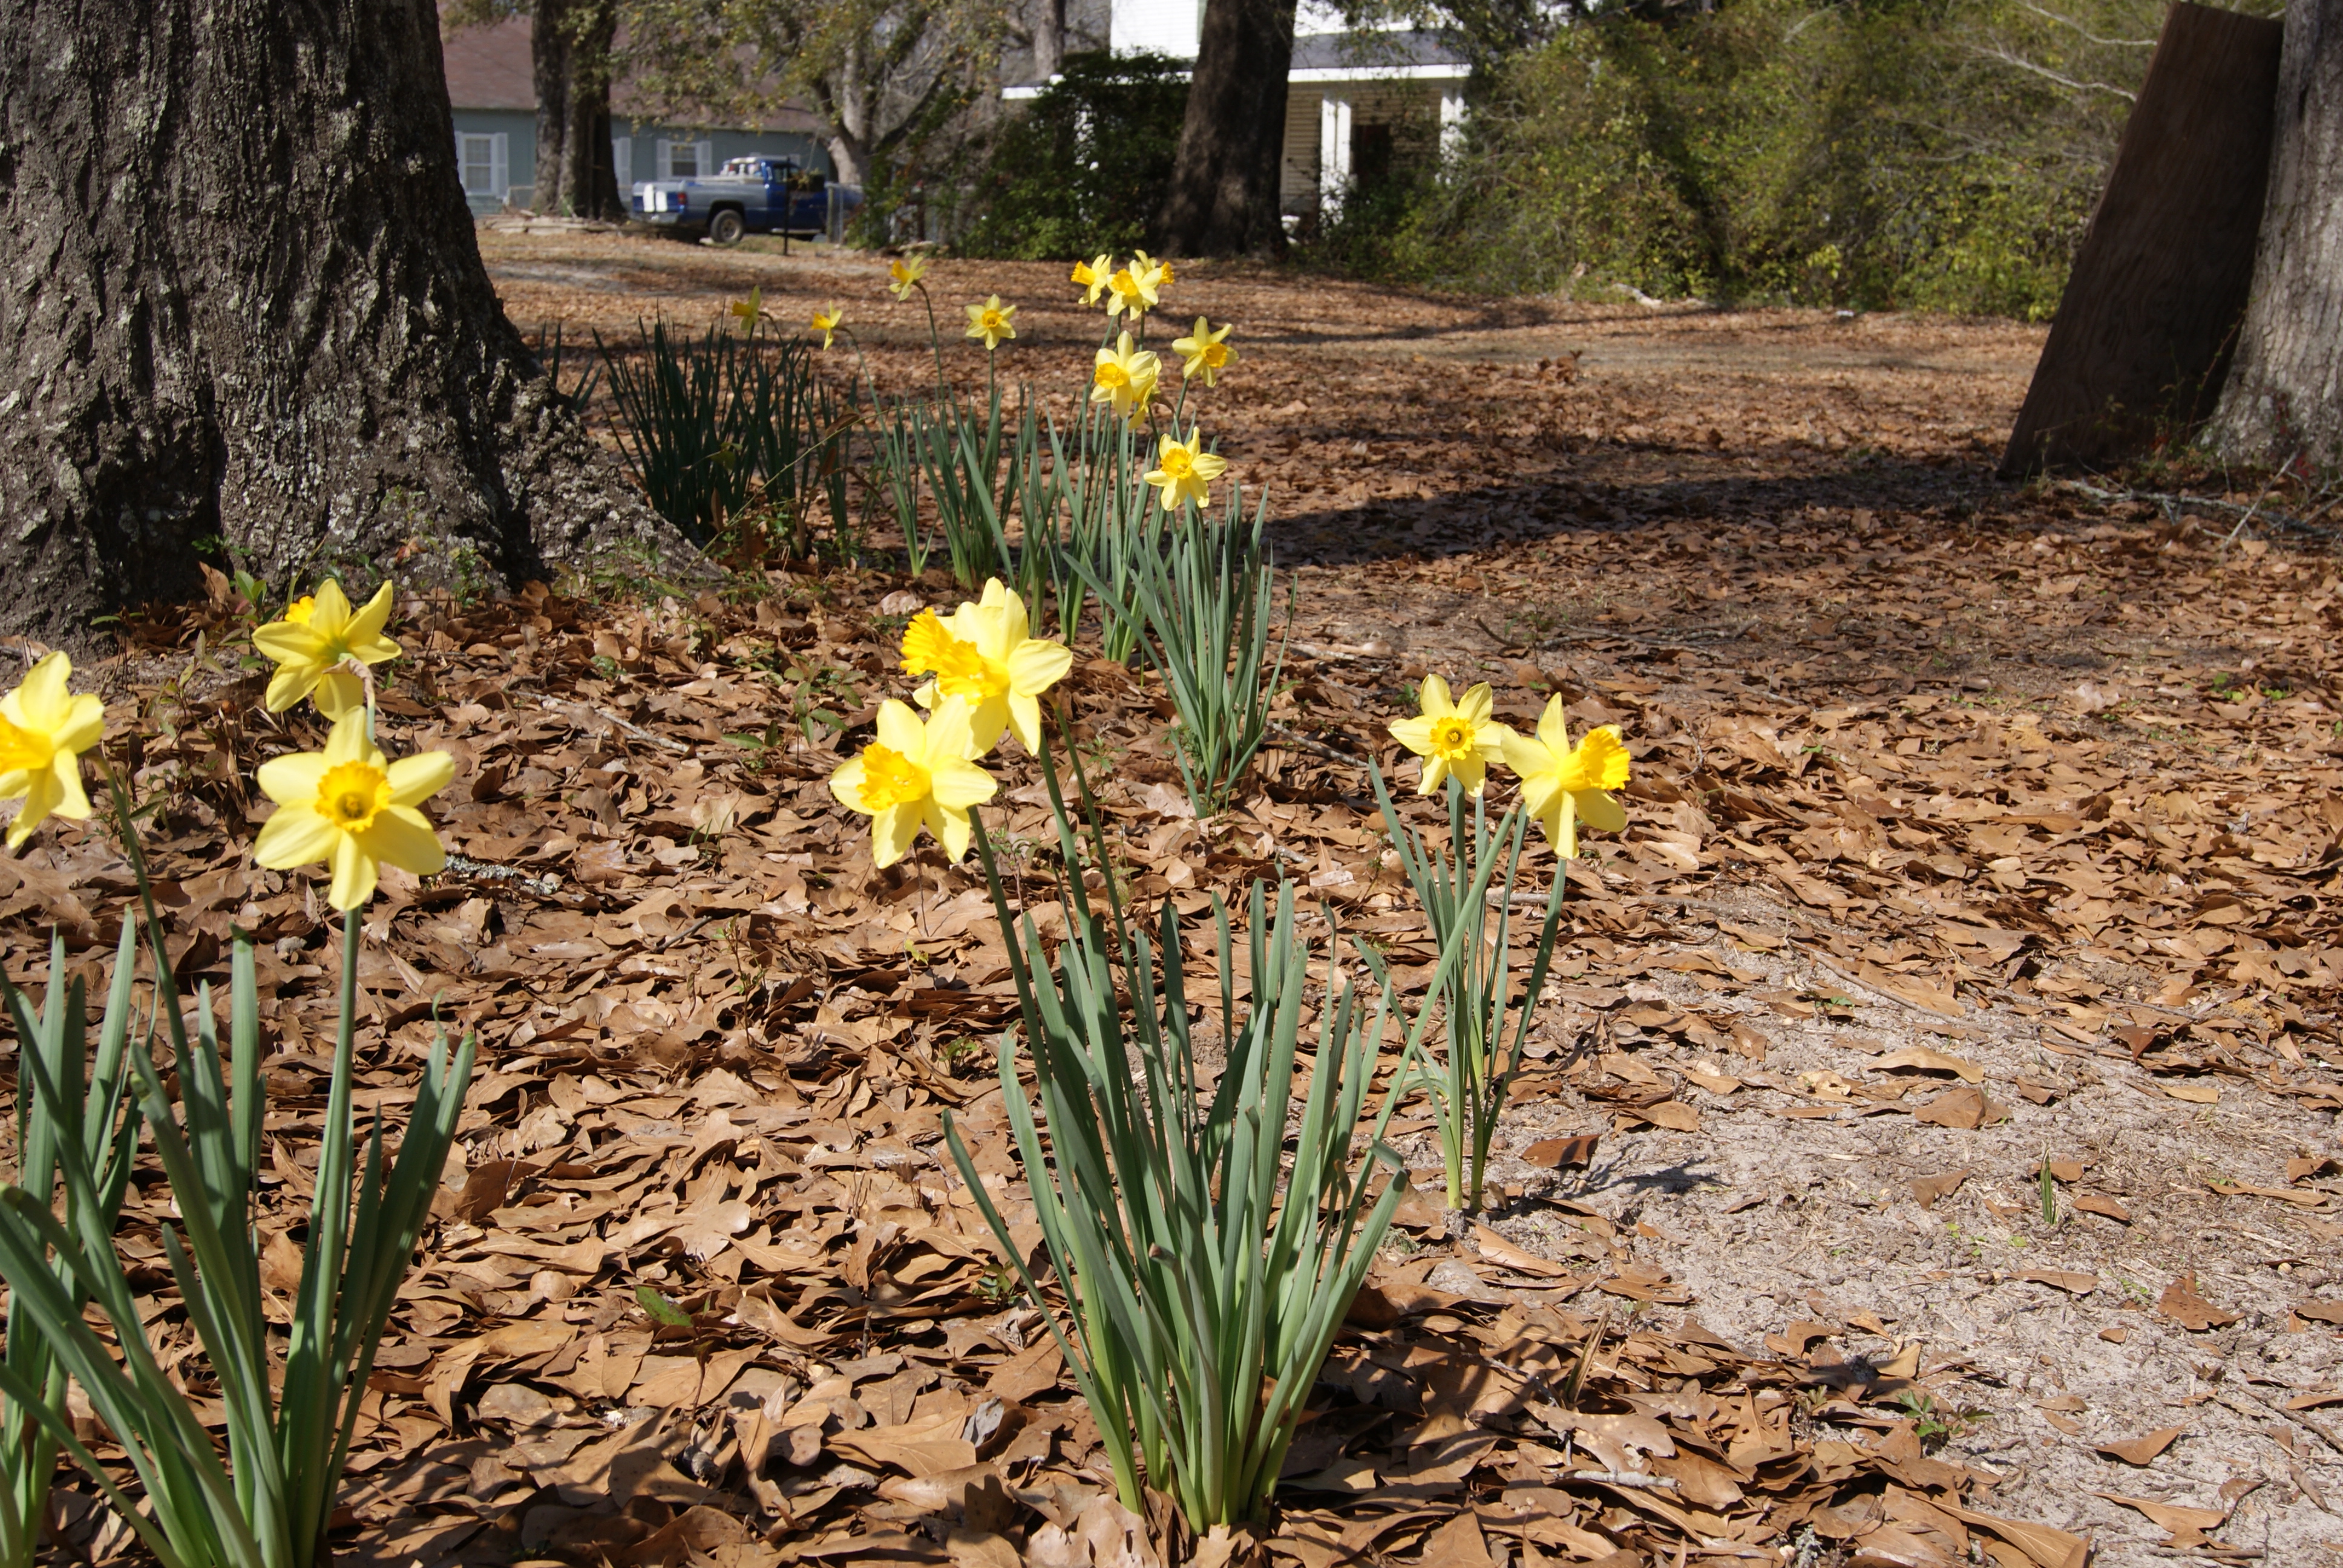
As October gets by us and November quickly approaches, I would like to include the preparation on What to Plant? And What to Do? Some great annual plant choices are digitalis (foxglove), petunias, and Shasta daisy. There are many daffodil bulb varieties for North Florida including the following: Carlton, Fortune, Silver Charms, Thalia, and Sweetness. We will be getting into more of the cooler days, so this is a good time to start bulb onions and salad crops such as arugula, lettuce, and spinach. Dill, fennel, oregano, and sage are all herbs that can be planted throughout the fall months.

Start preparing now so your fall garden will be full of dark leafy greens, multi-colored lettuces, and root vegetables of all shapes and sizes. Photo by Molly Jameson.
In lawns there are a few key things that can be done in October. It is possible to control winter weeds before they appear. This is the time to use preemergent herbicides when nighttime temperatures are between 55-60 degrees Fahrenheit for four to five days in a row. If a green lawn is desired, you can overseed with annual ryegrass when the daytime temperatures are in the low 70s. Remember, the lawn will still need to be watered and mowed to maintain a healthy ryegrass. Watch for fungus like brown patch and large patch disease. This can become active when the soil temperature is between 65-75 degrees Fahrenheit.
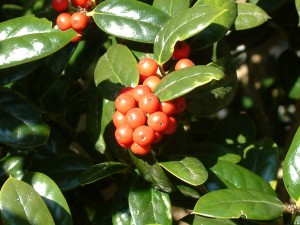
Hollies also attract bees to the landscape.
Credit: Beth Bolles, UF IFAS Extension Escambia County
And last but not least as you prepare for winter around the corner you can plant evergreen hollies that will make it through the cold and provide a splash of color with red berries. Gather pine needles that are dropping and use as a natural mulch, and this is the last month that strawberry plants can be established in a bed or a large container.