Yay, we are halfway through with August and our summer is winding down! This is the perfect time to start prepping for that fall garden. Growing a productive fall vegetable garden requires thoughtful planning and good cultural practices. This process consists of selecting a site, planning the garden, preparing the soil, choosing the seeds and plants, planting a crop, and nurturing the plants until harvest time. In the Florida Panhandle it can be a challenge to get cool season crops started; there is a balance in starting them early enough to allow them to mature (50-60 days) before a hard frost and getting them through the end of a hot summer.
August and September are the main planting times for a fall garden. There are several cool-season crops and a final crop of warm-season vegetables that can be planted. Some good warm season crops are lima beans, cucumbers, eggplant, peppers, and tomatoes. Going into September it will be a good time to establish strawberry plants. Some good vegetables to start growing just around the corner are broccoli, carrots, cabbage, collards, mustard, and Swiss chard. https://edis.ifas.ufl.edu/NorthFloridaGardeningCalendar Herbs that do well are cilantro, parsley, and lemongrass. Mint, oregano, and thyme should be planted in containers as they tend to spread. Mexican tarragon, mint, rosemary, and basil will also do well in September. See Herbs: http://edis.ifas.ufl.edu/topic_herbs
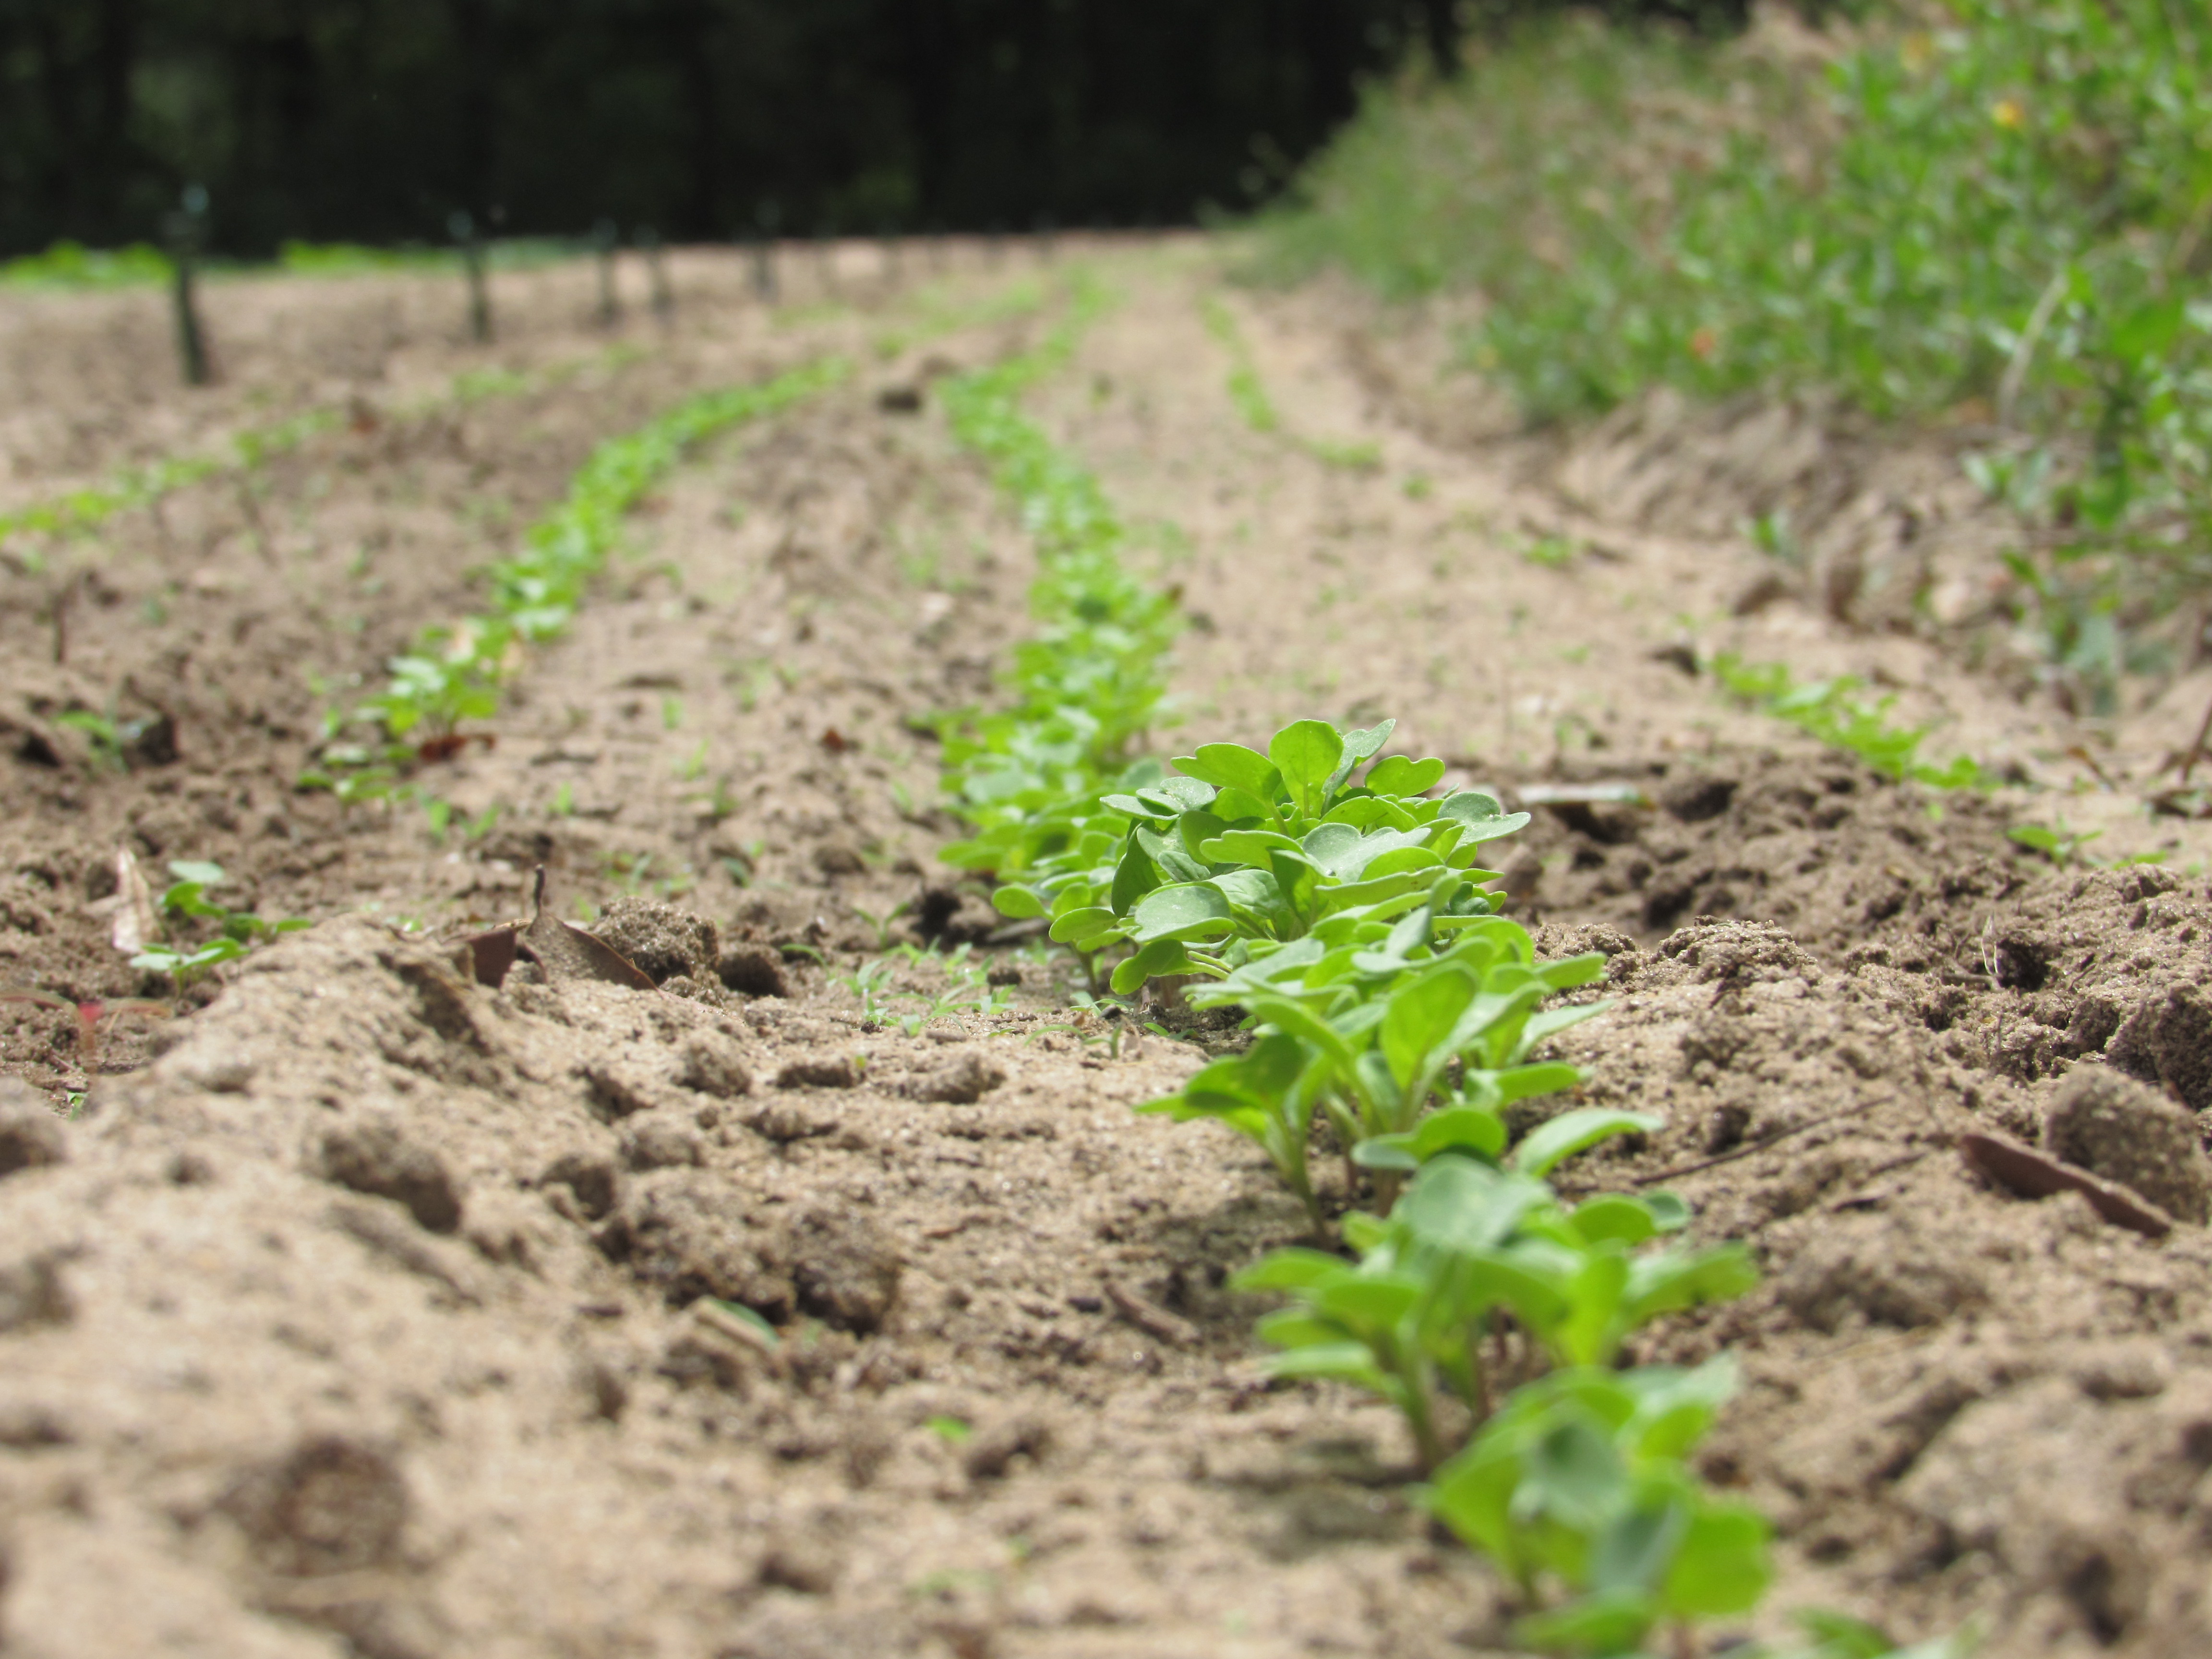
Transplants from the local garden center will get the garden off to a fast start while seeds will offer more varieties to choose from. It is also important to think about your location. A vegetable garden can be in the ground, a raised bed, or even grown in containers. Your plants will need more than just a place to grow. They will also need sunlight, water, air, soil, fertilizer, and care. Most vegetables require at least 8 hours of sunlight. Keep an eye out for pest problems such as insects, diseases and weeds because they will continue to flourish in warm temperatures and high humidity. To help conserve soil moisture a layer of newspaper and mulch can be placed between the rows. Mulch also aids in weed control.
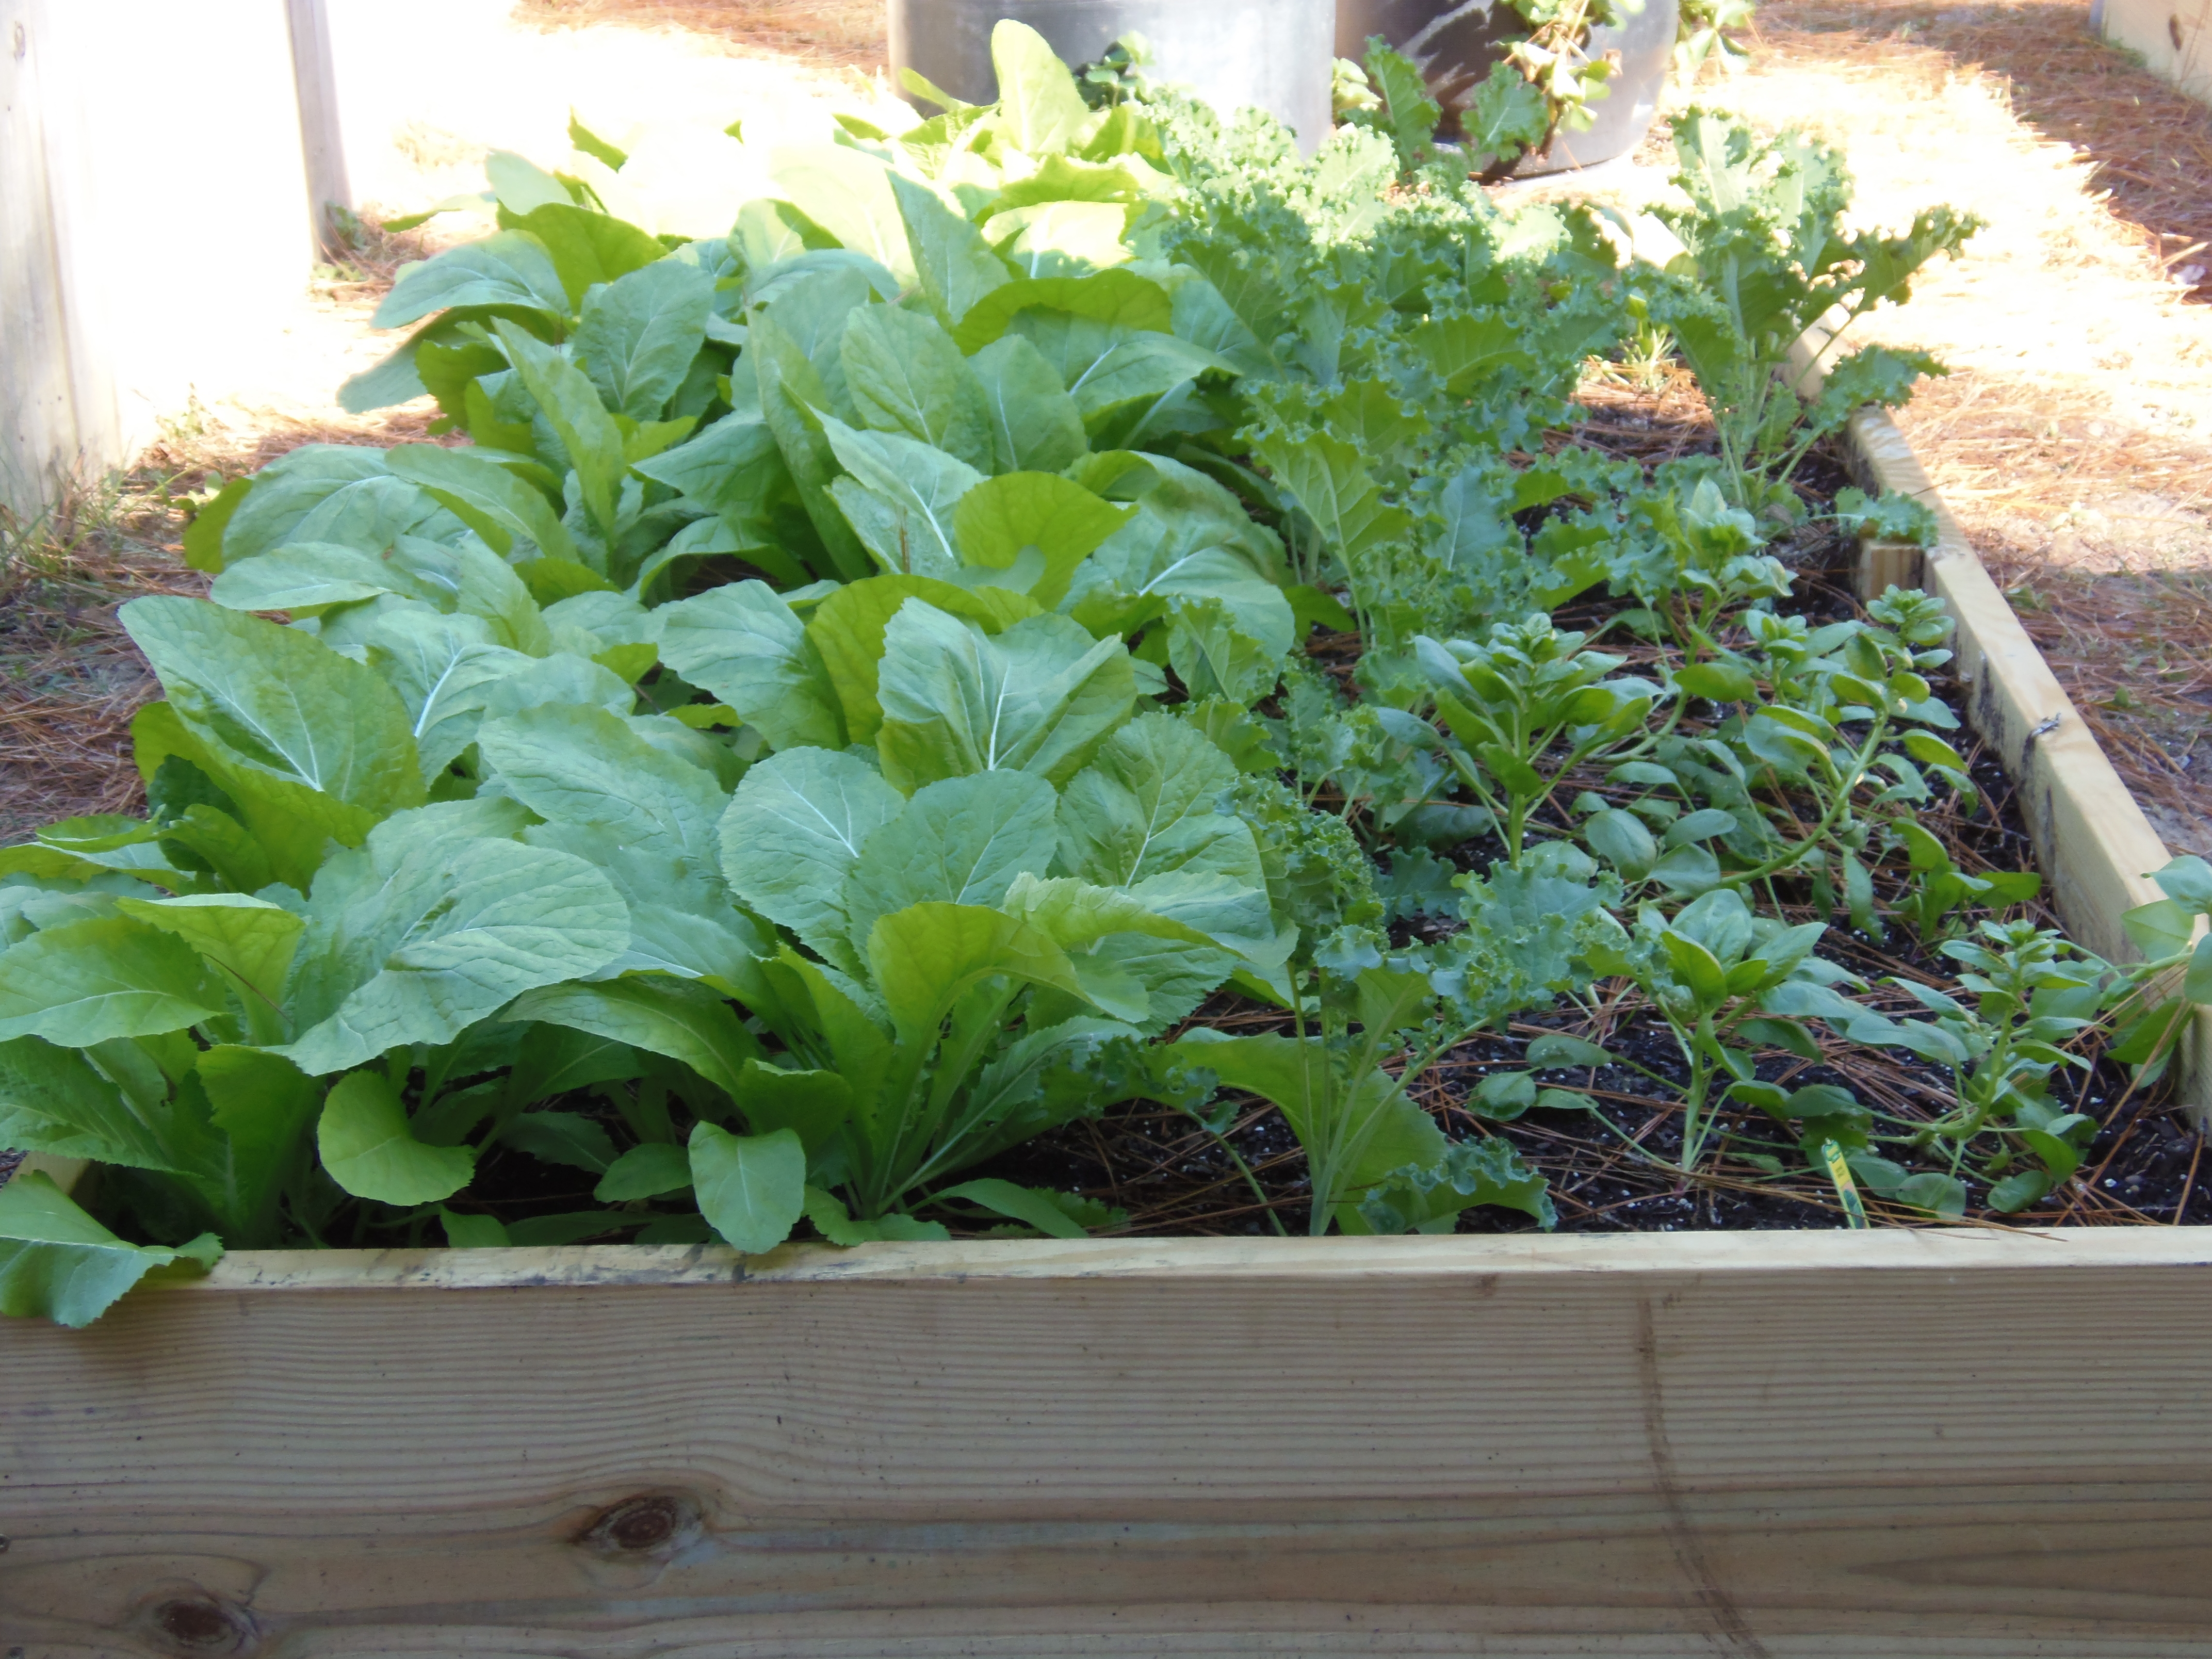
Raised beds are an excellent way to get started with gardening. Photo by Molly Jameson.
The result of a beautiful, successful vegetable garden is fresh produce to eat, share with neighbors, family, and friends and even the possibility to sell your harvest. With patience and practice your gardening skills will improve every year! Follow the above few tips and you will be well on your way to a great harvest! For more information about starting a fall garden or any other horticultural or agricultural topic, contact your local UF/IFAS County Extension Office. Happy Gardening
Math isn’t always fun! Here is Euclid explaining math in Raphael’s The School of Athens. Credit: Creative Commons.
There are a lot of things gardeners need to know to cultivate a beautiful landscape. Between plant zones, scientific names, soil chemistry, and pest identification, being a gardener takes curiosity and willingness to learn new things. Unfortunately, one topic that needs to be well understood, especially when it comes to applying pesticides and fertilizers, is a subject that many cringe when they hear it – mathematics!
Some of the most common mathematical concepts to have a good grasp on for gardening include area, converting decimals to percentages and vice versa, estimating volume and converting units, and determining how much fertilizer to be applied based on your fertilizer grade.
Here’s a couple tips to help you gardeners out with math.
Area
Most often, we need to know the square footage of our gardens. Rectangles are straightforward, you multiply length (in feet) by width (in feet) to get feet squared. Since most yards are not rectangles, we sometimes need to use other shapes to best calculate the area, such as circles and/or triangles. The area (A) of a circle is , where “π” is 3.14 and “r” is the radius (half of the diameter or the distance from the center to the edge). Remember that the little raised 2 means you multiply the radius by itself twice, not by two.
Most of the time, square feet is the best area unit to use. But just in case you need to know, one acre equals 43,560 square feet. So, if you find your lawn is 10,000 square feet, that means you have 0.23 of an acre (10,000/43,560).
Get your calculator’s out! Credit: iStockphoto.
Percent Conversions
This one may be better understood by most, but this becomes important later when we determine fertilizer needed or doing volume conversions. Basically, any percent can be divided by 100 to convert it to a decimal that can be used easily in other calculations. For example, 15% is the same as 0.15 (15/100). The easy way to remember is that 100% is the same as one, and 50% is the same as 0.5.
Volume Estimation and Conversions
Determining volume is required when figuring out how much mulch is needed for a garden bed or soil required for a raised bed. Converting one unit to another is especially important when determining how much pesticide product is needed to prepare a mixture.
For mulch and soil, the cubic feet (cf) or cubic yards (cy) are needed to figure out how many bags or truckloads will be needed. Most bulk products are sold by the cubic yard. Since we are dealing with volume, we need three measurements, the length, width, and depth. If we want to add three inches of mulch to a 500 square foot garden, we multiply the 500 by 0.25 feet (3”/12” equals 0.25 inches) to get 125 cubic feet. That is about 62 bags of mulch from the hardware store, which are often sold in 2 cubic foot bags. If we divide 125 cubic feet by 27 (three feet in a yard so 3’ x 3’ x 3’ = 27) we now have the answer in cubic yards and find that we need about 4.5 cubic yards of mulch. One cubic yard is roughly a half of a full-size pickup truck bed.
When it comes to converting liquid volume units to help with pesticide mixtures, fortunately we have the internet to help. However, it is a good idea to at least be familiar with converting ounces to gallons and vice versa. Since 128 ounces equals 1 gallon, to go from gallons to ounces you multiply by 128. For example, 0.5 gallons equals 64 ounces (0.5 x 128). To go from ounces to gallons, we just divide by 128. For example, 192 ounces equals 1.5 gallons (192/128).
Applying the proper amount of fertilizer keeps your landscape healthier and protects local waterbodies. Credit: UF/IFAS.
Calculating Fertilizer Needed
Okay, bear with me, as we are about to do some hard math and piece together several of the above concepts. First of all, most fertilizer rates are provided by extension resources and given in terms of pounds of a particular nutrient for a set area, usually 1,000 square feet. For example, when using slow-release fertilizer a homeowner should apply no more than one pound of nitrogen for every 1,000 square feet of lawn. To figure out how much actual fertilizer to apply to meet the recommendation, we will need 1) the recommended rate, 2) the size of the lawn, and 3) the fertilizer grade on the product (the three numbers that represent the percent N, P, and K). Our rate is one pound nitrogen per 1,000 square feet. The size of our lawn is 50 feet by 30 feet, so 1,500 square feet. We are going to use a 16-0-8 fertilizer. Now, here is the hard part! To figure out how much of our 16% nitrogen fertilizer will provide one pound of nitrogen, we need to convert 16% to a decimal (16/100 = 0.16) and then divide the amount of fertilizer we need by that number – 1 pound/0.16 – to find that 6.25 pounds of our fertilizer product are required for each 1,000 square feet. Since we have 1,500 square feet, we need to multiply our answer by 1.5, which gives us a total of 9.4 pounds.
Math is hard and there are usually many methods to get the same solution. When using pesticides and fertilizers in the home landscape, it’s important to make sure we’re using the right amount of materials to minimize the chance of harming ourself, our plants, and the local environment. If you need help, or would like someone to check your work, contact your local extension office.
Summer should be the time to relax and enjoy the fruit of all the hard work performed in the landscape over the previous winter and spring. However, there are still some essential tasks that need to be completed during the summer. Perform them in short energy bursts early in the morning or late in the evening.
1. Aerate Your Lawn
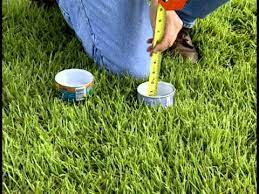
If your yard is starting to look weak and thin, even with fertilizing and proper moisture, it may need aeration. Aeration, which is creating channels into your lawn, allows water and nutrients to reach the deep roots of your grass more efficiently.
To test if you need to aerate your lawn, shovel up a patch of grass to a depth of at least four inches. If the layer of thatch is a half-inch thick or higher, your yard would benefit from aeration. There are self-drive aeration machines and tractor-pulled devices you can rent to make quick work of large areas. For smaller areas, simply punching multiple holes with a pitchfork will do the job.
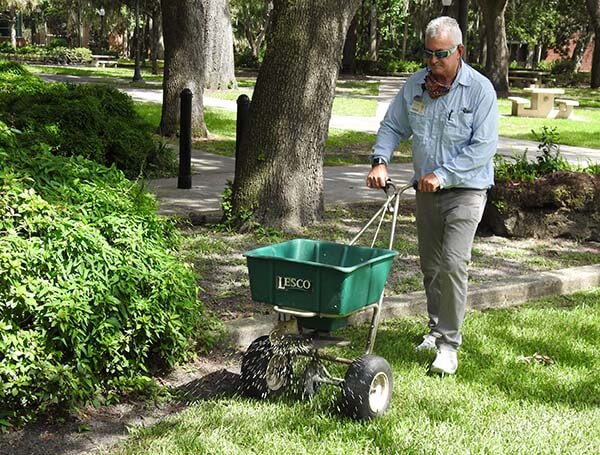
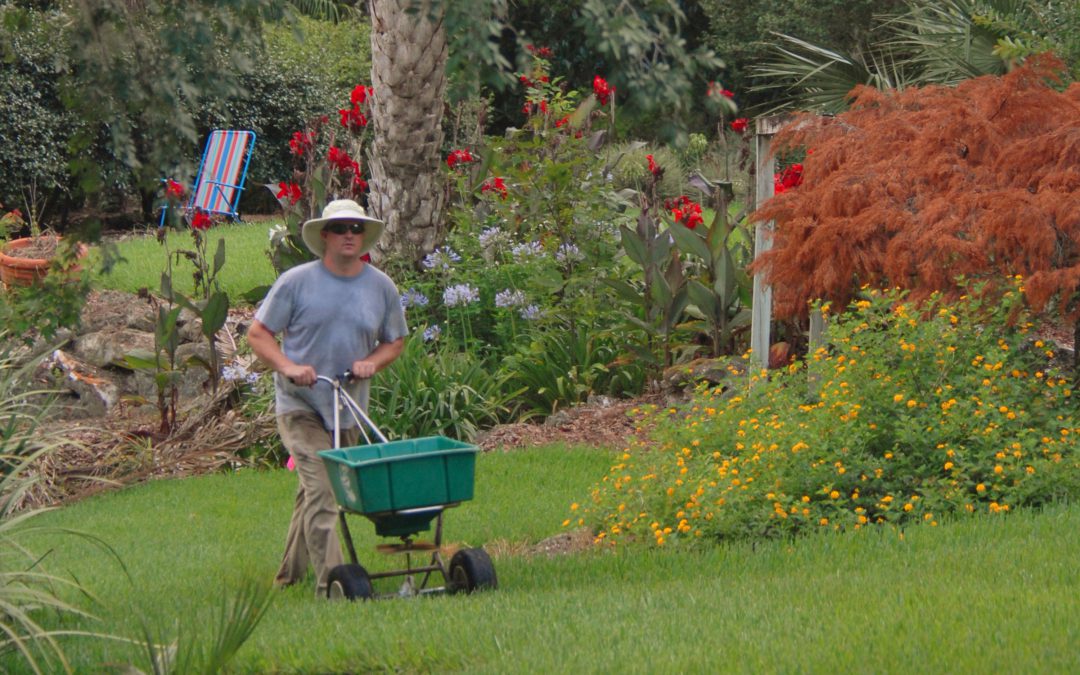
2. Fertilize
Commercial landscape fertilizer applicators must obtain state certification.
Turf grass often displays a yellow color during the mid-summer rainy seasons due to the heavy rains flushing nitrogen away from plant roots. If your lawn is looking sad and yellow, chelated iron can often give a temporary green-up. Iron is not a replacement for nitrogen, but it can work well during our summer rainy season.
If you soil test revealed a potassium or magnesium deficiency, summer is a good time to make the last corrective application. Potassium (K) is an essential macronutrient. Fertilizer bags typically show the percentage of potassium in a product as the third number displayed on the front of the bag (e.g., the “8” in 16-2-8). Potassium acts as a “vitamin” for turf grass, increasing root strength, disease resistance and cold hardiness.
Magnesium (Mg), also a macronutrient, is essential for the production of chlorophyll, necessary for photosynthesis, and also plays a part in the movement of carbohydrates from leaves to other parts of the plant.
3. Don’t Mow Too Short
It’s a natural inclination to want to mow your grass as short as you can, so you have the longest time until you have to mow it again. However, giving your grass a buzz cut every time you mow can hurt your lawn over time.
While some turf grasses can be mowed relatively short, like Bermudas and some Zoysias, most grass types shouldn’t be cut shorter than two-and-one-half to four inches high. Mowing shorter than that can damage the growth point and leave it susceptible to disease and pest infestation. It can also dehydrate the grass and lead to long term damage.
5. Water Infrequently but Deeply
One common mistake made by many is watering too often and too shallow. When only given frequent shallow waterings, grass will begin to grow their roots upwards to take advantage of the small amounts of water, which makes weak and unhealthy. The grass becomes even more dependent on water and very susceptible to disease and insect attack.
Try watering only once or twice a week, but for a considerably longer time so that the water can penetrate deeper into the soil and encourage downward roots. Ideally, each irrigation zone is calibrated to determine the length of time it take to deliver ½ – ¾ inch. Then set the system to run every 3-4 days for that number of minutes. While checking the irrigation delivery system, make sure the rain shut-off device is working and set to the same ½ – ¾ inch.
6. Prevent Mosquitoes
Summer rains on a nearly daily basis lead to lots of standing water. In less than one inch of water, hundreds of mosquitoes can hatch 3 -5 days later. Not only are these blood-sucking pests annoying, but they can also transmit dangerous diseases like West Nile and Zika Virus. Even without disease, their bites are painful and irritating.
To prevent mosquitoes, make sure no standing water is allowed to remain in your yard, either in low points or in empty containers like flower pots or wheelbarrows. Any amount of stagnant water is the perfect breeding ground for mosquitoes. Take a walk around the yard, dumping out water and disturbing the oak and magnolia leaves that are acting a collection cup. Treat birdbaths and water features with floating “donuts” specifically designed to kill mosquito eggs.
While getting tasks done in quick morning trips to the yard, make sure to keep hydrated. Heat exhaustion can happen fast.
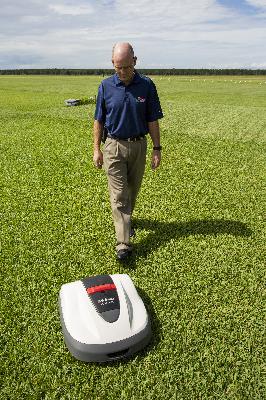
Dr. Bryan Unruh with robotic mower. Credit: UF/IFAS
With gas prices increasing, there are practical ways to reduce gasoline use in your own backyard.
There are electric, battery, solar powered and robotic (autonomous) lawnmowers. Do you remember the non-motorized reel mower? Or, you could use sheep. But, for the time being, most people have gasoline powered mowers. There are costs involved with mowing, including the cost of gas or diesel fuel.
Be smart as to where you grow grass. Use grass where it serves a purpose. Concentrate your efforts in growing grass where it will grow. It’s normal for lawns to decline in close proximity to large trees. As a lawn gives way to tree competition, do something else in that area. Use mulch under trees or plant shade tolerant plants.
Fertilize smart. Lawns need fertilizer. But, too much fertilizer, particularly too much nitrogen, results in excessive grass growth that requires more mowing.
Many homeowners overdo it with too much nitrogen and too little potassium. Fertilizers with the correct ratios of nitrogen to potassium will produce the right balance of shoot to root growth. Choose a fertilizer such as 15-0-15 or some similar analysis with some slow release nitrogen. Fertilize to produce adequate growth and the correct color. If your lawn is a healthy green and you’re mowing, mowing, mowing… why add more fertilizer?
Centipedegrass and bahiagrass will grow best with fewer problems when fertilized sparingly. This would be one or two light applications of fertilizer per year, or none at all if these grasses are performing well. St. Augustinegrass and zoysiagrass might get by on one spring application; however, it’s more common to apply a second time during summer.
Never apply more than the recommended amount of fertilizer per application. You can always split the total amount into two or more applications, which will produce more even growth and minimize sudden growth spurts.
Though it’s a popular practice, reconsider overseeding your lawn with ryegrass this fall. Weigh the desire to have a green lawn through winter with the extra time and costs (gas, fertilizer, water and pesticides) involved with maintaining it.
Finally, keep your gas-powered lawnmower in good working condition. It can make a difference in how efficiently it operates. Make sure the equipment is clean. Change the oil if needed. Replace or clean the air filter and spark plug. Keep lawnmower blades sharp. Basically, follow the owner’s manual for routine maintenance.
Implementing these ideas can help conserve fuel and result in a healthier lawn.
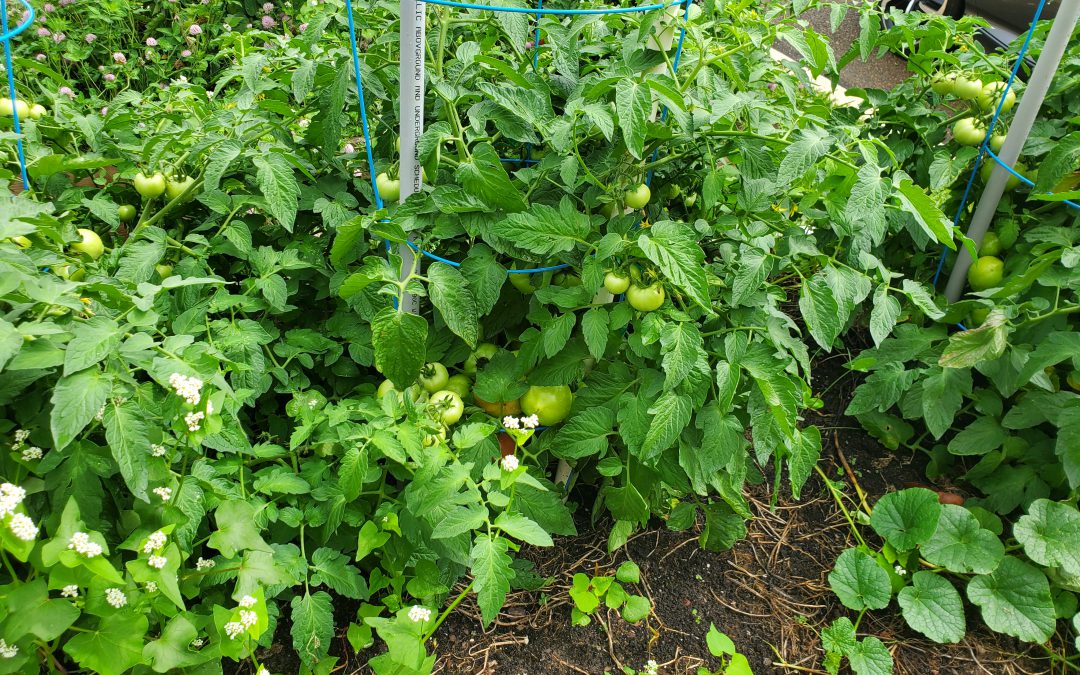
2022 has been a good tomato growing year for many Panhandle gardeners, myself included. It would have been difficult to have better climatic conditions to aid a terrific tomato harvest. After enduring a late frost just before Easter, the Panhandle then experienced two mild months in April and May that combined with nearly a month of dry weather during fruit development to deliver an excellent fruit set season with minimal disease and insect pressure. However, despite the favorable growing conditions, I have talked with several gardeners that once again struggled to yield a good crop of fresh garden tomatoes. Why is that? With the Panhandle tomato home gardening season nearing its conclusion, now is a perfect time to revisit 3 of the most common mistakes that prevent an excellent harvest!
Not Starting Early – Since Memorial Day, the rain and heat have really ramped up. These hot, wet conditions are perfect for developing tomato plant problems like fungal and bacterial diseases, not to mention the fact that tomato plants will stop setting fruit once nighttime temperatures rise above 75 F. While spraying fungicides preventatively can certainly help decrease disease incidence, the absolute best thing a gardener can do is try to get ahead of the disease-bringing heat and humidity by starting plants early when more favorable growing conditions prevail. So, what is early? I try to have tomato transplants in the ground by March 15 or soon after*. If you plan to grow plants from seed, they should be started indoors mid-January for planting outdoors in mid-March. Most tomato varieties take between 60 and 80 days to mature after planting, so a mid-March planting date normally yields harvestable tomatoes by the middle of May, comfortably beating the June disease deadline. *Planting early means protecting plants from occasional late frosts. Be prepared!
Not Scouting Your Plants – Pest and disease problems are a lot easier to manage if caught early and the best way to do that is to spend time with your plants. If you scout (just walking by and giving plants a short inspection) daily, you’ll learn what tomato plants and the beneficial insects that hang around all the time are supposed to look like an and be able to spot abnormalities and bad bugs when they occur. While tomato diseases and pest outbreaks can certainly cause a lot of damage in a short amount of time, they don’t reach disastrous levels immediately – be vigilant and catch them early!
Not Fertilizing and Watering Correctly – It takes a lot of energy for a tomato plant to grow a nice, bushy plant AND yield an abundance of America’s favorite vegetable (or fruit, depending on who you ask). To produce that necessary energy, gardeners must ensure plants receive adequate nutrition and water. Here’s my general prescription. At planting, apply a general purpose, slow-release fertilizer according to the label rate (for example, Osmocote, Harrell’s, or similar) and gypsum (a calcium supplement that helps prevent blossom end rot) at one pound per hundred square feet of garden. Then, supplement later in the season with a quick-release general purpose fertilizer sufficient to drive growth and fruit development. Watering is more of an ongoing concern. For the first couple of weeks of the tomato plant’s life, you can get by with watering once a day or every other day. As the plants get larger and the days get hotter however, watering twice daily is often needed to prevent wilting down in the heat of the day. Allowing tomato plants to wilt, even for a little while, is an excellent way to encourage blossom end rot and a subpar harvest!
When tomato season rolls around in 2023, remember to start early, scout often, and water and fertilize correctly. Follow those few tips and you’ll be well on your way to a great harvest in 2023! For more information about growing tomatoes or any other horticultural or agricultural topic, contact us at the UF/IFAS Calhoun County Extension Office at 850-674-8323 or email d.leonard@ufl.edu. Happy Gardening!
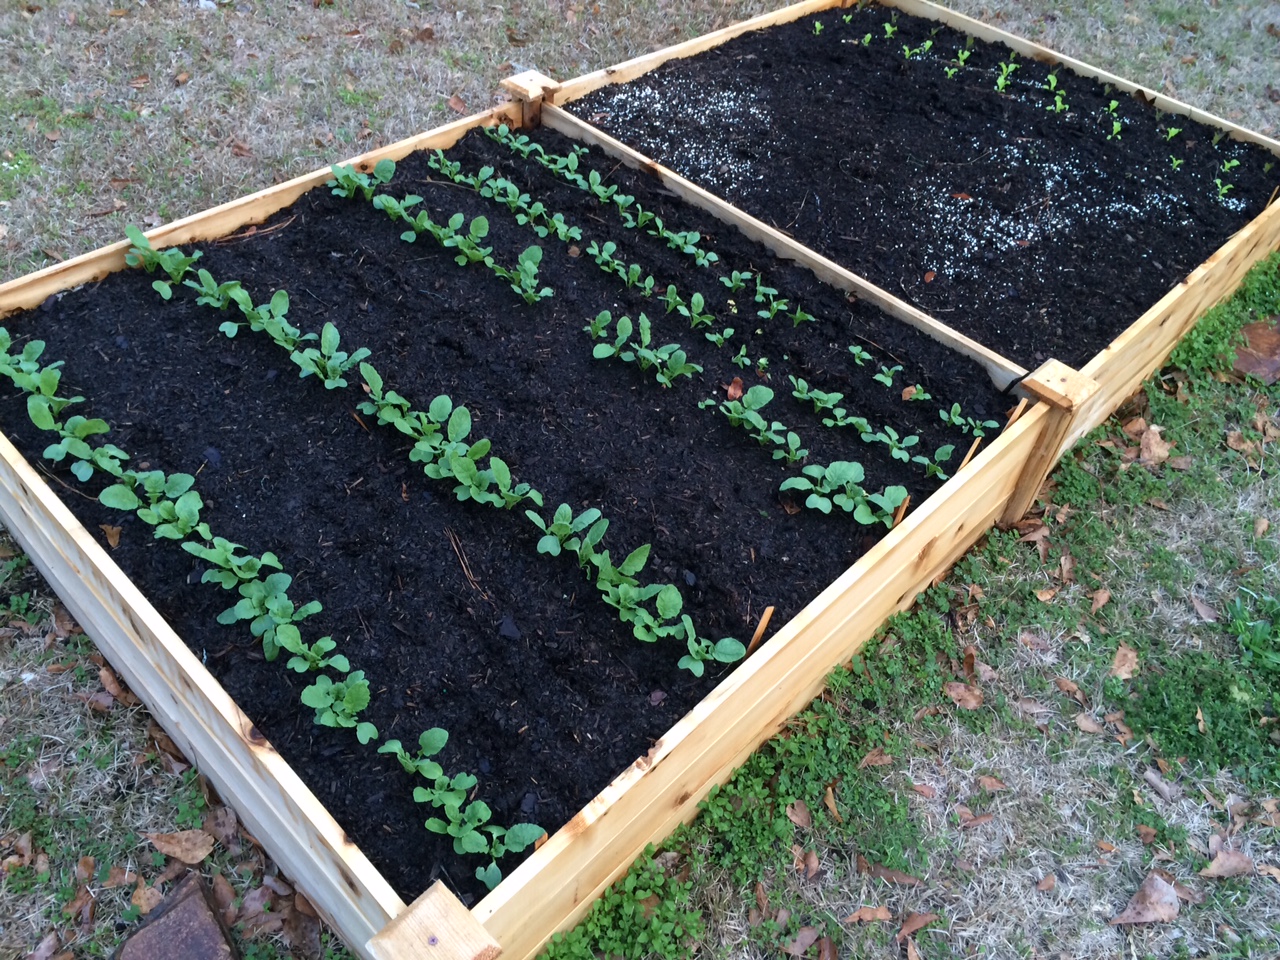
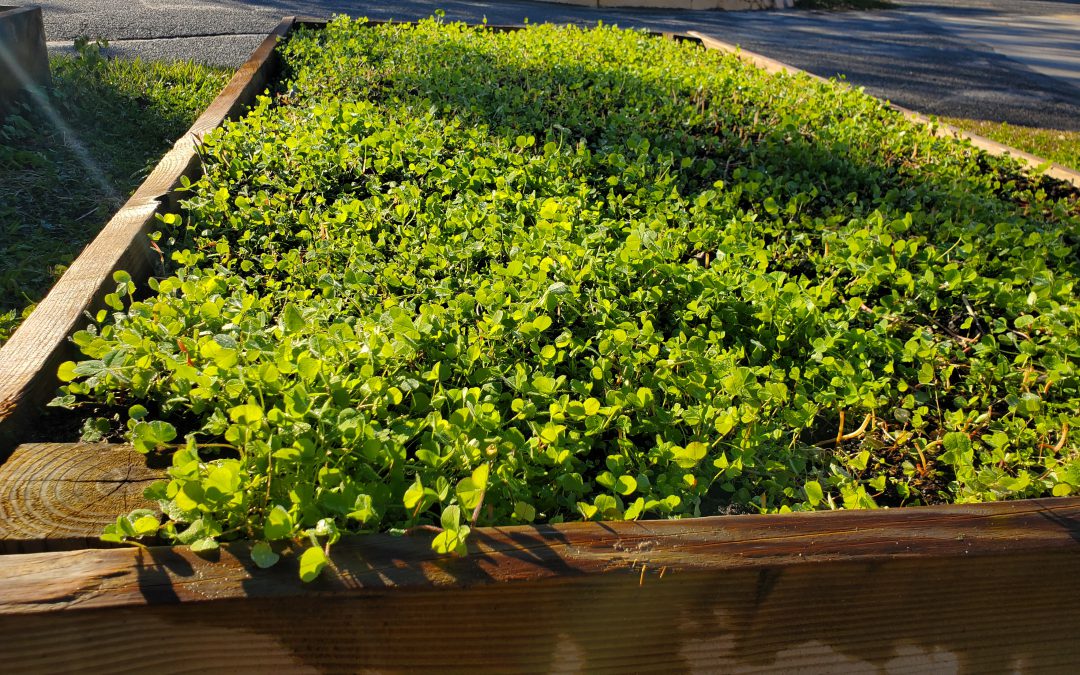
One of the major recent movements in production agriculture has been the widespread adoption of cover crops. This practice gives farmers a host of benefits, from erosion prevention to nutrient retention and recycling. However, using cover crops isn’t just for large scale farming operations. Hobby vegetable gardeners can absolutely employ similar systems on a smaller scale to reap the same benefits. For the past two years, I’ve used Buckwheat to provide a soil building cover during the heat of summer between spring and fall gardens. This winter, after my fall greens garden succumbed to frost, I decided to employ the same tactic with a mix of Red Clover (Trifolium pratense), White Clover (Trifolium Repens), and Crimson Clover (Trifolium incarnatum) to enhance my soil during the coldest months until spring tomato planting arrives!
Clover mix used as a cool season cover crop in raised beds. Photo courtesy Daniel Leonard.
While there are many different species of plants (rye, oats, wheat, various brassicas, etc.) that can be planted in November or December as cool season covers to deliver benefits like winter weed suppression, enhance soil organic matter, retain and harvest leftover nutrients, and provide habitat for beneficial insects, I chose Clover for an additional reason. In addition to the above benefits, Clover is a legume and also fixes atmospheric nitrogen, making it available for subsequent plantings! Not only is Clover an excellent soil cover, but it also provides some nitrogen fertilizer to the following vegetable garden!
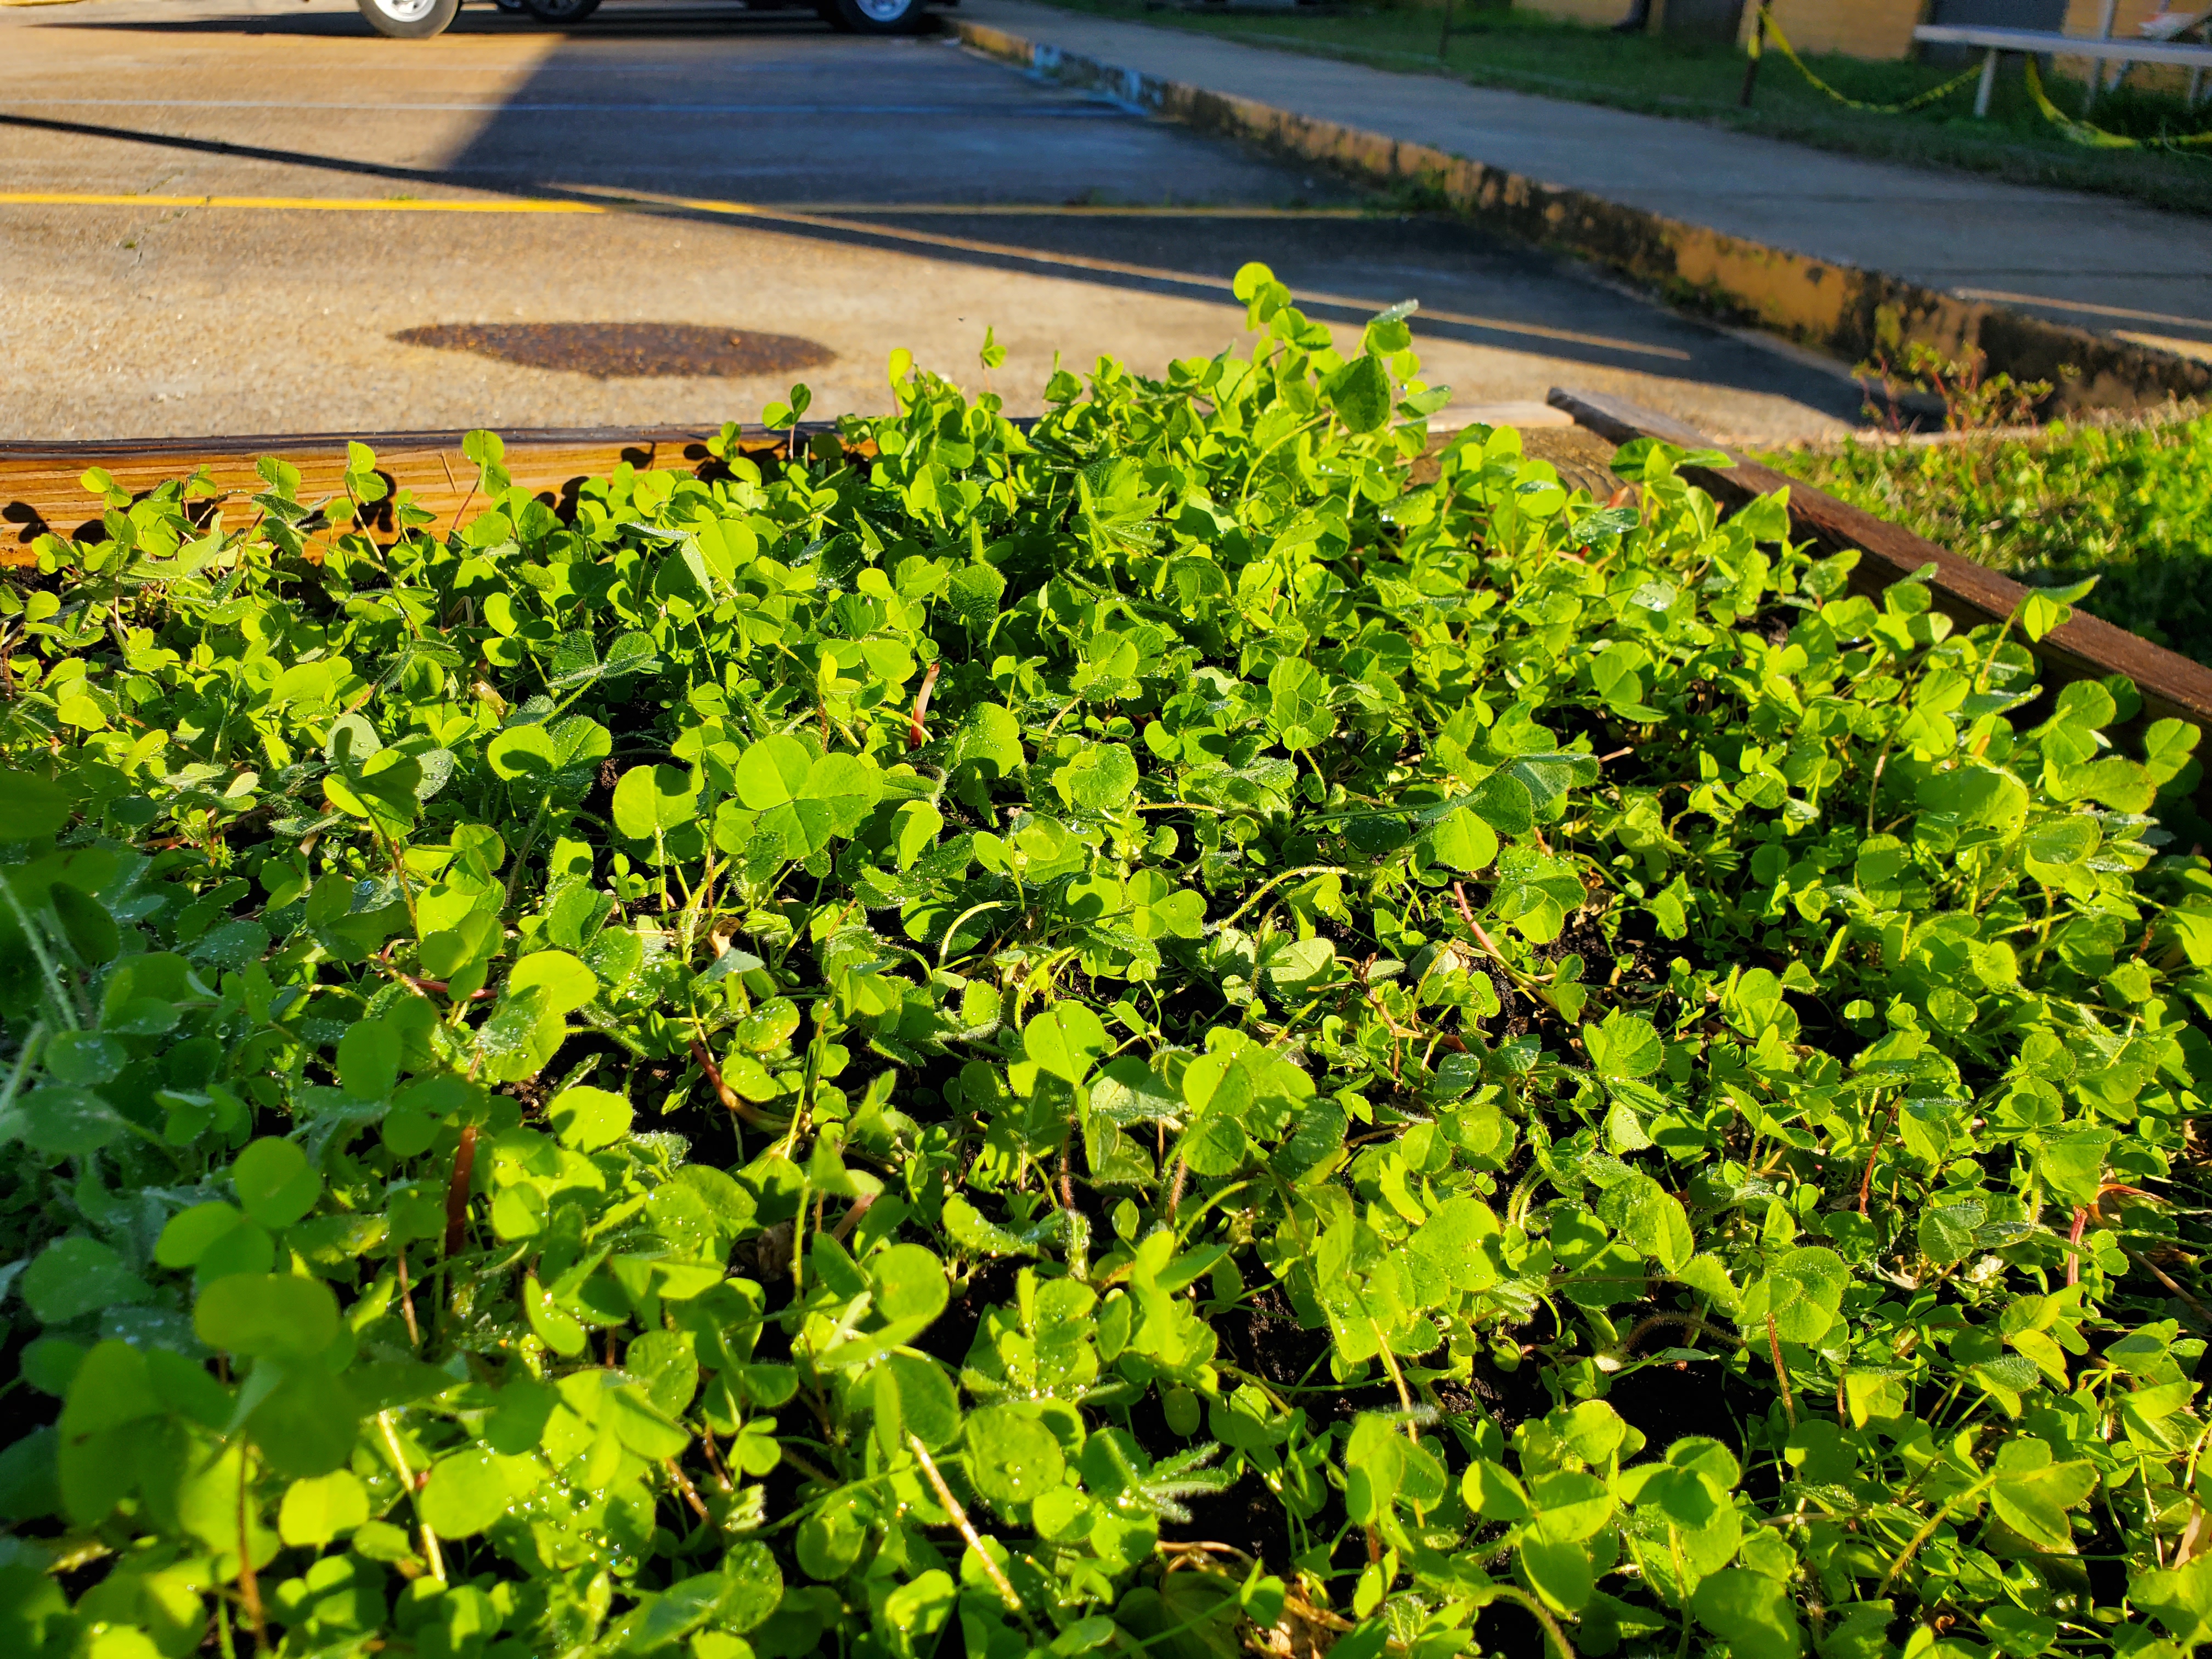
Growing Clover, while not quite as simple as Buckwheat or small grain covers like oats and rye, is relatively easy for most gardeners. The first step is selecting which clover species and/or variety to grow. I chose a mix of Crimson, White, and Red Clover simply because I had several pounds of each left over from a previous field planting. However, any one of the three may be used by themselves or in various combinations. All are excellent choices for garden cover crops and have similar growing requirements. Crimson Clover is the most readily available, but all three species can be found at most farm and garden supply stores.
The next step is to prep your garden beds for clover seeding. I thoroughly remove weeds from my raised beds, lightly till the top couple of inches of soil, and rake to provide a level surface. Since clover seed is tiny, a smooth, clean seedbed is a must for excellent germination. Once this is done, your next should determine how much seed to plant. Recommended clover seeding rates are usually given on a per acre basis and range from 3-4 lbs/acre (White Clover) to 20-25 lbs/acre (Crimson Clover). Given these seeding rates, planting in a 4’x8’ (32 ft2) raised bed is only going to require a miniscule amount of seed.
Clover mix used as a cool season cover crop in raised beds. Photo courtesy of Daniel Leonard.
To ensure a good stand while minimizing risk of overplanting, I mix equal parts clover seed and either sand, vermiculite, or other media similar in size to clover seed and hand scatter over the surface of my beds, making sure to uniformly cover the entire bed. If you think the stand is too thick, you can always hand-thin after emergence.
As a group, clovers prefer moist soil that is not allowed to dry out completely. This isn’t usually a problem given the Panhandle’s frequent rainy cold fronts in winter, but if rainfall is inconsistent, some irrigation will be required. Supplemental fertilizer isn’t normally necessary when planting a clover cover in vegetable gardens because nutrients remaining from the previous veggie crops are usually sufficient for growth and development (N especially is not needed as legumes produce their own through N fixation). 2-3 weeks before you’re ready to plant your spring veggies, chop the clover cover into the top few inches of your bed to terminate it and release its nutrients back into the garden. It’s that easy!
Planting a winter legume cover crop like clover is a great way to harness the benefits of cover crops for your spring veggies and enhance the aesthetics of your otherwise barren and drab garden beds! For more information about growing winter cover crops or any other horticultural topic, contact your local UF/IFAS County Extension office. Happy Gardening!