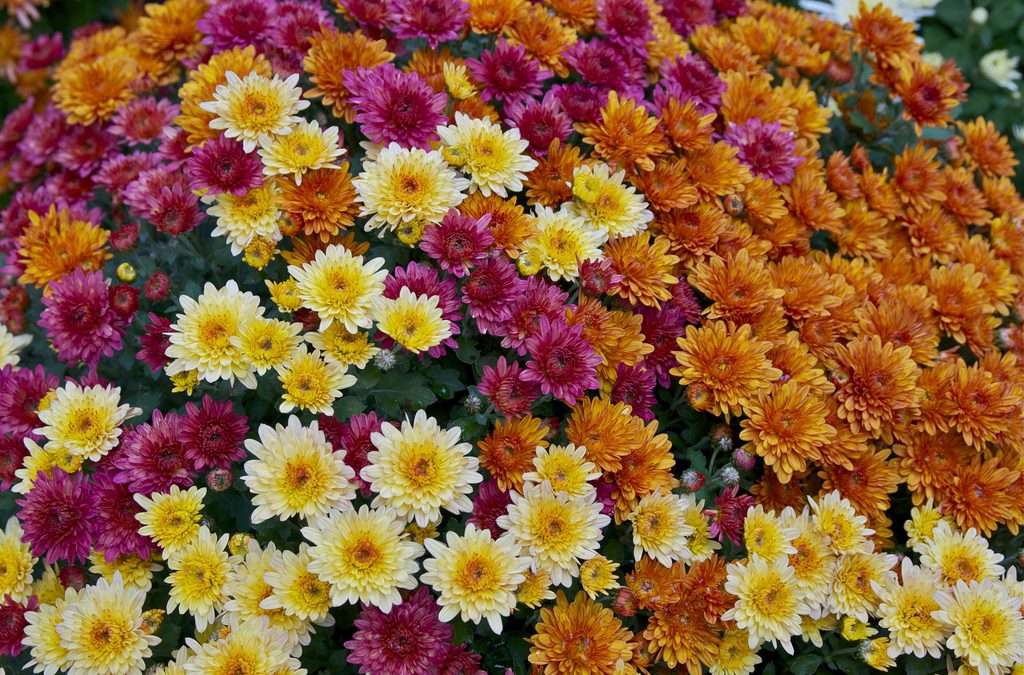
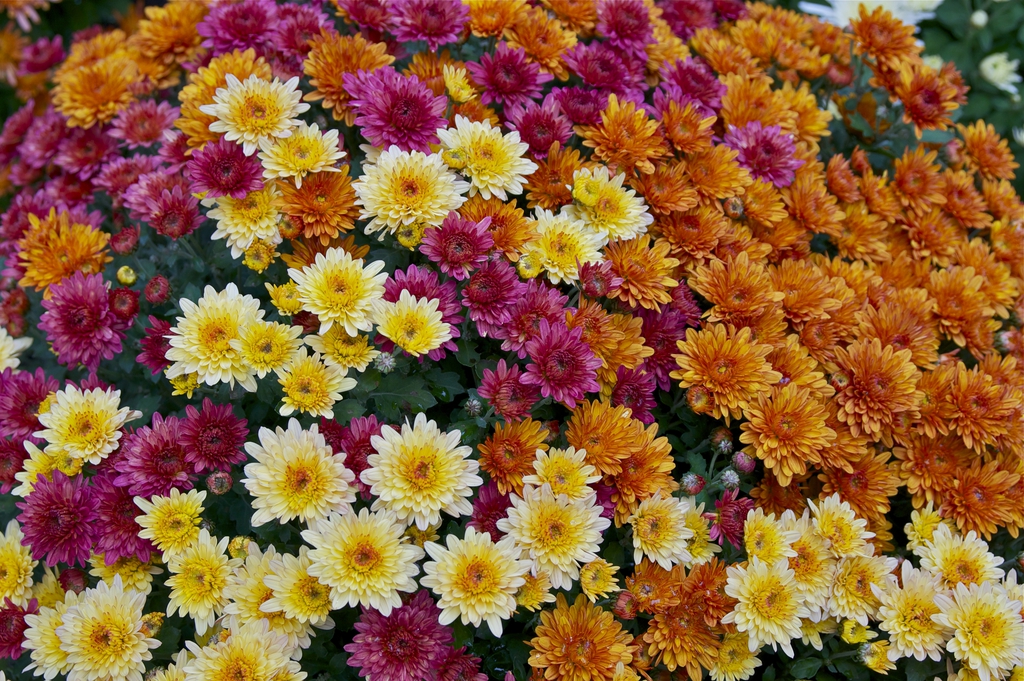
Chrysanthemums in different colors. NC State Extension
Fall hasn’t even started and the garden centers are already filled with mums. Somehow I made that sound like a bad thing. Chrysanthemums look great in containers at the front door and planted in the garden too. They also last pretty long as cut flowers. And they’re not just a fall decoration, mums are a great addition to the garden for years.
Mums have deep-green, lobed foliage with soft gray undersides. They are available in a number of colors, from dark red and orange to lavender and pink to white. Mums bloom when nights start to get longer in late summer and fall. Some species and varieties can be used as low-growing groundcovers and others can grow to 5 feet tall. All are herbaceous perennials that can continue to bloom for years.
Mums prefer full sun to partial shade. They like slightly acidic, well-drained soil that is rich in organic matter. Use slow-release fertilizer to ensure an even flow of nutrients throughout the season. Keep plants looking attractive and healthy and full of new blooms by dead heading. You may also choose to choose to cut of side buds on main shoots to create larger flowers.
Mums can be propagated by either division or cuttings. It is important to either divide and re-pot potted plants or transfer potted plants to larger containers to keep plants from becoming root bound. Chrysanthemums are relatively pest free, but spider mites can become a problem in hot, dry weather. Make sure plants receive water regularly in hot, dry weather.
One of the more popular flowering perennials grown in the landscapes of Florida and throughout the Southeast is the daylily. This blooming perennial traveled with many of the early settlers. They brought this plant for several reasons beyond the enjoyment of the bloom display, it was considered a source of food by including the petals and buds into the cooking of specific dishes.
The daylily is an easy to grow plant that requires less management than many of the other perennials grown in the garden settings of the landscape. Daylilies are linked to the lily family but are not actually in this family, Hemerocallis in Greek is Hemero for “day’ with Callis meaning “beauty”. The passion by many professional breeders and novice growers can be seen in the many selections and varieties in the plant industry today. This plant brings interest and joy to anyone that visits your landscape gardens.
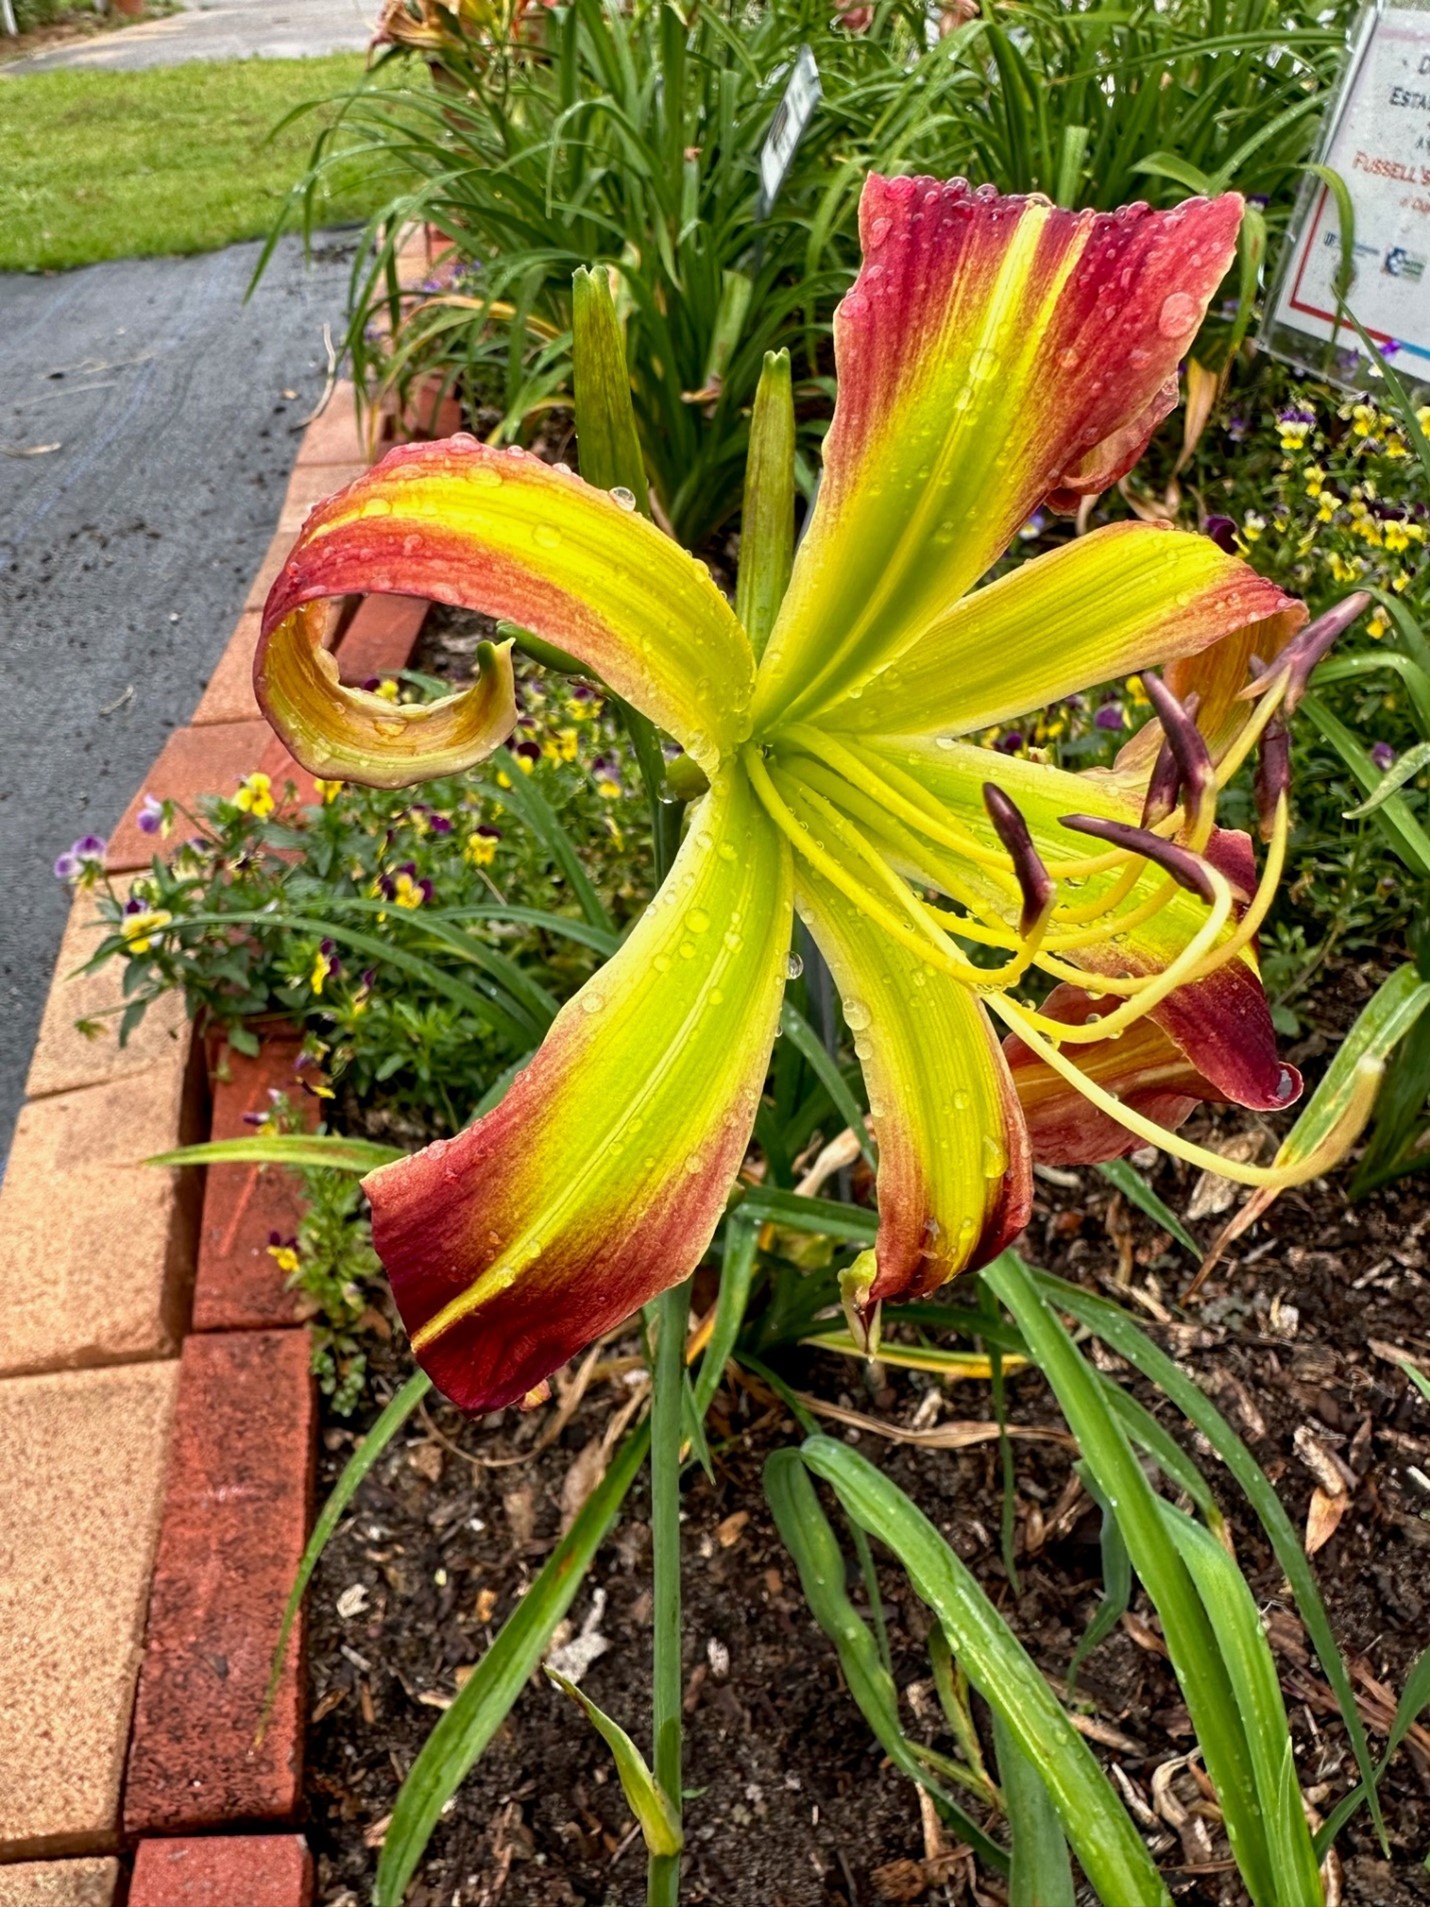
Hemerocallis x ‘Mystic Red Dragon’. Photo Credit: J. Stephen Greer, University of Florida/IFAS Extension – Santa Rosa County
This clump forming plant can be grown in different soil types from sandy loam, clay to muck edges near wetlands. The location for best performance is sandy well drained soil with high amounts of organic matter. It has a moderate salt level tolerance lending itself as one perennial to consider in coastal settings. The best way to accomplish the levels of organic matter is to till the bed area for planting, add three to four inches of compost or well-rotted manure plus a ½ pound of 3:2:1 ratio fertilizer to a 100 square foot bed. The 3:2:1 is a Nitrogen, Phosphorus and Potassium fertilizer recommendation. Till all of this into the previously tilled bed to a six-inch depth. This mix of sand or clay with organic matter at the six-inch soil depth places it where the roots will grow.
Daylilies multiply in several different ways from forming clumps of plants from a single plant over three to four years that can be divided into separate plants and replanted to expand the bed area for managing the color display of the original plant. Plant breeders cross pollinate between selected plants that have desirable characteristics. These characteristics may be ruffled outside edges on the petals, bright or daker petal color, a change in color from the outside portion of the flower petal to the throat area at the center of the bloom or even the height of the scape which is the stem that emerges from the leaf clusters near the base that supports the flower display.
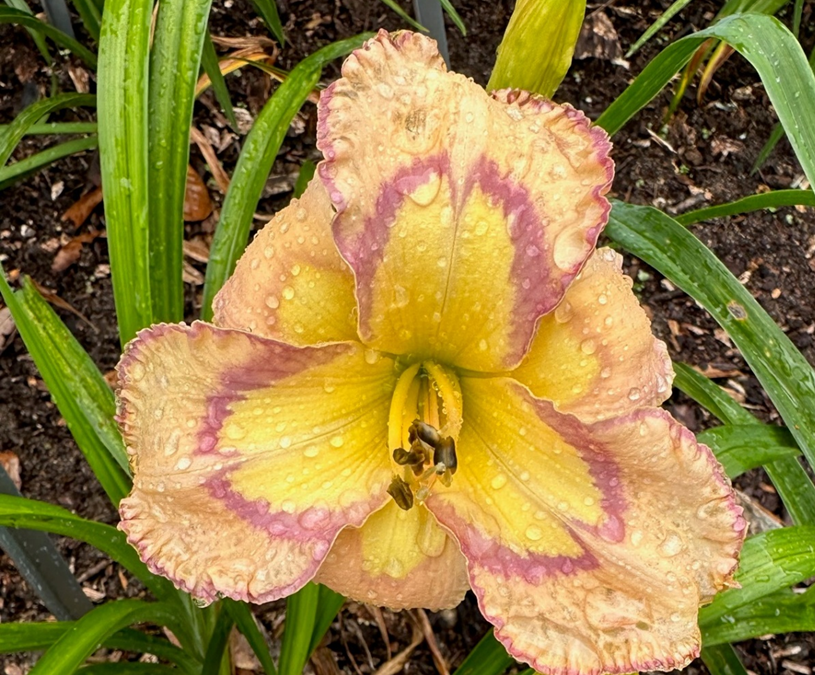
Hemerocallis x ‘Oriental Impressions’. Photo Credit: J. Stephen Greer, University of Florida/IFAS Extension – Santa Rosa County
Daylilies can be purchased at many box stores in containers and easily transplanted in the garden. Another option is to visit local daylily nurseries as they often have more named variety options with many different flower colors available. Local nurseries usually grow plants in the ground so they will need to be dug and purchased as a bareroot. When planting bareroot daylilies look at the location where the leaves emerge near the base just above root area and plant one and a half to two feet apart. Make sure to plant no deeper than at that point of root and leaf growth area known as the crown. The crown must be above the soil level for quality growth.
After planting and watering in the plants be sure to mulch the bed with three to four inches of pinestraw or bark mulch. This manages weed growth and keeps soil moisture at consistent levels reducing stress to the plant. If periods of dry weather conditions occur watering the plants will be needed to keep the plants from stressing.
My obsession with plants started with the purchase of my first house in Waverly, Alabama in the late 90s. I bought a house with seven acres and of that about 1.5 acres was a fenced yard. The landscape was not very appealing, so I was on a mission to make it beautiful yet functional for my dogs. The only problem was, as a new homeowner, I had very little expendable income for my burgeoning plant habit. This dilemma forced me to be a resourceful gardener.
Shop the discount rack at garden centers
Many retail garden centers (especially mixed use stores with limited plant space) will discount plants simply because they are no longer flowering. Plants look perfectly healthy but are just not considered “retail ready” anymore, so rather than hold them over until they bloom again and appeal to most shoppers the stores tend to mark them down.
Plants are either growing or they are dead, so it is common to find some outgrowing their container and are getting “potbound” which means the root system is outgrowing the pot. Potbound plants are hard to keep watered without wilting and the solutions are to transition to a larger pot or plant in the ground. Most garden centers are not equipped to pot up overgrown plants to larger containers, so the easier solution is to sell them quickly. If you purchase a plant with circling roots be sure to trim the bottom and score (slice) the root ball to encourage roots to spread laterally.
Avoid plants that appear diseased (leaf spots, brown stems, mushy parts, rotting odor) or have active feeding insect activity.
Compliment other gardeners’ plants
When you get gardeners together, they inevitably start swapping plants. I really don’t have an explanation for this other that good old southern hospitality, but I’ve noticed over the years that when you express appreciation of plants to other people they tend to end up in your own yard. Ask if you can take a pinch (for cuttings) or offer to divide a clump of crowded perennials and you are on your way to a trunk full of plant babies.
I can’t recommend this for multiple safety reasons, but I have been known to photographs plants in my travels then strike up a conversation with a homeowner who insisted I take one home.
Experiment with basic propagation techniques
Grow flowers from seed. Either purchase seeds (usually under $2/pack) or collect seed heads from spent flowers in your own garden. After flowers fade, allow them to set seed then either crush and distribute in other parts of your garden or store in a cool, dry place until you can swap with friends.
Division – clumping perennials such as daylilies, cast iron plant, iris or liriope can be dug up and cut into smaller pieces with a shovel or machete. You only need to be sure to have buds on top and roots on the bottom to make a new plant. Other plants create offshoots that can be removed from the parent plant. Examples of these are agave, cycads, and yucca.
Cuttings – the list of plants that can be propagated from stem cuttings is endless but a few that are very easy are crape myrtle, hydrangea, and coleus.
After a few years, many perennial plants have grown so large that they need to be divided in order to be revived. Overcrowding causes them to bear fewer flowers and, sometimes, to die in the center. Fall is a good time to divide perennials that bloom in spring and summer and are now done blooming for the year. This is a great way also to expand your perennial beds or share some of your perennial favorites with friends and neighbors.
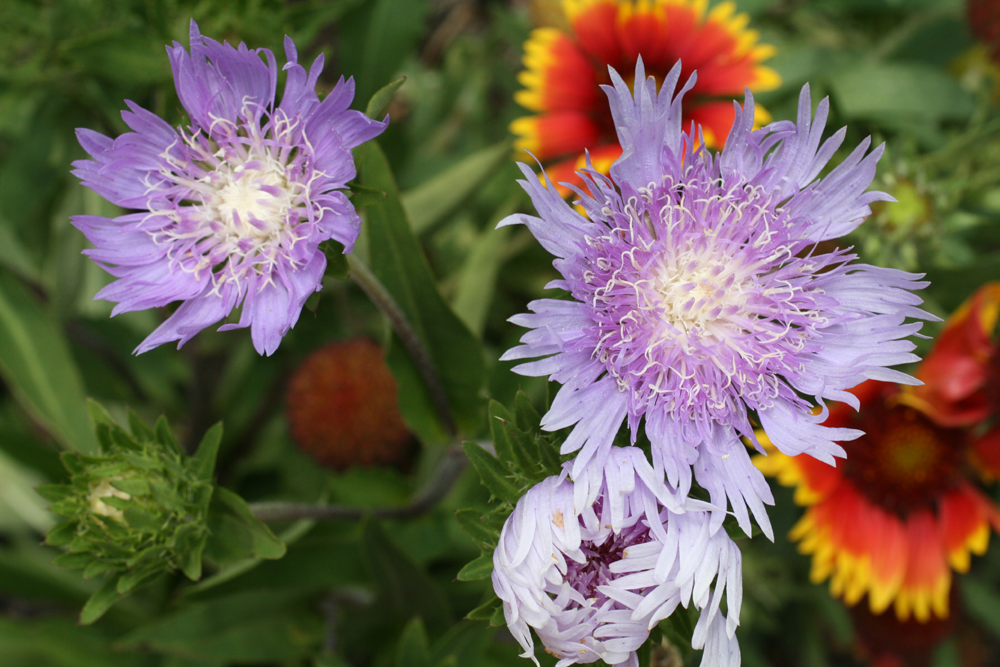
Vibrant blue Stokes’ aster. Photo credit: UF/IFAS.
Some examples of perennials to divide in the fall are:
Stokes’ aster, Stokesia laevis
Daylily, Hemerocallis spp.
Black-eyed Susan, Rudbeckia hirta
Yarrow, Achillea millefolium
Crocosmia, Crocosmia spp.
Flax lily, Dianella tasmanica ‘Variegata’
Liriope, Liriope muscari
Cast iron plant, Aspidistra elatior
The first step is to dig out the entire clump. If there is enough clearance in the garden bed, start digging about six inches out from the plant and dig straight down beyond the root zone. It’s best to get as much of the roots as possible to lessen the shock of transplanting. If the clump is too heavy to remove, make your divisions right there with a sharp blade, trowel or shovel. Often, you can just pull them apart with your hands.
Before replanting the divisions, consider adding some nutritious compost to those areas of your garden bed to ensure healthy plants. Be sure to replant as soon as feasible to protect the roots from drying out. After replanting, water the transplanted divisions well and mulch appropriately.
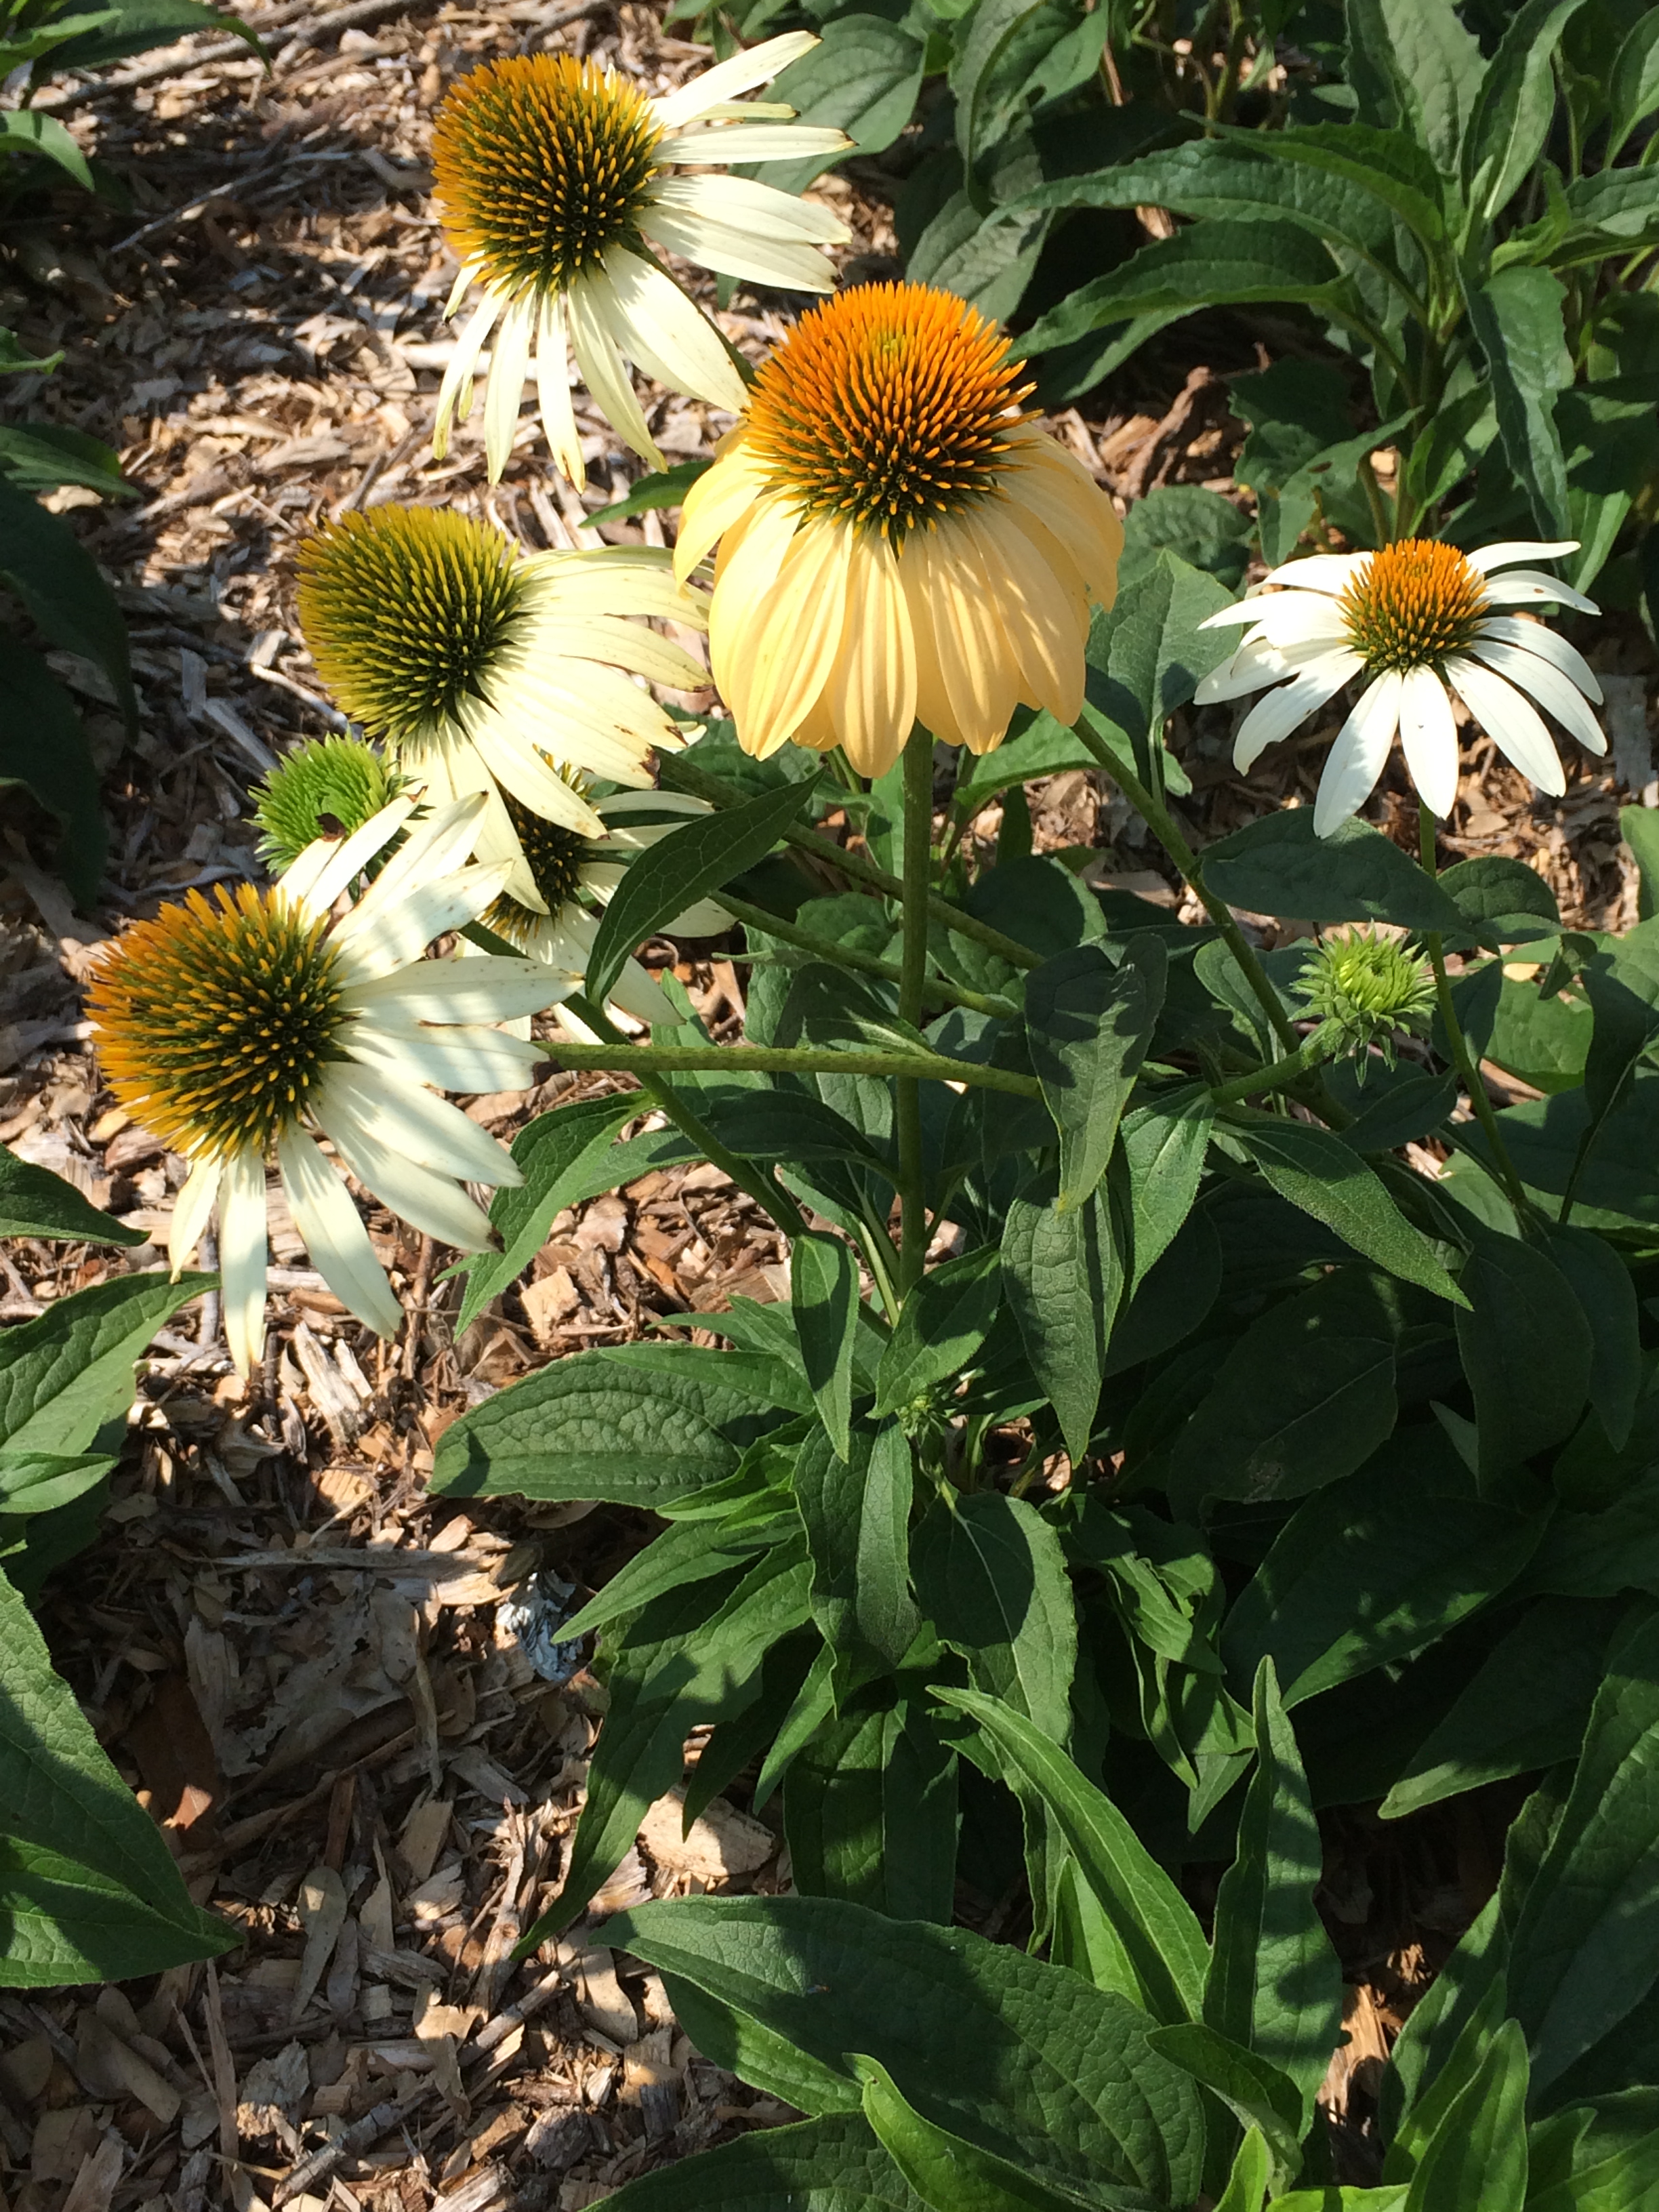
An easy to care for perennial to add to your flower garden is the coneflower, Echinacea purpurea. The daisy-like flowers stand tall above the foliage on sturdy 2 to 4 foot stems. Blooms appear about the last part of April or the first of May in the Florida panhandle and last throughout the warm season until late fall. This Florida native reliably comes back year after year. Plant coneflower in part to full sun in rich but well-drained soil for best results.
White coneflower. Photo credit: Mary Derrick, UF/IFAS Extension.
Coneflowers are traditionally purple but many new colors and variations of their form have become available from the horticultural industry. You can find them in white, yellows, pinks, oranges, and greens as well as all shades of lavender and purple. No matter what color you choose, the blooms will attract a host of butterflies and other pollinating insects. In order to protect these delicate creatures, avoid the use of pesticides when they are present.
Once you have a few coneflowers, you will notice that the clumps will grow in time and new plants will sprout from seeds left behind by the spent blooms. In our demonstration garden, this has created a stunning display that has been allowed to take over one of the garden beds. When any one clump gets too big, the number of blooms can decrease and it may be time to dig up the clump and divide it. This is a great opportunity to expand your coneflower bed or share them with some friends or neighbors!