by Larry Williams | Jan 27, 2014
This week, Northwest Florida is once again receiving some bitter cold temperatures. The freezing weather two weeks ago resulted in some cold damage to some local citrus trees. Cold injured citrus trees can take a while to become evident.
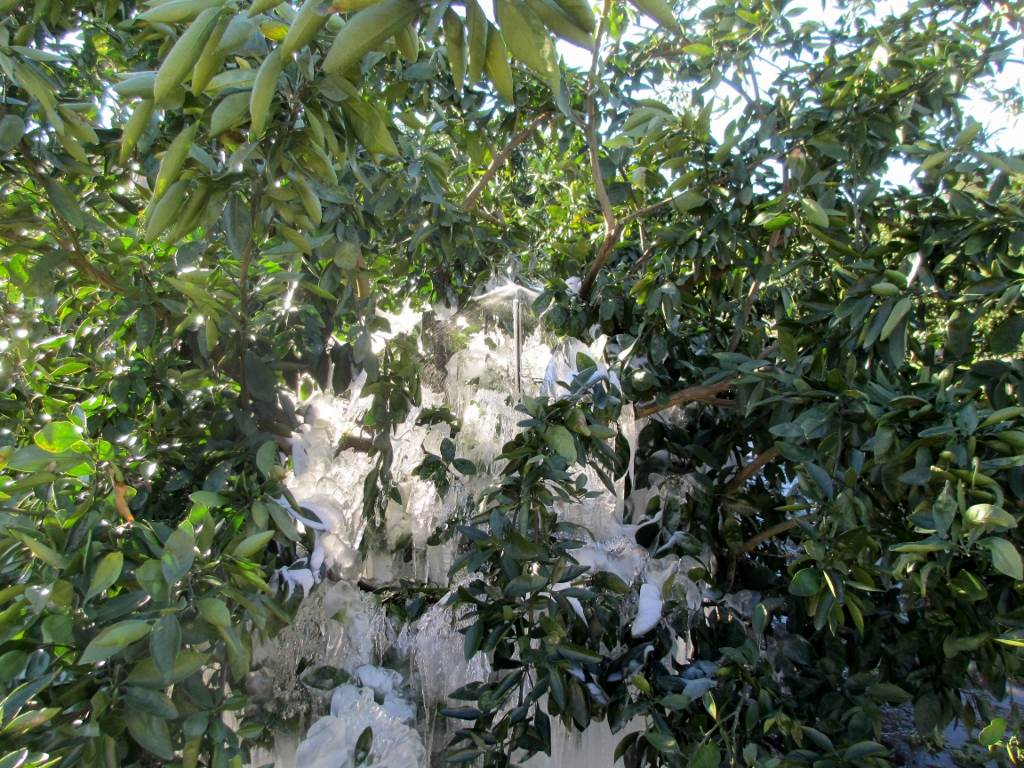
Citrus in freezing weather, under protective microsprinkler irrigation. Image Credit Doug Mayo UF IFAS
What appears to be damage will not always be permanent. Never be in a hurry to remove cold injured tissue from a citrus tree. Citrus, especially Satsuma, can be very resilient and will often re-sprout on injured tissue. Pruning before this can happen can remove fruit producing branches. Leaves on a freeze-damaged citrus tree will be hard and brittle.
If freeze damage is severe, the leaves will collapse, dry out and fall from the tree. It’s normal for leaves to take on a wilted or drooping appearance during periods of low temperatures. Don’t confuse this with freeze damage. Frozen leaves will not be wilted – they will be hard and brittle. Freeze damage can also cause the trunk and larger branches to split and the bark to become loose. Twigs and branches may continue to die for up to two years following a severe freeze.
Unless the soil becomes dry, be careful to not water cold injured citrus trees during warm periods that often follow freezes. This will delay the tree’s growth and keep the tree in a more dormant state. However, it is important to not let citrus trees go totally dry, because this will increase freeze damage. Later on, if you see that the damaged tree is putting on new growth, it’s okay to give it a little water.
It is best to not prune or fertilize citrus trees during fall and winter.Delay pruning of damaged limbs until late spring or summer because it’s difficult to determine the extent of damage until spring growth takes place. Pruning also may encourage new tender growth during the cold season.
If it appears that you’ve lost half the tree in a freeze, you’ll only need to apply about half as much fertilizer. If you have the situation where many leaves were lost but twigs and branches were not injured, you’ll need to slightly increase the amount of fertilizer. Fertilization should begin after new growth has occurred come spring. It’s a good idea to make frequent light applications rather than one heavy application.
Fertilizing your lawn during fall and winter may not only be damaging to your lawn but it can potentially cause cold injury to your citrus trees, as well. The roots on trees (including citrus) extend two to three times beyond the tree’s branches. As a result, citrus tree roots grow out into the lawn. Tree roots in the lawn are shallow. So, late applications of lawn fertilizer will impact your citrus trees as well. Your lawn and citrus needs ample time to use the fertilizer but yet still have time to go dormant before cold weather arrives.
by Matthew Orwat | Jan 27, 2014
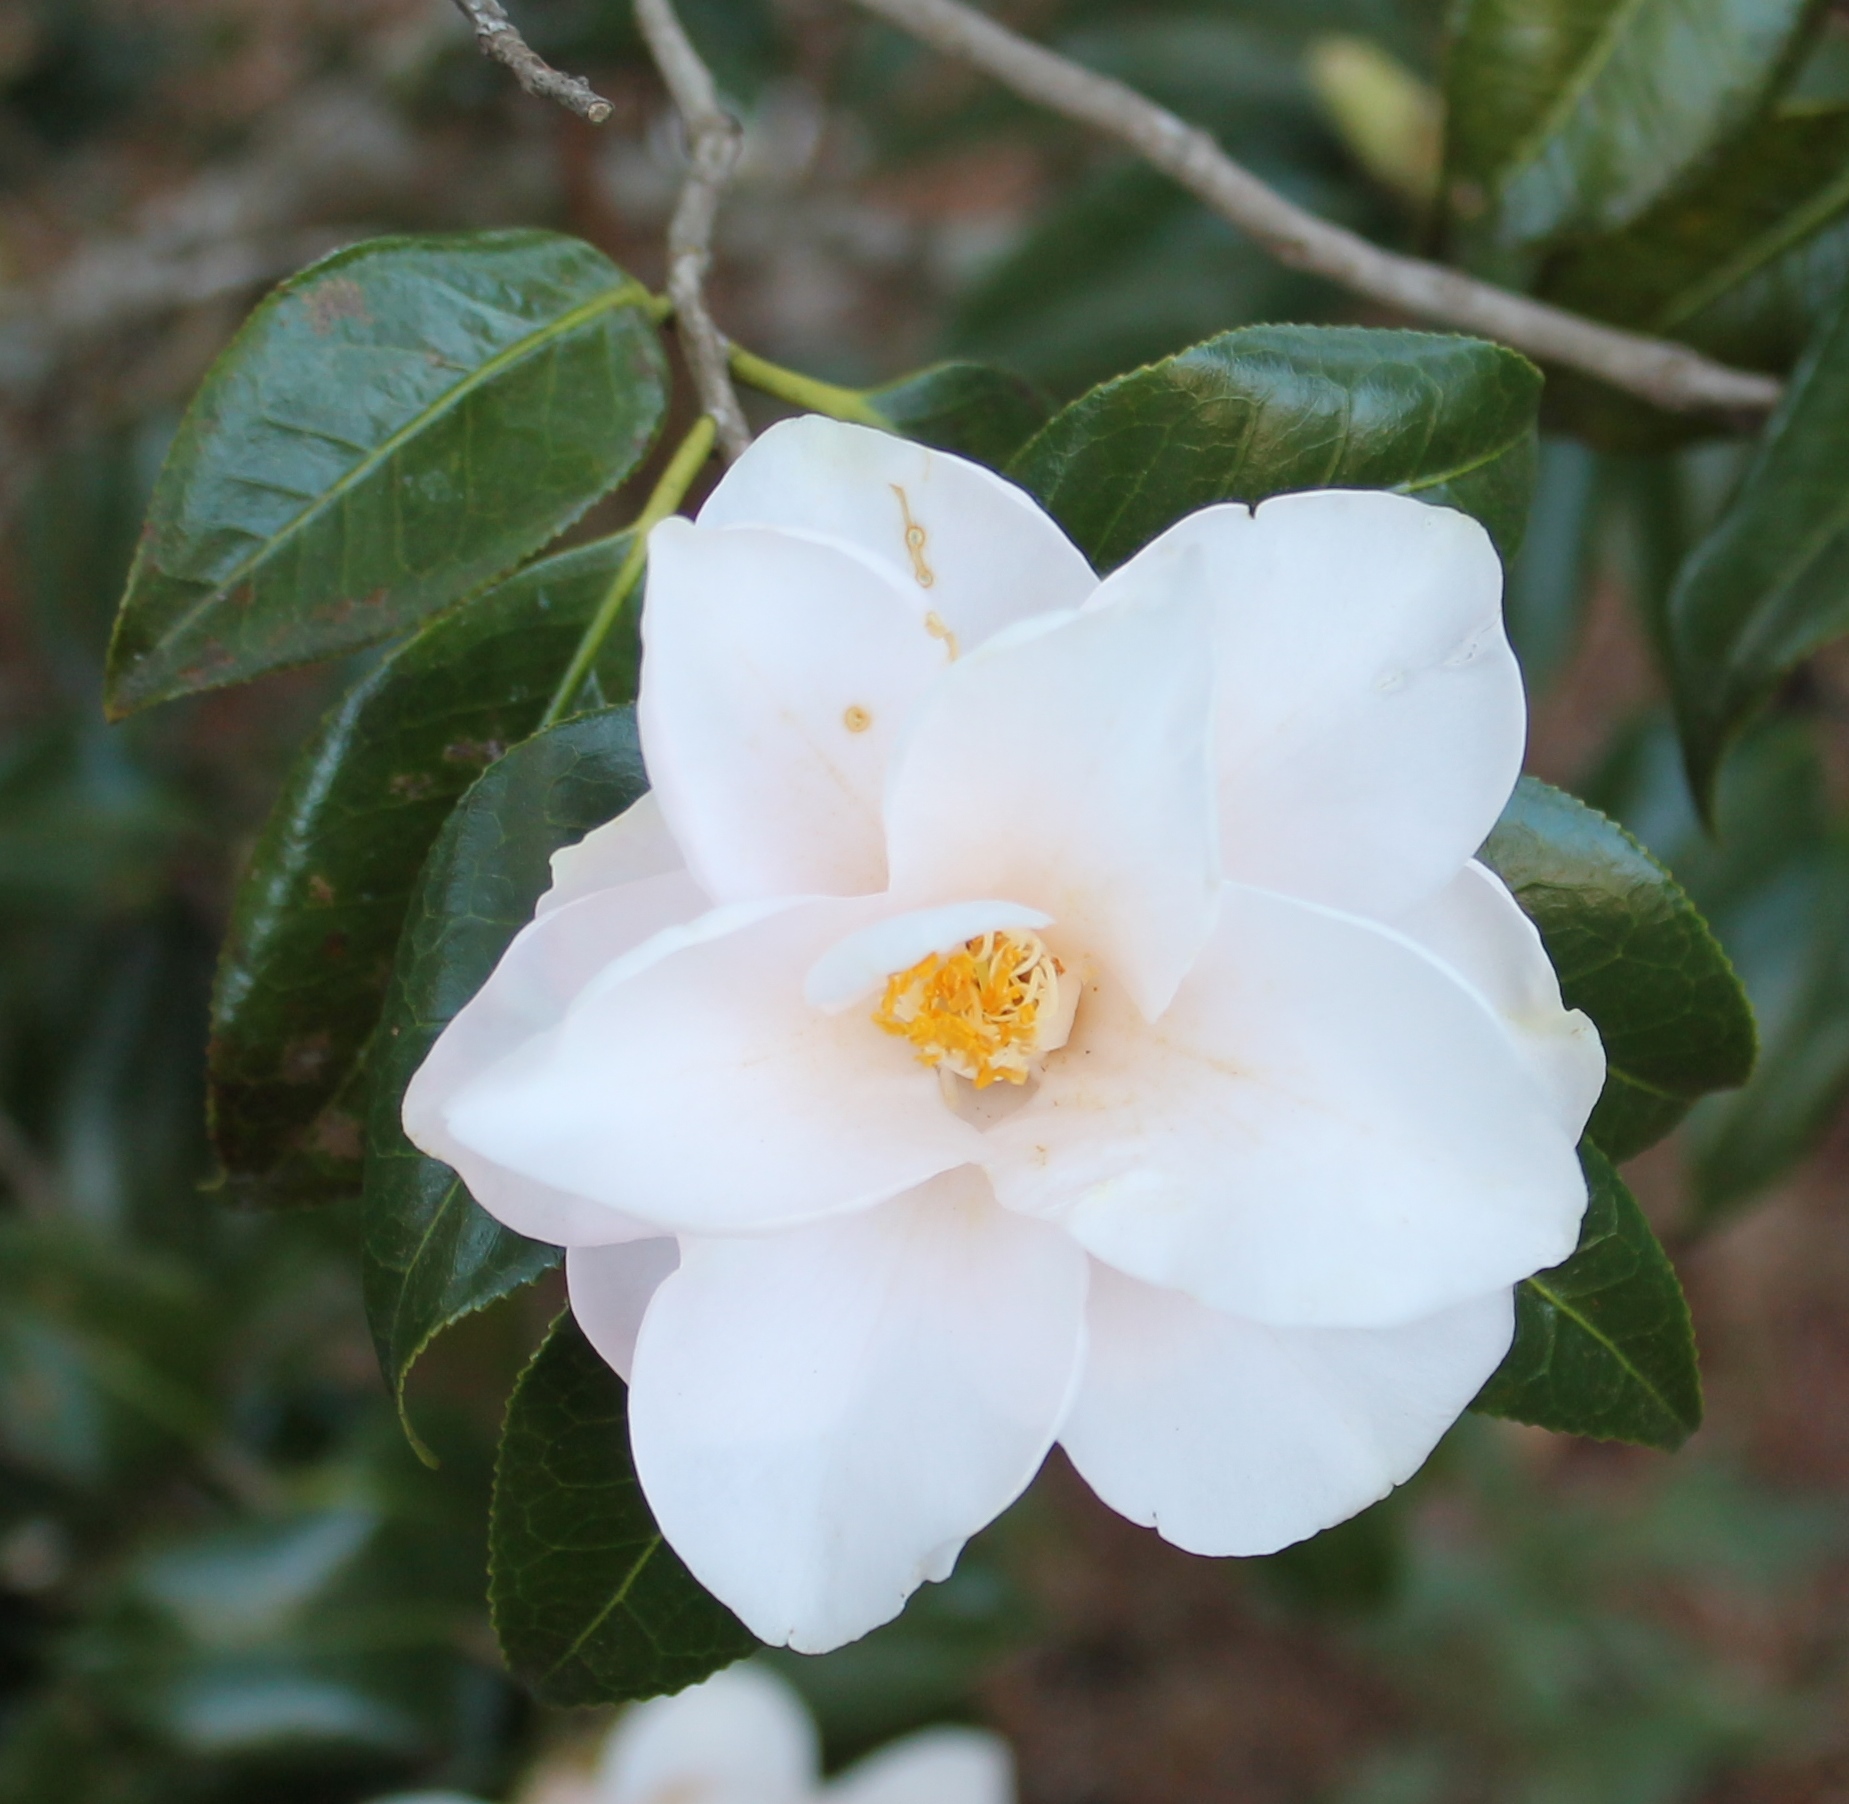
Recently, I was working on a camellia identification project in a forgotten camellia garden of about 60 plants. Most camellias I observed were not yet in flower but one in particular caught my eye. I later identified this eye catcher as Camellia japonica ‘Magnoliaeflora’.

Flower of Camellia japonica ‘Magnoliaeflora’
Image Credit Matthew Orwat
Magnoliaeflora is so named due to its off white magnolia formed semi-double flowers. It’s petals have a distinctive curl and can sometimes resemble a star. Plants are slow-growing but can reach six feet tall and four feet wide after several decades. This slow growth makes it ideal for smaller landscapes where some giant japonica cultivars would be out-of-place.
Its buds and flowers are resistant to cold temperatures, thus flowering is able to occur in mid January, a tad earlier than many other japonicas. This classic camellia should be tried in more Northwest Florida landscapes, particularly newer ones where camellias seem all but absent.

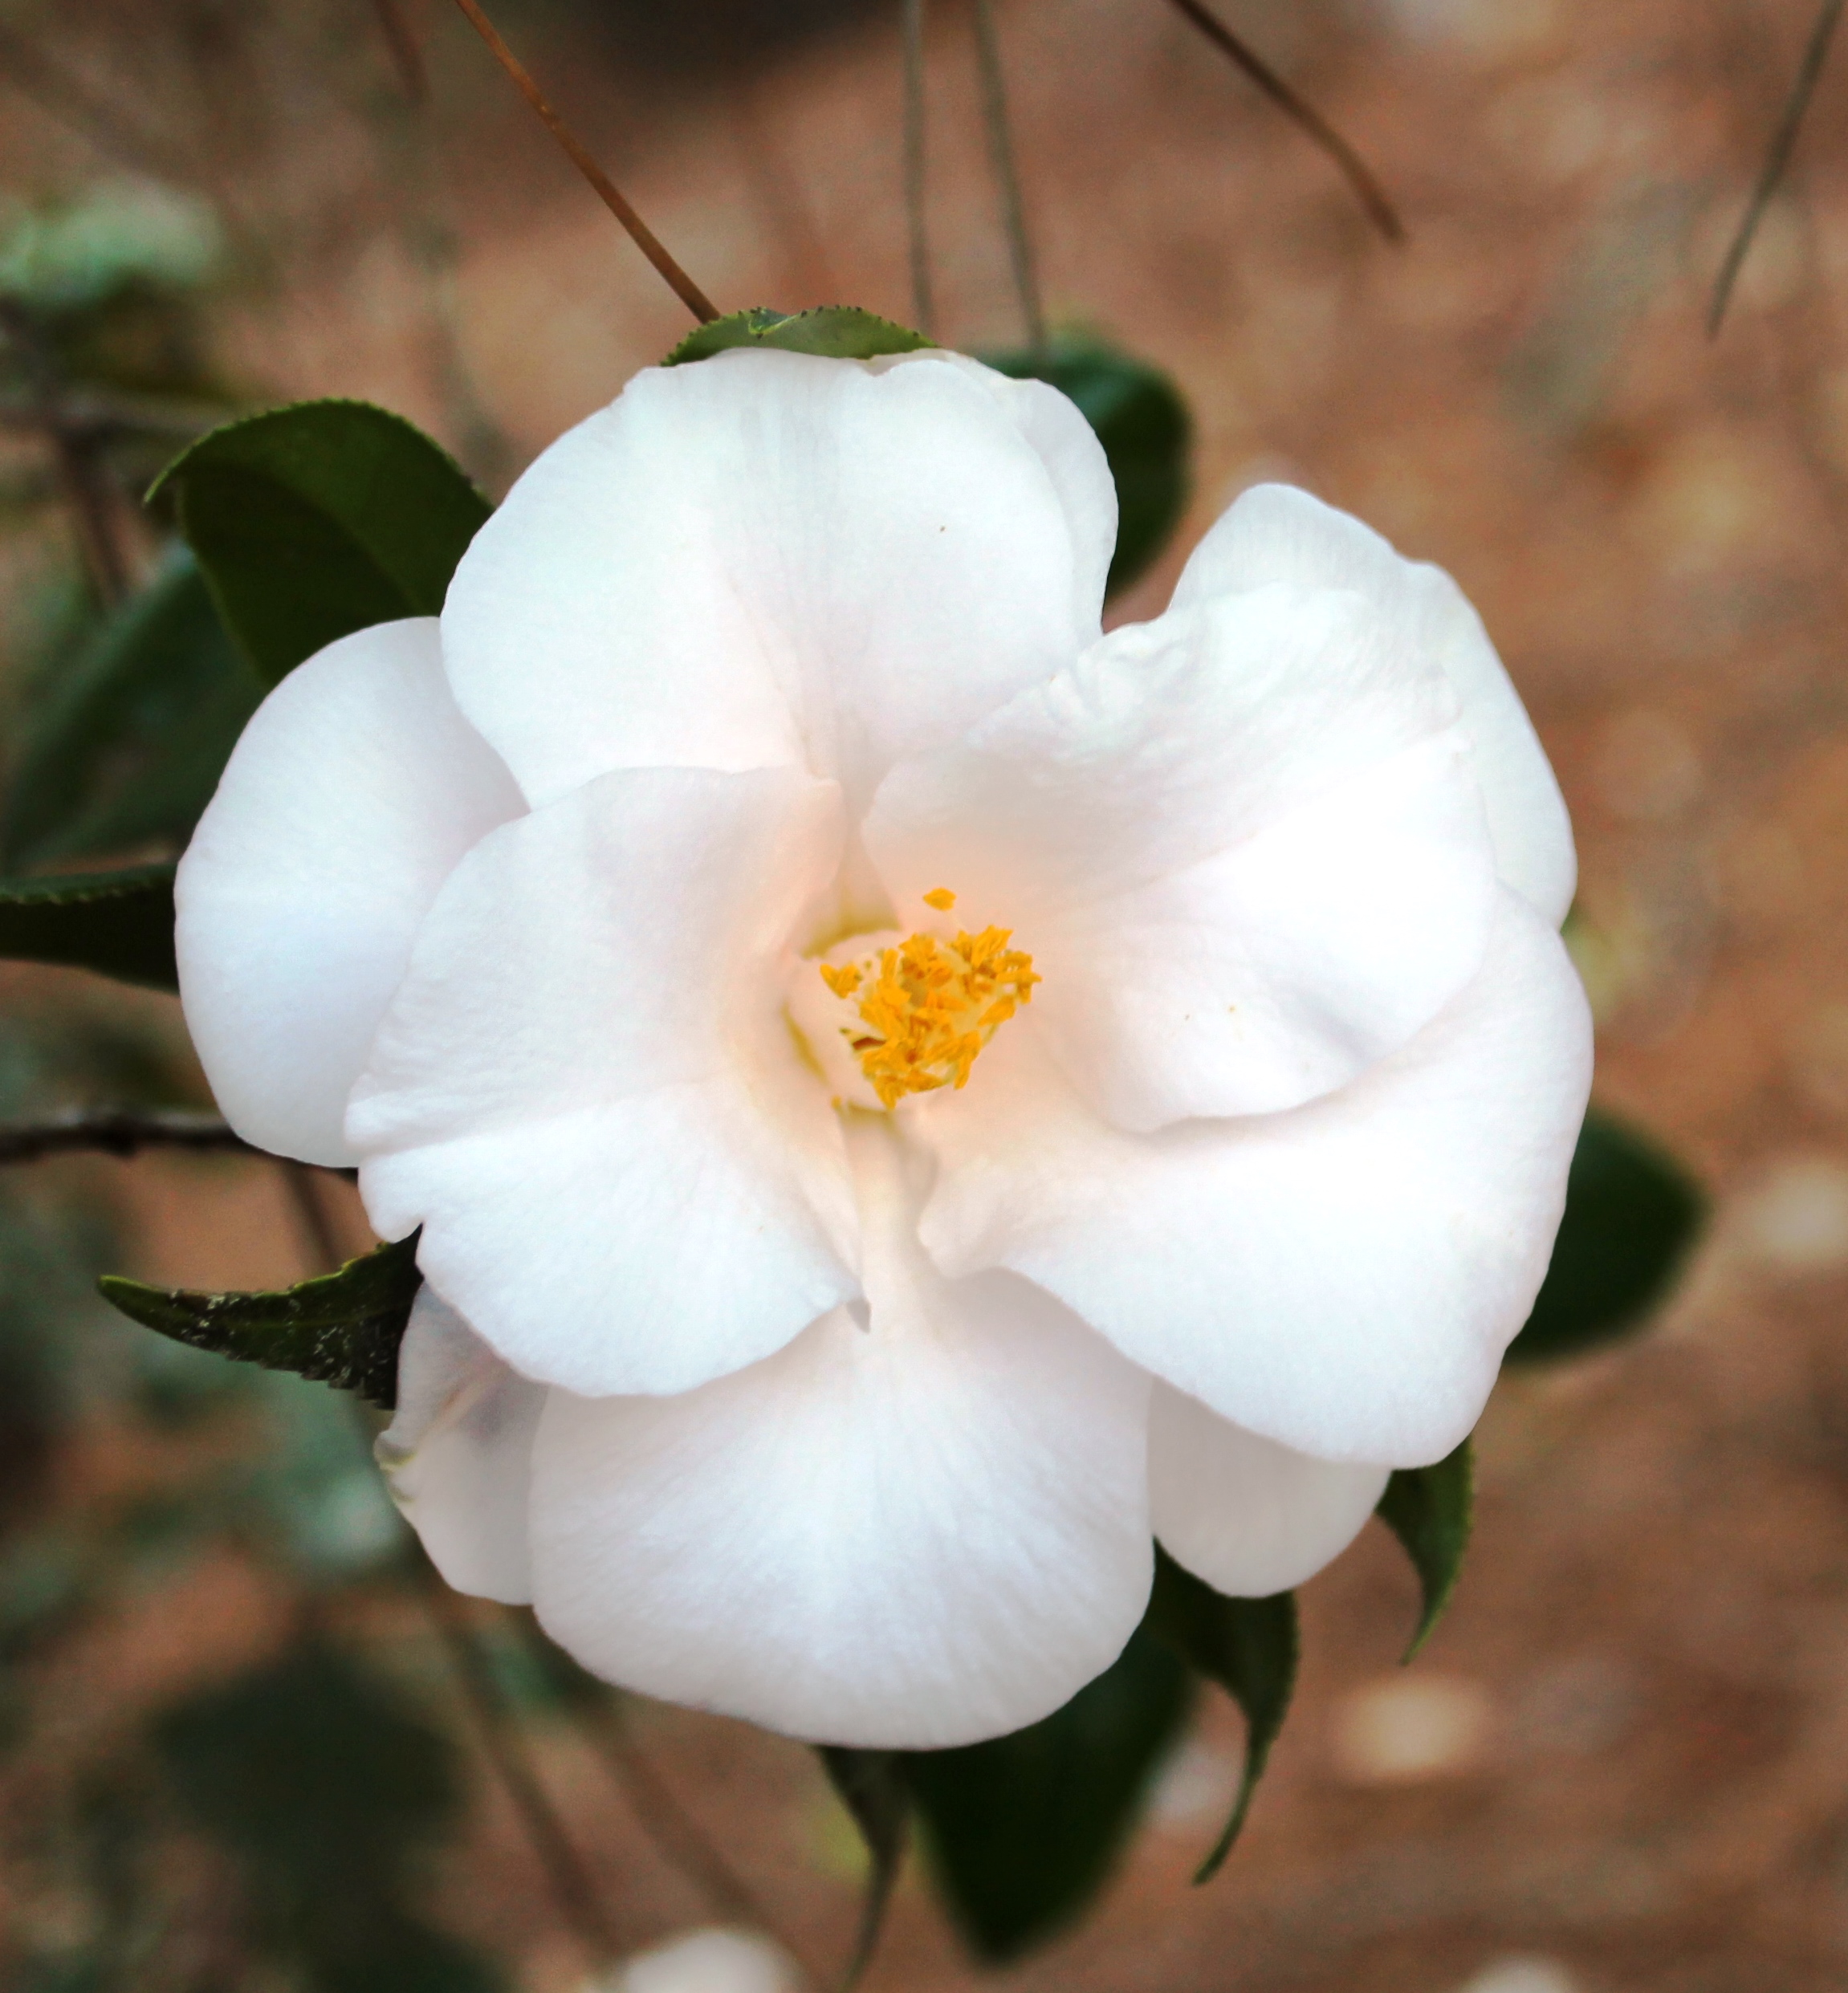
Flower of Camellia japonica ‘Magnoliaeflora’
Image Credit Matthew Orwat

by Eddie Powell | Jan 27, 2014

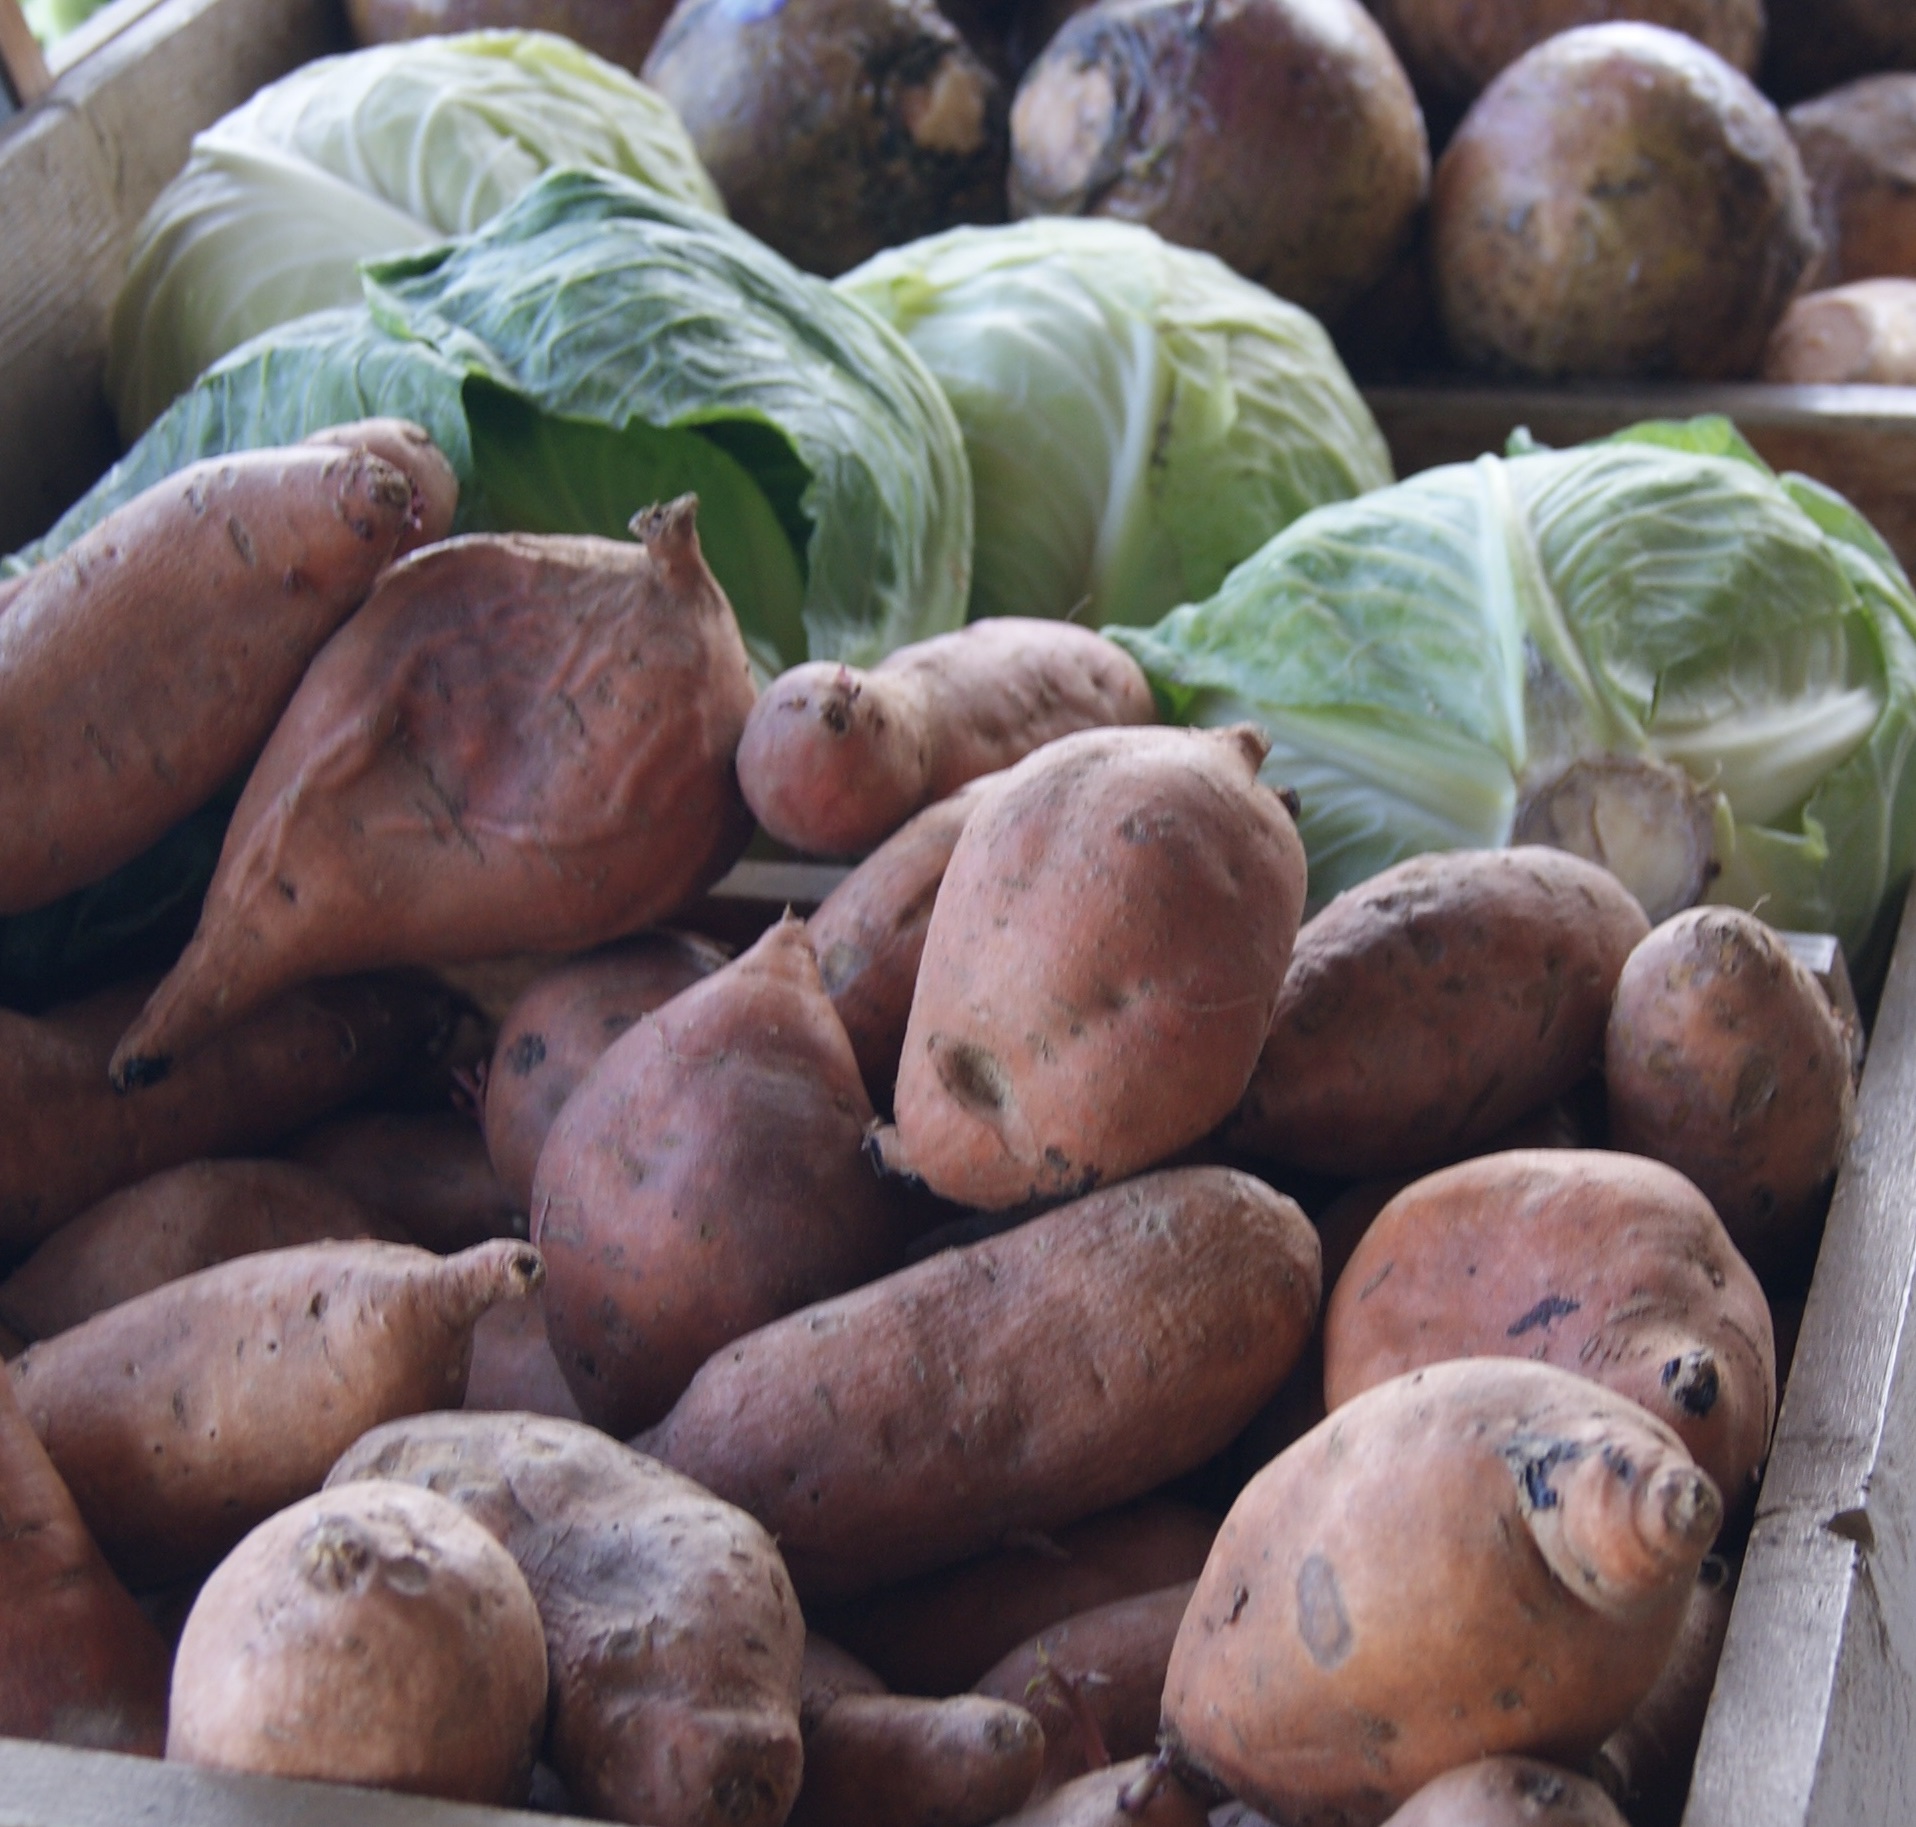
A bountiful harvest
Every winter, many Florida homeowners enjoy growing their own vegetable plants. It is definitely cheaper to buy vegetable seeds than vegetable transplants, and some vegetables grow better when direct seeded.
One factor to take into consideration when planning a vegetable garden is that each vegetable has a different germination response to temperature. Some seeds germinate best under low soil temperature while other respond best under high soil temperatures.
When planting vegetable seeds, remember that cool season crops, such as cabbage, turnips, and cauliflower, will perform best under cooler soil conditions.
The key to getting the highest seed germination rate is to match the correct soil temperature to the vegetable seed of choice.
Below is a listing of correct soil temperatures needed for vegetable seed germination.
MINIMUM Soil Temperature for Germination in Degrees Fahrenheit
- 32- Endive, Lettuce, Onion, Parsnip, and Spinach
- 40 -Beet, Broccoli, Cabbage, Carrot, Cauliflower, Parley, Pea, Radish, Swiss Chard, and Celery
- 50-Asparagus, Sweet Corn, Tomato, and Turnip
- 60-Lima bean, Snap Bean, Cucumber, Okra, and Pepper
- 65-Eggplant, Muskmelon, Pumpkin, Squash, and Watermelon
OPTIMUM Soil Temperature for Germination in Degrees Fahrenheit
- 70-Celery, Parsnip, and Spinach
- 75-Asparagus, Endive, Lettuce, and Pea
- 80-Lima Bean, Carrot, Cauliflower, Onion, Radish, Tomato, Turnip
- 85-Snap Bean, Beet, Broccoli, Cabbage, Eggplant, Parsley, Pepper, Sweet Corn, and Swiss Chard
- 95-Cucumber, Muskmelon, Okra, Pumpkin, Squash, and Watermelon.
MAXIMUM Soil Temperature for Germination in Degrees Fahrenheit
- 75 -Celery, Endive, Lettuce, and Spinach
- 85-Lima Beans, Parsnip, and Pea
- 95-Asparagus, Snap Bean, Beet, Broccoli, Cabbage, Carrot, Cauliflower, Eggplant, Onion, Parsley, Pepper, Radish, Swiss Chard, and Tomato
- 106-Cucumber, Muskmelon, Okra, Pumpkin, Squash, Sweet Corn, Turnip, and Watermelon
by Julie McConnell | Jan 21, 2014

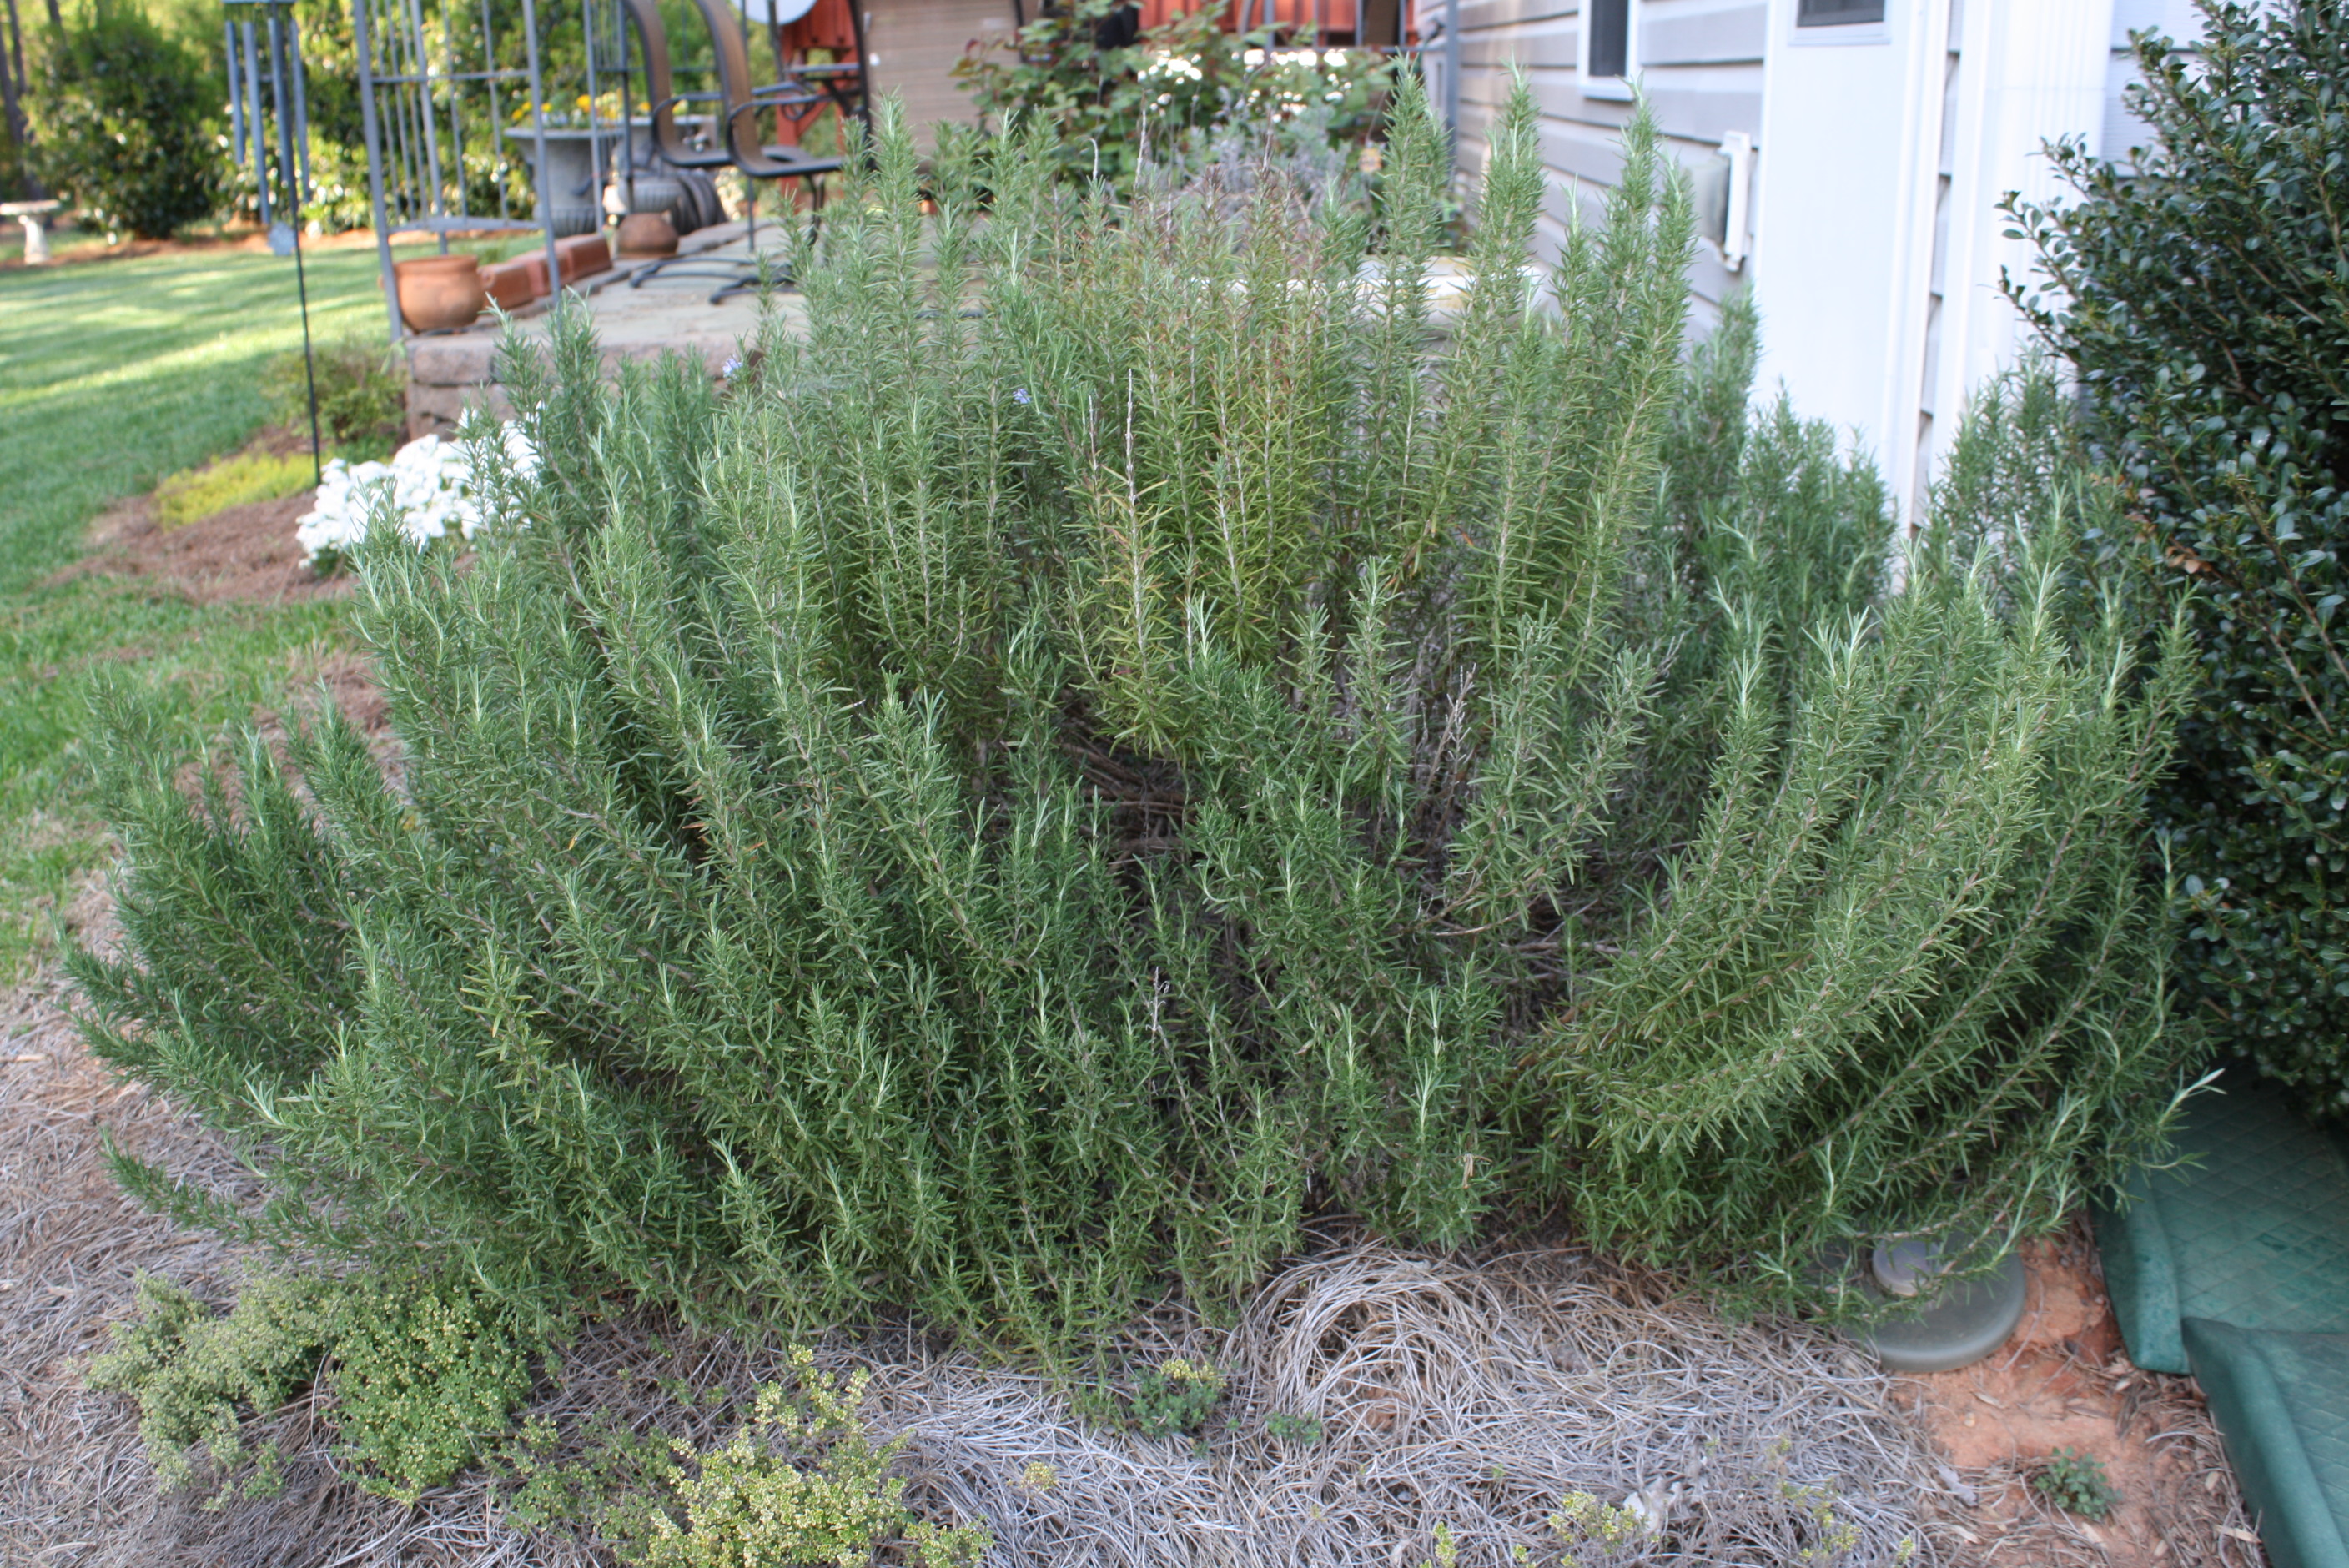
Rosemary
Rosemary (Rosmarinus officinalis) is an attractive evergreen woody perennial and a culinary herb that grows well in the Florida Panhandle with very little attention.
Rosemary is quite tough and thrives in hot, dry spots with well-drained soil. All plants require some water to become established (the time it takes to grow enough roots to support the plant without watering). Once established, it responds well to neglect as long as it is given sunlight, drainage, and air circulation.
Mature plants can grow to be over four feet tall by four feet wide, but may be kept a little more compact with pruning. Leaves are harvested to use in recipes calling for fresh rosemary or can be dried for later use. To read more about growing and cooking with herbs, please read the following EDIS publications.
Herbs in the Florida Garden
Cooking with Fresh Herbs
by Taylor Vandiver | Jan 21, 2014
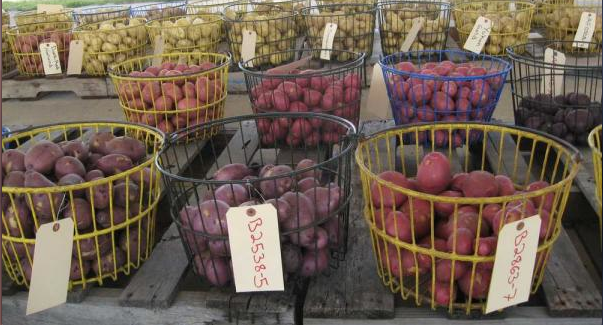
Florida-grown potatoes. Photo courtesy UF/IFAS.
The time to plant potatoes is now!
Potatoes are a good way to usher in the growing season of your home garden. They are easy to grow and their harvesting date doesn’t coincide with many other vegetables. In North Florida you can plan to put in your potatoes around the end of January through February. It’s easy to grow red- and white-skinned Irish potatoes. Also, brown-skinned russet potatoes do nicely in the garden. However, before we get ahead of ourselves, the first step you need to take is preparing your soil and garden plot.
Since potatoes prefer a loose, well-drained, slightly acidic soil (pH 5 to 6), little needs to be done in many Florida gardens. However, potatoes do not grow well in flooded conditions. Care must be taken to ensure that the root zone has adequate drainage. To help alleviate flooding conditions, beds should be formed into mounds (hills) about 10 to 12” above soil level. It’s always a good idea to add in organic matter to your soil, this will provide nutrients and structure to your soil.
The potato tuber is the plant “part” required to grow a new potato plant. When a piece of the tuber is planted, it is called a “seed” potato. Only certified seed potatoes should be planted in the home garden. Certification ensures that the seed tubers are free of disease and viruses. Certified seed can be obtained from a number of reputable garden supply stores. Do not purchase potatoes from the grocery store to plant in the home garden. Potatoes from grocery stores are often sprayed with chemicals that inhibit sprouting and they can contain diseases that would be harmful to your garden. Also, remember to never store tubers in direct sunlight. Seed potatoes should be cut so that each piece is about the size of an egg with at least one eye per seed piece. Seed potatoes should be allowed to “heal” before planting; this will reduce the risk of rot upon planting.
Potato plants should be spaced at about 6–8 in. within the row with at least 36 in. between rows. Seed pieces should be planted with the cut side down and eyes (or sprouts) facing up. Due to the fact that the seed piece should be planted only 4 in. below soil surface, new tubers could emerge from the soil surface. These exposed tubers will turn green and inedible in the sun. Therefore, hilling is a necessary process in growing potatoes. Hilling is the act of adding about 2 – 3 in. of soil to the top of the potato row.
Potatoes, in Florida are generally grown during the drier times of the year. As a result, supplemental irrigation may be required to provide plants with an adequate amount of water. Moderate soil moisture levels should be maintained throughout the season. Just remember to never over water!
Most potatoes are ready for harvest between 80 and 115 days after planting. To harvest, carefully dig potatoes below the potatoes and remove them from the root system of the plant. Potatoes are best stored in cool, dark, well-ventilated locations. An important fact to remember when harvesting potatoes is to always avoid eating green potatoes. Green potatoes have high levels of a toxin called solanine, which has a bitter taste. It is toxic even at very low levels. Potatoes can “green” in the field, in storage, and at home when exposed to the light.
As always, if you have any question or need further information please contact your local extension agent!