by Roy Carter | Apr 27, 2015
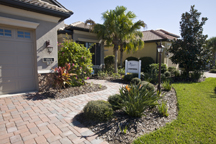
UF/IFAS Photo: Tyler Jones.
Most people know that an attractive landscape adds to the value of a home. For most of us, the landscape also represents a hefty investment of money, time and work so it’s important to know enough about landscape design to do the job right.
An important step in developing an attractive landscape is spacing plant materials correctly. Plants should be placed in the landscape in relation to each other, and with some understanding of their ultimate height, spread, and growth rate. However, the endless variety of plant sizes and shapes can easily complicate this matter for the home gardener.
How the plant is used in the landscape will determine its shape to a large extent. For example, if a plant is part of a hedge row, it should be placed close to the other plants so that in a few years, all of them grow together. If you want to retain the individual shape of each plant space the plants further apart.
Spacing trees correctly is very important as trees are the largest and most permanent of all landscape materials. Here are a few examples of some ways to use trees effectively around the home:
- Pine trees look very good as a tall background screen in the landscape. To have the trees work as a screen, plant them eight to twelve feet apart measuring from the center of one tree to the center of the next.
- Mass planting of dogwood, redbud and crape myrtle make brilliant assets to your landscape. If these trees are spaced about 12 to 15 feet apart, the top foliage should meet in a few years. When these trees are in bloom, the mass plantings will enhance their show of flowers.
- An oak tree planted on the west side of your lot will provide shade for your home, the tree should be planted about thirty feet from side of the house, to prevent tree limbs from eventually crowding the house.
As you can see, it’s important to learn as much as possible about trees you select for your landscape. In spite of the few examples given you, there is no single standard recommendation on spacing trees in the home landscape. This is because most of the popular landscape trees can range from 10 to 100 feet in height, and vary as much in spread. Specialists recommend that the minimum spacing for landscape trees should be one half of the spread of the tree’s mature canopy from other trees, from walls and other existing structures. But even this minimum spacing may vary among different varieties of the same species. For specific spacing requirements for the tree you are interested in check with your local County Extension Office.
by Blake Thaxton | Apr 21, 2015
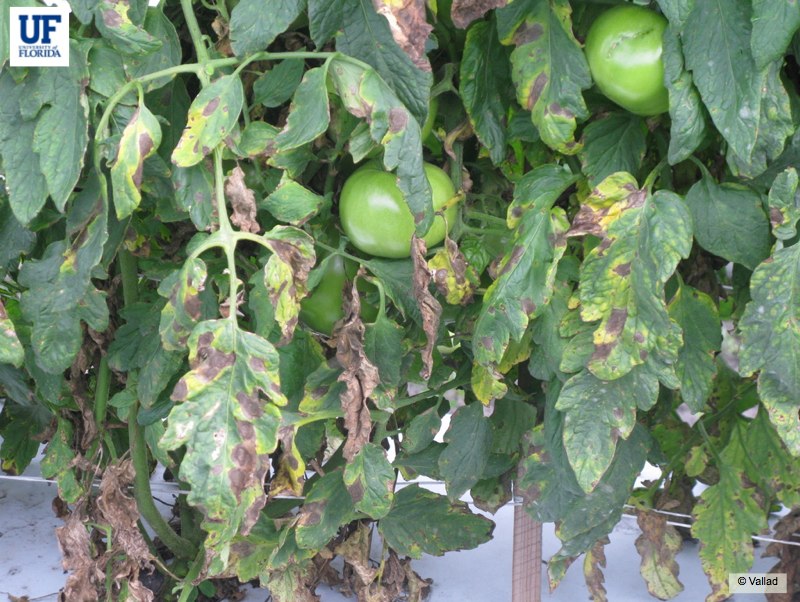
With the over abundance of rainfall the western panhandle has seen in recent weeks, tomato gardeners need to be aware of foliar diseases that could appear. Tomato leaves are an ideal host when moisture is present on the leaf surface. There are several of these diseases that, if not managed, can destroy the garden.
Early Blight
Advanced symptoms of Early Blight (Photo Credit: UF/IFAS U-Scout website)
Early Blight is a fungal disease that can affect tomato leaves and fruit. The disease is most prominent when temperatures are 80°F and excess moisture is present from rain or irrigation. The most classic system is the presence of leaf lesions that are approximately 1/2 inch in diameter.
Bacterial Spot
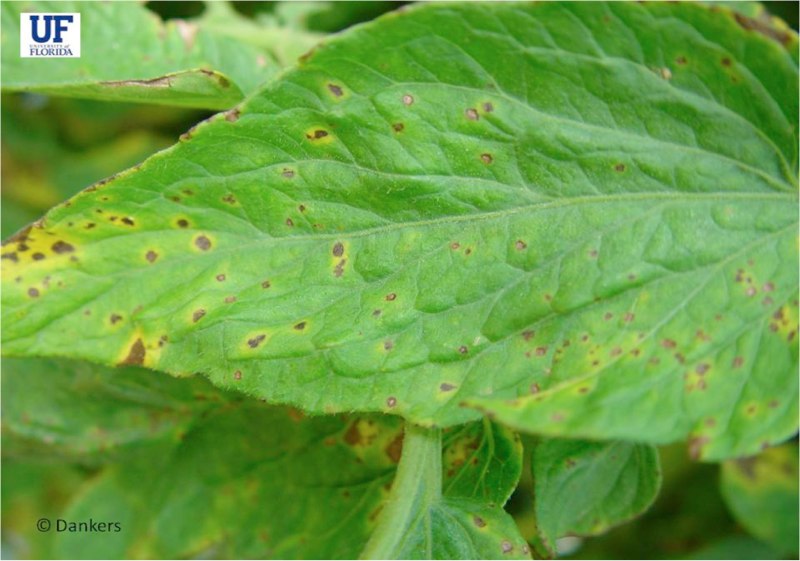
Bacterial Spot on a Tomato leaf (Photo Credit: Hank Dankers, From U-Scout)
Bacterial Spot can also cause problems for Florida tomato gardeners in rainy and high temperature periods. Generally the symptoms are darkened circular lesions on the leaves and fruit. Sometimes bacterial spot can be confused with other leaf lesion diseases. The bacterial spot will ooze when cut where as fungal type lesions will not.
How to prevent foliar diseases in tomato:
- Always start with disease free seed and transplants.
- Irrigate early in the day to minimize the time the leaves stay wet. Use drip irrigation when possible.
- Remove blighted leaves when the garden is dry. This technique should not be relied on exclusively.
- Remove and destroy crop residue at the end of the growing season. If not removed, it can become a breeding ground for disease next year.
- Rotate to different plant families that are not affected by the same diseases.
- Spray protective fungicides such as Mancozeb, Copper, and Chlorothalonil (for example sold as Daconil) when the conditions are right for disease (higher temperatures, excessive moisture, and rainfall).
If you have questions about these diseases or other tomato diseases, please comment below or call your local UF/IFAS Extension Agent.

by Matthew Orwat | Apr 21, 2015
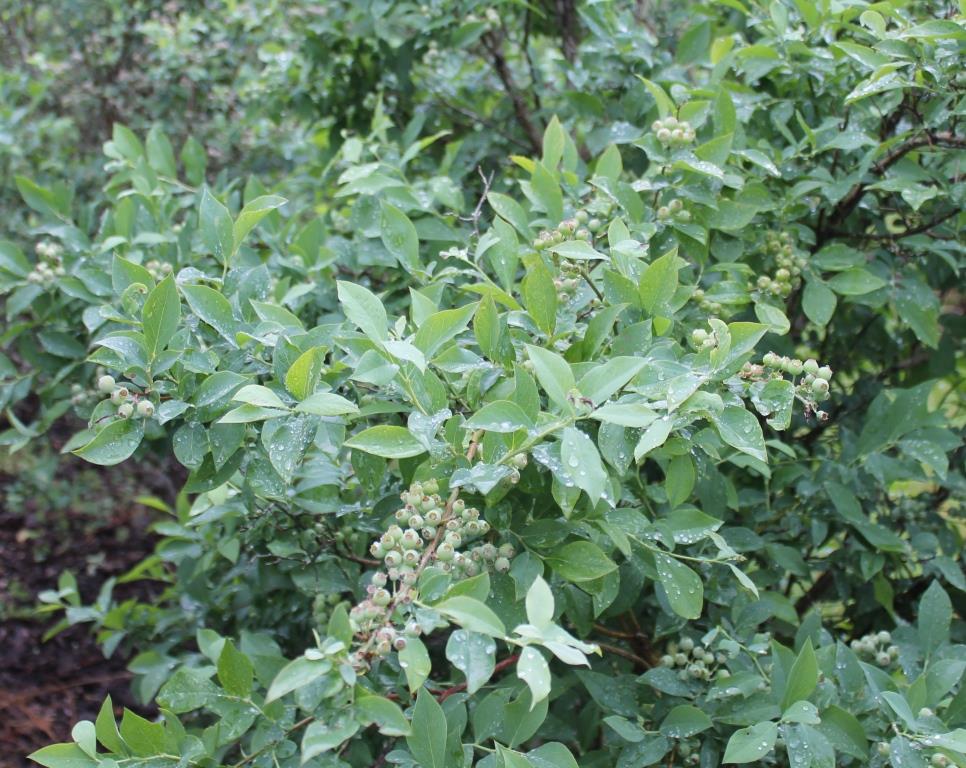
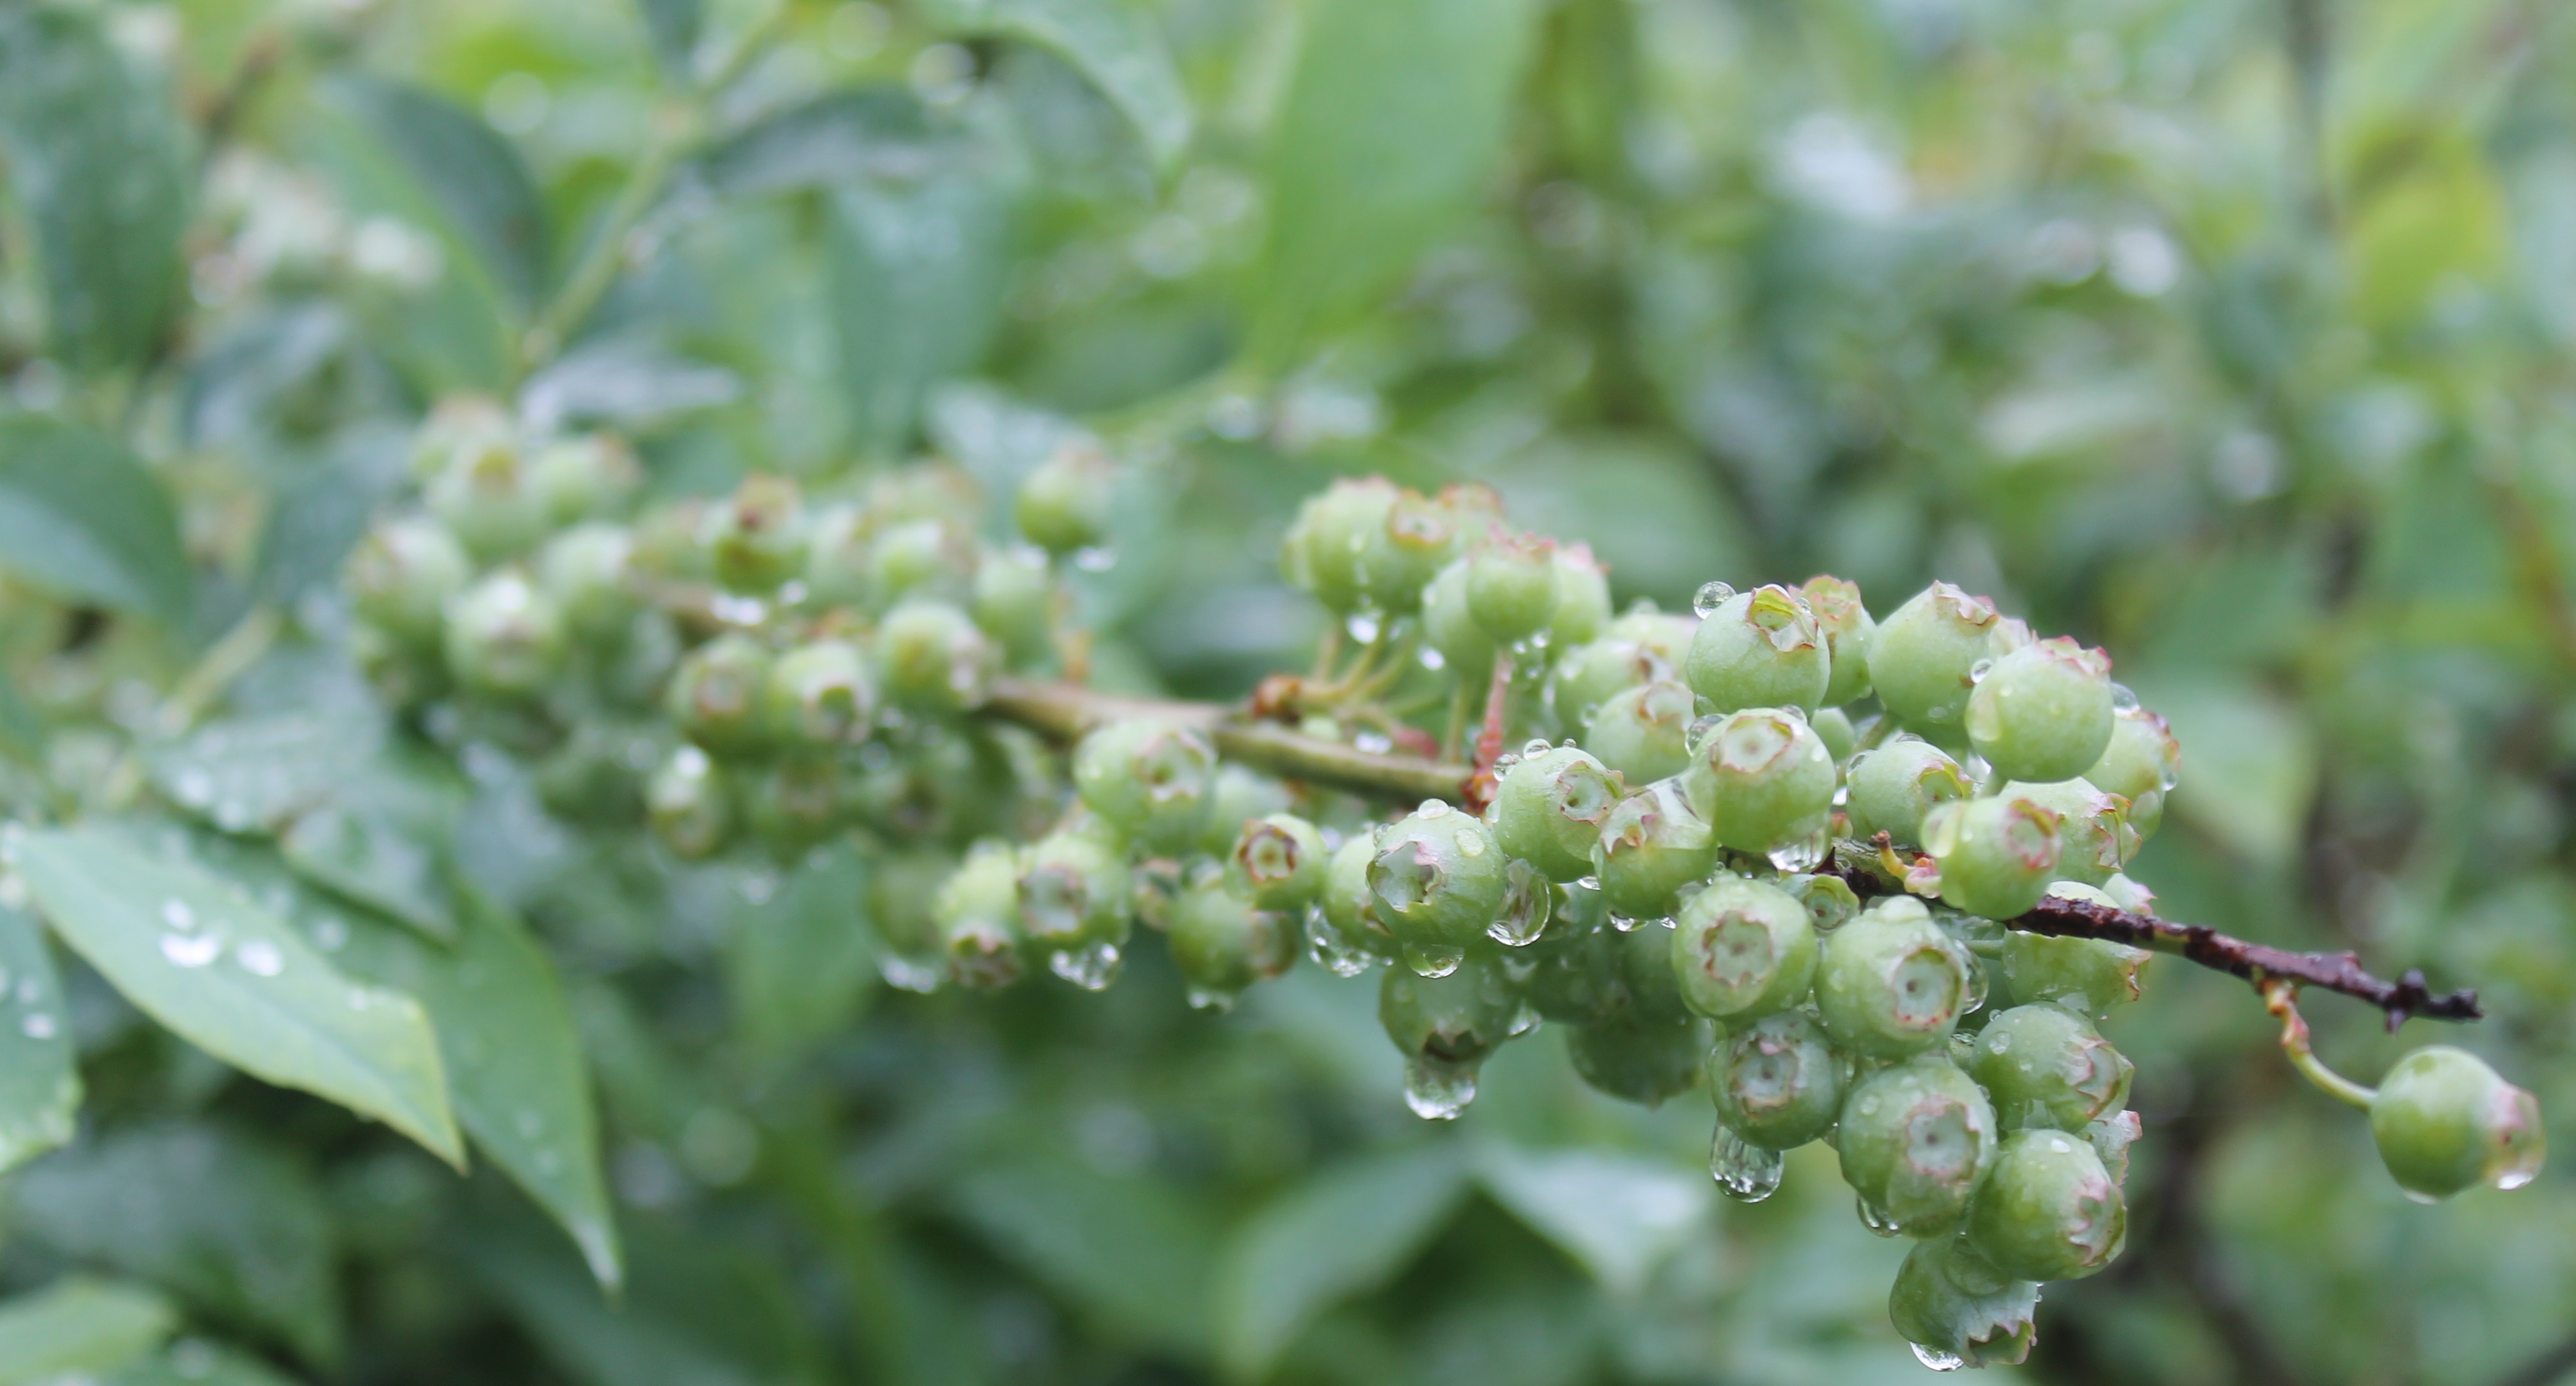
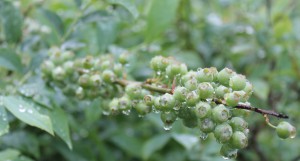 In all North Florida Counties, blueberry jam, blueberry cobbler and fresh blueberries seem to be a staple. This is because there are many home gardeners are able to consistently grow a top quality product. This year blueberries are very large already on plants throughout the panhandle! The increased size may be indicating earlier maturity than in the previous few years.
Backyard gardeners also desire to grow the same type of blueberries grown by local farmers but sometimes struggle to find the correct type. Vaccinium ashei (commonly known as rabbit-eye blueberry) is a species of blueberry native to Florida and adapted to the late frosts we sometimes get in Northwest Florida during the months of February and March. It is recommended that this species be grown in this area, not its sister species the Southern Highbush, Vaccinium darrowii. There are several dwarf cultivars of Vaccinium darrowii that can be used to great effect in the landscape, but will not produce a noticeable crop of fruit most years.
The rabbit-eye blueberry is a deciduous shrub growing to 3 to 6 feet tall and with up to a 3 foot spread. The leaves start out red-bronze that turn dark-green when fully developed. It has small, white bell-shaped flowers. It produces 5 mm diameter fruit, dark blue to black, with a pale gray wax coating.
Rabbet-eyes are self-infertile, meaning that they must have two or more varieties to pollinate each other. Therefore it is advisable to plant two or more cultivars close together to ensure complete fruit set. Recommended cultivars for our area include, ‘Brightwell’,’ Climax’, ‘Beckyblue’, ‘Tif-Blue’, Powderblue, ‘Woodard’, ‘Chaucer’ and ‘Bluegem’. Old, local plants can be found in gardens and in the woods, due to the fact that the WPA planted them under pines in the 1930s. These can easily be propagated by cuttings or by nicking and burying a lax stem under soil for a few month. Once the stem forms roots, it can be severed from the mother plant and transplanted.
Blueberries grow best on acid soil at a pH of 4.0 to 5.2. Few pests and diseases bother them, with the exception of scale, whitefly and mealybug. These are controlled with a combination of dormant oil sprays, and insecticidal soap.
Blueberries enjoy soil rich in organic matter and benefit to liberal applications of pine bark mulch. Their roots are fairly weak and should not be planted near turf or other weeds which may out-compete them in the race for water and nutrients. Mulching eliminates this grass and weed competition. In soil where organic matter is very low, such as in coastal sand hills, gardeners should grow blueberries in 2 foot deep trenches filled with rotting pine bark. Blueberries enjoy being spoon fed fertilizer, since heavy fertilizer doses stop fruit set and may damage fragile root systems.
When planting, it is advisable to not include fertilizer in the planting hole. “Blueberry Special” fertilizer mixes are available which are made up of ammoniacal or urea based nitrogen sources, with an analysis of 12-4-8 and 2% magnesium. This mixture is available at many local feed and garden stores. New plants should get one ounce per application in April, June, August and October. 2 year plants should receive 2 ounces per application and older plants should receive 3 ounces per application. Fertilizer should be spread in a circle 2-4 feet in diameter around the plant for optimal root uptake. It does no good to just pour the fertilizer at the plant base, since feeder root are further out from the plant.
Feel free to contact your UF IFAS extension agent for more information about blueberry cultivation
by Larry Williams | Apr 20, 2015

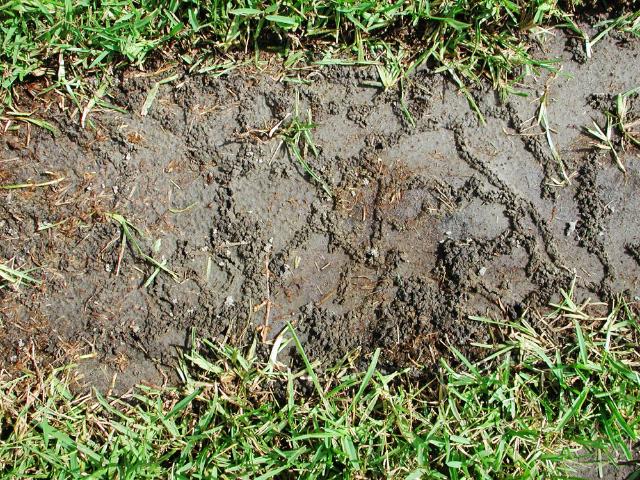
Mole cricket tunnels. Credit: N. Leppla, UF/IFAS
Many people treat their lawn with an insecticide when they see mole crickets in the spring or at the first sign of a brown area in their lawn. What they don’t understand is the biology of this pest.
Mole crickets spend the winter as adults in the soil. As temperatures warm in late February and March, adult mole crickets emerge and begin to mate. Male mole crickets construct a chamber in the soil and chirp to attract female crickets. Attracted females fly to the males. After mating, males die and females fly to a suitable area for egg laying. Mated females begin tunneling and laying eggs in the tunnels. They lay about four clutches of eggs in different areas, averaging 35 eggs per clutch. Female crickets die shortly after laying their eggs.
Use of insecticides during early spring is not recommended because:
- adult mole crickets are not easily killed
- they cause minimal lawn damage during the mating and egg laying process, and,
- reinfestation from subsequent flights is likely.
The best time to treat for mole crickets is during mid-June through July. This will be when eggs have hatched but before the nymphs (immature mole crickets) are large enough to do much damage. Proper timing of the insecticide application is very important to achieve control.
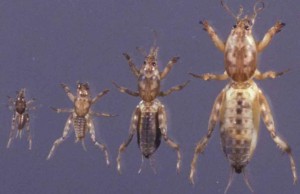
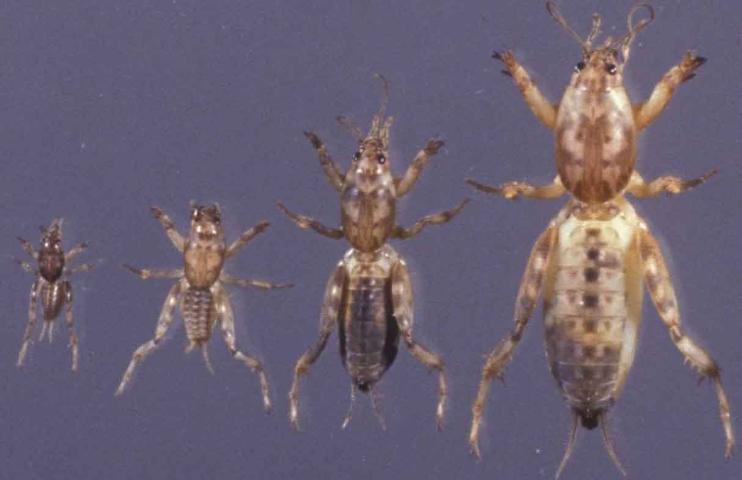
Mole cricket nymphs. Credit: J. Castner, UF/IFAS
If you are not sure if mole crickets are present, you can find out with a soap solution. Mix 1½ fluid ounces of a lemon scented liquid dishwashing soap in two gallons of water in a sprinkling can or bucket. Pour the soapy water over an area approximately four square feet and count the number of mole crickets that emerge. If they are present, it only takes several minutes for mole crickets to crawl to the surface after the soap treatment. Repeat the process around the yard where you suspect mole cricket problems. If you flush an average of two to four crickets per site, treat the lawn with an insecticide. Follow up with spot treatments if any crickets escape the first insecticide treatment. But don’t treat at all if there is no evidence of mole cricket activity.
There are a number of products for mole cricket control in home lawns. Look for insecticides that contain the following active ingredients: bifenthrin, carbaryl, cyfluthrin, deltamethrin, imidacloprid , lambda-cyhalothrin or permethrin.
Before using any product for mole cricket control first identify the problem as mole cricket damage by using the soap flush technique. Then choose an insecticide that lists mole crickets on its label. And finally, read the container carefully for use directions, application techniques, irrigation requirements and precautions.
by Taylor Vandiver | Apr 14, 2015
Rain gardens are an easy way to return water to our aquifer, reduce erosion, and help prevent stormwater runoff.
Running down the driveway or patio, rainwater can pick up lawn chemicals and pesticides. A rain garden is basically a low section of the landscape planted with native plants that like to get their “feet” wet. The garden collects rainwater, giving it a chance to “strain” out impurities before draining into the aquifer.

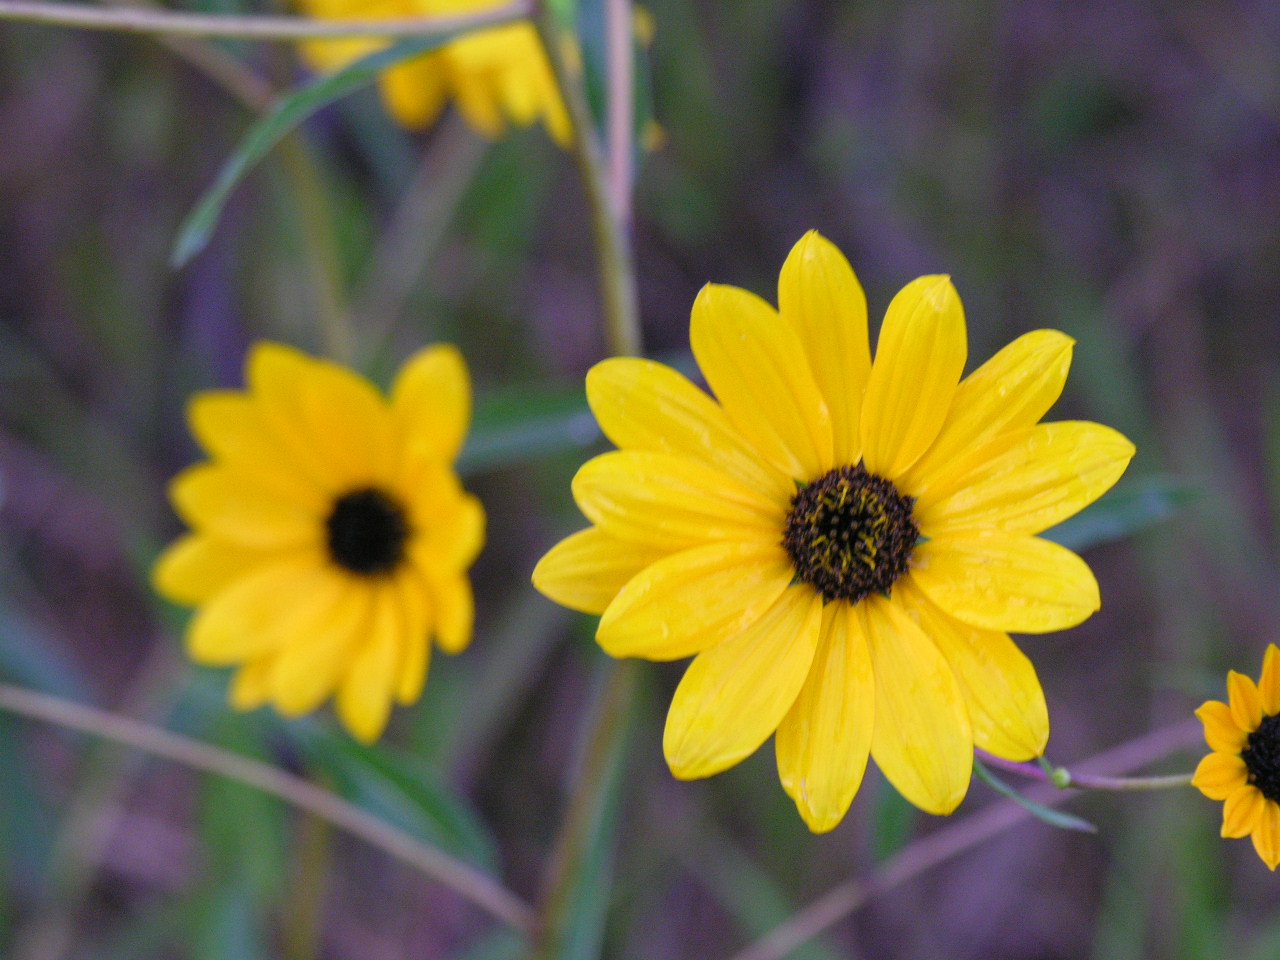
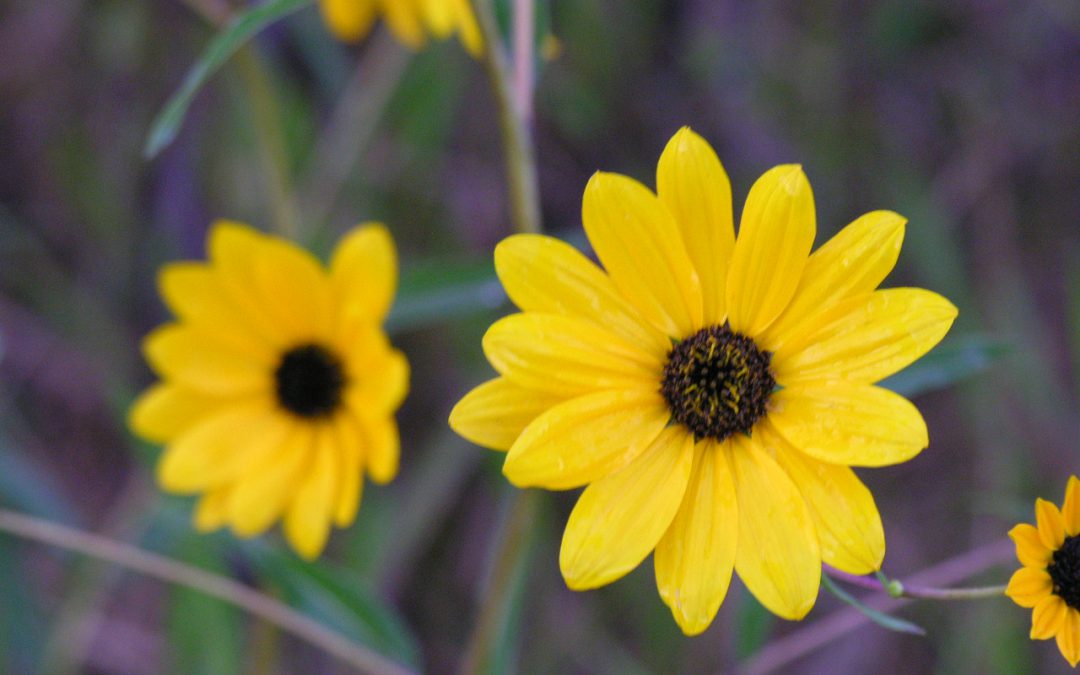
Swamp sunflower. Photo courtesy UF/IFAS.
They work best when they’re placed at the bottom of downspouts or naturally low spots in the landscape, usually where water tends to puddle. They’re especially useful for collecting runoff from paved surfaces. Rain gardens can be any size or shape and can attract thirsty wildlife.
When selecting plants, you’ll need to consider how much sun your site gets and how much space is available. Make sure you select plants that are not just water-tolerant, but also drought-tolerant for the times between rains.
Rain gardens rely on plants that will survive dry spells but then soak up excess stormwater during Florida’s rainy months, preventing the water from running across your landscape.
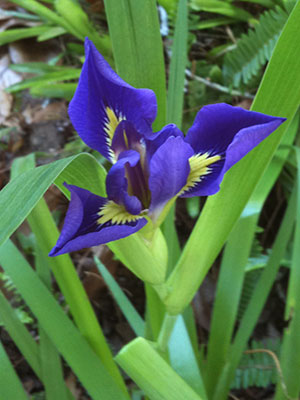
Blue flag iris. Photo courtesy UF/IFAS.
Include different types of plants in your rain garden to create a complete and cohesive look that will provide year-round interest. The following is a short list of flowers, shrubs, and grasses that would perform well in a rain garden.
Flowers:
- Blue flag iris
- Goldenrod
- Swamp sunflower
- Spider lily
- Milkweed
Grasses:
- Florida gamma grass
- Muhly grass
- Wiregrass
Shrubs:
- Virginia willow
- Buttonbush
- Wax myrtle
Here is a list of native plants that will do well in your North Florida rain garden. As always consult your local Extension Office for more information. All of the information in this article was provided by UF/IFAS Extension.