by Matt Lollar | Apr 7, 2017
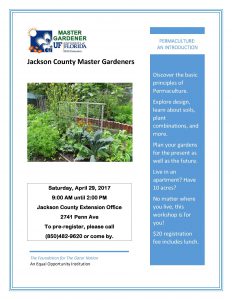
The Jackson County Master Gardeners are hosting “Permaculture: An Introduction” on Saturday, April 29. Join us from 9AM to 2PM on Saturday, April 29 at the Jackson County Extension Office (2741 Penn Ave., Ste.#3, Marianna, FL) to learn the basics of permaculture. What is permaculture you might ask? Basically, it is the utilization of edible plants in your landscape to create a food forest. The workshop is $20 and includes lunch. To register or for more details please contact Matt Lollar at mlollar@ufl.edu, (850)482-9620, or come by the Jackson County Extension Office.
by Molly Jameson | Apr 7, 2017
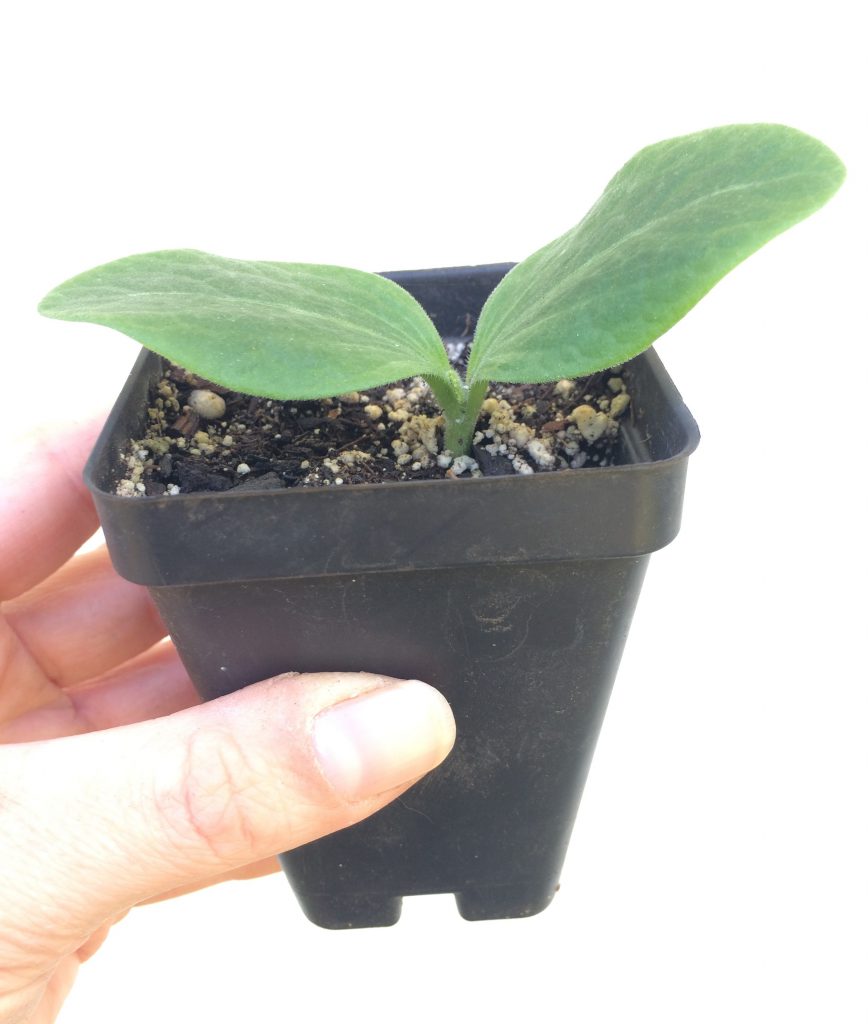
Be careful planting cucurbit transplants, as they have sensitive roots. Photo by Molly Jameson.
When I think of the end of winter and the hot temperatures that will soon be here to stay in the Florida Panhandle, I often feel a little melancholy. But the one silver lining that always picks me back up is remembering what warmer temperatures will mean in the garden. This is the start to all the fun, colorful, fruiting crops. Think of the oranges, reds, yellows, and even purples that will soon fill their vines.
As an extension agent, one of the questions I am often asked is whether to start summer vegetables from seed directly in the garden, or to start seeds in pots and transplant them later. The answer is – as is often the case – it depends.
Are you planting tomatoes, peppers, or eggplant? Well, the beginning of April is too late to start from seeds with these crops in our neck of the woods. Buy transplants! Are you growing beans, okra, or root crops? Now that we are past the risk of frost, put those seeds directly into your garden. Are you growing cucurbits, like squash, cucumbers, or melons? You have a choice. You could seed them directly, or you could start seeds in pots. What is the advantage of starting in pots, you ask? Well – this will give you the chance to pick the strongest plants and will allow you to transplant them exactly where you want them. The disadvantage? Other than the extra work, cucurbits tend to be sensitive to disturbance. Be sure to handle with care and do not over water once your seedlings have sprouted.
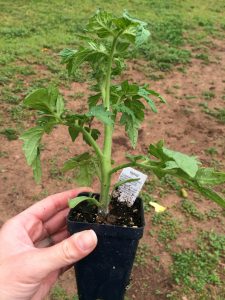
Transplant into the garden when the plant is about the length of its pot. Photo by Molly Jameson.
Whether you grew the seeds in pots yourself or acquired transplants elsewhere, there are certain practices you can follow to ensure your plant babies have a good start. Here are a few tips when it comes to transplanting into the garden:
What should be considered when purchasing transplants? When purchasing transplants, it is important to make sure the plant is healthy. Look for plants with strong stems, green leaves, and no signs of pest or disease damage. Ideally, the plant should not be much taller than the length of its pot, and should be about as tall as it is wide. Also, avoid vegetable plants that are already producing fruit, this is an indication they have been in their pot too long, prompting them to become stressed. When stressed, annuals often feel they need to hurry and produce seeds to carry on the next generation.
When should transplants be planted into the garden? For spring gardens, plant transplants once danger of frost has passed (late March in the Panhandle), when the transplant has had time to develop a strong root system, and when the transplant is about the length of its pot. If you are growing your seeds indoors or in a greenhouse, allow the plant to “harden-off” by placing the plants outdoors in partial shade for a few hours a day for about a week before transplanting.
What is the transplanting process?
- First, prepare your garden site with compost and other soil amendments.
- Water your plants very thoroughly just before planting to decrease transplant shock. The entire root system should be completely wet.
- Dig a hole that is at least double the width of the plant’s root ball.
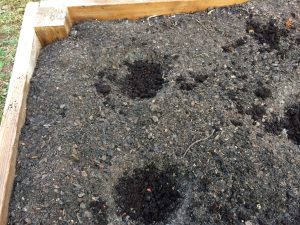
Add fresh compost or worm castings to each planting hole to give your plants an extra nutrient boost. Photo by Molly Jameson.
- Add one to two handfuls of fresh compost or worm castings to each hole. These soil amendments will improve soil health, introduce beneficial microbes, and provide a slow- release nutrient source for your growing seedlings.
- Avoid covering any leaves or stems under the soil surface. Remove these lower leaves and stems with sharp garden clippers to minimize the size of the wound.
- Avoid touching the stem and avoid disturbing the root ball when removing the transplant from its pot. Gently squeeze the pot to loosen the potting soil and turn the transplant sideways or upside down with the palm of your hand to gently “catch” the transplant.
- Unless the transplant is a tomato, plant it so that the soil level is about the soil level of the transplant, making sure the plant has good structure to decrease susceptibility of falling over as it grows.
- If transplanting a tomato, plant deeper than the soil level of the transplant, as tomatoes can grow what are called “adventitious” roots – roots that grow from their stem – that will improve overall root development.
- Make sure to cover up all roots, and water the soil around the plant thoroughly. Continue to water deeply, keeping the soil moist but not soggy, for the next three to four days while the plant becomes established. You can then begin to switch to a normal watering pattern.
- Always water the soil around the plant, not the plant leaves, throughout the season to decrease susceptibility to disease.
Remember: gardening is a science and an art! And just like art, there are many aspects that are open to interpretation. Have fun gardening – experiment and try new techniques. Keep a journal tracking all your gardening adventures. With time, this can become your road map to the sweetest of summer fruit.
by Julie McConnell | Apr 7, 2017
It’s really tempting to buy a tree and plant it in the middle of your lawn or directly in front of your picture window, but instead take some time to choose the best spot first. Several considerations such as maintenance and mature size should be taken into account before the site is selected.
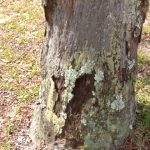
Mowing close to the trunk of this Pindo palm has caused repeated injury to the trunk. Photo: JMcConnell, UF/IFAS
Placing a tree in a lawn area without creating a bed can lead to maintenance issues for both the tree and the turfgrass. It is easy to simply cut out a small patch of turf the size of the rootball and install a tree, however, as the grass grows up towards the trunk over time maintaining that grass will become difficult. It is common to see mechanical injuries to tree trunks because weed eaters or mowers have chipped away at the bark when trying to cut the grass. Other potential problems are irrigation zones calibrated for turf delivering the wrong amount of water to trees and herbicides used on grass that may cause injury to trees.
Over time, as the tree canopy grows, it will create shade and any grass trying to grow in that area will thin and be more susceptible to disease and insect pressure. By creating a large ornamental bed for your tree, you will prevent some pitfalls associated with placing the tree in the lawn.
Another common mistake is planting a tree too close to a house or other structure. It can be difficult to imagine how large a tree will grow at maturity because it is not a quick process. Trees placed close to houses may grow into eaves and shed leaves onto roofs and into gutters. This adds to maintenance and can provide mosquito breeding grounds. Also, some tree roots may interfere with walkways or septic systems and should be sited far enough away to avoid these issues.
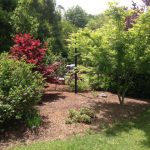
These Japanese Maples are planted in a bed separate from the lawn making care for both plant types easier. Photo: JMcConnell, UF/IFAS
Be sure to research any tree you plan to install to find out ideal growing conditions and mature size. If you plan ahead and use good maintenance practices, a tree can become an valuable part of your home landscape to be enjoyed for years to come.
by Beth Bolles | Mar 30, 2017
We often talk about sandy, nutrient poor soil in Florida and how difficult it is for growing many favorite landscape plants. Gardeners may spend considerable time and money amending soils with organic matter to improve quality.
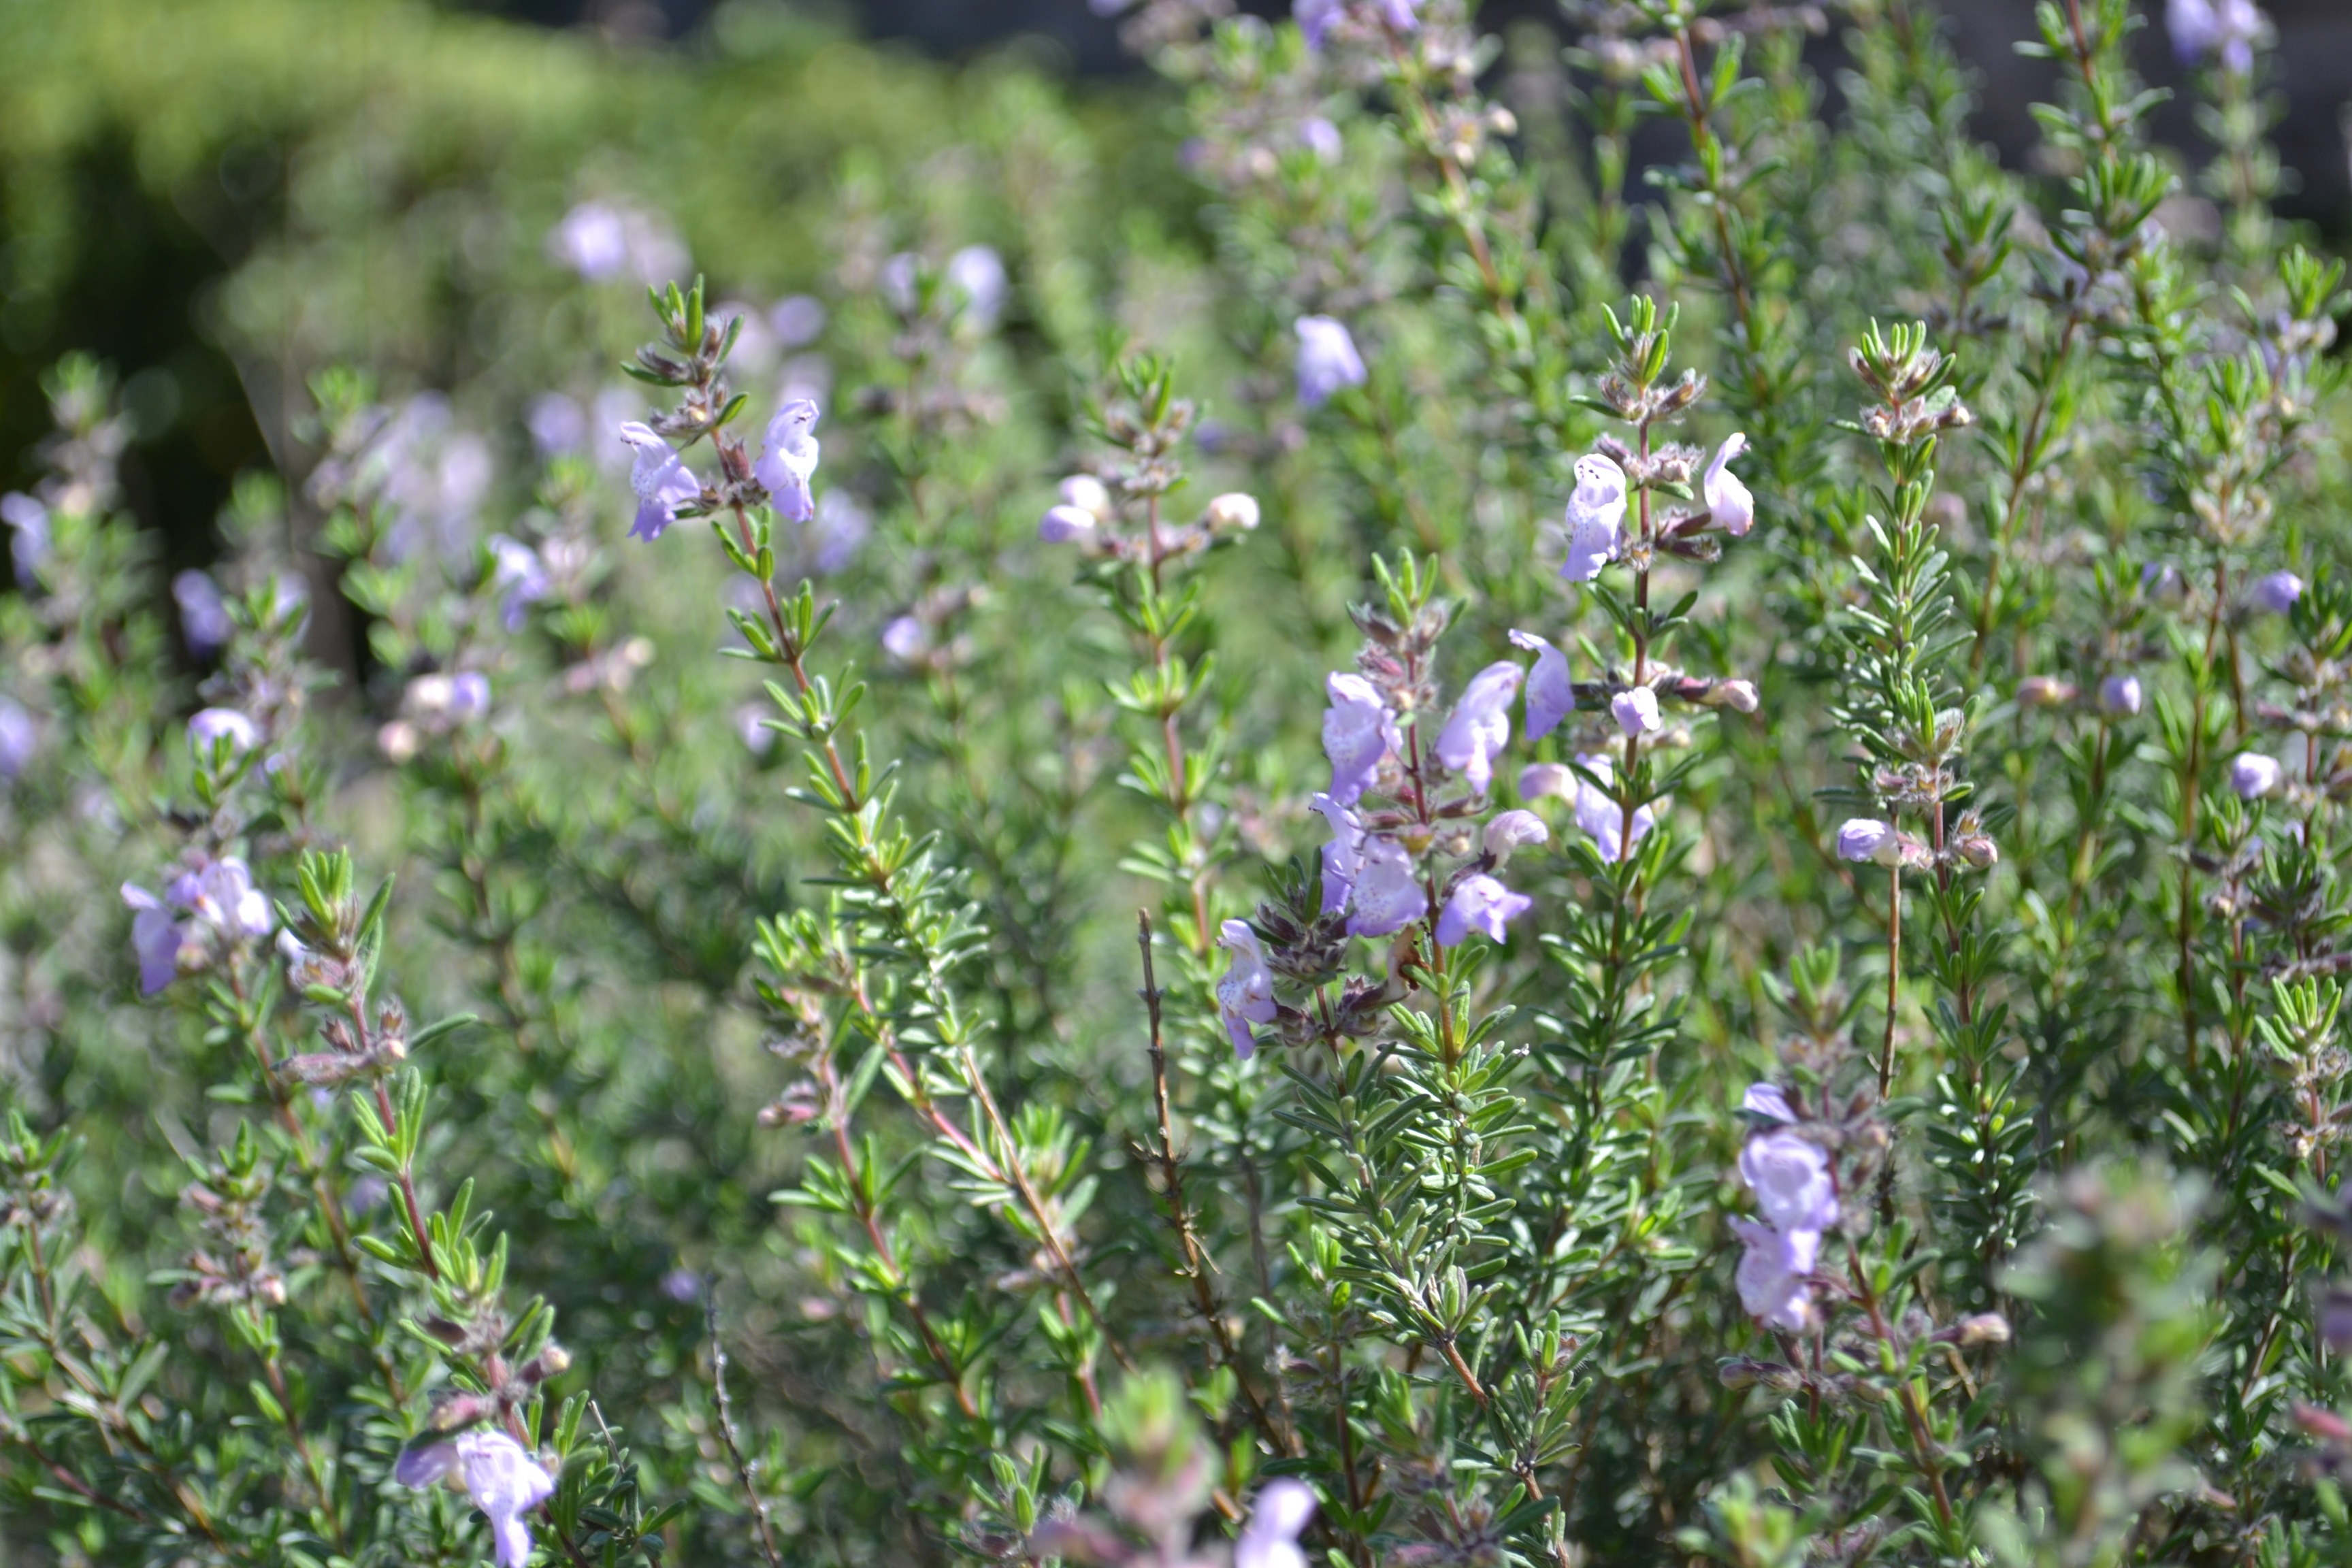
The low maintenance approach is to embrace your sandy soil and consider plants that thrive in sandy, well-drained soil. One very attractive native shrub that actually prefers this type of soil is false rosemary, Conrandina canescens.
False rosemary is a member of the mint family that is well adapted to drier, sandy soils. It can be found in many coastal communities growing in natural areas. It is easily recognized in the spring and early summer by light purple blooms. Considered a small shrub or groundcover, False rosemary needs full sun. One plant can easily spread out to 4-5 feet in diameter with a height of 2-3 feet.
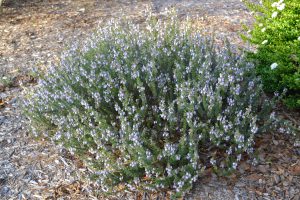
False rosemary is an attractive native plant for Gulf Coast landscapes. Photo by Beth Bolles, UF Escambia County Extension
False rosemary does have aromatic foliage and is attractive to bees. It is a very low maintenance plant once established and its few issues tend to be related to soils with too much moisture and plants being shaded after establishment. New seedlings will emerge around the main plant when growing conditions are right. If you want to try this native plant in your landscape, talk to a local nursery.
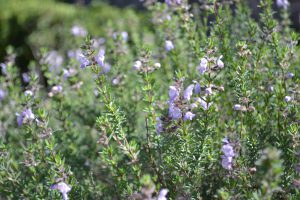
False rosemary flowers are attractive to pollinators. Photo by Beth Bolles, UF Escambia County Extension
by Mark Tancig | Mar 29, 2017
As an extension agent, I’m always curious of what plants folks are using in the landscape. One plant I’ve been noticing more and more of in north Florida, both in containers and in landscape beds, is asparagus fern. Three different plant species go by the name asparagus fern – Sprenger’s fern (Asparagus aethiopicus), foxtail fern (Apsaragus densiflorus), and lace fern (Asparagus setaceus). Property owners should refrain from selecting these plants since they are another example of invasive, exotic species that can spread to natural areas and effect native plant communities.
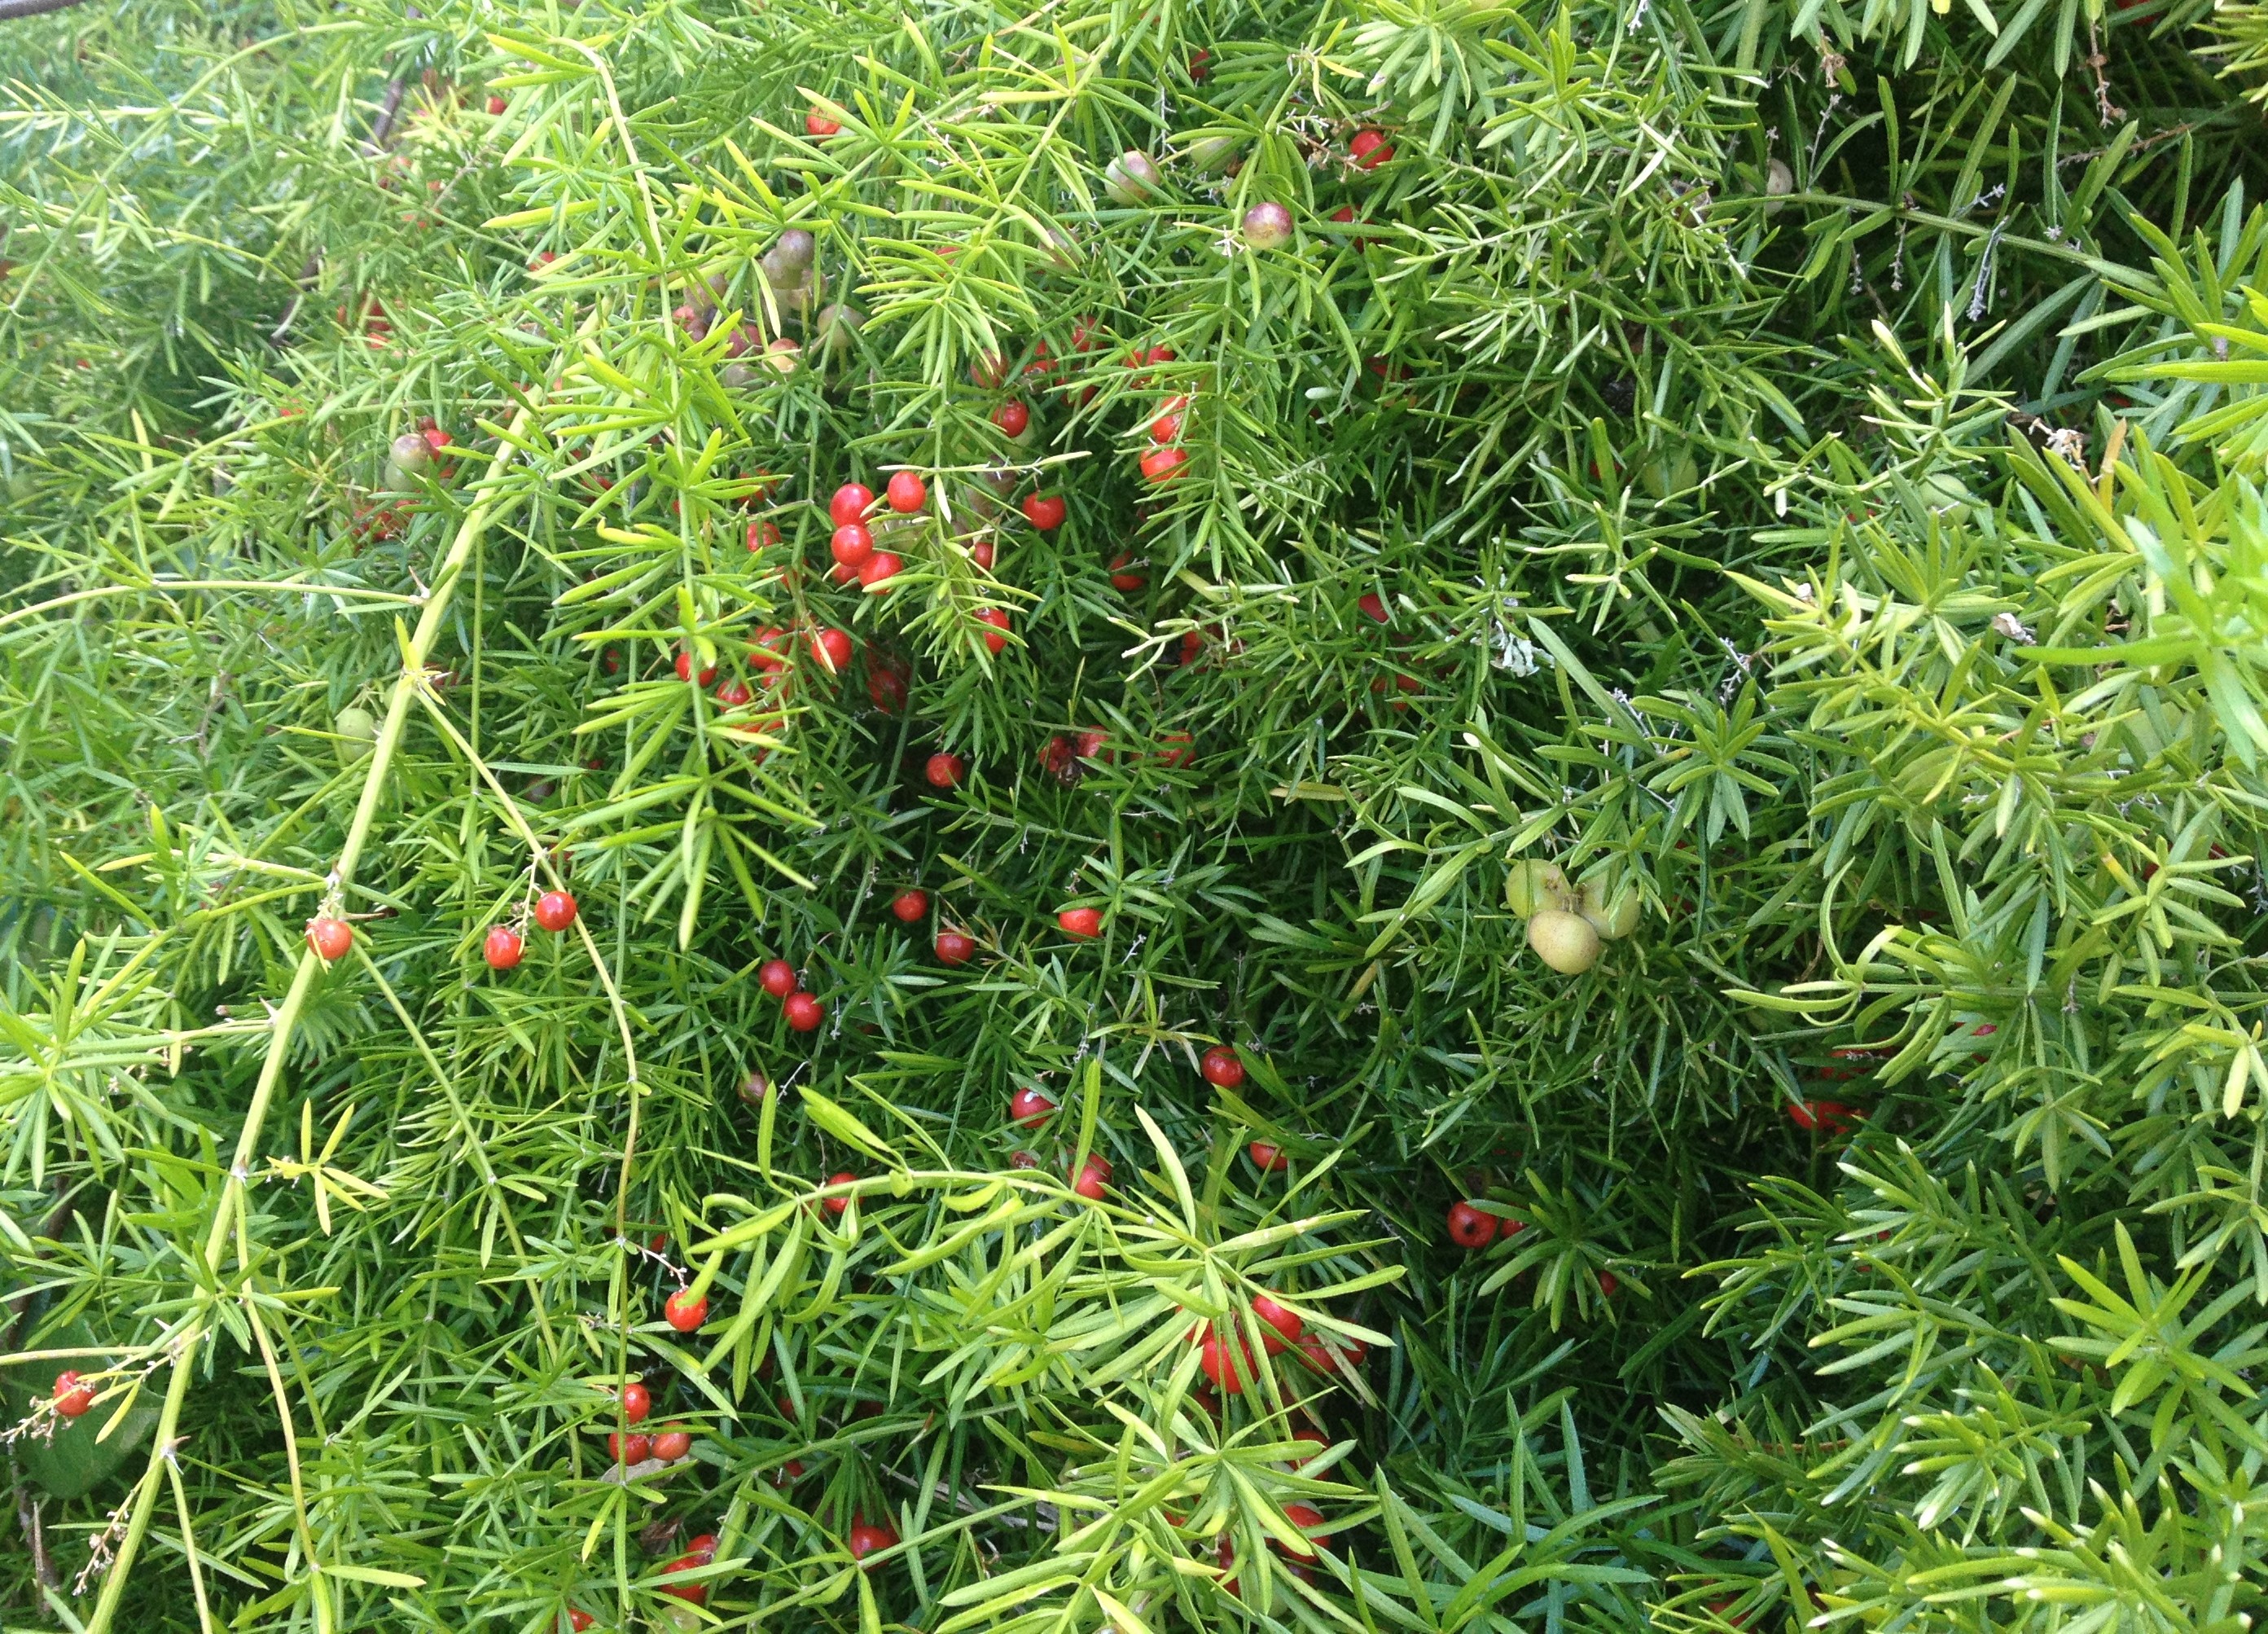
Native to South Africa, Asparagus species are technically not a fern, but related to lilies, and, yes, asparagus. Its ease of growth has made them a go-to choice for gardeners looking for a hardy, attractive plant. Unfortunately, the red berries that follow the small, white, scented flowers are fed on and spread by birds. The seeds germinate easily and can become established in other parts of the garden or, even worse, a local natural area. The ability of Sprenger’s fern to spread into and disrupt natural ecosystems has earned it a spot on the Florida Exotic Pest Plant Council’s List of Invasive Species as a Category I invasive plant. Category I plants are reserved for those plants that have been documented as causing ecological harm to Florida’s ecosystems. Foxtail fern and lace fern should also be used with caution.
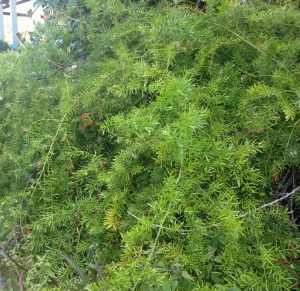
Asparagus fern in a storefront planter. Photo Credit: Mark Tancig.
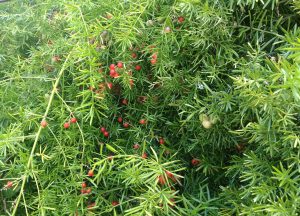
Birds can carry the red berries near and far. Photo Credit: Mark Tancig.
To remove asparagus fern from the landscape, manual or mechanical removal can be effective for small areas. Be careful to dig up all roots. For larger areas, the use of a dilute glyphosate herbicide product will provide control. Retreatment may be necessary.
If you’re looking for other alternatives to asparagus fern, try these Florida-Friendly alternatives: Coastal sunflower (Helianthus debilis), coontie (Zamia pumila), Coleus (Plectranthus scutellarioides), or Cast Iron plant (Aspidistra elatior).
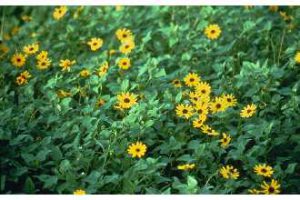
Coastal sunflower. Photo Credit: UF/IFAS.
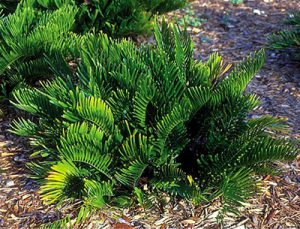
Coontie. Photo Credit: UF/IFAS.
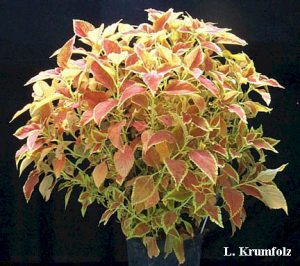
Coleus. Photo Credit: UF/IFAS.
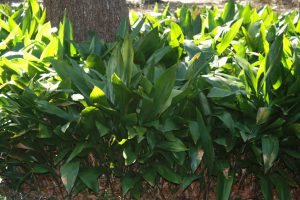
Cast iron plant. Photo Credit: Julie McConnell.


