by Matt Lollar | Sep 8, 2020
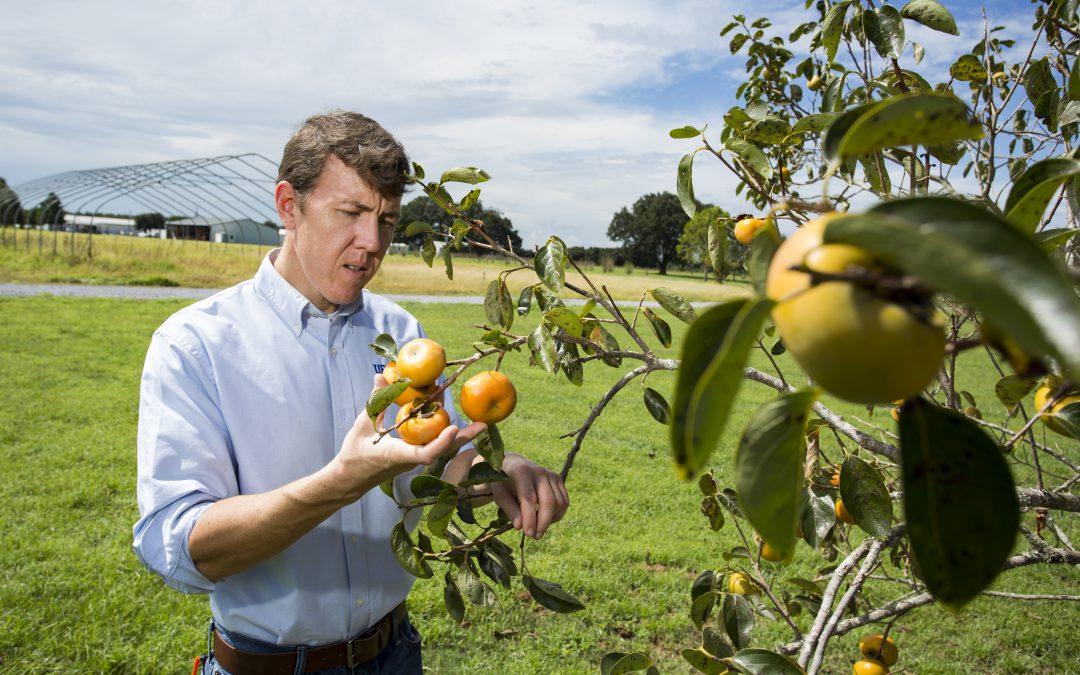
Matt has served as a Horticulture Agent with the University of Florida/IFAS Extension for the past 10 years. He began his career in Seminole County, FL as a multi-county agent focusing on vegetable crops and landscape installation and maintenance. Being an Alabama native, Matt was ready to relocate closer to home. After 5 years in Central Florida, he moved to Jackson County to become the Horticulture Agent. In Jackson County he mainly focused on fruit and vegetable crops and coordinated Master Gardeners. Matt became the Commercial Horticulture Agent in Santa Rosa County in the spring of 2018 and plans to be there for a long time.
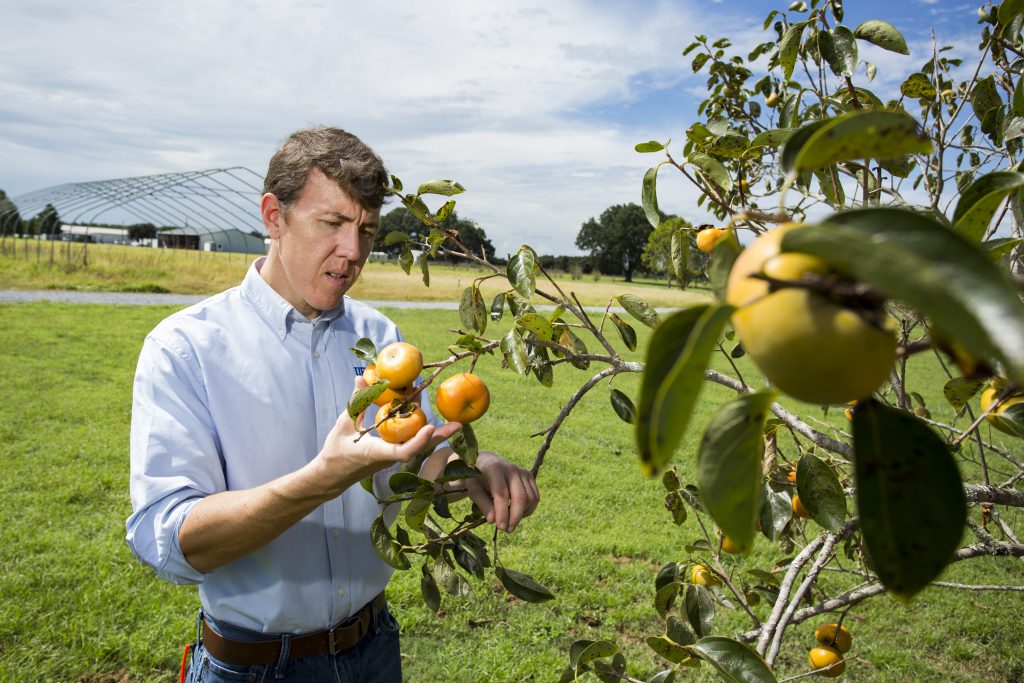
Inspecting persimmons at the West Florida Research and Education Center in Jay, FL.
Matt received his B.S. and M.S. degrees in Horticulture from Auburn University. He became interested in horticulture in college and thought he would become a landscaper after college. However, upon completion of his undergraduate degree, he decided to continue his education and work on a masters degree and conduct research on vegetable crops. Matt’s major professor, Dr. Wheeler Foshee, had an extension appointment and instilled in Matt the value of helping others. Matt says the most rewarding part of his job is the opportunity to build relationships with farmers, peers, and researchers.
In his free time, Matt enjoys spending time with his wife and two children, woodworking, and, of course, gardening. He and his family enjoy exploring nature and playing board and card games together. Matt also enjoys reading nonfiction political and war history books.
by Matt Lollar | Aug 24, 2020
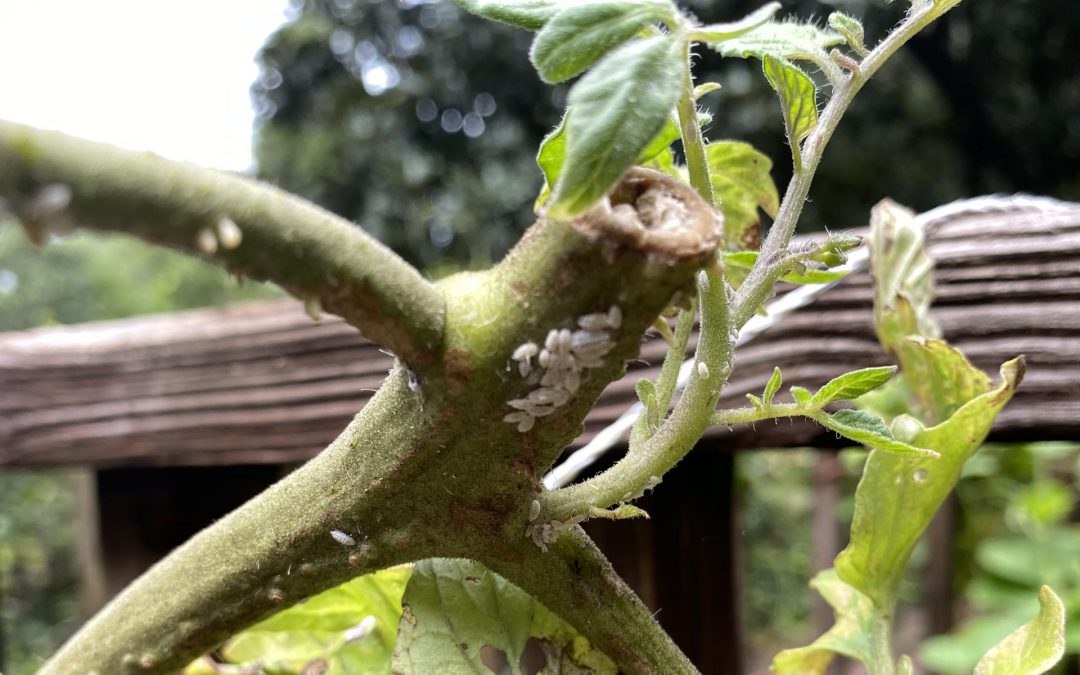
A common question for gardeners at the end of the season is if one should till the soil or use no till practices. Opinions vary regarding this question, even among Extension Agents. However old crops harbor insects, both good and bad. This phenomenon was noticed on some recently cut back tomato plants. The intention was to cut the leftover spring garden tomatoes back to encourage fall production. Instead, a host plant for mealybugs was provided.
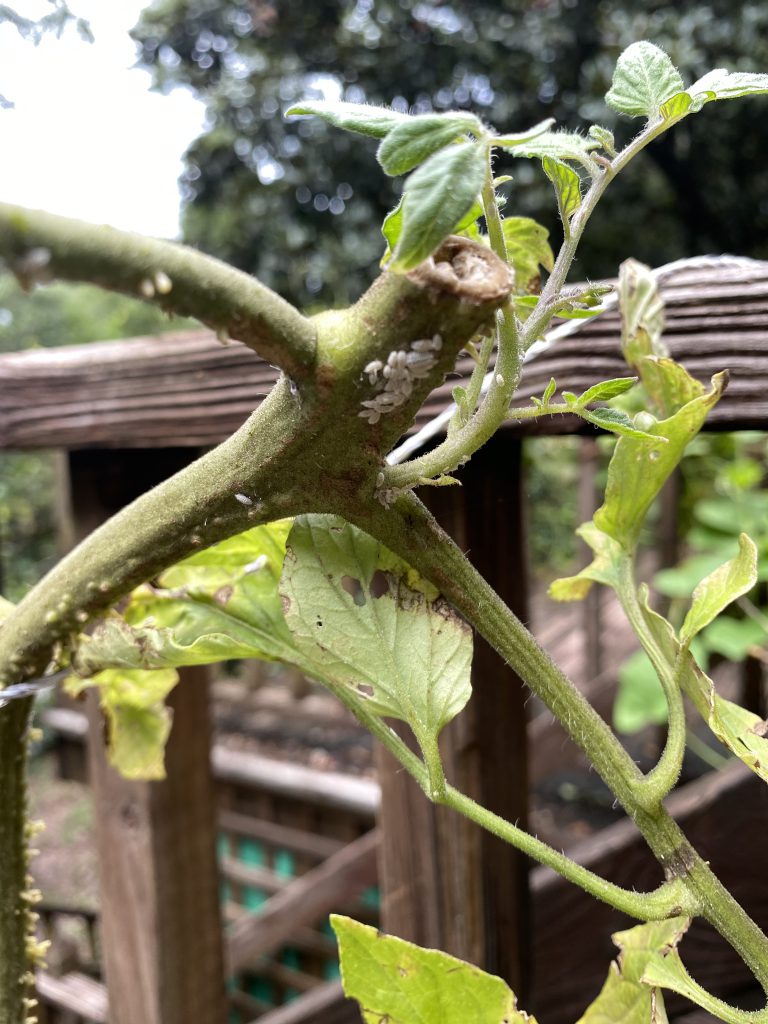
Mealybugs on a tomato plant. Photo Credit: Matt Lollar, University of Florida/IFAS Extension – Santa Rosa County
Mealybugs are soft-bodied insects that possess a covering of flocculent, white, waxy filaments. They are about 1/8 inch in length and usually pinkish or yellowish in color. Mealybugs have piercing-sucking mouthparts which they use to siphon fluids from the leaves, stems, and sometimes roots of many ornamental and vegetable plants. Mealybug damage produces discolored, wilted, and deformed leaves.
One very common example of an insect pest likely to claim residence in your garden’s crop residue, are squash bugs. They like to overwinter on squash, cucumber, and other cucurbit crop residue. If you choose to not till your garden and leave a portion of last seasons crop in your garden, then you should consider applying an insecticide to your spent crop at the end of the season. A product containing a pyrethrin or pyrethroid as an active ingredient would be a good broad spectrum insecticide to control any pest that may reside on plant residue. More information on pyrethrins and pyrehtroids can be found at the EPA webpage: Pyrethrins and Pyrethroids. If you choose to apply an insecticide, it is important that you follow the information on the label regarding pollinator protection. Another option is to plant a trap crop on the edge of your garden to help attract pest insects away from your desired crops. More information on trap crops can be found in the EDIS Publication: Intercropping, Pest Management and Crop Diversity.
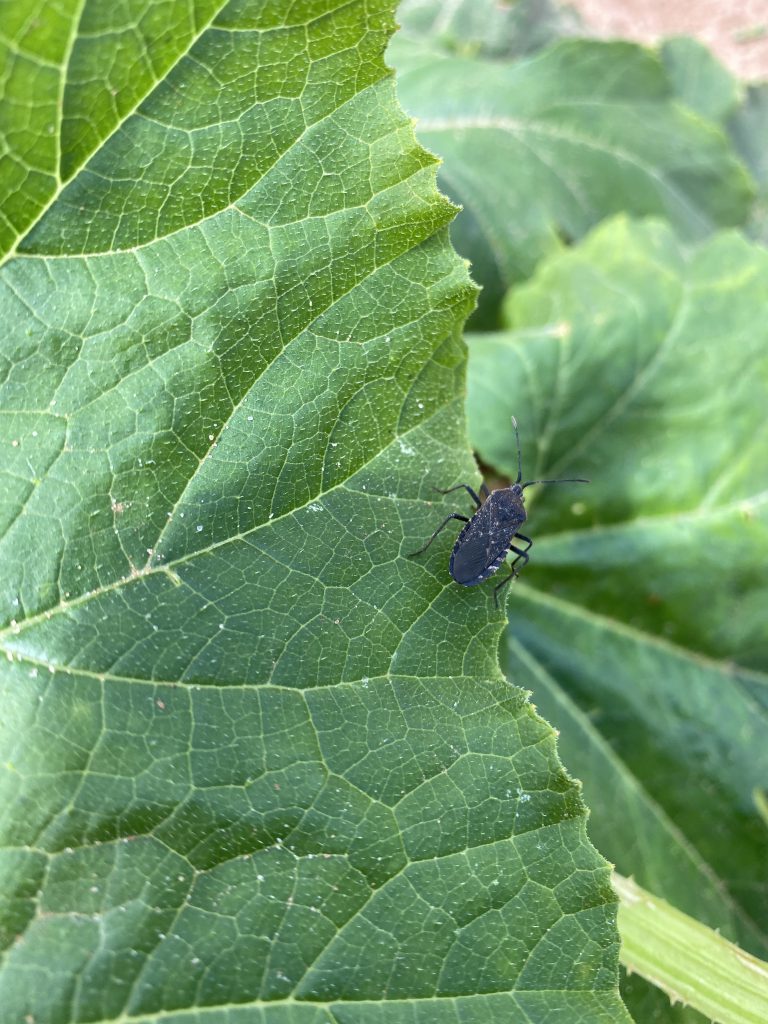
An adult squash bug on a zucchini leaf. Photo Credit: Matt Lollar, University of Florida/IFAS Extension – Santa Rosa County
So the answer to the till or no till question is…it depends. It is really up to the gardener. Yes, the residue from crops will add nutrients and organic matter to your soil, but it could also increase pest pressure in your garden. If you don’t plan to remove crop residue and don’t plan to till, then keep an eye out for what could be hiding in your garden.
by Matt Lollar | Jul 30, 2020
On a daily basis, it is not unusual for our Extension Office to get calls, emails, and walk-ins with questions about insect identification. Sometimes we even get questions about imaginary insects! The overwhelming opinion by our clientele is that the insects in question are harmful to their landscapes and gardens. This is not always the case since there are more than 100,000 species of insects found in the United States, but less than 1% are harmful.
Recently I received a call about an abundance of bugs in a client’s newly installed sod. He was concerned that the insects were taking over his yard. Luckily, he was able to submit some good quality photos so the University of Florida/IFAS Extension Service could help him identify the insects.

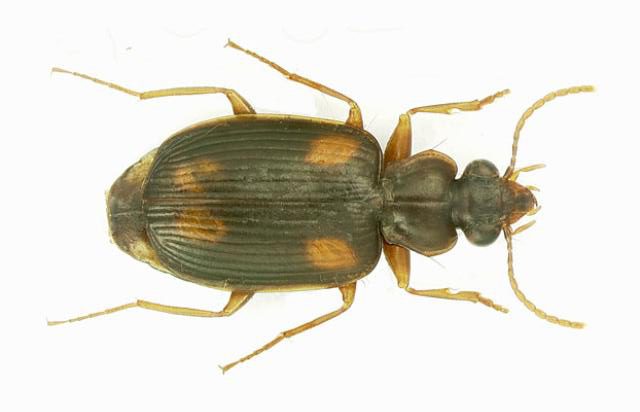
An adult ground beetle (Mochtherus tetraspilotus). Photo Credit: Michael C. Thomas, Florida Department of Agriculture & Consumer Services
The photos were sent to a University of Florida Entomologist for identification verification. It turns out the insects were ground beetles (family Carabidae). Adult ground beetles are slender and range between 1/4″ and 3/8″ in length. Their head and thorax are much narrower than their abdomens. Ground beetles are beneficial insects that feed on moth eggs and larvae. They are known predators of soybean loopers, cabbage loopers, and velvetbean caterpillars. It is suspected that the beetles found by the client came from the sod farm and were living in the thatch layer of the sod. They were possibly feeding on sod webworms or other moth larvae.
Accurate identification is the first step of integrated pest management (IPM). In this case, the insect found wasn’t a pest at all. If you need help identifying an insect, feel free to contact your local Extension Agent. For more information on beneficial insects, visit these publications found at edis.ifas.ufl.edu.
by Matt Lollar | Jun 23, 2020
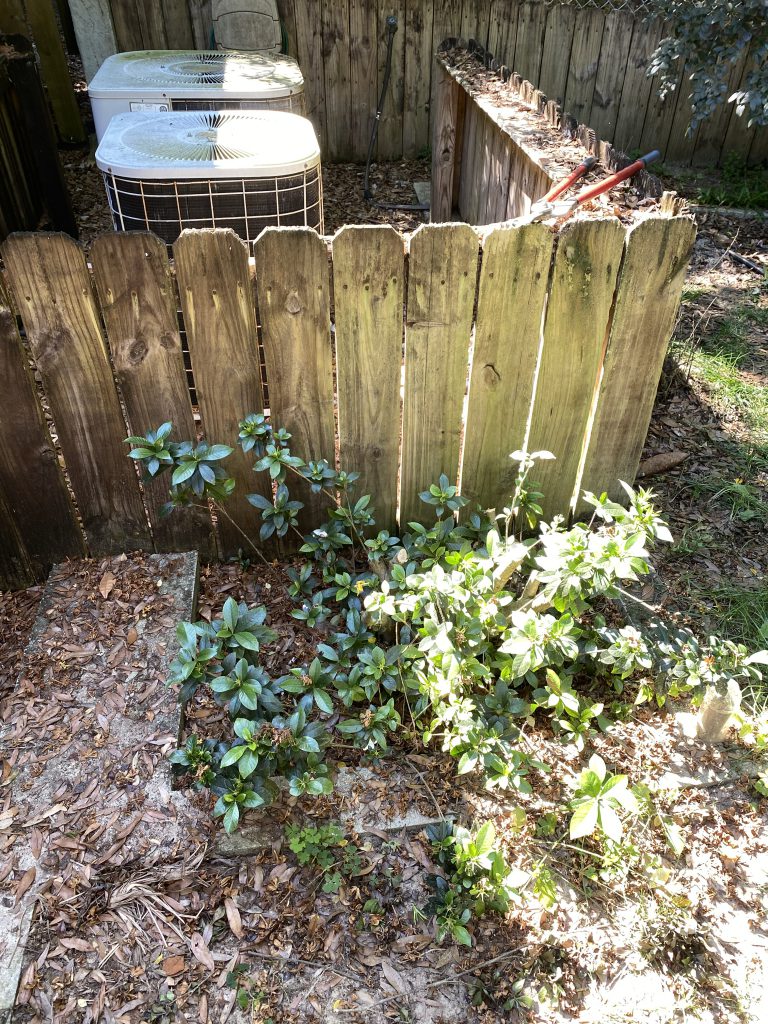
I live in the woods, so I mainly have a “natural” landscape. I remove trees, shrubs, and weeds as I see fit, but for the most part things just grow wild. However, there are a few spots in the yard where the previous owners did a little landscaping. Unfortunately, these spots have become a bit overgrown. One spot in particular features some gardenia plants around the HVAC units. At first, I was a little hesitant to prune these shrubs because they provide some shade to the units. However, they have become overgrown and I know they will grow back. I was patient to wait for them to finish flowering.
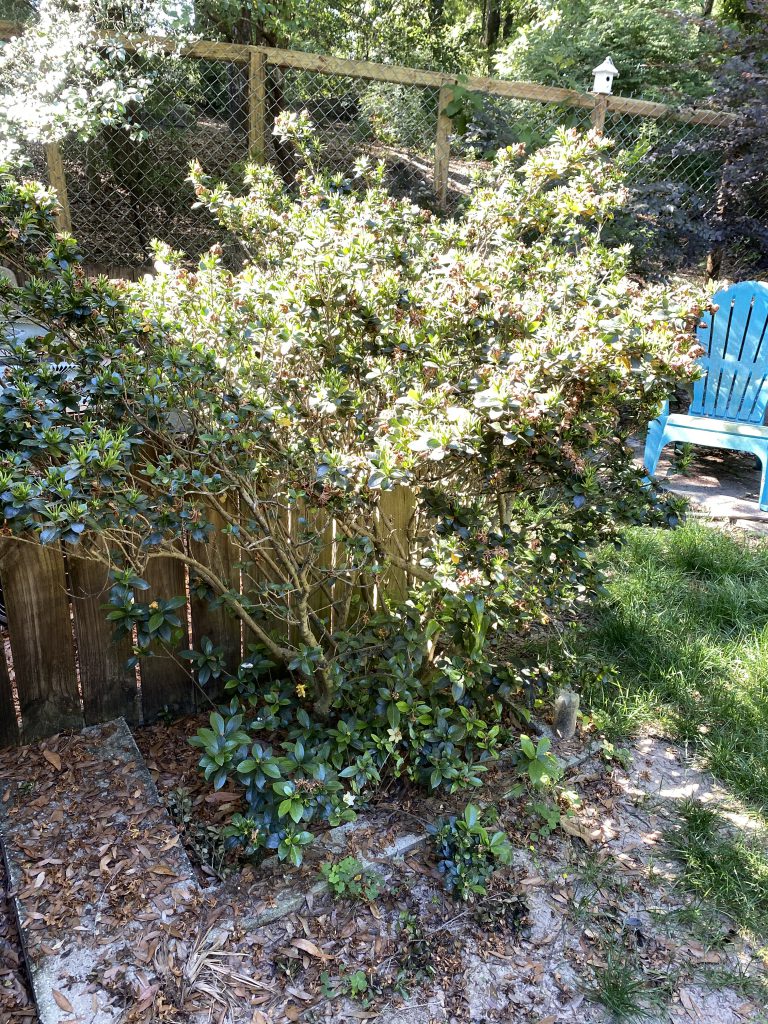
A gardenia shrub that has become a bit overgrown. Photo Credit: Matt Lollar, University of Florida/IFAS Extension – Santa Rosa County
As you can see in the photo above, this gardenia has become a bit leggy. It is important to also note the good amount of branching and new growth at the base of the plant. There are a few pruning options available for shaping shrubs such as hedging/terminal pruning, selective pruning, and renewal pruning. While a tree form gardenia can be attractive, it wasn’t desired in this situation. This particular case called for renewal pruning to improve the form of the plant. Renewal pruning is probably the easiest type of pruning, because it requires the least amount of thinking. It basically involves removing the majority of old growth.
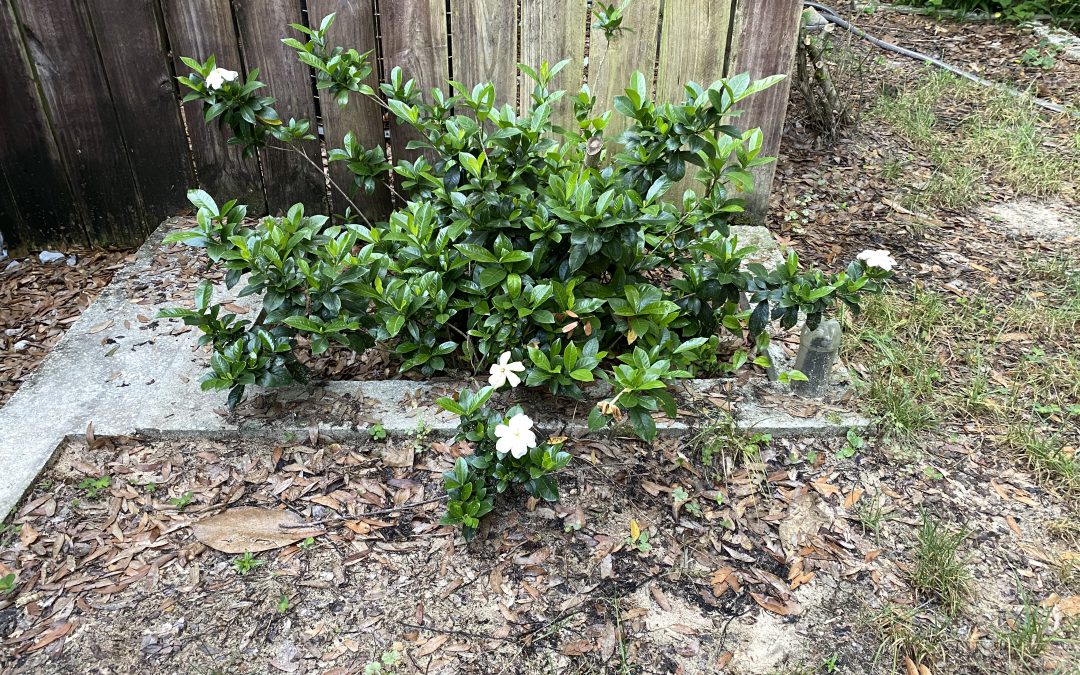
A gardenia shrub that has been renewal pruned. Photo Credit: Matt Lollar, University of Florida/IFAS Extension – Santa Rosa County
The picture above is of the same shrub that has been pruned heavily. Not only have the older, leggy branches been removed, but some of the newer growth has been removed to allow for better air circulation within the shrub. This will help reduce the incidence of disease.
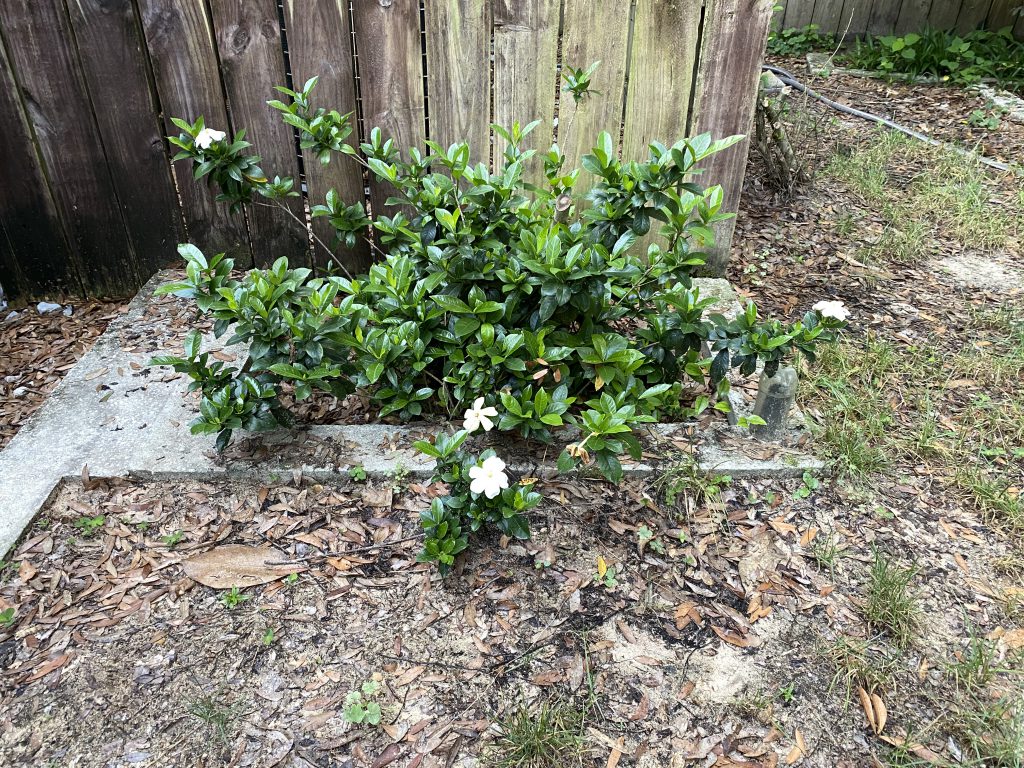
A gardenia shrub six weeks after renewal pruning. Photo Credit: Matt Lollar, University of Florida/IFAS Extension – Santa Rosa County
Six weeks after being pruned, this shrub is flowering for a second time. In a matter of short time it will be providing much needed shade for the HVAC units again. (That is..if I remember to selectively prune throughout the year.) For more information on how to prune and what to prune, please visit the UF/IFAS Gardening Solutions page on pruning.
by Matt Lollar | May 20, 2020
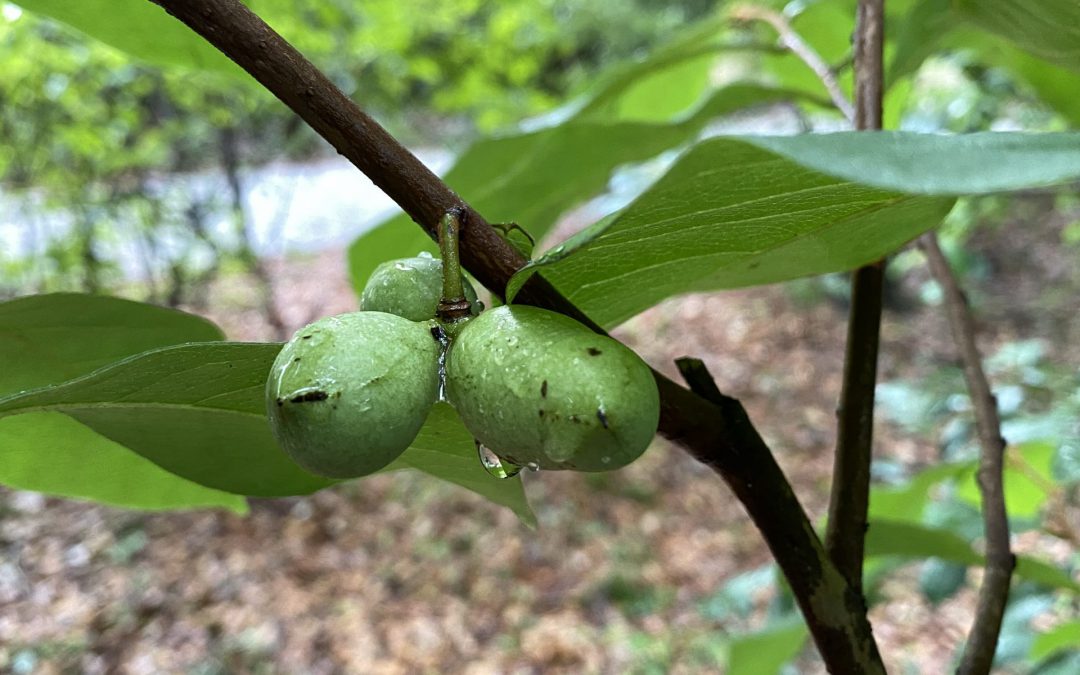
The pawpaw (Asimina triloba) is a native edible that is often overlooked and misunderstood. Not only does it produce a delicious fruit that looks like a mango and tastes like a banana, but it is also an aesthetic landscape plant. This fruit is slowly gaining popularity with younger generations and a handful of universities (Kentucky State University and the University of Missouri) are working on cultivar improvements.
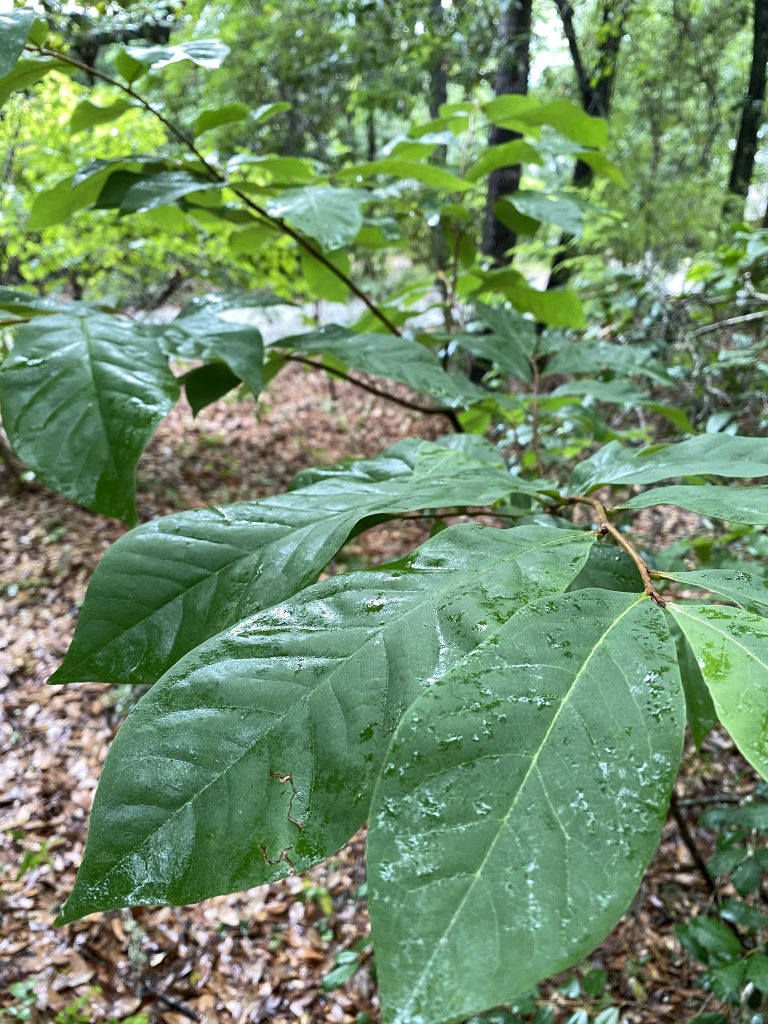
A pawpaw tree growing in the woods. Photo credit: Matt Lollar, University of Florida/IFAS Extension – Santa Rosa County
The pawpaw is native to the eastern United States (USDA Plant Hardiness Zones 5-8), however it’s closest relatives are all tropical such as the custard apple, cherimoya, and soursop. The pawpaw, along with these fruits, are known for their custard-like texture which may be a unpleasant for some consumers. Pawpaws are relatively hardy, have few insect pests, and can still produce fruit in partial shade (although they produce more fruit when grown in full sun).
Pawpaws perform best in moist, well-drained soils with a pH between 5.5 and 7.0. They are found growing wild in full to partial shade, but more fruit are produced when trees are grown in full sun. However, pawpaws need some protection from wind and adequate irrigation in orchard settings. Trees can grow to between 12 feet to 25 feet tall and should be planted at least 15 feet apart. In the Florida Panhandle, flowers bloom in early spring and fruit ripen from August to October depending on variety and weather.
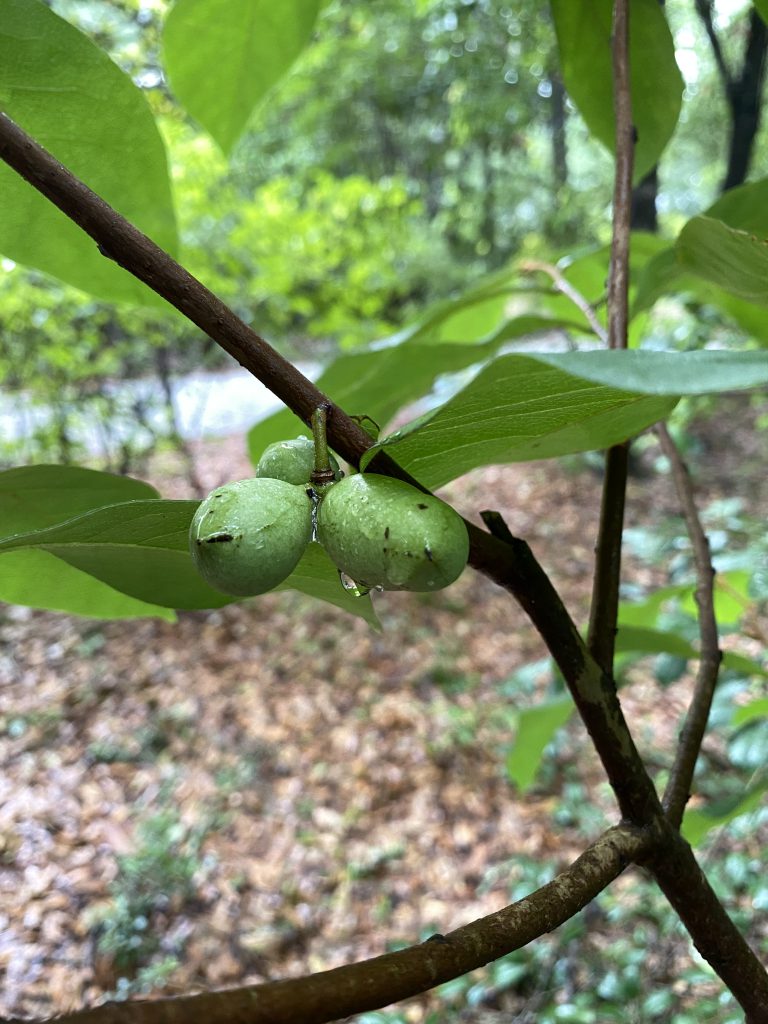
Young pawpaw fruit growing on a small tree. Photo Credit: Matt Lollar, University of Florida/IFAS Extension at Santa Rosa County
A number of improved cultivars of pawpaws have been developed that produce more fruit with more flavor than native seedlings/saplings. The University of Missouri has conducted trials on the following pawpaw cultivars: ‘Sunflower’; ‘PA Golden’; ‘Wells’; ‘NC-1’; ‘Overleese’; ‘Shenandoah’; ‘Susquehanna’; and ’10-35′. Most of these cultivars performed well in southern Missouri, however yields may differ in the Florida Panhandle. The full results of the trial can be found in the “Pawpaw – Unique Native Fruit” publication.
Pawpaws can be propagated by seed or cuttings. Unlike most fruit trees, pawpaws are usually true to seed meaning that saved seed produces a tree with similar characteristics to the parent tree. To save seeds, place fresh seeds in a bag of moist peat moss and refrigerate for 3 to 4 months before planting. To vegetatively propagate, take cuttings (pencil thin in diameter) in the winter and store in a refrigerator until early spring. Cuttings should be chip budded onto seedling rootstock during the spring. Please visit this publication from the University of Nebraska for more information on chip budding.
Pawpaw fruit are ready to harvest when they are slightly soft when gently squeezed. Fruits picked prior to being fully ripe, but after they start to soften, will ripen indoors at room temperature or in a refrigerator. Already-ripe fruit will stay fresh for a few days at room temperature or for a few weeks in the refrigerator. To enjoy pawpaw fruit throughout the year, scoop out the flesh, remove the seeds, and place the flesh in freezer bags and freeze.
Whether you want to add more native plants to your landscape or you are a rare and unusual fruit enthusiast, pawpaw may be the tree for you. They can be utilized as a focal point in the garden and provide delicious fruit for your family. For more information on pawpaw or other fruit trees, please contact your local Extension Office.


