by Matt Lollar | Apr 9, 2019
The Evidenced-Based Zoysiagrass Management Workshop is returning to Milton on April 23 at the University of Florida – Milton Campus. Attend to get updates on managing zoysiagrass and to earn CEUs. Register at: UF/IFAS Evidence-Based Zoysiagrass Workshop
by Matt Lollar | Apr 9, 2019
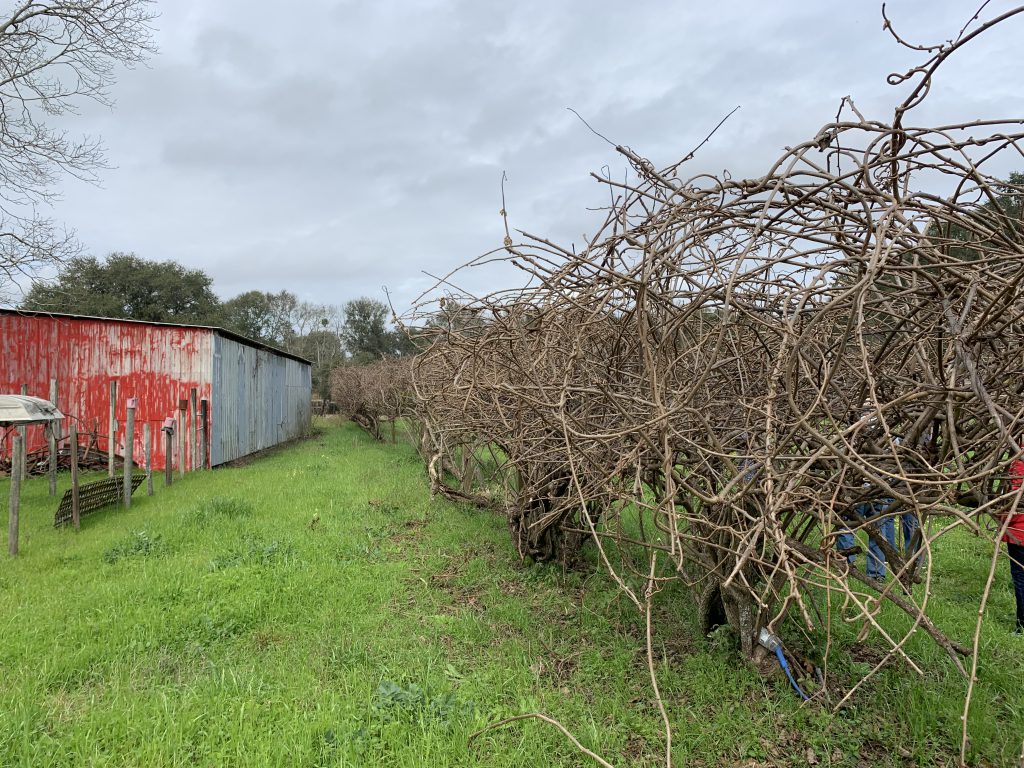
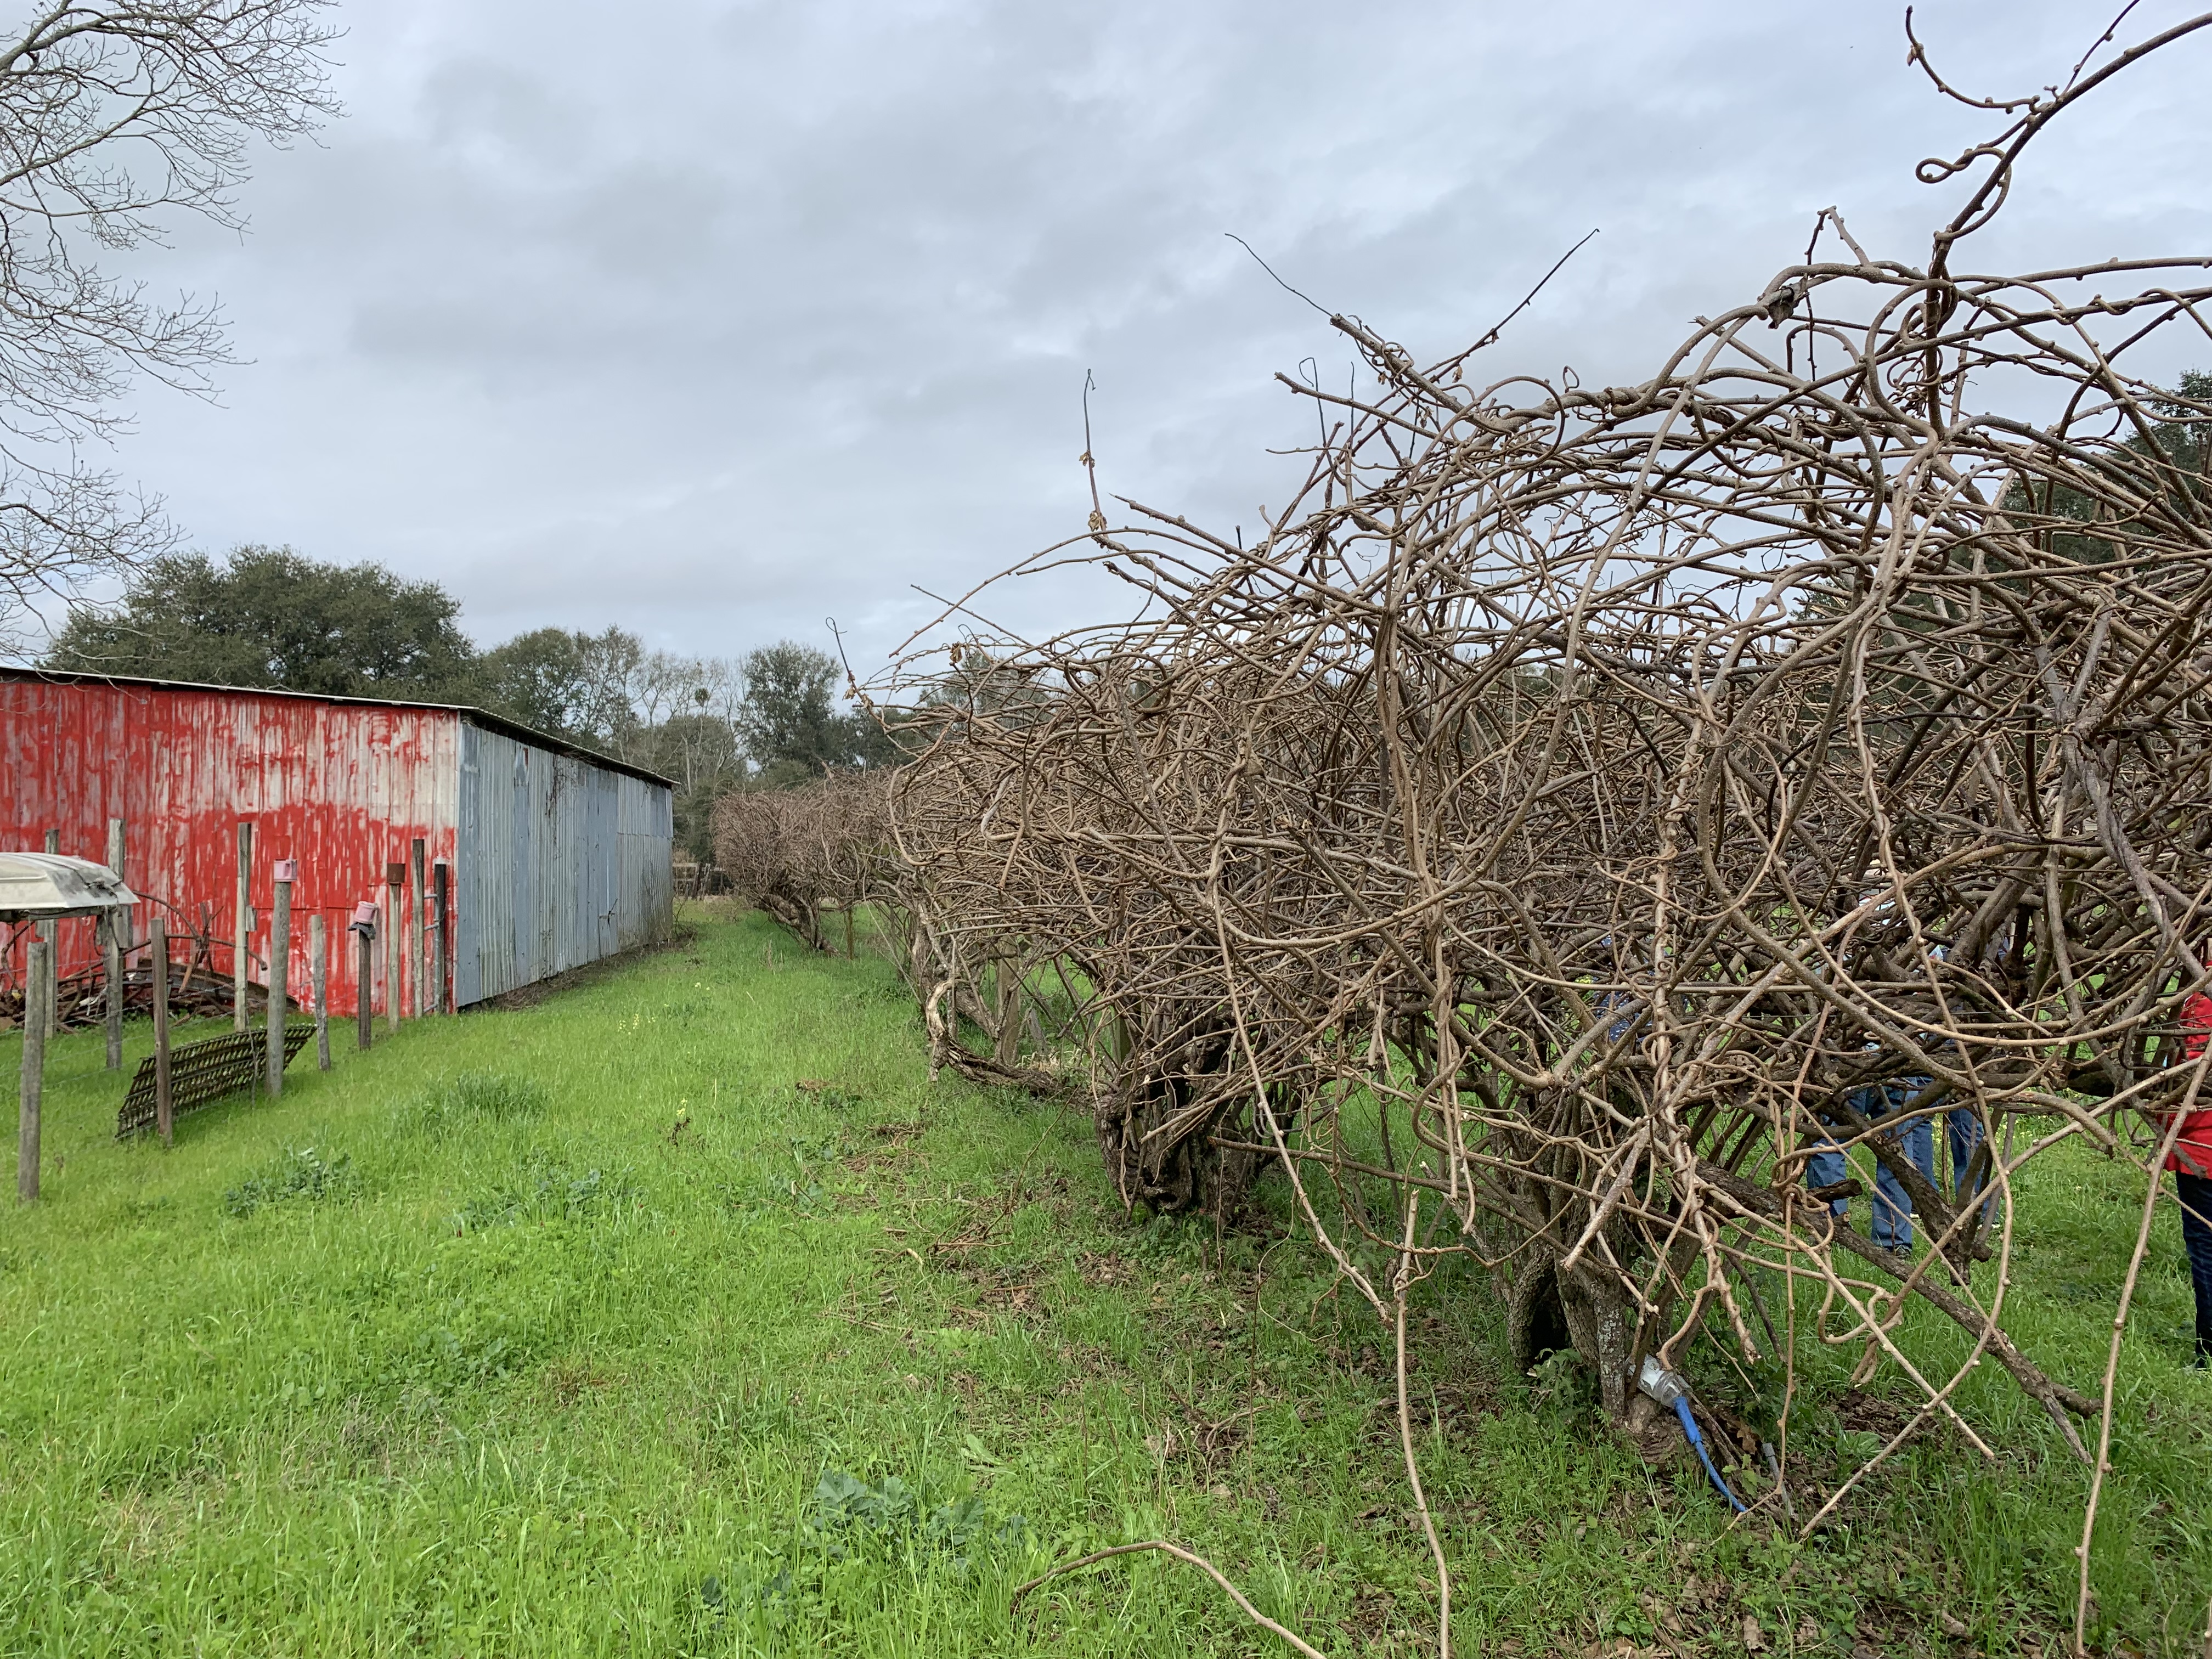
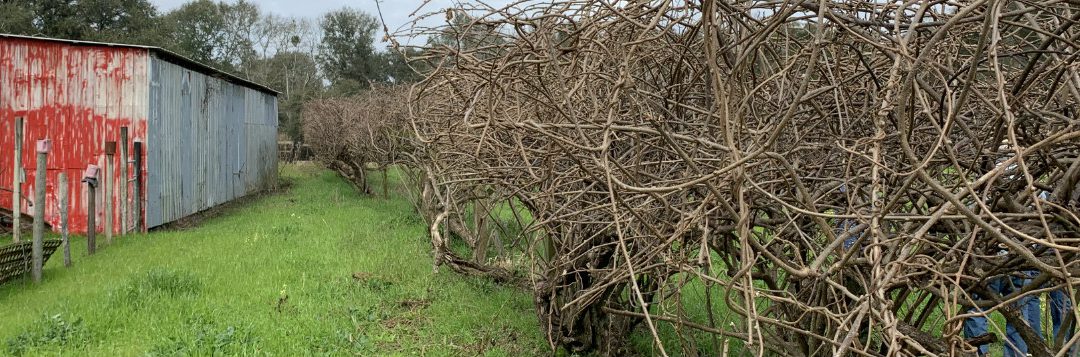
Twisted and tangled kiwifruit plants in a North Florida orchard. Photo Credit: Matt Lollar, University of Florida/IFAS Extension – Santa Rosa County
When we think of kiwis, we think of fuzzy, slightly tart, egg-shaped fruits from somewhere in the Southern Hemisphere. However, there is a species (Actinidia chinensis) of kiwi with smooth skin, sweet taste, and golden color.
Commonly available cultivars of this species are ‘AU Golden Dragon’ and ‘AU Golden Sunshine’. Most years, kiwis won’t produce much of a crop in North Florida because they won’t receive enough chill hours, but they might be fun to try for the adventurous gardener.
- Site Selection – Kiwis perform best in well-drained soils with a neutral pH (around 7.0). High winds may cause canes to break and scar fruit, so a windbreak is recommended or they can be planted near a structure.
- Irrigation – Kiwis need a lot of water during the summer. This is partly due the their large leaves that transpire rapidly because of surface area. Newly planted kiwis should be watered deeply at least once a week.
- Fertilization – Fertilize kiwis three times a year (January, April, and June). Do not apply fertilizer after the month of July to reduce the incidence of cold injury in the winter.
- Insects and Diseases – The most common insects of kiwis are mites and scales. To reduce the incidence of disease, plant kiwis at least 15 feet apart and train on a trellis.
- Training – A T-bar trellis, similar to the system used to train grape vines, or a pergola should be used to provide support for the plants. Once the plants are established (2 to 3 years after planting), about a third of the vines should be removed each year.
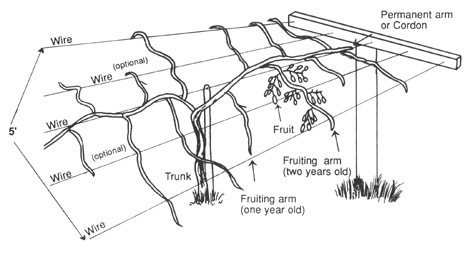
An illustration of a T-bar trellis system. University of Georgia Extension
Kiwis are wind- and insect-pollinated. Good growing conditions and insect pollination help increase fruit size. Male and female plants are required for good fruit yields. At least one male (pollen producing) plant should be planted for every four female (fruit producing) plants.
Kiwi plants will soon be planted for evaluation at the West Florida Research and Education Center in Jay, FL. Please stay tuned for future data! For more information on growing kiwis in the Southeast, please visit these webpages:
Kiwifruit Production Guide
Bringing Home the Gold – Auburn horticulture alum gets kiwifruit orchard off the ground in Reeltown
by Matt Lollar | Mar 5, 2019
Many gardeners plant a spring vegetable garden with a number of different vegetable types, which is excellent because a diverse and varied garden is proven to improve soil health. Intercropping is a gardening practice of growing different crops in the same field. When planting a mixture of crops in the same field year after year, it is important to rotate the location of each type of vegetable. This is a practice known as crop rotation. Intercropping and crop rotation will help reduce insect pest populations, increase beneficial insect populations, and reduce weed populations .
Crop Diversity
Including plants that pest insects don’t like to eat in a garden forces the pests work harder to find what they find palatable. Studies have found reduced whitefly numbers on squash plantings mixed with a crop of buckwheat when compared to squash planted alone. Another crop mixture that may be unintentional, but may be favorable, is a crapemyrtle stand along a garden’s edge. Crapemyrtles will attract the crapemyrtle aphid which will attract predatory insects. When the predatory insects run out of crapemyrtle aphids to eat, they will move to the vegetable garden and begin to hunt pest insects.
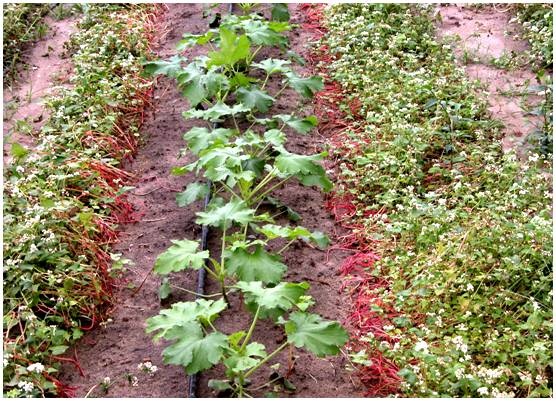
Squash with living mulch of buckwheat. Photo Credit: Oscar Liburd, UF/IFAS Extension
Trap Cropping
A trap crop is a plant that attracts a pest insect away from your food crops. Trap crops work best when planted at the garden’s edge, along a fence row, or in movable containers. A bare space, let’s say 5 feet or so, should be kept between trap crops and vegetable plantings. This will help keep the pests from moving desirable crops plants. When a large population of pests are found on the trap crop then it is time to spray them with insecticide, or cut the crop down and remove or destroy the debris. If trap crops are planted in containers, then it makes them much easier to remove from the garden when necessary.
Cover Crops and Green Manure
Soil organic matter can be increased by the use of green manure and cover crops. Cover crops are generally planted during the off-season, but they can be planted in between vegetable rows and tilled in at a designated time as a green manure. Both cover crops and green manure improve garden production by:
- Suppressing weeds by competing for water, light, and nutrients;
- Holding the soil in place and preventing erosion;
- Scavenging for nutrients that can be utilized in future crops;
- Reducing nematode populations;
- Providing a habitat for beneficial insects.
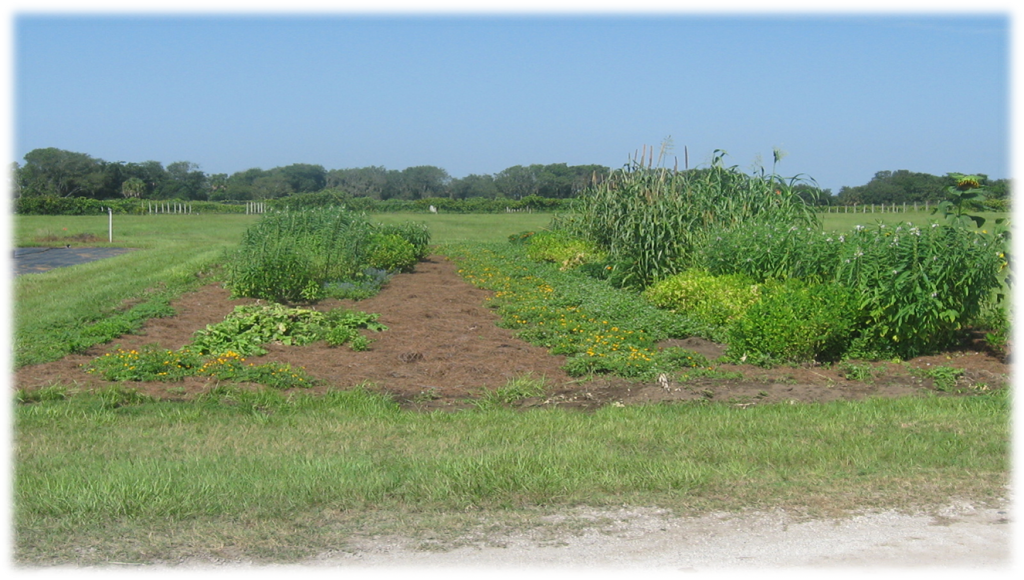
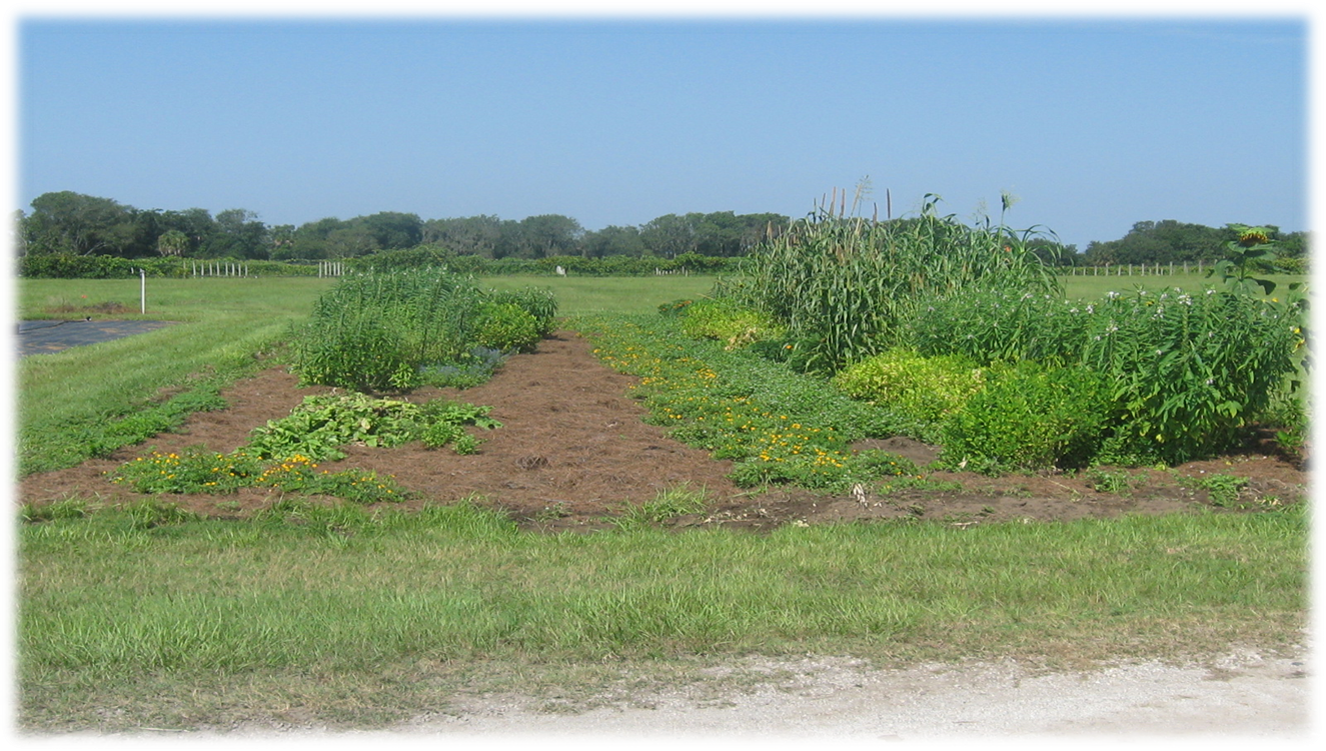
A mixed plot of cover crops and trap crops. Photo Credit: Matt Lollar, UF/IFAS Extension – Santa Rosa County
A number of different crops can serve as cover crops or green manure crops. Most are legumes (bean family) or grasses. A few that should be tried are:
- Cowpeas
- Sunn hemp
- Sorghum-sudangrass
- Winter rye
More detailed information on cover crops and green manure can be found at this link: http://edis.ifas.ufl.edu/aa217.
by Matt Lollar | Feb 5, 2019
Winter is in full swing and home grown produce is probably not the first thing that comes to mind. But it should be! It’s time again to start thinking about spring vegetable gardening. While a number of crops can be started by direct seeding in the soil, success rates are higher when plants are started indoors or in a covered structure. In order to be successful, it’s important that you follow some simple steps.
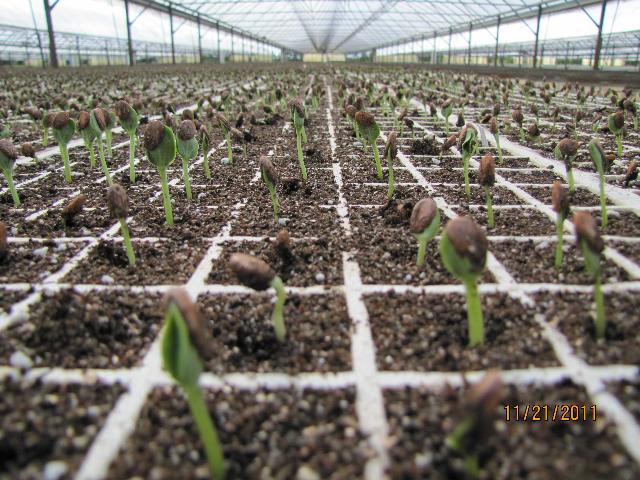
Seedless watermelons planted in a 128-cell flat. Photo Credit: Gene McAvoy, University of Florida/IFAS Extension – Hendry County
- Transplant Trays/Flats – Trays are made from different materials such as plastic, polystyrene, and compostable materials. Different cell sizes are also available. Generally, smaller cells are used for smaller seeds and larger cells are used for larger seeds. It’s important to think of the life cycle of the crop. For example, lettuce and other leafy greens have much shorter life cycles compared to tomatoes. Because of this, they have smaller root systems at transplant time and may not develop a good rootball in a large cell. Therefore, lettuce would perform better in a smaller cell.
- Media – It’s important that you choose a germination mix instead of a potting mix. Definitely don’t use garden soil! Germination mixes are typically a combination of finely ground peat, perlite, and other soiless substrates.
- Seed – Purchase seed from a reputable source with a germination guarantee. If you save seeds for future gardening, then store them in a cool, dry place. Seed can be stored in the refrigerator. However, do expect the germination rate of stored seeds to diminish over time. Coated seed is recommended for smaller seeds to make seeding easier and more efficient. Seeds should be planted in media at a depth of approximately 3 times the diameter of the seed. Check the seed package for additional planting recommendations. For more germination and storage information please see this publication from the University of Nebraska.
- Fertilizer – Too much fertilizer can result in leggy and possibly burned plants. A 20-10-10 (or similar ratio N-P-K) water-soluble product is generally used in commercial production. Rates are dependent on crop, sunlight, and temperature. The media should be kept moist, but not continually wet.

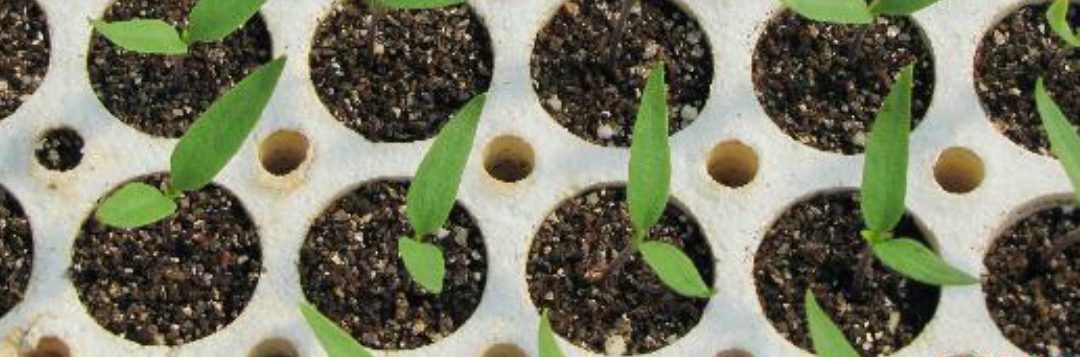
Well-grown kale transplants ready for field planting. Photo Credit: Gene McAvoy, University of Florida/IFAS Extension – Hendry County
Seeds can take up to 14 days to germinate depending on species and conditions. Most transplants are ready for the garden by 6 to 8 weeks. To improve success rate and accelerate production time, most farmers harden off their transplants before planting. Hardening off is the process of stressing the transplants for about a week. Generally, transplant trays are taken out of the greenhouse (or other transplant area such as a window sill) and set outside. Watering frequency is reduced and fertilization is halted. It’s important that the plants aren’t completely neglected, but just stressed enough to prepare them for the elements. A good place to put the trays is under a tree in partial shade. After this hardening off period, the transplants are ready for your garden. Hopefully these tips will make you a more successful gardener!
by Matt Lollar | Dec 17, 2018
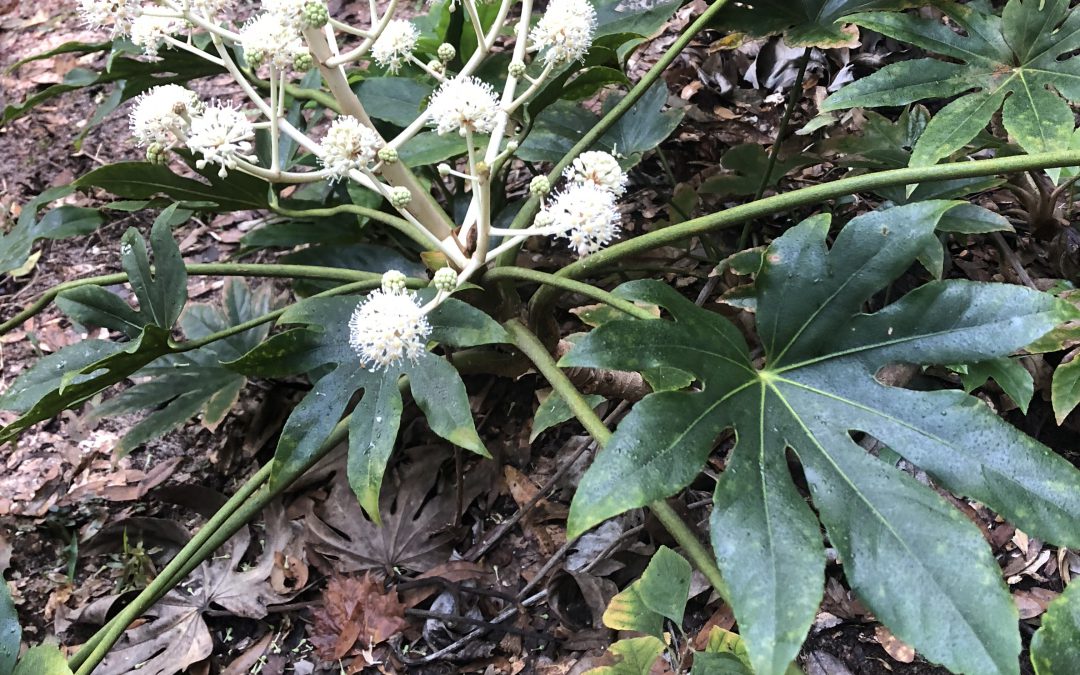
Fatsia japonica, common name Japanese aralia, provides tropical texture to your landscape. That coarse texture is attributed to its large (nearly a foot wide) leaves that are deeply lobed (maple leaf shaped). This shade-loving plant performs well in moist (not soggy) locations. Upright stems originate near ground level usually near the base of older stems. The stems grow to about eight feet tall before bending toward the ground under their own weight.
Even though the foliage of this species is enough to make you want it in your own garden, you will absolutely fall in love with its blooms. Upright clusters of showy, creamy white flowers begin to appear in fall. These little snowballs provide wonderful color to your garden. The shiny, black fruits appear in winter and are prominent for several weeks. The fruit are know to attract birds to the landscape.
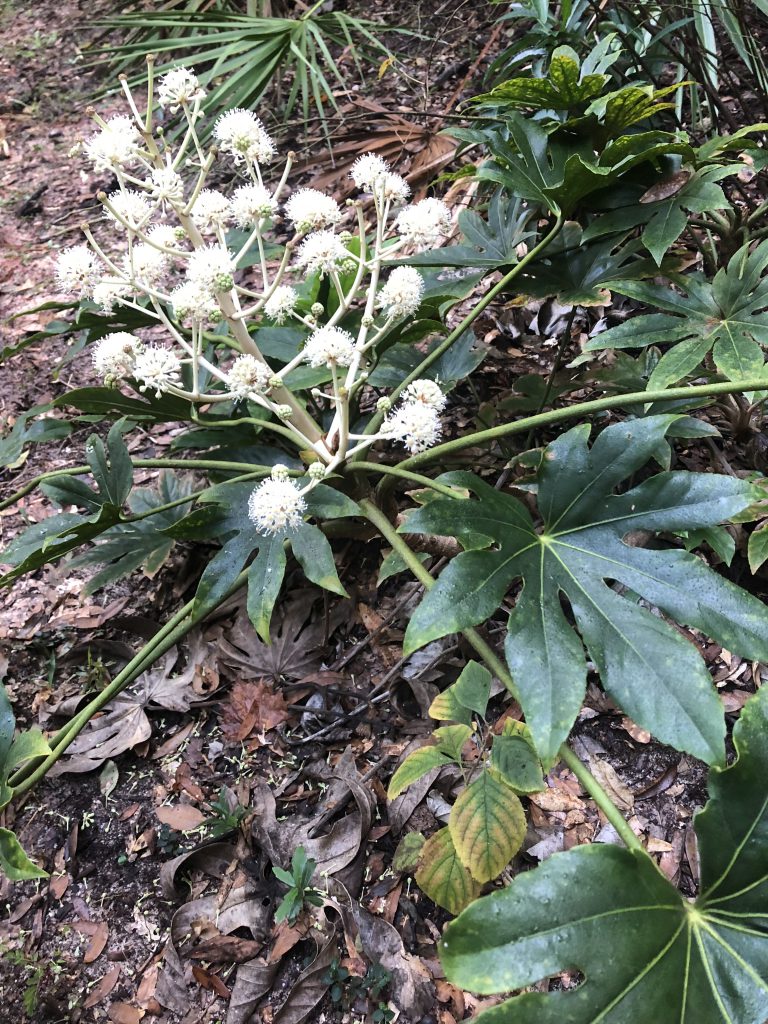
A Fatsia japonica specimen in full bloom. Photo Credit: Matt Lollar, University of Florida/IFAS Extension
Fatsia japonica thrives in the shade in slightly acidic, nutrient-rich, moist soil. Older stems become leggy and can be cut back to encourage branching. In the right place, Fatsia japonica is low-maintenance and not typically bothered by pests. It is also known to perform well in coastal landscapes. It fits well in entryways, in containers, or in mass plantings spaced three feet apart.