by Julie McConnell | Nov 22, 2016
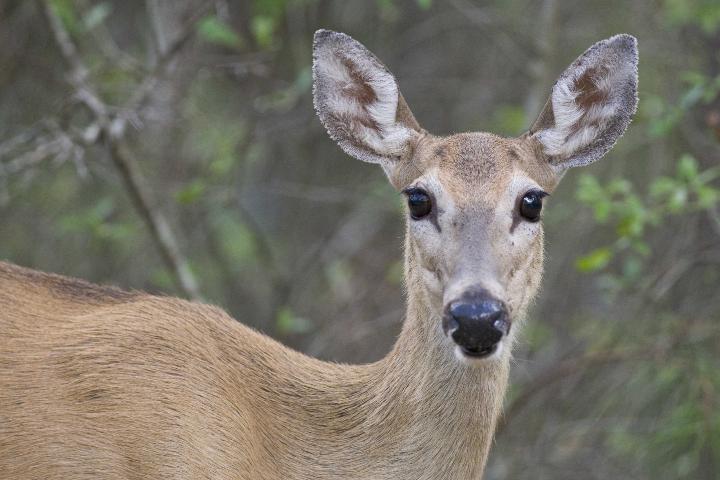
 Missing rose buds, pulled up pansies, and damaged tree trunks are all signs that something has been visiting your garden while you are away. But what could it be? Most gardeners are familiar with leaf spots caused by fungal diseases or minor feeding damage by insects, but to see half a shrub or an entire flower bed demolished overnight indicates a different type of pest.
There are several mammals that visit home landscapes and may cause damage, especially in times of drought when natural food sources are limited. Because we provide water for our landscapes, our plants tend to have lush new growth at times when plants in natural areas have slowed growth because of a lack of water or other stressors that managed gardens do not face. So, it’s no surprise that herbivores will be attracted to our landscape for a midnight snack.
It is important to determine what is causing damage so that you can employ protective tactics if possible. Some things to look for to try to figure out who the culprit is are footprints, dropping, feeding clues (bite marks, scrapes, etc.), or other distinctive damage. For more details about how to tell the difference between damage caused by multiple pests see How To Identify the Wildlife Species Responsible for Damage in Your Yard.
Once you have determined what is causing the damage you can try some different strategies to deter future feeding. Some plants may be impossible to protect, but before you spend your money and time check out these recommendations by wildlife specialists at the University of Florida in How to Use Deterrents to Stop Damage Caused by Nuisance Wildlife in Your Yard
by Molly Jameson | Sep 16, 2016
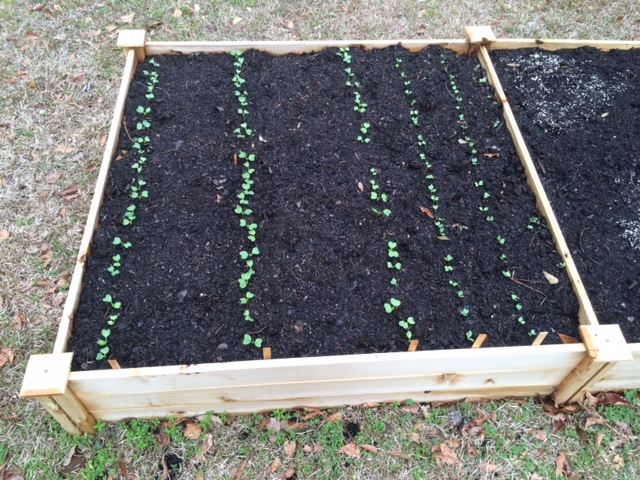
Direct seed root crops and many leafy greens, such as arugula and spinach. Photo by Molly Jameson.
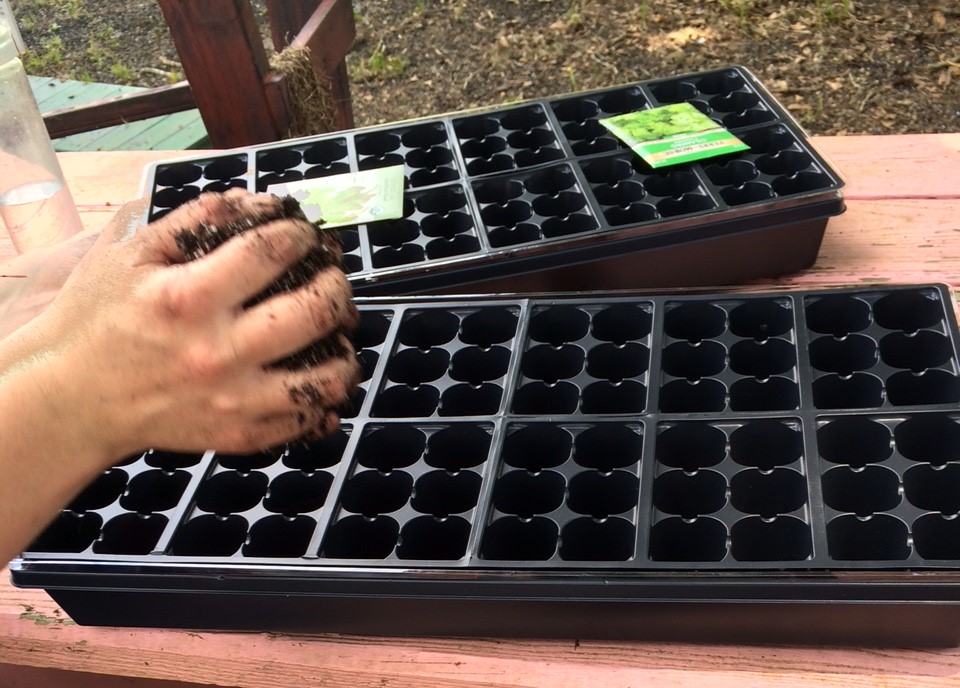
Fall is fast approaching, and that means my favorite season for gardening has arrived! September is the month we get to start all of our fall favorites. For me, this means starting lettuce, kale, broccoli, and collards by seed in flats indoors. I use full-spectrum fluorescent bulbs, which mimics natural sunlight. In a couple of weeks, I will direct seed arugula, carrots, mustards, spinach, Swiss chard, and turnips into my raised beds.
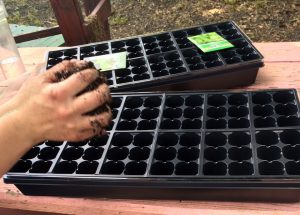
Seed brassicas and lettuce into flats. Photo by Molly Jameson.
But before I get started direct seeding, I will first need to do some garden cleanup. Sadly, this means I will need to say goodbye to my basil and okra, which are still hanging on despite the heat (and despite the hurricane!). Then it will be time to add a fresh layer of compost. Additionally, I will be adding worm castings, which I have been creating for my fall garden in my home worm bin all summer. There is no better feeling then growing brassicas and lettuce from seed, digging small holes, adding homemade fresh worm castings to each, and planting the eager seedlings.
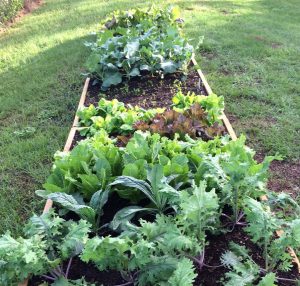
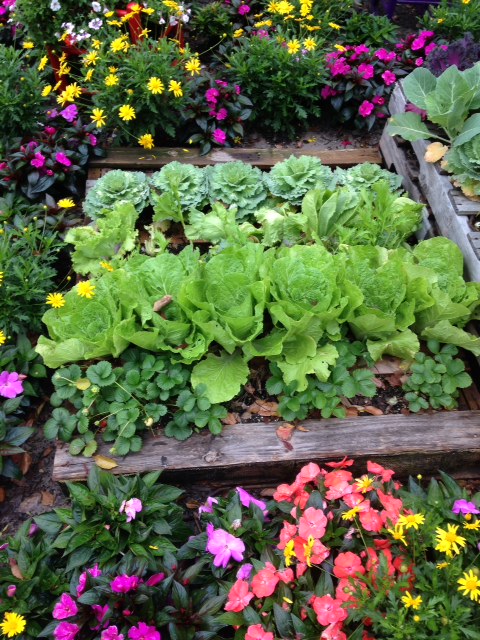
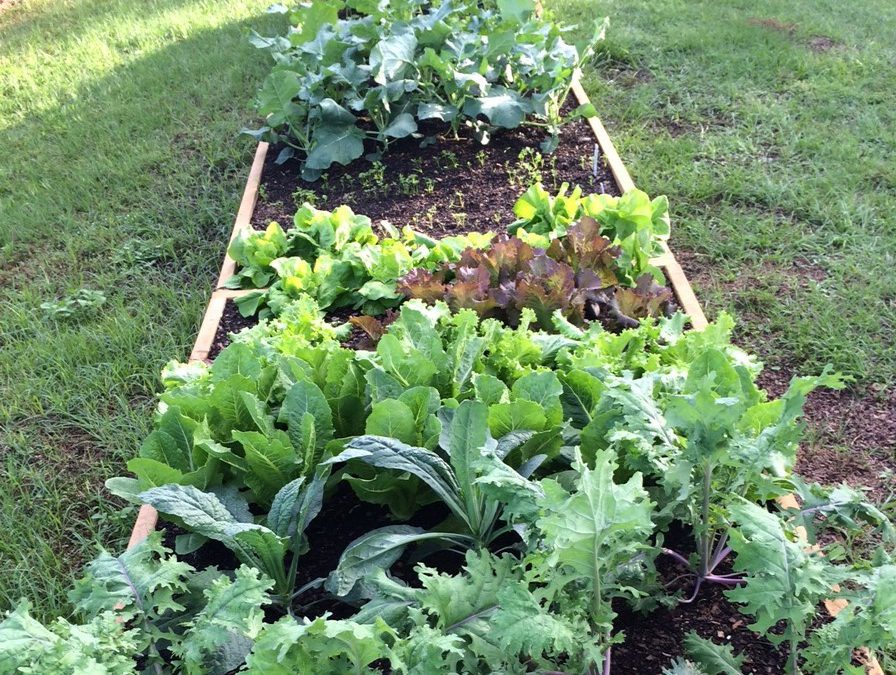
Grow a variety of greens for the fall season. Photo by Molly Jameson.
Fall is a wonderful time to garden in zone 8b – generally less pest pressure and a chance to plant hardy leafy greens that can be harvested all the way into spring. Of course, I always keep frost cloth around, in case temperatures dip below freezing for extended periods of time. In which case I will be sure to carefully cover my lettuce and Swiss chard, making sure the cloth is well secured.
I love my tomatoes, peppers, beans, and squash, but they usually involve staking and the ever imminent threat of caterpillars and intense heat. In the fall, most crops hold themselves off the ground, and I certainly cannot wait to pull on a jacket in the crisp early morning, come out to harvest kale and spinach leaves, and add them to my breakfast smoothie and veggie omelet.
For more information:
Florida Vegetable Gardening Guide
by Mark Tancig | Jul 5, 2016

When you don’t know what’s ailing your plant, ask an expert.
Many gardeners get stumped when a favorite plant of theirs comes down with a strange “something”. Many of these gardeners know about UF/IFAS Extension and call their local horticulture and agriculture agents for assistance in figuring out what’s going on. However, even these experts are often stumped by what they see. Fortunately, the agents have another layer of experts to fall back on. In addition to the resources in Gainesville, we have the Plant Disease Diagnostic Clinic, located at the North Florida Research Center in Quincy. Plant pathologists here can help determine what fungus, bacteria, virus, or viroid may be the problem.
Plant pathologists are basically plant doctors. They use all sorts of sophisticated techniques to determine what is the cause of a particular plant problem, from growing out fungal spores to examining DNA. Not only do these plant doctors tell us what the ailment is, they also provide recommended cures, or control options. They are also doing research to prevent different diseases from taking hold in our area and reduce the impact on our local growers.

Plant pathologist at work!
At a recent workshop in Quincy, we learned that plant pathology researchers are working on a fungus that affects watermelons, virus and bacteria that can wipe out a farmer’s tomato crop, and a virus that could impact our local roses. Working as a team of scientists, they study these pathogens in the lab and conduct controlled field experiments to figure out which techniques are most effective. Some of this research is leading to different methods and/or products that can help growers and gardeners alike keep their fields and landscapes healthy.
So, if your plants have problems, please contact your local Extension Office. If they don’t know the answer, then the network of scientists, including plant pathologists, in the UF/IFAS Extension family can be called on for backup to provide you with the best possible answer.
by Julie McConnell | Nov 24, 2015
 You may have heard “group plants with similar needs together” but struggled to come up with some combinations that work. The most important things to consider when creating functional garden space is the cultural needs of the plants you want to combine. Sunlight, water, and fertilizer needs should be very similar when planting multiple plants together. For fall and winter gardens, choose annuals that are frost tolerant and/or evergreen perennials.
Here are some plants that work well together in cool weather:
- Strawberries and romaine lettuce – both are cool season annuals that can be planted in late October or early November. The lettuce can be harvested from outside leaves after growth begins or let it form a head and cut the entire plant. Strawberries will spread out but remain fairly low growing compared to the upright lettuce. These plants combine well in a container if given room to expand.
- Rosemary and oregano – these culinary herbs thrive in sunny, well-drained spots. Rosemary is an upright woody perennial and oregano spreads along the ground making a fragrant groundcover for a tough spot.
- Snapdragons, pansies, and parsley – this combination gives foliage contrasts in addition to colorful flowers. This combination will work in full sun or a slightly shaded spot in th
 e garden. In the spring, replace the snapdragons and pansies for warm season annuals for continued color.
- Cabbage, cauliflower, and strawberries – all cool season edible crops that have attractive foliage and similar needs.
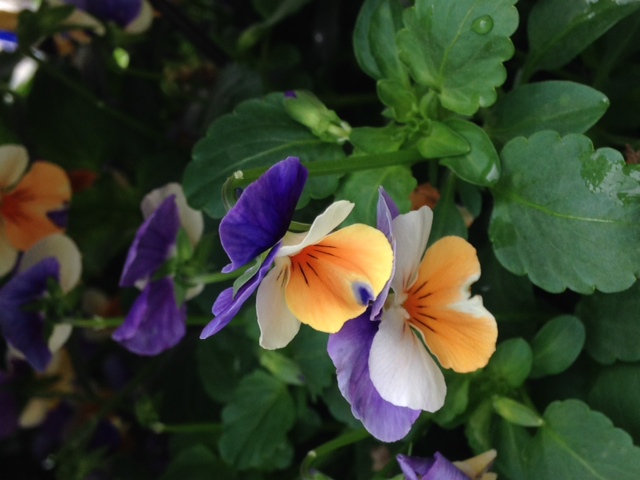
- Snapdragons, violas, and petunia – this colorful combination has three height levels of tall snaps, bunching violas, and trailing petunias.
To learn more about these plants and other options Growing Strawberries in the Florida Home Garden, Herbs in the Florida Garden, and Gardening with Annuals in Florida.

by Mary Salinas | Sep 24, 2015
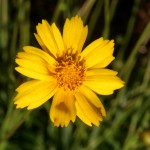
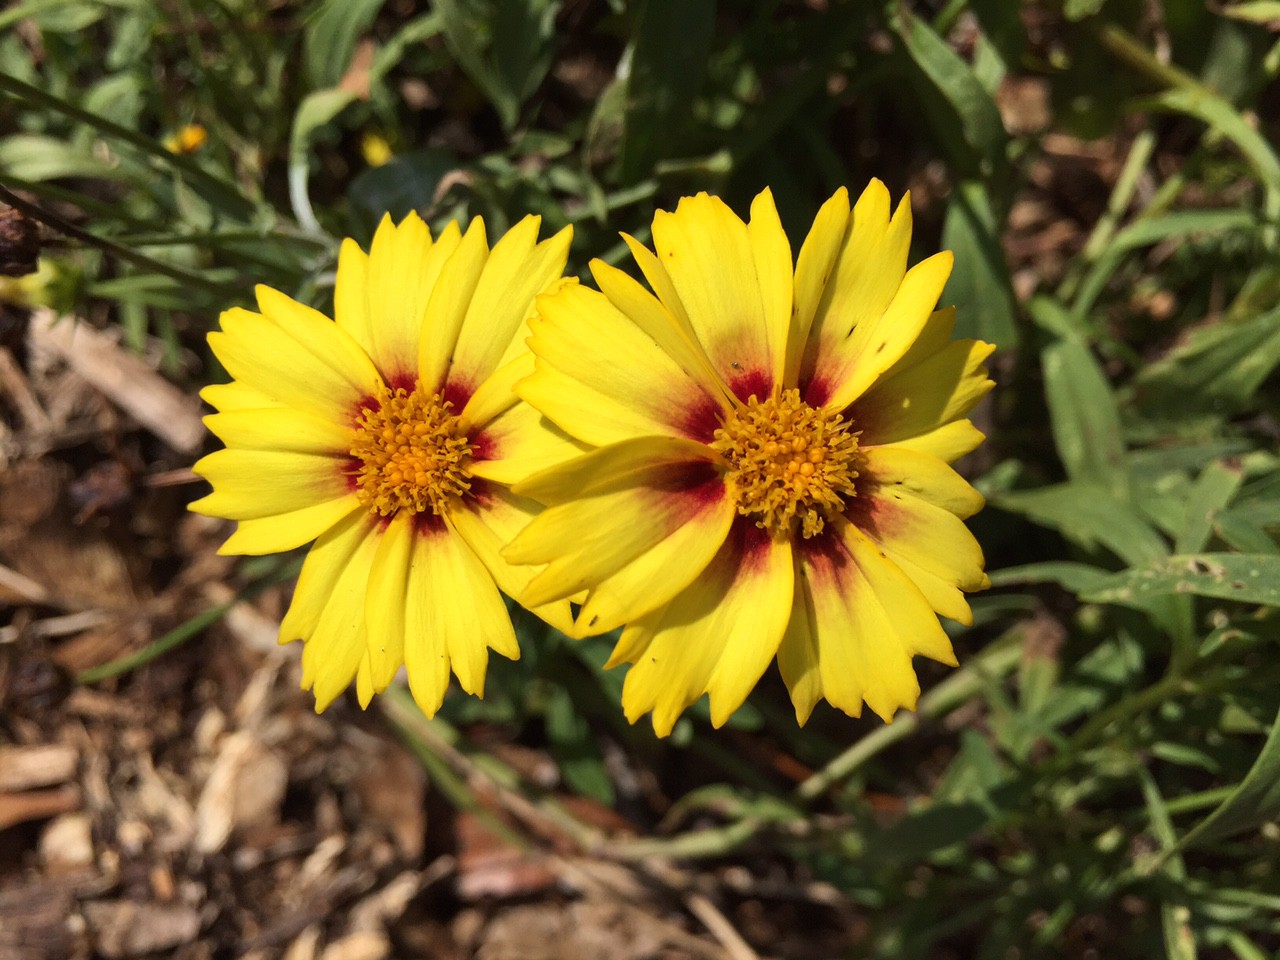
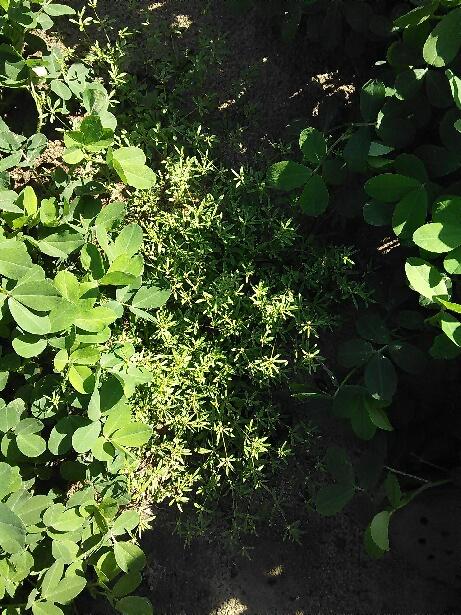
Native Lanceleaf Coreopsis. UF/IFAS Photo: Thomas Wright.
In our demonstration garden we are enjoying the small but vibrant blooms of our state wildflower Coreopsis, also commonly known as tickseed. After many years of its use in the Florida highways beautification program, Coreopsis was adopted as Florida’s official state wildflower in 1991.
Florida can boast of 16 different species of Coreopsis that occur in the state with most blooming in the spring but some species blooming in the summer to later in the fall. Some of those species are rare, endangered or only found in very limited areas of the state, while others are quite common throughout the state.
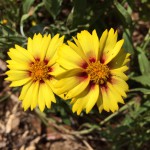
Photo credit: Mary Derrick, UF/IFAS.
Many lovely new cultivars have been introduced for our enjoyment by plant breeders through cross-breeding and selection. Some you can see in the accompanying photographs in this article.
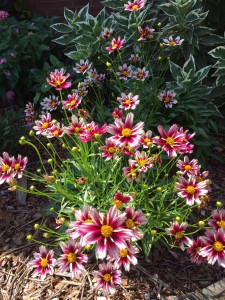
Photo credit: Mary Derrick, UF/IFAS.
Coreopsis is an annual or short-lived perennial that makes a great addition to your garden beds. And the bees and butterflies will enjoy them! The numerous flowers readily produce seed for naturalizing in the landscape. Plant them in a sunny spot in the landscape in evenly watered but well-drained soil. Removing the dead blooms will encourage plants to prolong their blooming; you can also save the seed for replanting in new areas of your landscape.
For more information:
History of Coreopsis as Florida State Wildflower
Gardening Solutions: Coreopsis
Florida Wildflower Foundation
by Mary Salinas | Sep 9, 2015
You’ve grown some wonderful vegetables, annuals or perennials and you would like to save some of the seed from those plants to have for planting in the future. This is a great way to get more of the plants you know and love while saving on the expense of new plants. One exception are plants that are F1 hybrids; seeds from these plants will produce crops quite dissimilar to the parent.
First, you need to collect ripe seed from the desired plants. How do you know when the seeds are ripe and ready to harvest? The strategies for annuals/perennials and vegetable plants differ.

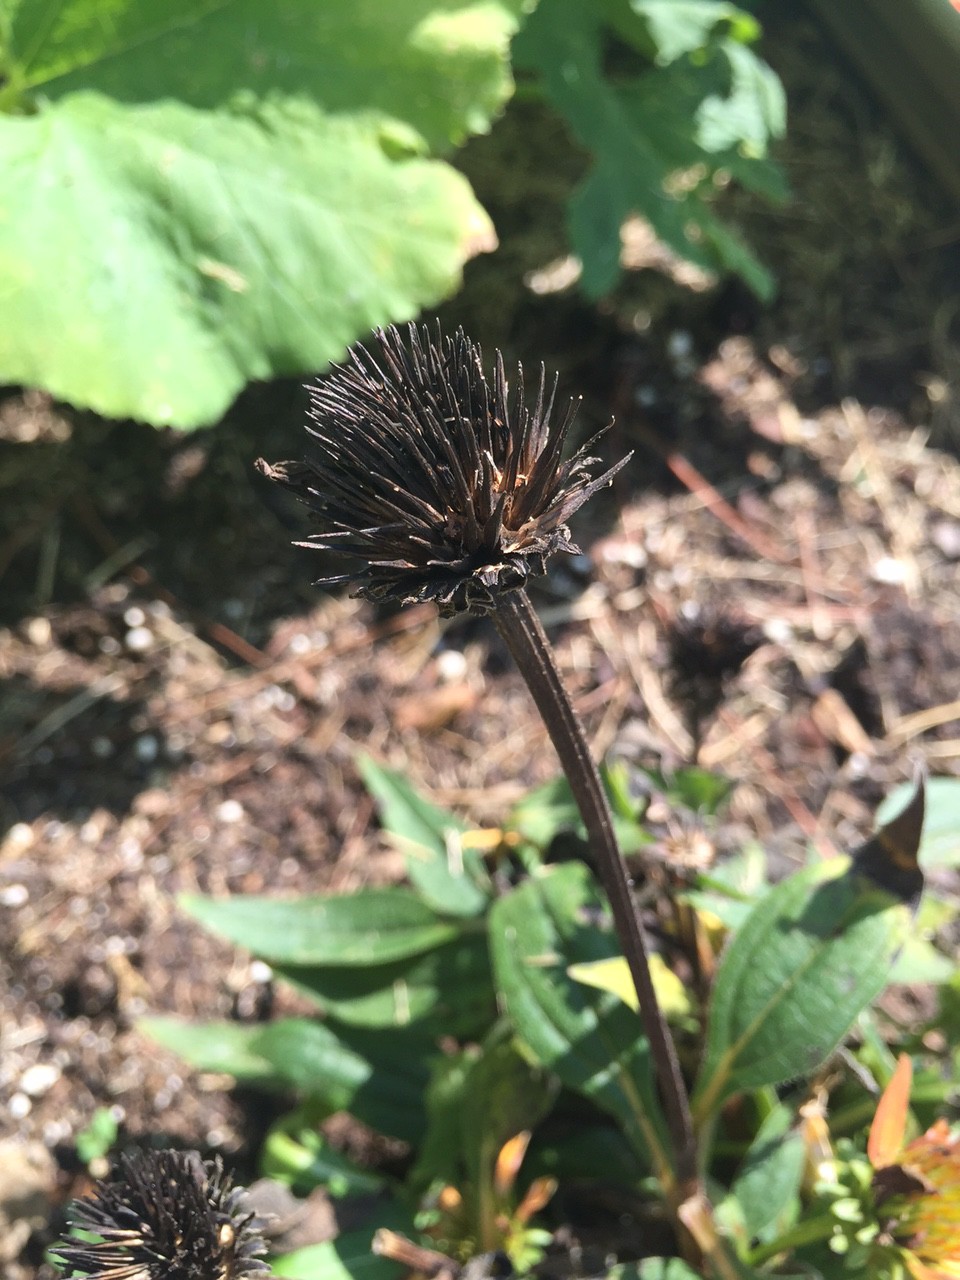
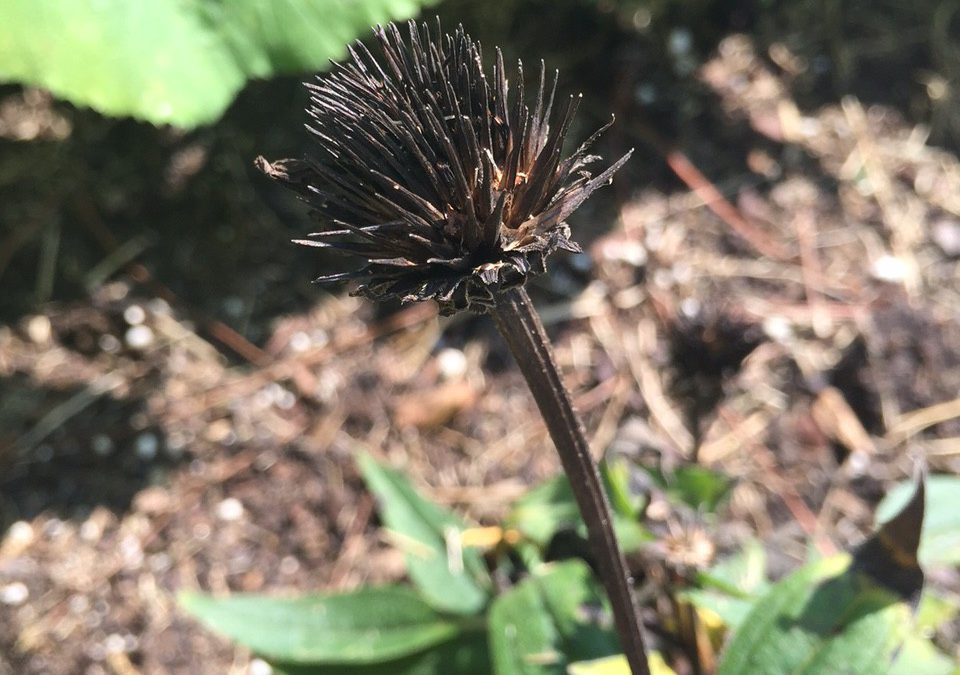
The ripe seedhead of a coneflower. Photo credit: Mary Derrick, UF/IFAS Extension.
For annuals and perennials that flower without making a fruit, wait until the flower has dried up and the seed head is brown and dead-looking. The seeds are then mature and ready to harvest. Take a look at the photo of the coneflower seedhead for reference. These seeds are already dry and can be put into an envelope and then into a sealed jar or plastic stage bag that contains a desiccant to absorb any excess moisture. There are a few options for desiccants: the little packets that come in vitamin bottles and purses to keep them dry, cornmeal or dried milk in bottom of the bag. Be sure to label your envelope with the date and name of your plant seeds. Store in the refrigerator.
When you are saving seed from a vegetable that has seeds inside it such as a tomato, pepper or squash, harvest the vegetable when it is ripe and ready to eat and scoop out the seeds and wash away all other plant parts from the seed. These seeds are very moist and if stored in this state, they will rot into a mess. You want to get the moisture content below about 8% for long term storage. There are several methods:
- If the humidity is low and the temperature high, (I know, those can be rare conditions for Florida) you can put the seeds in a single layer on a baking sheet in the shade to let them dry all day.
- Another option is to take that baking sheet with a single layer of seeds and put it in a 100° oven for 6 hours with the door open. It’s crucial to monitor your oven temperatures as those above 100° will kill the seeds.
Once the seeds are dried sufficiently, store them as described above for flower seeds. Your seeds can then last for several years.
For more information:
Seed Saving from Colorado State Extension
Saving Vegetable Seeds from University of Minnesota Extension