by Blake Thaxton | Oct 14, 2015

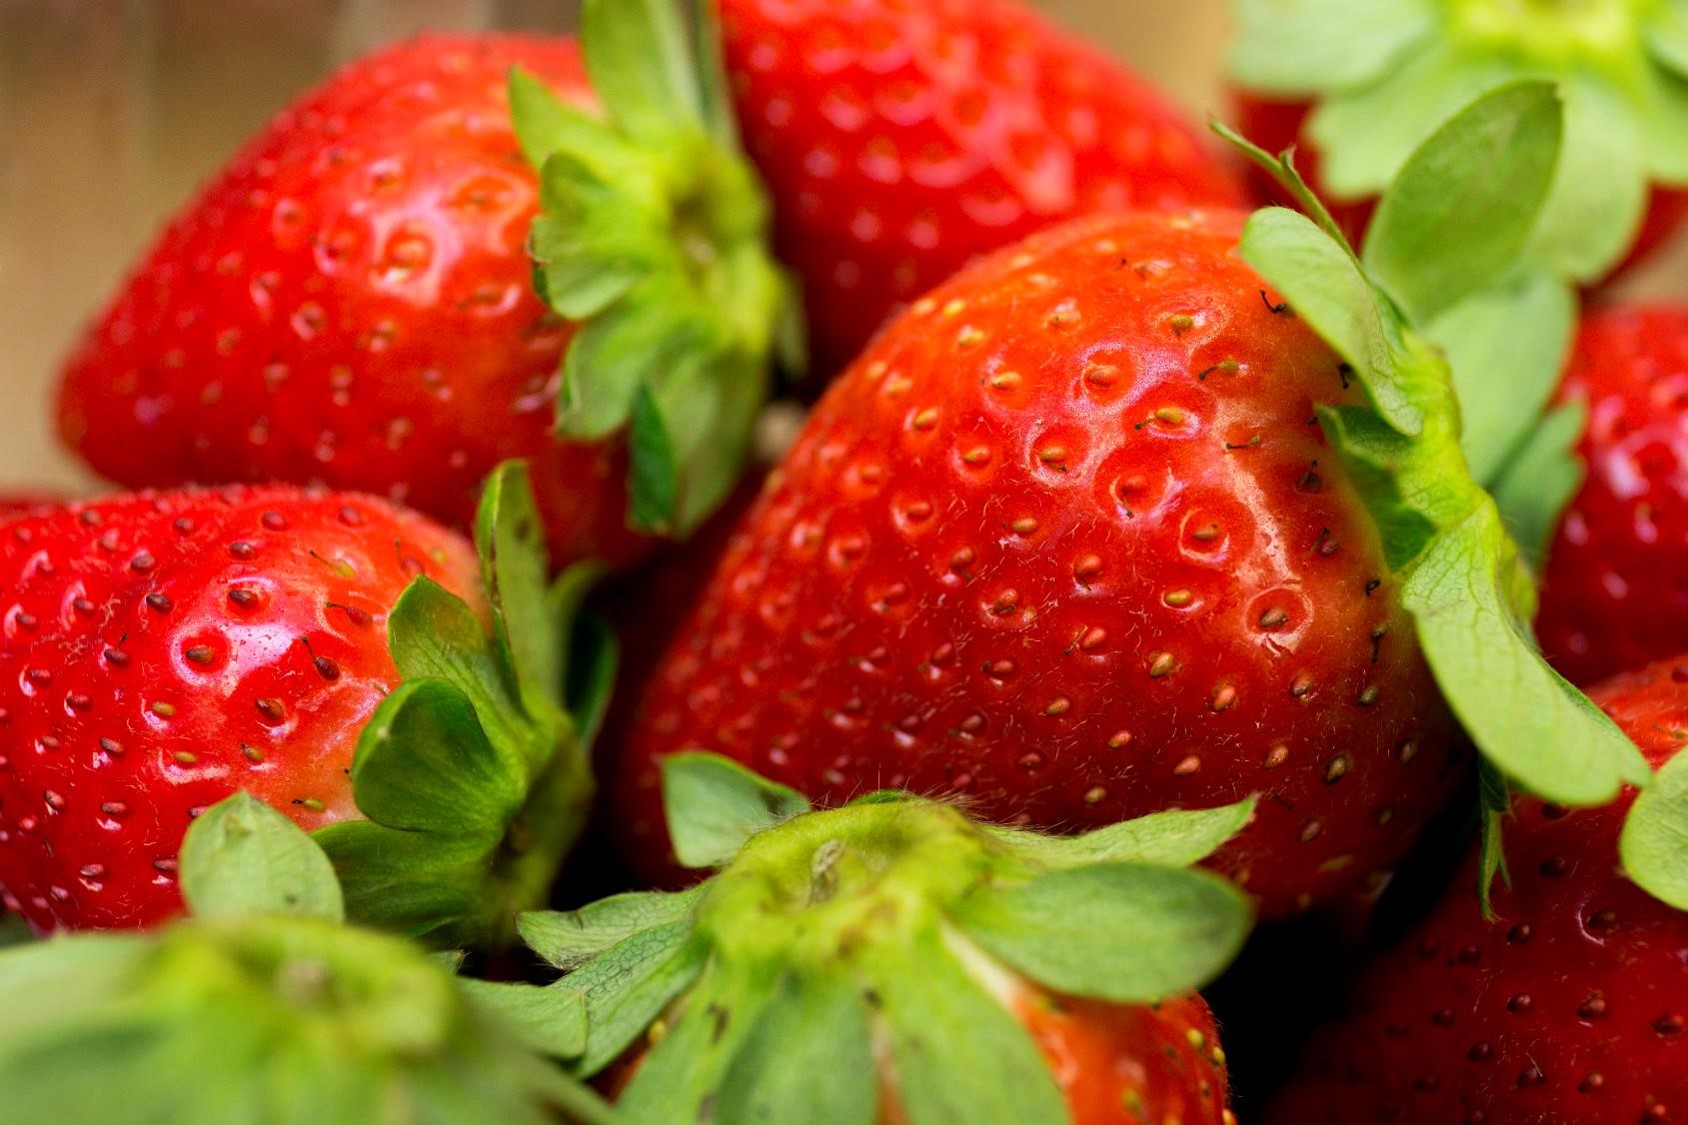
Photo Credit: UF/IFAS
It’s time to bed up some earth and plant strawberries! That right! Fall is the proper time to set out strawberry plants for a spring harvest. It is a common misconception that strawberries should be planted in the spring in the home garden. If planted in spring, such poor timing will result in a very reduced delicious strawberry harvest. Plant in the fall to ensure a tasty treat from your garden come spring time.
Strawberries do well on soil beds built to as tall as 10 inches and 20 inches wide. Two rows 12 inches apart can be planted on each bed. The plants should be spaced 12 inches within the row. Prepare your soil in you garden where it receives adequate sunlight, eight hours of direct sunlight is best. Two pounds to 10-5-10 can be mixed into the soil bed for every 10 foot of bed. It is even better to take a soil sample for analysis to know exactly what your garden needs to produce the best strawberry crop possible. Contact your local UF/IFAS extension office for more information on soil analysis.
Once a bed has been formed and you are ready to set plants it is important to have a plan for irrigation. The type of strawberry you plant will help you come up with the correct plan.
For freshly dug bare-root strawberry plants:
- Water with overhead irrigation frequently during the hottest parts of the day (10am-5pm) to ensure the plants to not wither and die. This will need to be done for one to two weeks until the plants are established.
For plug or containerized transplants:
- Very little overhead irrigation will be required as the root system is intact and functioning at the time of planting. Be sure to keep the soil moist for adequate establishment of this kind of strawberry plant.
For more information regarding growing strawberries in Florida visit solutionsforyoulife.ufl.edu or contact your local extension office.

by Julie McConnell | Sep 3, 2015
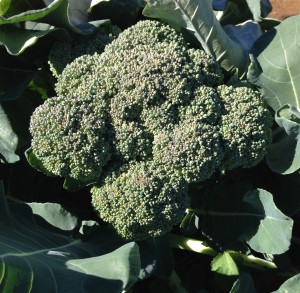
Broccoli, a popular winter vegetable. Photo by Mary Derrick, UF IFAS
As the days get shorter and temperatures decrease, it is time install your cool season vegetable garden. Many vegetables can be grown in Florida, but it is important to understand what the climatic requirements are for each crop to have the most success.
To get the most of your garden space know the recommended months for planting and the turnaround time for harvest so that you can stagger plantings or change out crops as needed.
September is the ideal time to plant cabbage, beets, kale, lettuce, mustard greens, onions, and radishes. After the New Year some options include eggplant, potatoes, English peas, and turnips.
Many gardeners start their tomatoes and peppers as early as February, but they are frost sensitive and early planting carries some risk of cold damage.
If you are interested in learning more about fall vegetable gardening, join the UF/IFAS Bay County Master Gardeners on Friday, September 18th for a free vegetable gardening workshop. This class will be held at the Bay County Extension Office at 2728 E. 14th Street in Panama City. To register please call 850-784-6105 or email bay@ifas.ufl.edu. Fall-VegMG2015
For more information and a full chart of what to plant when see Florida Vegetable Gardening Guide.
by Roy Carter | Aug 10, 2015
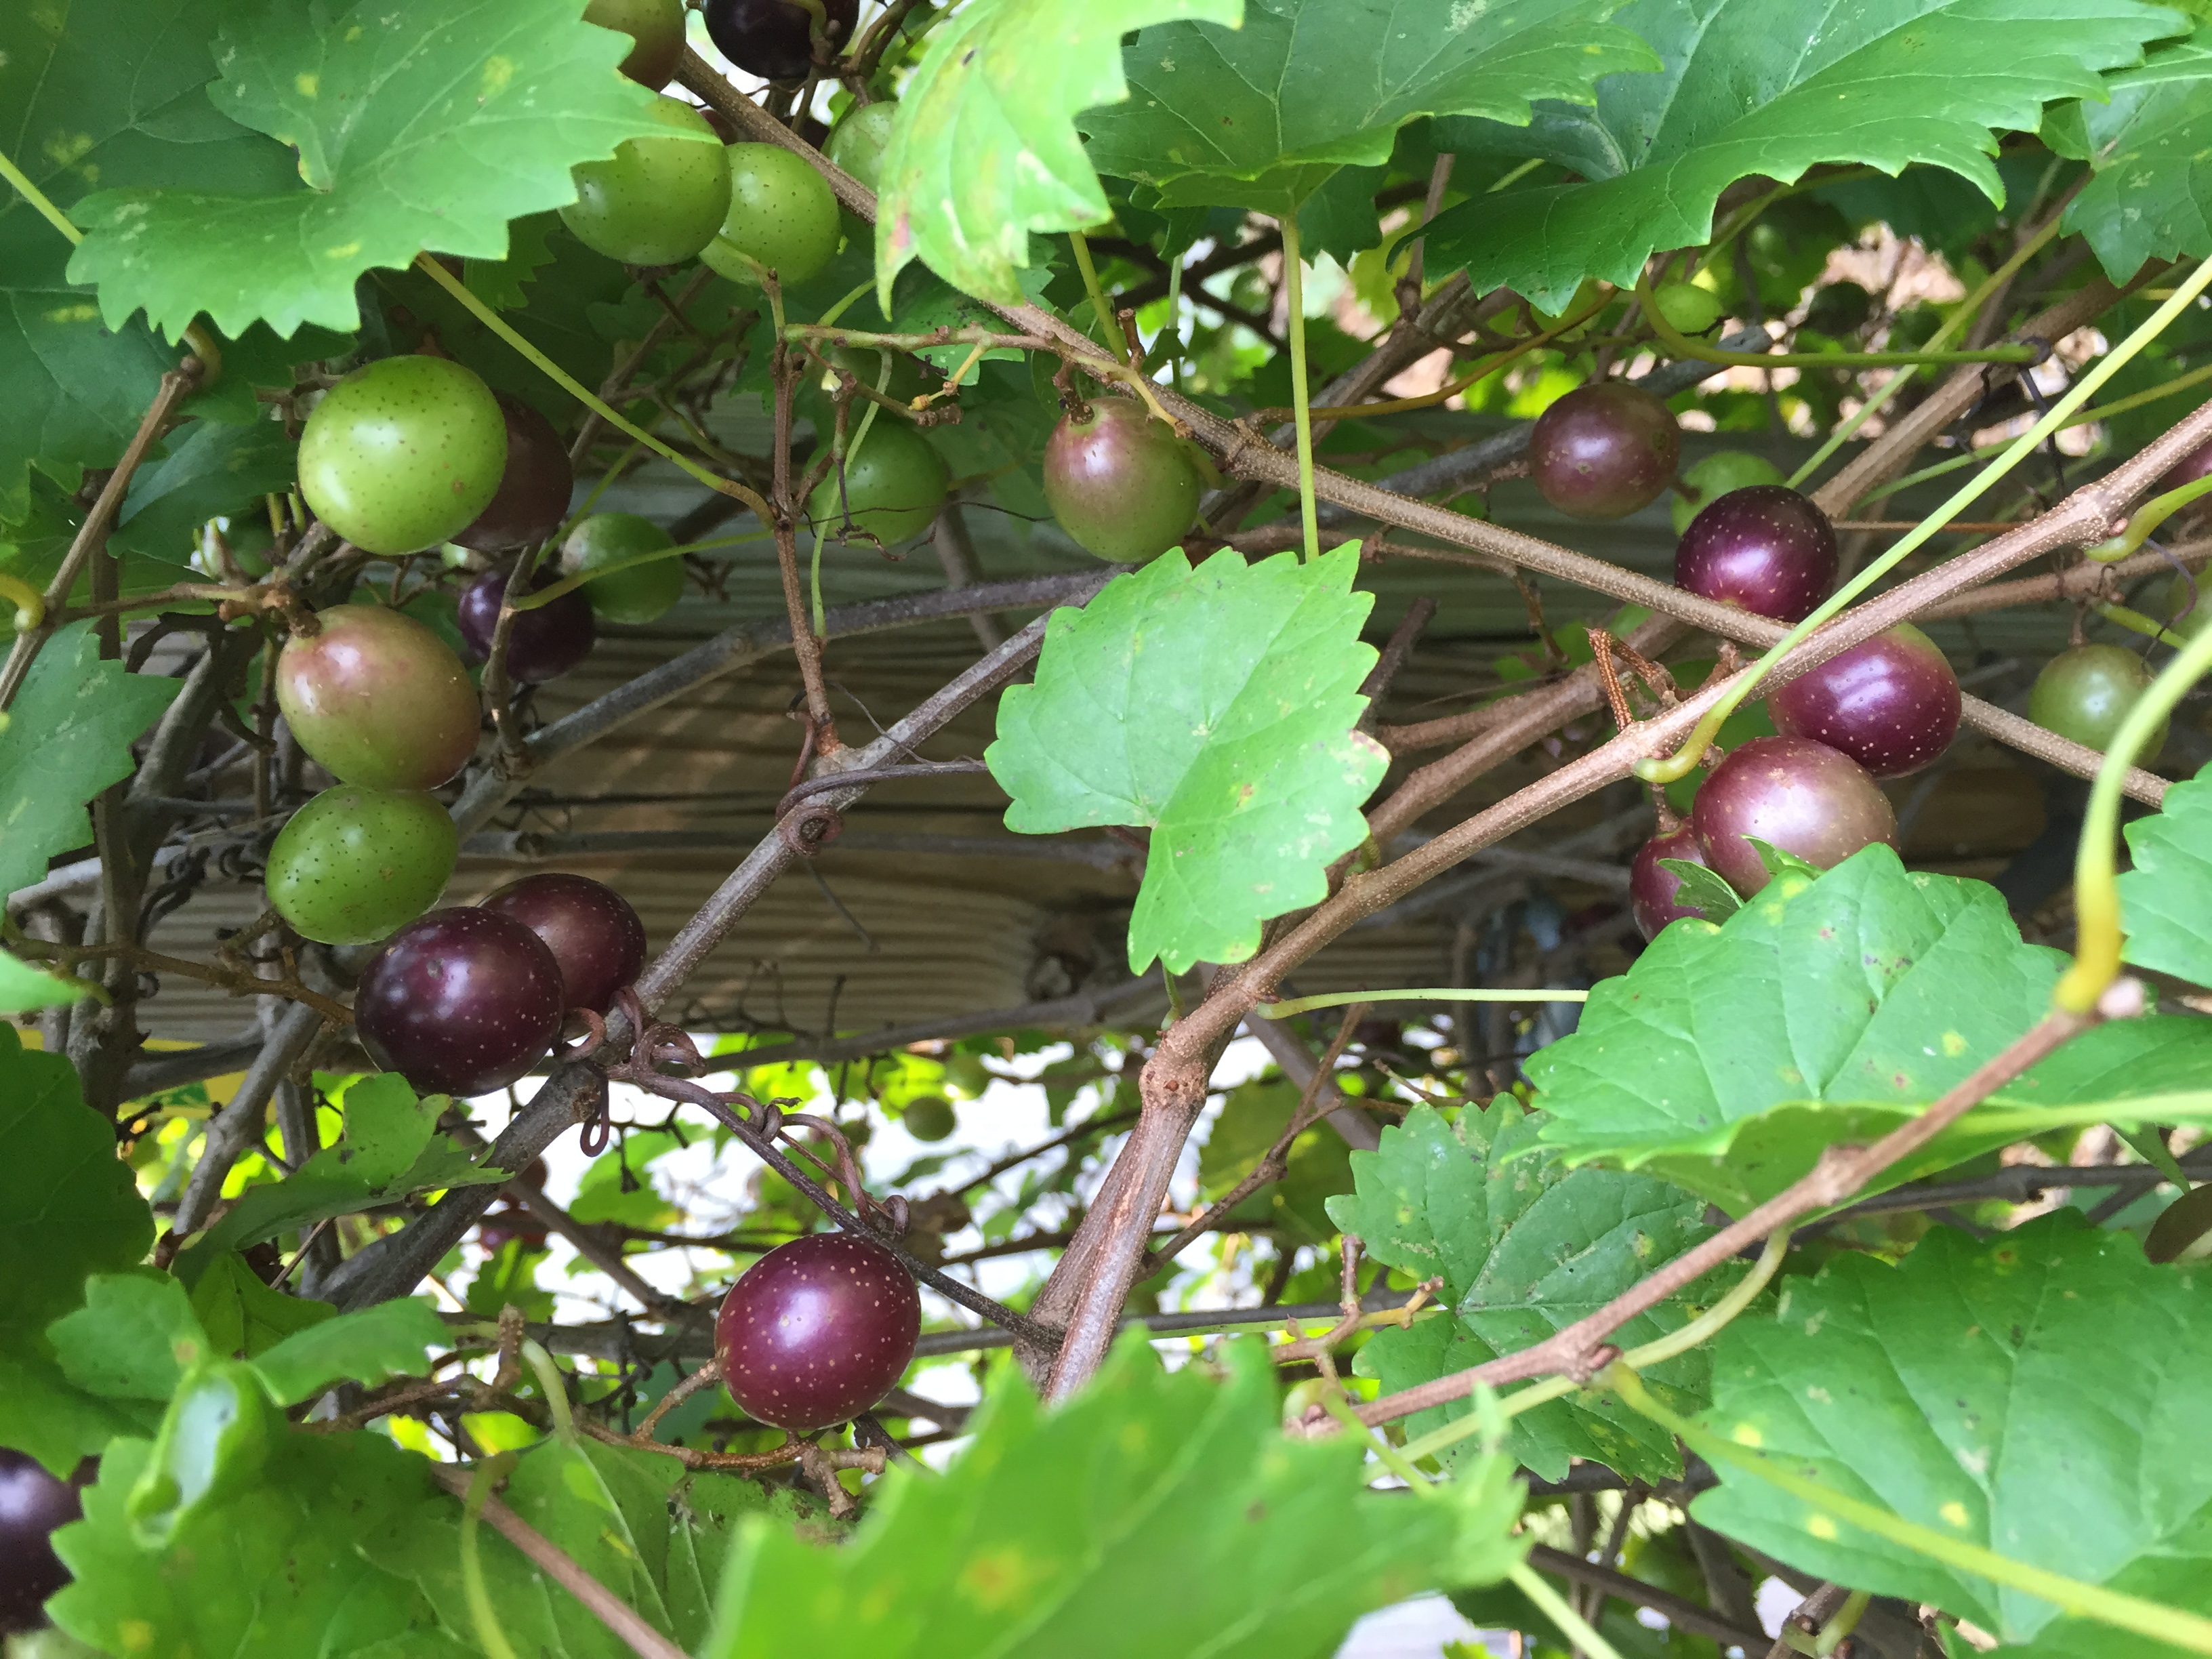
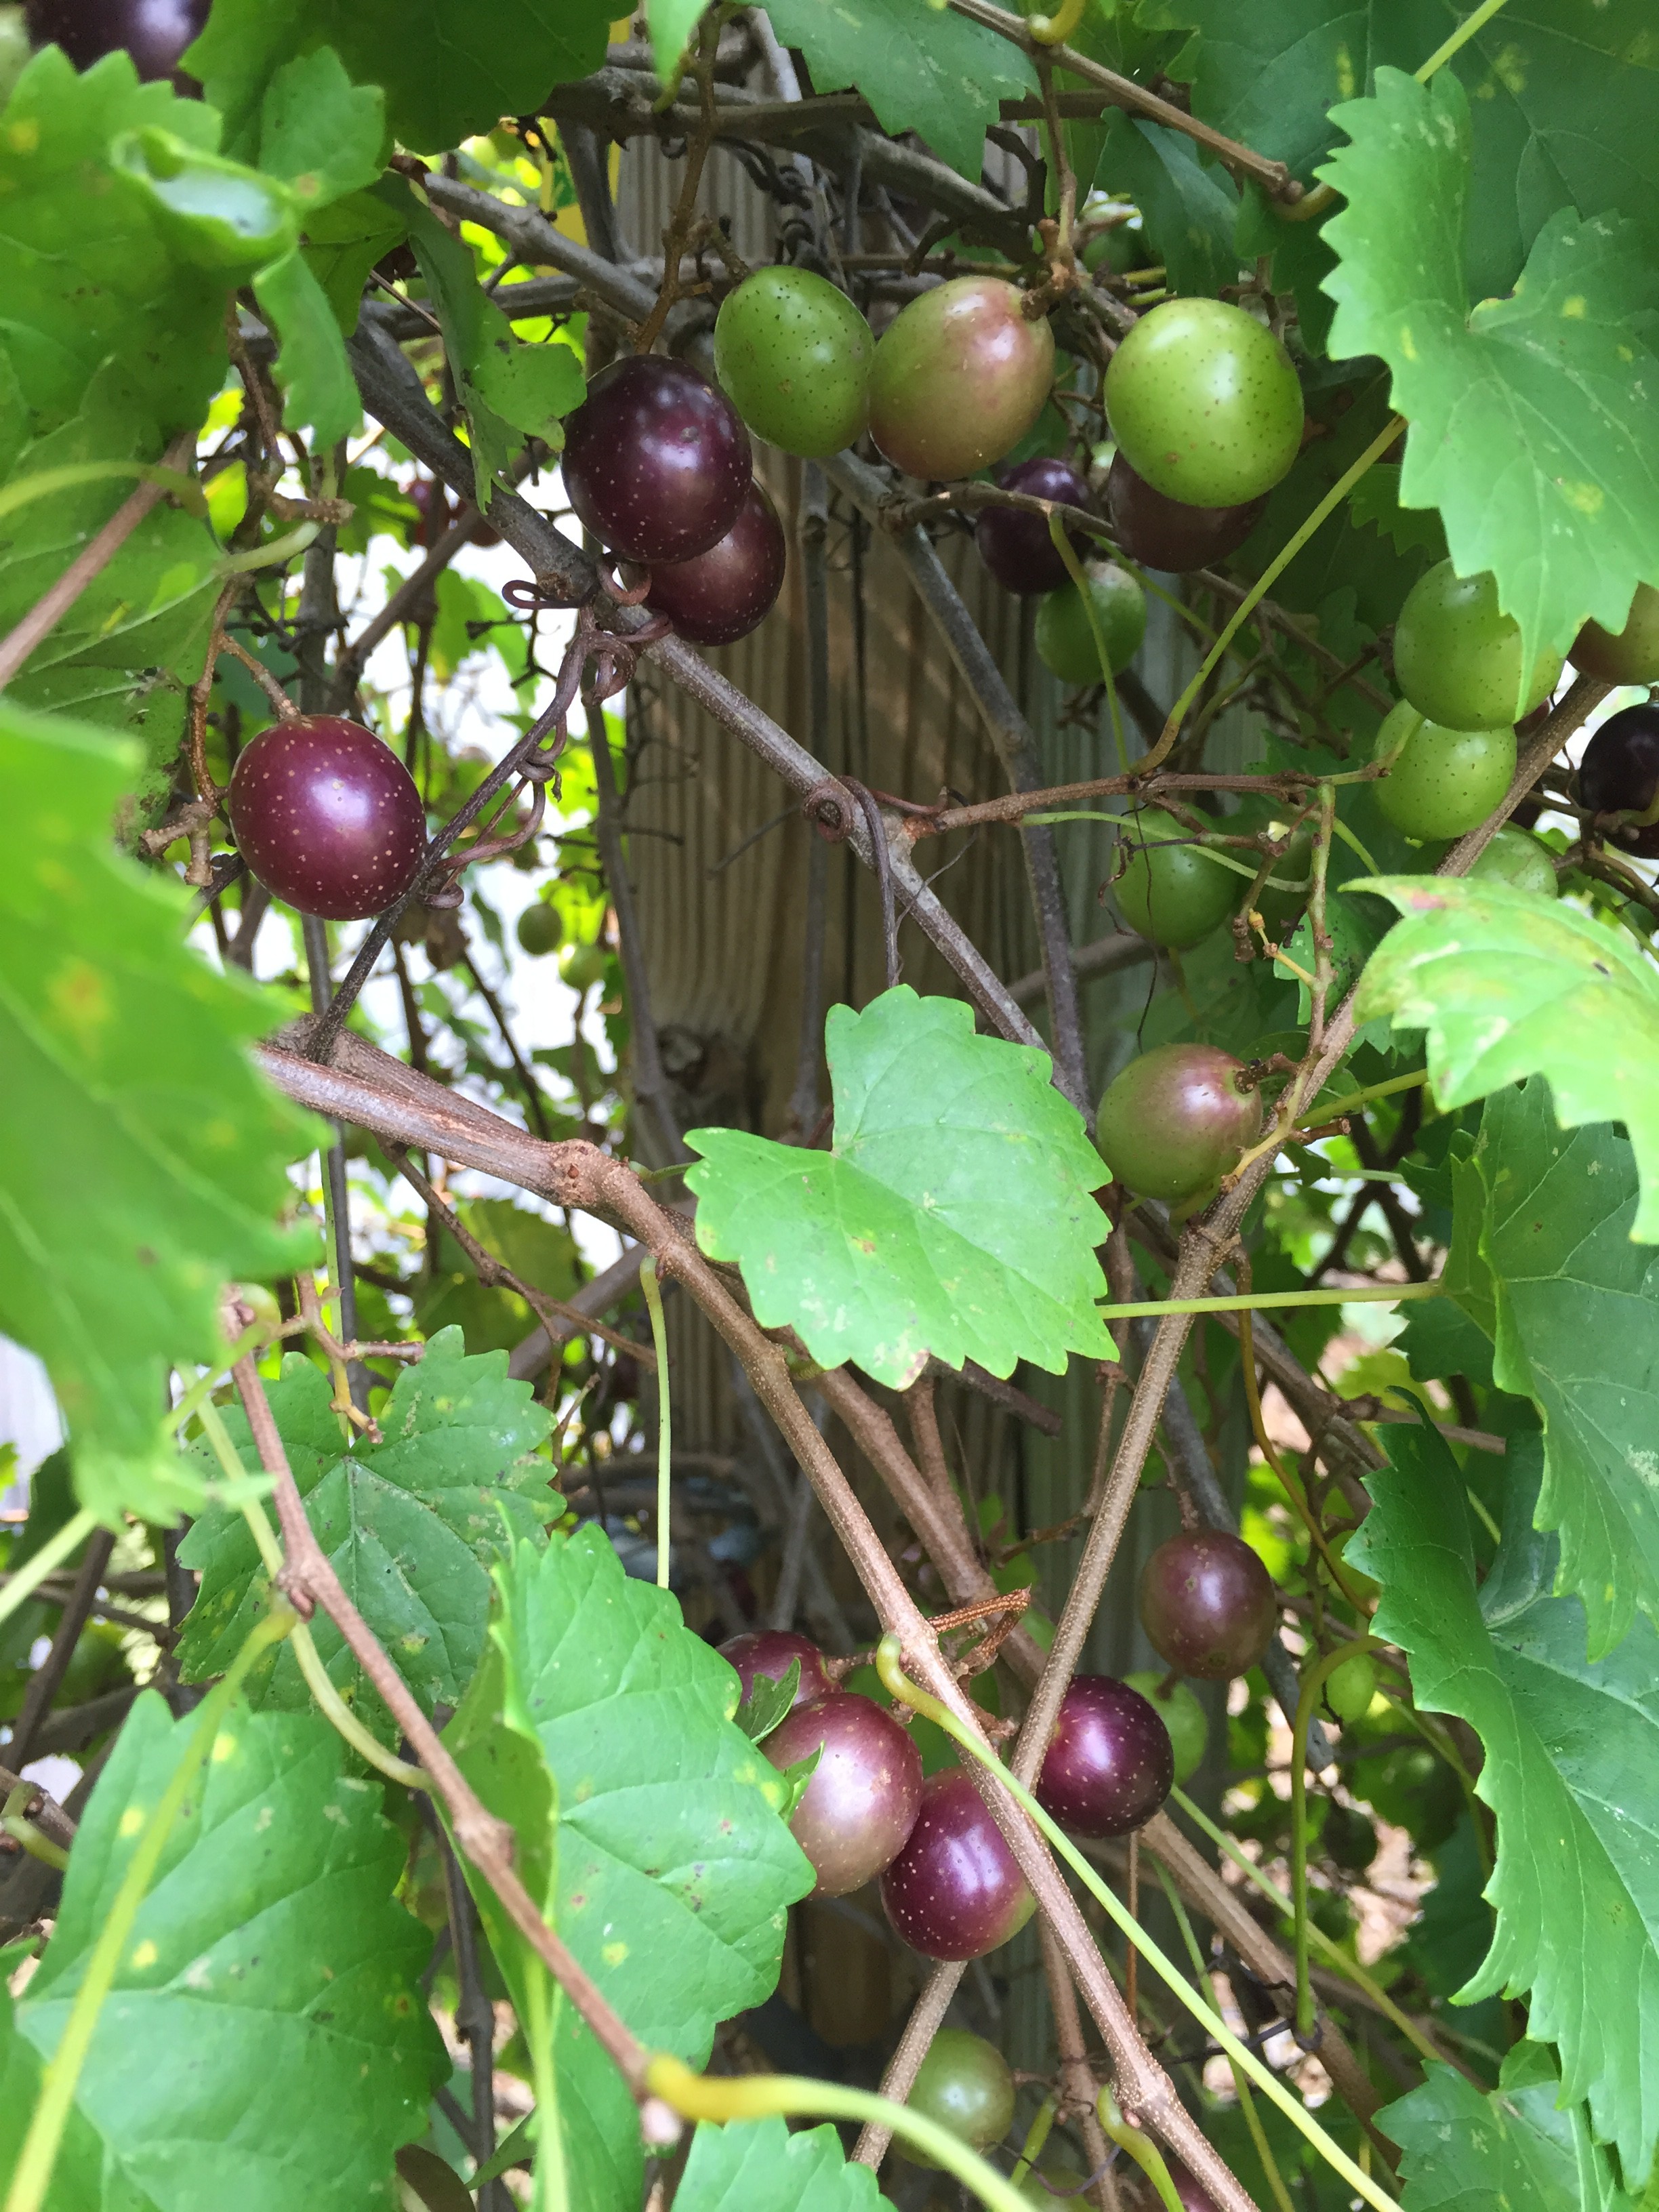
The muscadine grape is a popular fruit that grows very well here in North Florida. It has smaller leaves than bunch grapes and fruit are harvested singly, rather than in bunches. Theses grapes can be enjoyed fresh and also be used for home wine-making. One of the nice things about growing muscadine grapes in Florida is that they’re rarely bothered by insects or diseases. They can easily be grown in your backyard garden.

Muscadine grapes are ripening now! Photo credit: Mary Derrick, UF/IFAS Extension.
Grapes will grow well in a variety of soils here in North Florida. Upland soils with clay underlying at about three feet are ideal. You should avoid poorly drained soils. If the grapes are grown on soil with very good drainage, they should be set in the ground deeper than they were grown in the nursery on land with a high water table. Grapes should be planted on raised beds at the same depth they were at in the nursery.
During the first year, grapes should be fertilized with a quarter pound of 8-8-8 or 10-10-10 fertilizer, applied in bands about a foot away from the plant, soon after growth begins. Repeat applications in April, July and September. Fertilizer rates increase each year, but they should never exceed six pounds per vine per year.
Weeds can sometimes be a problem with muscadine grapes. To get rid of weeds, you can use a good herbicide, or you can cultivate around the plants. The muscadine grape has a very shallow root system, however, so be careful when you’re weeding around the plants. Mulches can be helpful in controlling weeds, but be sure to leave a circle of at least six inches around each vine uncovered.
Grapes need a generous supply of water to survive here in North Florida. In fact, more first-year grapes die from a lack of water than from any other cause. Make sure the plant receives about an inch of water weekly. Muscadine grapes are rarely bothered by insects or diseases. However, a spray program is advised to protect plants from possible damage by black rot or bitter rot. Spraying should begin when the vines are in bloom, and continue a regular two week intervals until about a week before the harvest. For specific information on the proper spray to use, you should contact your local County Agent.
Muscadine grapes mature in August and early September. If you don’t plan to use them immediately, they should be picked from the vine when ripe and stored at 40 degrees Fahrenheit.
For more information, please see:
The Muscadine Grape
Muscadines Benefit from Timely and Artful Pruning
by Taylor Vandiver | Aug 3, 2015
As our world and our lives become more centered on technology it seems that all the information we need is just a touch screen away. After all, you are most likely reading this article from a laptop, smart phone, or tablet. While convenient and portable, there are some places you might not wish to take your electronics and one of those places is in the garden. You may say, “Well Taylor, that’s what they make waterproof, shatterproof, dirt proof, etc. cases for!” and I would say that you’re right. However, technology has many limiting factors such as battery life and screen glare. Now believe me, I am by no means disparaging technology! I come from a generation that considers Wi-Fi as necessary as water and an outlet comparable to oxygen. But there is something to be said for having a book in hand when out in the garden. For one thing your neighbors won’t worry about you as they see you march around the garden with your phone in the air doing the “No Signal Dance”. Also, a book is great to have in order for you to jot down any notes or reflections. I would like to list for you a few books that I often reference when I receive calls from homeowners. These books will cover various topics and all of them can be found on the UF/IFAS Bookstore website, the links for each can be found below. If you have any questions contact your local Extension Office and, as always, feel free to contact me and I can give you a rundown on my collection of favorite reference books!
- New to the UF/IFAS bookstore: “Trees: North & Central Florida” a field guide to 140 common tree species. This sturdy, pocket-sized field guide–the only one of its kind for north and central Florida–is designed for landscape professionals, arborists, naturalists, gardeners, and anyone seeking to know the trees around them. Full color photographs of leaves, bark, flowers and full trees, together with clear descriptions and other information make identifying trees easier than ever. This book also features a handy diagnostic key, an introduction to plant parts, a glossary and a ruler to guide you, whether you’re a trained botanist or a complete beginner.
- “Poisonous Plants of the Southern United States” John W. Everest, Thomas A. Powe, Jr., and John D. Freeman (of Auburn University). Identification of common poisonous plants found along fence lines and in pastures in the Southern United States.
- “Weeds of Southern Turfgrasses” This practical weed identification guide contains 427 color photographs of 193 weed species, their geographical range, and life cycle descriptions. Includes a glossary of taxonomic terms and index of common and scientific names.
- “Disorders and Diseases of Ornamental Palms” Recently revised and updated, this ID deck is a diagnostic tool for landscape professionals and backyard hobbyists. The color photographs and explanatory text helps users identify and distinguish between the nutritional deficiencies, physiological disorders and common diseases of ornamental palms. All palms in the U.S. suffer from disorders and diseases, and identifying the differences can be tricky. These cards feature photographs and descriptions and are cross-referenced for easy comparison between different symptoms and the potential problems causing them. Includes a table of contents and 55 laminated, ring-bound cards.
- “Florida Lawn Handbook: Best Management Practices for Your Home Lawn in Florida” Written in practical language by turfgrass experts, this highly-anticipated new edition offers the most current lawn management information. Color plates identify various grass types, weeds, diseases, and insects—including those that are good for your lawn! Chapters cover selection, establishment, and maintenance for each type of lawn; soil analysis and fertilization; yearly calendars for lawn care and culture; mowing, watering, and calibrating sprinkler systems and fertilizer spreaders; overseeding for winter color; preparing a lawn for drought and low temperatures; safe pesticide application and use; the latest integrated pest management strategies; organic lawn care; and complete, illustrated diagnostic information for weeds, diseases, insect problems, nematodes, and other pests.
- “Sustainable Gardening for Florida” Gardeners today face a unique challenge: how do you create a beautiful, thriving landscape without over-use of fertilizers, pesticides, and water? Sustainable Gardening for Florida might be the first place to look for answers. This book provides interesting, money-saving ideas to reduce your ecological footprint. It includes chapters on composting and mulching, integrated pest management, water-wise irrigation and rainwater harvesting, preparing your garden for disasters, and all aspects of managing meadows, lawns, trees and shrubs, edible gardens, rain gardens and waterfront gardening.
- “Vegetable Gardening in Florida” From James Stephens, the founder of the Florida Master Gardener Program, this is the one resource you need to successfully grow vegetables in Florida. Whether you’re growing beans, tomatoes, herbs, or any other Florida crop, this guide will take you from site selection and insect management through the harvest and storage of your produce. Useful planting guides, gardening measurement conversions, and organic gardening information are accented with full-color throughout.

by Mary Salinas | Jul 20, 2015
July always brings the blessing of abundant figs on my trees. A new crop waits to be picked and enjoyed every day for nearly a month. The tender sweet fruit can be enjoyed fresh, prepared into jams or used in a myriad of recipes.
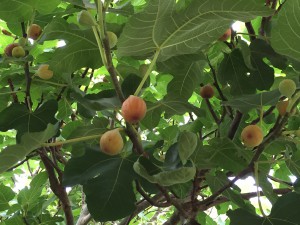
Ripe figs ready to pick. Photo credit: Mary Derrick, UF/IFAS Extension.
The fig (Ficus carica) is native to Asia Minor and the Mediterranean regions of the world and has been cultivated for an estimated 7,000 years. Spanish explorers brought the fig with them to Florida in 1575 and it has had a presence here ever since. Since the fig is adapted to a dry climate in its native regions, the humidity it encountered in Florida can cause fruit to split; but new cultivars have been developed to minimize this problem.
Fig trees usually grow to a maximum of 25 feet and have large bright green leaves that fall in the autumn. Fruit develops from June to August, depending on the chosen cultivar.
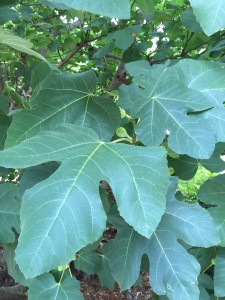
The large fig leaves are quite ornamental. Photo credit: Mary Derrick, UF/IFAS Extension.
Choose a spot for planting a fig tree that receives full sun and good drainage. Once established, figs are drought tolerant and only need supplemental irrigation if we have an extended drought. No structural pruning is required but you can prune to keep the tree from growing so tall that you cannot pick the delicious fruit. Be sure to do your pruning just after the fruit is gone as the fruit develops on the terminal ends of the branches from last year’s growth.
Many figs grow and fruit sufficiently without applied fertilizer, however, a light fertilization with a 10-10-10 with micronutrients can be helpful for small trees getting established and those with reduced fruiting. Young trees can benefit from a ½ pound three to five times from February to August while large trees could use up to 4 pounds per application on the same schedule.
There are a few pests that do damage figs; the most common, though, are the birds and squirrels that get the fruit before you do. Seldom do figs need to be sprayed when grown in the home garden.
For more information:
The Fig
Fig nutrition facts and recipes
by Larry Williams | Jul 7, 2015
There are a number of plants in my landscape that bring back fond memories – plants that I propagated.

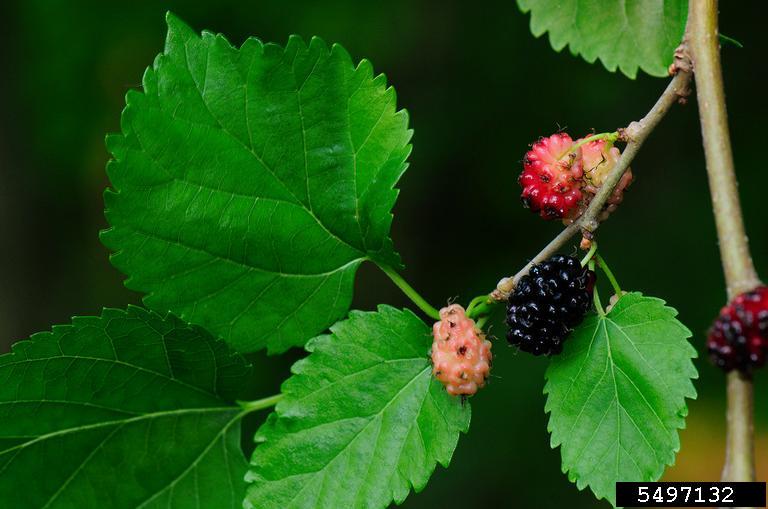
Red Mulberry. Photo credit: Vern Williams, Indiana University, bugwood.org.
There’s a mulberry tree in my backyard that I rooted years ago. I took the cuttings from an old mulberry tree in my hometown. As a boy, I climbed the tree, got in trouble once for coming home with mulberry stains on my clothes. I liked the berries and still do. I have good childhood memories about the tree.
About twenty years ago I visited the property adjacent to my childhood home. The tree was still there. It was during mulberry season. I enjoyed a few mulberries. I took about eight or ten cuttings from the tree. About a year after my visit, the property sold. The new owner bulldozed the tree.
But because of the cuttings that I rooted, the tree still lives and not just in my memory. The trees produced by those cuttings are genetically the same as the parent tree. Essentially, they are clones. The one in my backyard produces mulberries each year.
You too can propagate memories. Not all plants can be propagated from cuttings but many can be. Sometimes trial and error is necessary to learn proper timing in taking cuttings. But most reliable references will provide the time of year to take cuttings based on the plant species.
Stem cuttings should be removed from the parent plant with a clean, sharp knife or pruner. Ideally your cutting should be 4-6 inches in length and not much thicker than a pencil in diameter.
Take the bottom two-thirds of leaves off on each cutting. The cuttings should be stuck upright in a propagation medium. I usually use a good quality potting mix and mix in a little course sand or perlite for better drainage. The cuttings should be inserted deep enough to hold them upright, usually ½ to 1 inch.
To help promote rooting of moderate to difficult to root plants, wound the cuttings by scraping the lower ½ to 1 inch of the stem with a clean, sharp knife. The scrape should remove the bark or “skin.” Then dip the cutting in a rooting hormone covering the scrape with the rooting powder prior to inserting the cutting into the rooting medium.
I usually use a four inch pot, gallon size pot or bedding plant flat with drainage holes as a rooting container. I may stick as many as ten stem cuttings in a gallon size pot. I place the container of cuttings in a shady location outdoors and keep it moist. The cuttings should produce roots in two to sixteen weeks, depending upon plant species and the environment.
After the cuttings have rooted, carefully remove them and individually plant each rooted cutting in its own four inch to one gallon size pot. Keep the potting medium moist but not soggy. After the roots adequately fill the pot, the plant should be strong enough to be planted in the ground.
As your rooted cuttings grow, hopefully they will provide fond memories.