by Daniel J. Leonard | Jul 31, 2025
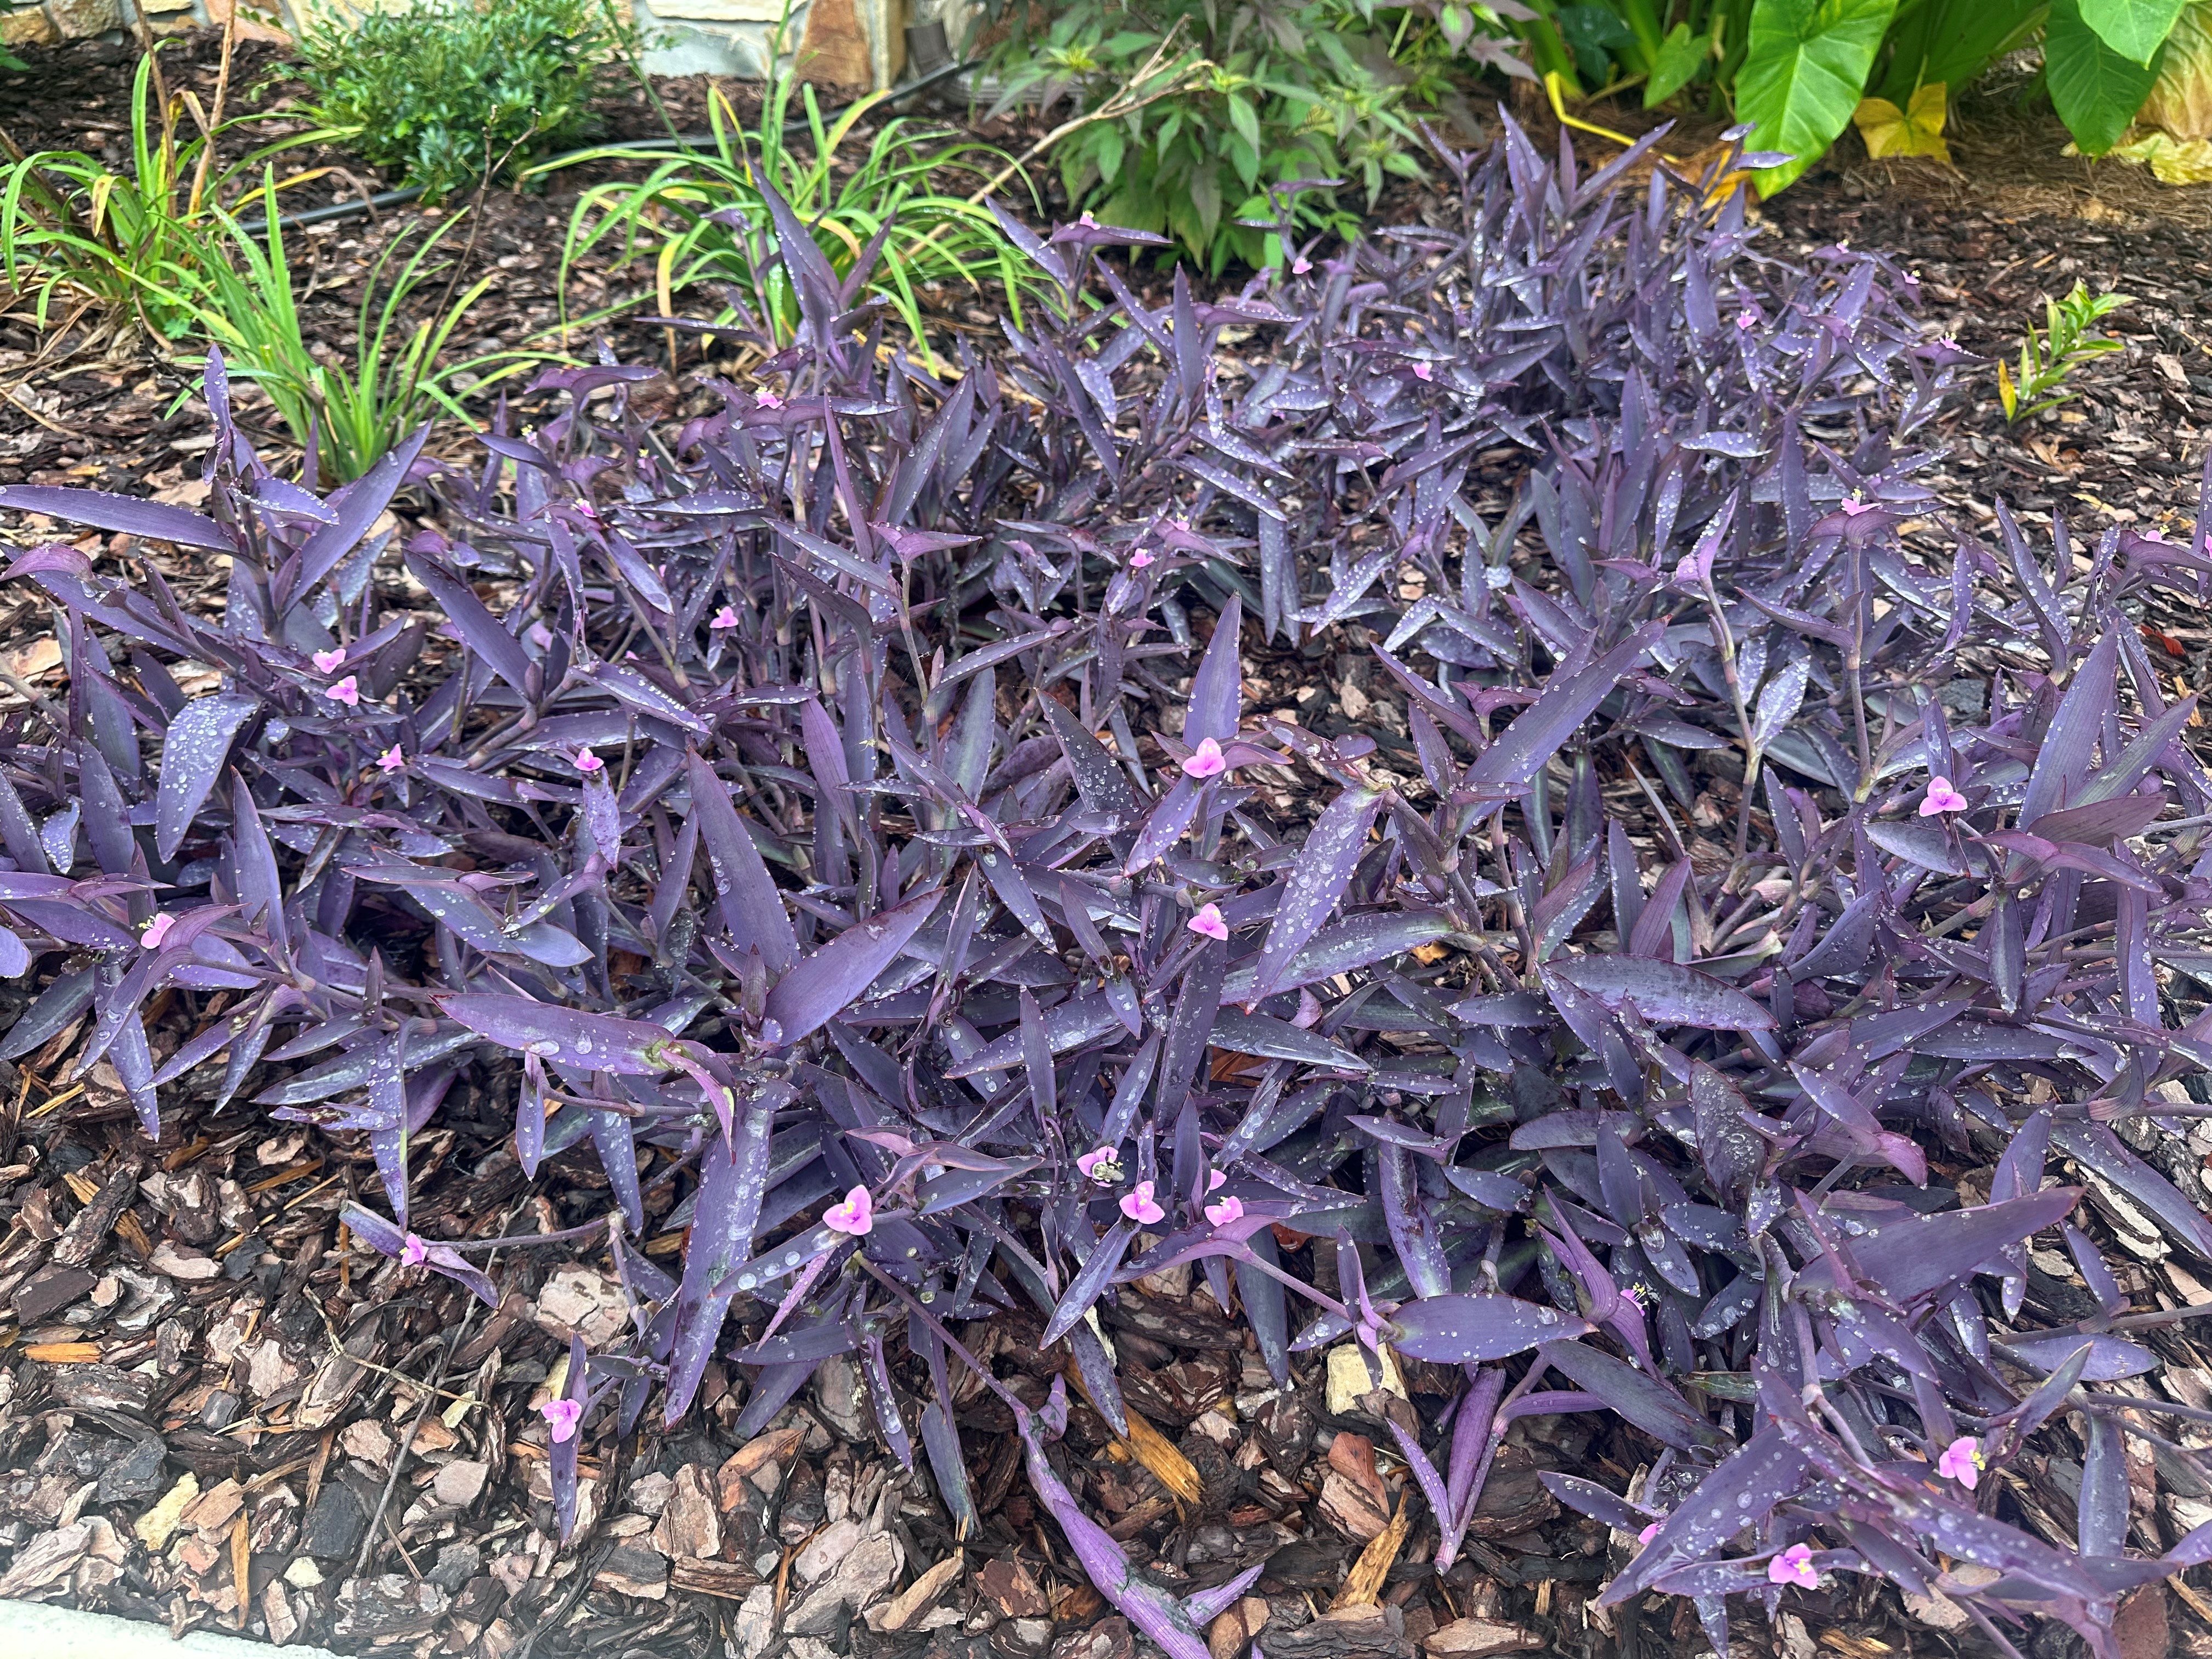
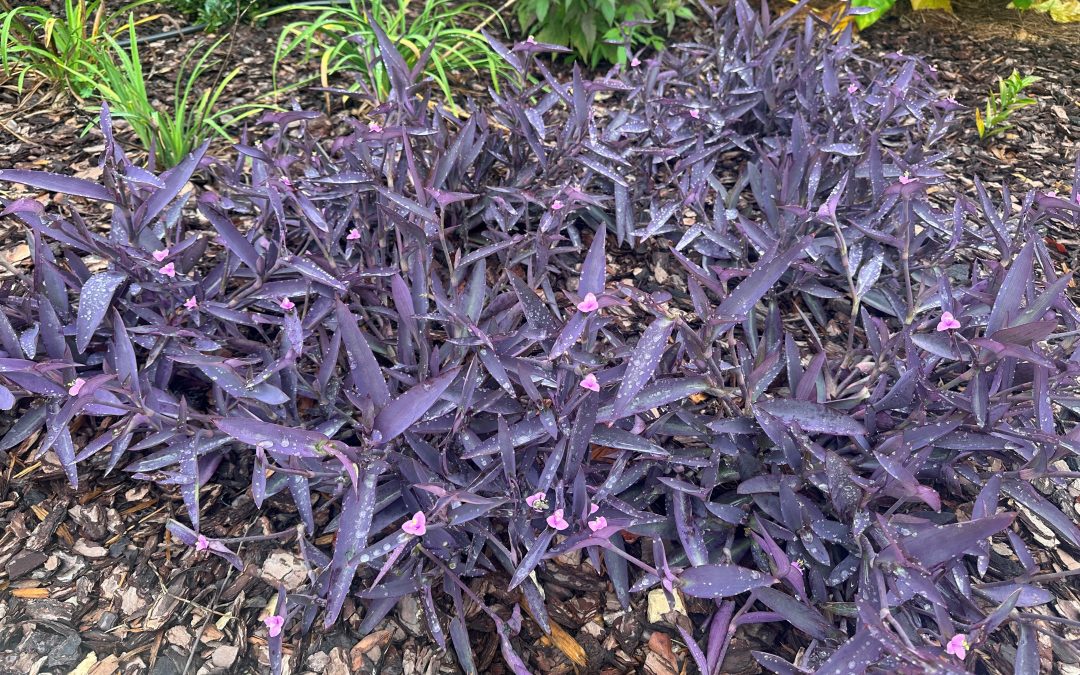
All gardeners dream of the perfect plant that requires no maintenance, comes back every year, and remains strikingly beautiful nearly year-round. There is one such plant in my landscape that I never have to fuss over and always looks the part. One plant stands unflinching through summer heat or winter cold. One plant is never fazed by excessive rainfall or parching drought. One plant remains unbothered by pesky insects or disease. That plant is Purple Heart (Tradescantia pallida ‘Purpurea’) and it will always have a place in my garden.
Purple Heart is a tender perennial groundcover native to tropical Mexico and, as its name might imply, purple is the primary hue the species adds to landscapes. A true all-round performer, Purple Heart offers stunning purple foliage and small purplish-pink, pollinator-attracting flowers from spring green up to the first killing frost. In some mild winters, Purple Heart even behaves as an evergreen in the Panhandle!
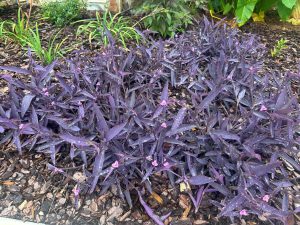
Purple Heart planting in July. Photo courtesy of Daniel Leonard.
Since attractive foliage is the primary draw with Purple Heart, siting it to maximize leaf color is important. For the deepest, most vivid shades of purple, plant in full sun; 6 or more hours of direct sunlight is ideal. Also, like many tropical plants, Purple Heart will look its best with ample moisture but, once established, is among the most drought tolerant options for Panhandle landscapes. I’ve found my Purple Heart stands look their best with occasional watering during extremely hot, dry periods, but other than that, they thrive on rainfall alone.
If there is a drawback to the species, it might be a little too vigorous and easy to grow. Because plantings can rapidly grow and expand, rooting along stems as it goes, Purple Heart can sometimes become weedy in landscapes. In my experience, Purple Heart plays nicely in the landscape with other perennials and isn’t aggressive to the point of choking out its neighbors. However, if you desire an extremely neat and orderly landscape, Purple Heart’s freewheeling nature might best be used as a spiller plant in large containers or planted in an area confined by hardscape features.
If you decide to color your landscape purple with Purple Heart, plants can be found for sale at nearly any garden center or nursery and are extremely easily propagated, making it a popular passalong plant – chances are you might know someone who would willingly share a cutting (or three) with you. For more information on this popular purple perennial or any other horticultural topic, contact your local UF/IFAS Extension county office. Happy gardening!
by Matt Lollar | Apr 30, 2025
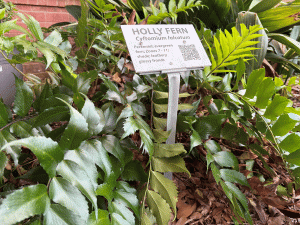
A holly fern in the landscape. Photo Credit: Matt Lollar, University of Florida/IFAS Extension – Santa Rosa County
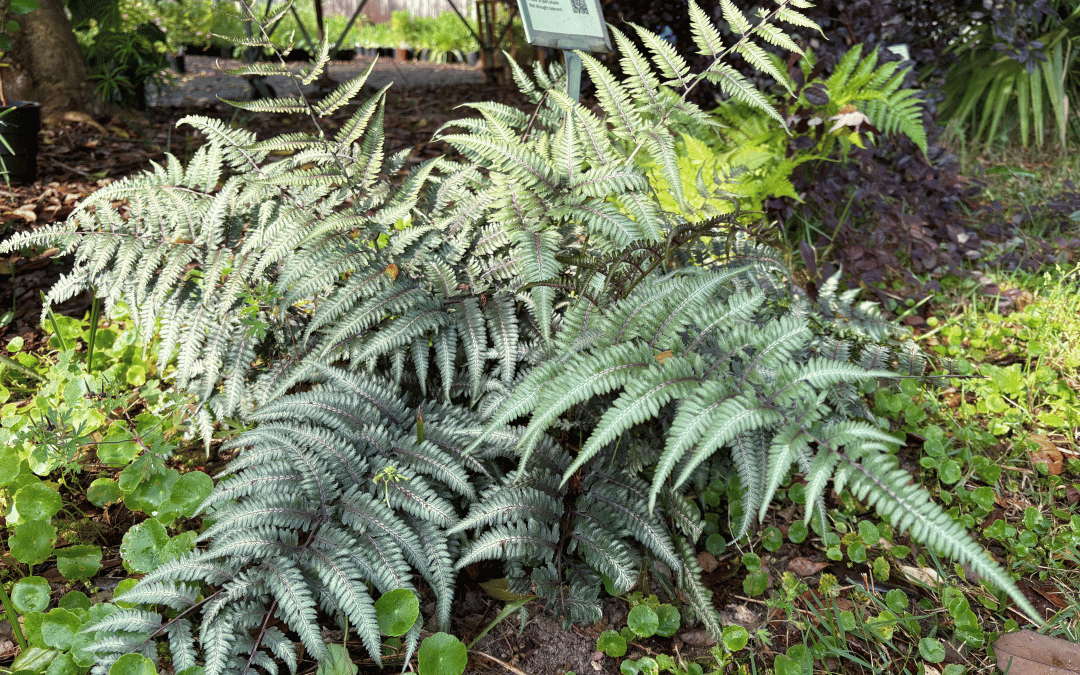
On a recent episode of Celebrity Jeopardy, one of the categories featured answers all about ferns. The category got me thinking about all the confusing things about ferns.
First of all, are ferns even plants at all? Yes, but there are some unique characteristics that make them stand out. Ferns are vascular plants like most all of our other landscape and house plants, but they do not produce flowers, fruits, and seeds like other vascular plants. Instead, they produce spores in small, round structures called sporangia that are usually on the undersides of leaves. Sporangia are also found on fungi and algae.
A pretty noticeable feature about ferns is their leaves. Fern leaves are called fronds which consist of many small leaflets called pinnae. Fronds have a feather-like appearance that give most ferns a fine texture that softens the landscape. Sterile, non-spore producing fronds called fiddleheads develop from the center of the plants in early spring. They are called fiddleheads because they are curled like the top of a fiddle when they first emerge. The fiddleheads of some fern species are prized by chefs for their delicate flavor and crunchy texture. Fertile, spore producing fronds develop later in the season.

A Japanese painted fern in the landscape. Photo Credit: Matt Lollar, University of Florida/IFAS Extension – Santa Rosa County
When grown outdoors, most ferns do best in spots that receive filtered light or a bit more shade. However, some species of ferns that are grown indoors may need a little more light. Ferns like high humidity environments which is why we usually see them growing in floodplains and in wetlands in the wild. Indoor ferns should be watered thoroughly whenever the soil surface begins to feel dry. Choose potting soils with a high percentage of peat moss for its moisture retaining properties. And make sure you don’t over-fertilize.
by Dr. Leynar Leyton | Dec 18, 2024
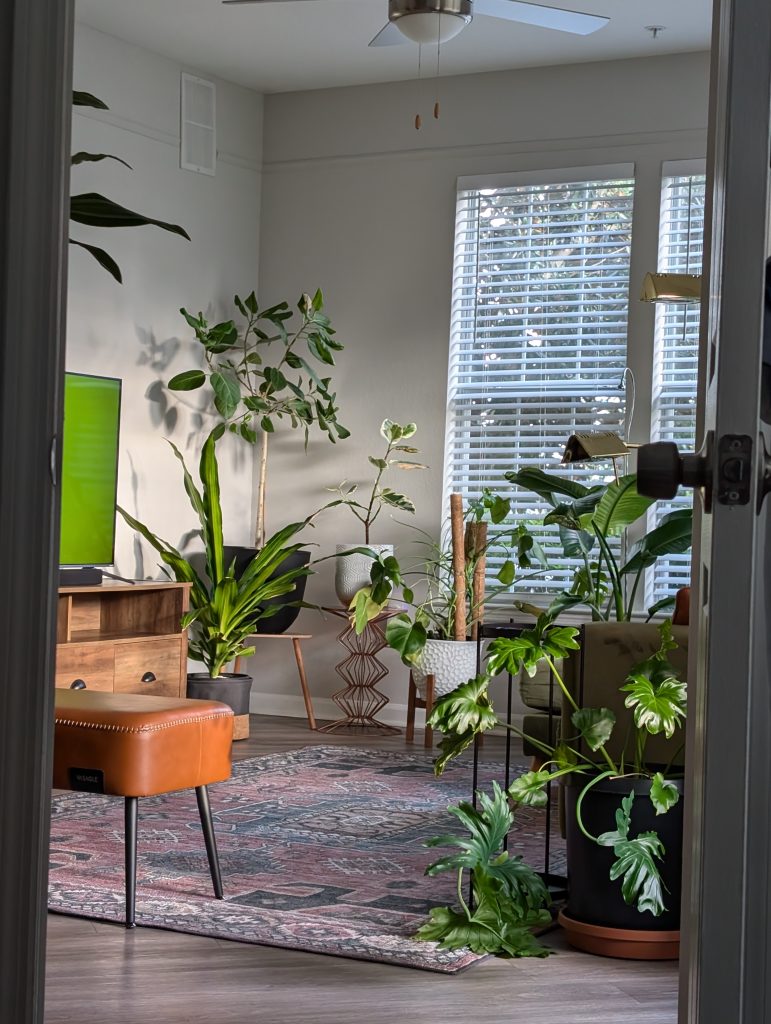
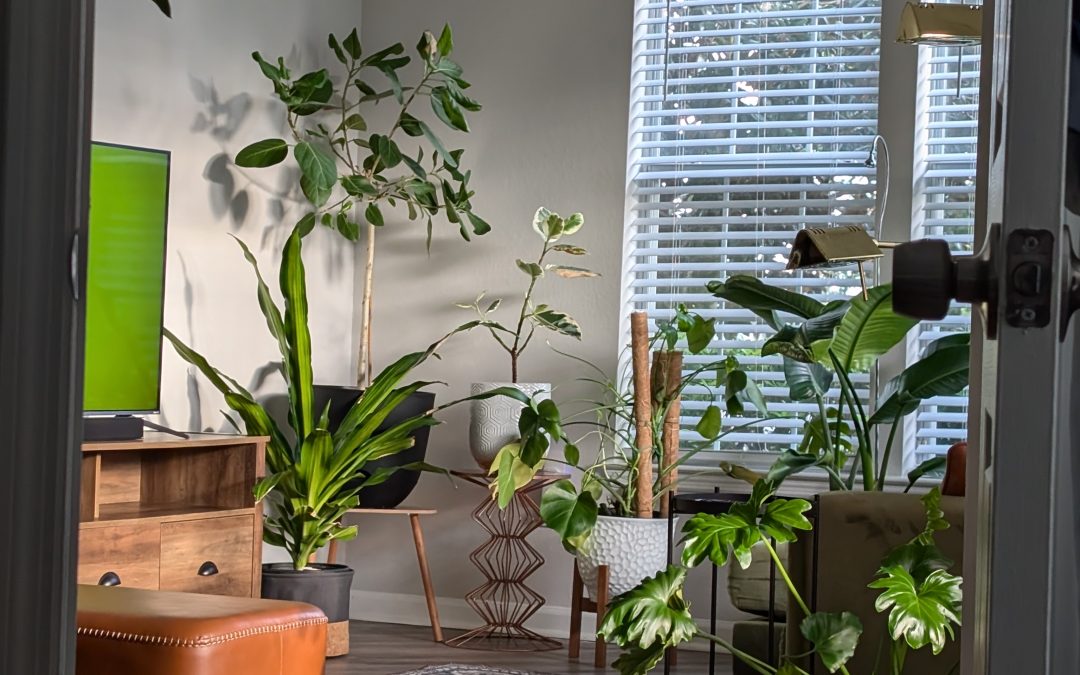
House plants. Photo by Dr. Leynar Leyton, UF/IFAS Ornamental Plant Breeder and Assistant Professor in Environmental Horticulture.
As we approach winter, and temperatures start to drop, you might have brought some plants inside your home. Or maybe you were at the garden center and fell in love with a unique lush plant, but as you get home, you are now wondering how you take care of your newest indoor plant… I believe I might can help! I will try to cover the basics of indoor plant care in this short article, so your plants thrive inside your home. These recommendations work not only for new plants that you bring home, but also, for your current house plants.
–Let’s start with light
One of the most important factors that affect house plants is light. Plants make food out of light through photosynthesis. Without enough light, they cannot produce enough food to survive. Plants can be divided into low, medium, high, and very high light requirements. These four categories are very helpful when you try to decide where to place your plant at home. Now the question is: How do you know the light requirements of your plant? Your first bet will be the plant tag or label. Plant labels usually contain the name of the plant and its light and water requirements (we’ll talk about water requirements in a bit). If they only have a name, a quick google search will help you with the light requirements of your plant.
Generally speaking, and without taking into consideration the layout of your home – think trees, windows treatments, size of your windows, other structures

House Plants under artificial / grow lights. Photo by Dr. Leynar Leyton, UF/IFAS Ornamental Plant Breeder and Assistant Professor in Environmental Horticulture.
nearby, and time of the year – eastern exposed windows will provide the best light conditions for most indoor plants, with direct sunlight from sunrise until approximately midday. Windows with a southern exposure provide a long range of light intensities during the year. For example, during this time of the year (as we approach winter) and during most of the daylight hours in winter, the sun will shine throughout the room. In summer, the sun would be farther north, making the sunlight enter the room only after midday. Western exposed windows have very similar light conditions to southern exposed windows. The windows with the least amount of light year-round would be a northern exposed window, as the United States is in the northern hemisphere and most of the sunlight comes from the south.
Plants will tell you if they don’t have enough light. One of the most noticeable signs is that your plant will not grow, and the internodes (the distance on the stem between leaves) on new growth would be much longer than the internodes on older parts of the plant. Other signs could be that the new fully expanded leaves are smaller – and with a much lighter green color – than the older leaves, as well as dead old leaves. If your plant is not receiving enough light, there is still some things you can do to help. You can move the plant closer to the window or move the plant to a brighter room, either with a better exposure or a room that has artificial lights turned on during the day. Light intensity is important but also the number of hours your plant is exposed to light. This is very important if you decided to invest in artificial lights for your plants. You do not need a very intense light, if you keep it on for a longer period of time – say 16 hours. Whatever you do, keep in mind that too much light can be damaging to plants. You need an adequate amount of light for your plants, not an excessive amount of light. Also, be mindful when moving a plant from low light conditions into high light conditions, for example direct sunlight, as leaves can be burned or look bleached.
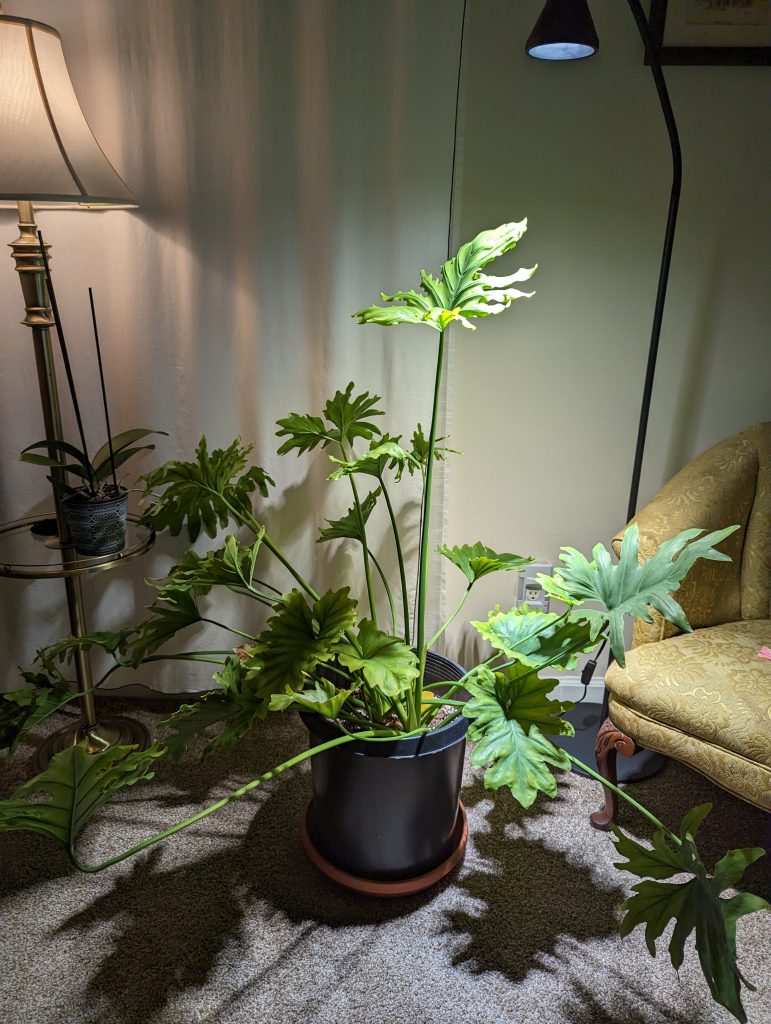
Thaumatophyllum bipinnatifidum showing sign of low light exposure. Photo by Dr. Leynar Leyton, UF/IFAS Ornamental Plant Breeder and Assistant Professor in Environmental Horticulture.
-What about temperature?
The second major factor that affect your house plants is temperature. We feel comfortable in temperatures ranging from 72 to 82 °F. Indoor plants are originally from tropical and sub-tropical parts of the world and can grow well in temperatures ranging from 58 to 86 °F. Based on those temperature ranges, house plants should do pretty good in your home. However, we need to understand the relationship between temperature and light, and how plants produce and use their “food”. When we talked about light, we mentioned that plants made food out of light through photosynthesis. Well, that is only half of the story. Plants use that food in a process called respiration, which produces energy that is used in developing new leaves, growth, and for maintenance of leaves and roots. High temperatures increase respiration, forcing plants to use more food to produce energy, reducing their efficiency. Imagine a plant under not optimal light conditions, struggling to produce some food (mainly carbohydrates, sugars, and starch) during the day. If the plant is in a warmer room of your house, all those few carbohydrates produced will be used quickly. As a result, your plant will not grow, because plants will use those sugars to maintain the current leaves, rather than use that energy in producing new leaves or roots. Another aspect to consider is that plants – like people- might like a specific temperature in the 58 – 86 °F range. Some plants like a warmer environment, and others can withstand “colder” environments. A good rule of thumb is to never allow temperatures drop below 50 °F and keep your thermostat in the 70 – 80 °F during the day, and 65 – 70 °F at night. Be mindful of “away” schedules on your thermostat or plants that are too close to a vent or heater.
-Water
The last factor I want to talk about is water. This is probably the most common and controversial topic in plant care. How often should we water our plants?
Should we bottom water or top water? Is tap water, ok? All these questions might be overwhelming, but I’ll try to go through the basic principles behind those questions so you can make your own watering decisions. Firsts of all, it is important to recognize that each plant will have a specific water requirement. Some plants require more water than others; this information should be in the plant tag when you bought it. Other factors that will affect the amount of water a plant needs are:
-Size of the plant. Bigger plants will require more water because they are bigger.
– Pot or container. Smaller pots will hold less water (they dry out faster), meaning you’ll have to water them more often.
– Soil texture or type. Some types of soils will retain more water than others.
-Light intensity. Plants under high light intensity will require more water, as water is need it for photosynthesis.

Dracena dying due to root rot. Photo by Dr. Leynar Leyton, UF/IFAS Ornamental Plant Breeder and Assistant Professor in Environmental Horticulture.
Be mindful and do not over water, or let water stand in saucers for days. Too much water, or plants in standing water for long periods of time can produce root rot, a fungal infection in the roots that plants usually cannot recover from. Another problem caused by standing water from irrigation is the accumulation of salts washed off from the soil. Make sure you discard any water that had drained into the saucer and has been in the saucer for more than a day after watering your plants. A good way to learn when to water your plants is to know and understand them: If you check your plants constantly, you’ll learn how long it takes them to use the water in the soil. You can check that by checking the “weight” of your plants. Grab the pot right after you water it and feel how heavy it is. As the days pass, when you grab the pot, you’ll notice that it is lighter. If it is considerable lighter, it’s time to water. With that information, you can make your own watering schedule, or simply check your plants every other day and water when need it. Water quality is also important, especially for green leafy plants. Now, what about tap water? The reason some people don’t recommend using tap water to water your plants is because it contains fluoride and chlorine, and leafy green plants are sensitive to these chemicals. A typical sign of water quality problems is burned tips or edges of leaves. An easy way to deal with this problem is to let your watering water sit for a few days before use it, as fluorine and chlorine will be released from the water to the air. You could also just use filtered or distilled water.
I hope this article helps you a little in the care of your indoor plants. Plants are resilient organisms and if you do make a small mistake, they will probably be ok. Remember that gardening is an art and a science!
by Beth Bolles | Dec 13, 2024
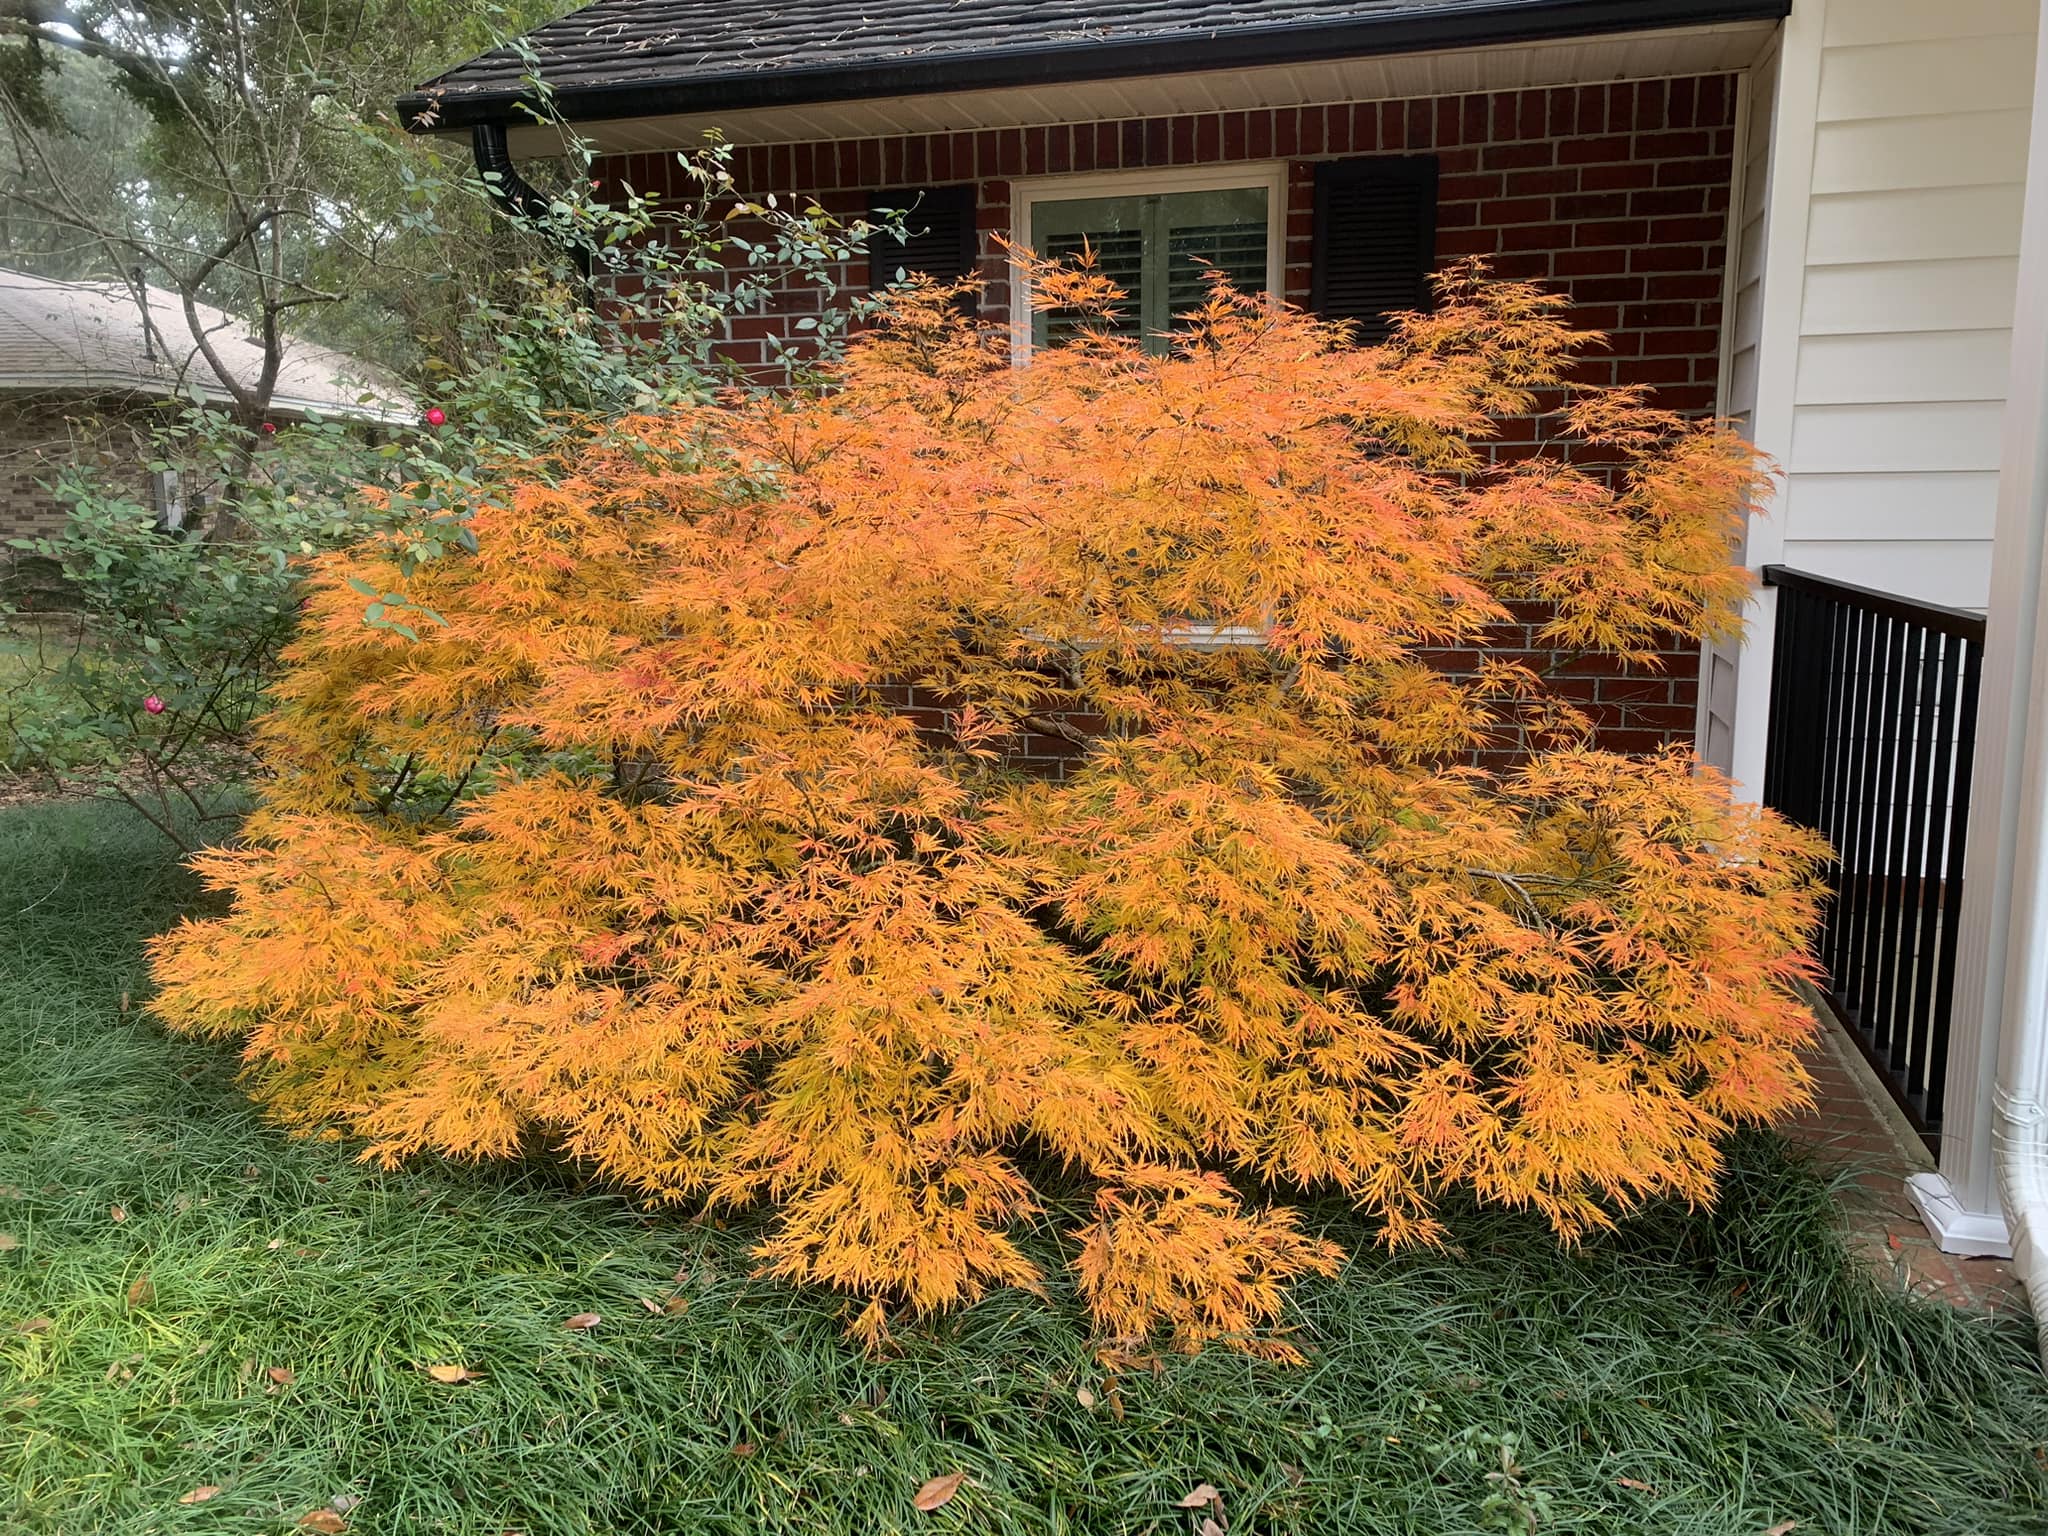
When looking for a small tree that provides a visual impact in the landscape, nothing beats a Japanese maple.
In North Florida, we have landscapes with some suitable conditions for growing a Japanese maple but these trees are not for every site. Japanese Maple plants prefer some shade, especially in the afternoon, and protection from winds. If you have a high tree canopy that allows for filtered sun throughout the day, many cultivars will grow well with this light. Soils should be moist but well drained with good organic matter. Areas with higher pH soils such as home foundations or around concrete patios usually show plants with poorer growth and nutrient issues.
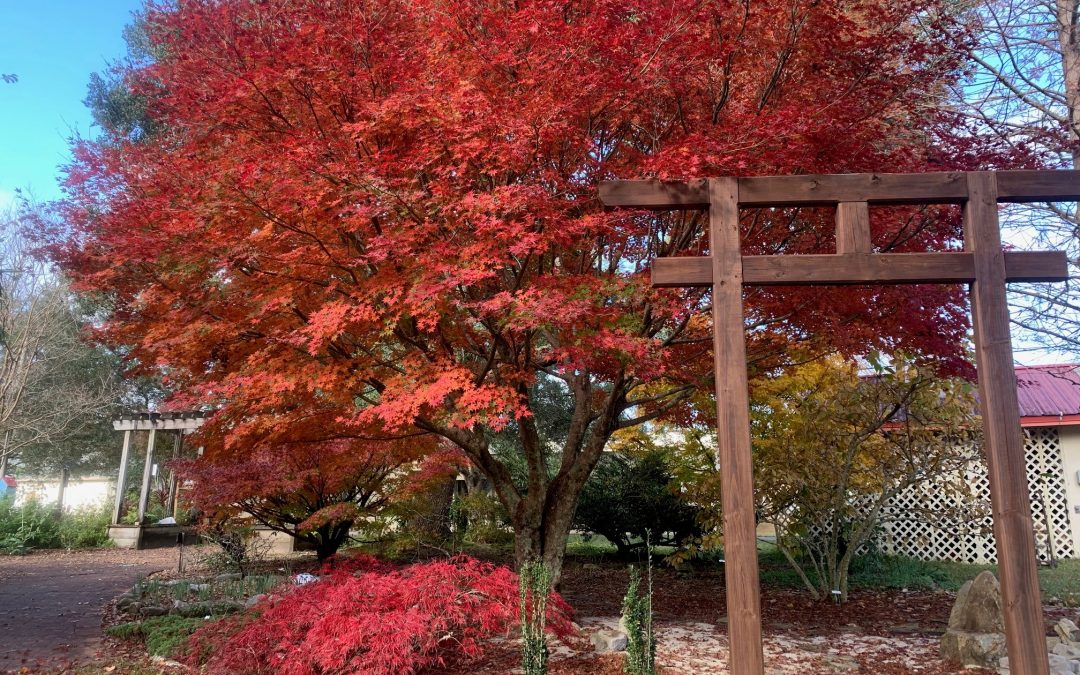
This specimen is suited to its spot with acid soil with a high Live oak tree canopy. The fall color is beautiful. Photo by Beth Bolles, UF IFAS Extension Escambia County.
Many people love the leaf color of Japanese maples, either burgundy leaf forms or selections with beautiful fall color. The palmate leaf shape also adds interest, along with varying degrees of coarse to finer textures.
My favorite characteristic of the Japanese maple is the growth form. Trees often have a layered appearance with branches extending outward, making a beautiful small canopy. Many selections have smooth bark but one cultivar, the Pine bark maple, has plated bark that looks like a pine tree.

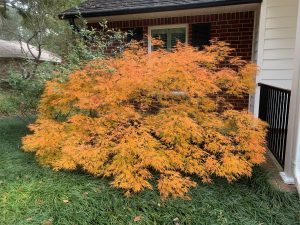
Pine bark Japanese maple form and fall leaf color. Photo by Beth Bolles, UF IFAS Extension Escambia County.
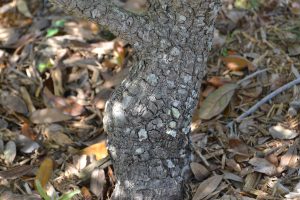
Interesting bark of the Pine bark maple. Photo by Beth Bolles, UF IFAS Extension Escambia County.
Although the growth rate is slow to moderate, be sure to research the plant size of the cultivar you want. There are small tree forms that will reach an average of 20 feet and plants that only grow about 5 feet in twenty years. Our cool season is the best time to plant a Japanese maple if your landscape is suited for this tree.
by Daniel J. Leonard | Sep 19, 2024
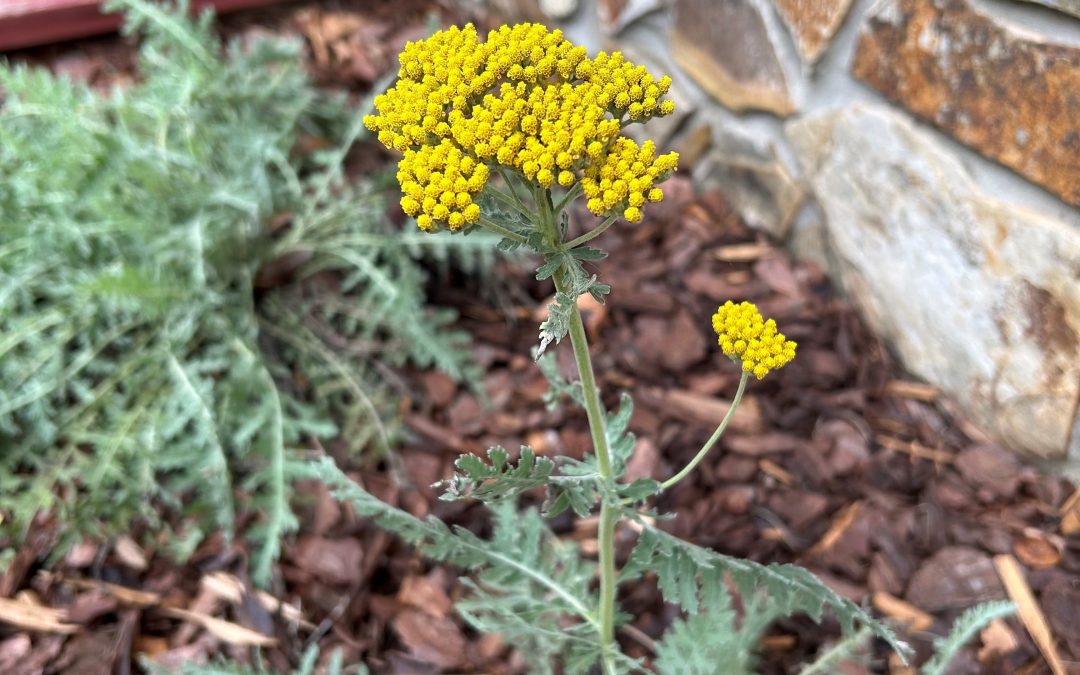
Problem areas in the landscape – everyone has them. Whether it’s the spot near a drain that stays wet or the back corner of a bed that sunshine never touches, these areas require specialized plants to avoid the constant frustration of installing unhealthy plants that slowly succumb and must be replaced. The problem area in my landscape was a long narrow bed, sited entirely under an eave with full sun exposure and framed by a concrete sidewalk and a south-facing wall. This bed stays hot, it stays dry, and is nigh as inhospitable to most plants as a desert. Enter a plant specialized to handle situations just like this – Yarrow ‘Moonshine’.
Yarrow (Achillea spp.) is a large genus of plants, occurring all over the globe. To illustrate, Common Yarrow (Achillea millefolium) is native to three different continents (North America, Europe, and Asia), making it one of the most widely distributed plants in the world. And though it was commonly grown and used in antiquity for medical purposes (the genus name Achillea is a reference to Achilles, who supposedly used the plant as a wound treatment for himself and his fellow Greek soldiers), I and most of you are probably more interested in how it looks and performs in the landscape.
‘Moonshine’ Yarrow foliage.
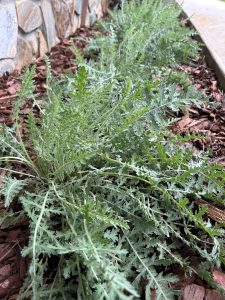
All species of Yarrow share several ornamental traits. The most obvious are their showy flowers, which occur as large, flattened “corymbs” and come in shades of white, pink, red, and yellow. I selected the cultivar ‘Moonshine’ for my landscape as it has brilliant yellow flowers that popped against the brown wall of the house. Equally as pretty and unique is the foliage of Yarrow. Yarrow leaves are finely dissected, appearing fernlike, are strongly scented, and range in color from deep green to silver. Again, I chose ‘Moonshine’ for its silvery foliage, a trait that makes it even more drought resistant than green leaved varieties.

‘Moonshine’ Yarrow inflorescence.
If sited in the right place, most Yarrow species are easy to grow; simply site them in full sun (6+ hours a day) and very well drained soil. While all plants, Yarrow included, need regular water during the establishment phase, supplemental irrigation is not necessary and often leads to the decline and rot of Yarrow clumps, particularly the silver foliaged varieties like ‘Moonrise’ (these should be treated more like succulents and watered only sparingly). Once established, Yarrow plants will eventually grow to 2-3’ in height but can spread underground via rhizomes to form clumps. This spreading trait enables Yarrow to perform admirably as a groundcover in confined spaces like my sidewalk-bound bed.
If you have a dry, sunny problem spot in your landscape and don’t know what to do, installing a cultivar of Yarrow, like ‘Moonshine’, might be just the solution to turn a problem into a garden solution. This drought tolerant, deer tolerant, pollinator friendly species couldn’t be easier to grow and will reward you with summer color for years to come. Plant one today. For more information on Yarrow or any other horticultural question, contact your local UF/IFAS County Extension Office.
by Larry Williams | Sep 19, 2024

Normal fall leaves on deciduous crape myrtle. Credit: Larry Williams
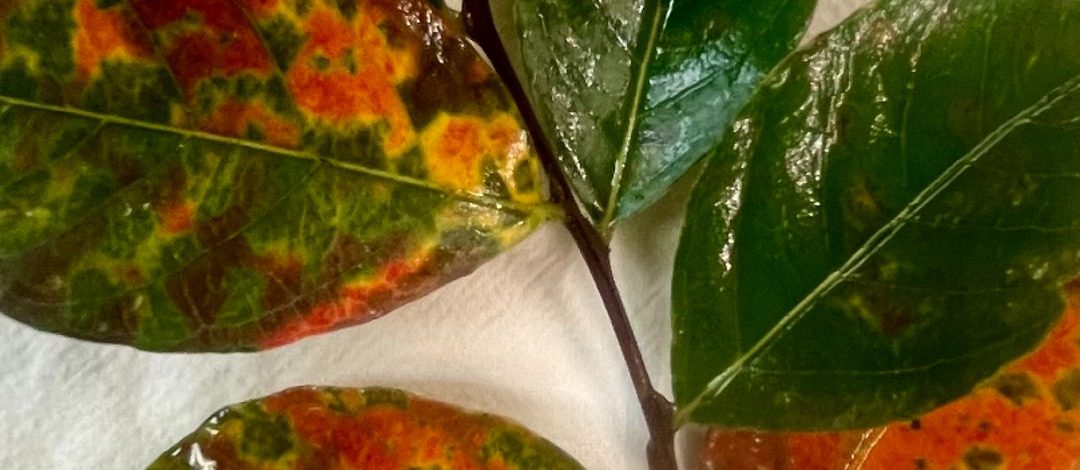
Imagine you’re a leaf on a deciduous tree. In spring, you emerge and are blemish-free. You experience the first rays of light. You’ve never existed before. You begin to photosynthesize. This is what green leaves do. You’re normal.
The first windstorm occurs in April, blowing you into other leaves, branches and stems. You sustain a puncture wound. Trees don’t heal. So, any damage is permanent.
In May, a small population of aphids dine on the tree’s leaves. Ladybugs consume most of the aphids and a blowing rain dislodges the remaining few.
During the extended hot, dry weather of June and July, the tree’s owner is not watering properly and the tree begins dropping leaves. This is a normal process in many tree species during periods with insufficient moisture.
But you stay firmly attached.
The tree’s owner overdoes it in fertilizing his lawn and burns some of the tree’s leaves as a result. Most tree roots are shallow, having access to lawn fertilizer. Your leaf margin becomes brown and crisp as a result.
In August, you’re exposed to direct sunlight all day, partly because of the longer day length and partly because of the loss of other leaves that once shaded you.
In September, the tree’s owner applies weed and feed to his lawn. Tree roots growing in the lawn pull up some of the herbicide.
Tree roots grow two to three times beyond the branches, having access to herbicides applied to adjacent lawn areas. The herbicide injures many of the leaves, including you.
Shorter days and cooler temperatures of fall bring on changes in your physiology. The green pigment chlorophyll that has allowed you to produce sugars through photosynthesis since you first emerged is now breaking down.
As a result, your green color fades and fungal spots, sun scald and the puncture wound from spring become visible.
During October and November, many neighboring leaves turn loose and fall to the ground. This is part of the normal senescence process on deciduous trees.
Before you fall, the tree’s owner notices that you don’t look so good and becomes concerned about your brown spots instead of the uniform green color you had in spring. He has visions of another dead tree and rushes to his County Extension Office carrying you in hand.
A Master Gardener Volunteer explains to the tree’s owner that the spots are a natural part of the senescence process. The leaf is at the end of its life.
The tree’s owner is provided information on proper tree care.
The following spring, the tree produces new, healthy leaves, is provided better care and lives happily ever after!