by Donna Arnold | Jul 6, 2025
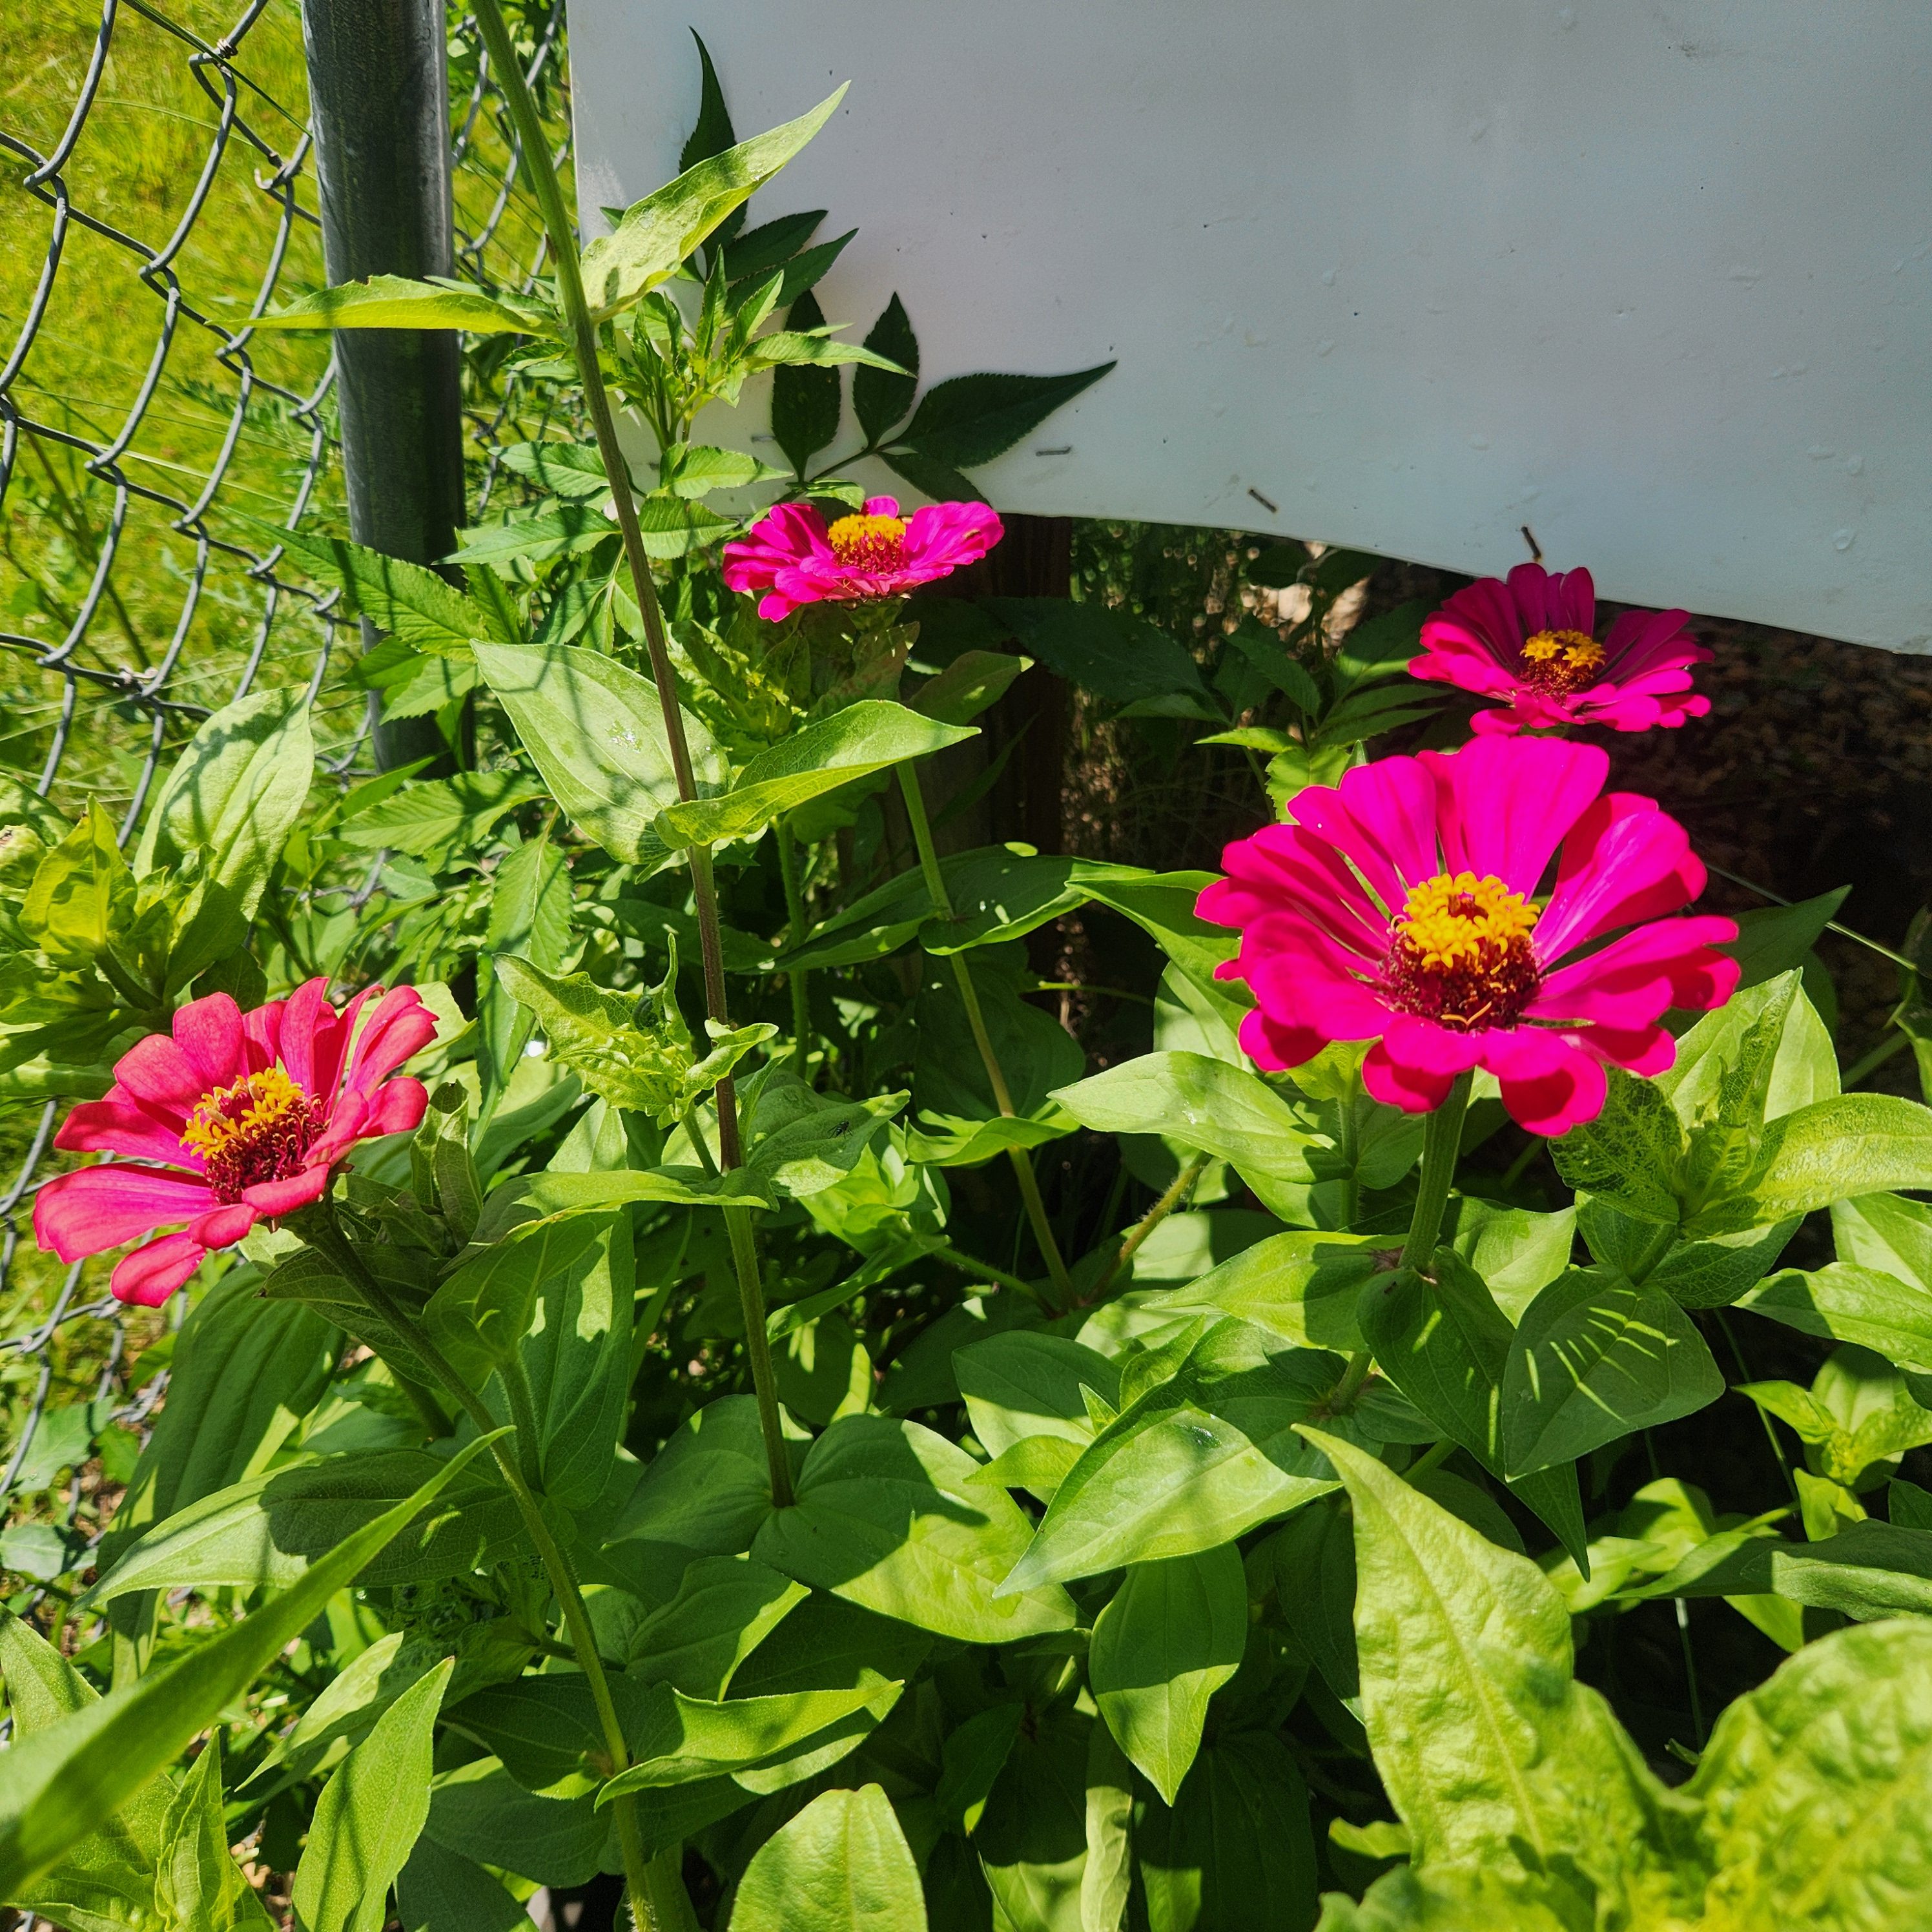
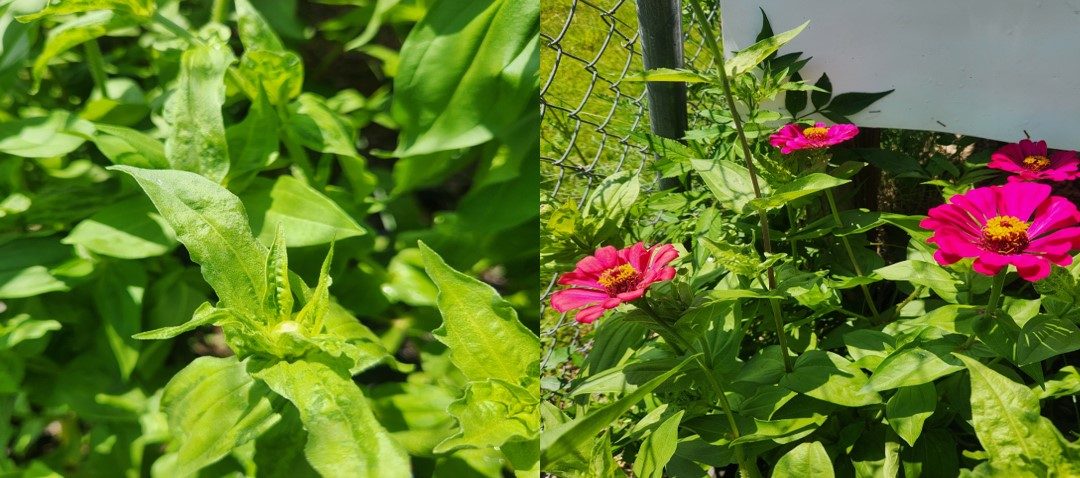
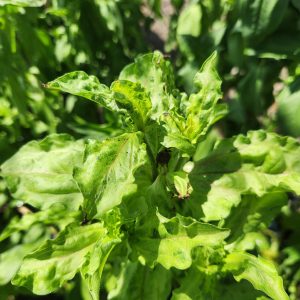
Zinnia Woes: What’s Causing Terminal Shoot Curling?
On a quiet stroll to the greenhouse early Monday morning, something unusual caught my eye—our zinnia plants looked noticeably different. Their vibrant green shoots had begun to curl at the tips, a subtle but clear sign that all was not well. Do not be alarmed if your zinnias are showing similar symptoms—it is a common issue. Curling at the terminal shoots is often a plant’s way of signaling stress. Whether it is due to environmental factors, pest activity, or nutrient imbalance, these twisted tips are clues worth investigating. Understanding the “why” behind the curl is the first step toward helping your zinnias return to their radiant, blooming selves
Common Culprits Behind Curling Zinnias
Environmental Stress: Zinnias are sun-lovers, but extreme heat, strong winds, or sudden temperature swings can cause their terminal shoot to curl as a defense mechanism.
Watering Woes: Both overwatering and underwatering can lead to leaf curls. Too much water suffocates roots, while too little causes drought stress—either way, the plant reacts by curling its leaves.
Pests: Aphids, thrips, and spider mites are notorious for feeding on tender new growth. Their sap-sucking habits distort leaves and can transmit viruses.
Diseases: Fungal infections like powdery mildew or bacterial leaf spot can cause curling, especially when combined with poor air circulation.
Nutrient Deficiencies: A lack of nitrogen, magnesium, or manganese can lead to curling and yellowing of new growth. Soil testing can help pinpoint the issue.
What You Can Do:
- Ensure consistent watering—moist but not soggy soil is ideal.
- Inspect regularly for pests and treat with neem oil or insecticidal soap.
- Improve air circulation by spacing plants properly and pruning overcrowded areas.
- Feed with a balanced fertilizer and consider a soil test if symptoms persist.
- Remove and destroy severely affected plants to protect the rest of your garden.

Healthy zinnias reward you with bold, cheerful blooms. A little detective work now can keep your garden dazzling all season long. For more information on Zinnias, contact your local Extension office or follow the links below.
https://gardeningsolutions.ifas.ufl.edu/plants/ornamentals/zinnia/
https://edis.ifas.ufl.edu/publication/FP623
https://nwdistrict.ifas.ufl.edu/hort/category/annuals-2/page/2/#:~:text=When%20planting%20zinnias%2C%20it’s%20recommended,than%20the%20foliage%20whenever%20possible.
by Beth Bolles | Jun 20, 2025
Shade is a wonderful feature in the landscape as we move into our summer months. It can also offer an opportunity to include a different palette of beautiful plants the bring color and brighteness to some filtered shade or full shade locations.
Here are a few plants to consider for those low light areas of the yard.
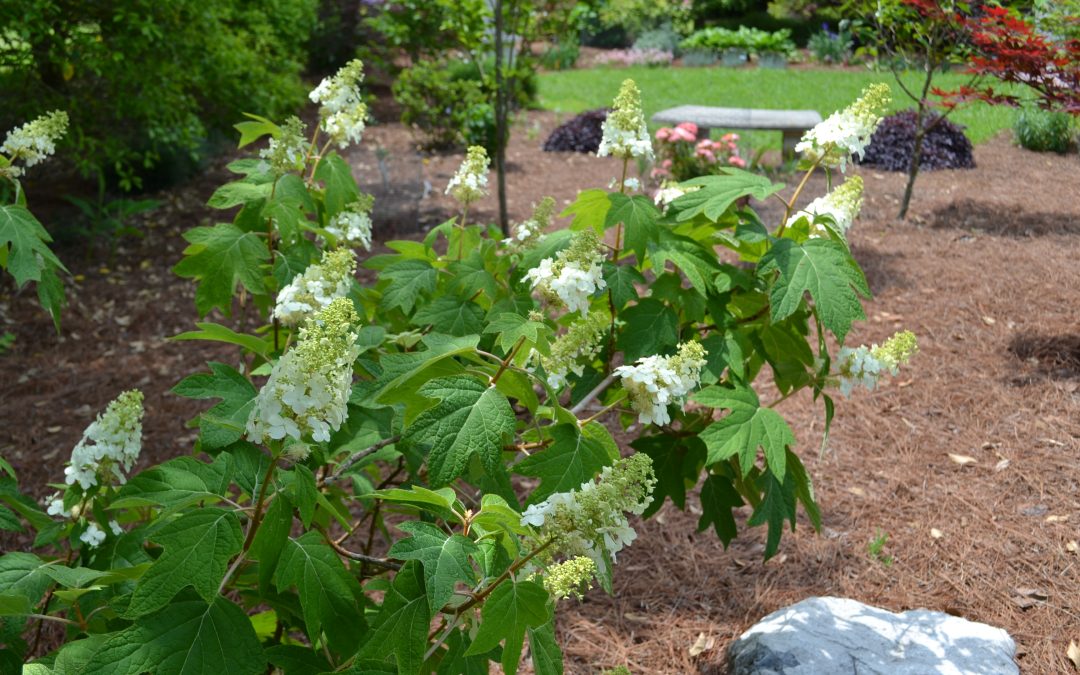
The native oakleaf hydrangea, Hydrangea quercifolia will do well in dappled shade spots. The leaves are attractive on their own but the addition of large flowers make it very showy. This native hydrangea will like a little moisture but soils should be well drained. A little morning sun is fine but afternoon shade is very helpful as the summer months progress.
The old standard Japanese aucuba, Acuba japonica, is a favorite with it’s green leaves speckled with yellow. New growth is damaged by sun so this evergreen shrub is best with a good amount of shade. Be sure to place in a spot with good air circulation to make the environment less conducive to some plant pests.
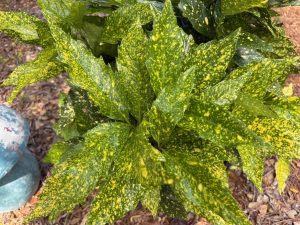
Each Aucuba leaf has a unique pattern. Photo by Beth Bolles, UF IFAS Extension Escambia County.
One of the shrimp plants that really needs shade is the White shrimp plant, Justicia betonica. Although this can be damaged in freezing weather, it is worth replanting every spring in a small grouping. Plants are easily started from cuttings and sometimes they will return from roots in the protected shade areas.
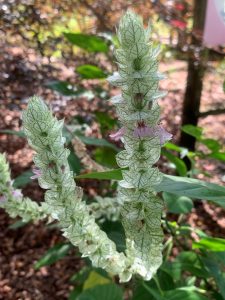
White bracts with pink flowers of White shrimp plant. Photo by Beth Bolles, UF IFAS Extension Escambia County.
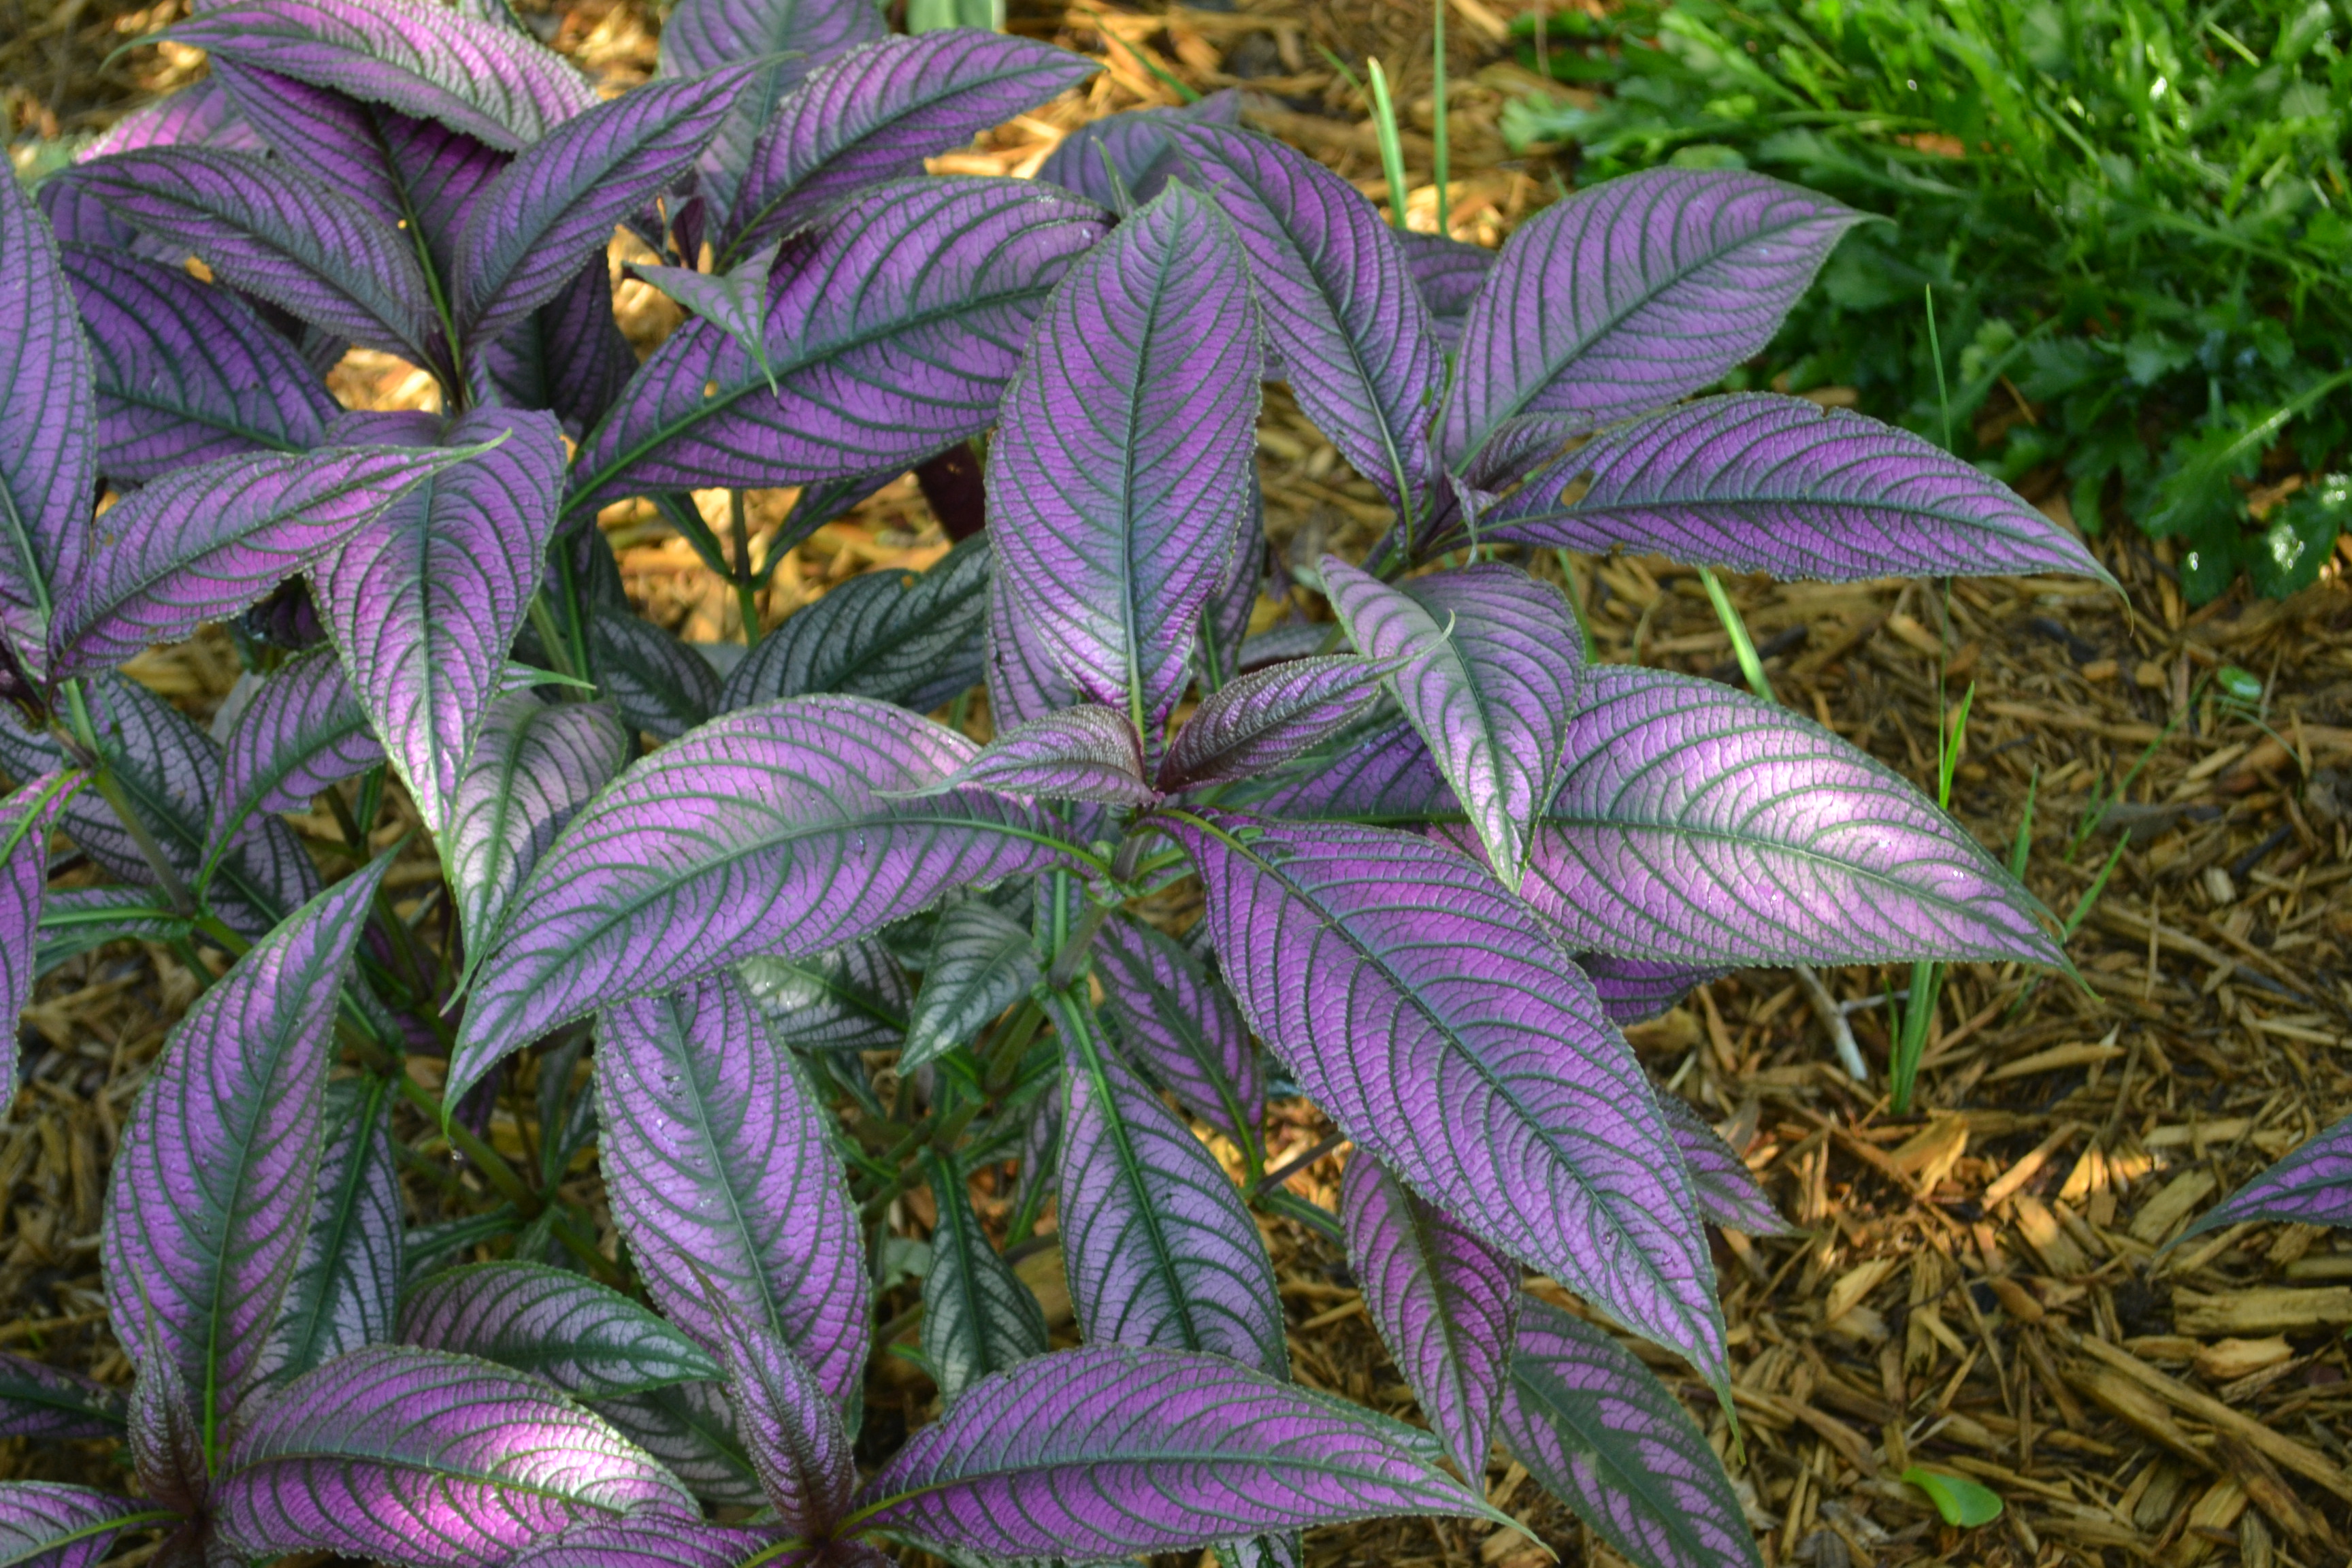
An annual that is very showy for shade is related to the shrimp plant. Persian shield, Strobilanthes dyerianus is grown for it’s iridescent purple and silver foliage. It thrives in our heat with a little water when rainfall is lacking. It grows well either planted in the ground or in a container to provide bright color amongst the green foliage plants of your shady spot.
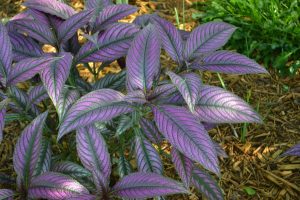
A bit of dappled morning sunlight on the Persian shield leaves. Photo by Beth Bolles, UF IFAS Extension Escambia County.
Most people know the Cast iron plant, Aspidistra elatior, which is a full shade plant. Plants that receive too much sunlight with have scalding spots. Although green foliage is attractive in summer, consider one of the cultivars with various types of variegation. You may choose a selection with white or yellow stripes through leaves or a plant with lots of white spots throughout green leaves.

by Mark Tancig | May 28, 2025
Extension Agents get used to hearing that the local Extension Office is the community’s best kept secret. As much as we try to let folks know we’re here, many are still unaware of the services we provide. Even amongst the residents that are familiar with us, some of the services available remain unknown, especially our identification and diagnostic services. Here’s a rundown on some of the services available through your UF/IFAS Extension service.
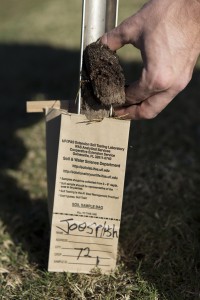
Taking a soil sample. UF/IFAS Photo by Tyler Jones
Soil Testing
This is probably our most well-known service, but it’s worth a reminder. For only $3 (pH only) or $10 (pH plus plant macro- and micro-nutrient values) per sample, plus shipping, you can have your soil analyzed in a state-of-the-art facility. To be clear, soil testing only provides a reading of your soil’s chemistry, specifically pH (acidity/alkalinity) and plant nutrient values. It does not provide information on any diseases or potential toxins that may be present in the soil. In addition to the results, you can specify the general type of plant you’re trying to grow (various grass species, vegetables, citrus, general trees and shrubs, etc.) and the report will provide recommendations to adjust the nutrient levels to be sure that plant is able to thrive. Your local agent receives a copy to help answer any questions you may have about the results or recommendations. More about soil and nutrient testing can be found at the Extension Analytical Services Laboratory website.

Experts at the Plant Disease Diagnostic Clinic can identify diseases present. Credit: UF/IFAS.
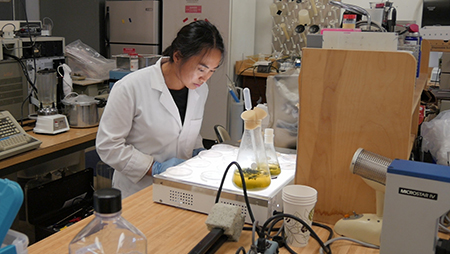
Plant Disease Diagnosis
UF/IFAS Extension has a great plant pathology lab on campus, but we also have a great resource close by in Gadsden County at the North Florida Research and Education Center’s (NFREC) Plant Disease Diagnostic Clinic. For a modest fee of $30, you can submit a sample of a diseased plant, and the lab manager will use the available methods to confirm the presence of disease and identify the disease-causing organism. Just like with the soil test results, you are provided with a recommendation on how to best treat the disease. The NFREC Plant Disease Diagnostic Clinic website has submittal forms, contact information, and directions for collecting a quality sample.
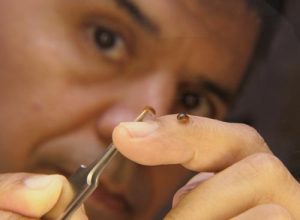
Need help with insect id? The DDIS system can help. Credit: UF/IFAS.
Plant and Insect Identification
While your local extension agent enjoys receiving plant and insect identification, there is an online submittal option available to use as well through our Distance Diagnostic Identification System (DDIS). You can set up an account and then upload photos of plants, insects, mushrooms, even diseased plants, and an expert on UF’s campus will do their best to identify it for you. The DDIS website has more information to help you set up a user account.
The Florida Cooperative Extension Service has many ways to help Florida citizens diagnose their landscape issues using science-based methods conducted by experts in state-of-the-art facilities. The above services are just a selection of the diagnostic capabilities available. To see a complete list, visit the IFAS Diagnostic Services website. You can always contact your local extension office, too, for assistance in identifying plants and insects, as well as diagnosing diseases.
by Joshua Criss | Mar 6, 2025
Ah, springtime is approaching quickly. You and I both know you’re getting anxious to get out into your gardens to grow your plants. I’m not faulting you, far from it. You’ll find that your local Extension agents want your garden to succeed as much as you do. Because we all want you to have a bountiful harvest, we need to have a conversation about fertility in your lawns and gardens.
Definitions
Before we get too deep into this topic, let’s define nutrition. You may hear some refer to fertilizers as “plant food.” While this is a common phrase concerning fertilizers, it is not factually accurate. Food is associated with energy creation within an organism. Plants are autotrophs, meaning they convert sunlight into energy. So, under this premise, sunlight is plant food, whereas plant nutrition is the building blocks of tissues or catalysts of metabolic processes.
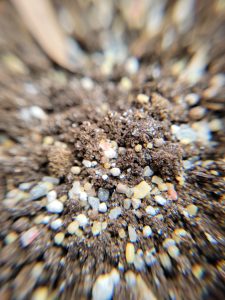
The 17 elements designated as plant essential nutrients are categorized based on the quantity needed for healthy growth. All are important to have in your soil; as per the “Law of the Minimum,” your plant’s development will be limited based on the most deficient element.
UF/IFAS Photo
Macros
Those elements with the largest demand within the plant are known as macronutrients. The three most critical of these are very often absent in fertilizer conversations as they cannot be added to soil in granule form. These are carbon, hydrogen, and oxygen, and their presence in your garden results from your cultural practices. You get them from air and water in the pore spaces of your soil. Appropriate tillage and irrigation are the only ways to provide these elements to your plants. They are critical for proper photosynthesis and fluid balance in the plant.
The most discussed elements are so vital that they make up the three numbers on every bag of fertilizer. These are nitrogen (N), phosphorous (P), and potassium (K), all of which may be added to soil to overcome deficiencies (N often being the limiting factor). These elements are crucial for protein creation, photosynthesis, and fluid movement.
Secondary Nutrition
UF/IFAS Photo: J. Criss
The next set of nutrients have less demand than NPK. They are sulfur (S), magnesium (Mg), and calcium (Ca). Ca is essential for cell structure but is often abundant in our soils. S is frequently rained out of the atmosphere (though you may still need to add some) and facilitates enzymatic processes in plant cells. Mg needs the most attention in this category as it has a lot of mythology among gardeners. You’ve likely heard you should add this element to “green up” your plants. While it is true that Mg is critical to chlorophyll, adding it without testing for deficiencies first is a recipe for poor plant growth.
Micros
Our final category of fertilizer is micronutrients. These are iron (Fe), manganese (Mn), boron (B), chlorine (Cl), zinc (Z), copper (Cu), molybdenum (Mo), and nickel (Ni). These serve various functions in the plant, mainly in metabolic processes.
To Sum Up
Plant fertilization is critical for lawns and gardens. It behooves gardeners to understand these elements and their role in plant growth. Once you do, you’ll understand the importance of applying the correct version of the element in the proper amount at a time and location to maximize use efficiency. You can learn more about what they do and how they react in the soil here. For more information, contact your local extension office.

by Lauren Goldsby | Dec 5, 2024
In recent months, I’ve noticed an increasing number of AI-generated plant photos being shared on social media. These posts feature plants that seem to have stepped out of a dream rather than a garden—orchids shaped like cats, elephant ears as tall as your house, and neon-colored variegated plants.
What is an AI generated photo? An AI, or artificial intelligence, generated photo is made using a computer program instead of being captured by a camera. These programs can produce images based on a user’s description or request, generating realistic or abstract photos. Scroll through the comments on these images and you’ll see a mix of reactions. Some love the photos, asking where they can find these plants. Others are quick to point out that they aren’t real. For the most part, these images are harmless fun, sparking creativity and potentially inspiring people to spend more time outdoors with their own plants.

This image was generated with the assistance of AI. Exceptionally large flowering plants do exist, but the varying leaf and flower sizes in this photo point to the use of editing or AI.
However, these AI-generated photos are also being used to market seeds and cuttings that do not actually exist. It’s easy to get caught up in the excitement of discovering a new plant you’ve never seen. To avoid being scammed online, look out for these signs of AI-generated photos.
AI-generated photos may look quite real at first glance, but a closer inspection often reveals common flaws.
- Unnatural details: Look for leaves growing into each other, flowers without stems, and other gravity defying traits. These are common errors made in computer generated images. Some images may show plants to be much larger than they appear in nature.

This image was generated with the assistance of AI. The flower on top seems to grow right into the leaf below.
- Blurred backgrounds: Close up shots with blurry backgrounds are frequently used in these listings. This blurring is used to hide inconsistencies and reduce the visibility of errors in these photos.
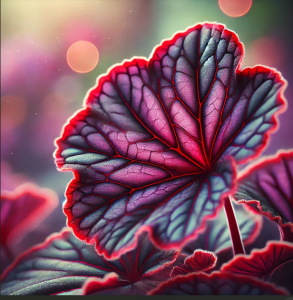
- Inconsistent photos: Check all photos in the listing for similarities and differences. Large differences between photos in the same listing could point to the use of AI. Plants shown below appear to be similar at first glance but show leaves with different shapes and color patterns. These leaves would not be found on the same plant.

These images were generated with the assistance of AI. Note the green outline in one leaf and red outline in the other.
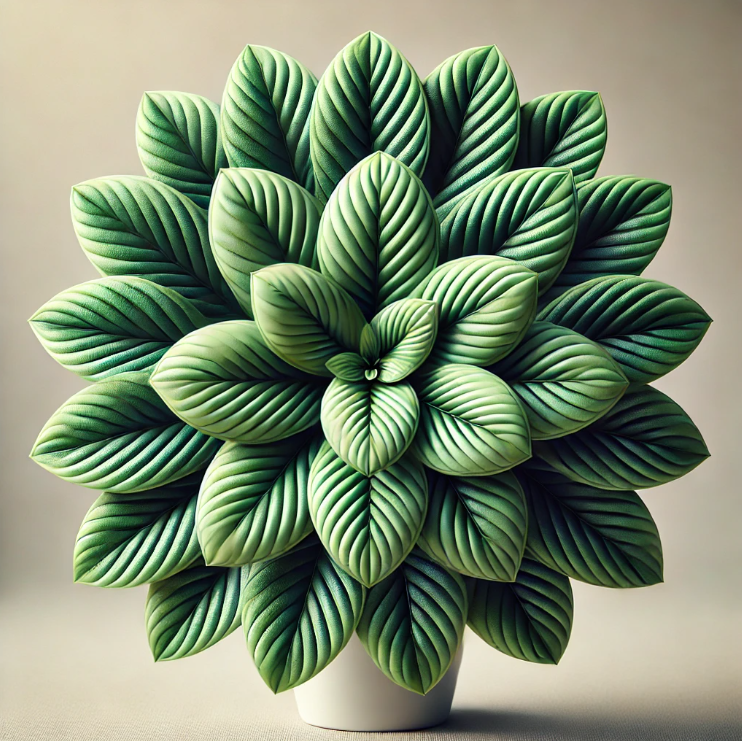
In real plants, leaf shapes and patterns are typically similar but not identical. AI-generated plant photos often have leaves and patterns that are either identical or differ more than a living plant would. To help differentiate between real and AI-generated images, watch for repetitive patterns that appear perfect, or identical on leaves. In nature, there are subtle differences within patterns and shapes that we expect to see.

This image was generated with the assistance of AI. All the leaves look identical here, in living plants we expect subtle differences and natural looking growth.
Before purchasing, search for more information about the advertised plant.
- Check for reputable vendors: If no other trusted vendors are selling it, it’s likely not real. Search for additional listings and compare descriptions and photos.
- Look for botanical names: The botanical name can be used to find out more information about the advertised plant.
- Use trusted sources: Avoid using social media and other unreliable sources to get more information on these plants. The Ask IFAS search engine can connect you with current Extension publications.
Still unsure?
If you’re uncertain, reach out to your local Extension office for guidance.
by Joshua Criss | Nov 21, 2024
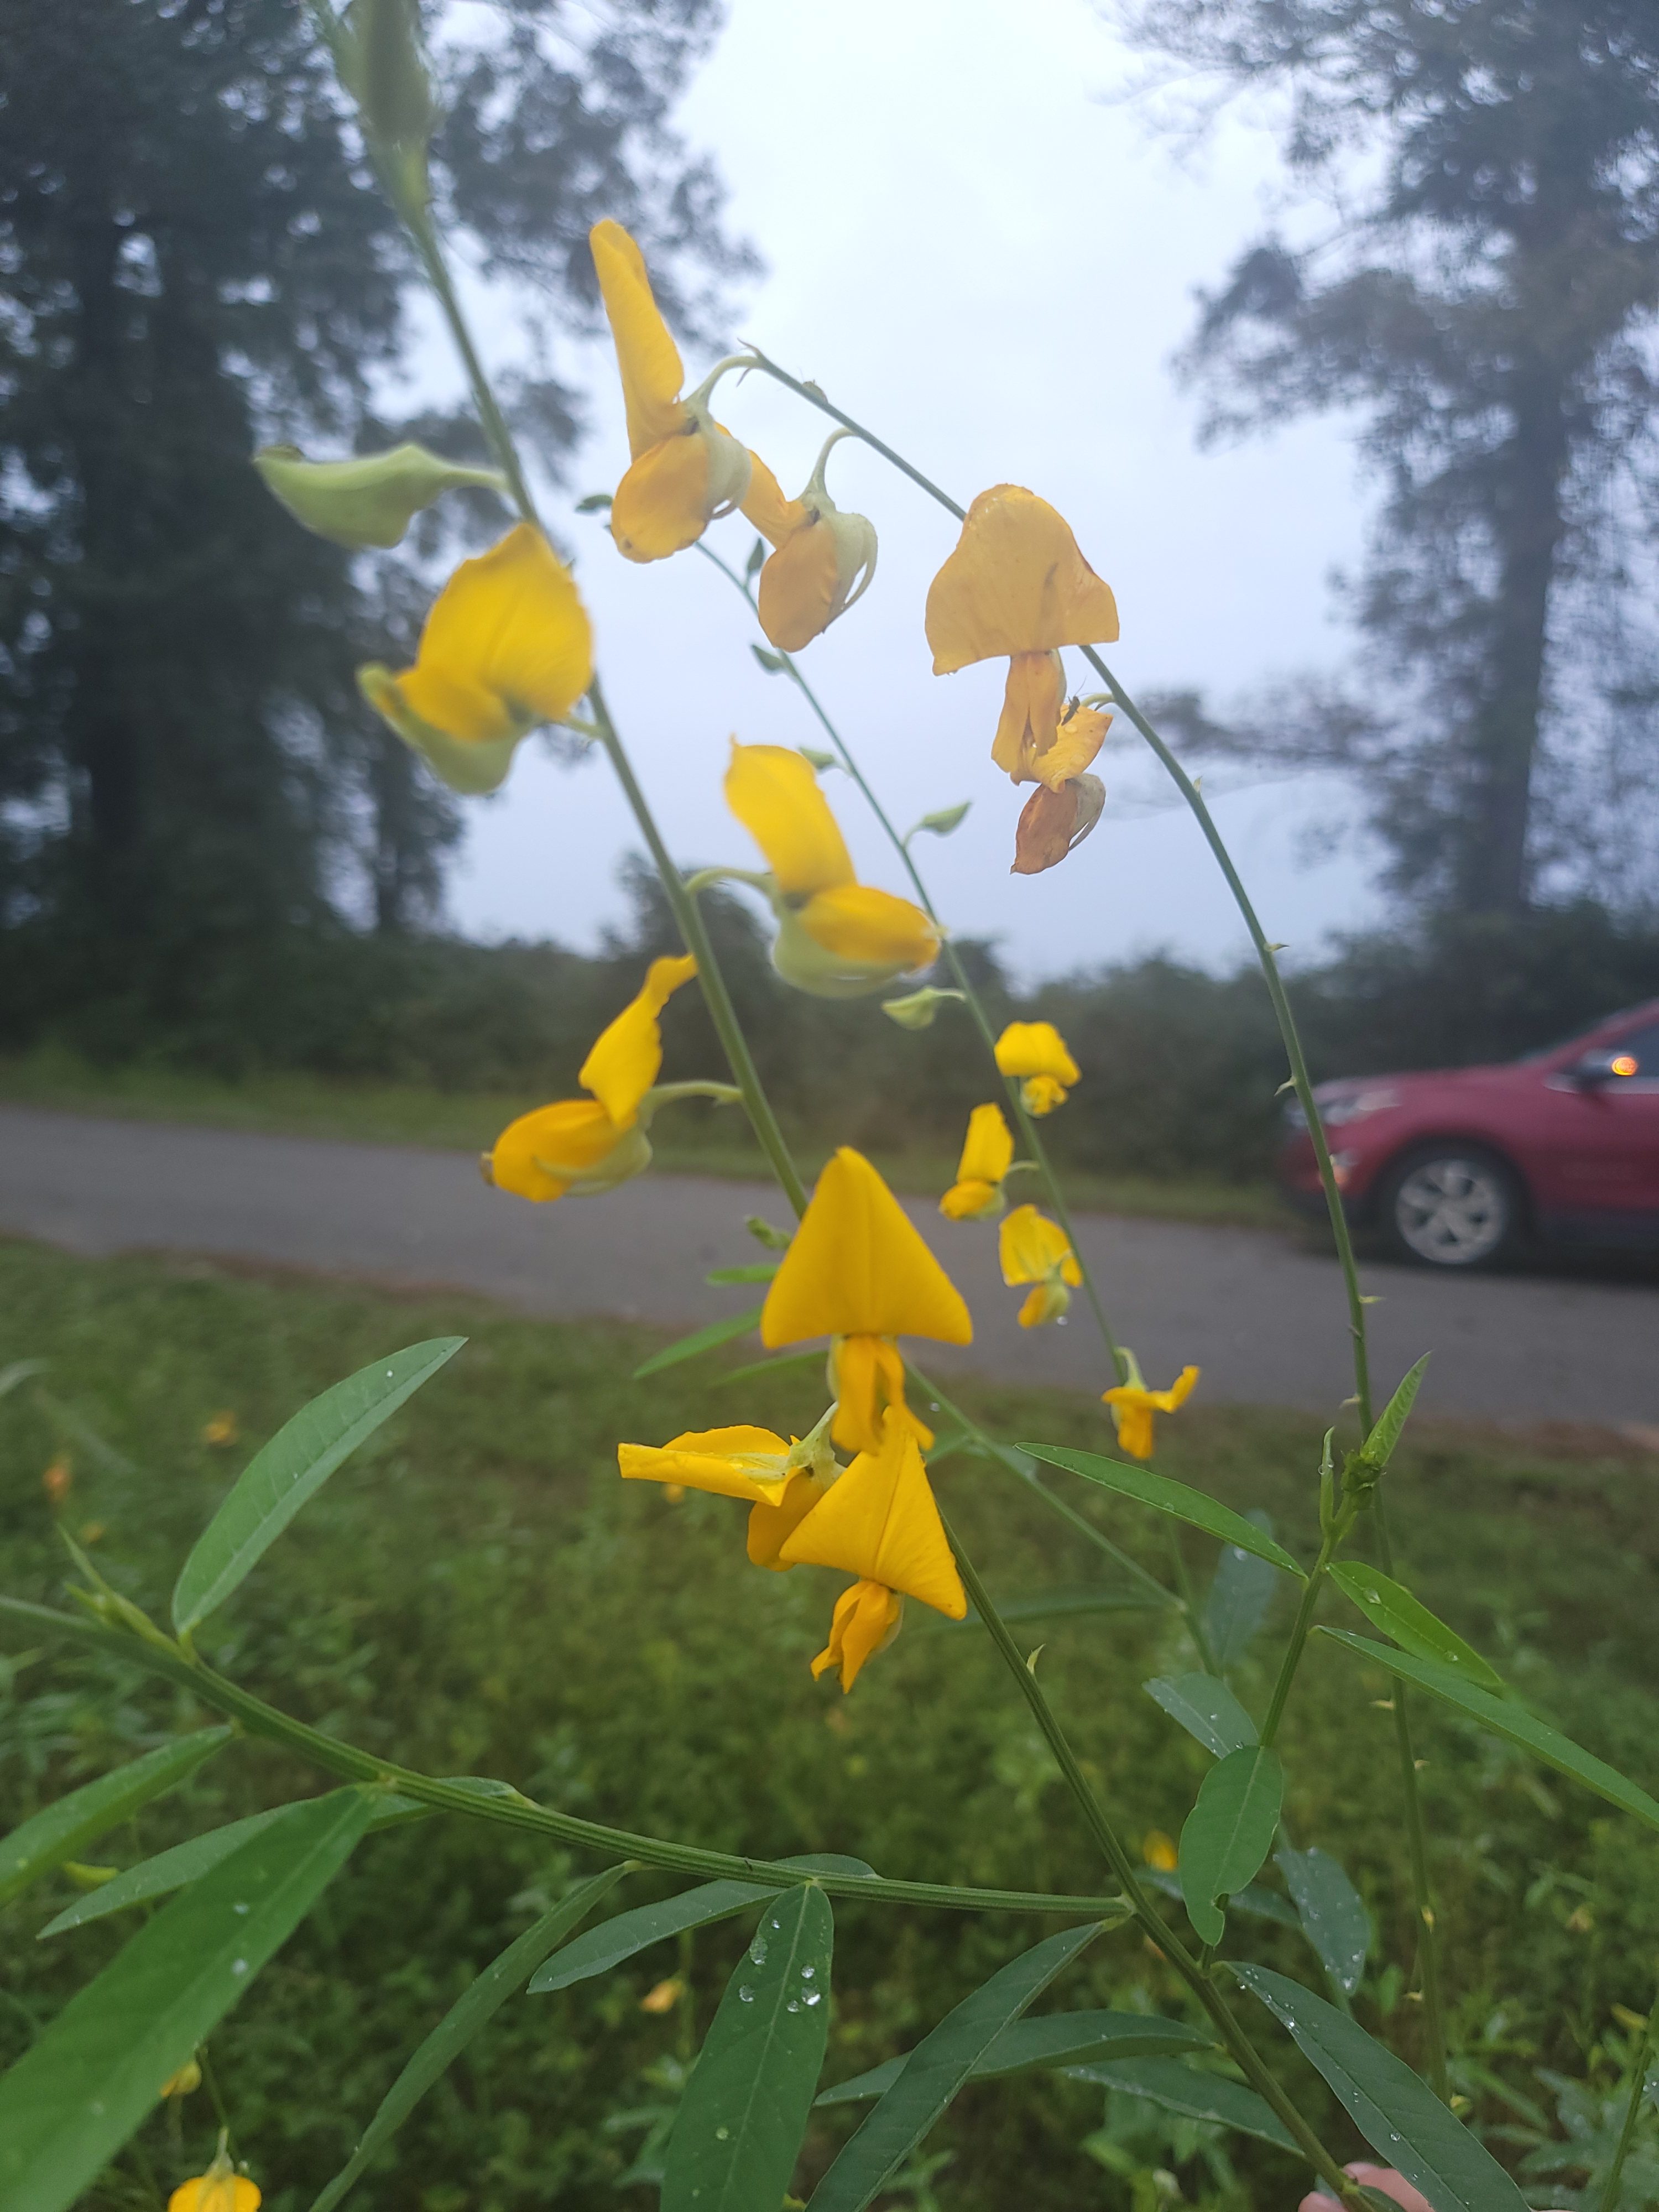
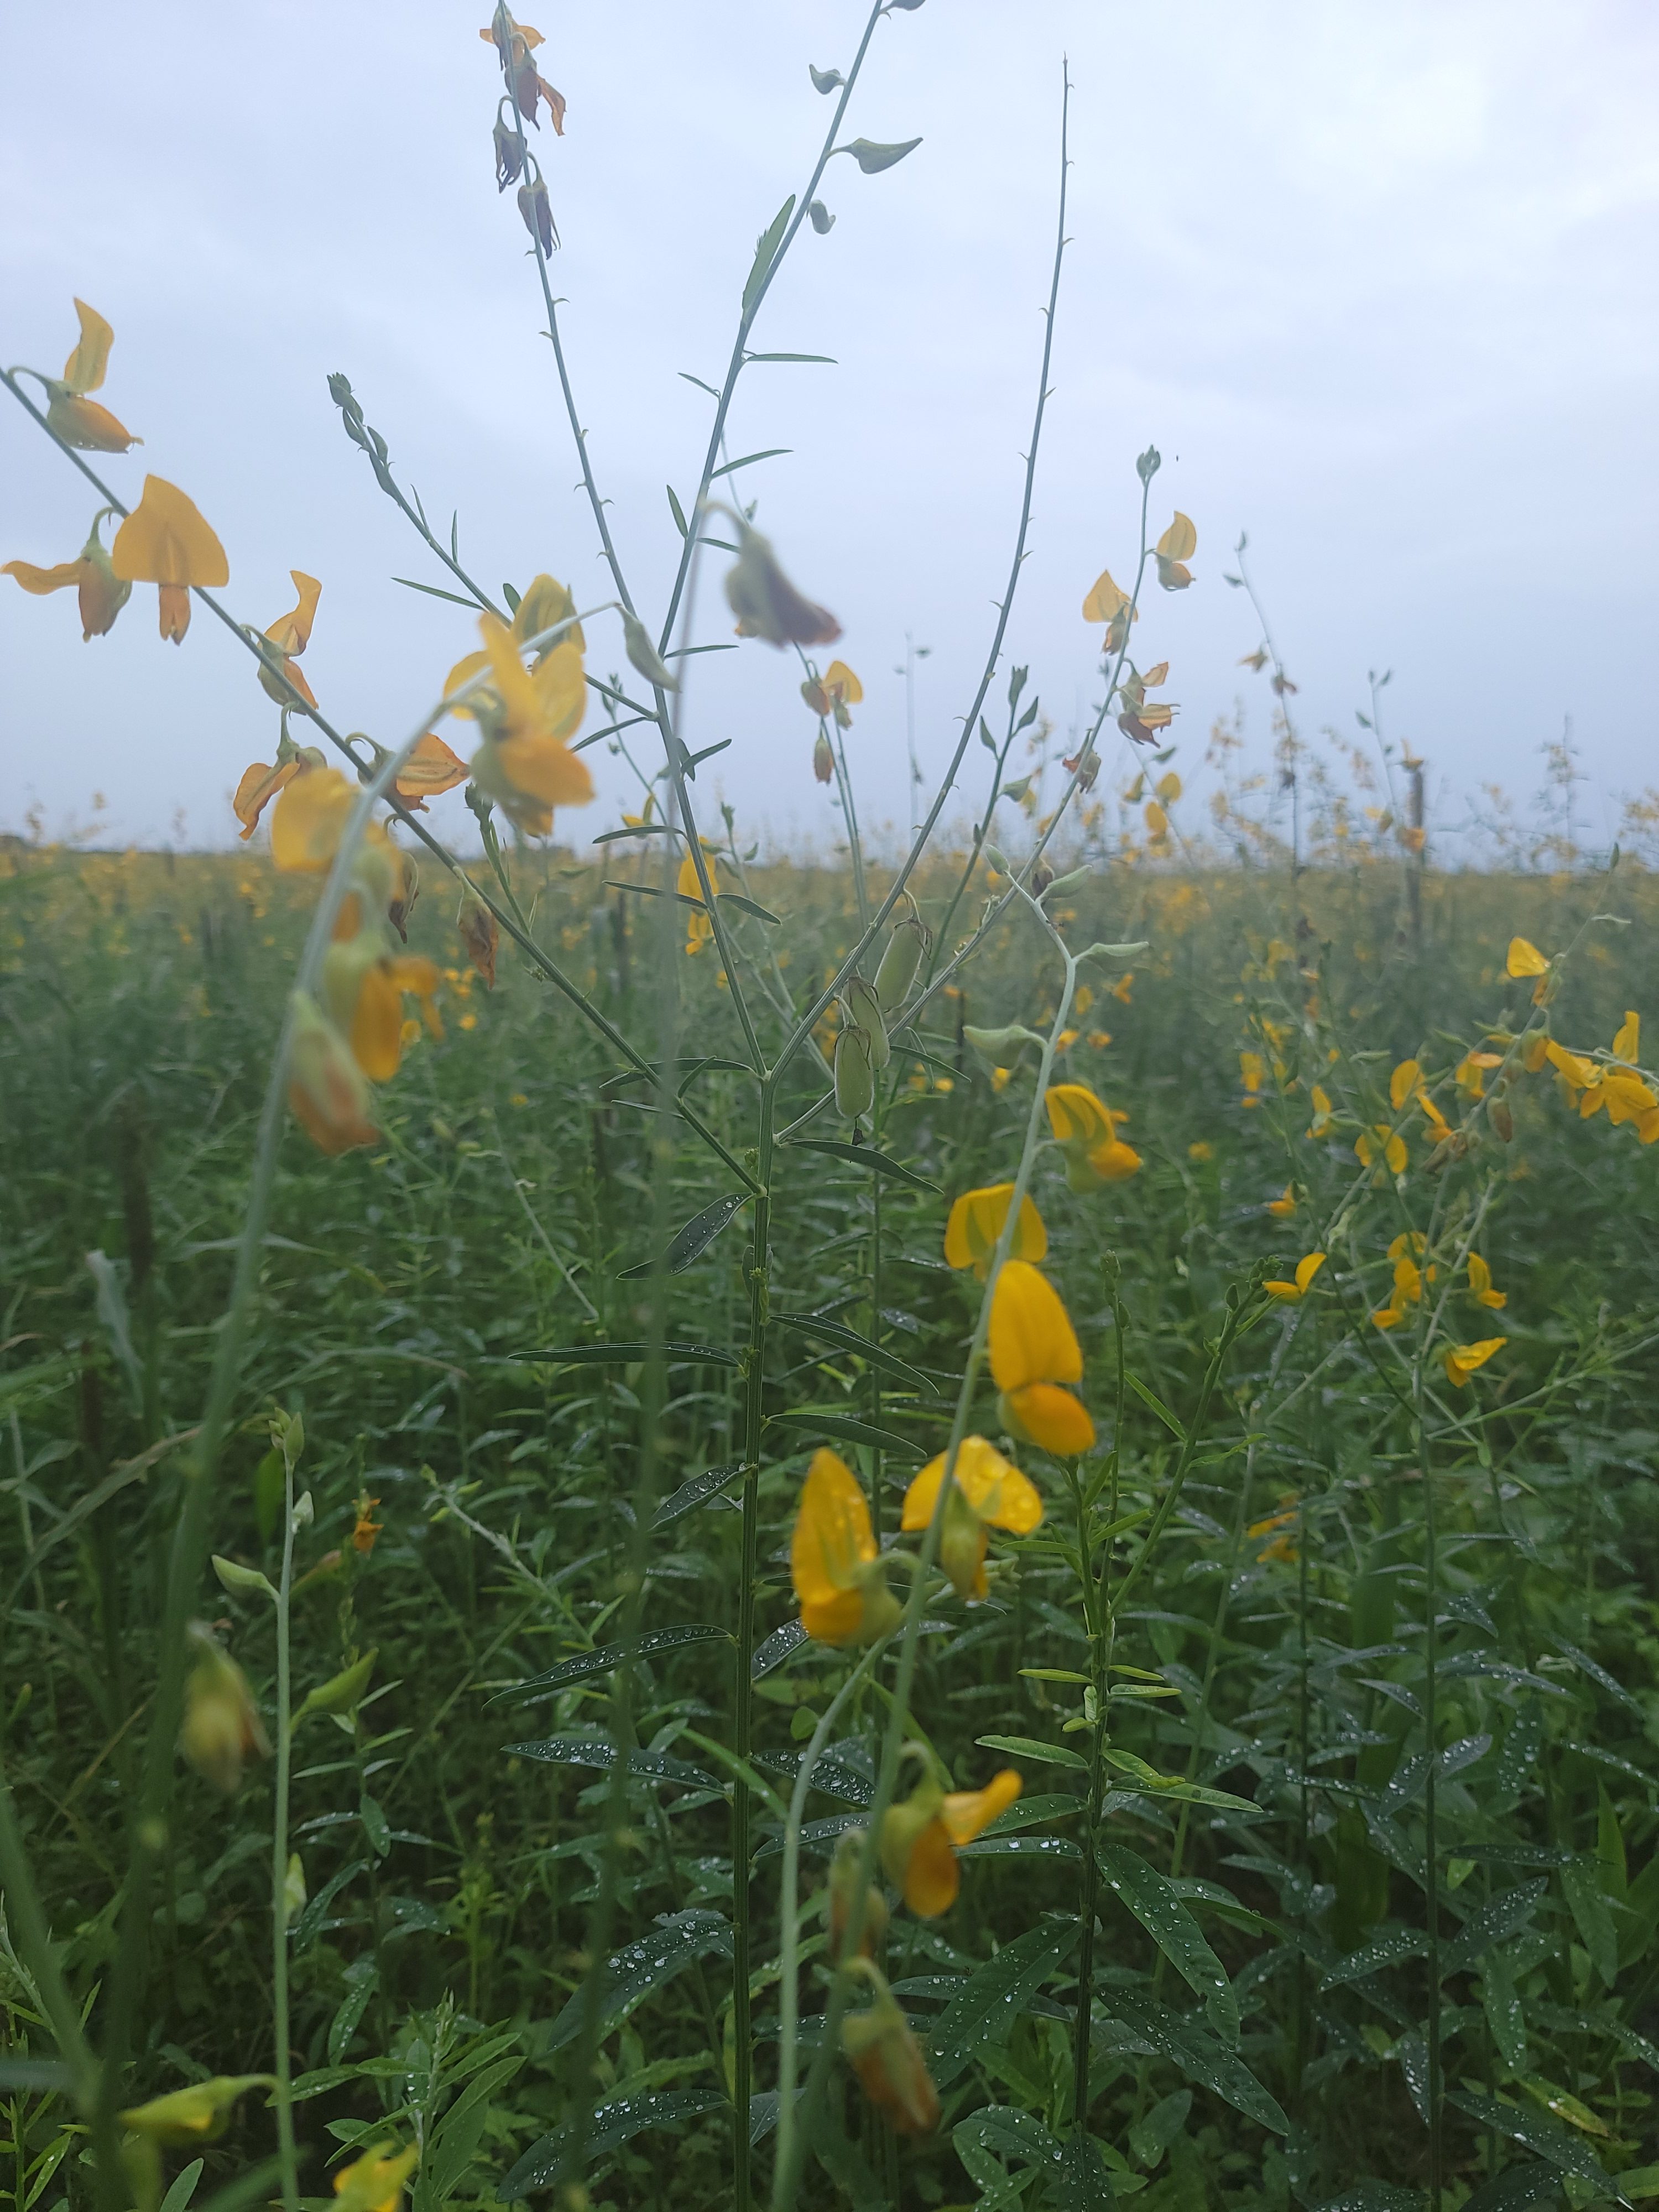
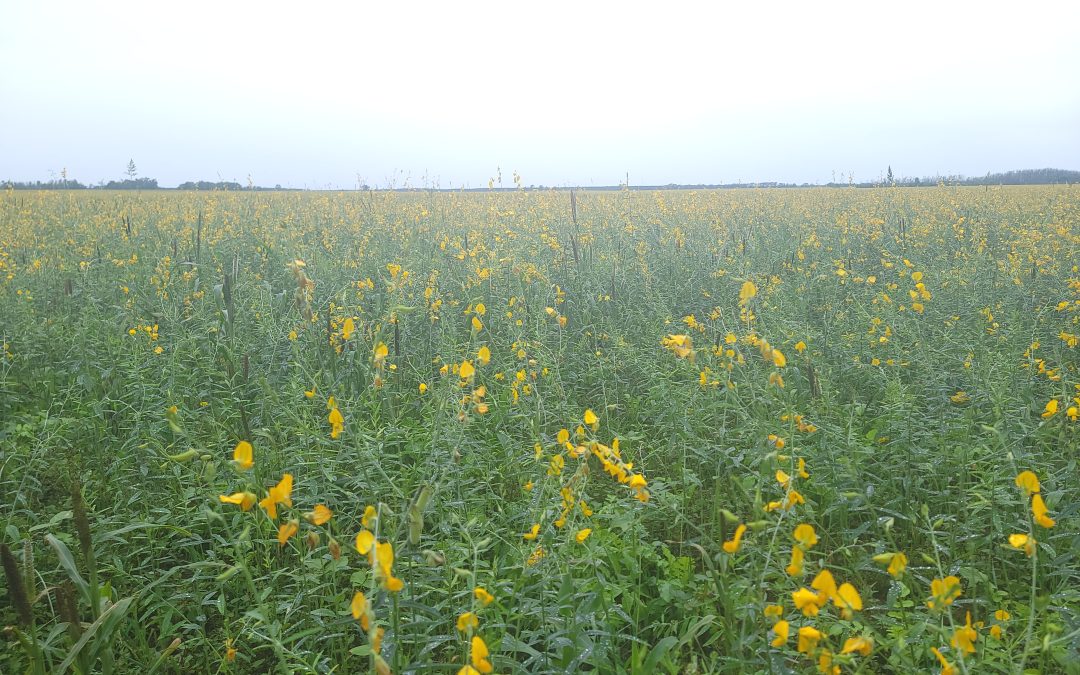
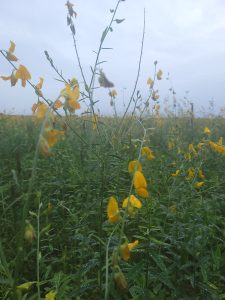
A Sea of Yellow
You do not often see a sea of yellow flowers on what was recently a field of row crops in North Florida. In this instance, the culprit is a cover crop called sunn hemp (Crotalaria juncea). Cover cropping, or green manure as it is sometimes known, is not a new concept. It is a great method for improving soil quality, adding organic matter, augmenting nitrogen supply, supporting pollinators when resources begin to wane, and combating nematodes. Incorporating this sustainable agriculture practice into home vegetable gardens is an excellent method to build long-term viability and production.
Many plants may be used in this capacity, but this article will focus on sunn hemp. This annual is an herbaceous, short-day flowering plant in the Lamiaceae or legume family. Its erect stems produce a great deal of biomass and, as a legume, will augment nitrogen stores within your soil profile. As if that wasn’t enough to sell you, this plant is also known to suppress nematode populations. Native to India and Pakistan, where sunn hemp is grown for fiber, this plant grows well in tropical and temperate environments. It will thrive in even sub-par conditions and requires little fertilizer input.
UF/IFAS Photo: Josh Criss
Seed Time
Seed this plant once your summer gardens have begun to wane. The shorter day length will keep the plant confined to about 3-4 feet while still allowing it to flower. It may also be planted earlier in the year to maximize below-ground biomass and add organic matter. In this scenario, the plant will likely grow to 7 feet tall with a closed canopy within 10 weeks.
Sunn hemp requires little fertilization as it is a legume, a plant family known to fix nitrogen from the atmosphere. This same mechanism is one of the features of this plant as a cover or green manure crop, as it can add up to 320 pounds of nitrogen per acre back to the soil when planted en masse.
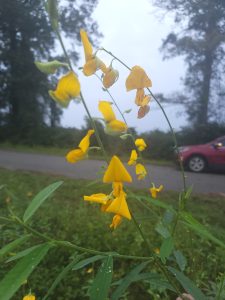
Seeding rates within a home garden are much smaller. A farmer may plant 30-50 pounds of seed, which is not practical in small-scale growing. Instead, aim to cover the garden area through broadcasting seed, as a denser planting will reduce the later branching of this plant. Ensure you have 8-12 weeks of warm, frost-free weather, and terminate them prior to reaching the full bloom stage. Doing so will provide your gardens with the same benefits seen in farm fields utilizing this sustainable practice.
UF/IFAS Photo: Josh Criss
To Sum it Up
Sunn hemp is an excellent plant for your gardens before your fall greens. The biomass it produces and the nitrogen it recovers make it very attractive to farmers and should raise eyebrows even in the home garden. The trick is learning to manage this plant within your crop rotation. For more information on soil management refer to these IFAS documents, or contact your local extension agent for additional information on this and any topic regarding your gardens and more.