The “Dog Days” are the hottest, muggiest days of summer. In the northern hemisphere, they usually fall between early July and early September. The actual dates vary greatly from region to region, depending on latitude and climate. Life is so uncertain right now. But, fall is coming.
In ancient times, when the night sky was not obscured by artificial lights, the Romans used the stars to keep track of the seasons. The brightest constellation, Canis Major (Large Dog), includes the “dog star”, Sirius. In the summer, Sirius used to rise and set with the sun, leading the ancient Romans to believe that it added heat to the sun. Although the period between July 3 and August 11 is typically the warmest period of the summer, the heat is not due to the added radiation from a far-away star, regardless of its brightness. The heat of summer is a direct result of the earth’s tilt.
Spending time outdoors this time of year is uncomfortable, potentially dangerous, due to the intense heat. However, the chinch bugs are very active in St. Augustine grass (for more information: http://edis.ifas.ufl.edu/lh036), and the summer flowers need water. So, take care of those tasks early in the day and then retreat to the air conditioning to plan your fall planting.
Plant tomato plants in August for fruit in October. Varieties such as Phoenix, Florida 91, Solar Set and Heat Wave II are good selections for setting fruit in high temperatures, should summer temperatures continue. Otherwise, try some of the newer UF/IFAS recommended varieties for fall planting in North Florida such as Bella Rosa, Tribute or Finishline. For more information on tomato selection refer to: http://edis.ifas.ufl.edu/in756. For information on other vegetables for fall gardening refer to the Florida Vegetable Gardening Guide: http://edis.ifas.ufl.edu/vh021.
Many bedding plants flower quickly and can add color to the fall landscape. These include pentas, African marigolds, torenia, zinnias, melampodium and scaevola. Other can be planted in October for blooms all
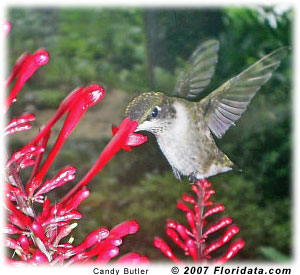
Hummingbird at Firespike flower
winter-long. Plan spaces and color themes for calendulas, pansies, snapdragons and violas. Add in ornamental cabbage or kale and some dusty miller to accent the garden. They too will perform through the cold. For more information on Annuals for the Florida Garden refer to: http://edis.ifas.ufl.edu/mg319.
Dependable fall blooming perennials include lion’s ear (Leonotis leonurus), pineapple sage (Salvia elegans), firebush (Hamelia patens), cigar plant (Cuphea micropetala), yellowbells (Tecoma stans) and firespike
(Odontonema strictum). Also, garden mums (Chrysanthemum sp.) and many different Irises will add color again in the spring. To gain information on perennials for Florida refer to: http://edis.ifas.ufl.edu/mg035.
Webster’s second definition of “dog days” is a period of stagnation or inactivity. But, even when the heat forces you to slow down on the labor-intensive work, there is plenty of gardening “activity” to do. Stay in the air conditioning and plan that spectacular fall and winter yard.
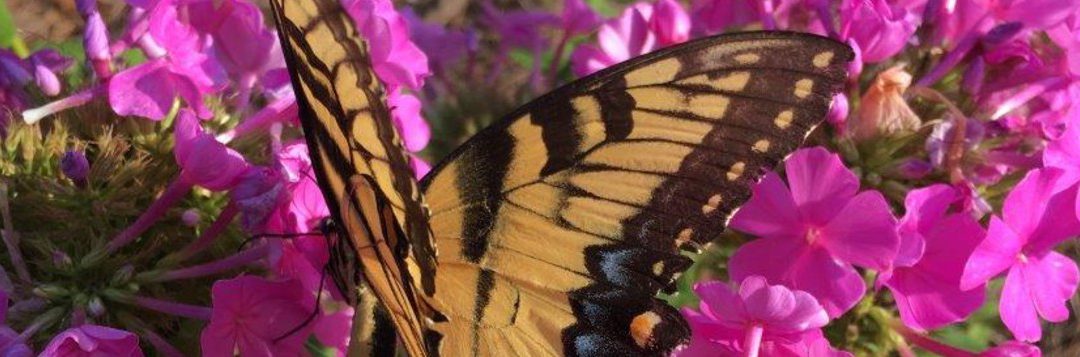
We hope you were able to join us for Gardening in the Panhandle LIVE! Butterfly Gardening on July 9th to learn about attracting butterflies to your Florida gardens. As promised, we have compiled a list of butterfly resources that we talked about during the webinar and a few extra that we didn’t have time to cover.
If you were not able to join us live, you can still watch the videos on Facebook or YouTube
Click on the topic of interest for links to resources:
Don’t forget to tune in for our next Gardening in the Panhandle LIVE! on July 23rd for Prepping for the Fall Garden. Register for that webinar on Zoom or Follow our Facebook Event for updates.
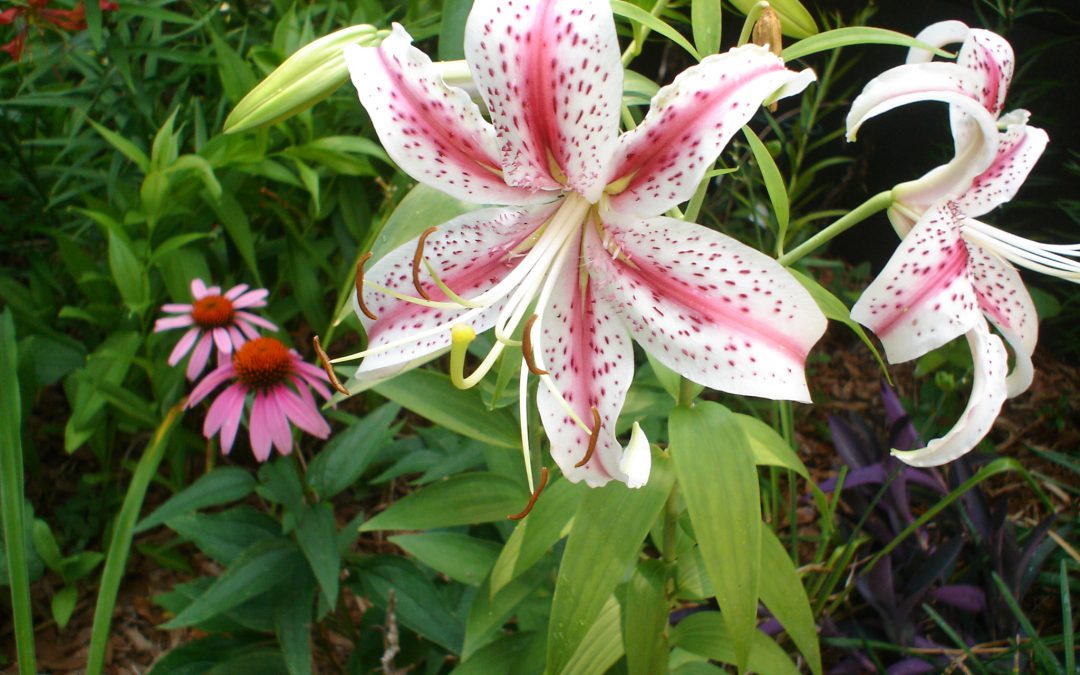
Lilies offer one of our most striking flowers in the garden. Learn a few basics about growing lilies in your own garden with UF IFAS Extension Escambia County Master Gardener Volunteers.
I live in the woods, so I mainly have a “natural” landscape. I remove trees, shrubs, and weeds as I see fit, but for the most part things just grow wild. However, there are a few spots in the yard where the previous owners did a little landscaping. Unfortunately, these spots have become a bit overgrown. One spot in particular features some gardenia plants around the HVAC units. At first, I was a little hesitant to prune these shrubs because they provide some shade to the units. However, they have become overgrown and I know they will grow back. I was patient to wait for them to finish flowering.
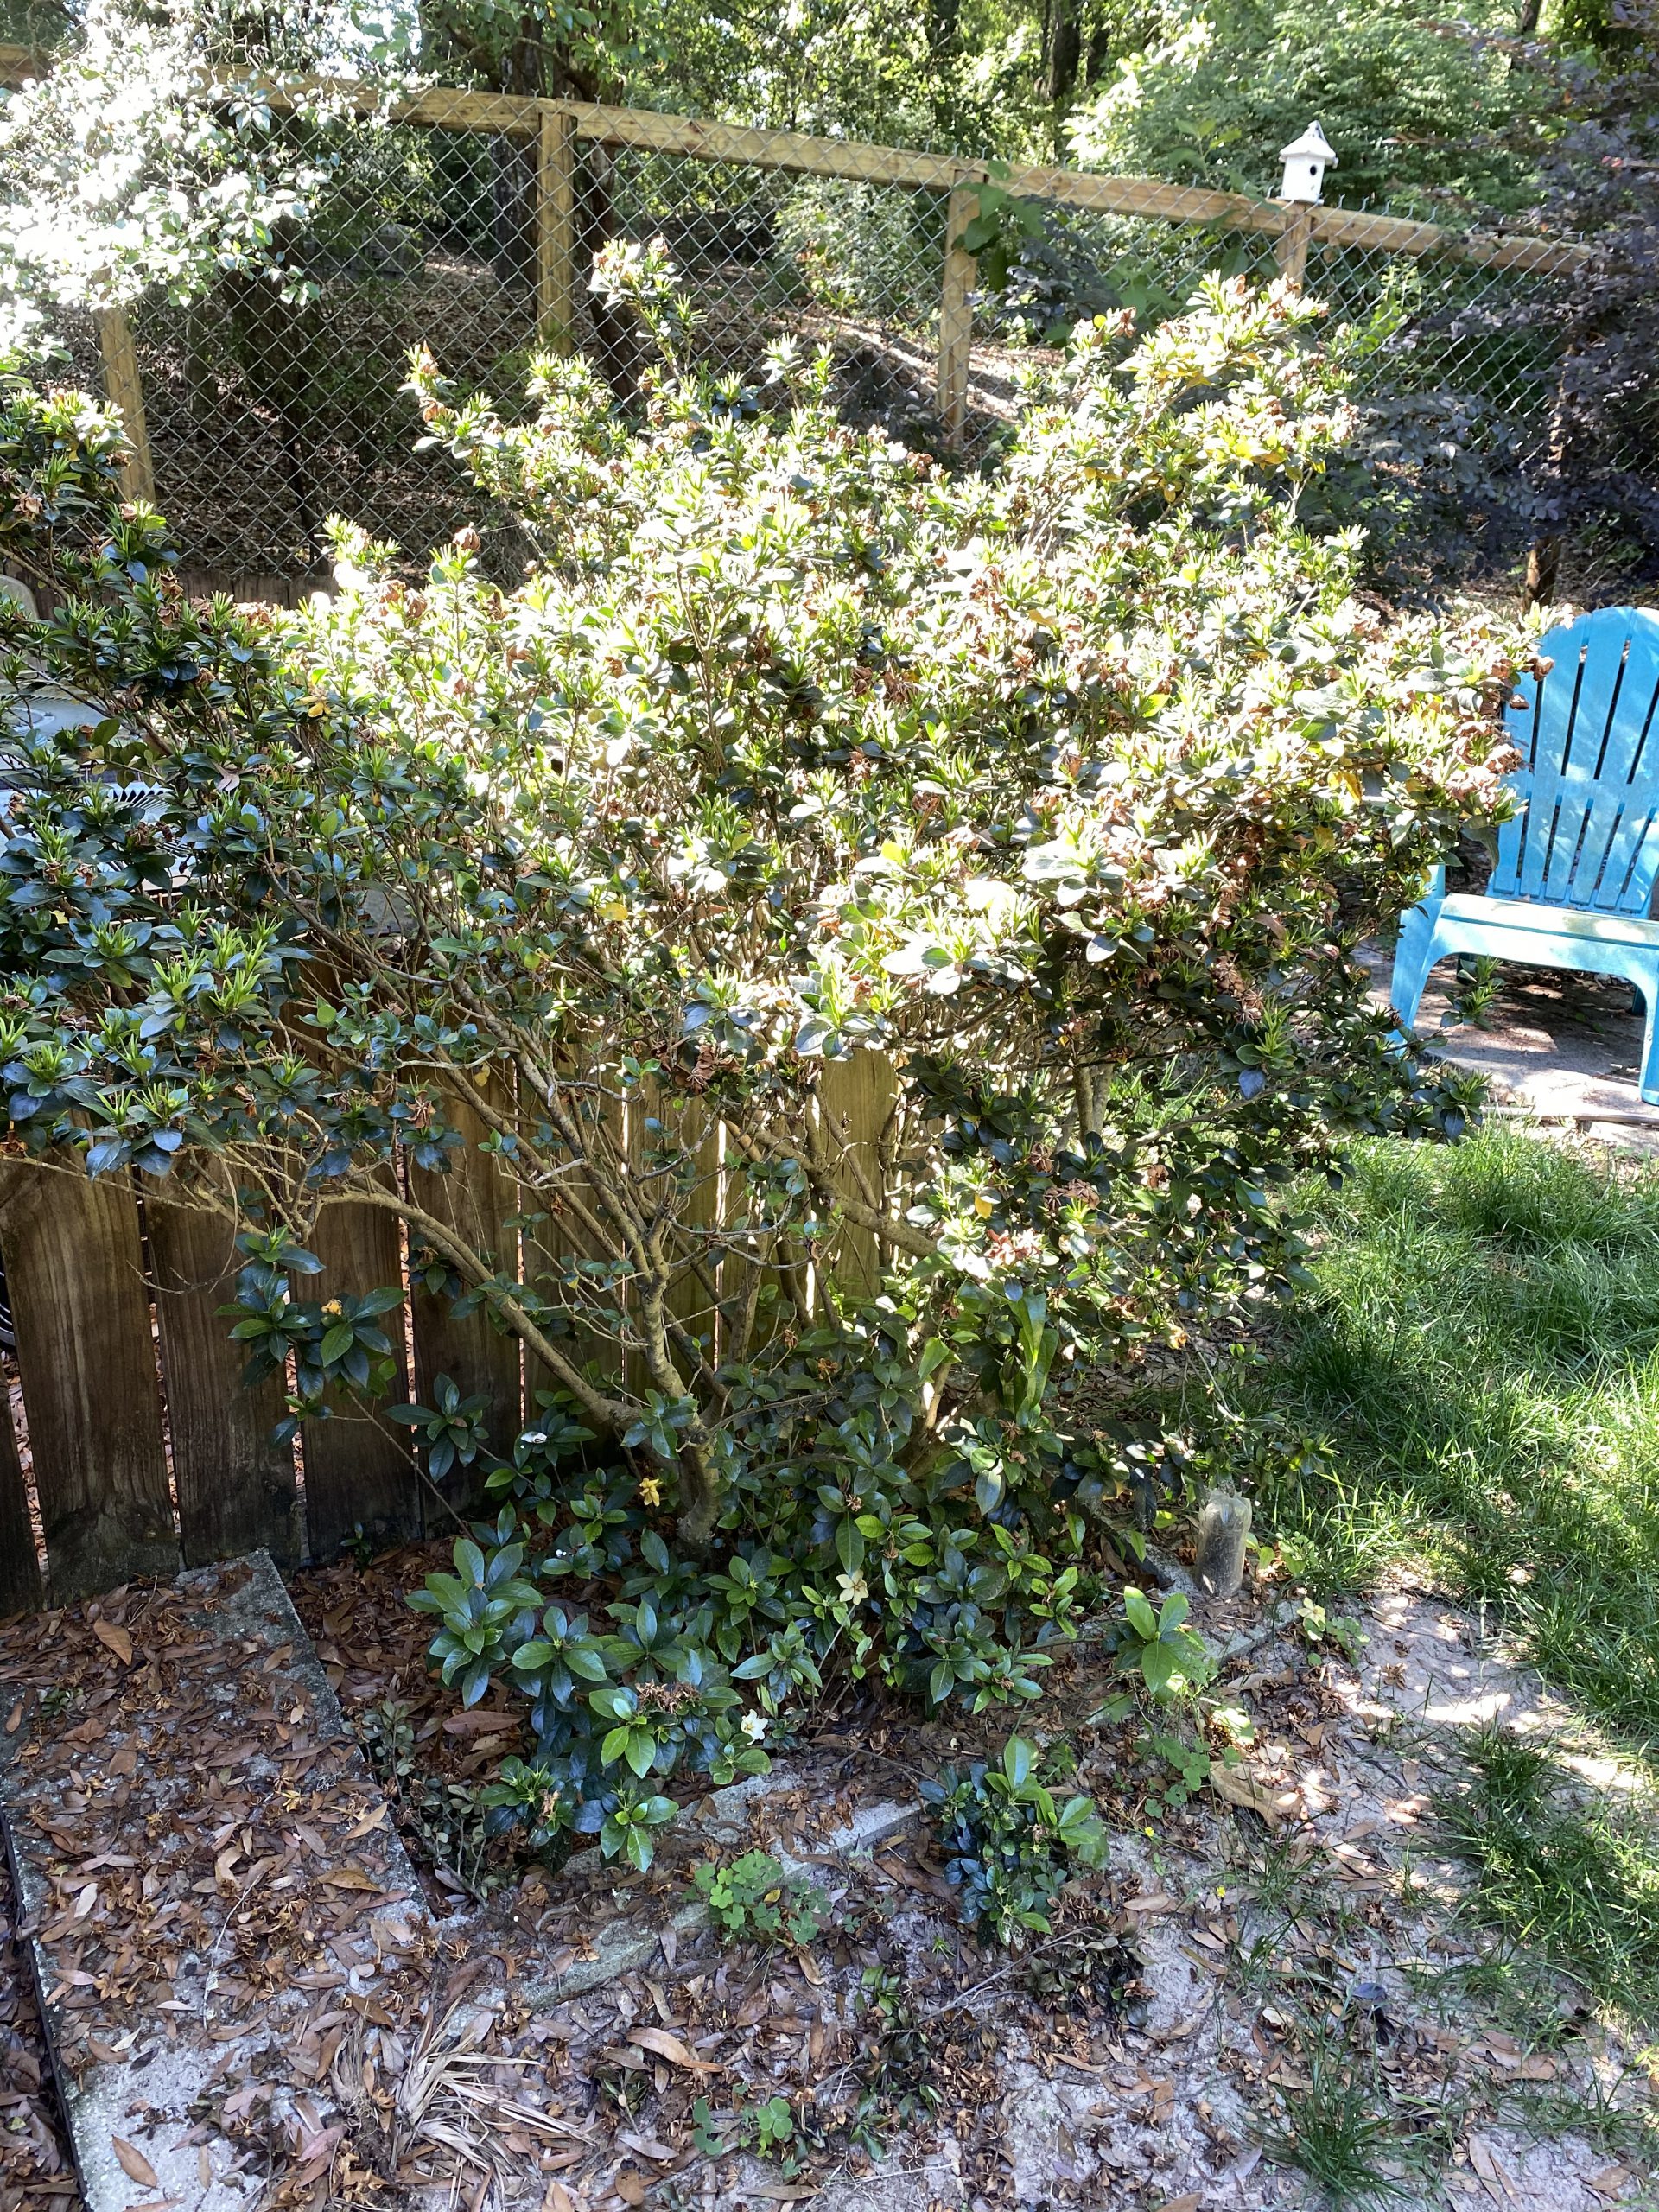
A gardenia shrub that has become a bit overgrown. Photo Credit: Matt Lollar, University of Florida/IFAS Extension – Santa Rosa County
As you can see in the photo above, this gardenia has become a bit leggy. It is important to also note the good amount of branching and new growth at the base of the plant. There are a few pruning options available for shaping shrubs such as hedging/terminal pruning, selective pruning, and renewal pruning. While a tree form gardenia can be attractive, it wasn’t desired in this situation. This particular case called for renewal pruning to improve the form of the plant. Renewal pruning is probably the easiest type of pruning, because it requires the least amount of thinking. It basically involves removing the majority of old growth.
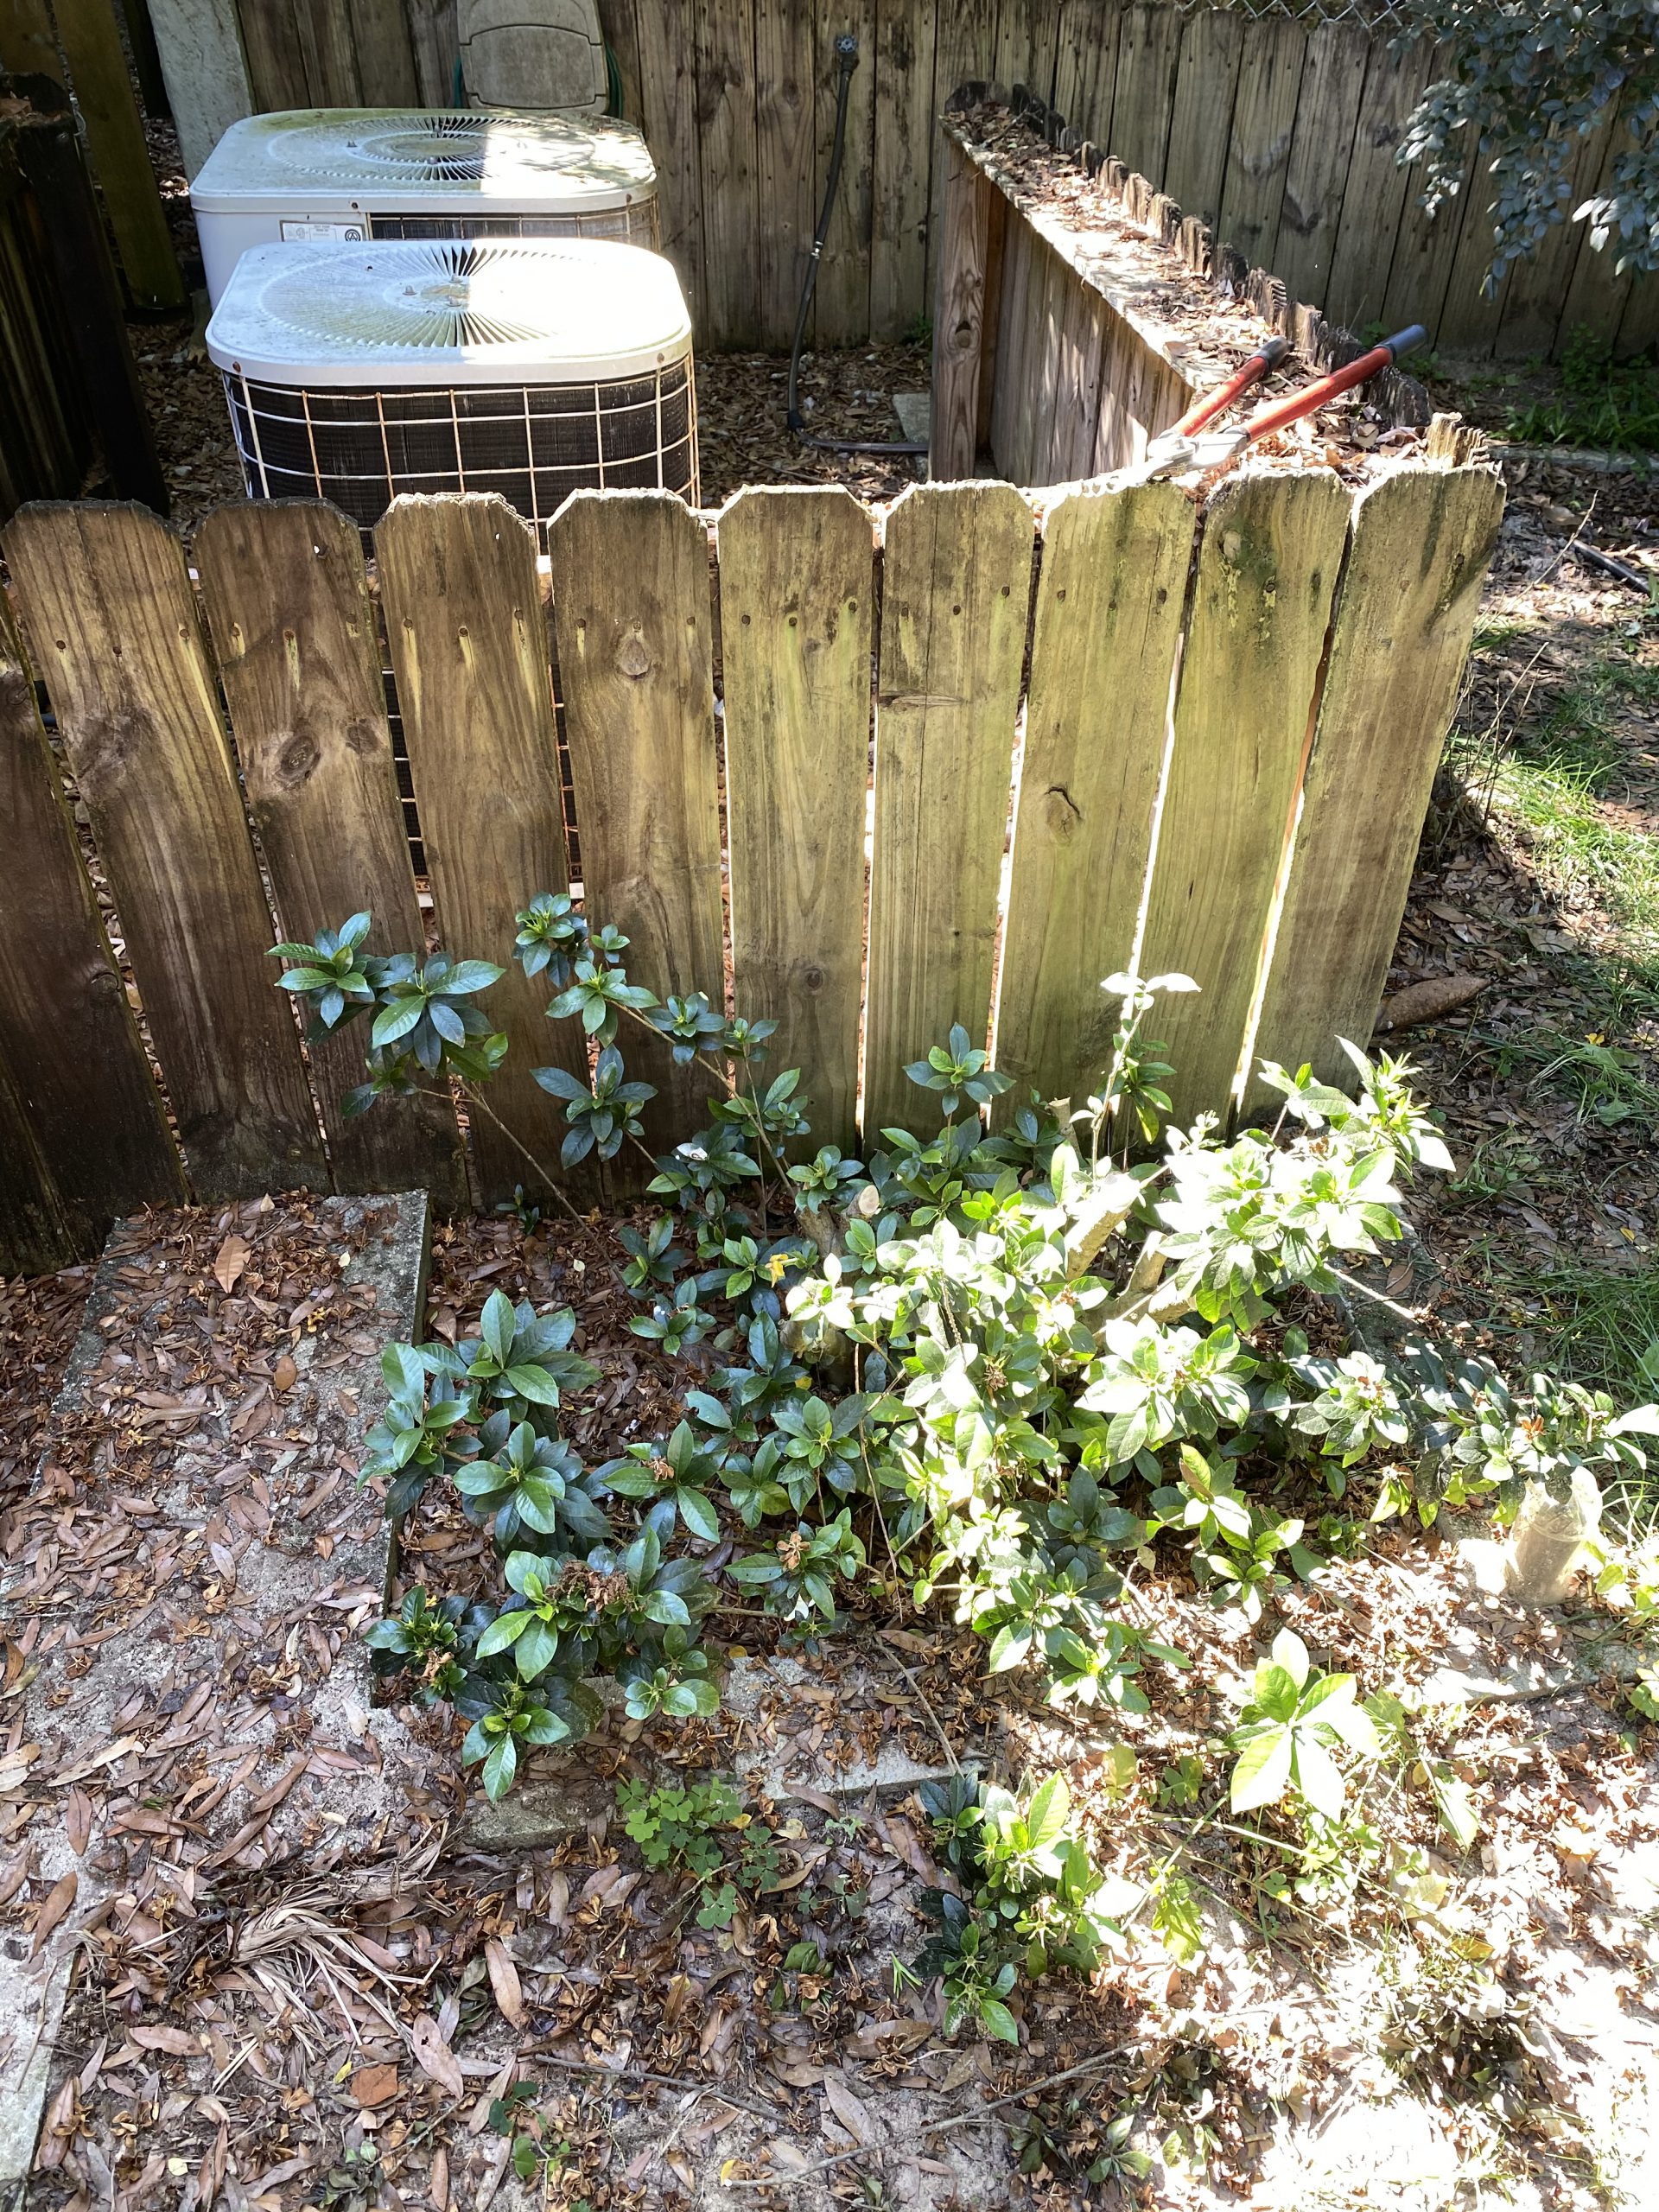
A gardenia shrub that has been renewal pruned. Photo Credit: Matt Lollar, University of Florida/IFAS Extension – Santa Rosa County
The picture above is of the same shrub that has been pruned heavily. Not only have the older, leggy branches been removed, but some of the newer growth has been removed to allow for better air circulation within the shrub. This will help reduce the incidence of disease.
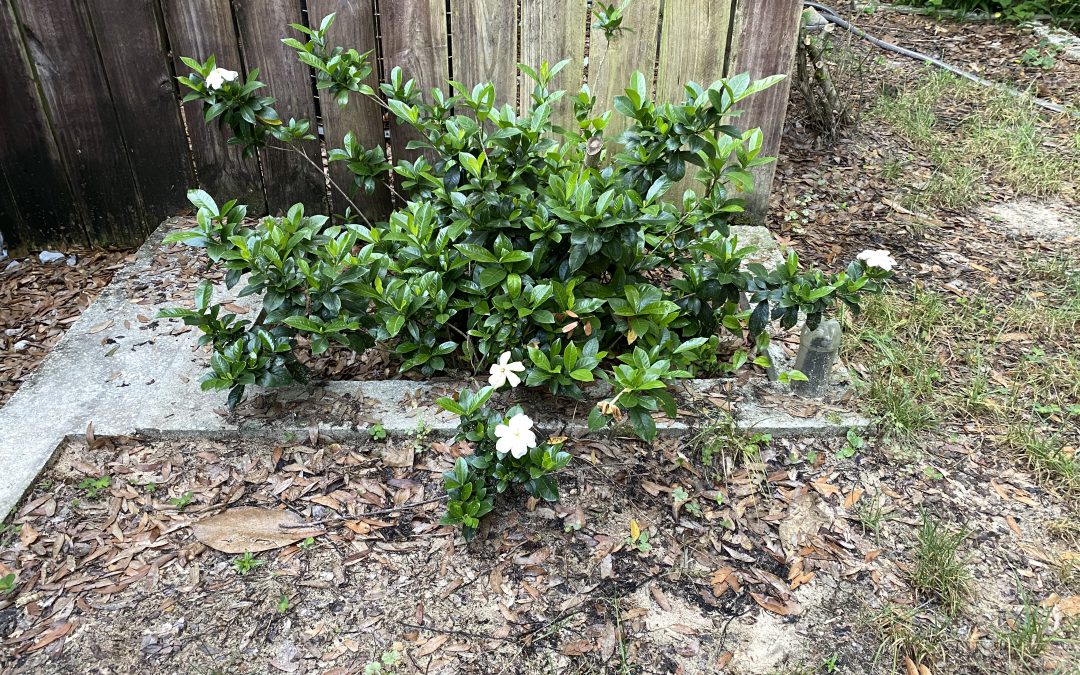
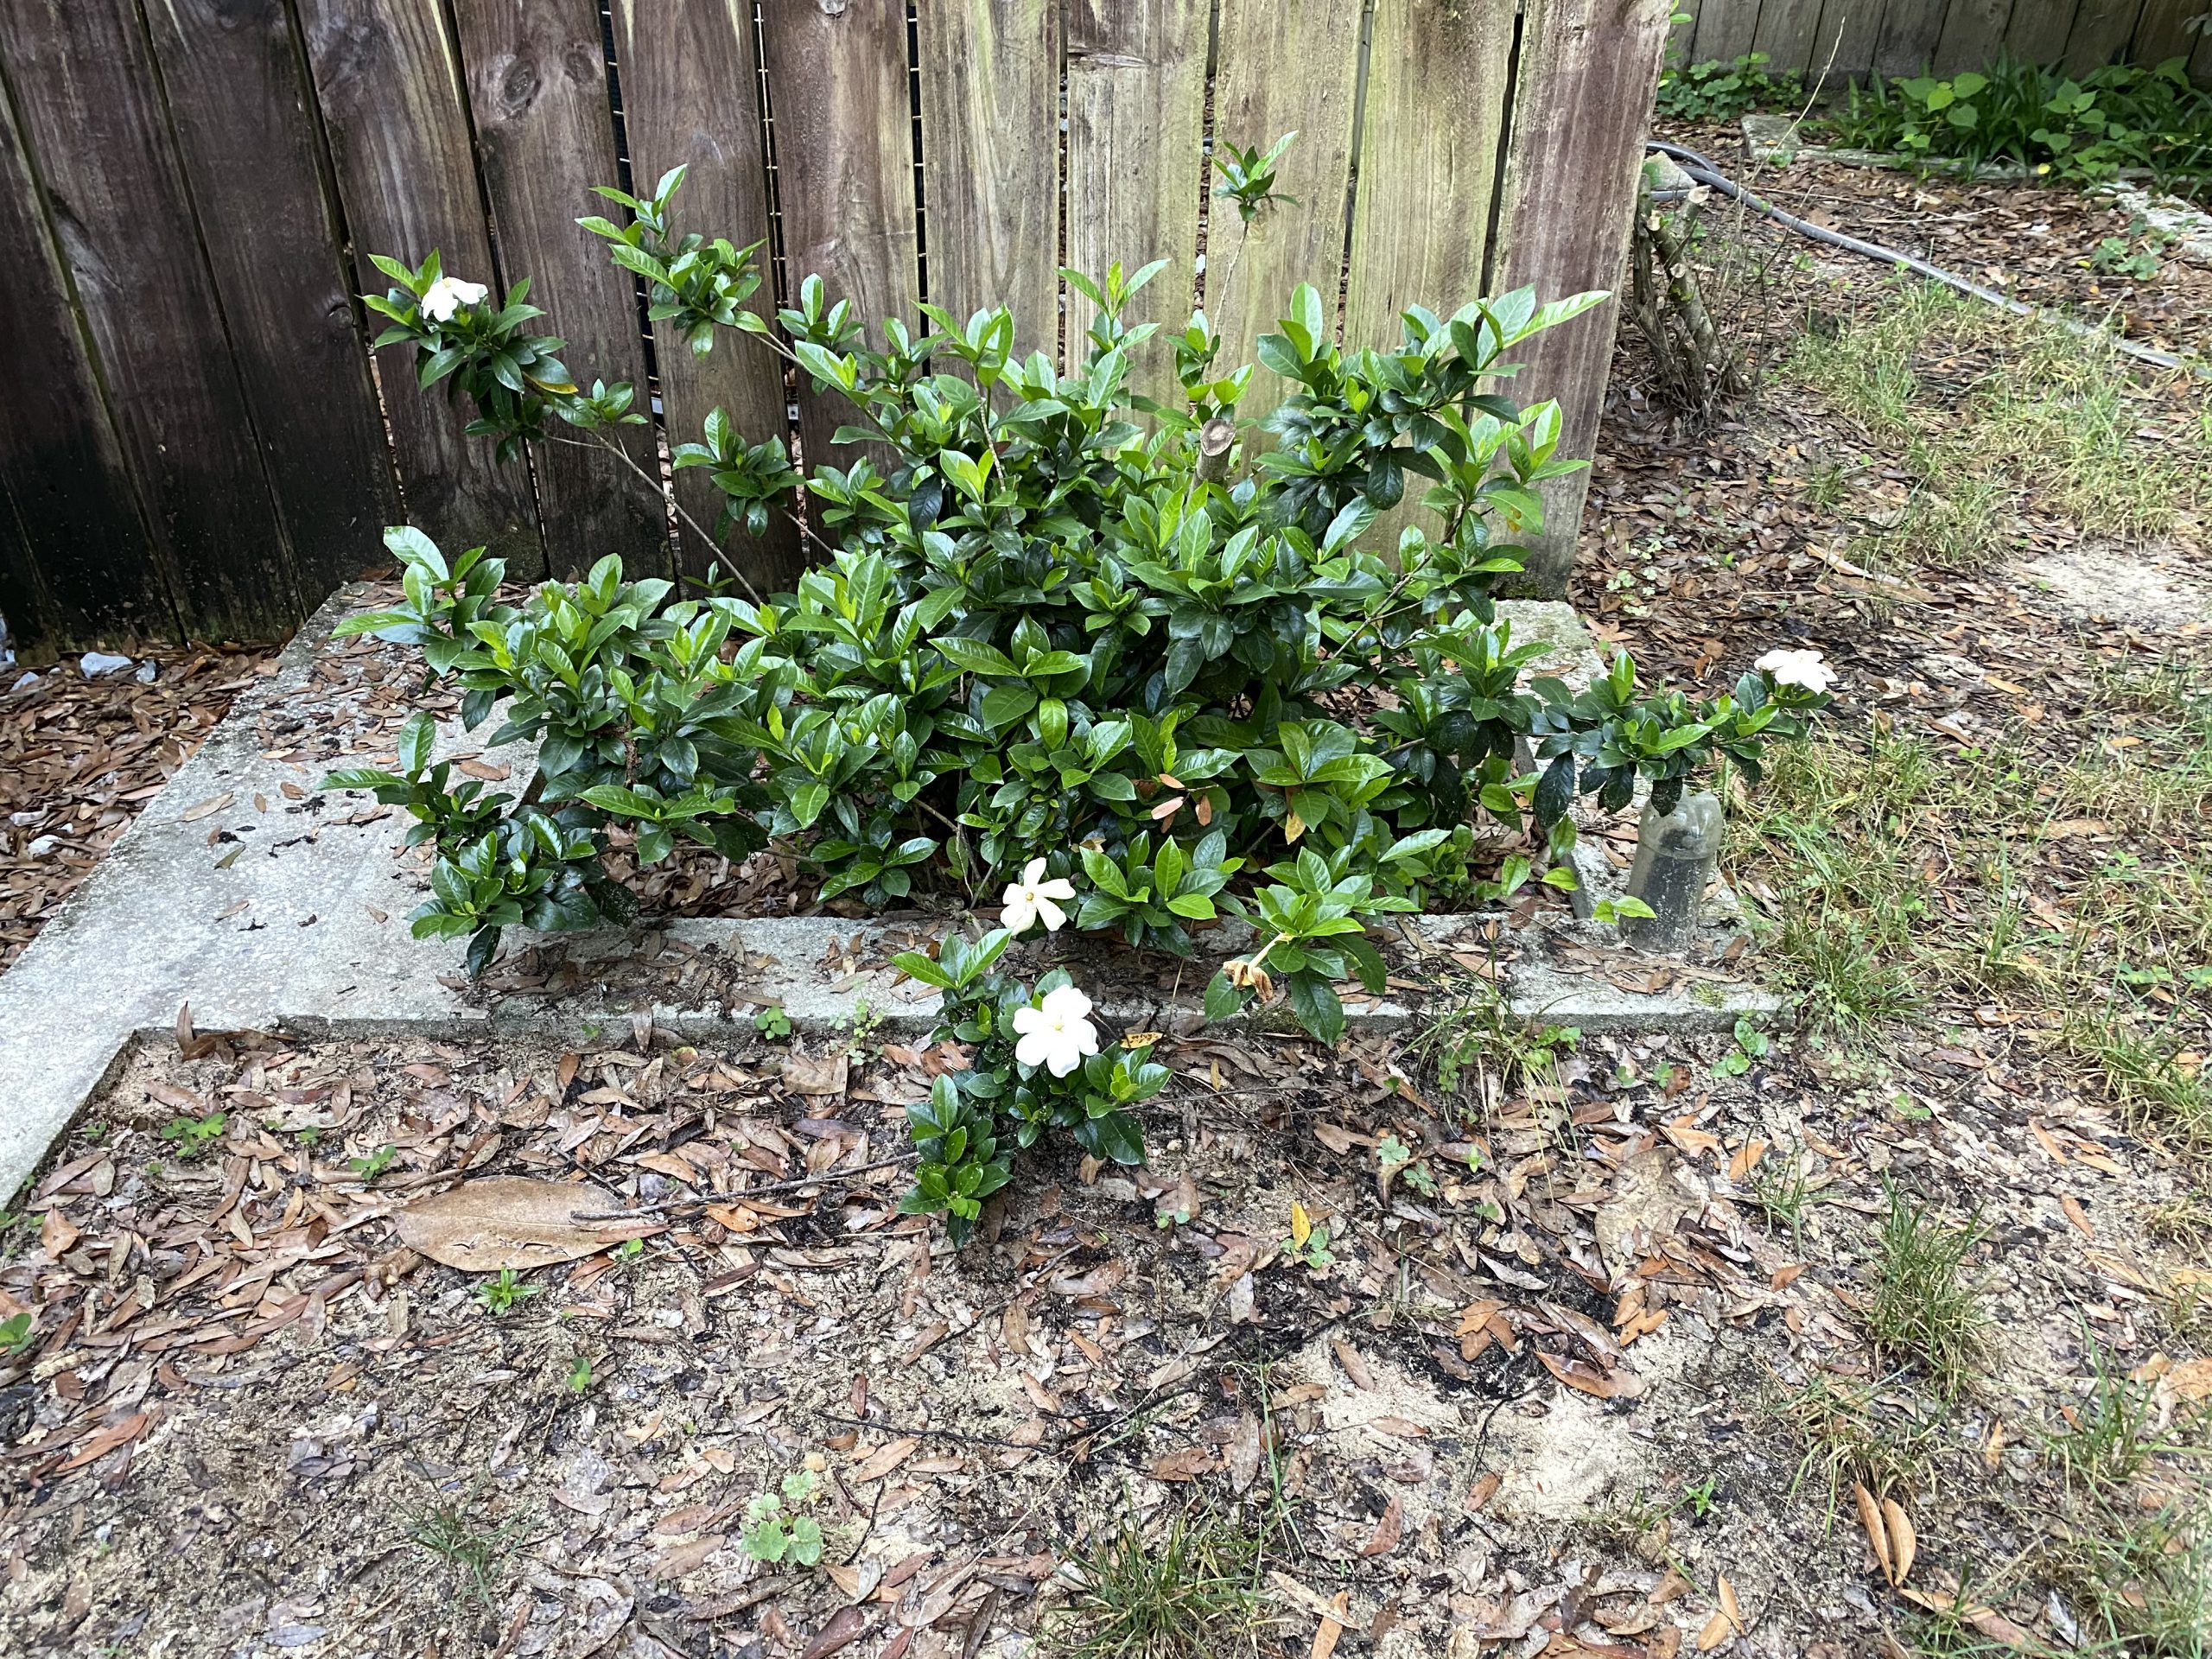
A gardenia shrub six weeks after renewal pruning. Photo Credit: Matt Lollar, University of Florida/IFAS Extension – Santa Rosa County
Six weeks after being pruned, this shrub is flowering for a second time. In a matter of short time it will be providing much needed shade for the HVAC units again. (That is..if I remember to selectively prune throughout the year.) For more information on how to prune and what to prune, please visit the UF/IFAS Gardening Solutions page on pruning.
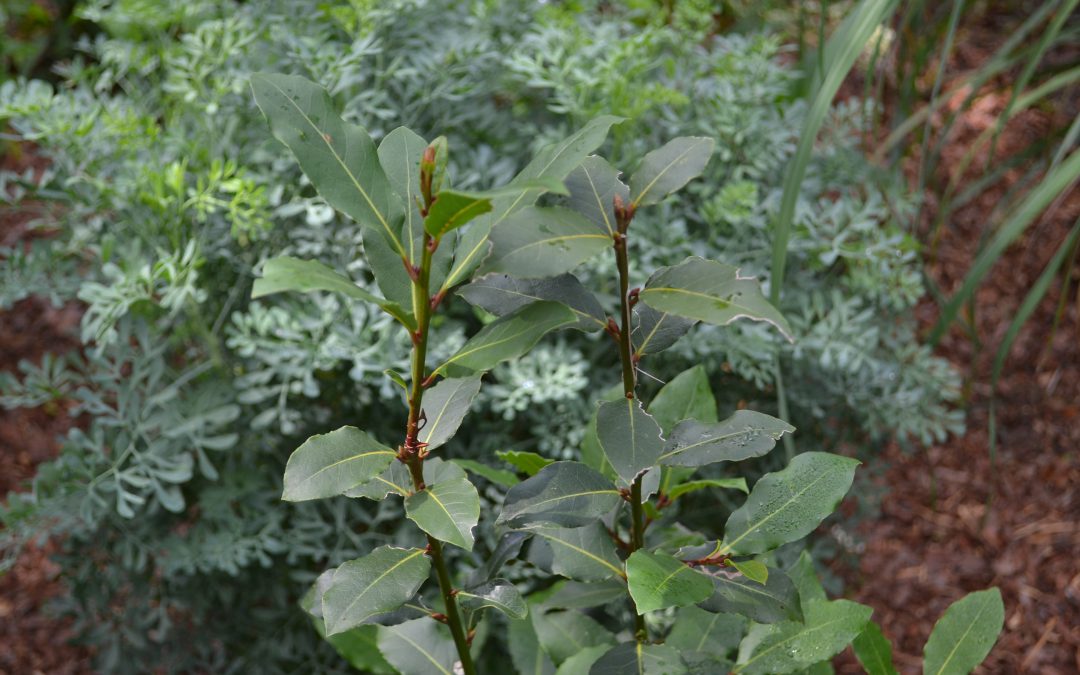
The bay laurel tree in the Escambia County Demonstration Garden had some dead branches on the outer canopy. Further investigation led us to the culprit, the black twig borer. Learn more In the Garden with UF IFAS Extension Escambia County.