by Beth Bolles | Dec 30, 2015
Information on gardening practices is freely shared between gardeners and many times the good advice is helpful in plant selection and improving plant growth. There are some passed along practices that are not always suitable for every situation and gardeners may need to investigate a little deeper before implementing the good advice.
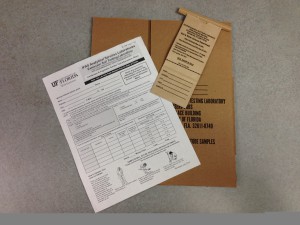
Soil test kit available form your local Extension office. Photo: Mary Derrick, UF/IFAS.
One common recommendation from gardeners is to apply Epsom salts to the soil to improve plant growth. Gardeners may have used Epsom salts for various plants in the garden and viewed plants that appear to grow better or have improved leaf color. Therefore a general recommendation to help others who have some general plant problems or off color leaves is to apply Epsom salts.
Before you apply Epsom salts to your garden, understand that it is an inorganic fertilizer, specifically magnesium sulfate. Plants make their own food but they derive most of their nutrients needed for important functions form the soil. Magnesium is one of the nutrients that is essential in photosynthesis. At times, our sandy soils may be lacking in nutrients but there may be plenty of nutrients available for plants.
The recommendation to apply Epsom salts may sound like a good idea but gardeners should always make sure that magnesium is needed before any applications. Too much magnesium in the soil can interfere with the uptake of other nutrients by plants. You could create more of a problem by indiscriminately applying Epsom salts when magnesium is not needed.
As you hear often from the University of Florida Extension, conduct a soil test before applying fertilizer to determine the major nutrient levels available in your soil. This $7.00 test will help you better manage plant nutrition. If you need assistance interpreting soil test results, contact your local county Extension office.
by Julie McConnell | Dec 30, 2015
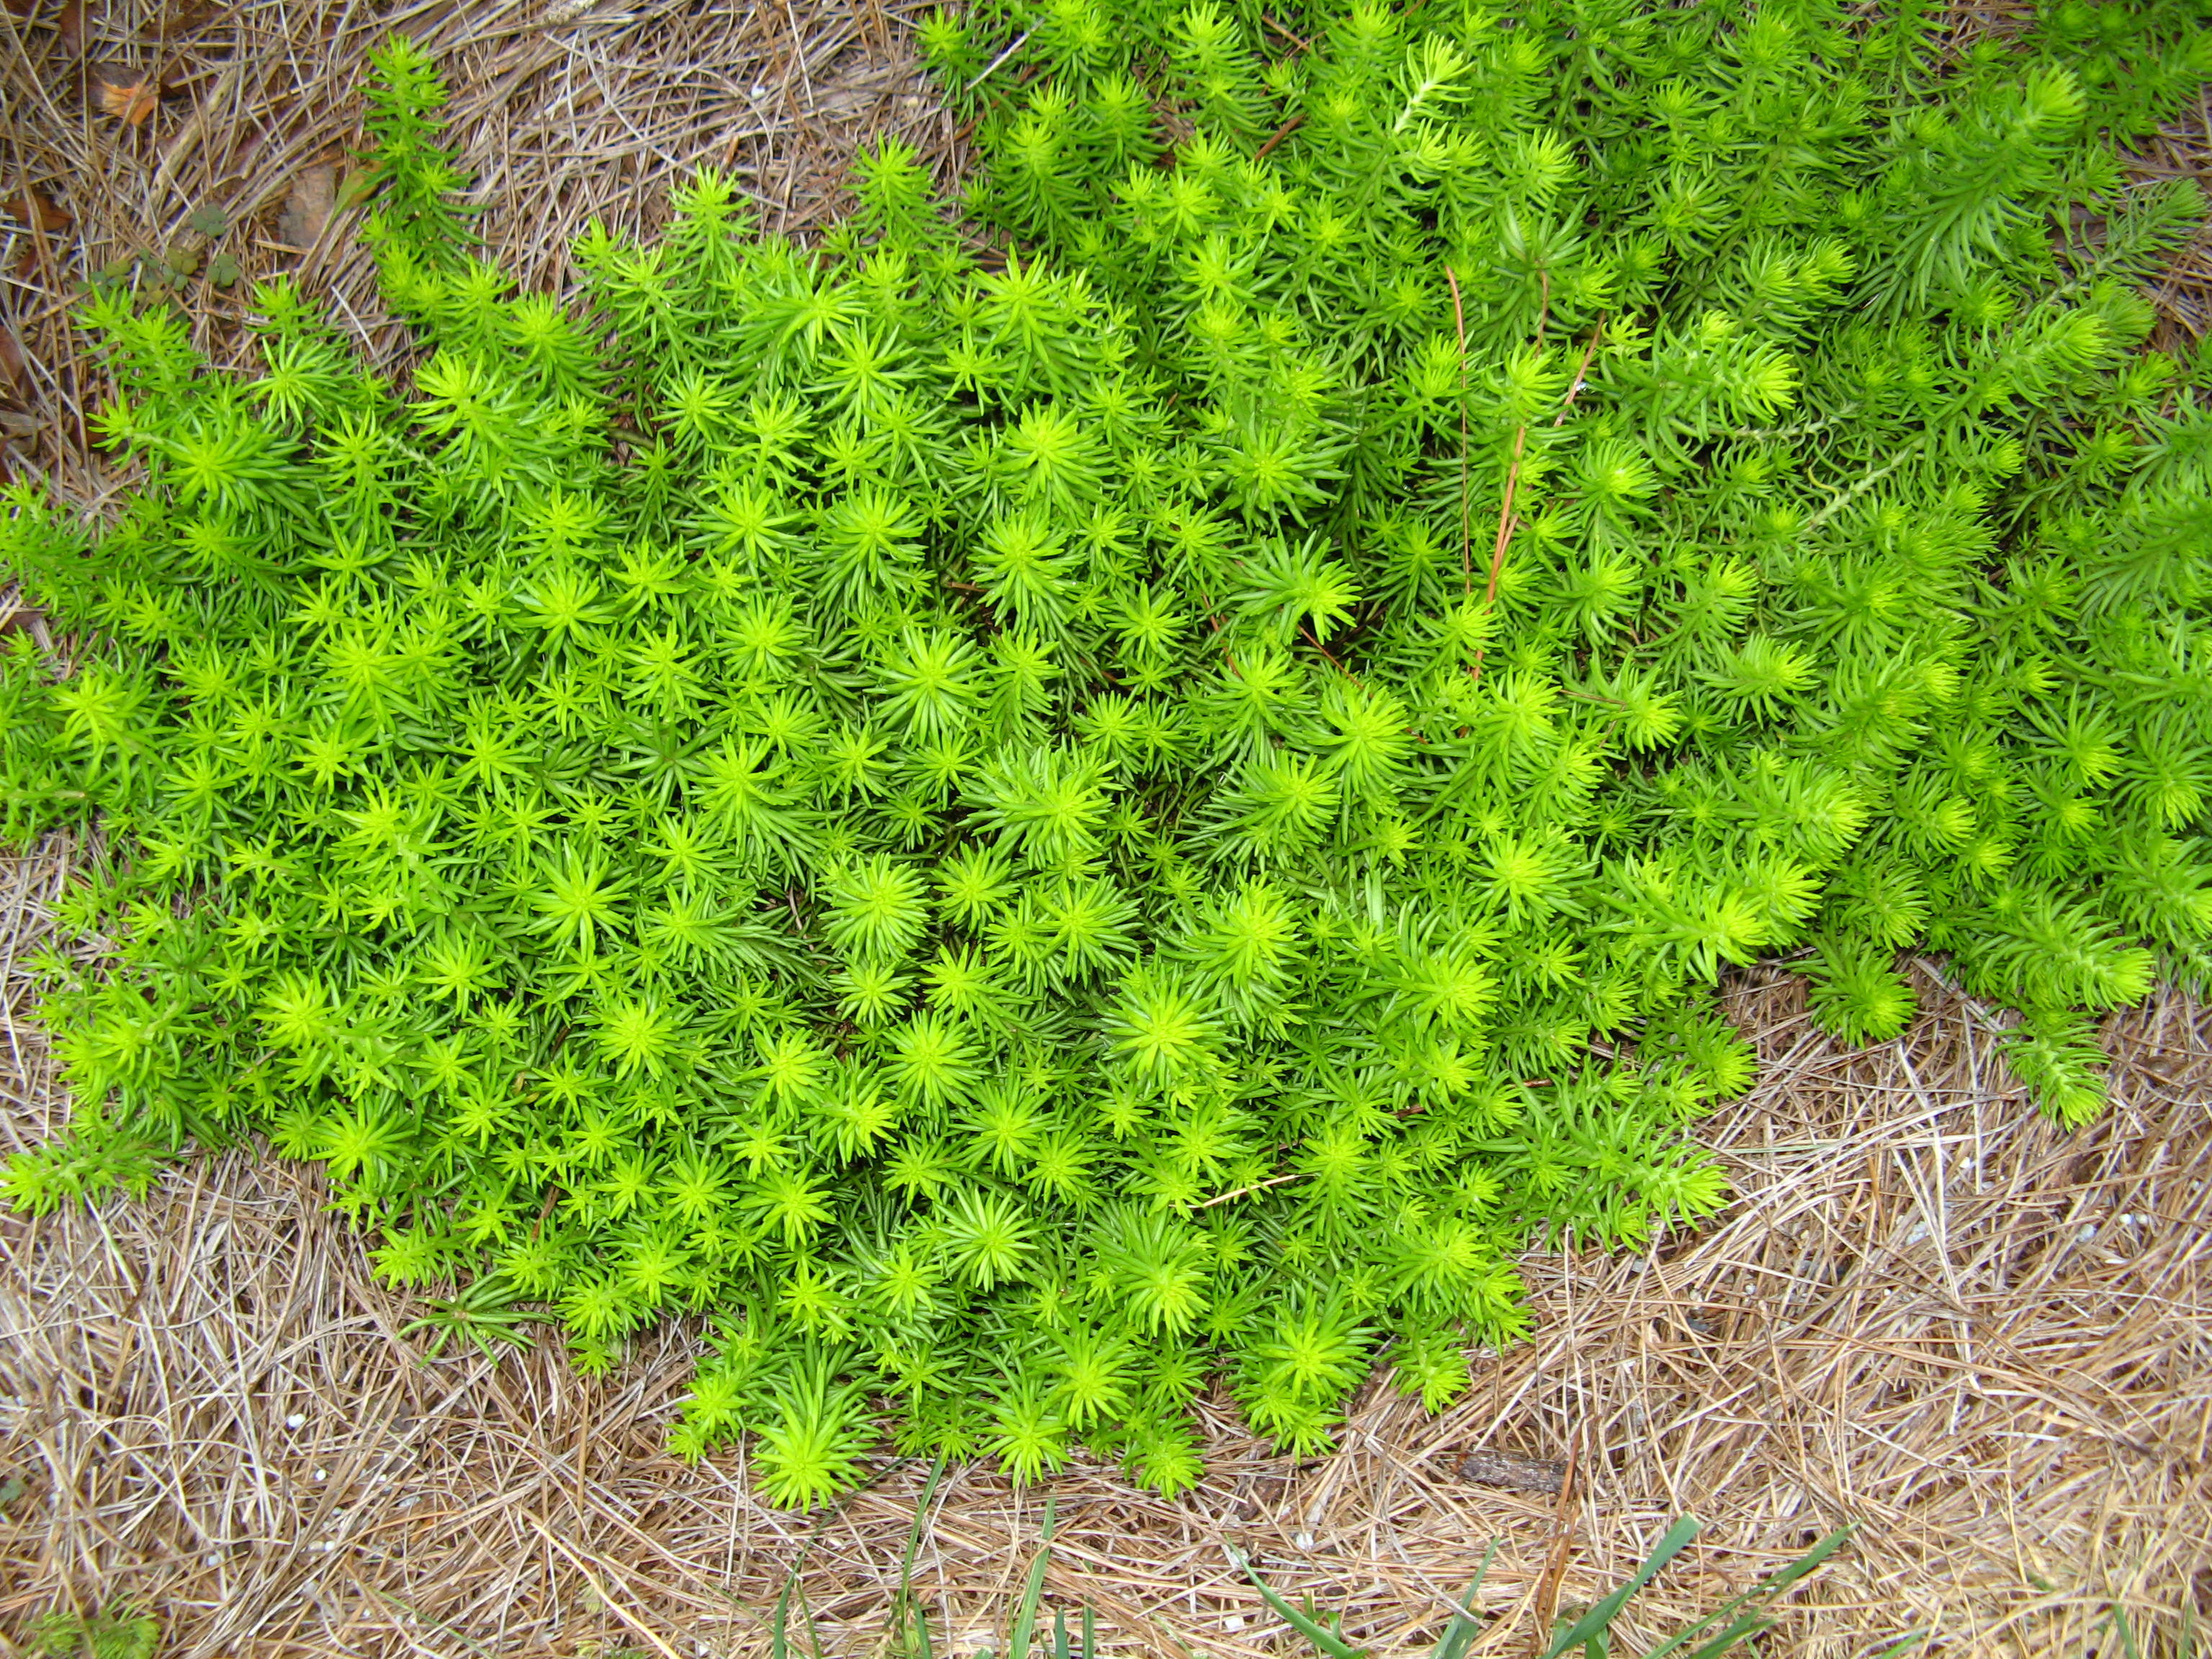
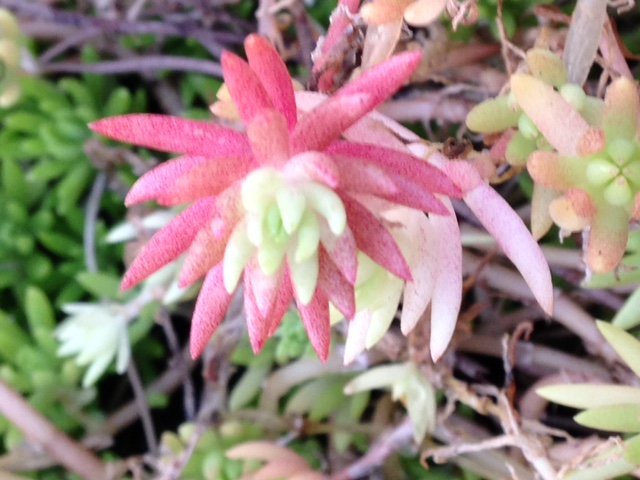
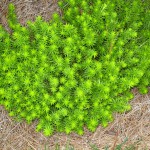 Sedum rupestre ‘Angelina’ is an evergreen perennial that adds some pizazz to winter landscapes. This low growing plant performs well in sunny, well-drained spots in the landscape but will also tolerate some shade. In the summer, the foliage is a brilliant chartreuse but after a few cold snaps it takes on a coppery bronze tinge that brightens up winter landscapes.
Angelina sedum is an easy to grow groundcover that contrasts nicely with deep greens, burgundy, or black foliage. It grows well along the ground or in containers where it may drape down the sides. It roots where the stems touch the ground, but is not aggressive and can be easily divided and transplanted into new garden sites or shared with friends.
Small, delicate yellow flowers appear in the late spring or early summer but the plants are mostly grown for foliage texture and color.
by Sheila Dunning | Dec 16, 2015
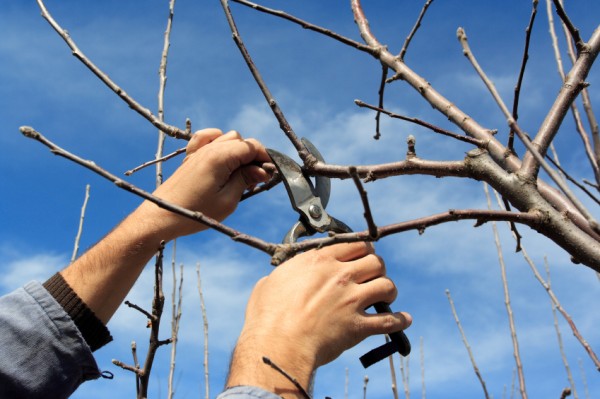
 Though the calendar says December, the weather in Northwest Florida fluctuates between winter and spring temperatures. The nice days are wonderful opportunities to accomplish many of those outside landscape chores in preparation for spring. But, it is also a good time to start planning for next month’s colder temperatures. Since we don’t experience frozen soil, winter is the best time to transplant hardy trees and shrubs. Deciduous trees establish root systems more quickly while dormant; versus installing them in the spring with all their tender new leaves. Here are a few suggestions for tasks that can be performed this month:
- Plant shade trees, fruit trees, and evergreen shrubs.
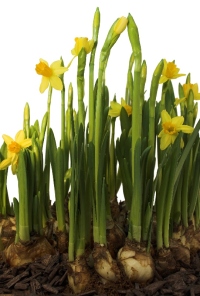
- Plant pre-chilled daffodil and narcissus bulbs (late December/early January).
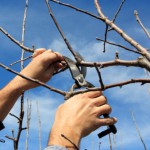
- Do major re-shaping of shade trees, if needed, during the winter dormancy.
- Water live Christmas trees as needed and water holiday plants such as poinsettias as needed.
- Check houseplants for insect pests such as scale, mealy bugs, fungus gnats, whitefly and spider mites.
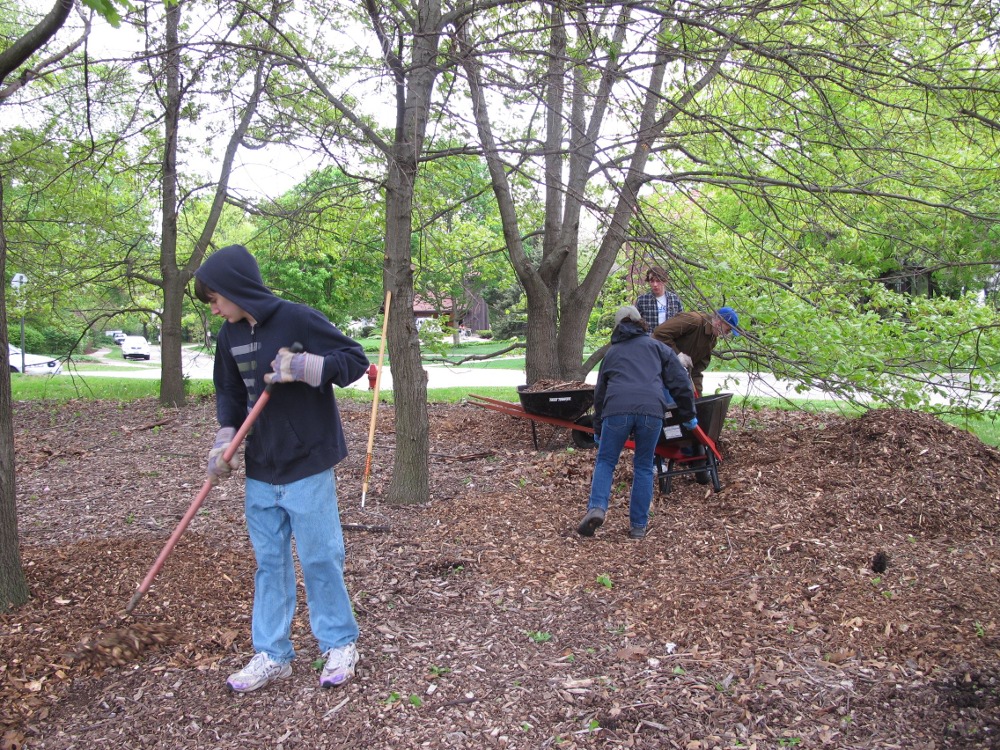
- Continue to mulch leaves from the lawn. Shred excess leaves and add to planting beds or compost pile.
- Replenish finished compost and mulch in planting beds, preferably before the first freeze.
- Switch sprinkler systems to ‘Manual’ mode for the balance of winter.
- Water thoroughly before a hard freeze to reduce plants’ chances of damage.
- Water lawn and all other plants once every three weeks or so, if supplemental rainfall is less than one inch in a three week period.
- Fertilize pansies and other winter annuals as needed.
- Protect tender plants from hard freezes.
- Be sure to clean, sharpen and repair all your garden and lawn tools. Now is also the best time to clean and have your power mower, edger and trimmer serviced.
- Be sure the mower blade is sharpened and balanced as well.
- Provide food and water to the area’s wintering birds.
by Beth Bolles | Dec 4, 2015
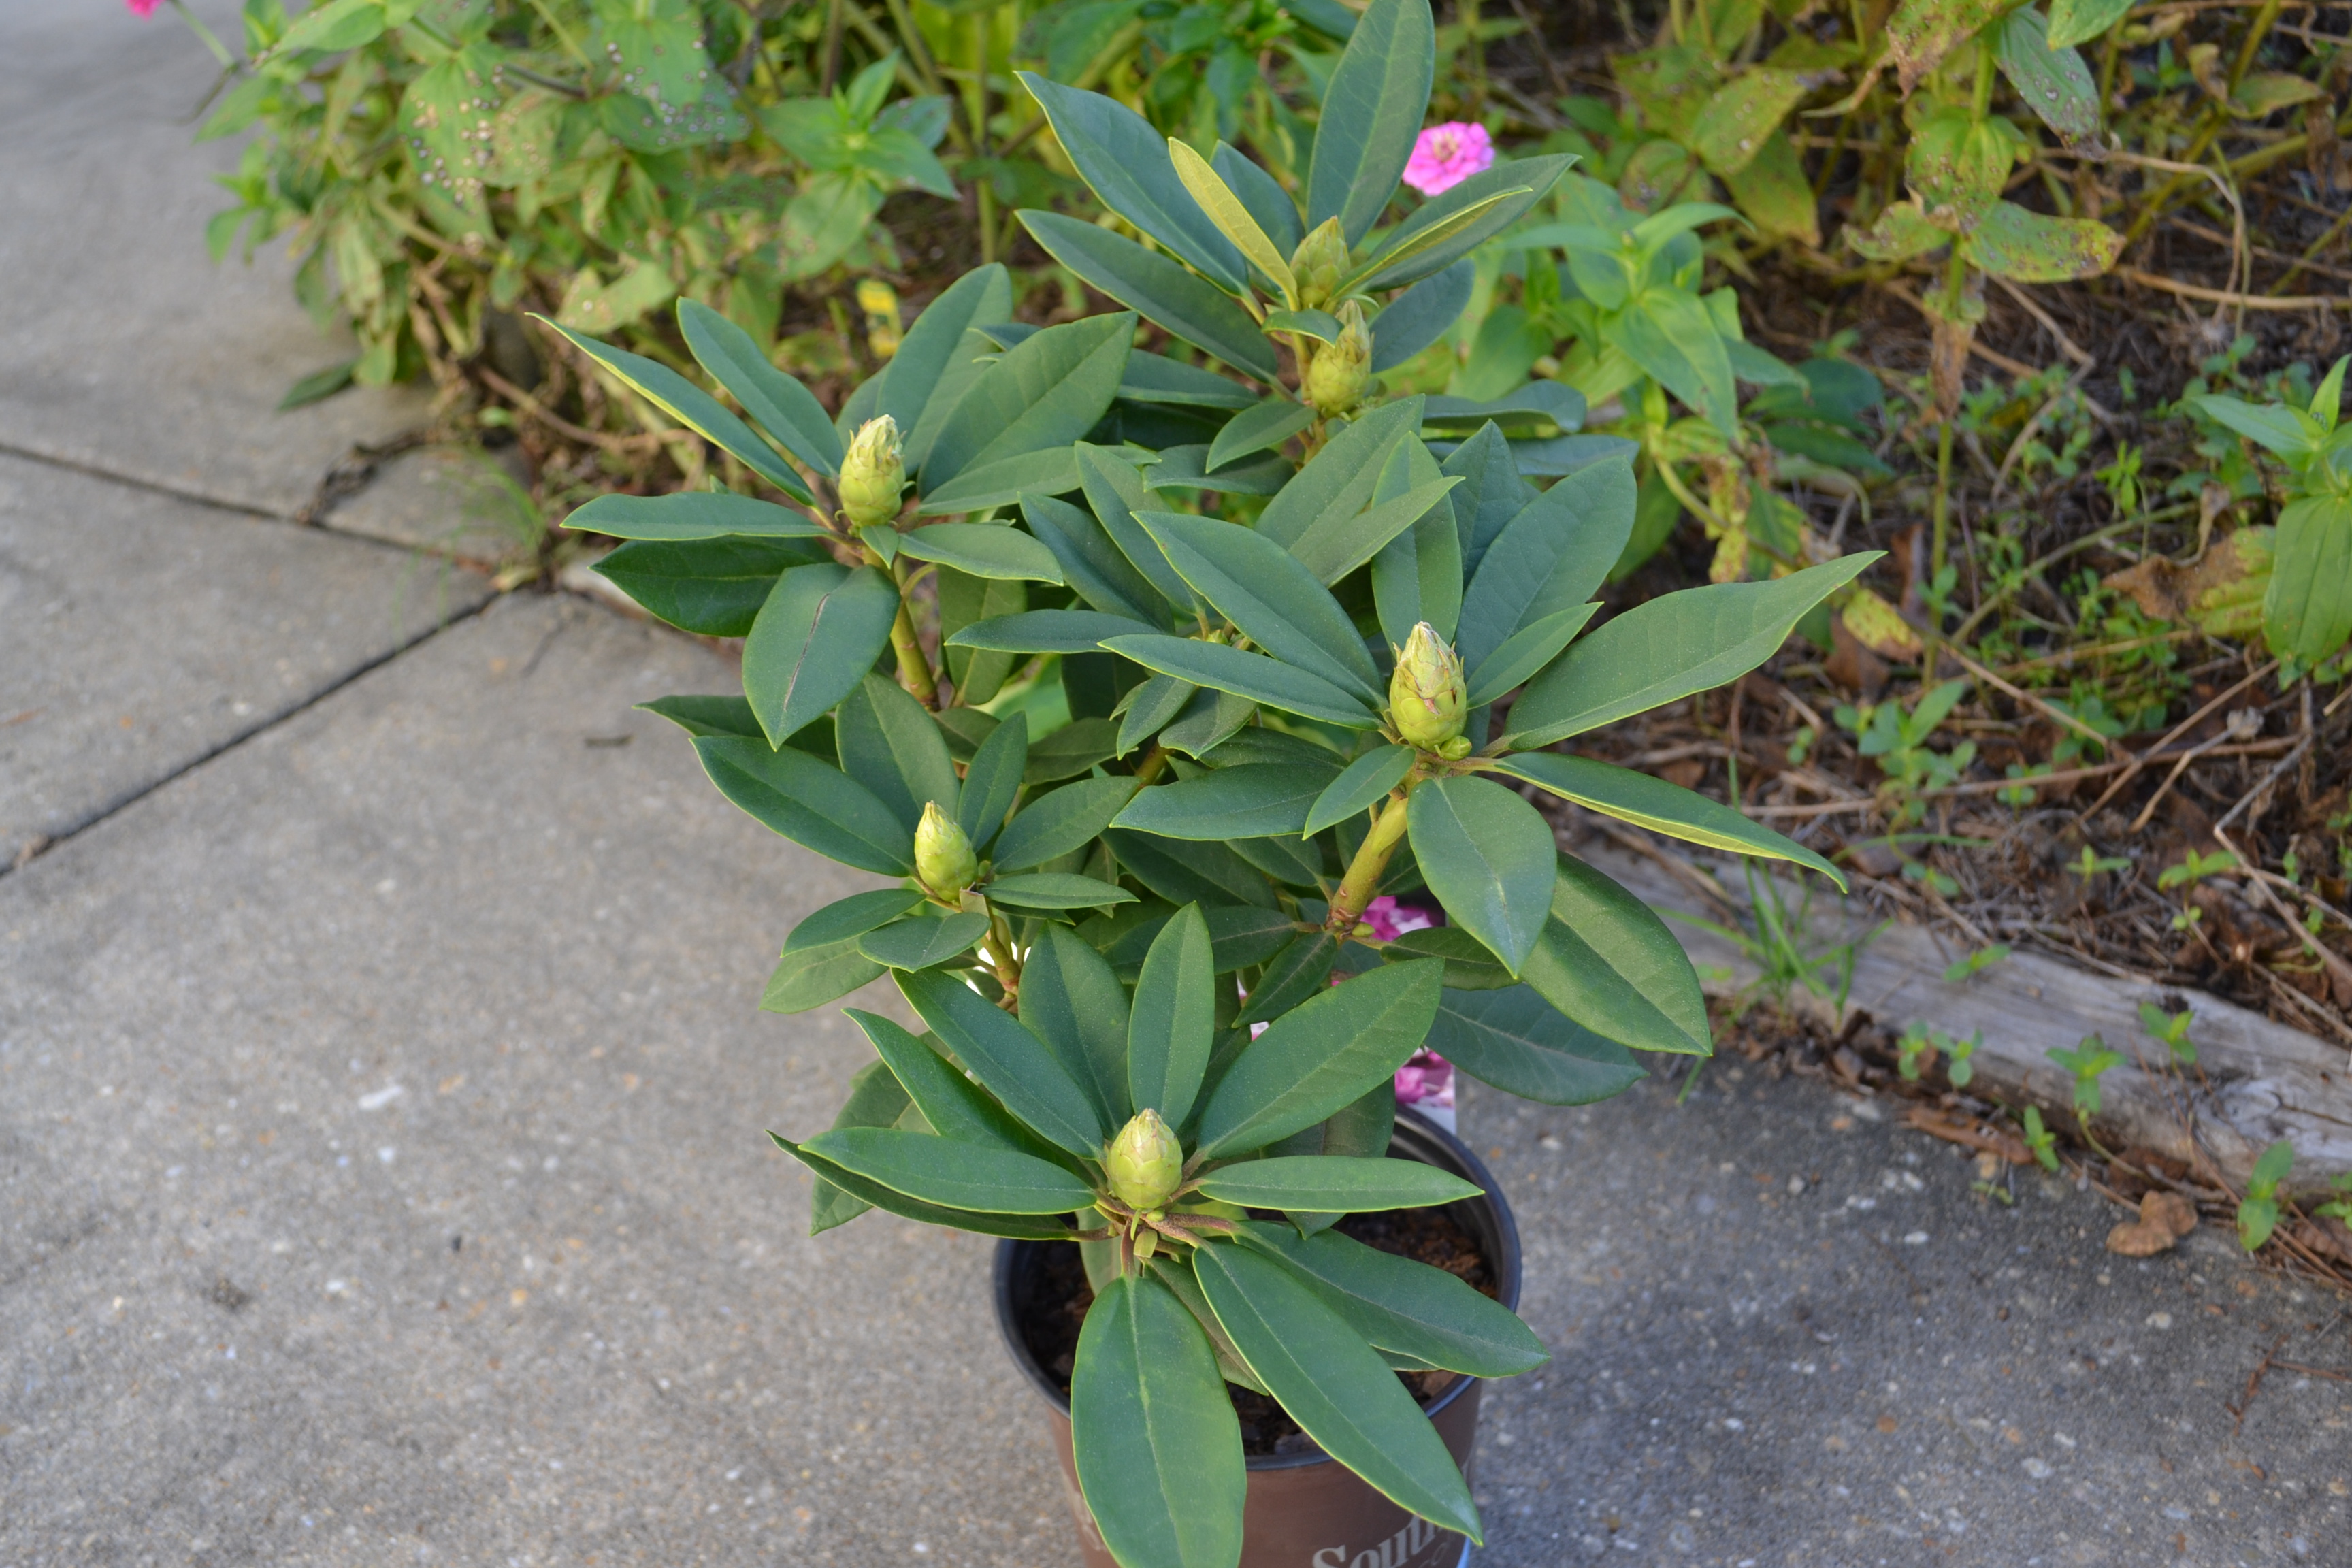
A visit to a nursery and homeowners will see so many new selections of plants for the landscape. Some of these plants are new plant developments and may include plants we could not previously grow in Florida’s heat and humidity. One new plant series is the Southgate® Rhododendrons.
Anyone from more northern areas of the South is very familiar with the rhododendrons that offer showy spring blooms. Those particular rhododendrons just don’t make it in our Florida climate.
The Southgate® series from Louisiana were developed to be more tolerant of our weather conditions. Homeowners must still consider plant placement very carefully since these plants have some specific requirements even in Florida. Plants will do best in shade or filtered shade, especially in the afternoon. They do like an acid soil amended with compost and areas that are well drained. Homeowners will need to supply water during the growing season to maintain a uniform soil moisture.

Rhododendron foliage with buds.
Consider trying one of these newer rhodendrons if your landscape has a suitable spot and you will definitely enjoy a bright spot of color come spring.
Special Note: If you have animals or children be cautious since all plant parts are toxic if ingested.
by Mary Salinas | Dec 4, 2015
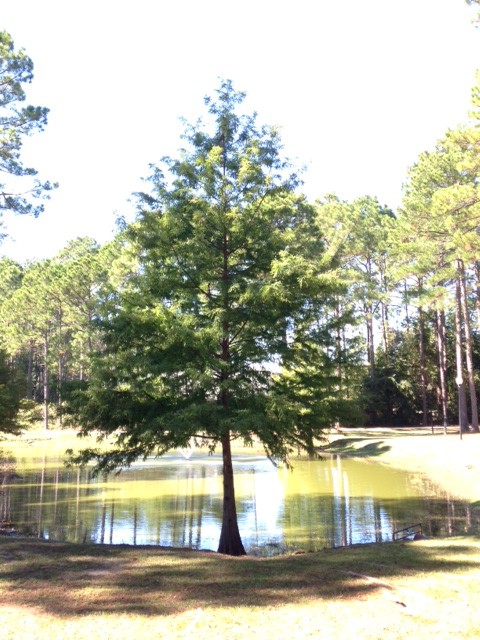
The cooler weather in the wintertime makes it a great time to plant trees and shrubs. That is why Arbor Day in Florida is the third Friday in January. In 2016, that event is January 15.
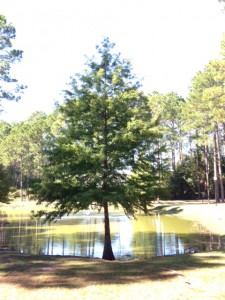
Baldcypress growing at the edge of a pond. Photo: Julie McConnell, UF/IFAS
Start your planning now with doing a site assessment on your landscape, then choosing the right trees and shrubs for your particular environmental conditions.
Here are some great sites that offer online tools for finding just the right species:
Florida Tree Selector
The Florida-friendly Guide to Plant Selection & Landscape Design
Florida Native Plant Society Locator
And if you want to find out just how much your established trees are worth, use this National Tree Benefit Calculator!
For more information:
Planting Trees in the Landscape
Arbor Day Foundation: Florida
by Julie McConnell | Nov 24, 2015
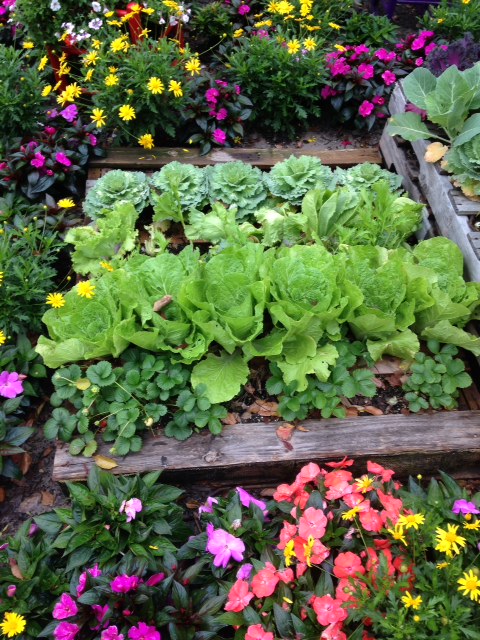
 You may have heard “group plants with similar needs together” but struggled to come up with some combinations that work. The most important things to consider when creating functional garden space is the cultural needs of the plants you want to combine. Sunlight, water, and fertilizer needs should be very similar when planting multiple plants together. For fall and winter gardens, choose annuals that are frost tolerant and/or evergreen perennials.
Here are some plants that work well together in cool weather:
- Strawberries and romaine lettuce – both are cool season annuals that can be planted in late October or early November. The lettuce can be harvested from outside leaves after growth begins or let it form a head and cut the entire plant. Strawberries will spread out but remain fairly low growing compared to the upright lettuce. These plants combine well in a container if given room to expand.
- Rosemary and oregano – these culinary herbs thrive in sunny, well-drained spots. Rosemary is an upright woody perennial and oregano spreads along the ground making a fragrant groundcover for a tough spot.
- Snapdragons, pansies, and parsley – this combination gives foliage contrasts in addition to colorful flowers. This combination will work in full sun or a slightly shaded spot in th
 e garden. In the spring, replace the snapdragons and pansies for warm season annuals for continued color.
- Cabbage, cauliflower, and strawberries – all cool season edible crops that have attractive foliage and similar needs.
- Snapdragons, violas, and petunia – this colorful combination has three height levels of tall snaps, bunching violas, and trailing petunias.
To learn more about these plants and other options Growing Strawberries in the Florida Home Garden, Herbs in the Florida Garden, and Gardening with Annuals in Florida.