by Gary Knox | Sep 28, 2015
The University of Florida/IFAS presents Art & Garden Fall Family Festival, October 3, at the North Florida Research and Education Center (NFREC), Quincy Campus. Join us that day and discover creative ways to explore visual art and the art of gardening through demonstrations and fun activities for the whole family. Speak with experts about all your gardening questions or purchase unusual, hard-to-find, top-performing plants for our area. Take a tour of the Gardens or a trolley ride highlighting fruits and nuts that can be grown in our area. Locally grown produce and garden plants as well as arts and crafts will be for sale along with food and refreshments. Children’s arts and crafts activities will take place in a huge “Kid Zone” located in a shaded, garden area.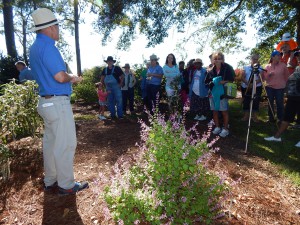
The Art & Garden Fall Festival is free and open to the public from 9 a.m. to 2 p.m. on Saturday, October 3.
The festival takes place in Gardens of the Big Bend, located in Quincy at I-10 Exit 181, just 1/8 mile north on Pat Thomas Highway (SR 267). The Gardens are located on the campus of University of Florida/IFAS, North Florida Research and Education Center, off Pat Thomas Parkway, SR 267 at 155 Research Road, Quincy, FL. Located just north of I-10 Exit 181, 3 miles south of Quincy.
Presented by the University of Florida/IFAS, North Florida Research and Education Center in collaboration with the Gadsden Arts Center, Gardening Friends of the Big Bend, the Quincy Garden Club and other area garden and arts organizations.
For more information: http://nfrec.ifas.ufl.edu/art-and-garden/ or 850-875-7100.

by Mary Salinas | Sep 24, 2015
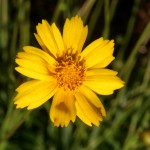
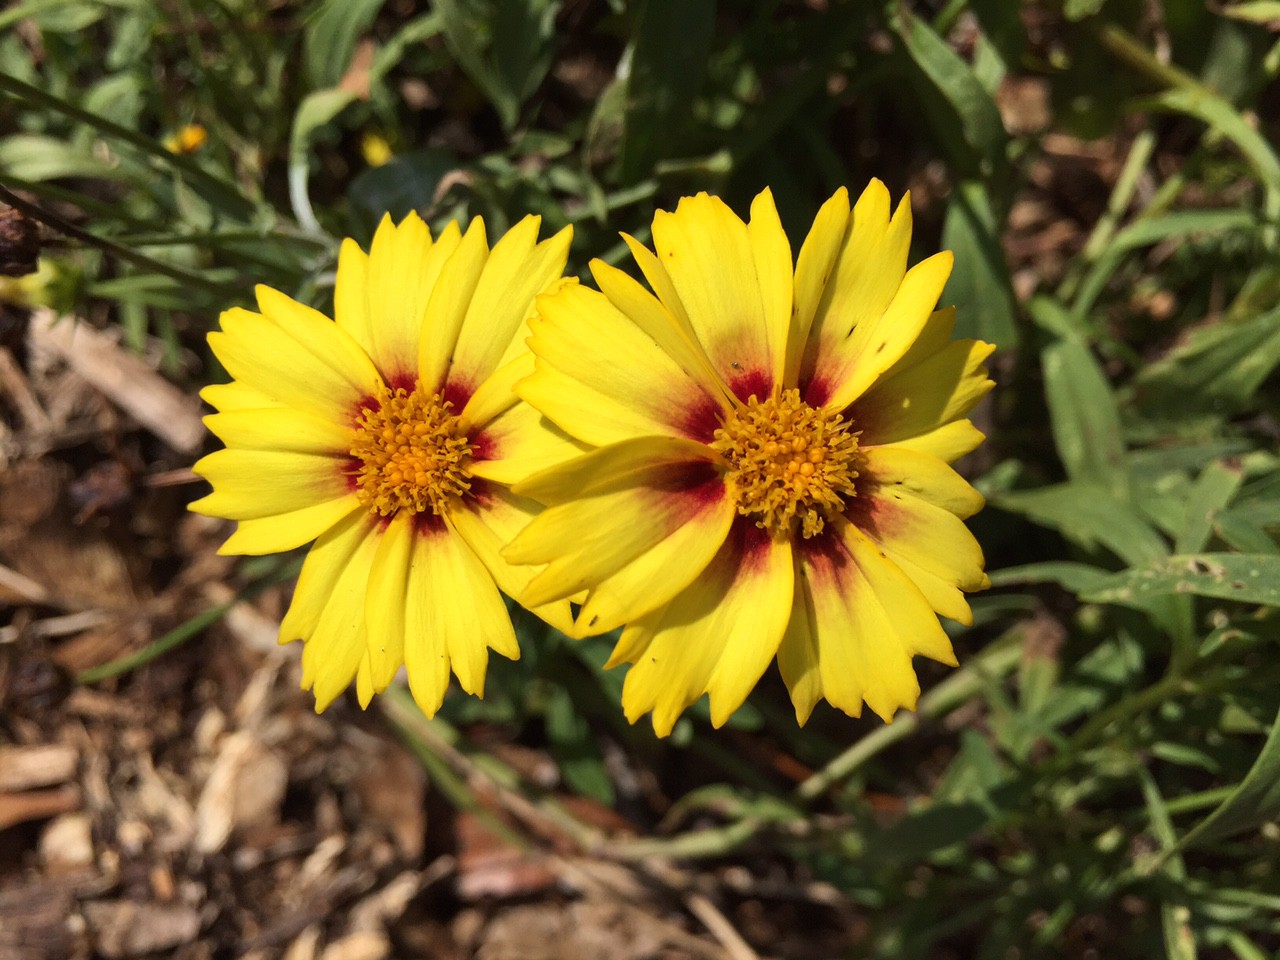
Native Lanceleaf Coreopsis. UF/IFAS Photo: Thomas Wright.
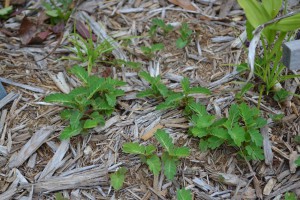
In our demonstration garden we are enjoying the small but vibrant blooms of our state wildflower Coreopsis, also commonly known as tickseed. After many years of its use in the Florida highways beautification program, Coreopsis was adopted as Florida’s official state wildflower in 1991.
Florida can boast of 16 different species of Coreopsis that occur in the state with most blooming in the spring but some species blooming in the summer to later in the fall. Some of those species are rare, endangered or only found in very limited areas of the state, while others are quite common throughout the state.
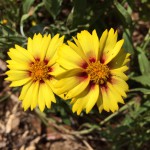
Photo credit: Mary Derrick, UF/IFAS.
Many lovely new cultivars have been introduced for our enjoyment by plant breeders through cross-breeding and selection. Some you can see in the accompanying photographs in this article.
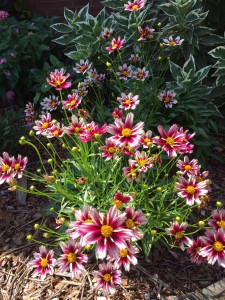
Photo credit: Mary Derrick, UF/IFAS.
Coreopsis is an annual or short-lived perennial that makes a great addition to your garden beds. And the bees and butterflies will enjoy them! The numerous flowers readily produce seed for naturalizing in the landscape. Plant them in a sunny spot in the landscape in evenly watered but well-drained soil. Removing the dead blooms will encourage plants to prolong their blooming; you can also save the seed for replanting in new areas of your landscape.
For more information:
History of Coreopsis as Florida State Wildflower
Gardening Solutions: Coreopsis
Florida Wildflower Foundation
by Matt Lollar | Sep 23, 2015
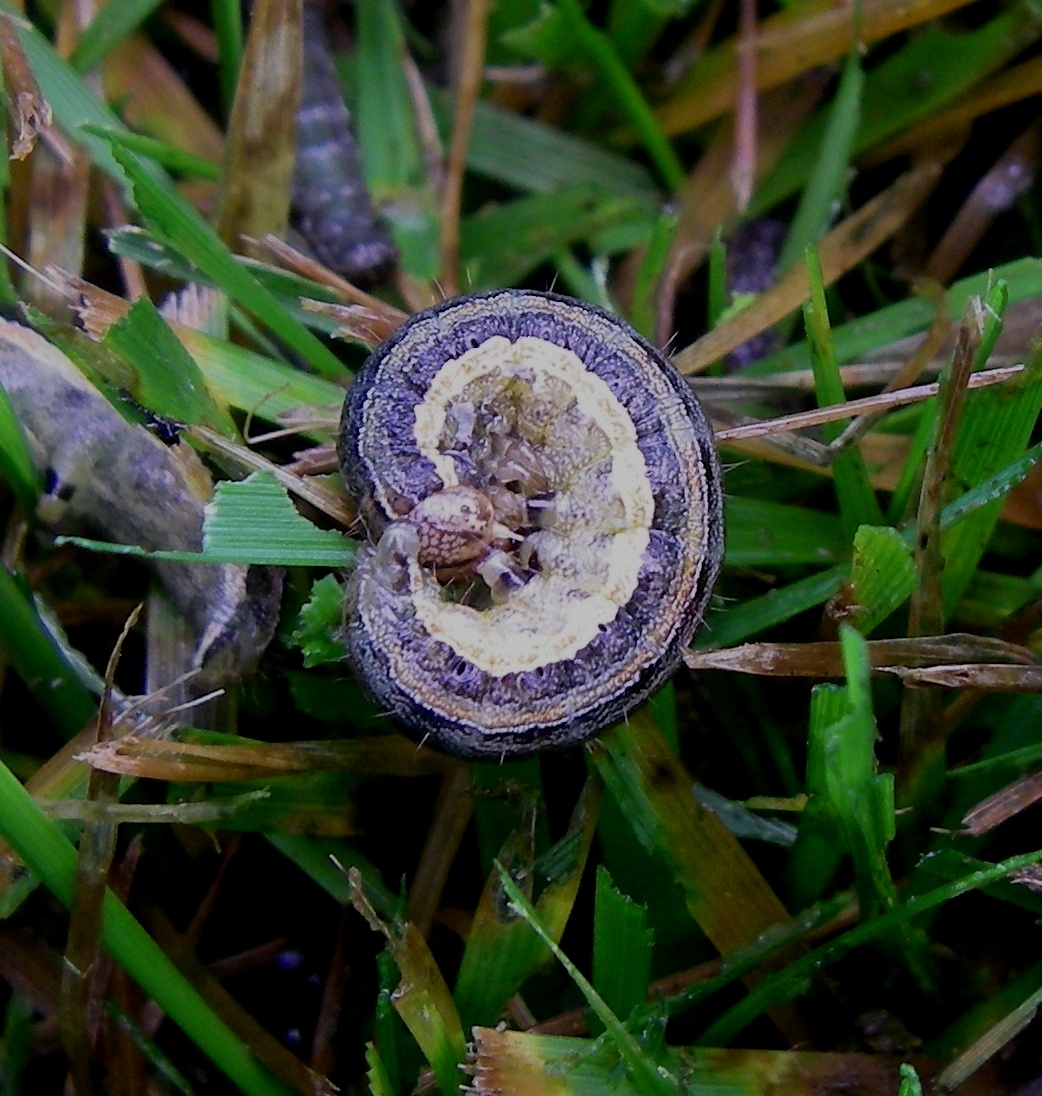
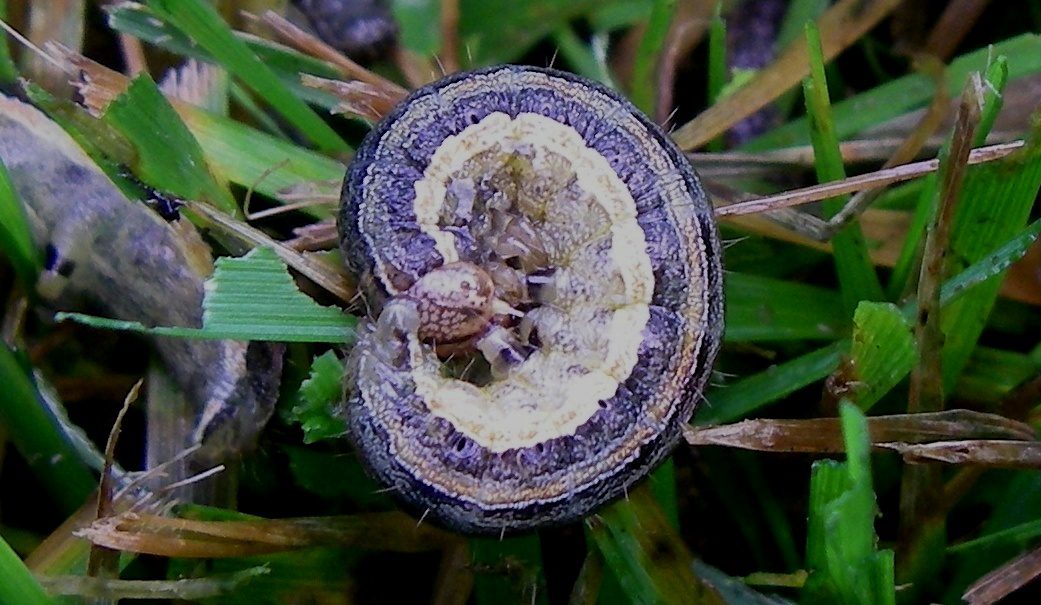
Armyworms come in a wide range of colors and sizes. A few of the prominent species living in Florida are beet, southern, and fall armyworms. And the term “living” is not an exaggeration, because Florida is one of the lucky states where it is warm enough for armyworms to overwinter. They are the snowbirds that never leave!
Armyworm damage on a lawn. Credit: Purdue University
Armyworms are notorious for unanticipated invasions. They feed on most turfgrass species and most vegetable crops, but they prefer grassy vegetable crops such as corn. Armyworms feed in large groups and their feeding has been described as “ground moving” in lawns. They feed during cooler times of the day (morning and evening) and they roll up and rest under the vegetative canopy (in the thatch layer in turf and in the base of leaves in vegetables) during the heat of the day.
Armyworms are difficult to control because of their spontaneity. However, in the lawn they hide in the thatch during the heat of the day. Over watering and fertilization can increase the amount of thatch. It is important to follow UF/IFAS guidelines for home lawn management. A good weed control program can also help to deter armyworms, because weeds serve as an alternate food source.
Numerous chemical control options are available, but softer chemicals such as horticultural oils and insecticides containing the bacteria Bacillus thuringiensis are recommended as a first line of defense. Insecticides should be applied in the morning or evening during feeding time. For additional control strategies and basic information please visit the UF/IFAS Armyworm Publication Page.
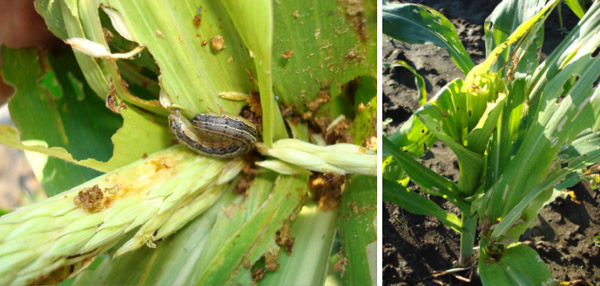
Armyworm feeding on a young corn plant. Credit: University of Illinois
by Beth Bolles | Sep 16, 2015
Just when you think your battle against weeds is over for the summer, cooler nighttime temperatures and shorter days spark the beginning of a new crop of your least favorite plants. The question of many homeowners is: how did all the weeds get into my landscape?
There are many ways that weeds make it to the landscape. They can be brought in with new soil, mulch, container plants, dropped by birds, delivered on the fur of animals, carried by wind, or on the deck of a lawn mower. If that is not enough to depress you, then also realize that regardless of outside sources of weeds, your landscape already has plenty onsite that you don’t even know about.
In the soil, there is a large number of weed seeds ready to germinate when the conditions are just right. Understanding how your common landscape practices can encourage or discourage the germination of these seeds, can help you begin to manage some weed infestations.
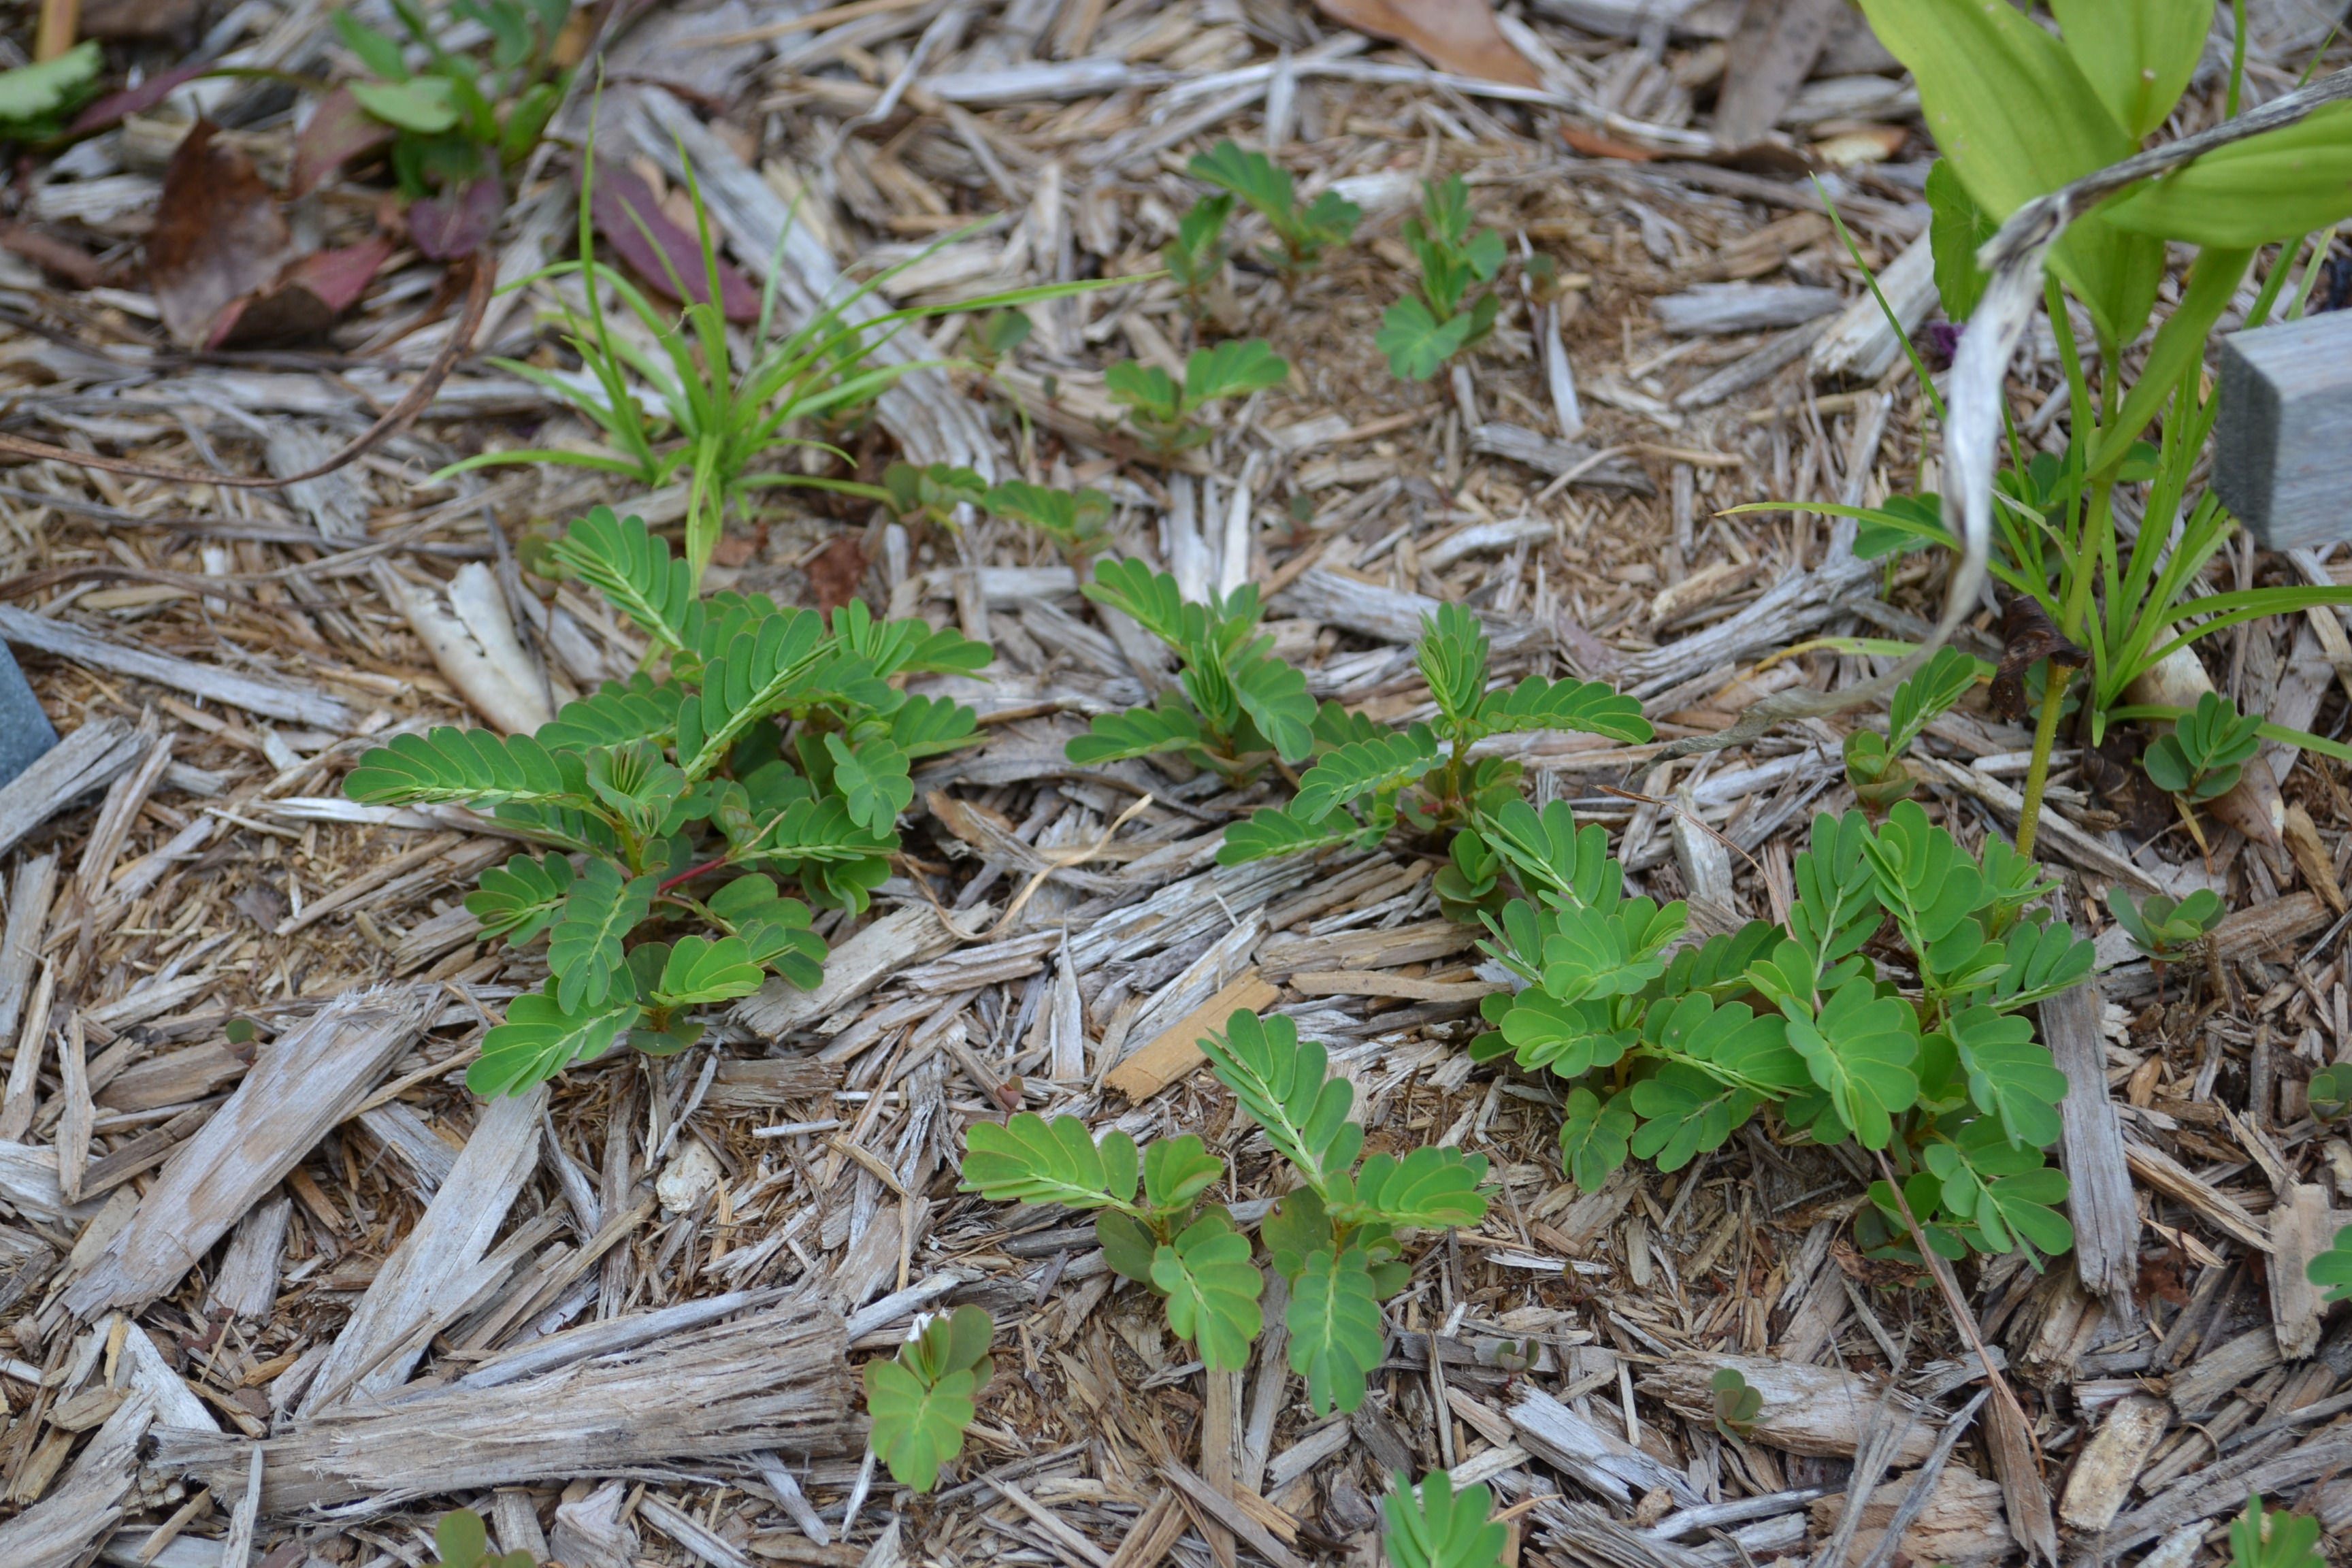
Many of the seeds of common annual weeds are very small. They require exposure to sunlight in addition to the proper temperatures and moisture to germinate. Sunlight is critical, though, and seeds will not germinate without adequate sunlight. If the small seeds are deep in the soil, you will probably never know they are there. When you turn soil or disturb soil such as when installing plants, you bring the small seeds close to the surface and closer to light. They can then be stimulated to germinate. The next thing you know, you have an area covered in weed seedlings.
As mulch thins, small seeds of weeds are stimulated by sunlight to begin growing.
What does this mean for your gardening practices? Try your best to block sunlight from hitting exposed soil. You can do this by keeping a healthy turf, free of thinning spaces. A 2 to 3 inch layer of mulch in plant beds and vegetable gardens will reduce weed seed germination. Finally, when you are installing plants in an established bed, try not to mix soil with surrounding mulch. Seeds will easily germinate within the mulch if it becomes mixed with soil.
It is inevitable that your landscape will have some weeds but a few easy gardening practices can reduce some of your weed frustrations.
For more information:
Gardening Solutions: Weeds and Invasive Plants
Improving Weed Control in Landscape Planting Beds
by Mary Salinas | Sep 9, 2015
You’ve grown some wonderful vegetables, annuals or perennials and you would like to save some of the seed from those plants to have for planting in the future. This is a great way to get more of the plants you know and love while saving on the expense of new plants. One exception are plants that are F1 hybrids; seeds from these plants will produce crops quite dissimilar to the parent.
First, you need to collect ripe seed from the desired plants. How do you know when the seeds are ripe and ready to harvest? The strategies for annuals/perennials and vegetable plants differ.

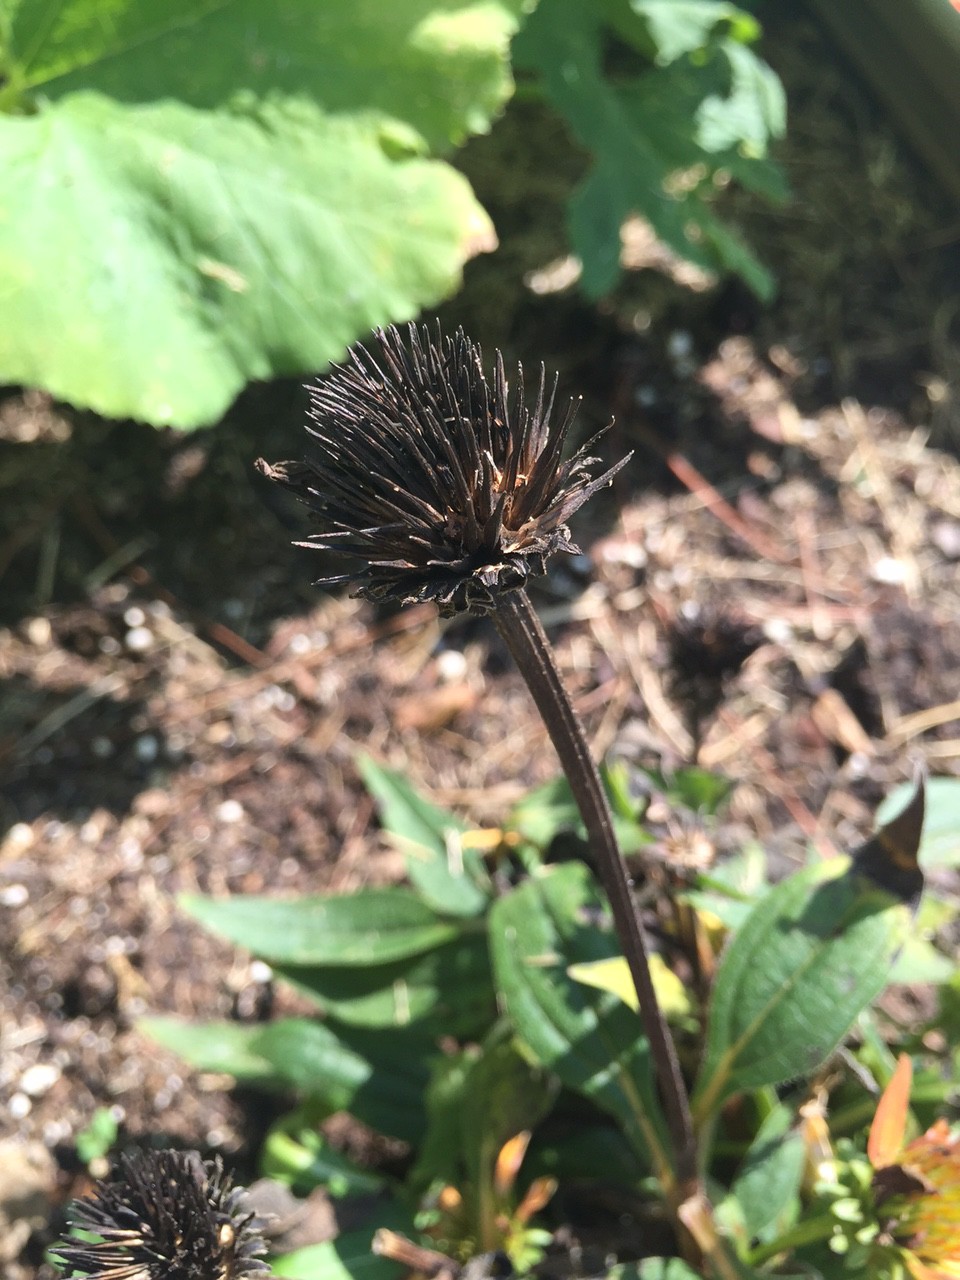
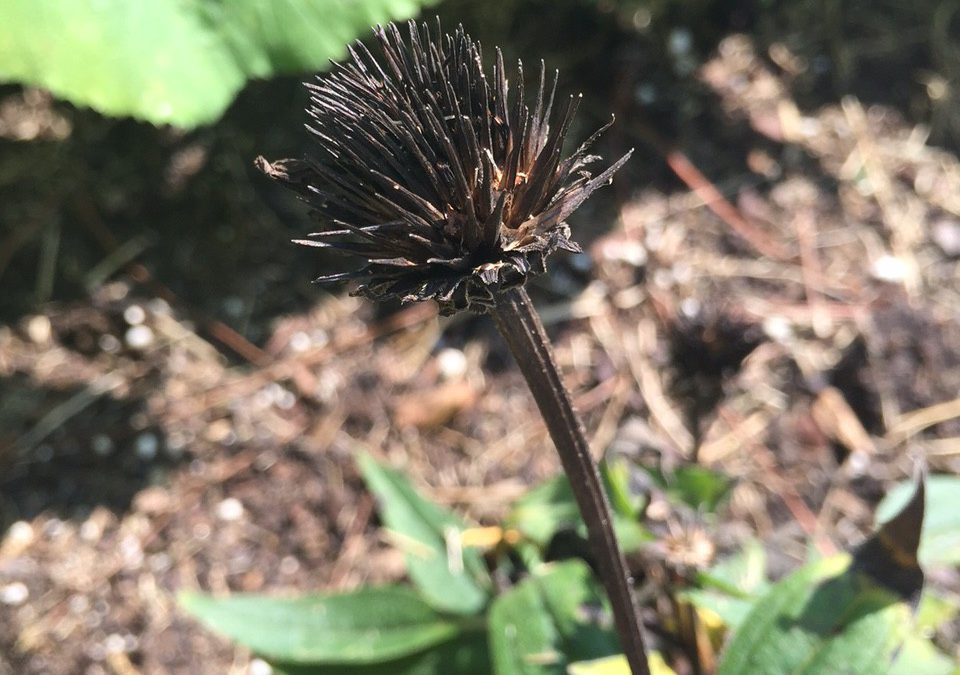
The ripe seedhead of a coneflower. Photo credit: Mary Derrick, UF/IFAS Extension.
For annuals and perennials that flower without making a fruit, wait until the flower has dried up and the seed head is brown and dead-looking. The seeds are then mature and ready to harvest. Take a look at the photo of the coneflower seedhead for reference. These seeds are already dry and can be put into an envelope and then into a sealed jar or plastic stage bag that contains a desiccant to absorb any excess moisture. There are a few options for desiccants: the little packets that come in vitamin bottles and purses to keep them dry, cornmeal or dried milk in bottom of the bag. Be sure to label your envelope with the date and name of your plant seeds. Store in the refrigerator.
When you are saving seed from a vegetable that has seeds inside it such as a tomato, pepper or squash, harvest the vegetable when it is ripe and ready to eat and scoop out the seeds and wash away all other plant parts from the seed. These seeds are very moist and if stored in this state, they will rot into a mess. You want to get the moisture content below about 8% for long term storage. There are several methods:
- If the humidity is low and the temperature high, (I know, those can be rare conditions for Florida) you can put the seeds in a single layer on a baking sheet in the shade to let them dry all day.
- Another option is to take that baking sheet with a single layer of seeds and put it in a 100° oven for 6 hours with the door open. It’s crucial to monitor your oven temperatures as those above 100° will kill the seeds.
Once the seeds are dried sufficiently, store them as described above for flower seeds. Your seeds can then last for several years.
For more information:
Seed Saving from Colorado State Extension
Saving Vegetable Seeds from University of Minnesota Extension
by Matthew Orwat | Sep 9, 2015
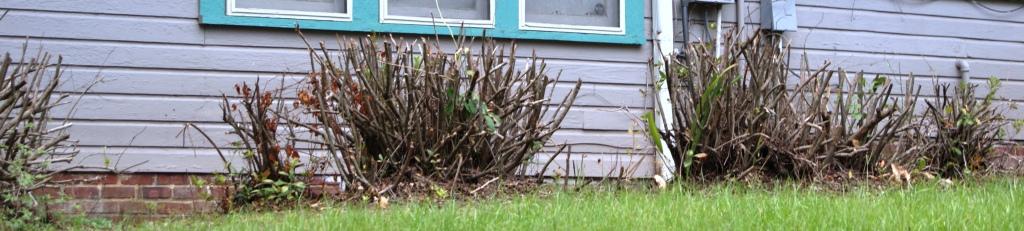
Azaleas pruned late in the fall will have little or no bloom in the spring. Image Credit: Matthew Orwat
As fall approaches, our spring blooming shrubs such as gardenia, spirea and azalea begin to look unkempt and overgrown. That means it is time to give them a severe pruning to get them ready for winter, right? Not so fast, take a minute to understand the growth habit of each species before diving in with the pruning shears.
Azalea:
Many do not understand that annual spring azalea bloom could be sacrificed completely by pruning spring blooming azaleas at the wrong time.
Pruning traditional azaleas in the fall will result in a loss of spring bloom the following year because most bloom on previous years’ wood. This means that they flower on growth put on throughout the previous growing season. If a gardener removes the previous season’s new growth, they are removing the blooms as well.
So, when is the proper time to prune azaleas? The ideal time to prune is directly after the spring bloom. This will give the plant enough time to generate abundant new growth, thus maximizing bloom next spring.
Even the developers of the Encore Azalea, a new repeat blooming type, recommend pruning as soon after the spring bloom as possible to maximize bloom set for the following year.
For more information on pruning azaleas or on general azalea culture, please read the UF / IFAS publication Azaleas at a Glance or check out the Pruning Azalea page on Gardening in a Minute.
Gardenia:
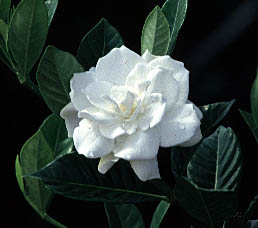
Gardenia, Image Credit Dan Culbert.
Gardenias don’t need much pruning except to remove any dead or non-productive wood, to help them remain bushy, and to remain the same size as other plants in the landscape. Choose a cultivar that will mimic the size of other shrubs, not one too large for the area. Pruning should be done as soon after the summer bloom as possible. Pruning after the beginning of fall will reduce the next year’s bloom production. Know your cultivar. Some cultivars of gardenia flower on new wood as well as old, while some flower on old wood only.
Spiraea:
Regarding spiraea, prune after the bloom as needed. The closer to the late summer or autumn, the greater negative effect pruning will have on bloom quality since spirea set their bloom in early autumn.
I hope this article prevented a few pruning disasters as well as started a thinking process for the act of pruning your landscape plants.