by Mary Salinas | Aug 19, 2014
Is your pet one of those that likes to nibble on or gobble down new plants in your home or landscape? If so, it would be wise to make sure that the new plants you introduce do not send you running with your pet to the vet. There are many common plants that can adversely affect the health of your cat or dog. Symptoms range from mild nausea and vomiting to death, depending on the plant species and the amount ingested.

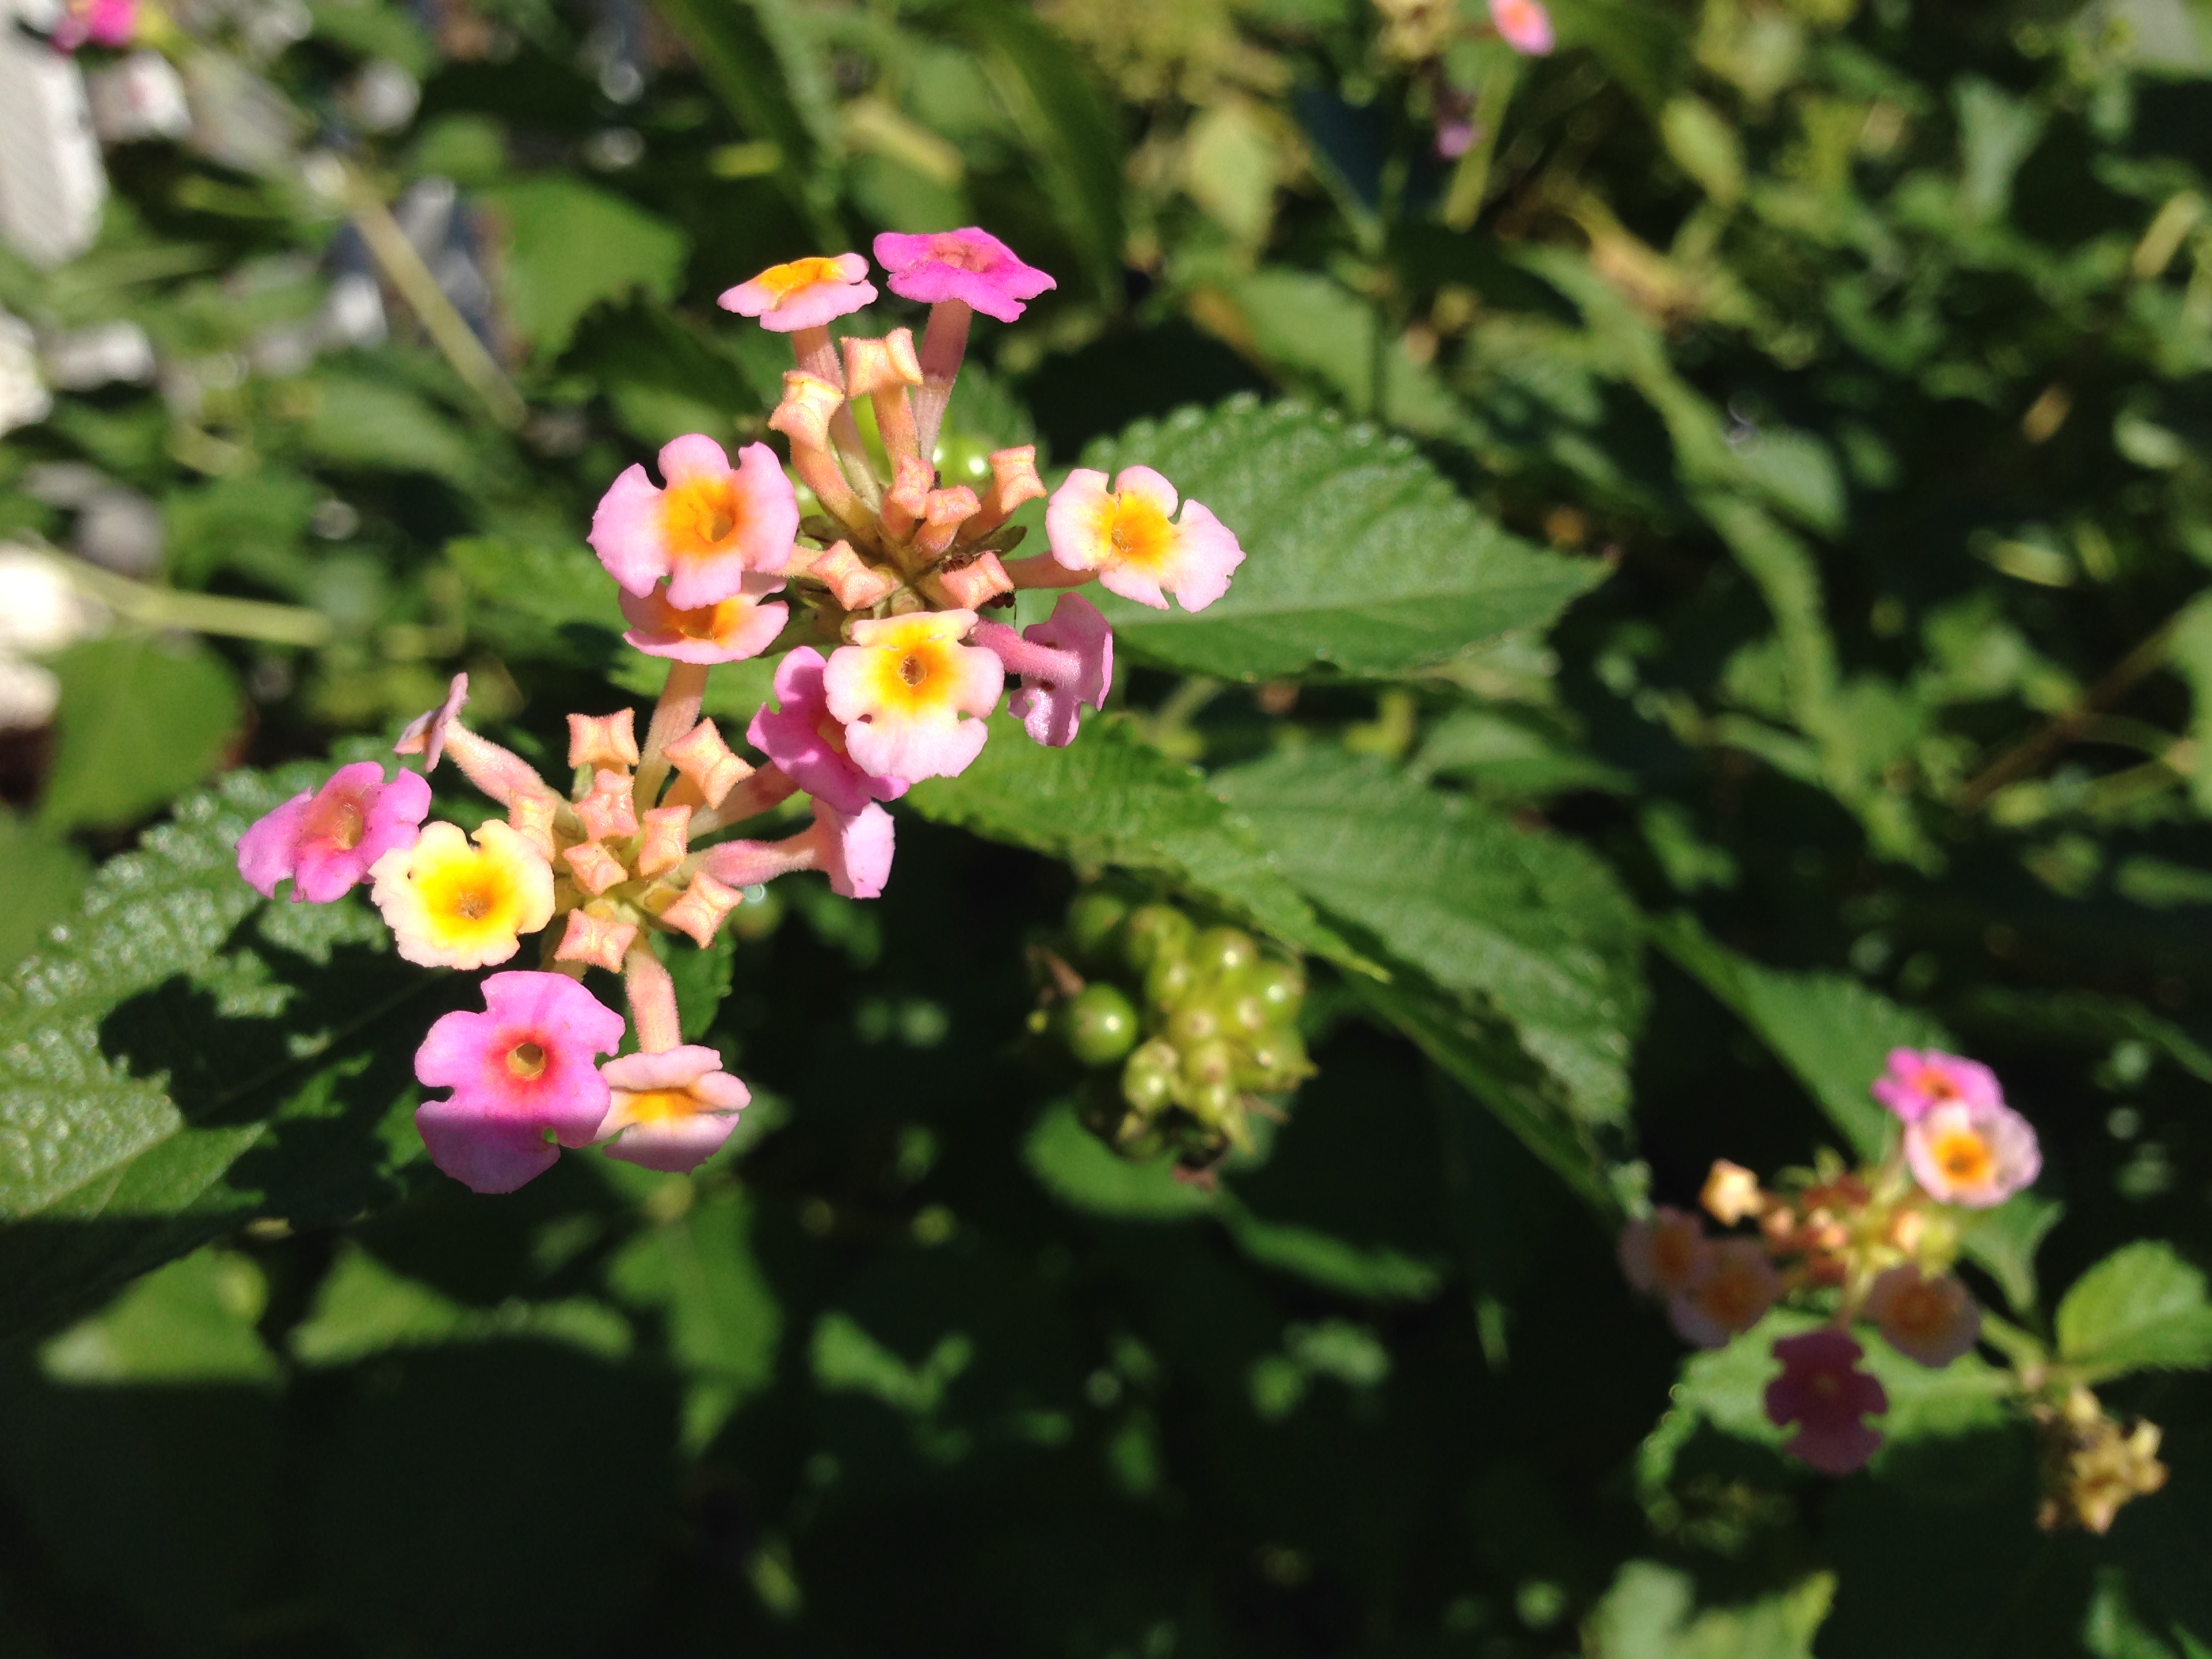
Lantana is toxic to cattle and horses as well as to pets. Photo credit: Mary Derrick, UF/IFAS Extension
This is a sampling of some common indoor plants that are toxic to pets: alocasia, amaryllis, Ti Plant, English Ivy, dieffenbachia, Chinese evergreen, philodendron, corn plant, cyclamen, desert rose, dracaena, peace lily, pothos, and schefflera.
Some landscape plants that may cause a problem include: azalea, bird of paradise, caladium, cape jasmine, Carolina jessamine, chrysanthemum, daffodil, day lily, kalanchoe, lantana, oleander, and sago palm.
For a comprehensive list visit the ASPCA website or The Humane Society website for more information and a comprehensive list.

by Gary Knox | Aug 19, 2014
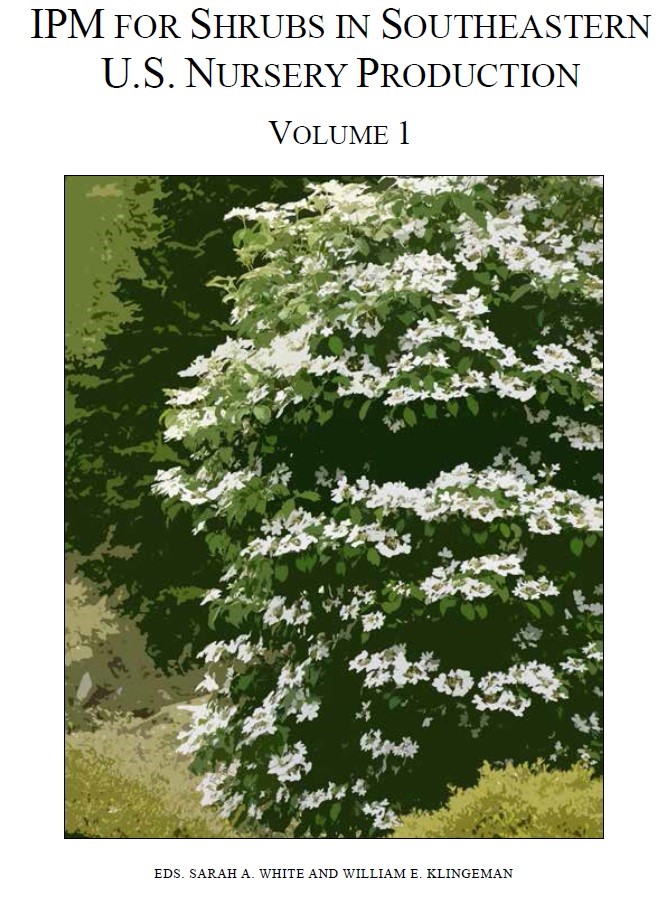
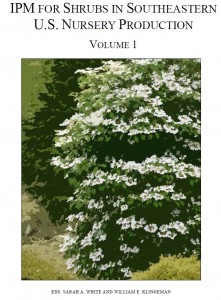 A new IPM guide is making it easier to grow five common southeastern shrubs. Growing five southeastern shrubs is now easier thanks to a free, new IPM resource from the Southern Nursery IPM Working Group.
IPM for Shrubs in Southeastern U.S. Nursery Production is a compilation of Integrated Pest Management (IPM) information for five major shrubs in nursery crop production in the southeast. This 175 page book covers sustainable management for insects, mites, diseases, and weeds for these shrubs, as well as nursery production information. This IPM resource was developed for nursery growers although professional landscape managers and collectors of these plants also will find the information valuable.
Individual chapters cover abelia (Abelia spp.), camellia (Camellia spp.), shrub rose (Rosa spp.), blueberry (Vaccinium spp.) and viburnum (Viburnum spp.). Each chapter provides comprehensive information on the species, primary cultivars and their nursery production. Major pests, diseases, weeds and abiotic disorders are presented for each genus along with sustainable management methods and tables listing labeled pesticides and fungicides by mode of action and site. An additional chapter discusses weed management in shrub production. Future volumes covering additional shrubs are anticipated.
Edited by Clemson University’s Sarah A. White and University of Tennessee’s William E. Klingeman, this free guide was developed by the Southern Nursery IPM Working Group, including University of Florida NFREC’s Gary Knox and Mathews Paret. The award-winning, multi-disciplinary group is composed of experts from universities across the southeast. This group formed in 2008 to develop and deliver educational programming to the southern U.S. nursery industry and Extension personnel. The team recently won the 2014 Bright Idea Award from the Friends of Southern IPM and Southern IPM Center.
This resource joins the tree IPM book previously released by this group, IPM for Select Deciduous Trees in Southeastern US Nursery Production. The tree IPM book is similar to the new resource in that it contains IPM information for insects, mites, diseases, and weeds of nine major tree crops as well as production information. Individual chapters cover birch (Betula spp.), cherry (Prunus spp.), crapemyrtle (Lagerstroemia spp.), dogwood (Cornus spp.), chinese elm (Ulmus parvifolia), magnolia (Magnolia spp.), maple (Acer spp.), oak (Quercus spp.) and redbud (Cercis spp.).
Both books can be downloaded free through iTunes (http://www.apple.com/itunes/) or each chapter is available as a free pdf through the Southern Nursery IPM Working Group website, http://wiki.bugwood.org/SNIPM. A limited number of hardcopy books were printed and distributed to authors. Thanks to the Southern Region IPM Center for their generous support to make this resource possible!
by Eddie Powell | Aug 12, 2014
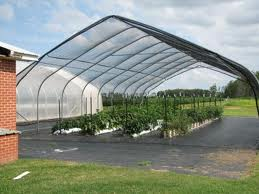
Shade House for early fall crop
Credits: UF/IFAS
In fall, many Florida homeowners enjoy growing their own vegetables but are faced with late summer heat issues. This happens during the first few days of August here in north Florida. Most cole crops are recommended to be planted for the fall as early as August 1, but they must be protected from the hot weather or they may need to be replaced if hot weather damages them. A diverse selection of both heat-resistant and tender plants should be planted in order to prevent total devastation of the garden by extremely hot weather.
The site selection for tender plants should be number one on your list when protecting from heat. Fall vegetable plants need a site with good air flow to protect them from the early season hot temperatures. Arranging susceptible plants along a shade barrier can protect them from direct hot sun, especially from afternoon sun. Poorly drained soils result in weak shallow roots which are more susceptible to drying out during a heat wave.
Plants grown with the correctly applied rate of nutrients will tolerate hotter temperatures better and recover from wilt injury faster than plants grown with little to no nutrients. Watering vegetable garden plants early in the day can help protect them. A well-watered soil will stay cooler than a dry soil and keep plants hydrated. However, saturated soil conditions can damage the root systems of most plants over a few days, so make sure the ground is well-drained.
Healthy vegetable plants are more resistant to heat than vegetable plants weakened by disease, insect damage, or nematode damage. Routine inspection for pests and implementation of necessary control measures are essential. Feel free to contact your local county extension office for information on pest identification and recommended controls.
Shade cloth coverings can help protect vegetable plants more from extreme hot temperatures during the beginning of fall gardening. Shade Cloth that extend to the ground and are not in contact with the vegetable plants foliage can lessen heat injury to the plant. If the vegetable plant foliage is in contact with the cover it is often dried out or injured because of heat transfer from cover the foliage can burn the leaves. One example of excellent plant covers is shade cloth or even an old trampoline cover. To learn more on heat protection of vegetable plants call your local UF/IFAS Extension Service
by Taylor Vandiver | Aug 4, 2014
Attracting Butterflies into Your Landscape
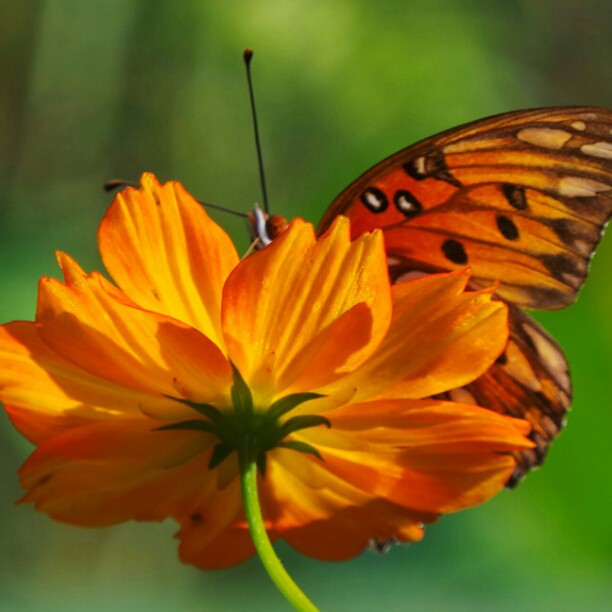
Have you been itching to add some life and color into your landscape? Why not plant a butterfly garden?! Butterfly gardens are a great way to add movement and life to an otherwise stagnant landscape. Most butterfly gardens are not only an attractant for our Florida butterflies, but are also a magnet for hummingbirds and beneficial insects. To start your garden all you need are a few key plants.

Gulf Fritillary. Photo Courtesy Scott Jackson.
Incorporate at least one host plant and one nectar plant into your garden. The host plant provides a suitable habitat for the female butterfly to lay her eggs. These eggs will hatch and the baby caterpillars will eat the leaves of the host plant. Host plants are often not as showy as nectar plants, nor are they even necessary to attract adult butterflies. However, while nectar plants invite butterflies into your garden to feed, host plants offer them a reason to stay and reproduce. And you can watch this entire cycle unfold in your own garden!
Most of your butterfly attractant plants will do best in full sun to partial shade. Try not to apply pesticides in areas where you want to maintain healthy caterpillar/butterfly populations. Providing water for butterflies is very important and easily done. One option is to fill a clay tray with sand and then place a rock in the center, where the butterfly can perch. Keep the sand wet, but avoid standing water. Feel free to contact your local extension office for more information on our winged friends!

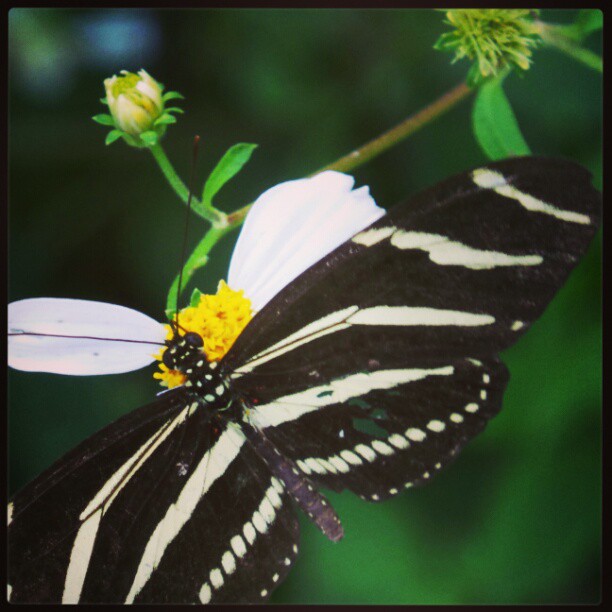
Zebra Longwing, our state butterfly! Photo courtesy Scott Jackson.
Here are a few examples of butterflies and their preferred host plants:
o Host Plants – Fennel, Parsley, Bishopsweed
o Host Plants – Pawpaw
o Host Plants – Wild Lime, Hercules-club, Citrus spp.
o Host Plants – Ash, Black Cherry, Tulip tree, Sweetbay Magnolia
o Host Plants – Partridge Pea, Cassia
o Host Plants – Passion Vines
- Zebra Longwing (State Butterfly of Florida)
o Host Plants – Passion Vines
o Host Plants – Milkweed, Butterfly Weed
Here are nectar plants that will have the butterflies swarming to your garden:
- Firebush
- Milkweed
- Blanket Flower
- Sage (Salvia spp.)
- Butterfly Bush
- Blazing Star
- Yarrow
- Pentas
- Stoke’s Aster
by Sheila Dunning | Jul 28, 2014
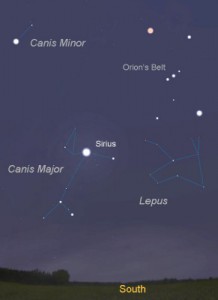
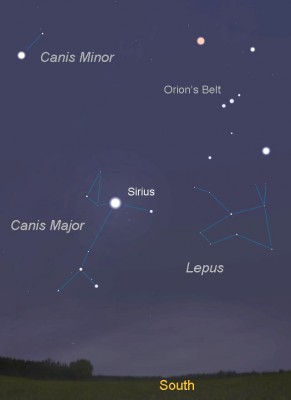
The “Dog Days” are the hottest, muggiest days of summer. In the northern hemisphere, they usually fall between early July and early September. The actual dates vary greatly from region to region, depending on latitude and climate.
In ancient times, when the night sky was un-obscured by artificial lights, the Romans used the stars to keep track of the seasons. The brightest constellation, Canis Major (Large Dog), includes the “dog star”, Sirius. In the summer, Sirius used to rise and set with the sun, leading the ancient Romans to believe that it added heat to the sun. Although the period between July 3 and August 11 is typically the warmest period of the summer, the heat is not due to the added radiation from a far-away star, regardless of its brightness. The heat of summer is a direct result of the earth’s tilt.
Spending time outdoors this time of year is uncomfortable, potentially dangerous, due to the intense heat. However, the chinch bugs are very active in St. Augustine grass, and the summer flowers need water. So, take care of those tasks early in the day and then retreat to the air conditioning to plan your fall planting.
Plant tomato plants in August for tomatoes in October. Varieties such as Phoenix, Florida 91, Solar Set and Heat Wave II are good selections for setting fruit in high temperatures, should summer temperatures continue. Otherwise, try some of the newer UF/IFAS recommended varieties for fall planting in North Florida such as Bella Rosa, Tribute or Finishline. For more information on tomato selection refer to Tomato Cultivars for Production in Florida. For information on other vegetables for fall gardening refer to the Florida Vegetable Gardening Guide. Plan to attend the Fall Gardening program at the Extension office this September.
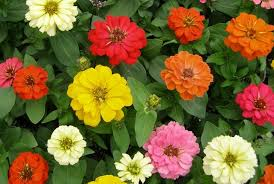 Many bedding plants flower quickly and can add color to the fall landscape. These include pentas, African marigolds, torenia, zinnias, melampodium and scaevola. Other can be planted in October for blooms all winter-long. Plan spaces and color themes for calendulas, pansies, snapdragons and violas. Add in ornamental cabbage or kale and some dusty miller to accent the garden. They too will perform through the cold. For more information on Annuals for the Florida Garden refer to Gardening with Annuals in Florida.
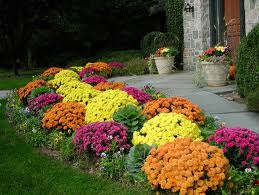
Dependable fall blooming perennials include lion’s ear (Leonotis leonurus), pineapple sage (Salvia elegans), firebush (Hamelia patens), cigar plant (Cuphea micropetala), yellowbells (Tecoma stans) and firespike (Odontonema strictum). Also, garden mums (Chrysanthemum sp.) and many different Irises will add color again in the spring. To gain information on perennials for Florida refer to Gardening with Perennials in Florida.
Webster’s second definition of “dog days” is a period of stagnation or inactivity. But, even when the heat forces you to slow down on the labor-intensive work, there is plenty of gardening “activity” to do. Stay in the air conditioning and plan that spectacular fall and winter yard.
by Gary Knox | Jul 21, 2014
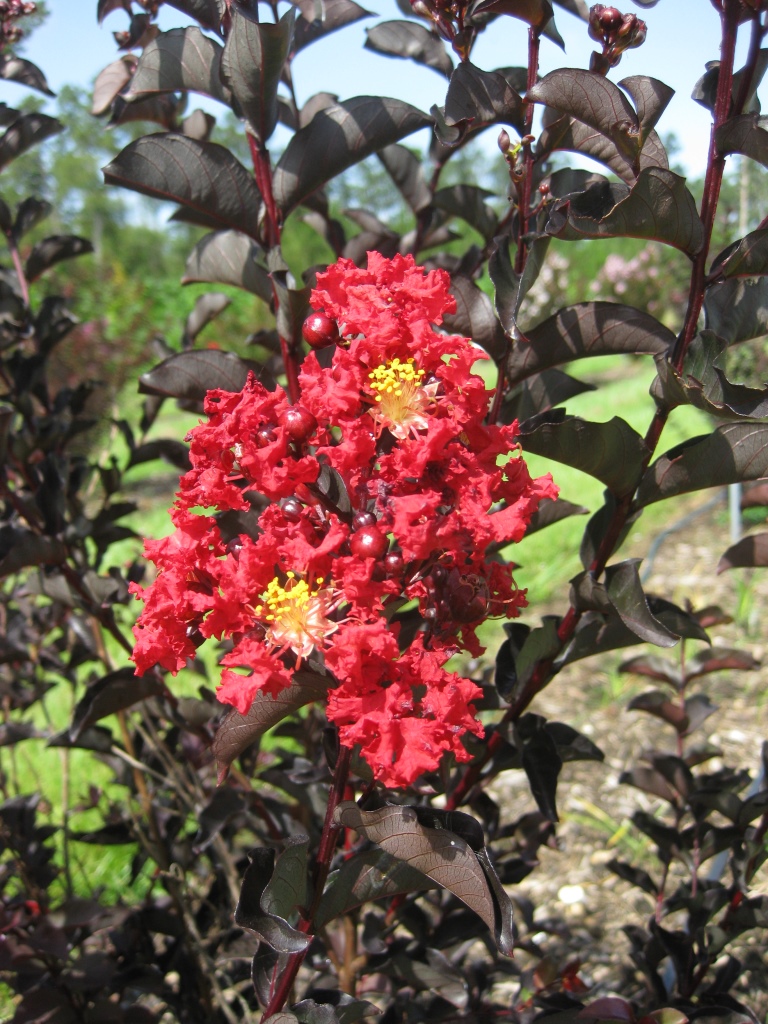
Burgundy-leaved crapemyrtle is one of the most exciting breeding accomplishments in years. Unlike previous selections, many new crapemyrtle cultivars have leaves that retain dark burgundy coloration from spring budbreak through fall leaf drop. These plants add bold leaf color to a plant already known for its flower power.
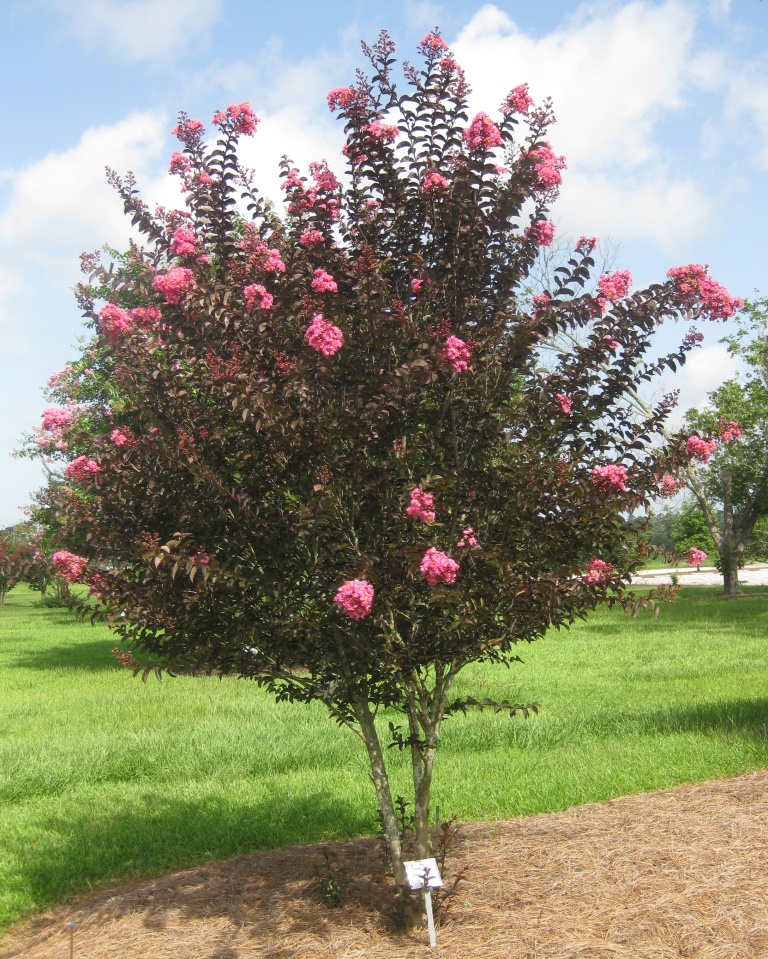
Delta Jazz™ was the first crapemyrtle with burgundy-bronze leaves all summer long. Photo by Gary Knox
As is typical of many new plant introductions, the new crapemyrtles are grouped and sold in series, most of which are patented and/or trademarked. Delta Jazz™ was the first crapemyrtle with burgundy-bronze leaves all summer long. This year Delta Jazz™, with pink flowers, is being joined by Delta Eclipse™ (purple flowers). Future years will see Delta Breeze™ (lavender flowers) and Delta Flame™ (red). All have burgundy to bronze leaves from spring through fall and are expected to be mid-size, maturing at heights of 8 to 12 feet.
Another new series with burgundy leaves confusingly is being sold under two names: the Ebony series and the Black Diamond™ series. ‘Ebony & Ivory’ features white flowers that contrast nicely with dark burgundy leaves on red stems. ‘Ebony Embers’ has red flowers on plants with dark burgundy leaves on purple stems. ‘Ebony Fire’ has flowers that are bright red and its leaves are medium burgundy. ‘Ebony Flame’ has dark red flowers and dark burgundy leaves. Finally, ‘Ebony Glow’ is named for its blush white flowers on dark red stems with dark burgundy leaves. These selections are also sold as Black Diamond™ Pure White, Black Diamond™ Red Hot, Black Diamond™ Crimson Red, Black Diamond™ Best Red and Black Diamond™ Blush, respectively. All are expected to grow 8 feet or more in height (regardless of the name!).

‘Ebony Fire’ is a new crapemyrtle with burgundy leaves and bright red flowers. Photo by Gary Knox
The First Editions® Magic™ series of crapemyrtles includes two new selections with burgundy leaves. Moonlight Magic™ has the darkest burgundy leaves I’ve seen so far. Flowers are white and the burgundy leaves are glossy and narrow on a plant expected to grow to a height of 8 to 10 feet. Maturing at 4 to 6 feet, Midnight Magic™ has leaves that are a dull burgundy while flowers are dark pink. Note that other cultivars in the First Editions® Magic™ series (‘Coral Magic’, ‘Plum Magic’, and ‘Purple Magic’) have green leaves.
These cultivars are too new to know how well they will perform in north Florida and the Gulf Coast. The best place to view these cultivars side by side is at the LSU AgCenter, Hammond Research Station, in Hammond, LA. There, Dr. Allen Owings has developed a beautiful garden where he is evaluating crapemyrtles and many other plants. For more information and to read Dr. Owing’s comments on new crapemyrtles, visit http://www.lsuagcenter.com/en/our_offices/research_stations/Hammond/.
All these new cultivars will have the brightest burgundy leaf color when plants are grown in full sun (at least 6 hours of direct sun each day). Any amount of shade will likely result in pale burgundy or burgundy-green leaves, as well as reduced flowering and growth. As with other crapemyrtles, these new cultivars are tolerant of drought, heat, rain, humidity and all but wet soils. When buying crapemyrtle, place the plant in a location where it can grow to its full height without the need to prune it regularly. After planting, sit back and enjoy these crapemyrtles’ bold burgundy foliage as well as the abundance of colorful flowers!
1Extension Specialist and Professor of Environmental Horticulture, University of Florida/IFAS, North Florida Research and Education Center, Quincy, Florida. gwknox@ufl.edu.