by Mary Salinas | Aug 19, 2014
Is your pet one of those that likes to nibble on or gobble down new plants in your home or landscape? If so, it would be wise to make sure that the new plants you introduce do not send you running with your pet to the vet. There are many common plants that can adversely affect the health of your cat or dog. Symptoms range from mild nausea and vomiting to death, depending on the plant species and the amount ingested.

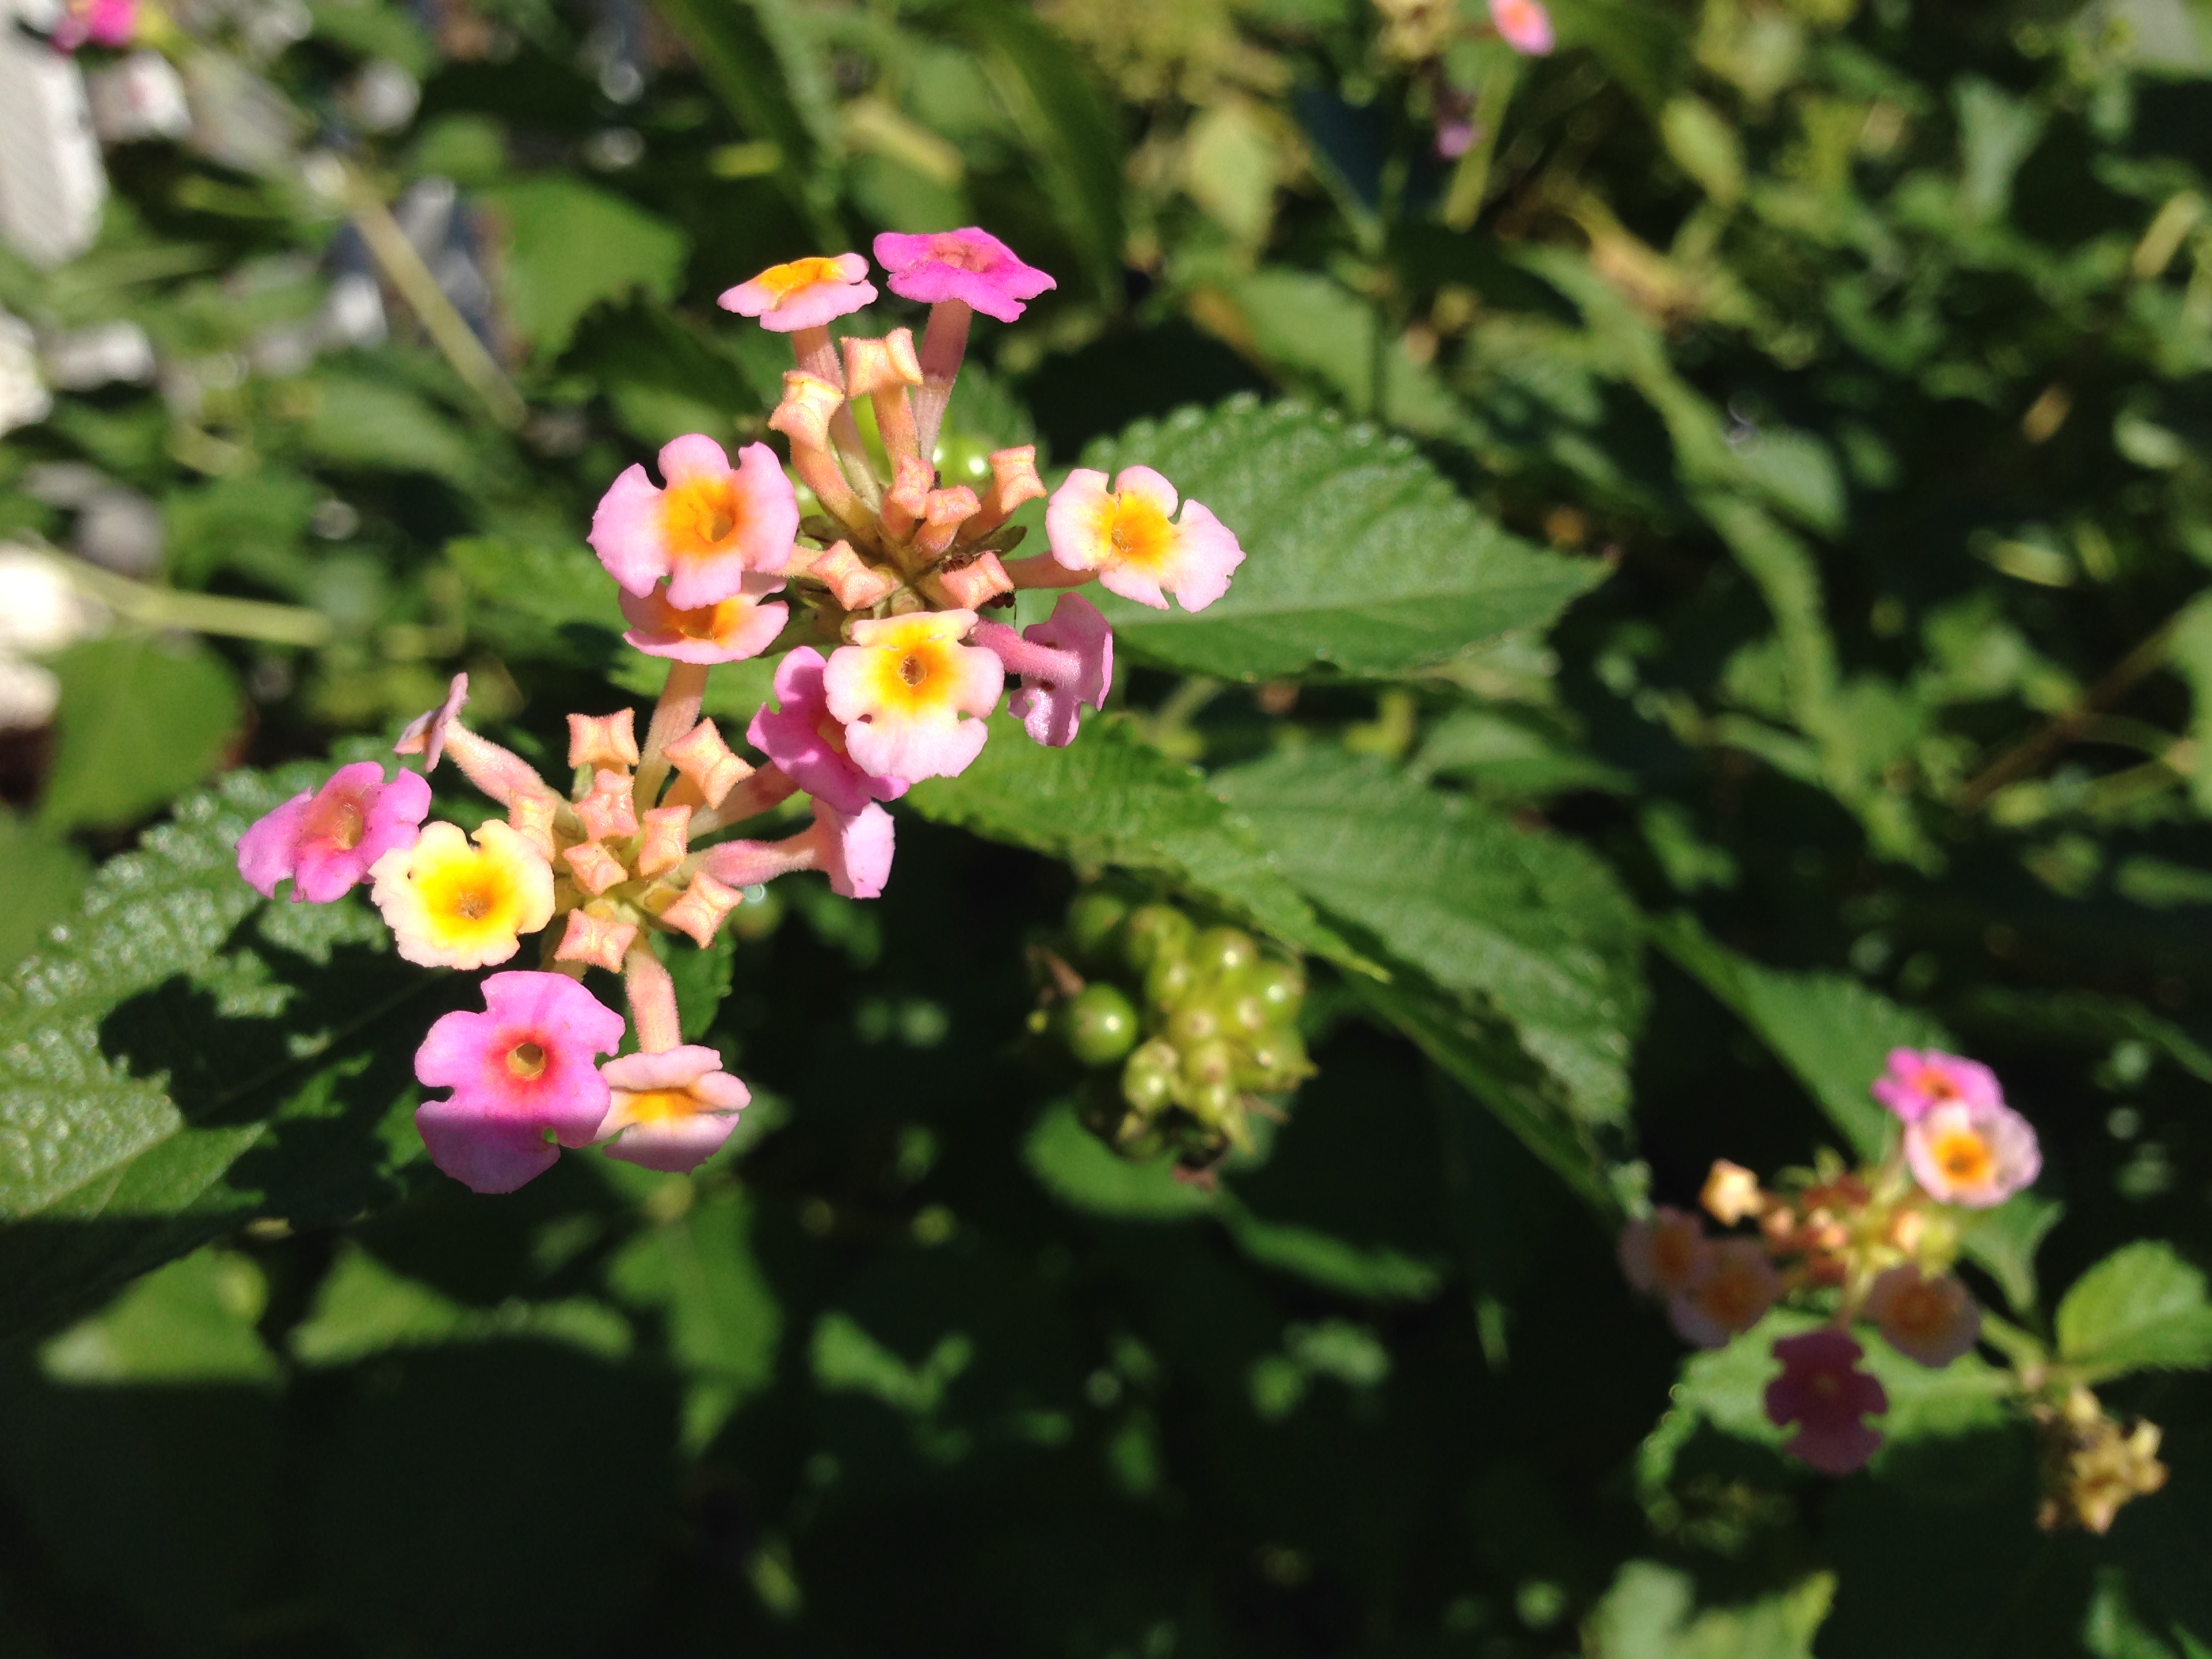
Lantana is toxic to cattle and horses as well as to pets. Photo credit: Mary Derrick, UF/IFAS Extension
This is a sampling of some common indoor plants that are toxic to pets: alocasia, amaryllis, Ti Plant, English Ivy, dieffenbachia, Chinese evergreen, philodendron, corn plant, cyclamen, desert rose, dracaena, peace lily, pothos, and schefflera.
Some landscape plants that may cause a problem include: azalea, bird of paradise, caladium, cape jasmine, Carolina jessamine, chrysanthemum, daffodil, day lily, kalanchoe, lantana, oleander, and sago palm.
For a comprehensive list visit the ASPCA website or The Humane Society website for more information and a comprehensive list.
by Roy Carter | Jun 23, 2014
Summertime is vacation time for people, not plants! While getting ready for that long awaited trip, it’s easy to forget about your lawn, landscape, vegetable garden and house plants. A little time spent preparing your leafy friends for your absence could save you needless worry and hours of extra work when you get back.
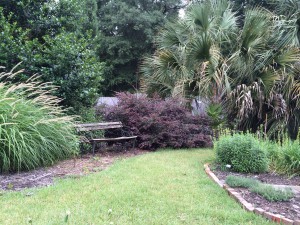
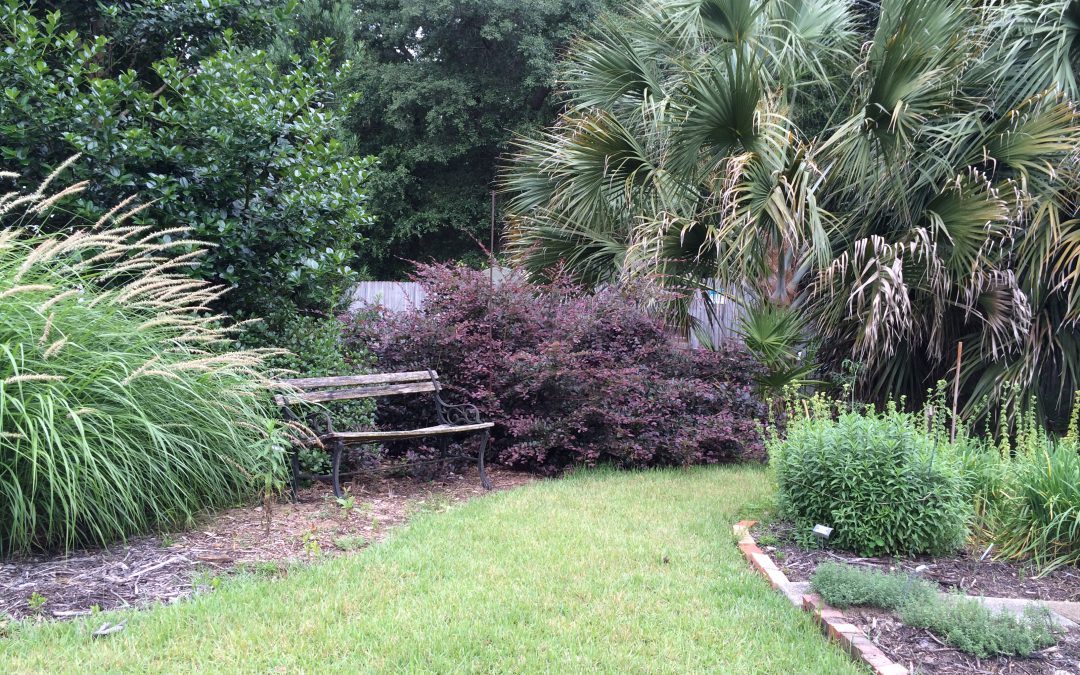
Prepare your landscape for your absence.
Photo by Mary Derrick, UF IFAS
A vacation may be relaxing and rejuvenating for you and your family, but it can be hazardous, even deadly, for your plants. Unless you make adequate preparations before leaving, you could return to vegetable disaster.
One of the first things you might do before leaving home is ask a neighbor to check your plants periodically while you’re gone. All plants need some care. During an extended vacation container grown plants require special attention and different species have different needs. Be sure you give your friend specific instructions for the care of each type.
If you can’t find someone to personally look after your plants while you’re away, there’s plenty you can do prior to departure to make sure you don’t come home to a limp landscape and sickly house plants. Outdoor container plants should be placed in a shady area to conserve moisture. Under a tree or on the north side of a building are good locations. A thick layer of mulch will help conserve moisture for landscape plantings. Mow your lawn just before leaving, cutting the grass a little closer than usual. An unkept lawn can encourage disease, and it’s a tell-tale sign that no one’s home.
Give lawn and landscape plants a heavy watering – especially recently planted beds, which will need extra moisture. Also, thoroughly spray or dust your plants to protect them from insects and diseases while you’re away. If you have flowering annuals, cut the blossoms before departing. If you don’t, they’ll soon stop blooming. Harvest all ripe or nearly ripe fruits and vegetables. Like flowers, they will continue to produce only if they’re picked frequently. Otherwise, they’ll go to seed.
Do a thorough job of weeding. If weeds are allowed to go to seed while you’re away, you can expect to encounter much more difficult problems later in the season – even next year – when the seeds sprout. Weeding eliminates a major source of competition for your landscape plants’ food and water which may be in short supply during your absence.
Plants kept indoors require special consideration. Before leaving home, place your house plants in a room which receives indirect sunlight. Direct exposure to the sun will dry the soil too quickly. Of course, you don’t want to put your plants in a room that’s too dark, either. Too little light will almost always result in leaf drop. And, just before you depart, be sure to water your house plants thoroughly. This is especially vital, because – unlike lawn grass and landscape ornamentals – house plants cannot benefit from any rain that may fall while you’re gone.
You’ll enjoy your vacation more by making sure your plants are well prepared for your absence.

by Taylor Vandiver | Jun 3, 2014
In a world of limited time and space, container gardens seem to make more and more sense. Poor soil and no place to put plants in the ground are no longer good excuses for not being able to enjoy the simple pleasures of gardening. Container gardening allows the individual to create gardens to fit any situation. Gardening in containers can be just as rewarding as having a full-size garden.
There are a few items to consider when you are planning your container garden. The first is the plants you intend to use. If you are planting more than one plant in the same pot be sure that all your plants meet the same requirements. The requirements you should consider are amount of light, amount of water, climate and fertilizing needs. Some other things you might want to think about when planning your container garden are height, color, and texture. A nice variation of these elements will make your container gardens more attractive and increasingly more interesting to look at.
The next step in container gardening is choosing your container. A good rule of thumb is: “Anything that holds soil and has drainage holes in the bottom may be transformed into a container garden.” It can be a pot you purchased from the local gardening center or an old bathtub you picked up off the side of the road. However, be sure that the size of the container matches the current and potential size of your plant. For vibrant plant growth, the containers must provide adequate space for roots and soil media, allowing the plant to thrive.

Colorful containers bring life to your small spaces.
Next on your list is choosing a soil for your container. Container soils need have good aeration and decent drainage, while still being able to retain enough moisture and nutrients for plant growth. When choosing what to use in containers, never use garden soil by itself. When garden soil is added to a container, both drainage and aeration are severely impeded, and the results are plants that grow poorly or not at all.
Container soils are often referred to as soilless or artificial media, because they literally contain no soil. They are commonly composed of various media such as peat moss, perlite, vermiculite, bark and coir fiber (ground coconut hulls) in a variety of mixes. When using soilless media remember t0 moisten it slightly before planting. Fill a tub with the media, add water and lightly fluff the media to dampen it. This will keep the mixture from becoming hydrophobic (unable to take up water) throughout its life in the container. When adding media to your containers, never fill the pot to the top. You should leave about a one-inch space between the top of the soil and rim of the pot. This will make watering the pot easier as it provides a place to “put water” and not have it run over the edge.
When watering your container gardens, the best time to do so is in the morning. Watering in the morning allows the leaves of your plants and soil to dry out, preventing diseases and viruses. Remember that overwatering is the most common reason for fatalities in container gardens. Check your soil by pushing your finger into the media; if the media is moist don’t water it. When it comes to fertilizing your container gardens, fertilize only as needed. Over-fertilization will result in a buildup of salts and may burn the roots of your plants. Try to fertilize your plants during the growing season, and only if needed during the dormant seasons.
The most important objective when container gardening is to be creative. Maybe, try a variety of plants in one container garden. While an nicely put together individual container can be quite impressive, think what might happen if you put several containers together in a group. Also, don’t limit your container gardens to flowers–many vegetables can be grown in a container and actually do quite well. There really is no limit to what can be done in a container!
by Mary Salinas | May 13, 2014

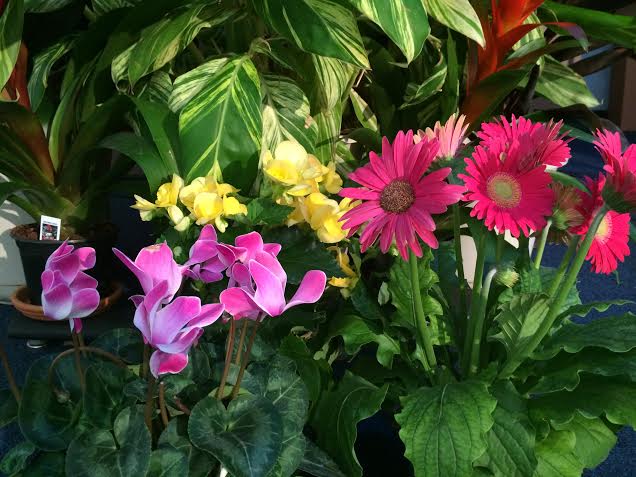
Flowering Houseplants. UF IFAS photo by Mary Derrick.
Plants add color, interesting textures and, of course, beauty to our indoor living environments. The air is freshened with the oxygen they provide.
Keep them healthy by watering correctly. Plants have differing water requirements so take a moment to look up some good research-based information on your particular plants and find out what kind of watering regime is best for them. For most houseplants, it’s time to water when the top inch or so of soil is dry to the touch. Some do best when they dry considerably before watering, like succulents, while others, like cineraria, like to stay evenly moist. It may help to group your plants by their water requirements so you can better remember and manage their watering needs.
When it is time to water, make sure to water thoroughly so that excess water drains from the pot. There are several really good reasons to follow that practice. First, a thorough watering allows all the soil and roots to be moistened and you avoid having dry spots in the soil. Also, when the excess water drains, it takes with it the excess salts from fertilizers. When excess salts build up over time, the roots can be damaged and the plant can eventually die. One of the first plant symptoms is brown, dead tips of the leaves. A definitive sign of excess salt is a white mineral build up around the inside edges of the pot or on the surface of the soil. If you already have a salt build-up, you can water heavily a few times to help leach the salts or re-pot your plant with some fresh potting soil.
One last tip – once you water your plants, don’t let the pots and the roots sit in water. Dump out any standing water.
For more information, please see:
Solutions for Your Life: Houseplants
Gardening Solutions: Salt Build-up in Houseplants
Virginia Extension: Indoor Plant Culture
by Julie McConnell | Dec 9, 2013
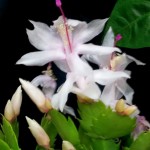
Photo credit: Julie McConnell, UF/IFAS
If you are looking for an easy to grow, colorful indoor flowering plant, look no further than Holiday Cactus. The two main types are Thanksgiving Cactus and Christmas Cactus which have similar care requirements but as the name indicates, bloom at different times.
When purchasing a new plant, don’t assume that it is “Thanksgiving” or “Christmas” based on when it was blooming at the store, growers know how to manipulate plants for flowering based on market demand. Instead look at the leaf shape and anther colors for positive identification. Thanksgiving cacti have pointed teeth on leaf margins and yellow anthers in the flowers. Christmas cacti have flattened leaves with rounded teeth on the margins and purple anthers.
The best spot for your Holiday cactus is a bright location away from any drafts or heating and cooling vents. Keep soil slightly moist, but take care not to over water. They can tolerate some drying out, but too much can cause flower buds to drop. In Northwest Florida’s mild climate you may keep your Holiday Cactus outside most of the year, but protect it from full sun during the summer months and bring it indoors if temperatures are forecast to fall below 50° F.
Fertilize Holiday cacti with a general purpose houseplant fertilizer from April until August following label directions. To make your plants fuller, prune or pinch in June and this will encourage more branching. Holiday cacti are easy to propagate. Take those pieces you pinched off and place in a lightweight potting soil or vermiculite and they will grow roots and you will have new plants to share.
So, how do you control flowering time? Holiday cacti form flower buds based on two environmental factors, photoperiod (length of daylight) and temperature. They are considered “short day” plants which mean that they bloom when light is reduced to 8-10 hours a day, but this description can be a little misleading. The true influencing factor is not the number of daylight hours, but rather the number of hours in uninterrupted darkness. One way to initiate flower bud development is to place the plant in a dark closet from 5 p.m. until 8 a.m. for 20-25 days straight. This treatment will stimulate flower bud development. Another factor that influences flower bud initiation (even without light control) is the temperature at night. The ideal night temperature for flower bud formation is between 55 and 68° F. Temperatures above 68° and below 50° F can prevent flower bud development.
To learn more about caring for your Holiday Cactus visit the following link Thanksgiving & Christmas Cacti Clemson Cooperative Extension HGIC1554.


