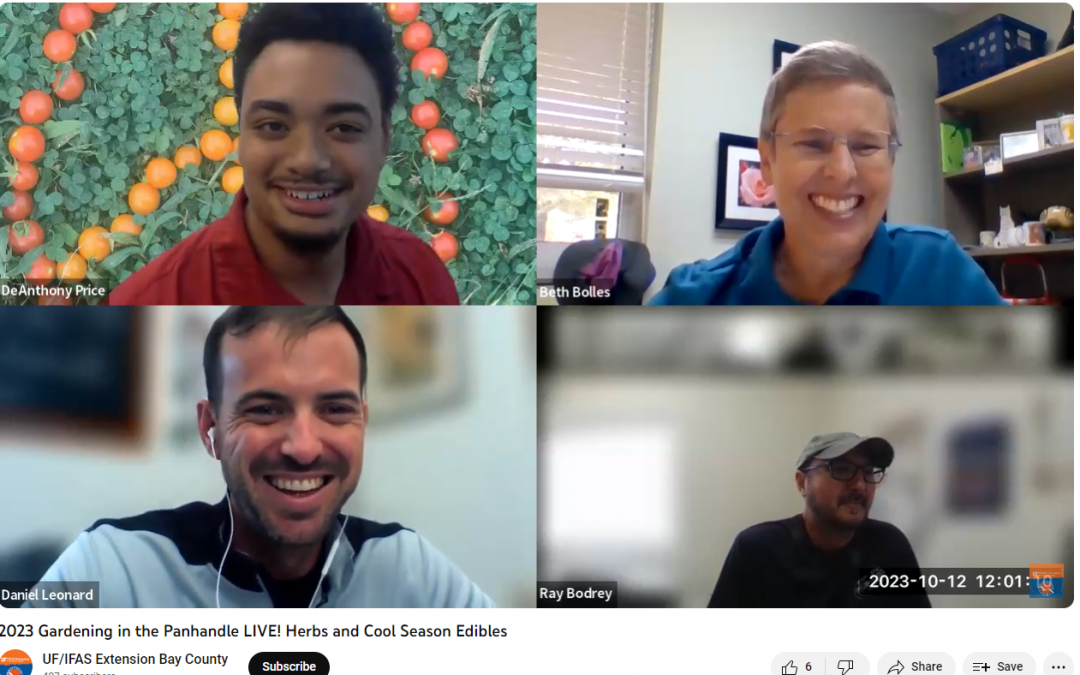
In case you missed it, you can watch our last session of Gardening in the Panhandle LIVE! that aired on October 12th by visiting our YouTube Playlist with all the past episodes of our gardening webinars.
We had a great conversation about herbs and cool season edible plants last month and this article compiles the links shared by the expert panel in the episode. Thanks for watching!
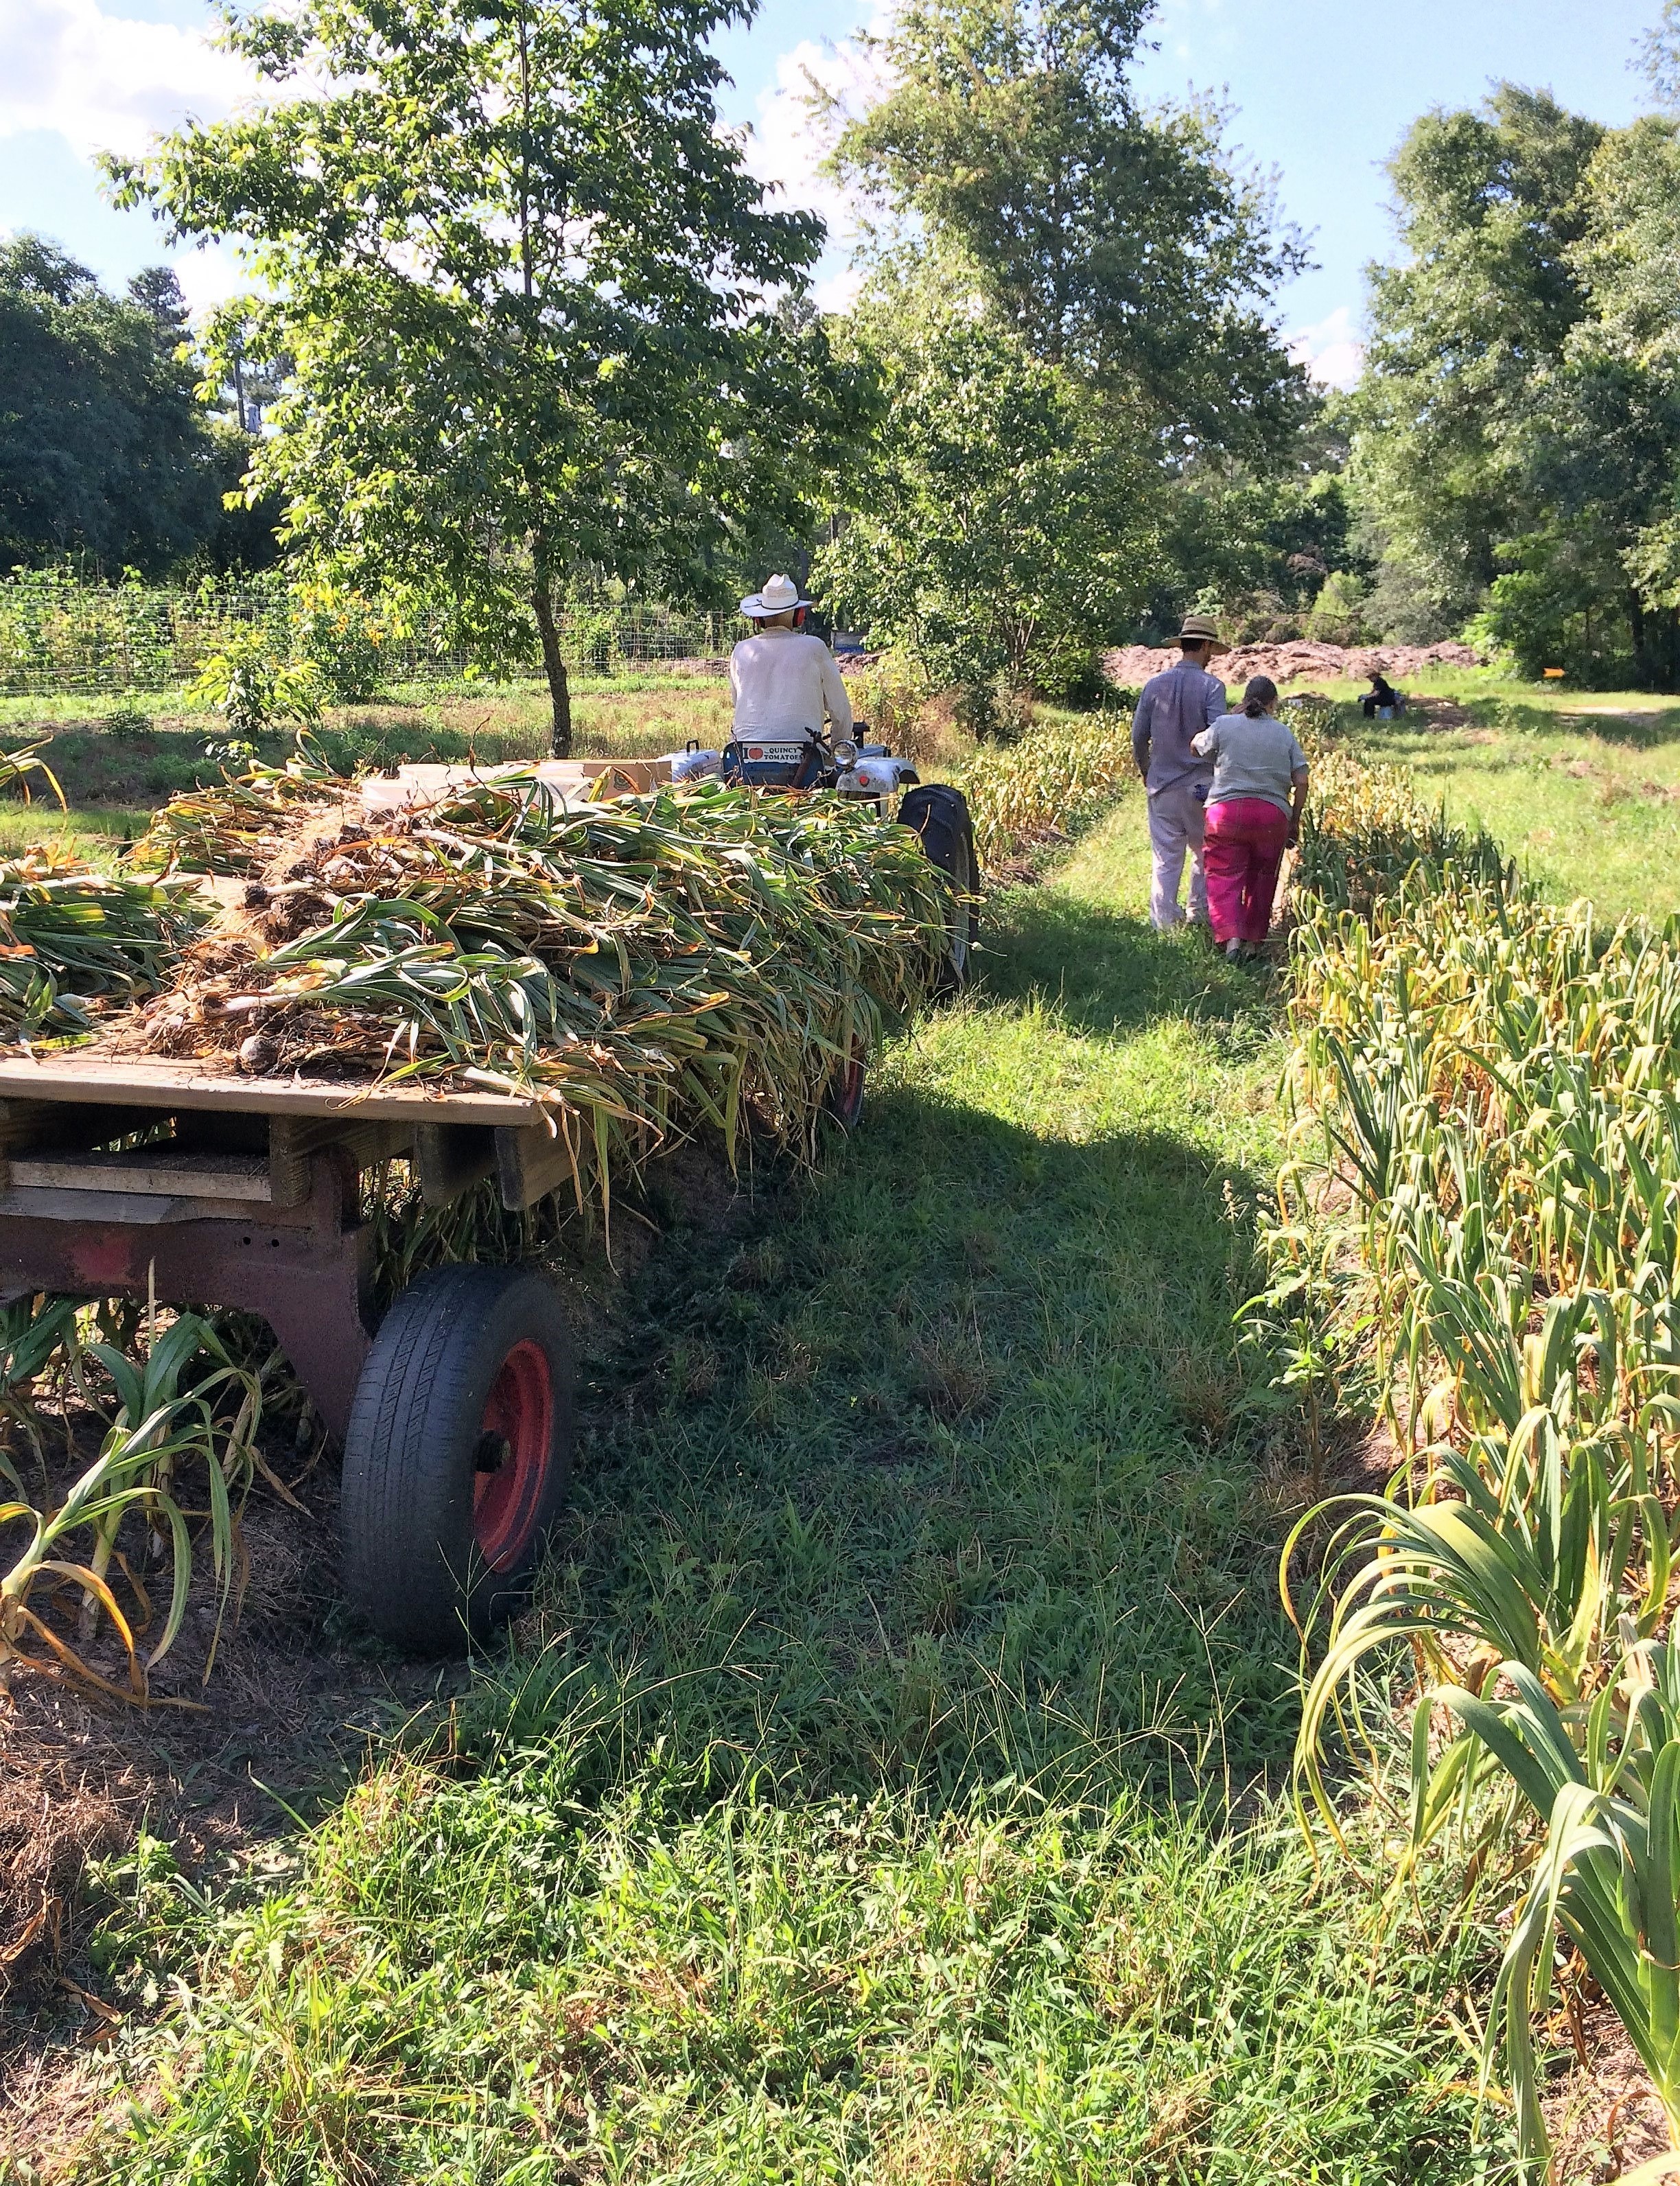
Elephant garlic grows well in our climate, including here at Turkey Hill Farm, where it is being harvested in late spring. Photo by Molly Jameson.
One of my all-time favorite vegetables to grow and eat is elephant garlic. While related to garlic, elephant garlic (Allium ampeloprasum) is actually considered a bulbing leek. Like garlic, it is in the genus Allium, a family of flowering plants that includes over 600 different species of onions, leeks, and garlic that are native to many parts of the world, including North America, Asia, North Africa, and Europe.
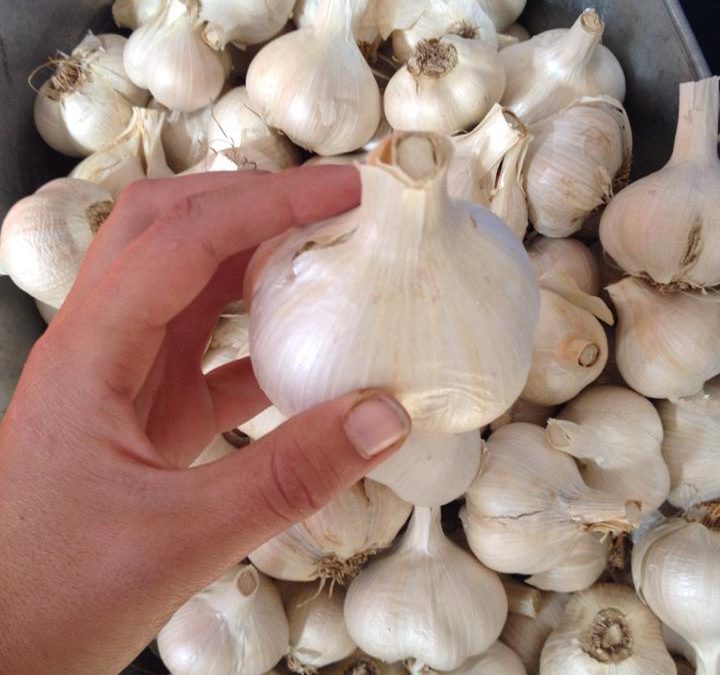
Elephant garlic is more mild tasting than regular garlic and can grow up to three times larger than regular garlic bulbs. Photo by Full Earth Farm.
Elephant garlic is very much garlic-like, but it has a milder, slightly sweet flavor and can grow up to three times the size of regular garlic bulbs. It is well-suited for growing in the Florida Panhandle, as it can take our heat and humidity much better than regular garlic.
Elephant garlic is a long season crop, requiring eight months for best results. It therefore should be planted in the fall for an early summer harvest. But if you just can’t wait, you can plant it now and still harvest this summer, but the garlic you harvest will most likely be one big round bulb instead of a bulb that can be separated into cloves.
When planting your elephant garlic, choose a location that receives full sun and has well-drained, nutrient-rich soil. When you are ready for planting, separate the individual elephant garlic cloves from a bulb and plant each six-to-eight inches apart, with the pointed end facing up. Cover the cloves with four-to-five inches of organic-matter-rich soil, and water well. Elephant garlic requires consistent moisture, so be sure to water your plants regularly, especially during any dry spells.
One of the unique features of elephant garlic is that it forms a tall, flowering stalk, or “scape,” in the spring. To encourage the plant to focus its energy on bulb development, remove the scapes. The top of the scape contains an edible round composite flower head that you can enjoy in salads or stir-fries.
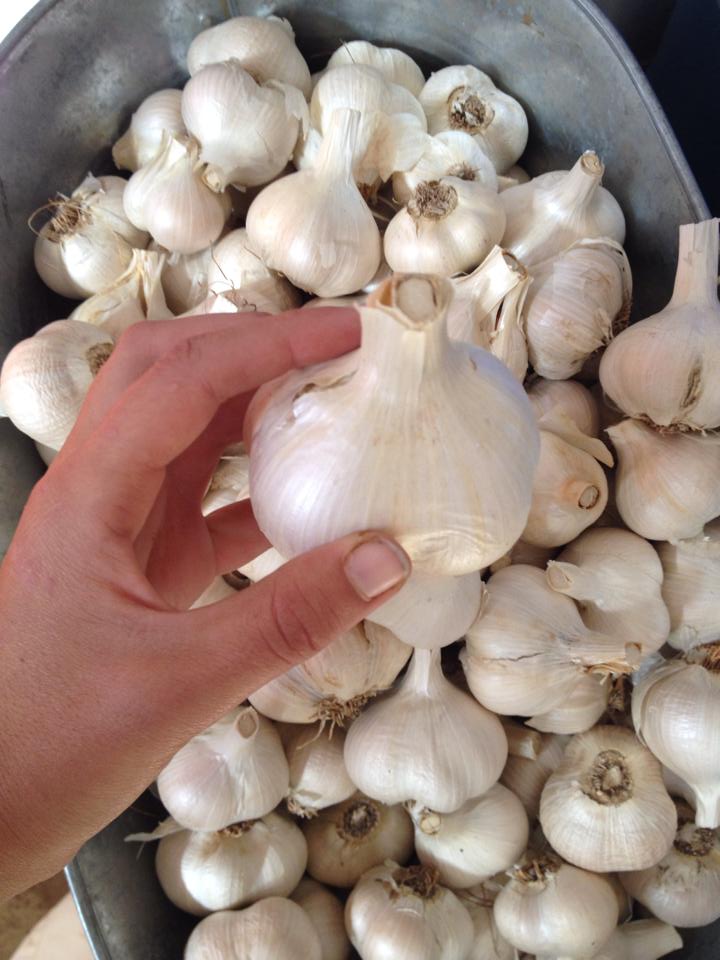
Cure elephant garlic in cool, dry, and well-ventilated location. Photo by Molly Jameson.
As your elephant garlic plants mature, you’ll notice that the bulbs start to grow larger, the leaves that wrap the bulbs will decrease, and the tops will begin to turn a lighter green or yellow as they begin to die back. This is a sign that your elephant garlic is ready to be harvested. To harvest, gently loosen the soil around the bulbs with a potato fork and carefully lift them out of the ground.
If you planted late, or your elephant garlic experienced water or nutrient stress, you may still find that some of your harvested garlic only formed one big round bulb. You could leave these giant bulbs in place, and they should turn into cloves the following year. Or go ahead and harvest the big bulbs and use them in the kitchen just like you would regular garlic cloves.
Once harvested, you’ll need to cure your elephant garlic before storing. To do this, lay the bulbs out in a single layer on a dry, well-ventilated surface for at least a week. After the bulbs have cured, you can trim the roots and store them in a cool, dark place for up to eight to 10 months.
While elephant garlic may not be as pungent as regular garlic, it grows much better in our climate than regular garlic, and it still packs a flavorful punch, adding a unique twist to any dish. So why not give it a try in your garden? With a little care and attention, you’ll be enjoying home-grown elephant garlic in no time.
For many people in the Panhandle, gardening season begins when the weather warms in spring and nurseries start setting out tomato transplants. While I understand the allure of the yummy summer veggies and spring/early summer are the most traditional times to garden, cultivating a winter garden in the Panhandle unlocks many tasty options. Among these cool-season garden veggies is a classic southern staple that is among the easiest and most rewarding of all vegetables to grow, sweet onions!
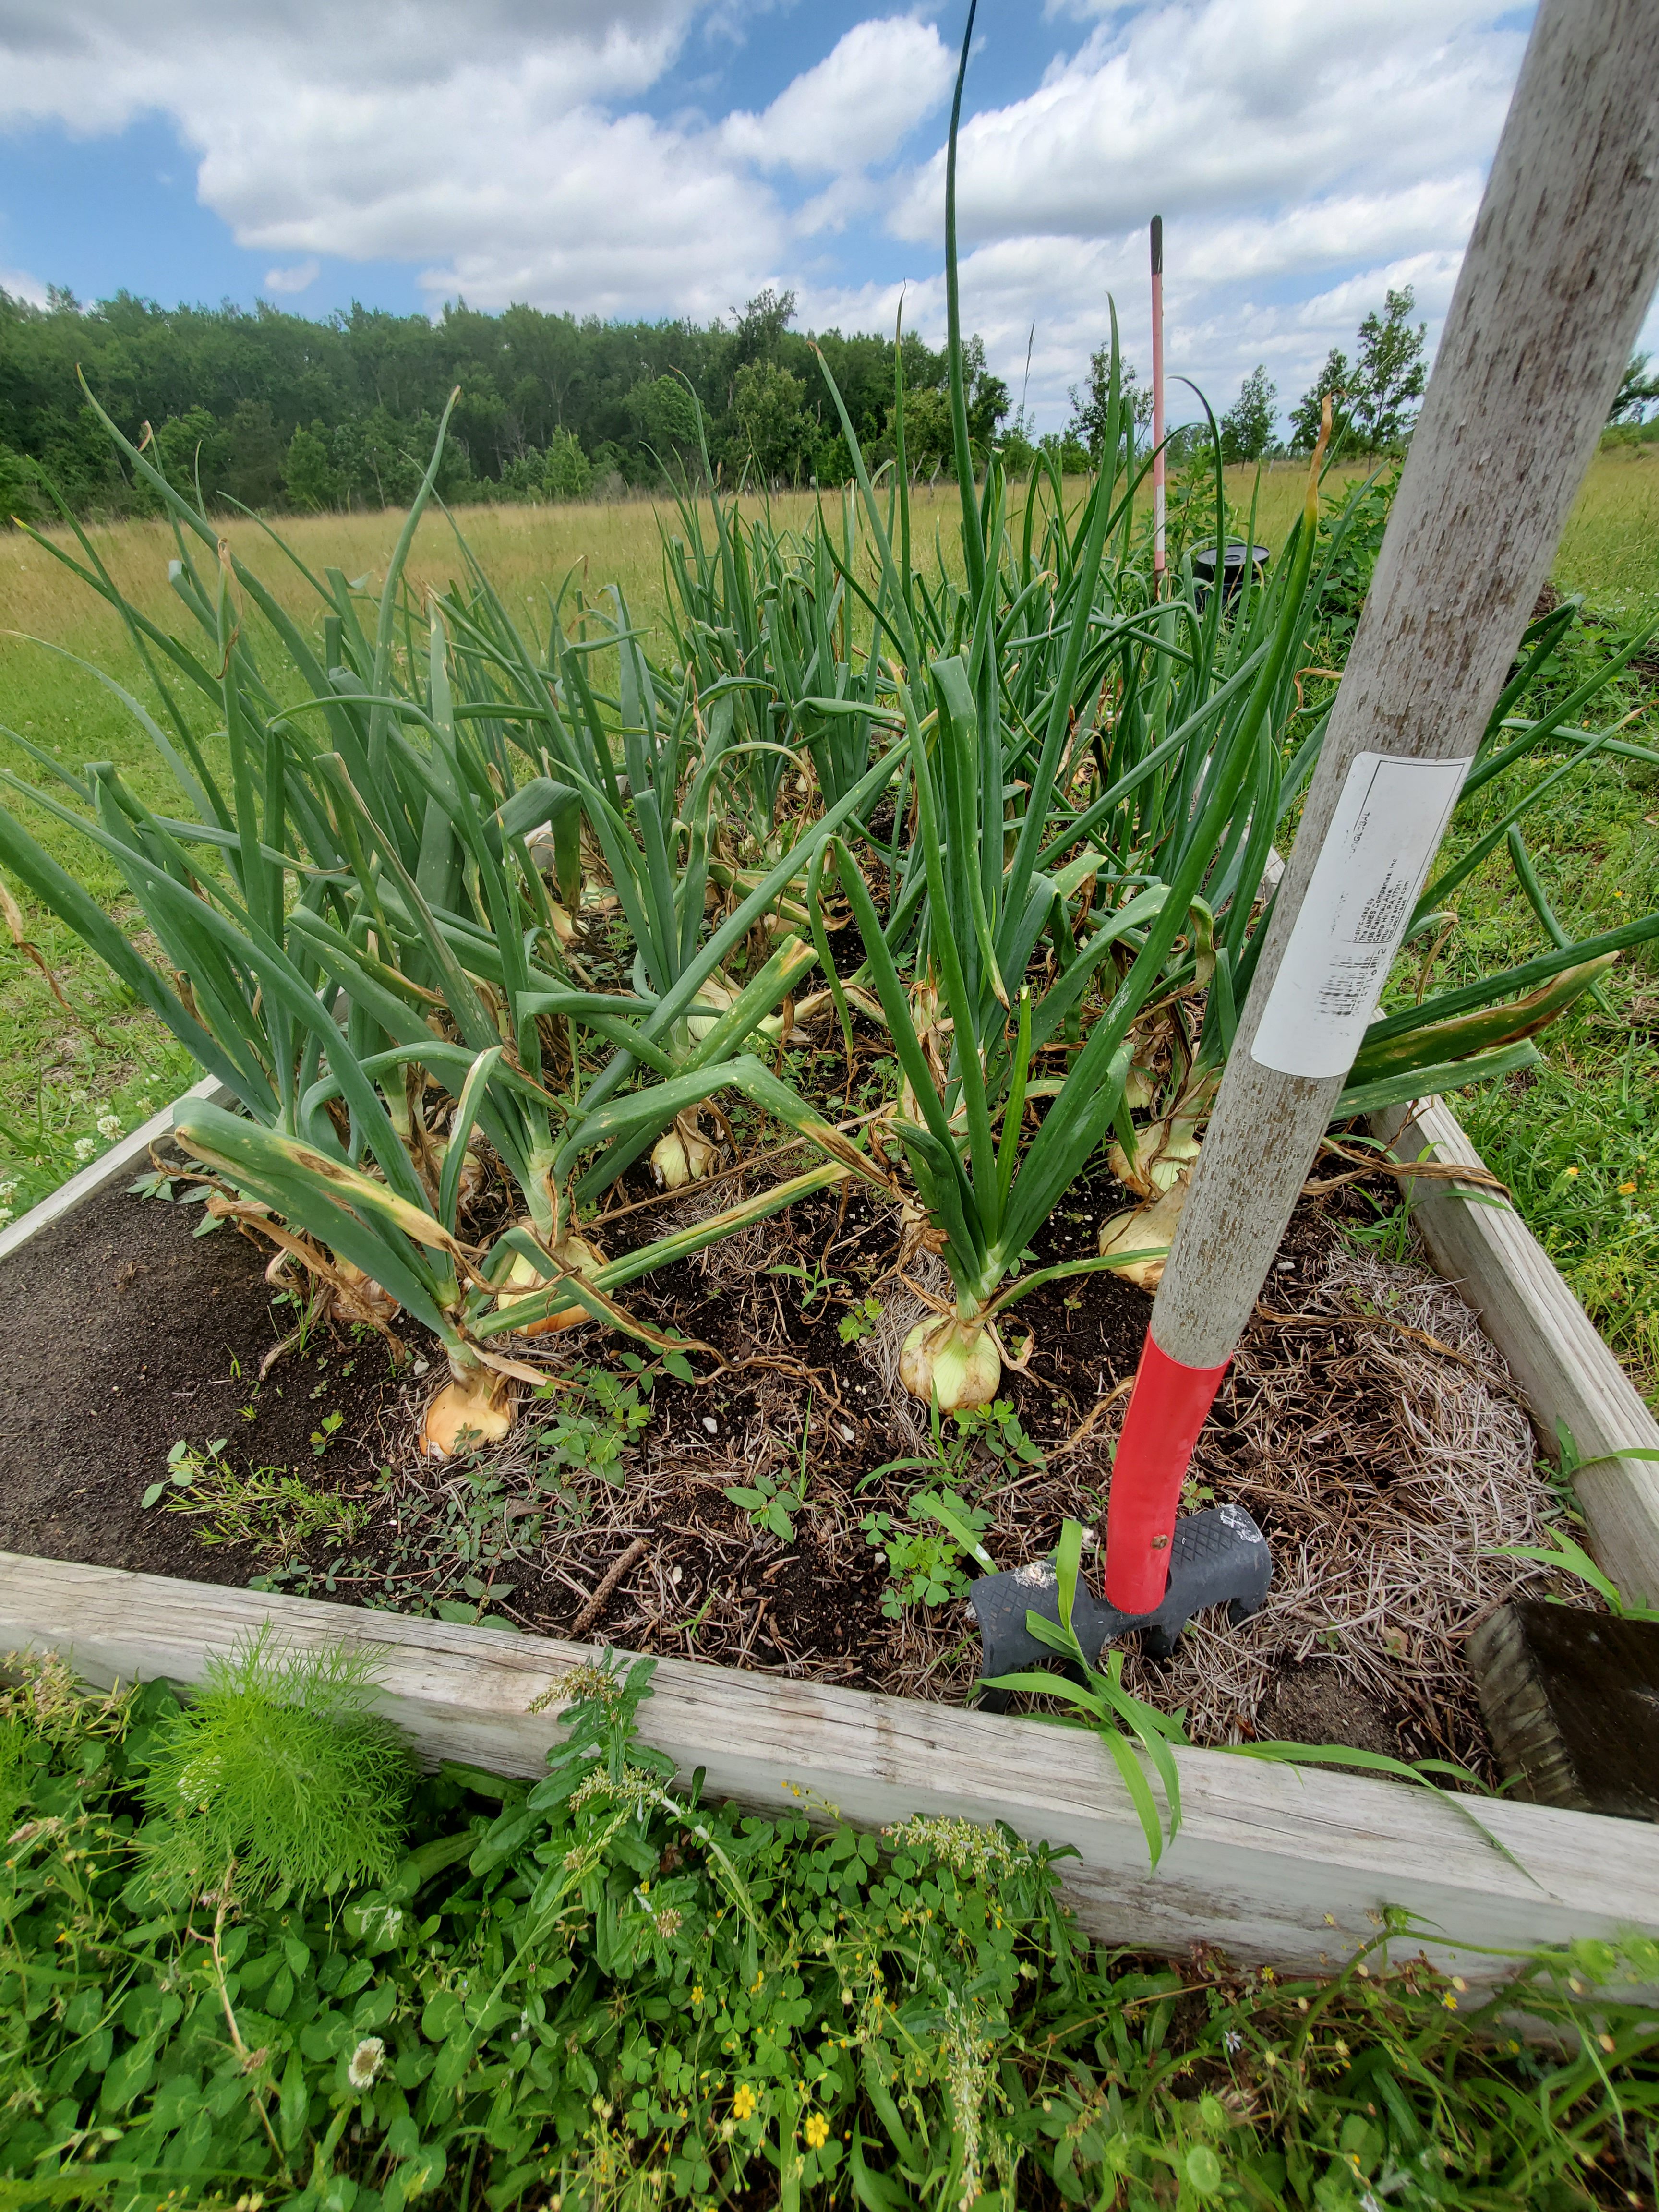
‘Texas Super Sweet’ Onions almost ready for harvest in a Calhoun County garden. Photo courtesy of Joe Leonard.
Sweet onions are very popular in the culinary world for their mild flavor and soft texture and are among the most widely grown group of onions across the world, but the most famous of them, Vidalia’s, hail from Georgia! Despite its fame, the “Vidalia” onion is actually nothing more than a trademarked name for a specific variety of sweet onion that was bred in Texas (‘Yellow Granex’ and its derivatives), grown in a 20-county region in South Georgia with excellent onion-growing soil, and made famous by excellent marketing from the Vidalia Onion Committee. While they can’t be called Vidalias legally, you can absolutely grow your very own Vidalia type sweet onions at home here in the Florida Panhandle!
Sweet Onions are most easily grown at home if purchased in the fall as “sets”. Sets are small bulbs that have been started, harvested, dried to prevent rotting during storage, and shipped to garden centers ready to be “set” out in home gardens. Sweet onions may also be grown from seed but take much longer and have a lower success rate. When browsing onion set varieties for purchase at garden centers or in seed catalogues, make sure to purchase a short-day “Granex” type like “Texas Super Sweet” or similar. It is critical to remember that sweet onions are classified by how many hours of daylength they require to produce bulbs. The three classifications are Short, Mid, and Long-Day. Since sweet onions require cool weather to develop properly, Floridians must grow short-day varieties to compensate for decreased daylight hours in the winter. In the less hot Northern states, long-day sweet onions are grown in the summer, where they’ll be able to soak up 15-16 hours of daylight. Therefore, for best results in the Panhandle, select ONLY short-day onion varieties.
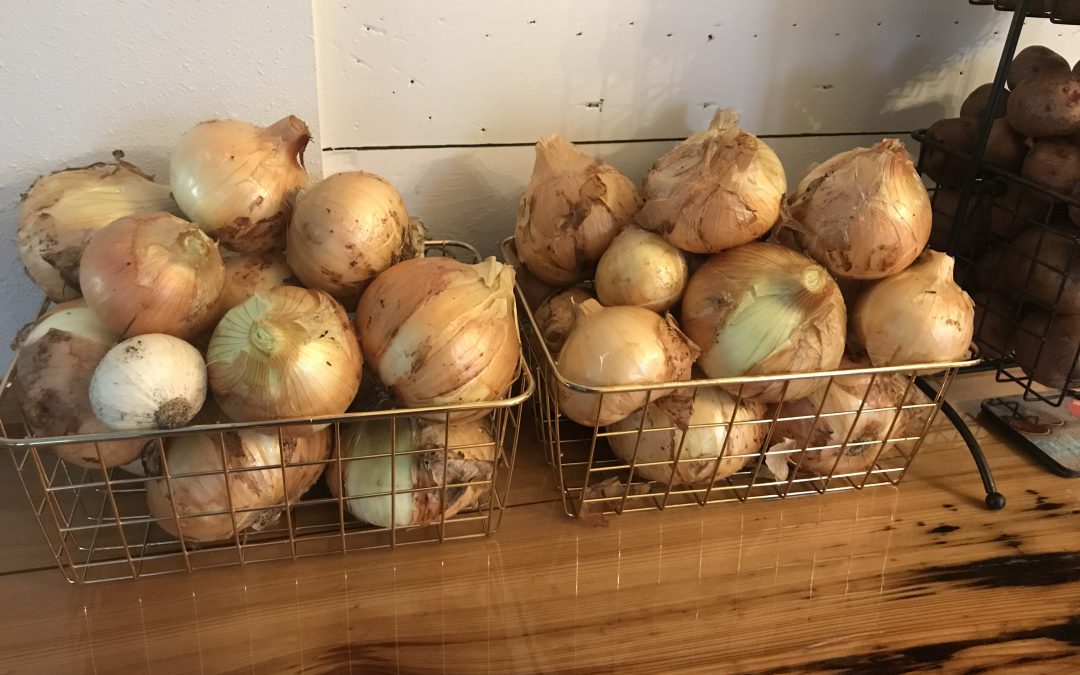
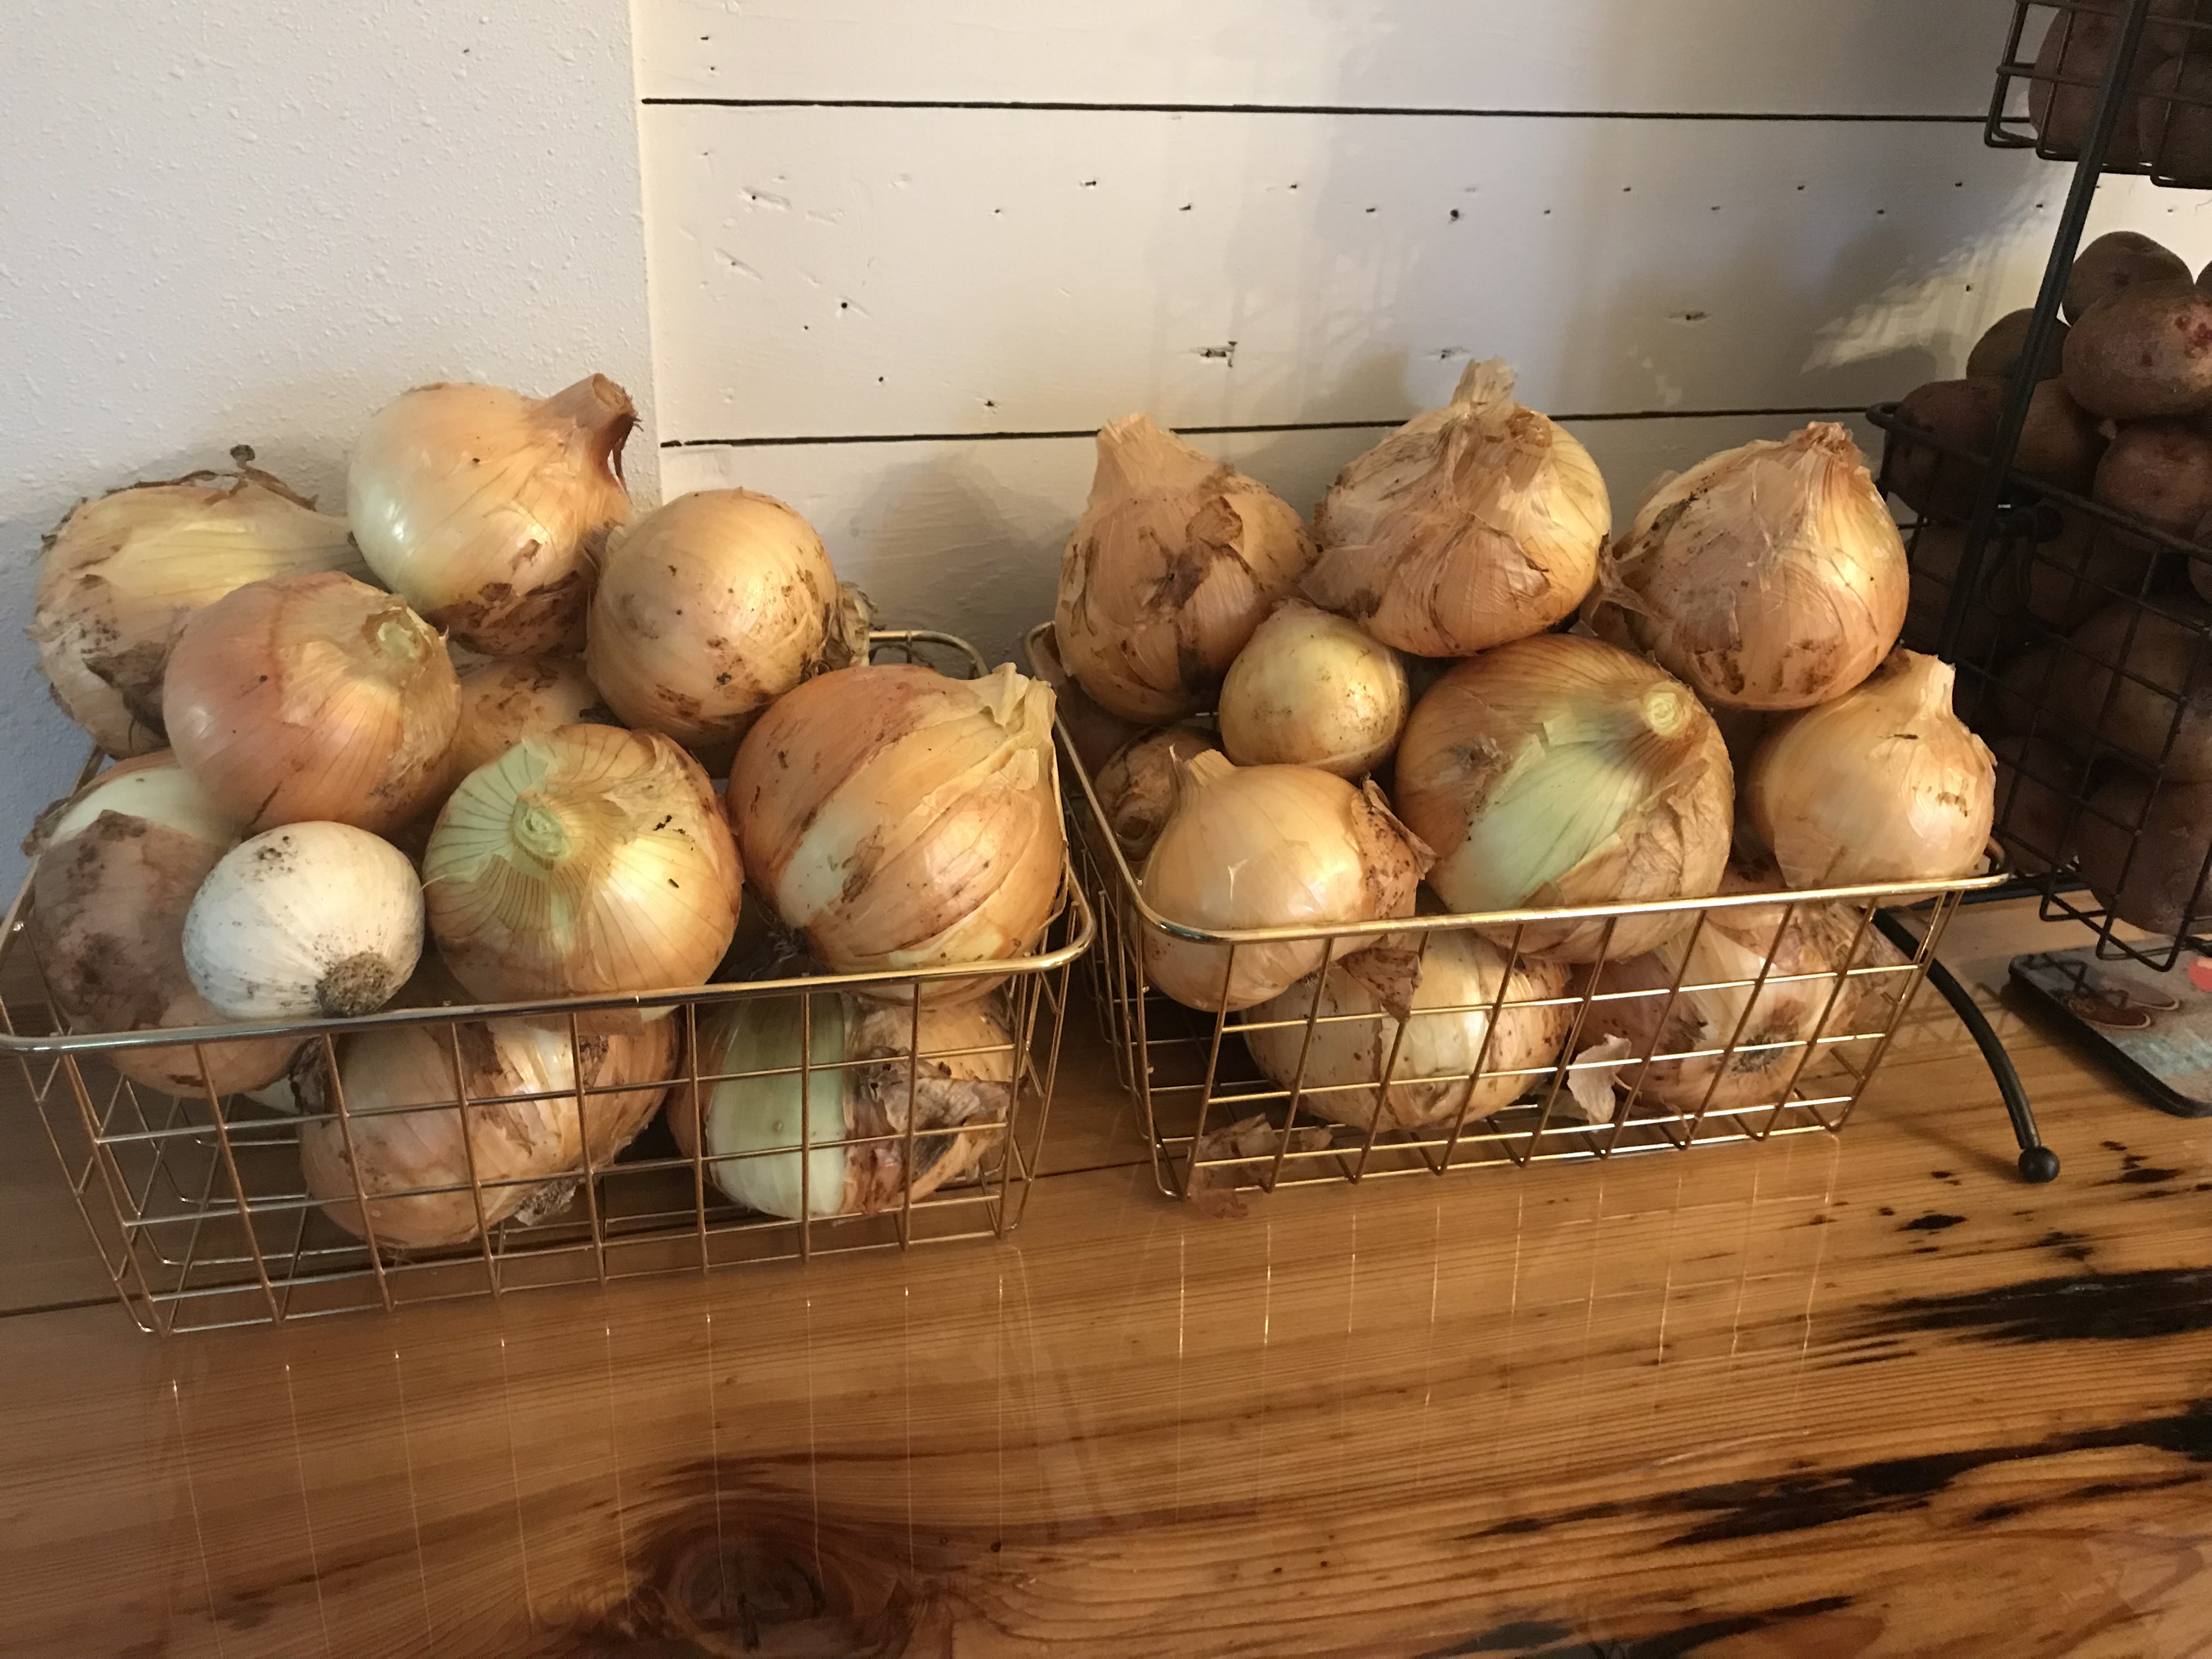
‘Texas Super Sweet’ Onions that have been harvested and are ready for use! Photo courtesy of Daniel Leonard.
Once you’ve selected your onion sets in the fall, they can be planted in the garden anytime from early October to mid-December. Individual bulbs should be planted about an inch deep in well-drained garden soil with high organic matter content (mushroom compost, composted manure, or other rich organic matter works) and spaced 4-6” between plants and about a foot between rows. Onions in general, and sweet onions in particular, are heavy feeders and require ample nutrition to meet their potential! To meet these fertility needs, I apply a slow-release fertilizer like Osmocote or a Harrell’s product at planting and supplement that with either a quick release granular or liquid fertilizer monthly during the bulb enlargement phase. Sweet onions also have a shallow root system and require frequent watering to develop properly and avoid splits, doubles, and small bulbs. Don’t let your onion bed dry out!
Finally, sweet onions planted in late fall/early winter are normally ready to harvest in April and May. However, rather than relying on a calendar, begin harvesting your onions when the tops start to turn yellow and fall over, this indicates maturity. After harvesting, allow your onions to “cure” with tops and roots still attached for a couple of weeks outside in a shaded, protected area. Once they’ve had an opportunity to “cure”, remove tops and roots and store the cured bulbs in a cool, dry place (a dark pantry in an air-conditioned room or the refrigerator crisper drawer work fine) and use at your convenience!
While they can’t be called Vidalias, sweet onions grown at home are oh so rewarding and very tasty! Provided they are planted in quality soil, receive plenty of water and fertilizer, and are harvested/stored correctly, sweet onions will provide a delicious, home-grown culinary treat throughout the year! For more information about growing onions in the home garden or any other horticultural/agricultural topic, contact us at the UF/IFAS Calhoun County Extension Office. Happy Gardening!