by Julie McConnell | May 23, 2018

Dr. Steve Johnson, UF/IFAS Associate Professor of Wildlife Ecology will be the featured speaker on June 6th
June 6th is a great day to learn about all types of invasive species that threaten natural areas in Northwest Florida!
The UF/IFAS Extension Bay County office will have multiple educational exhibits with living samples of species of concern from 9 a.m. – 5 p.m. on Wednesday, June 6th. This is a multi-agency effort to inform citizens about the impact of invasive plants and animals and how they can help reduce introduction and spread. For full details see the Bay_Invasive Workshop Flyer
We are pleased to announce our partners Florida Fish and Wildlife Conservation Commission (FWC) and Science and Discovery Center of Northwest Florida will be on hand to share information about caring for exotic pets and current management plans for invasive species such as Lionfish, Aquatic Weeds, and how to surrender an animal on designated Pet Amnesty Days.
At noon there will be a special guest speaker for a bring your own lunch & learn “Exotic Invaders: Reptiles and Amphibians of Concern in NW FL.” Dr. Steven Johnson, UF/IFAS Associate Professor of Wildlife Ecology, will talk about exotic reptiles and amphibians we should be aware of that may occur in our area.
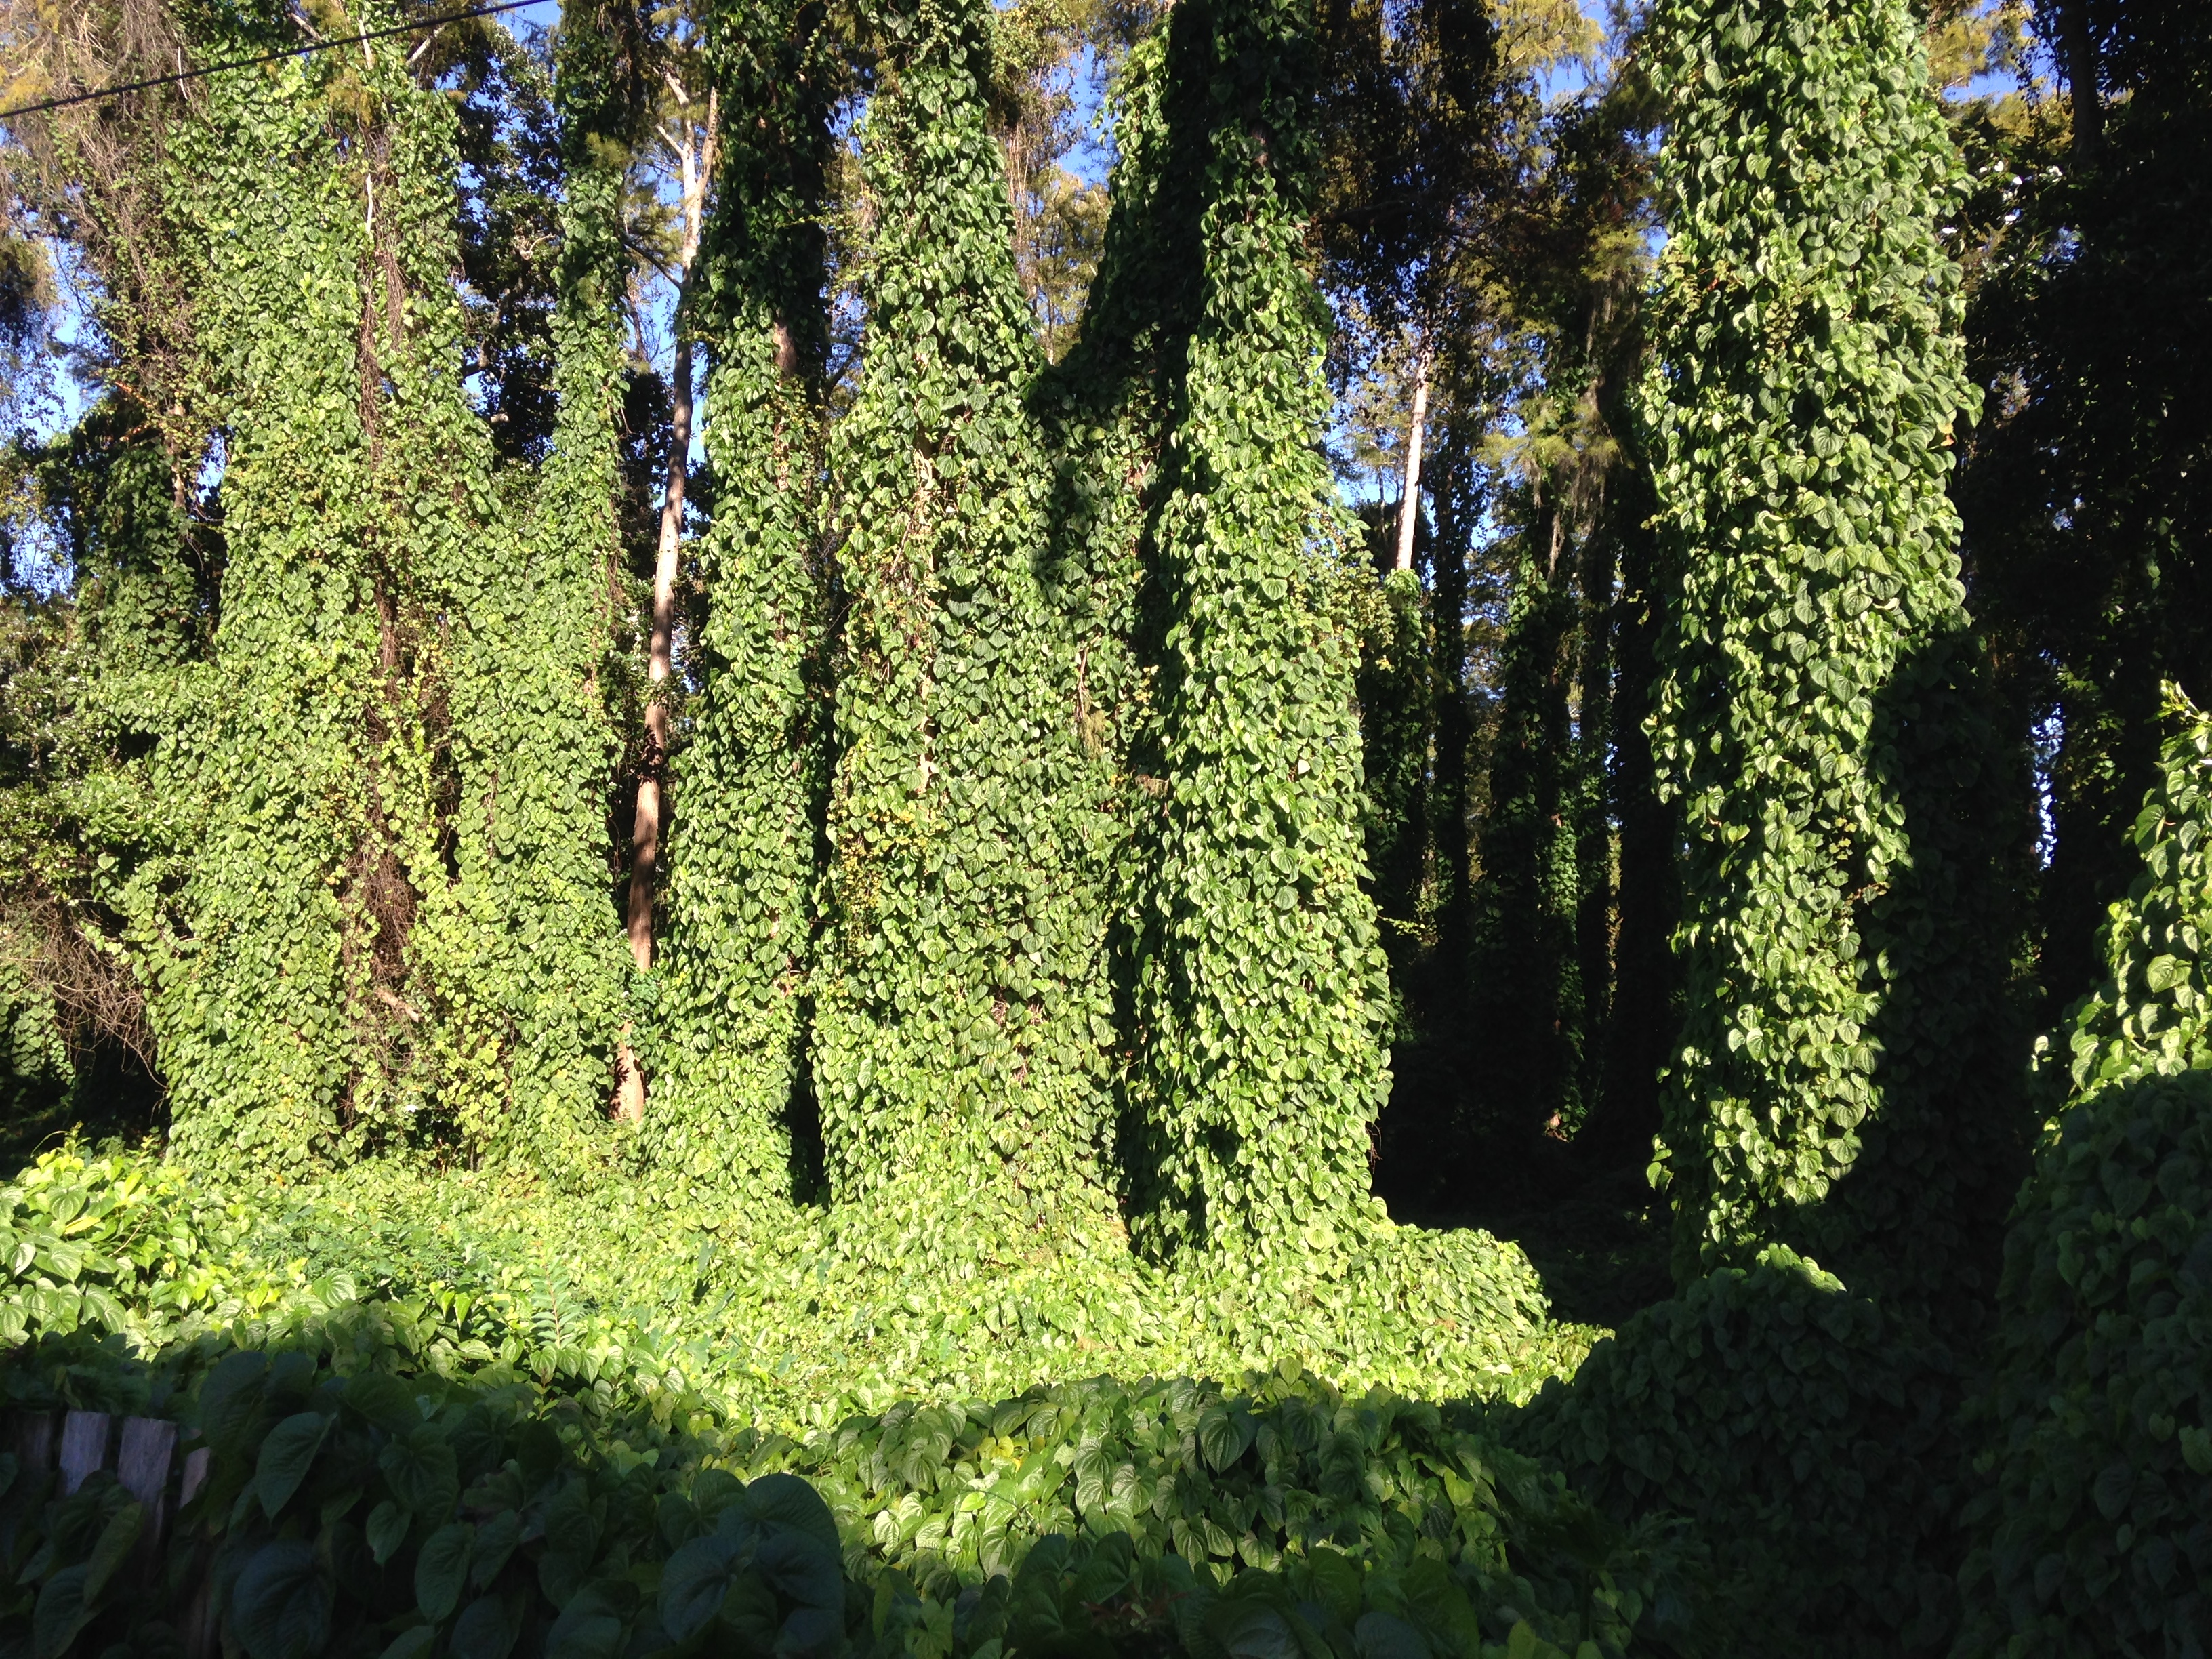
In the morning, we will be focusing on the invasive air potato vine with the distribution of air potato leaf beetles for biological control. Need air potato leaf beetles to manage the air potato vine on your property? Please register here http://bit.ly/bayairpotato to receive beetles – they will be distributed from 9 a.m. – noon on June 6th.
Learn more about the success of the Air Potato Biological Control program at http://bcrcl.ifas.ufl.edu/airpotatobiologicalcontrol.shtml
#invasivespecies
by Les Harrison | May 23, 2018
There is something to be said for being a longtime resident. While it does limit ones outlook from a global perspective, it promotes focus on perfecting applicable traits which are close to home.
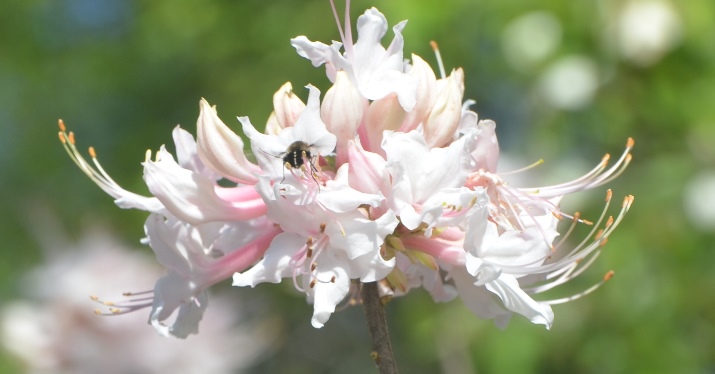
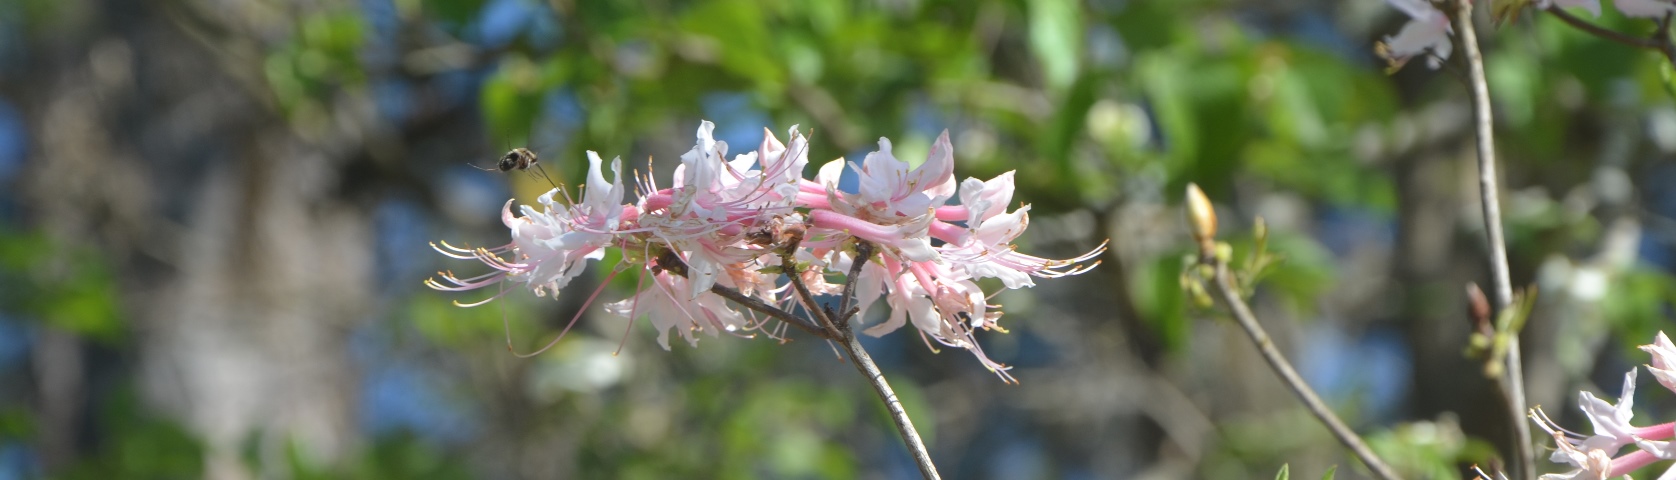
Azalea and bug: Wild Piedmont Azaleas (Rhododendron canescens) and a bumble bee.
The unique, and very pleasant, environment of north Florida is an excellent example of near perfection on a localized basis. The weather (within reason), the fauna and the flora are tailored to a superior quality of life, especially the spring blooming native plants.
The human residents of the panhandle can easily see this in a native plant which blooms in the spring. Wild azaleas make random appearances, but their cultivated cousins from Asia are now the province of retail establishments.
Azaleas are member of the Rhododendron genus which includes flowering shrubs of the same name which grow in more northern latitudes. Their popularity as flowering perennials has led to the development of more than 10,000 cultivars worldwide which please almost every taste for a profuse and showy burst of color.
These plants have species native to southwest Europe, Asia, and North America. They are believed to date back 70 million years and have an ancestor in common with blueberries and pieris.
Many of the azaleas which grace the yards and gardens in the southeast are traced back to east Asian stock. These cultivars had been grown for millennia, but reached Europe in the early 17th Century when wealthy estate owners were seeking a new and unique look to their landscapes.
When azaleas arrived in America there were 26 different native azaleas already growing here. At least four of these grow naturally in Florida and can be presently seen in natural settings, as well as, managed landscapes.
Like the long cultivated Asian varieties, the azaleas native to Florida prefer acidic soils and filtered light. The can be found in forested areas and near streams or rivers.
The native azaleas are rather scraggly and upright when very young, but will spread out and fill in as they mature. The large, dark green leaves bend the branches gently to form a cascading appearance down to the ground.
A single specimen in a formal landscape should be allowed at least four to five feet of spread to develop into its natural form. These plants are very sensitive to dry soil, but the soil should drain freely of excessive moisture.
A thick mulch of three inches deep is recommended to help ensure adequate root growth when cultivated out of their natural environment. Roots are located in the top several inches, even in well-drained sandy soils, so adequate mulching is critical to success.
Pruning of these natives is seldom necessary except to control shoots extending above the normally mounded shape. Azaleas bloom on the previous year’s growth so any pruning should be done after flowering, but before July.
Mass azalea plantings add a stark color contrast to any landscape. The green background of March and April with clusters of boldly bright blossoms is a striking sight.
The wild azaleas add an enduring continuity to the ever-changing landscape in contemporary life. Some things should never change, especially in comfortable north Florida.
by Daniel J. Leonard | May 4, 2018
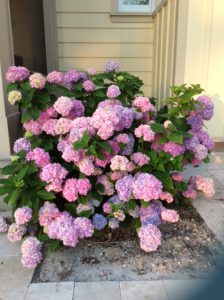
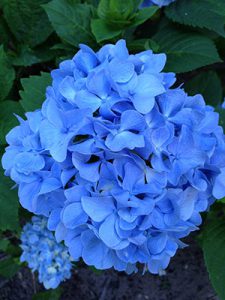
H. macrophylla ‘Bloomstruck’
Photo courtesy of Andrea Schnapp
Generally, when folks find out what I do for a living, among the first questions asked is “What is your favorite plant?” Being somewhat of a plant nerd, that can be a tough question to answer! However, I usually circle back to the same answer, “Hydrangea”. There are many reasons my fellow gardeners and I love hydrangeas. It’s undeniable that few plants conjure more fond memories of summers gone by or cause more impulse purchasing at nurseries than a hydrangea in full, billowy bloom. Additionally, few specimen shrubs give more floral firepower and ask so little of the gardener in return. My own love affair with hydrangea stems from my first propagation experience, a softwood cutting of Hydrangea macrophylla ‘Nikko Blue’ (taken with the help of someone who knew a lot more about what they were doing than I did) that, seemingly magically, sprouted roots in a makeshift greenhouse, a cypress box with an old, crusty, sliding glass door. Hydrangeas hooked me. However, even with all of those attributes to its name, Hydrangea, as a genus, remains underappreciated and underutilized in modern landscapes. Let’s shed some light on the two primary reasons for gardeners’ failure and frustration with hydrangeas in the landscape and highlight some of the best Hydrangea species and cultivars to look for at the nursery!
First, hydrangea has a reputation as being a high water user. As the name (hydrangea comes from “hydor”, which is Greek for water) might suggest, hydrangeas are indeed water sensitive. However, this does not necessarily mean they require more or less water than other plants, rather they simply betray drought quicker than most other plants. This feature makes hydrangea particularly useful in the landscape as an indicator plant. As a general rule, hydrangeas (particularly those planted in too much sun) wilt in the afternoon heat; this is totally normal. However, if the plants remain wilted the next morning, it is an indicator to the gardener that irrigation is required! If they don’t get irrigation soon after telling you they need it, the plants may begin to decline. Rather than being viewed as a drawback, think of this feature as an early warning system. Name another plant that looks out for us gardeners like that!
The second primary reason people fail with hydrandea is improper site selection. Attempting to grow hydrangea in full sun in Florida leads to less than spectacular results. All species of hydrangeas are most happy when sited to receive at least some afternoon shade, if not filtered shade throughout the entire day. Exposure to blistering afternoon sun is problematic and results in increased wilting from heat stress, increased irrigation requirements and “bleached” flower coloration. Remember, there are fewer frustrating things than growing the right plant in the wrong place!
Now that you know how not to fail with hydrangeas, it’s time to select the proper plant for your property! Three primary species perform noticeably better here than the rest of their kin and deserve the gardener’s consideration in Northwest Florida: H. macrophylla (Bigleaf Hydrangea), H. quercifolia (Oakleaf Hydrangea), and H. paniculata (Panicle Hydrangea).
H. macrophylla
H. macrophylla, the old-fashioned hydrangea everyone’s grandmother grew, is truly one of the standouts in the shady, Southern landscape and commands attention when in flower. Sporting giant “mopheads” of inflorescences in gorgeous hues of blue (or pink, depending on soil pH), H. macrophylla is an extremely low maintenance plant, requiring only periodic irrigation and infrequent fertilizer; H. macrophylla even tolerates salt spray and can be grown on the Gulf Coast! By far, the greatest percentage of questions I receive concerning H. macrophylla involve plants not flowering because of pruning at the wrong time of year. For best flowering results, time pruning of once-blooming traditional cultivars like ‘Nikko Blue’ soon after flowering is finished in late summer. These plants set flower buds on the previous season’s wood; pruning older cultivars in the fall or winter may rejuvenate the plant but will prevent flowering the next year! Fortunately, over the last twenty years, advances in Hydrangea breeding have given gardeners the option of planting remontant cultivars that bloom on current season’s wood. Commonly sold remontant cultivars like ‘Endless Summer’, ‘Penny Mac’, ‘Bloomstruck’, and ‘All Summer Beauty’ have an early summer flower display like the traditional types but then continue to flower periodically throughout the rest of the summer! Even better, they may be pruned at any time without worry of damaging the next season’s flower show!
H. quercifolia (Oakleaf Hydrangea) Photo Courtesty of Andrea Schnapp
Those looking to diversify their hydrangea collection should next look to the native Oakleaf Hydrangea (H. quercifolia). The Oakleaf Hydrangea is a Florida native, growing wild on the steep, shady ravines along the northern end of the Apalachicola River. If the plants never flowered, the Oakleaf would be worth planting; its massive leaves, oak-shaped as the name suggests, can grow up to a foot in length and provide some of the best fall foliage color available to Floridians. However, the real show, as with all hydrangea species, are the flowers. This species flaunts 8”-10” white, panicle shaped flowers that are held elegantly above the coarsely textured foliage. In addition to these features, Oakleaf Hydrangeas couldn’t be easier to grow; obtaining heights up to 10’ and asking very little of the gardener other than adequate irrigation and some shade in the heat of the day! Look for the author’s favorite cultivars: ‘Alice’, ‘Semmes Beauty’, and ‘Snowflake’. Each of these cultivars and selections of the common species H. quercifolia perform very well in Northwest Florida.

H. paniculata ‘Quickfire’
Photo courtesy of Andrea Schnapp.
Finally, the newest hydrangea species introduced to Florida gardens, H. paniculata, has made significant inroads in the landscape industry over the last decade. Primarily grown as the cultivar ‘Limelight’, H. paniculata overcomes some of the weaknesses of the two aforementioned species, namely it tolerates full-sun and persists on much less water, making it a potentially more sustainable plant for many landscapes. This plant, like the remontant H. macrophylla cultivars, blooms on new wood and even seems to enjoy a hard pruning each winter; plants pruned this way seem to be more vigorous the next season and produce larger greenish-white flower panicles than unpruned specimens. Though it is a relative newcomer, H. paniculata, particularly ‘Limelight’, is a worthy addition to any landscape.
As you can see, there is a hydrangea for every yard and no true Southern landscape is complete without a few. When perusing your local garden center this summer, look for the selections and species mentioned above, plant properly, and enjoy the ensuing annual flower show for many years into the future! Who knows, you may be hooked by hydrangeas as I once was!
by Julie McConnell | Apr 16, 2018
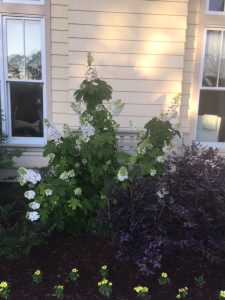
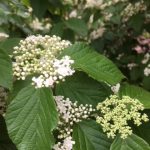
I’m hard pressed to tell you my favorite song, movie, or place to eat, but when we start talking plants I can come up with whole categories of favorites. I won’t commit to just one species, but when it comes to woody shrubs I am a huge fan of viburnums. We have small ones, tall ones, evergreen, deciduous, smooth leaves, textured leaves, berry producers and sterile types. There are so many different types there must be one for every gardener.
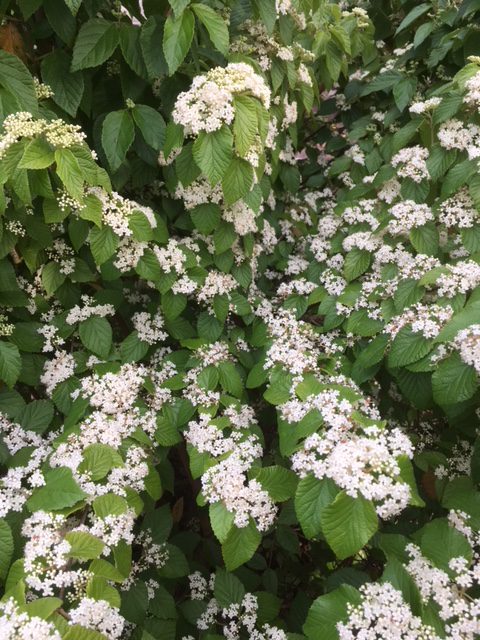
Buds and flowers of Viburnum luzonicum. Photo: J_McConnell, UF/IFAS
I thought I knew a lot of viburnums after spending ten years in the nursery industry, but had not seen Luzon Viburnum, Viburnum luzonicum, until Dr. Gary Knox gave one to me in the fall of 2014. The plant was little more than a couple of stems and light green leaves, but he assured me it would get large and would perform well in the Florida panhandle.
That scrap of a plant went into a large, non-irrigated, full-sun bed in my yard and was hand-watered through the first summer, but after that has been left to fend for itself. My Luzon viburnum is currently over 6 feet tall by 4 feet wide and covered in flowers. It gets no TLC in my landscape, but has yet to be plagued by any pests. The foliage emerges with a slightly pink tone then settles into a light green usually starting in February or March. By late March clusters of small white flowers cover the shrub. It is reported to have the potential to produce berries that transition from red to black, but I have not yet observed that in my garden.
This is not a plant you are likely to stumble across in most garden centers, but is worth keeping a lookout for in case you see it. It is on display with many other wonderful plants in the Gardens of the Big Bend at the UF/IFAS North Florida Research and Education Center (NFREC) in Quincy and in the past has been available at Gardening Friends of the Big Bend plant sales.
For more information about this plant see Missouri Botanical Garden webpage.
by Julie McConnell | Mar 13, 2018
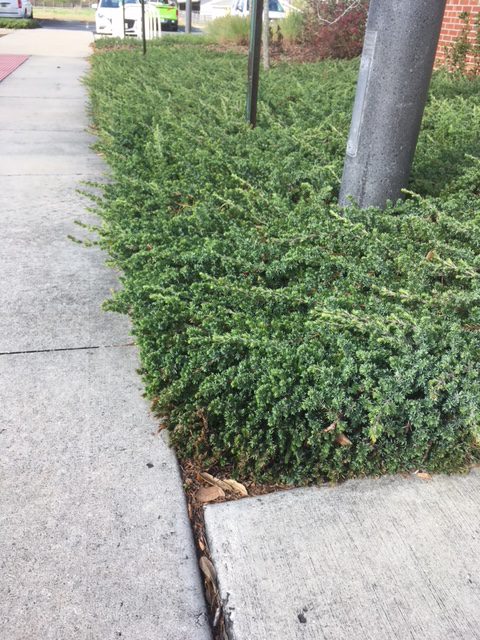
Shore juniper forms a thick groundcover and tolerates hot, dry sites. Photo: J_McConnell, UF/IFAS
We all know that when you have bare ground in Florida, eventually something unwanted moves in or the soil moves out. To avoid either of these negative outcomes, a good practice is to grow robust vegetative groundcovers, especially if the soil slopes and is at high risk of eroding. Turfgrass is one option, but what if you don’t enjoy caring for a lawn or the site is difficult to maintain or even unsafe to mow? An often overlooked option in our area is Shore Juniper Juniperus conferta.
Although some people find this plant less than exciting, its easy to explain why it can be a good option in certain situations.
- Easy to find at nurseries
- Inexpensive
- Low water requirements once established (you’ll need to turn the irrigation off on these!)
- Salt tolerant
- Evergreen
- Cold tolerant
- Low, spreading growth habit (won’t block view)
- Do not require pruning (junipers cannot tolerate heavy pruning!)
A common cultivar of shore juniper is Blue Pacific Juniper which grows to be about one foot tall but spreads two to three feet wide. The new foliage has a blue cast that gives it the common name. It creeps along the ground and will provide good ground cover to sloping sites. This plant should be planted on 3 foot centers so they have room to expand without crowding. Plant in well-drained soil and apply two inches of mulch on bare soil between plants to reduce weeds while the plants are filling in. Only water until established, then stop automated irrigation and only water as needed. Read more at Establishing Shrubs Florida Landscapes.
by Sheila Dunning | Dec 14, 2017
 Photo by Sydney Park Brown UF/IFAS
Holly has been considered sacred in some cultures because it remained green and strong with brightly colored red berries no matter how harsh the winter, even when most other plants would wilt and die. According to Druid lore, hanging the plant in homes would bring good luck and protection.
Later, Christians adopted the holly tradition from Druid practices and developed symbolism to reflect Christian beliefs. Today, the red berries are said to represent the blood that Jesus shed on the cross when he was crucified. Additionally, the pointed leaves of the holly symbolize the crown of thorns Jesus wore on his head.
Several holly species are native to Florida. Many more are cultivated varieties commonly used as landscape plants. Hollies (Ilex spp.) are generally low maintenance plants that come in a diversity of sizes, forms and textures, ranging from large trees to dwarf shrubs.
The berries provide a valuable winter food source for migratory birds; however, the berries only form on female plants. Hollies are dioecious plants, with male and female flowers on separate plants. Both male and female hollies produce small white blooms in the spring. Bees are the primary pollinators, carrying pollen from the male hollies 1.5 to 2 miles, so it is not necessary to have a male plant in the same landscape.
Several male hollies are grown for their compact formal shape and interesting new foliage color. Dwarf Yaupon Hollies (Ilex vomitoria ‘Shillings’ and ‘Bordeaux’) form symmetrical spheres without extensive pruning. ‘Bordeaux’ Yaupon has maroon-colored new growth. Neither cultivar has berries.
Hollies prefer to grow in partial shade but will do well in full sun if provided adequate irrigation. Most species prefer well-drained, slightly acidic soils. However, Dahoon holly (Ilex cassine) and Gallberry (Ilex glabra) naturally occur in wetland areas and can be planted on wetter sites.
For a more comprehensive list of holly varieties and their individual growth habits refer to ENH42 Hollies at a Glance: http://edis.ifas.ufl.edu/mg021

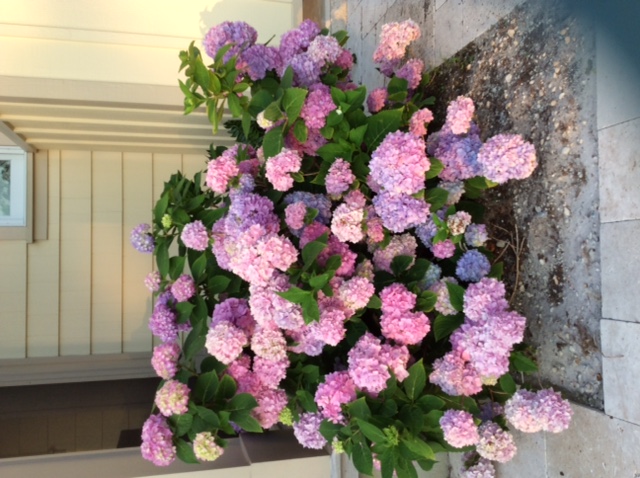


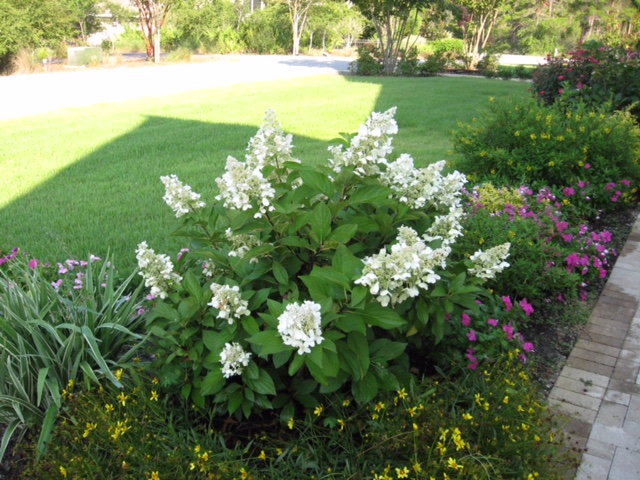
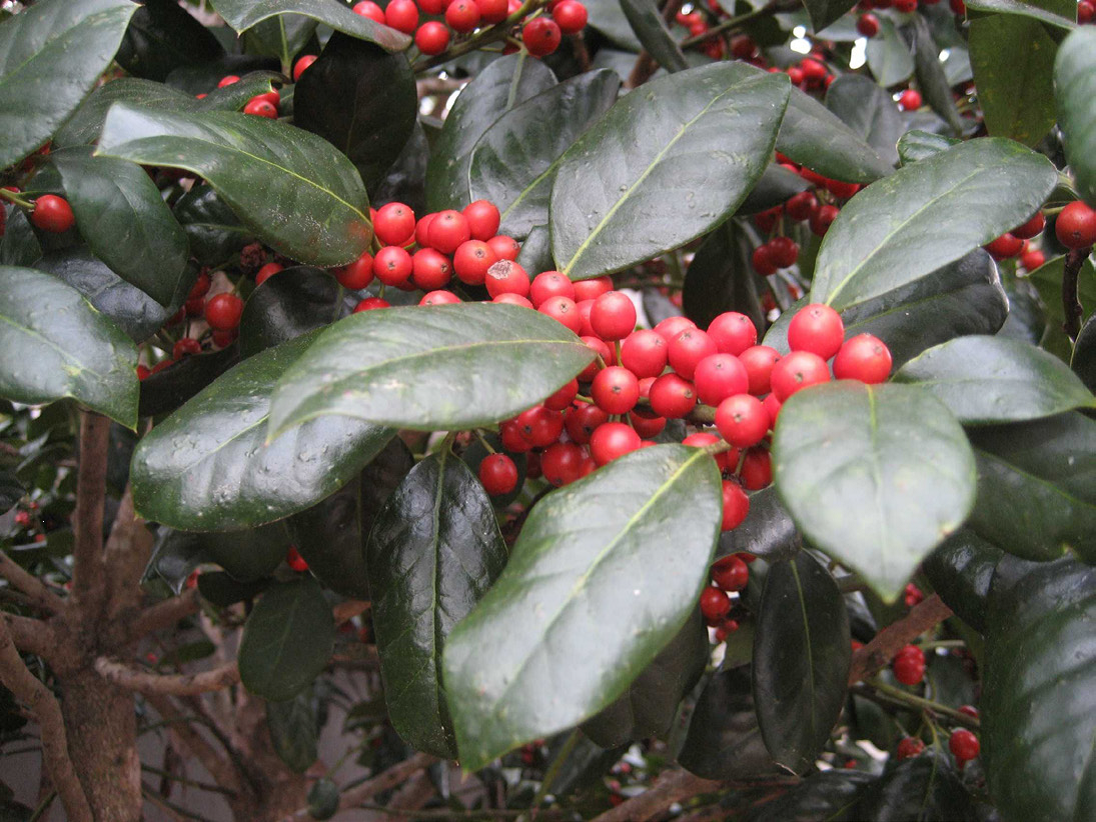 Photo by Sydney Park Brown UF/IFAS