Most gardeners I know love to share plants. Propagating and dividing them can be just as much fun as growing them. Some of my favorite plants in the garden came from loved ones offering a cutting or telling me to dig up whatever I liked.
Lately, I’ve been thinking about how plants can serve as living memories of loved ones who are no longer with us. Many of the plants in my garden are there for that reason- some without me even realizing it. My home garden has become a small collection of plants and memories associated with those plants, and I am the proud keeper of their stories.
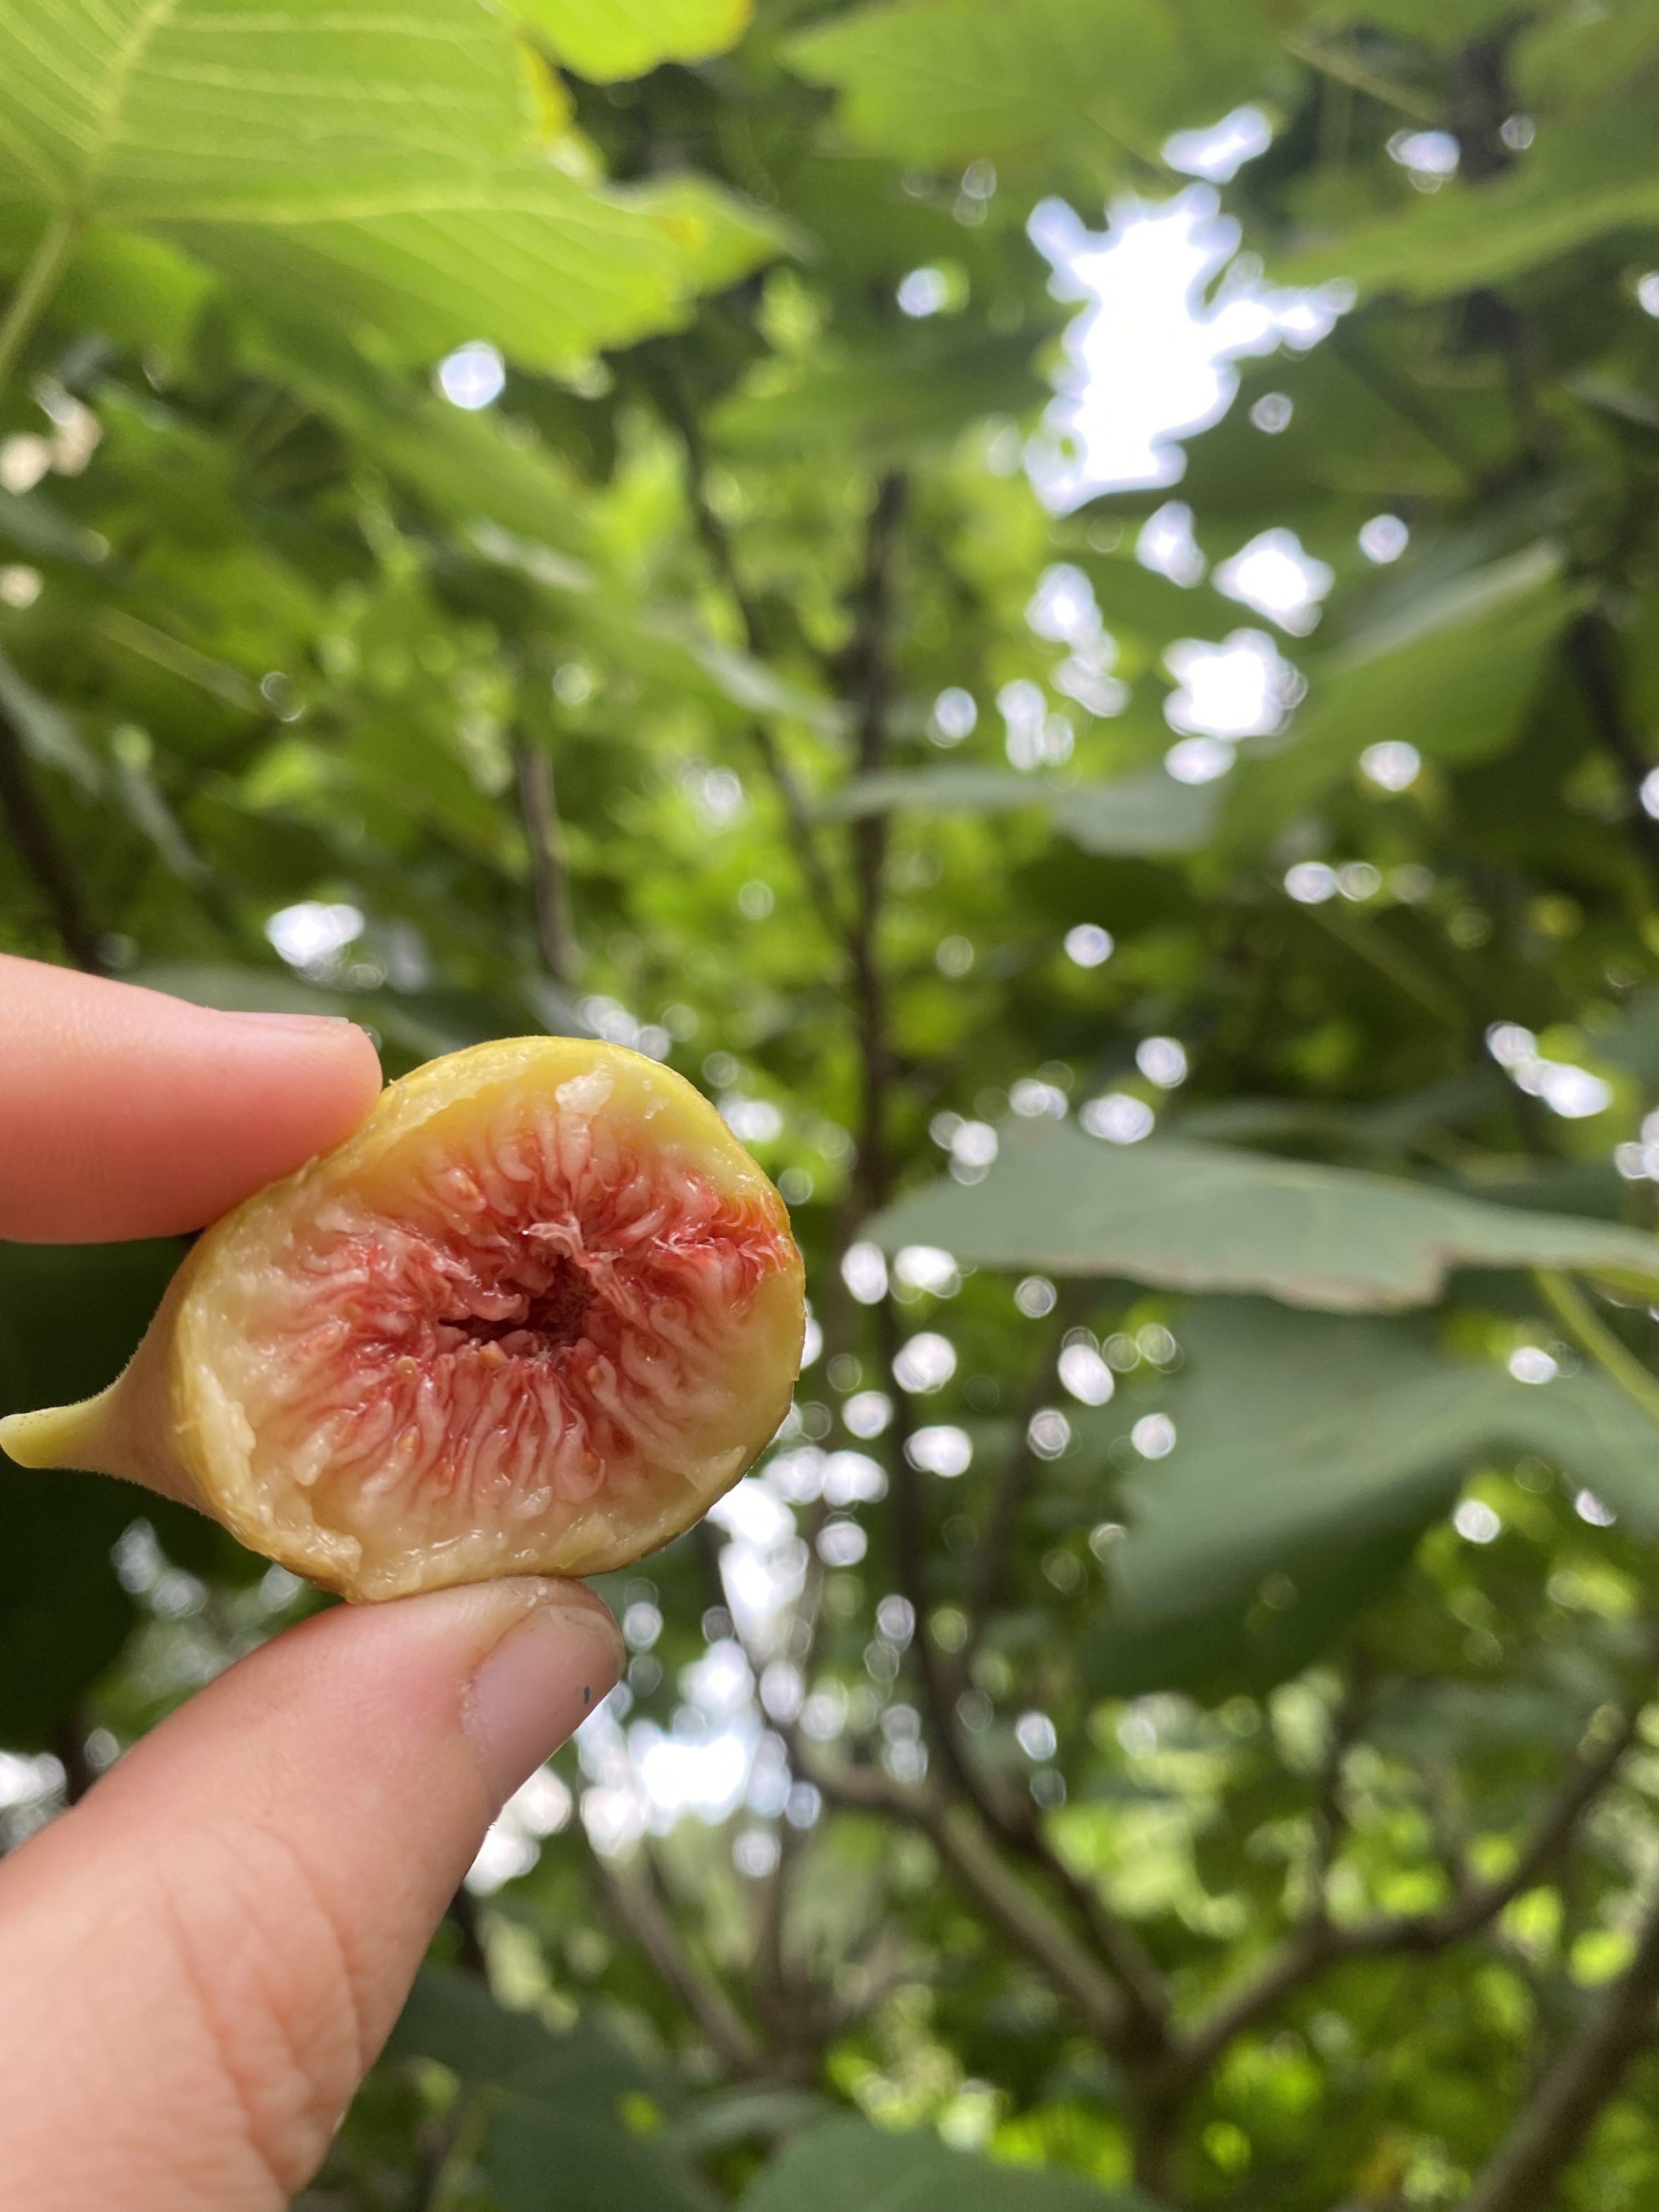
My dad’s fig tree came from a cutting of his grandfather’s fig tree. Newer varieties may yield more and resist disease better, but nothing compares to the fruit you grew up eating with your grandparents on the Fourth of July.
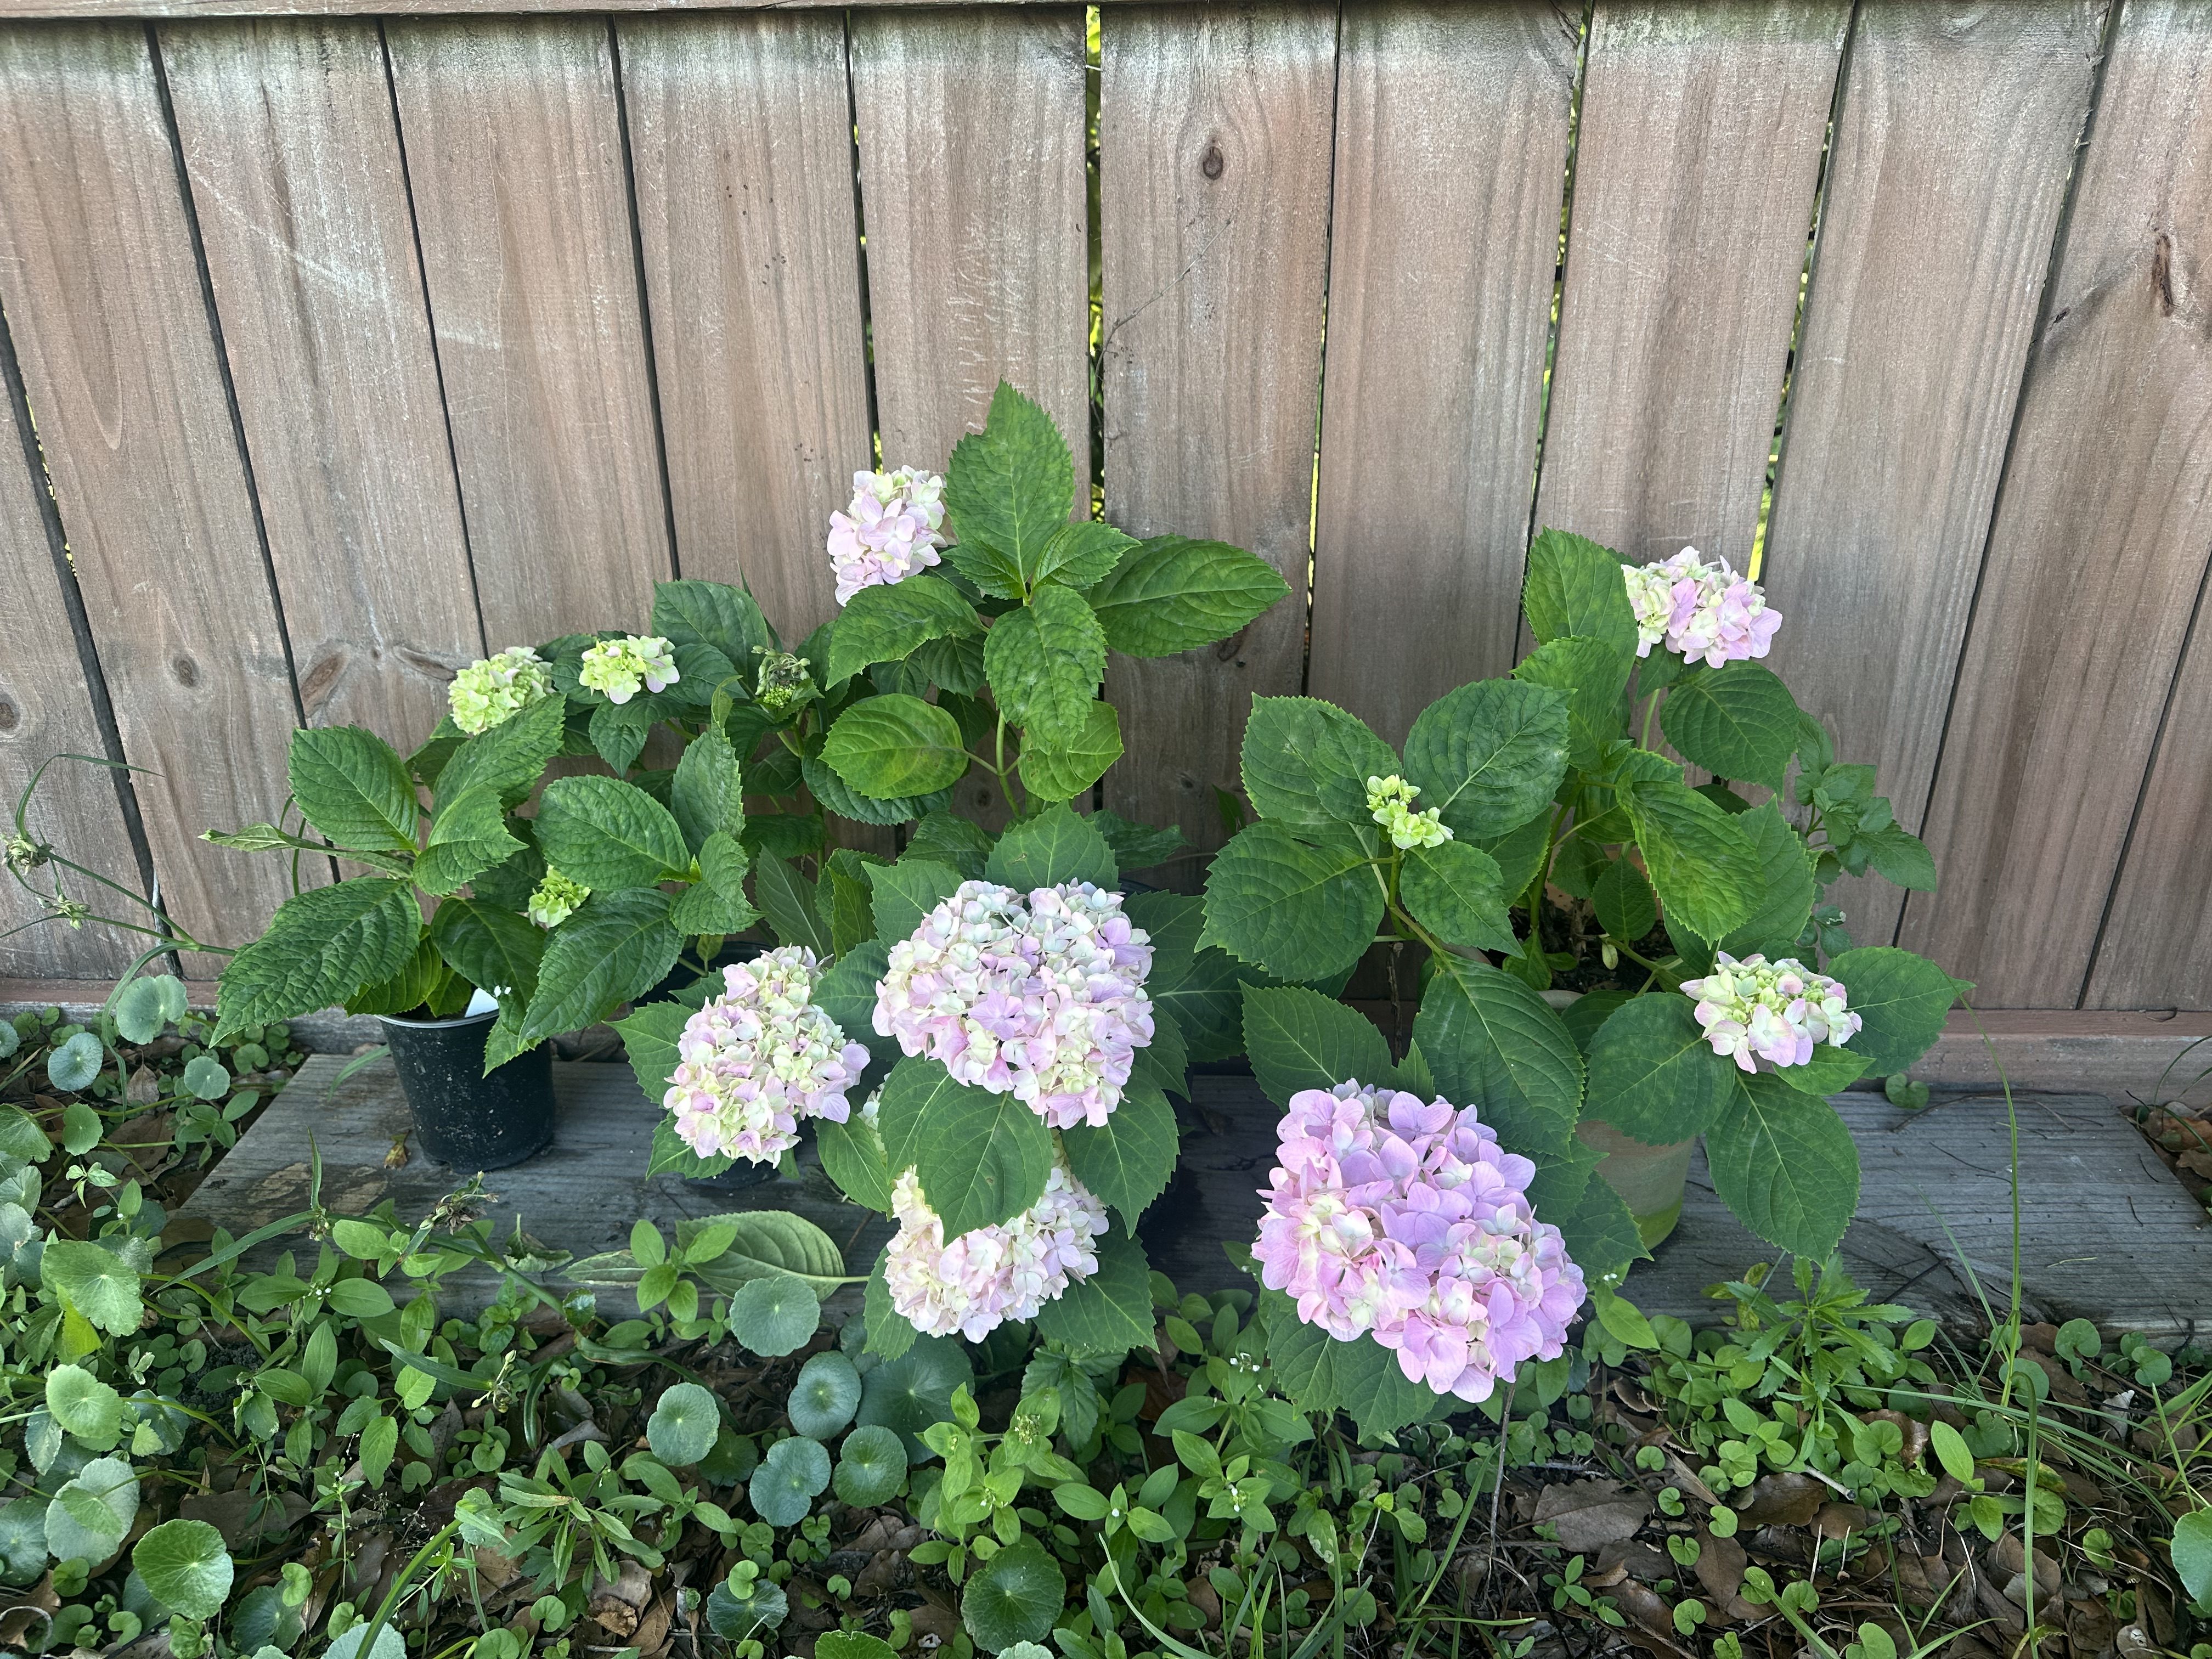
This year, for the first time, I got to enjoy hydrangea blooms from my late grandparents’ home. Before their house was sold, my aunt took last-minute stem cuttings from the bushes. After three years, they’re finally healthy enough to flower- and soon, I’ll take more cuttings to share with the rest of the family.
Sometimes, just being in the garden helps you feel closer to loved ones and the memories you shared. Even if it’s not the same exact plant, growing something they once grew can help you feel connected to them.
My great-grandmother always said you should have flowers growing in your garden so you can cut them and bring them to people when you visit. When I cut flowers from my garden for friends and family I feel like I am keeping her tradition going.
There are so many plants you can propagate and grow yourself. If you talk to someone who’s been propagating for a while, they’ll likely tell you that it’s as much an art as it is a skill. Try out different plants and methods to see what works best for you. Here’s a great video to get you started with the basics of plant propagation: FFL Plant Propagation Basics.
Are there any plants you grow because of a loved one? It’s never too late to start.
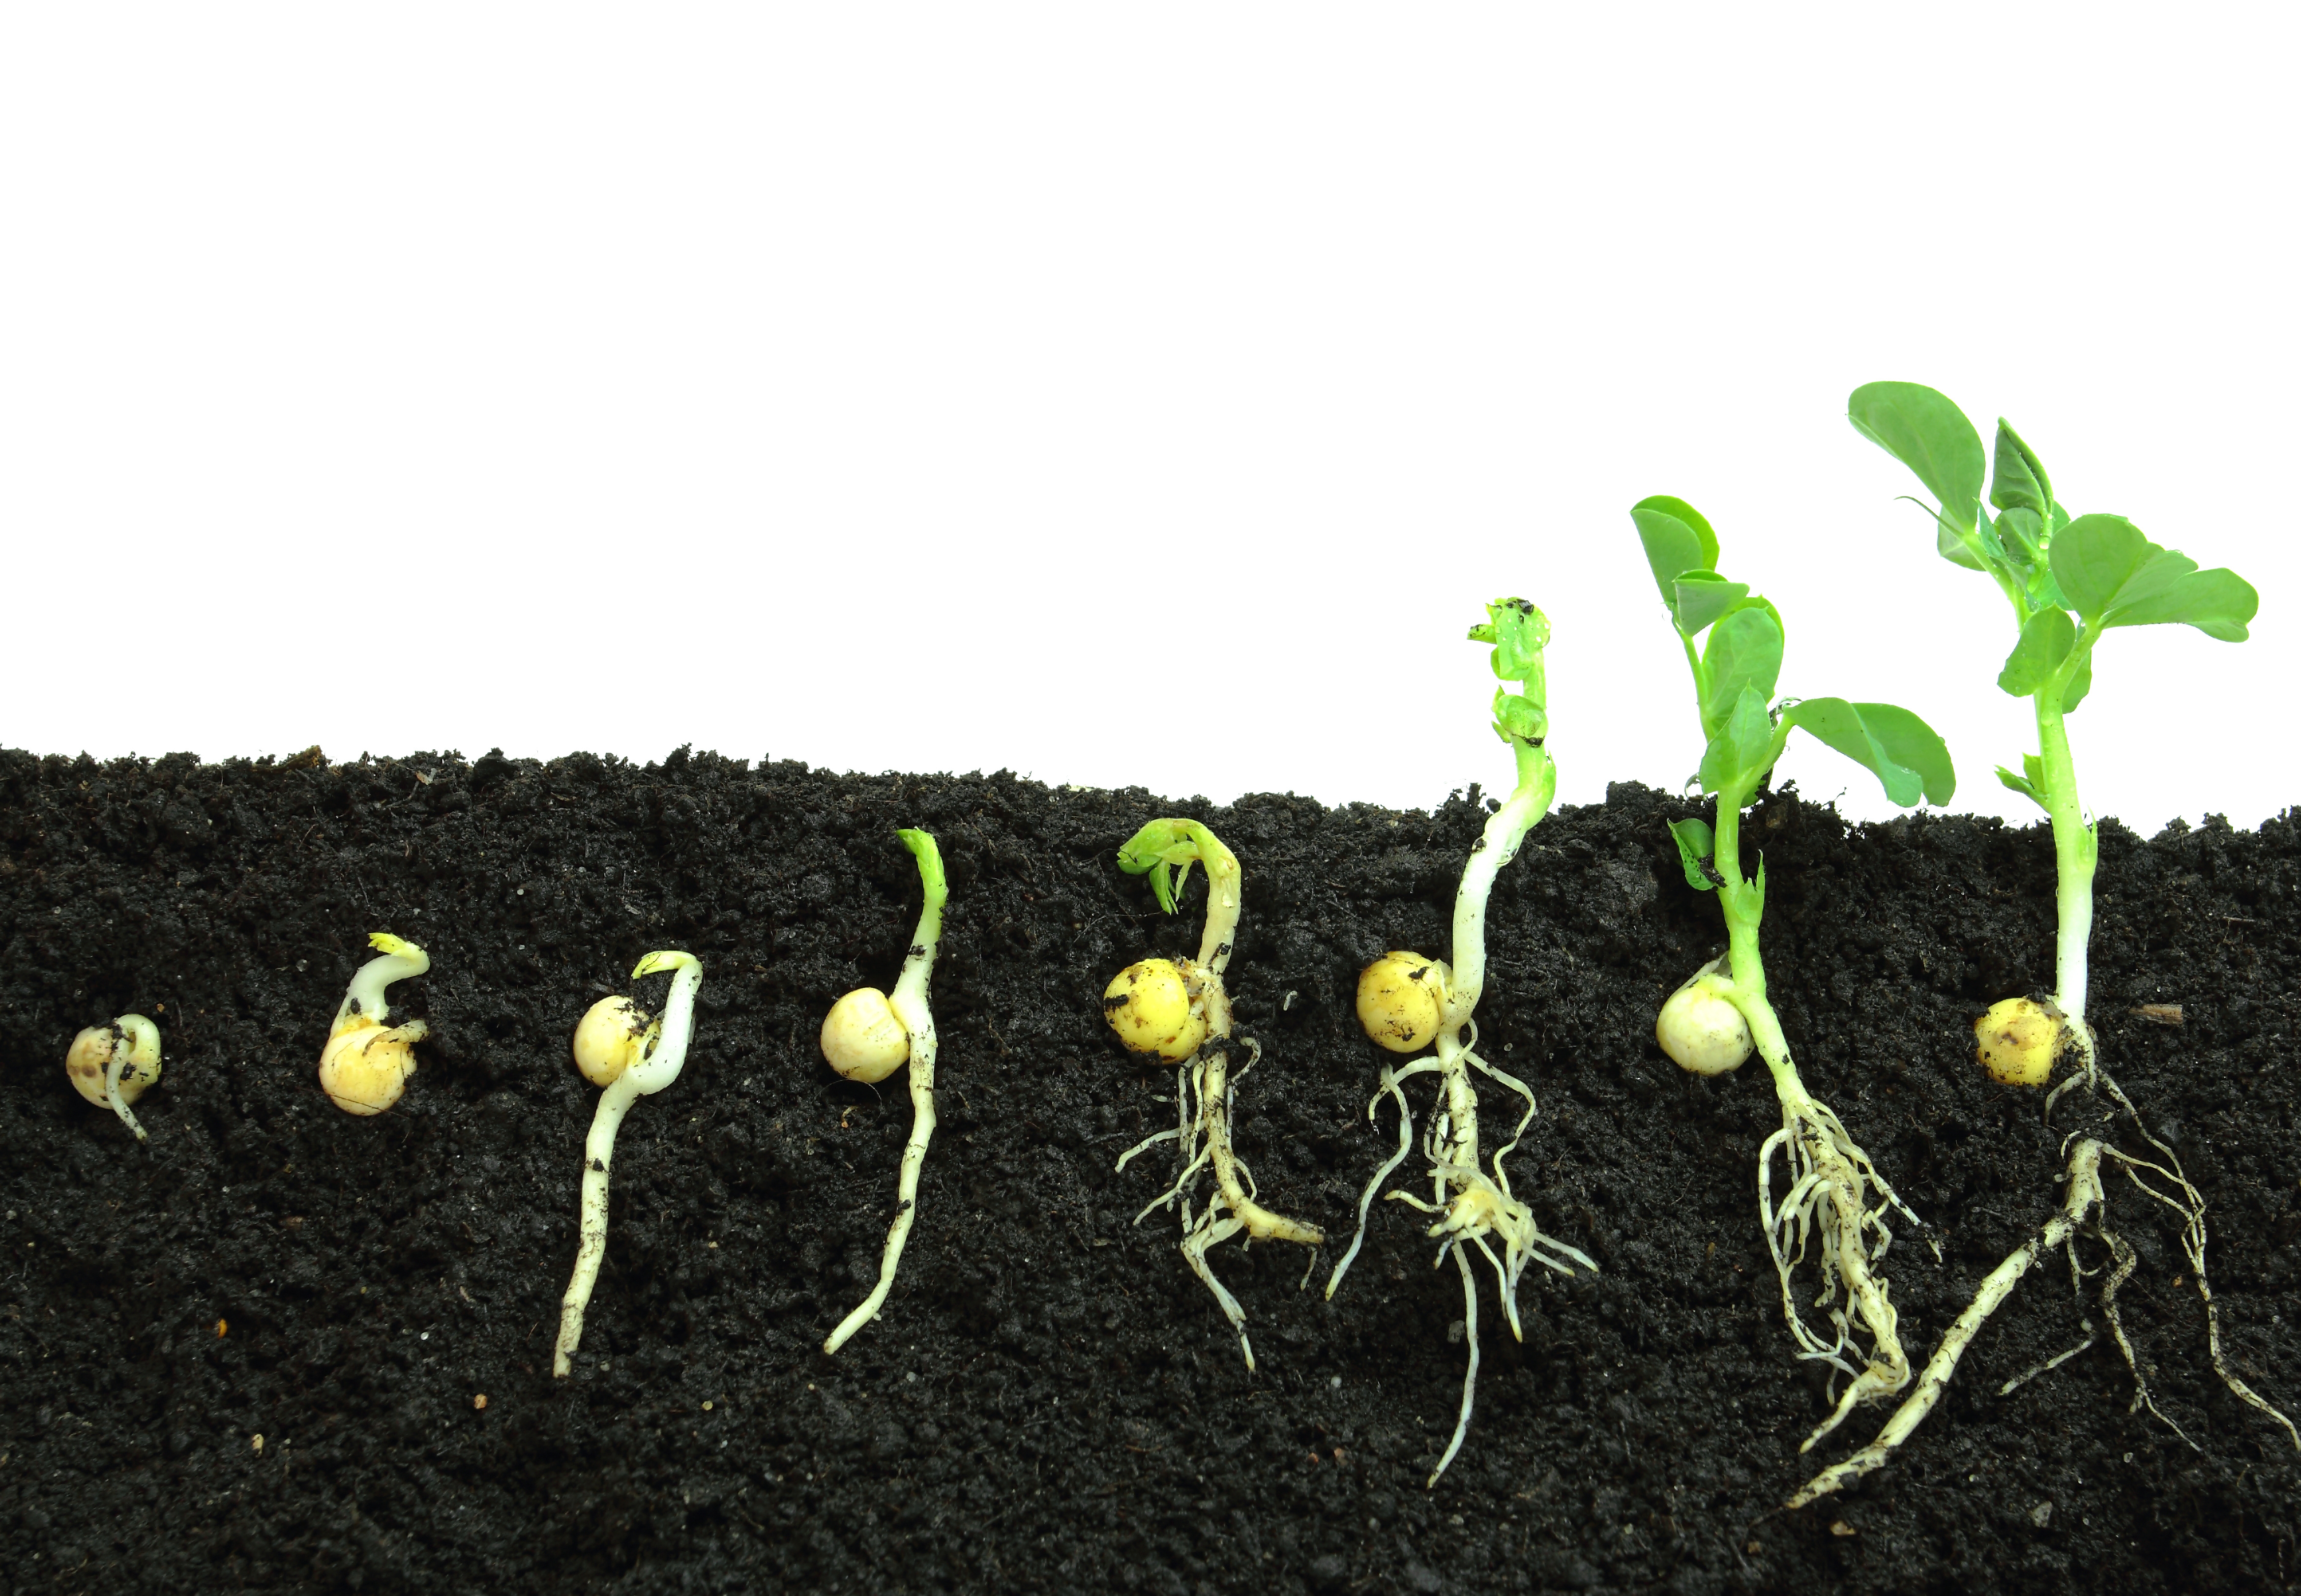
When a pea seed germinates, it goes through a series of stages: imbibition, activation of enzymes, and radicle and root emergence. Photo by Bogdan Wankowicz, Adobe Stock.
The Science of Germination
Navigating through a few recent hard freezes, the Florida Panhandle’s winter still holds its grip, but a shift is anticipated. As we transition into February and March, the temperatures are likely to soften, offering a milder embrace. Amidst this change, many gardeners eagerly anticipate the surge of new life. This phenomenon is deeply intertwined with the captivating science of germination. It is indeed an intricate process that transforms a dormant seed into a thriving plant.
The Germination Process
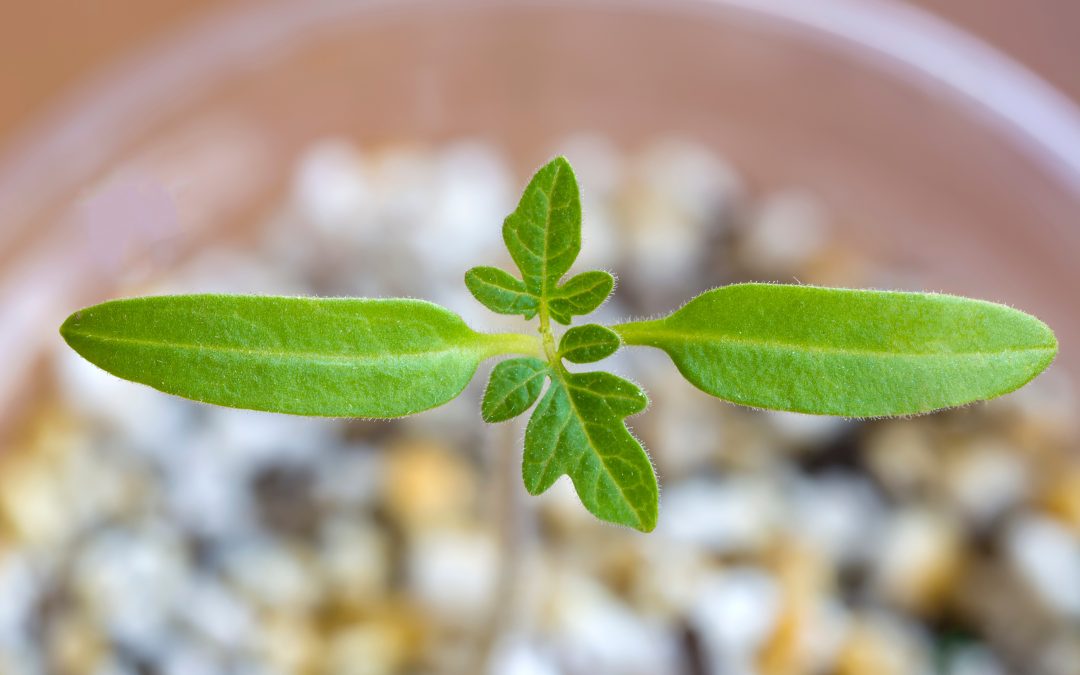
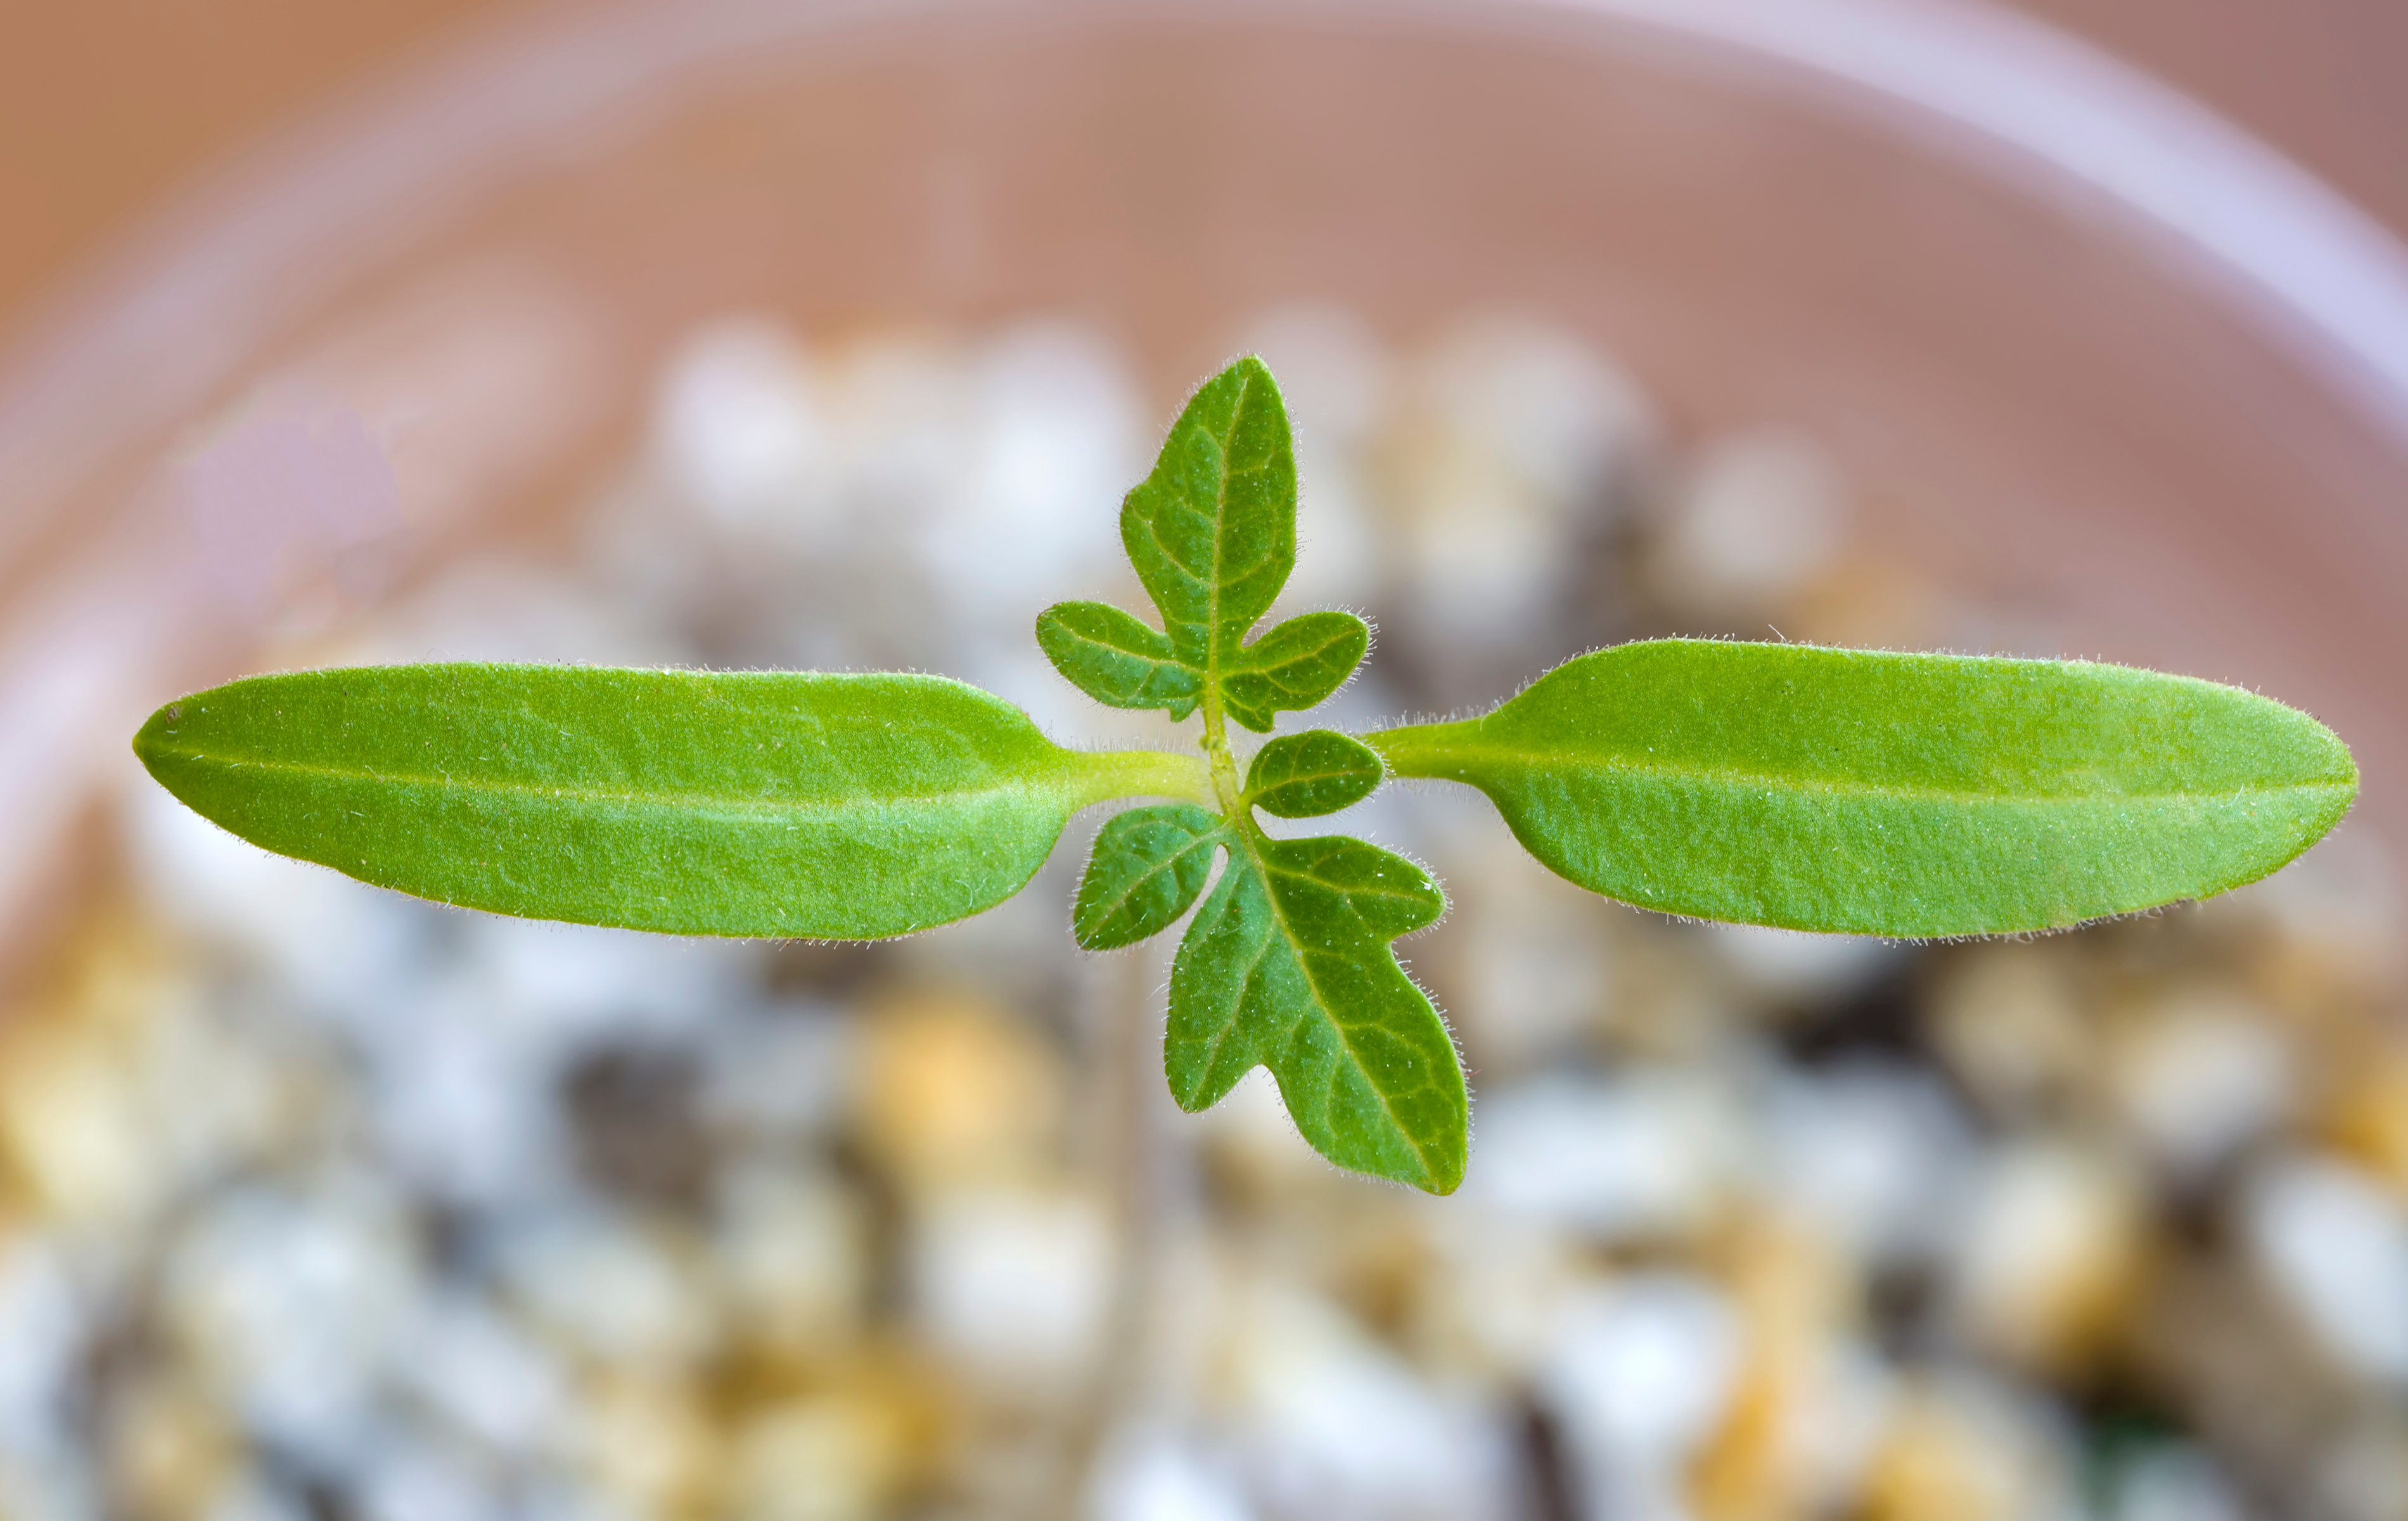
Tomato seedlings initially produce cotyledons, serving as temporary nutrient sources, followed by the emergence of true leaves, which engage in photosynthesis and mark the onset of lateral branching. Photo by Baharlou, Adobe Stock.
Germination is when a seed transforms into a seedling, ready to emerge from the soil. But what exactly is happening during this process?
Germination commences with the absorption of water, also known as imbibition. As water is absorbed, the seed swells, softening the seed coat and paving the way for the emergence of the embryo. This pivotal step activates enzymes within the seed, kickstarting the breakdown of stored nutrients, such as starches, into simpler forms like sugars. These nutrients serve as the fuel for the growing embryo until it can harness energy from the sun through photosynthesis.
The first visible sign of this process is the emergence of the radicle, the embryonic root that anchors the plant and facilitates water and nutrient absorption from the soil, establishing a solid foundation for growth. Following radicle development, the embryonic stem begins its upward journey, accompanied by the emergence of cotyledons, or seed leaves, that aid in nutrient storage during the initial stages of growth.
With the growth of leaves, the seedling gains the ability to engage in photosynthesis. This transformative process allows the plant to convert sunlight into energy, fueling further growth and development. The root system continues to expand and branch out, enhancing stability and enabling the plant to absorb water and essential nutrients from the soil.
As the plant progresses through stages of growth, it eventually matures to produce flowers and seeds, completing the life cycle. These seeds, in turn, hold the potential to initiate the germination process anew, perpetuating the cycle of growth and renewal.
Temperature’s Role in Successful Germination
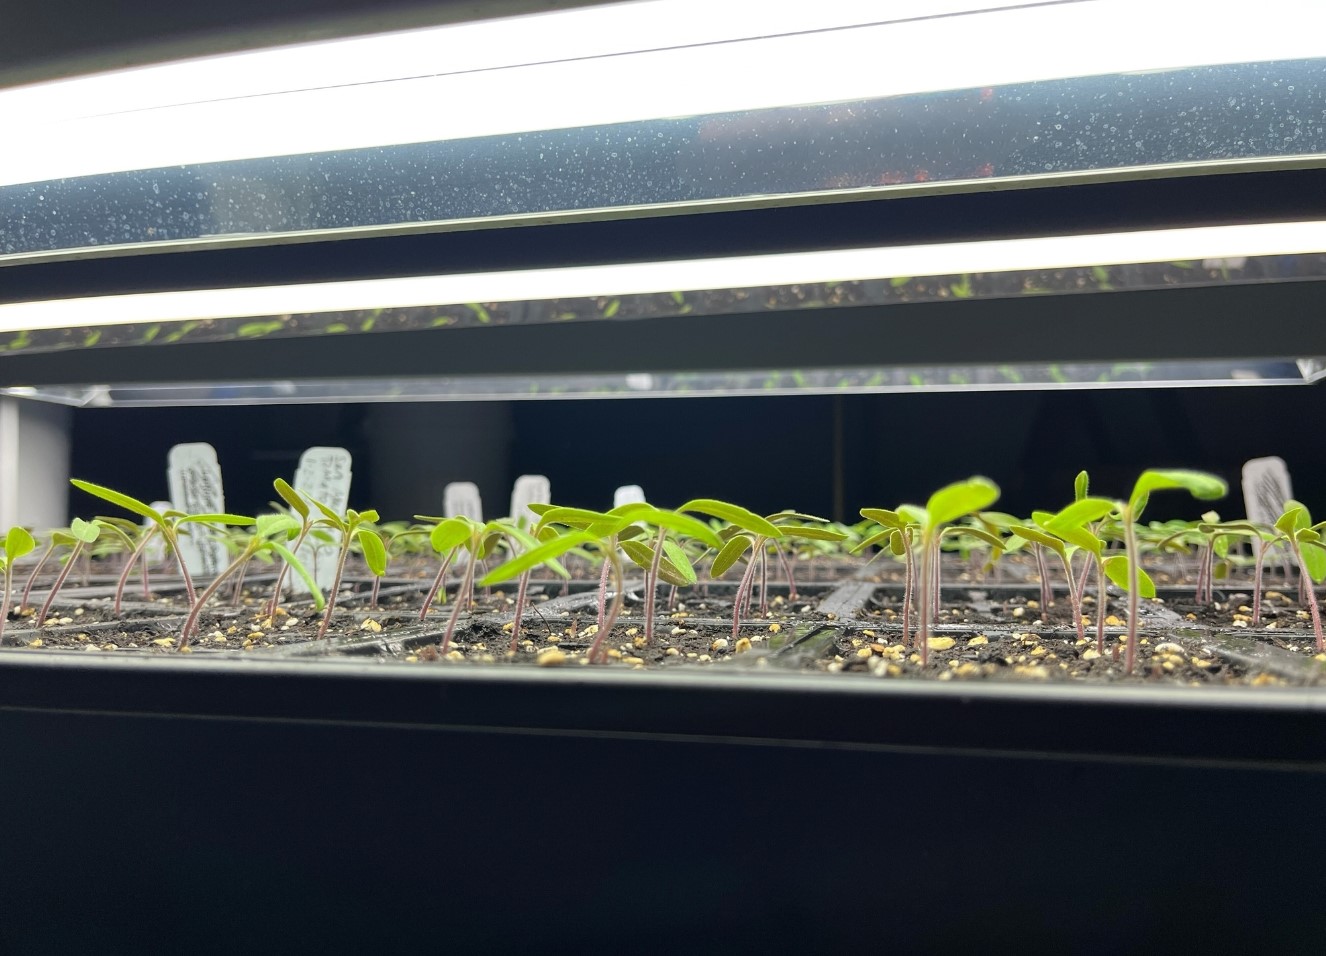
Get a jump start on the spring gardening season by using full spectrum grow lights and heat mats to germinate and grow warm season crops, like tomatoes, indoors. Photo by Molly Jameson.
Temperature is a critical factor influencing the success of germination, serving as a cue for enzymes to initiate their performance. Seeds exhibit distinct temperature preferences, affecting both the likelihood and speed of germination. Understanding these preferences is essential for a thriving garden.
While some seeds, like peppers and tomatoes, flourish in warmer conditions, others, such as lettuce and spinach, prefer cooler environments. It’s crucial to identify the ideal temperature range for your chosen seeds to ensure successful germination. When planning your garden, closely monitor soil temperature and sow seeds at the appropriate time to align with their preferences. For instance, if you’re starting warm season seeds like tomatoes in winter, consider investing in heat mats, a greenhouse, or indoor full spectrum grow lights to maintain a consistent and favorable temperature for germination.
Optimizing germination and ensuring a successful start for your garden hinges on understanding the specific temperature preferences of your crops. Temperature not only influences whether a seed will germinate but also plays a significant role in determining the speed of germination, providing a valuable head start when appropriately managed.
Chilling Requirements for Some Seeds
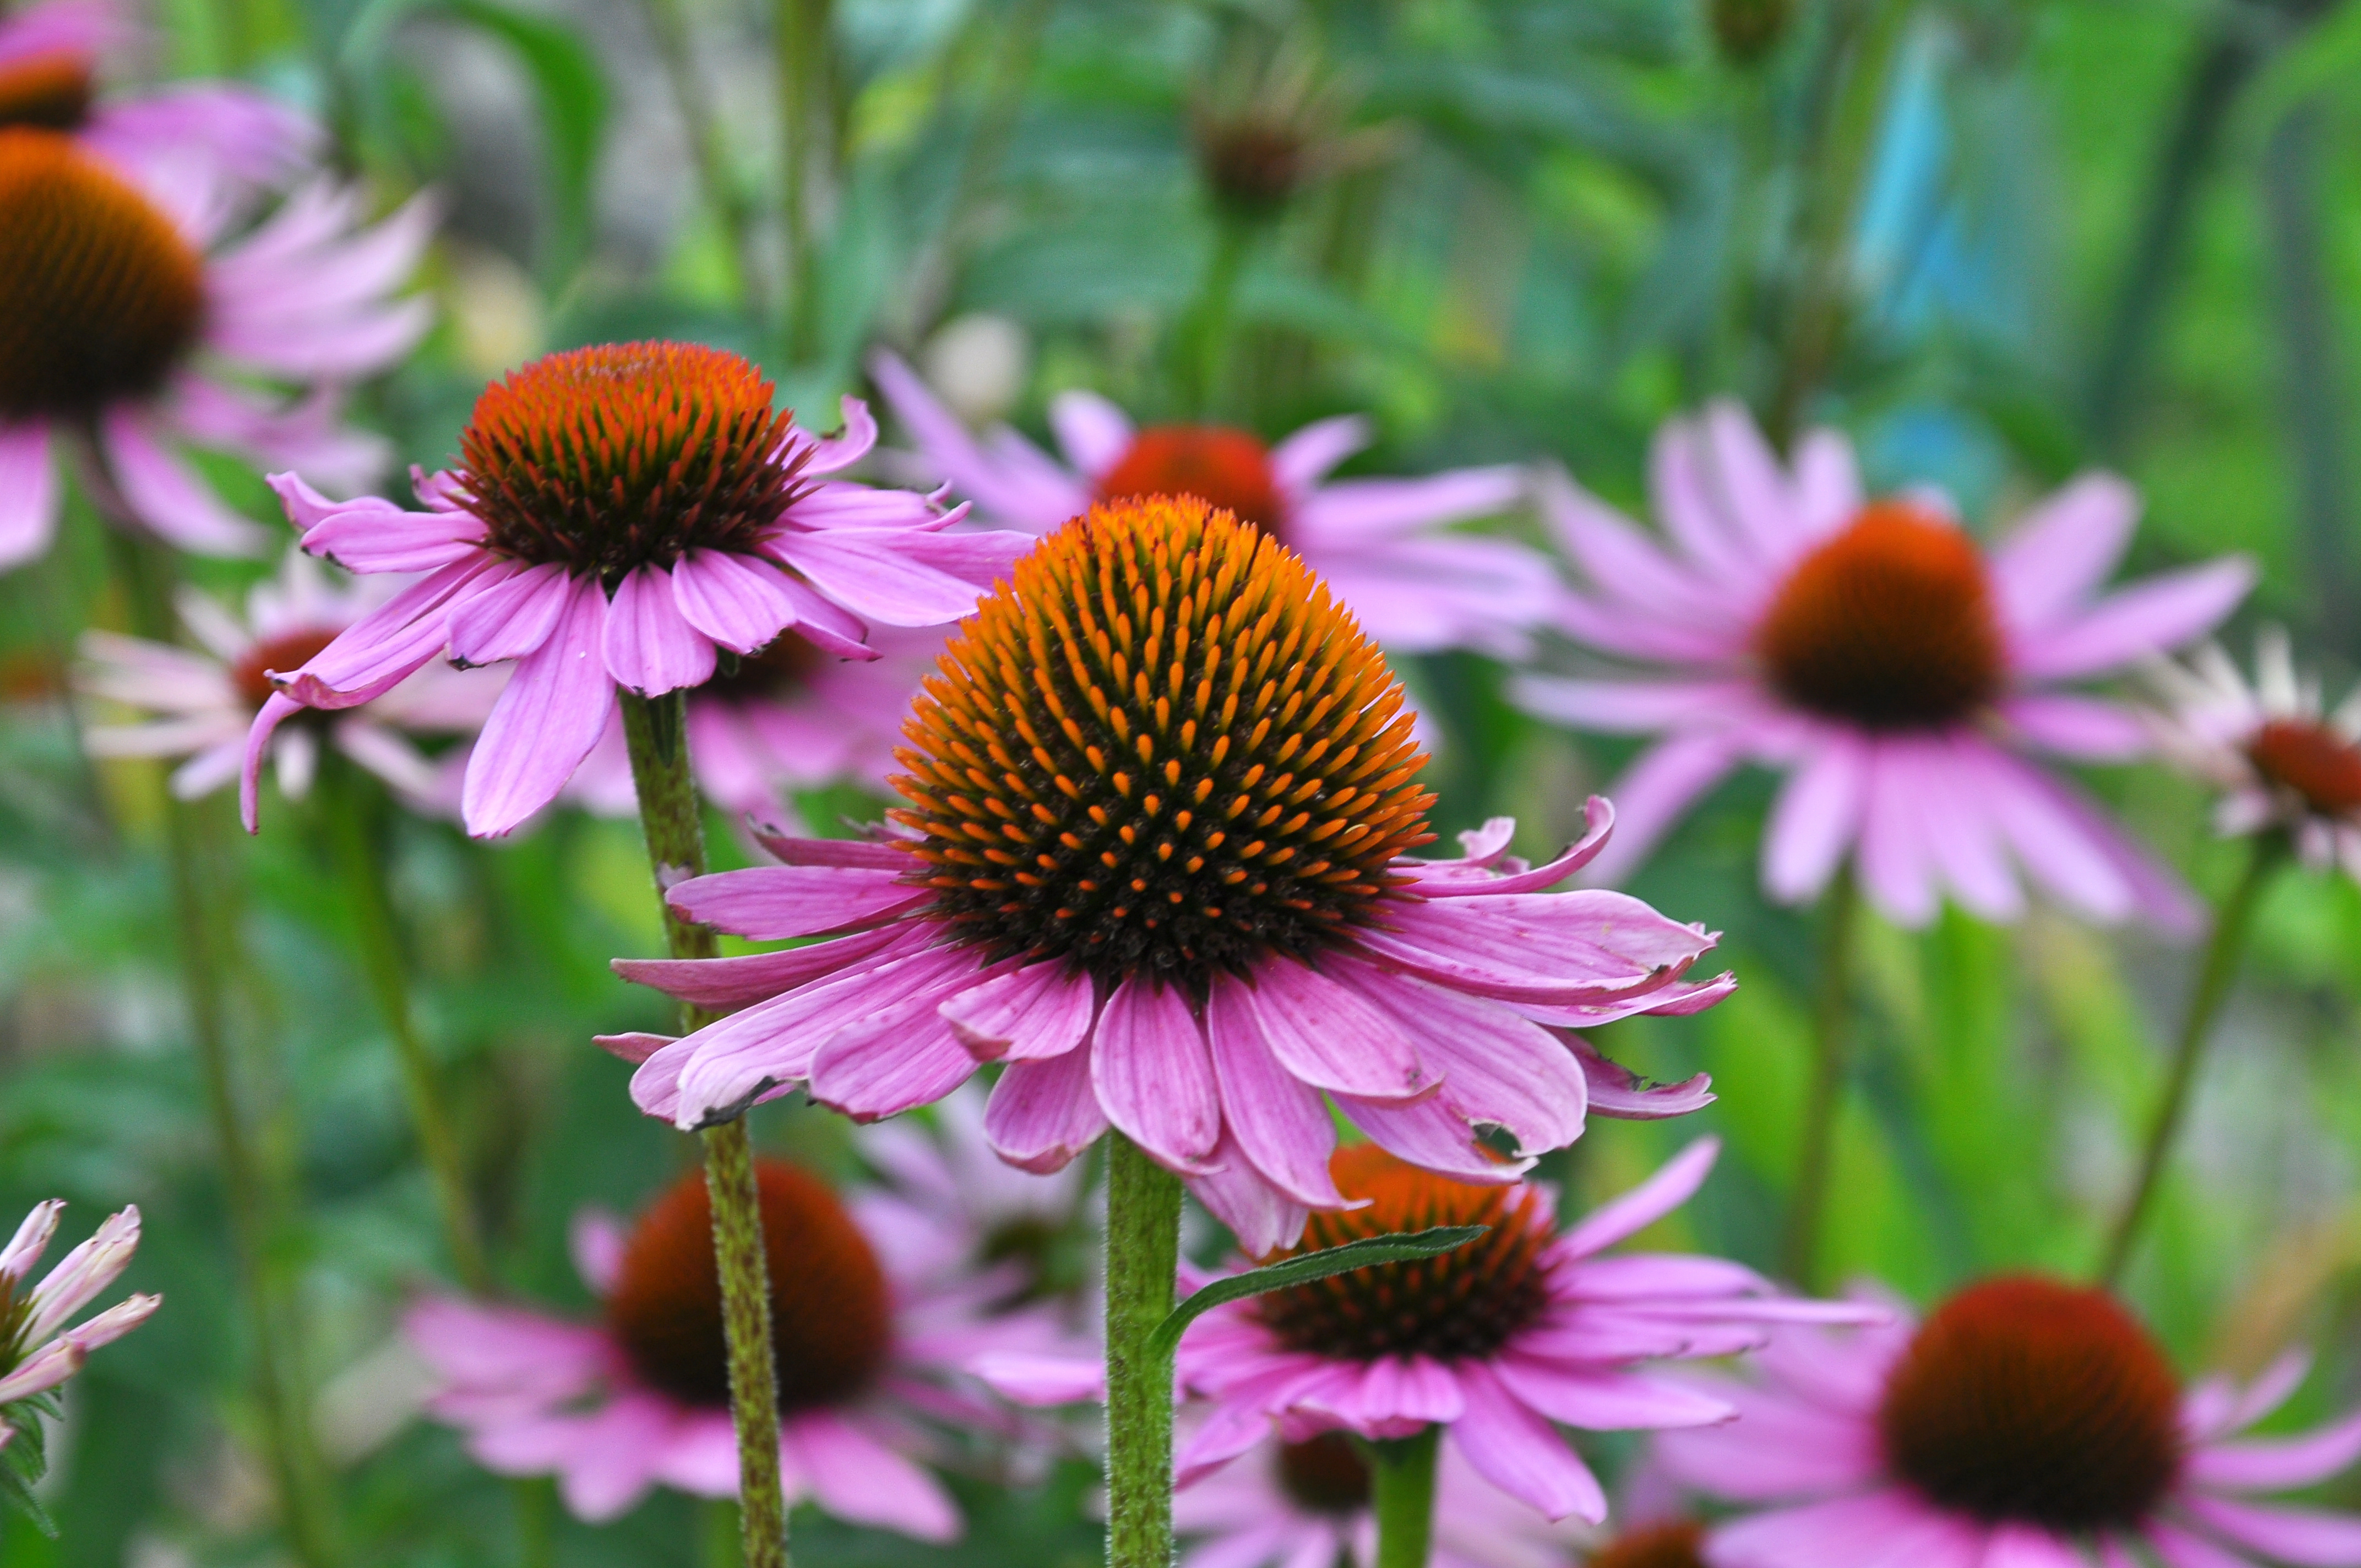
Echinacea purpurea (purple coneflowers) benefits from cold stratification, a process that involves exposing seeds to cold conditions to break their dormancy and promote germination. Photo by Orestligetka, Adobe Stock.
Some seeds, like black-eyed Susan (Rudbeckia hirta) and purple coneflower (Echinacea purpurea), exhibit a preference for a winter chill through a process known as stratification. This involves exposing seeds to cold temperatures before planting. It mimics the conditions these seeds would experience in their native habitats, breaking dormancy and promoting successful germination. If you’re growing seeds that benefit from cold stratification, consider simulating winter conditions by freezing them for at least a month before planting. Additionally, certain seeds benefit from wet stratification, where they are kept moist during the cold treatment.
While stratification is more commonly associated with perennial flowers and woody plants, there are some vegetable seeds that can also benefit from cold treatment. Carrots and beets may experience improved germination rates with a brief period of cold stratification. Keep in mind that while these vegetables may benefit from stratification, it’s not always necessary for successful germination. Many vegetable seeds are adapted to germinate without a cold treatment.
As we anticipate the arrival of spring, let’s not just see seeds as tiny dormant entities but as intricate biochemical wonders waiting to unfold. Germination is not merely a biological process; it is a testament to the resilience and adaptability of life. It is a reminder of the interconnectedness of all living things and the perpetual cycle of growth and renewal that defines the plant kingdom here on Earth.
As we eagerly anticipate the arrival of spring, it’s the perfect time to begin thinking about planning your garden. A key thing to do to help prep yourself is starting your seeds. Whether you’re a seasoned gardener or just beginning, having the right tools and supplies is crucial for garden success.
Photo Credit: Tyler Jones, UF/IFAS
Seed Trays and Containers
If you are intending to start seeds to plant between February and March, you will need to obtain seed trays or containers to germinate your seeds. Seed trays can come in different shapes and sizes, allowing you to accommodate for different types of seeds. When you have selected what seeds you are planting for this year, you will need to follow the seeding rates and spacing measurements on the back of the seed packet. You want to opt for a tray that has proper drainage to prevent any type of waterlogging, but still keeps some moisture to support seed germination. You will need a quality seed starting mix to create a strong foundation for your seeds to germinate in. Using a light weight media that will allow airflow is also important. When planting your seeds in the tray, smaller seeds can be broadcasted over the surface of your soil media and larger seeds will need to be covered.
Example of a seed tray. Photo Credit: Terri Keith, UF/IFAS Extension Jackson County
Temperature & Humidity
Correct temperatures and humidity are both very important for successful germination of your seeds. Some trays come with a clear plastic cover or “dome” to help regulate the temperature and the humidity in the soil media. This creates a “greenhouse” effect for your seeds. If you are having trouble controlling the humidity, you may consider poking holes in the cover if there is too much moisture in the soil media. Once the humidity is controlled, cover the holes with clear tape.
Your seeds will need warmer temperatures to aid the process of germination. A tool you might consider investing in is a heat mat. The heat mat lays underneath the seed tray and helps provide warm temperatures consistently during the day and night, keeping the soil media warm enough to allow the seeds to germinate properly. Most heat mats are electrical and will need to be plugged in, so starting your seeds indoors may be a better option during January and February. After the seeds have germinated and have grown to about 2 inches high, they will need to be thinned out and transplanted to a bigger container until the time is right to transplant them to your garden.
Organization
When planning any type of project, it is always important to stay organized. If you are planting different kinds of seeds in one tray, using labels to know which seeds were planted will help you after the transplants have grown to their desired height. Once you have planted all the seeds that will be used, storing them correctly for the next season is vital. Storing them in a temperature controlled environment that is free from excess moisture is crucial so that they stay viable for the next season. It is also important to keep stored seeds labeled with the packet they came from to know spacing and number of days to harvest for the coming year.
Arming yourself with the necessary tools and knowledge is essential to nurture your seeds into thriving plants. Whether you’re cultivating a windowsill garden or preparing for an outdoor oasis, knowing the key steps to starting your seeds will lay the groundwork for a great harvest.
The subject of plant propagation by leaf and cane is a continuation from my article on propagating plants by layering, written in late October. Plants can be generated in multiple ways with leaf and cane techniques emerging as a possible indoor winter and early spring project. Not all plants can be propagated with a leaf or parts of leaves. Fortunately, some of the plants that can are ones we all enjoy growing indoors or in protected areas outdoors, like a covered porch and other similar locations. Do an assessment of indoors windows with bright light and a few hours of sunlight for the best success. If you are fortunate to have a backyard greenhouse that is heated, you may want to try it there.
One of the simplest ways to grow a new plant is by clipping a leaf and petiole section off an existing plant that has certain characteristics you like (bloom color or the growth of the plant). African violets and sedum are plants that can be easily propagated in this manner. The length of petiole connected to the leaf should be around 1 ¼ – 1 ½ inches in length, this portion of the leaf will be planted in potting mix. I would suggest planting two in a small to medium sized container to increase the chance of a successful rooting and the new plant establishing. When the new plant leaves have emerged, usually in 6 – 10 weeks, they are clipped away from the original leaf and petiole. Some will reuse the original and replant, but I tend to discard and begin with a new one.
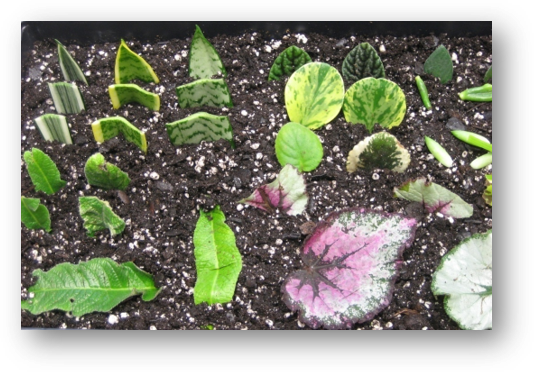
Plants being propagated by leaf cuttings. Photo Credit: University of Florida/IFAS
Next up is trying to propagate using a leaf without the petiole. This form of propagation can occur with plant that possess fleshy leaves that are thicker, with more energy to produce a new plant. The jade plant, snake plant and African violet are examples of plants that root and form new plants successfully in this way. Place a leaf or a piece of leaf vertically into a container filled with slightly damp plant media. Be sure the leaf midvein is placed into the soil as this will likely be the site of the new plant’s emergence.
Cane cuttings are yet another process for propagating a new plant. If you have ever grown a Dieffenbachia, better known as dumb cane or corn plant, they can become leggy and require staking to keep limbs from bending away from the center of the plant. If you look closely, you may see dormant adventitious buds (nodes). These buds will be the future leaf emergence area for the new plant. With a sharp clean knife cut remove a 6 – 10-inch section of the stem. The top leaf areas and smaller stem section can be removed and discarded.
Next, cut so that two stem sections are together with at least 2 nodes. Place the sections horizontally or vertically with the bottom third of the section indented into the potting media for go plant to soil contain. Make sure the node is facing upward. Once rooted with new leaves emerging, you may transplant them into a selected pot for future growth and establishment.
As mid to late spring arrives and the danger of frost passes, you can move the plants to a covered porch or under tall shade trees with filter sunlight for the summer and early fall. Enjoy creating new plants and maybe share a few with family and friends!
Vegetative plant propagation is a way for one plant to create another plant without the need for pollination to occur. This process is often much faster in achieving a new plant than growing from seed. The genetics of the parent plant can be carried on through this vegetative propagation method. There are many methods to propagate plants and the one covered in this article was taught to me by my grandmother many years ago – layering. Layering is a science and an art and has been performed by humans for over four thousand years.
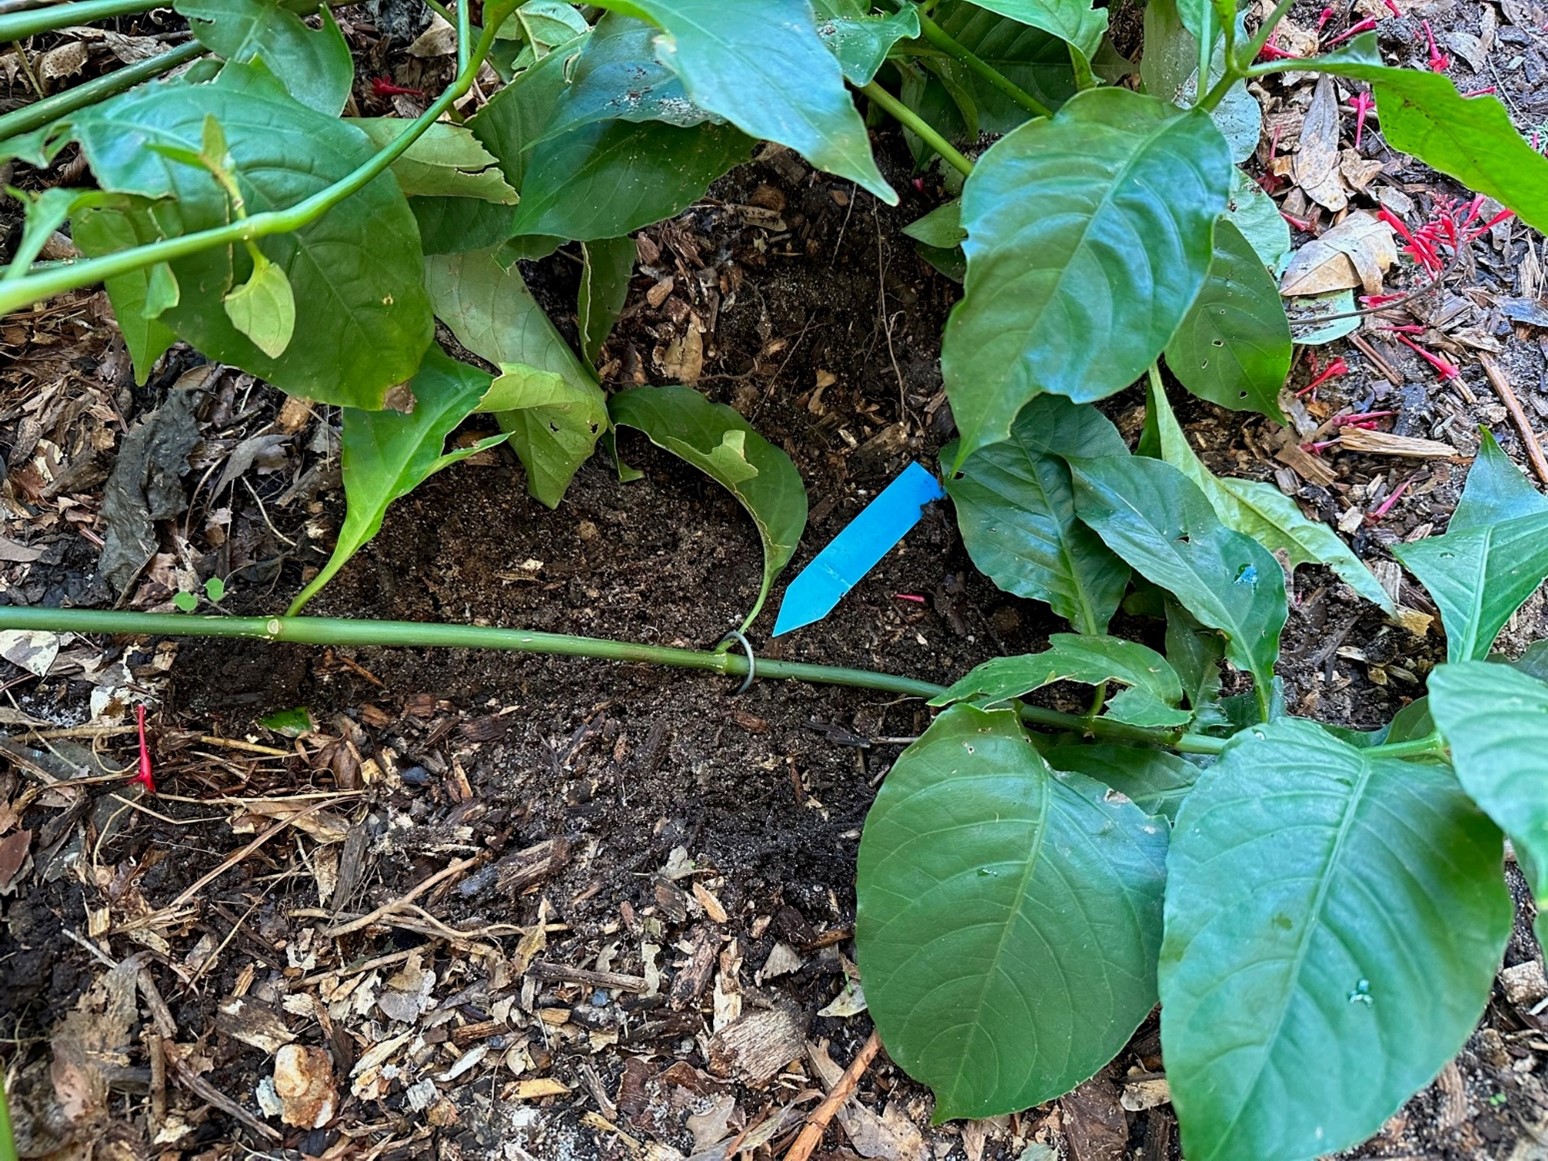
Propagating plants by layering can be accomplished in several ways, including simple, tip, air, mound, compound, and runner production layering methods. Many plants in nature propagate by layering accidentally when long, low-lying limbs contact the soil around the plant and are eventually covered by leaves from other surrounding trees and shrubs. This creates an organic cover over a part of the limb and keeps the area moist. This creates the situation for adventitious roots to develop at the soil contact area. This occurrence is called simple layering and is often mimicked by gardeners in the landscape. Not all plants respond to this type of propagation, but several common species that do are azaleas, jasmine, viburnum, climbing rose, and grapevines.
Unlike simple layering, tip layering involves digging out a shallow 3–4″ hole, which will allow space to bend the end of the branch down into the hole with the tip out the other side. Then, simply cover the hole to keep the branch in the ground. It may take something with a little weight placed over the covered hole to keep the branch from popping out. A brick or rock may be all that is needed. Both methods will take months for enough roots to develop before clipping the branch with a new plant ready to be dug and set somewhere new. For best results with both simple and tip layering, begin either in early spring with last seasons growth or late summer, utilizing that current year’s growth.
Simple layering. Photo Credit: Stephen Greer, University of Florida/IFAS – Santa Rosa County
Air layering is a fun adventure to rooting a new plant and can be used with both outdoor and indoor plants. It can be used on outdoor plants like camellia, azalea, maples, and magnolia, or indoor plants including weeping fig, rubber tree, and dieffenbachia. This type of layering requires a bit more planning and preparation than simple or tip layering. If the plant has a bark layer surrounding the cambium layer (this is the growing part of the limb and trunk and appears green) this area will need to be removed with a sharp clean knife. Choose a 1- ½ inch long area of the limb and scrape this area to remove the cambium layer located just beneath the bark. This is done to prevent the outside limb area from reconnecting back to the limb portion connected to the plant. Sphagnum moss will be needed to wrap around the wound site to create a rooting zone. Be sure to soak the moss with water by immersing it in a bucket of water, then squeeze it out. Wrap the moss with plastic wrap, making sure the moss is fully covered and tucked inside of the plastic. Both ends of the plastic wrap need to be secured tightly with twist ties or string. Make sure it remains tight throughout the 2 – 4 months needed for rooting to occur. If this process takes place in a sunny location, cover the plastic wrap with tin foil to block out the light.
Air layering a camelia. Photo Credit: Stephen Greer, University of Florida/IFAS – Santa Rosa County
There are other methods to layering plants and if you are interested, search online through the University of Florida IFAS EDIS site or contact your local UF IFAS Extension office in your local county. Enjoy growing your new plants.
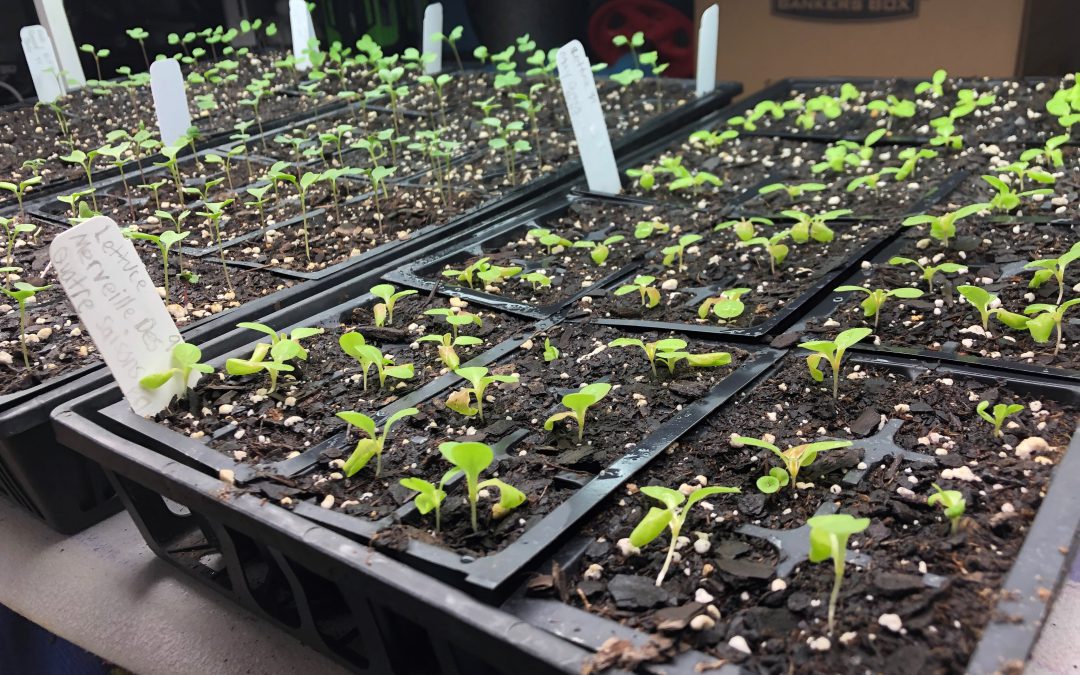
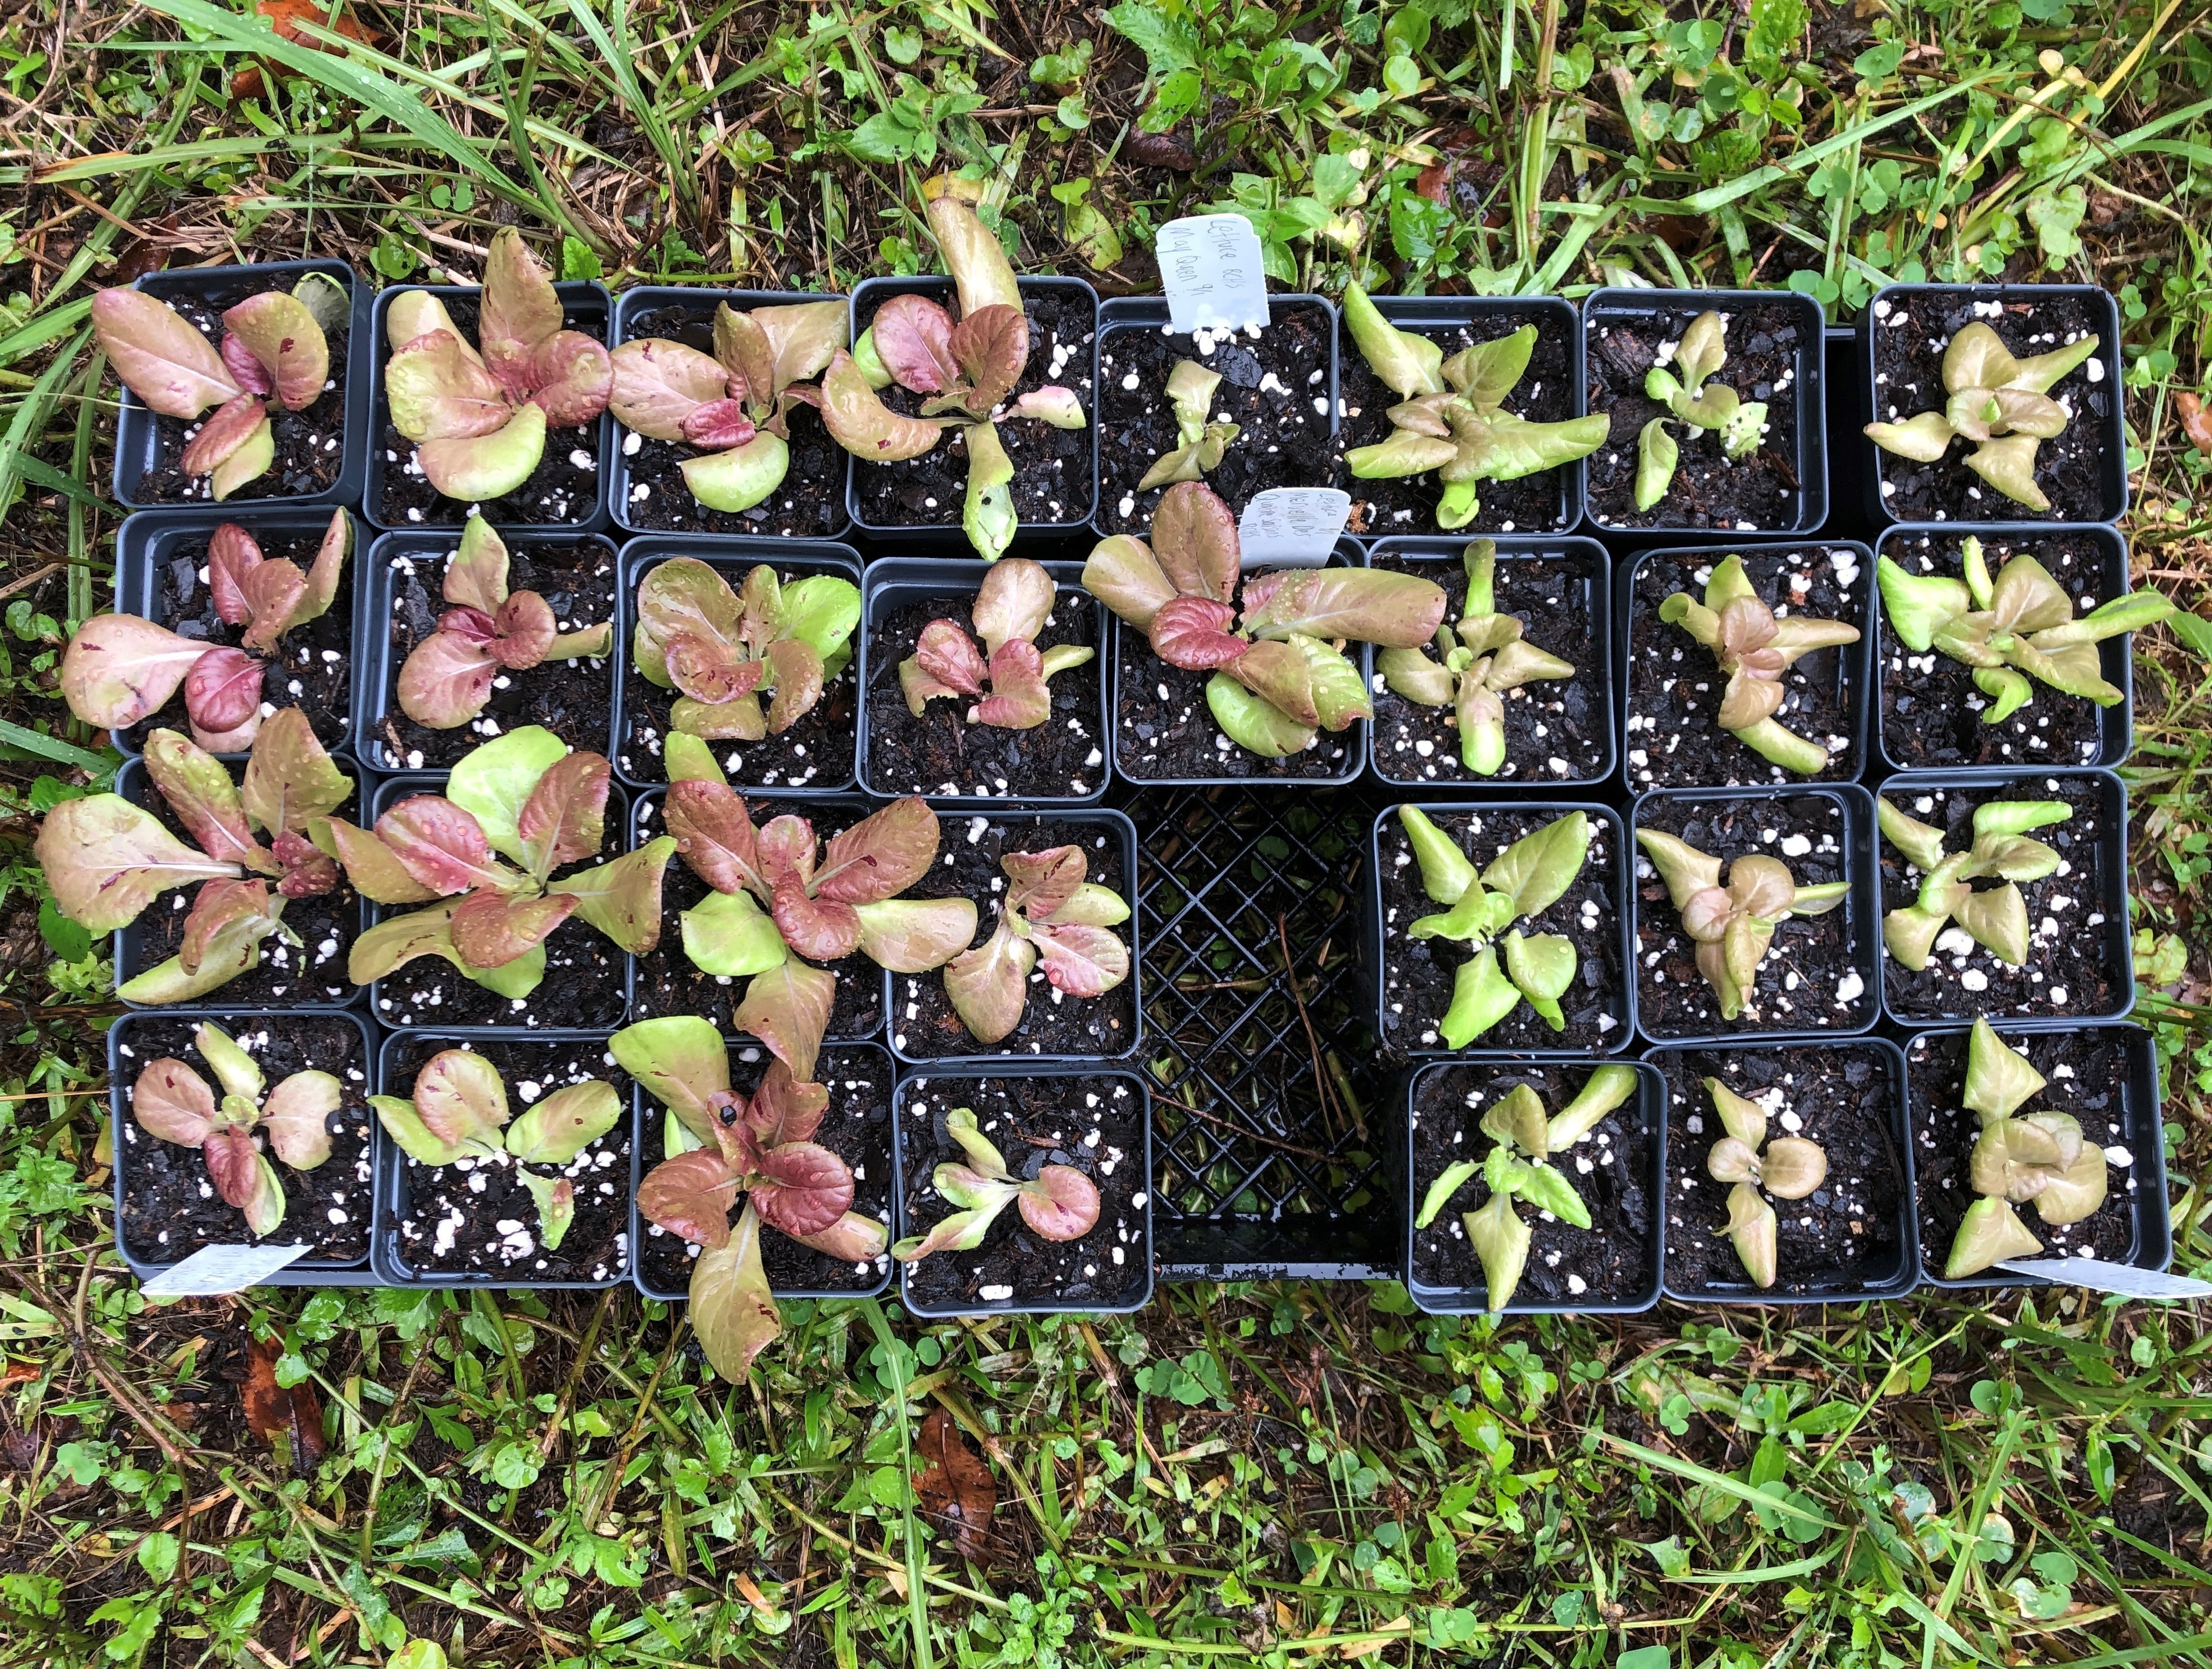
Start your fall garden seeds in containers to give them a healthy head start. Photo by Molly Jameson.Seed veggies into starter cell flats using a fine-textured growing medium designed to support seed germination and early seedling development. Photo by Molly Jameson.
Step-by-Step Instructions: Indirect Seeding Fall Veggies
While summer gardens offer a variety of intriguing fruiting crops, I have a special fondness for gardening during the fall season. This preference stems from the reduced pest pressure, decreased need for watering, fewer weeds, and the more favorable cooler temperatures for completing gardening tasks. Although it generally offers a more straightforward gardening experience, achieving success with your fall garden still hinges on applying the right techniques, with one crucial aspect being the care for seeds and young seedlings.
Indirect seeding allows you to nurture your seedlings before they establish their permanent residence in your garden, ensuring their growth into robust, mature plants. Below, you’ll discover a step-by-step guide to indirect seeding and planting for fall vegetables. By following these instructions, you’ll get a head start in cultivating a thriving fall garden that will delight your taste buds.
Seeding into Starter Cells:
While many crops can be started indirectly in starter cells, it’s important to note that root vegetables (such as beets, carrots, radishes, turnips, etc.), peas, and beans are exceptions due to their delicate root systems, which do not transplant well. These particular crops thrive when directly seeded into the garden. Conversely, fall crops that typically benefit from indoor seeding include Brussels sprouts, broccoli, cabbage, cauliflower, cilantro, kale, lettuce, mustards, parsley, spinach, and Swiss chard. For Florida planting dates, transplant ability, and other detailed planting information, see Table 1 in the UF/IFAS publication Florida Vegetable Gardening Guide.
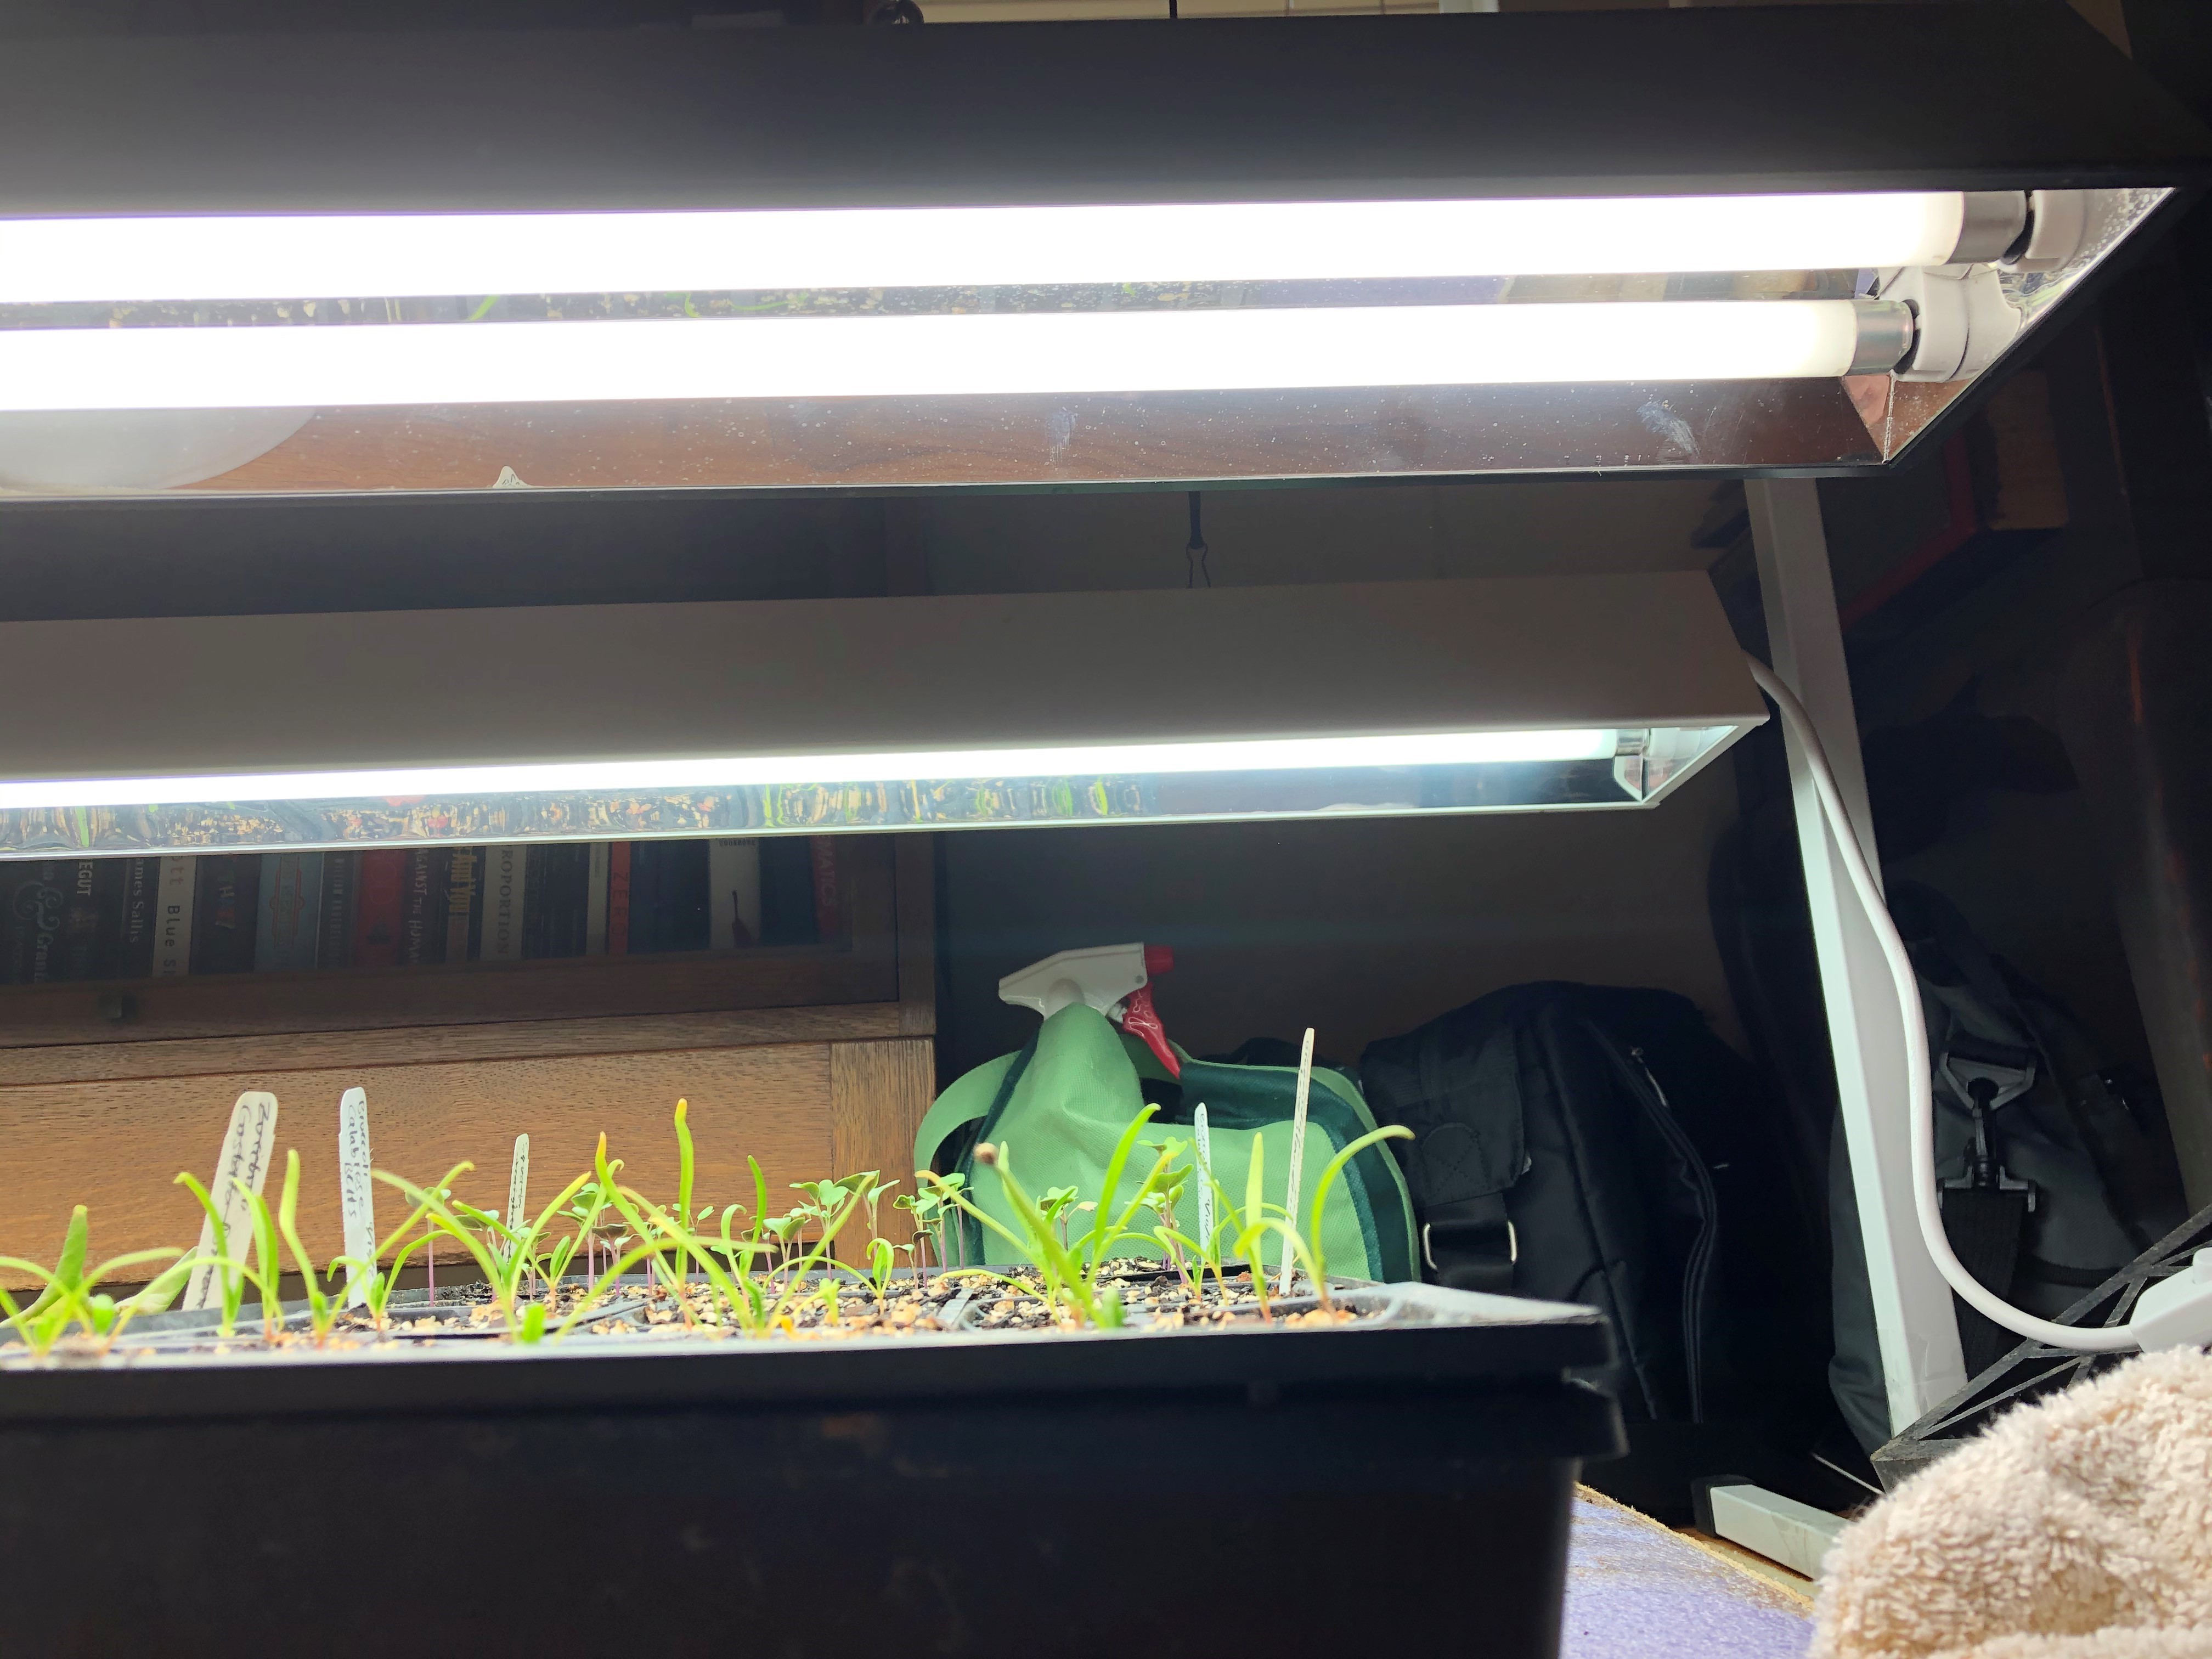
If you use fluorescent grow lights, maintain 2 to 4 inches between the top of the seedlings’ canopy and the fluorescent bulbs. Photo by Molly Jameson.
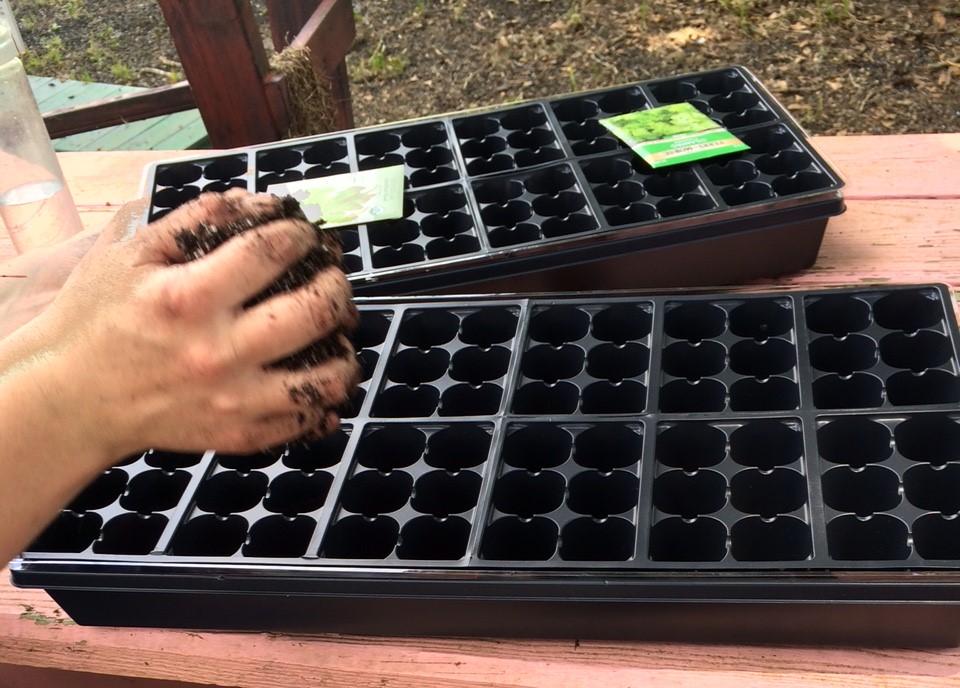
Begin by moistening a starting mix, which is any fine-textured growing medium designed to support seed germination and early seedling development. Fill seed starter cells with this prepared mix, ensuring a level, flat surface.
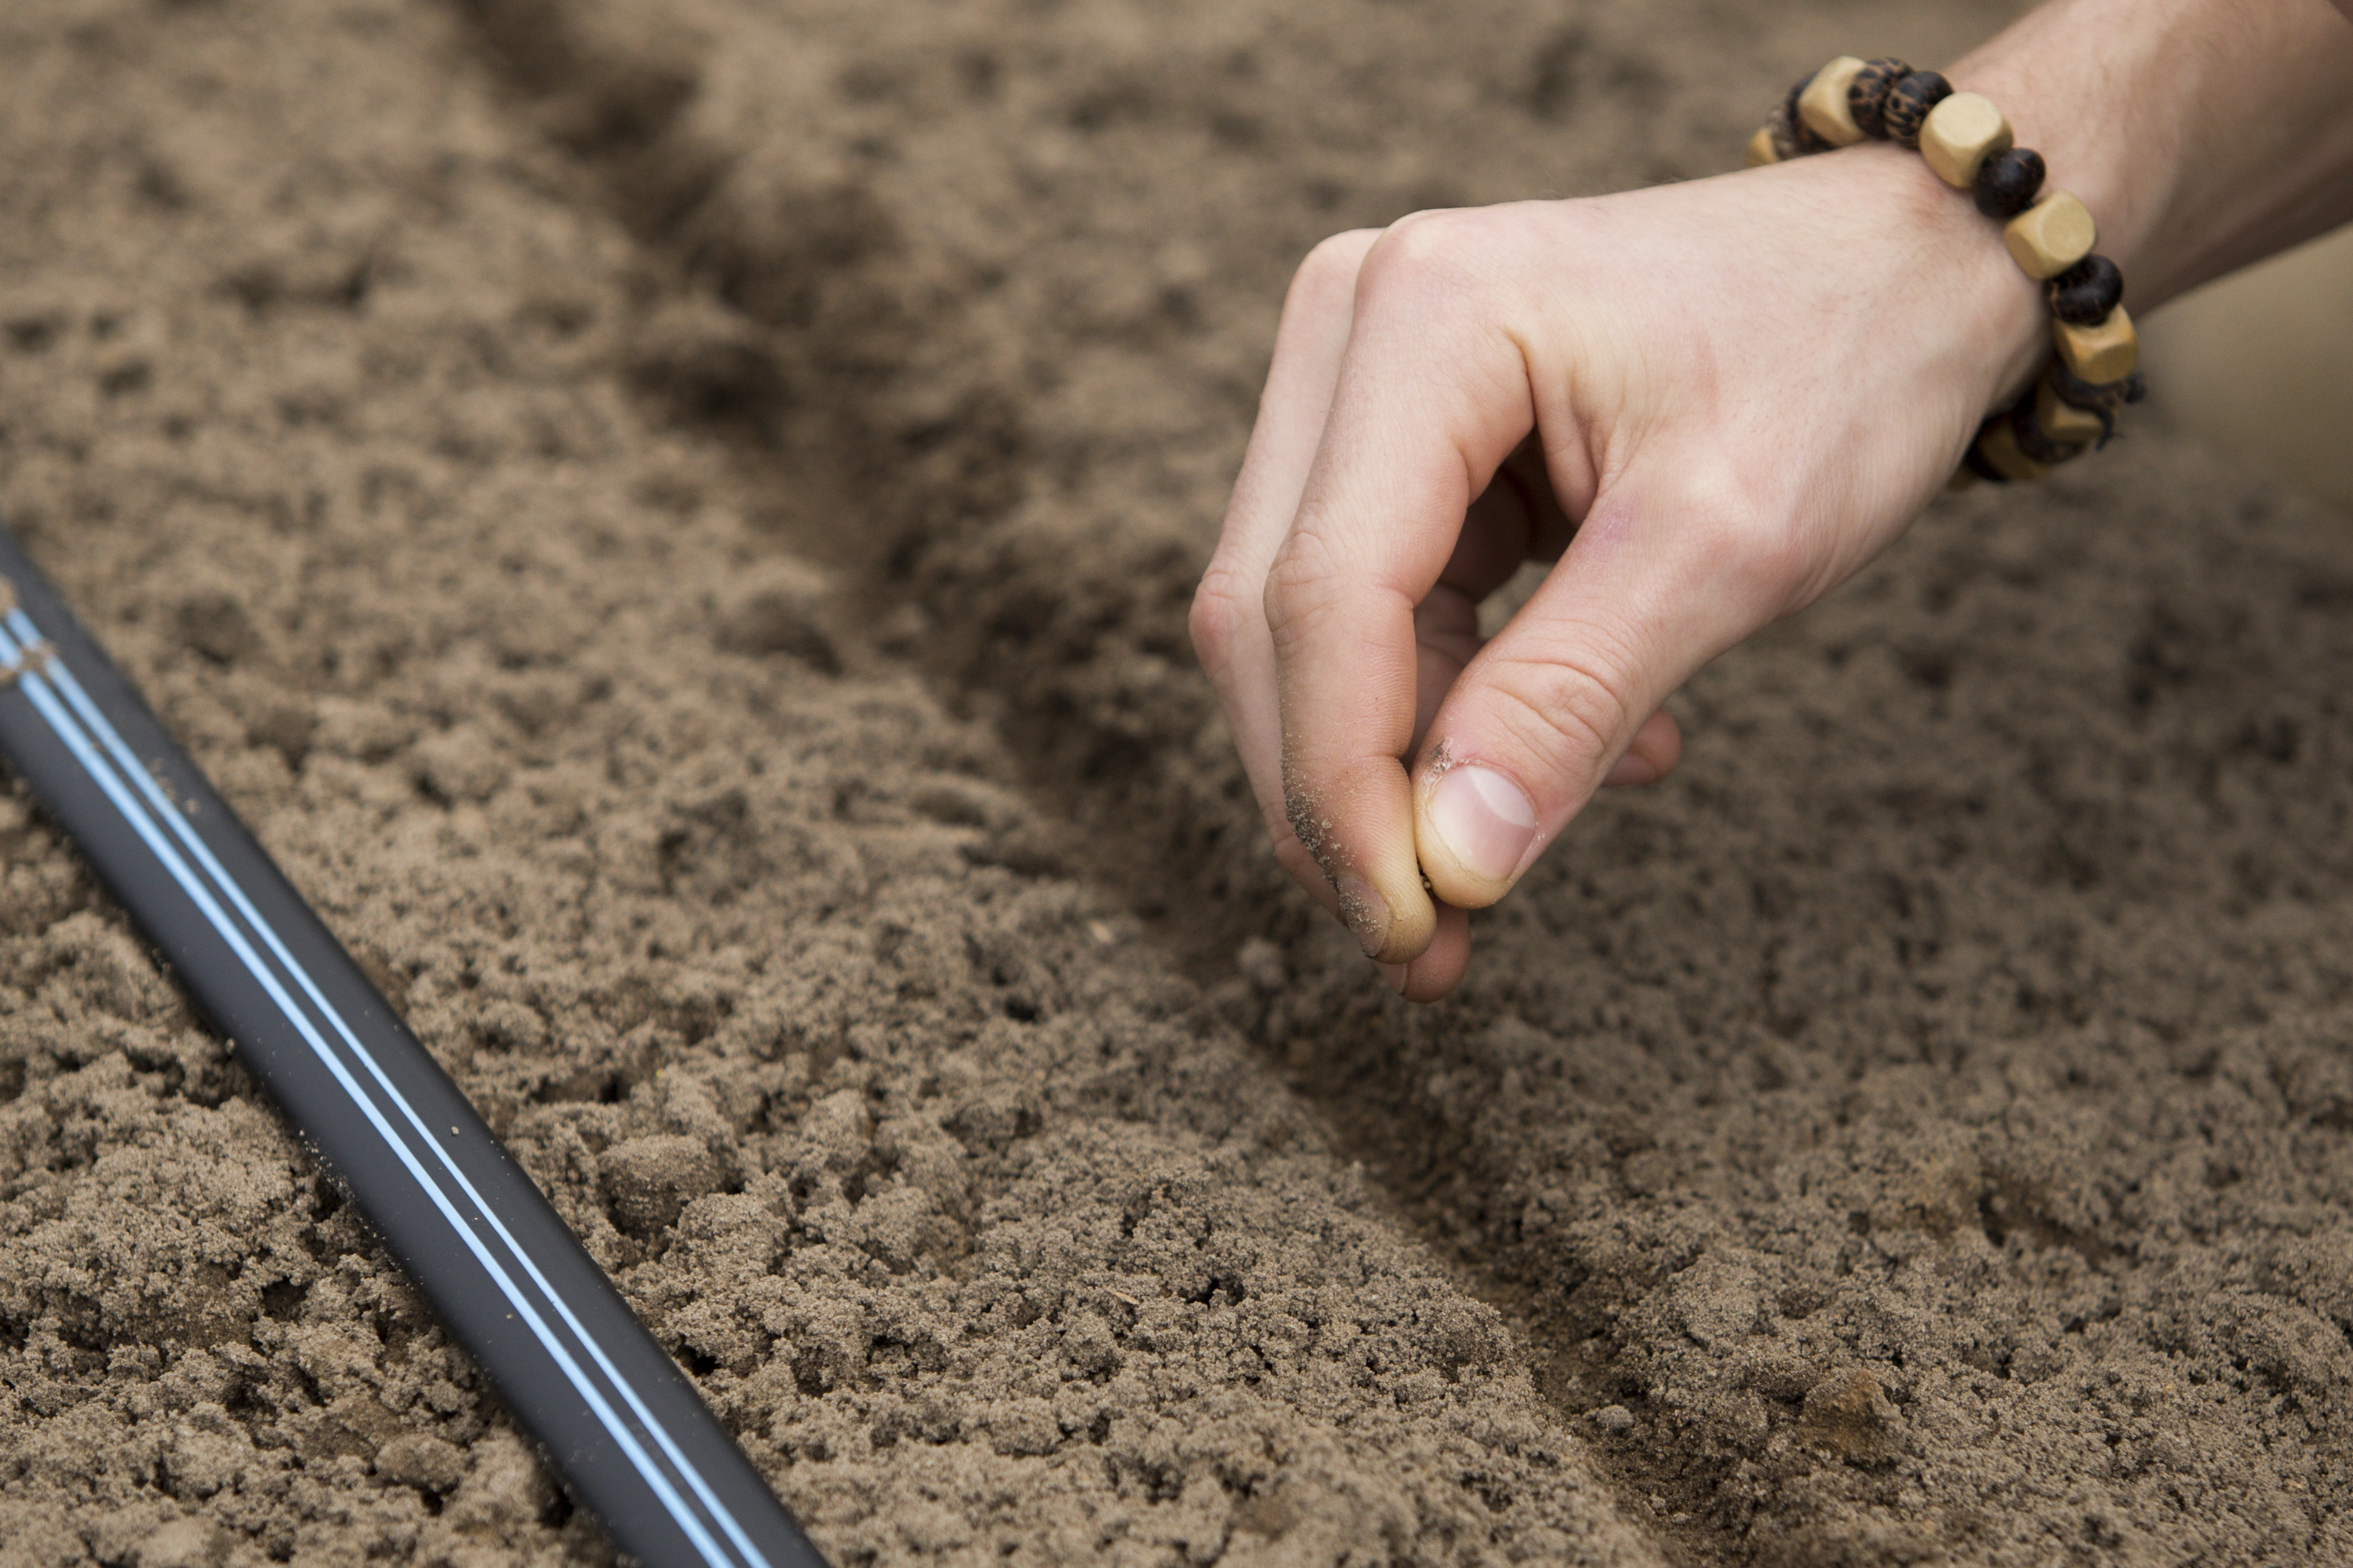
Create shallow indentations (2-3 times the diameter of the seed) in the starting mix in each starter cell using your finger and place 1-2 seeds in each cell. (Remove all but the strongest seedling if multiple seeds germinate in the same cell.)
To ensure even coverage and prevent clumping, lightly sprinkle dry starting mix over the seeds.
Label with the crop name, variety, and date.
Mist the surface with water from a spray bottle, pump sprayer, or a hose spray nozzle. Maintain moisture levels, avoiding waterlogging.
Before the seeds germinate, keep them in a temperature-controlled room or out of direct sunlight. Germination time varies, but typically takes 5 to 14 days, depending on the crop, environmental conditions, and seed quality. (For fall varieties, germination is best between 50-80°F.)
As soon as seedlings emerge, move them to a sunny location with more than 6 hours of direct sunlight. If temperatures exceed 85°F, provide afternoon shade to protect them from intense heat. If using full spectrum grow lights indoors (such as a T5 fluorescent light fixture), place seed starter cells at a distance of 2 to 4 inches between the top of the seedlings’ canopy and the fluorescent bulbs for 14 to 16 hours a day.
Continue to keep the starting mix moist but not waterlogged.
Up-potting into Larger Pots:
Up-potting refers to transplanting a young plant or seedling from a smaller container or pot into a larger one. While up-potting most seedling crop varieties into larger pots before transplanting into the garden is beneficial, you can skip this step and directly transplant seedlings from the starter cells into the garden if conditions are favorable (maximum air temperature is less than 86°F). However, keep in mind that young seedlings may be more vulnerable to rain, wind, insects, and animal disturbances. Up-potting into larger pots with nutrient-rich potting mix offers better protection and more time for root development.
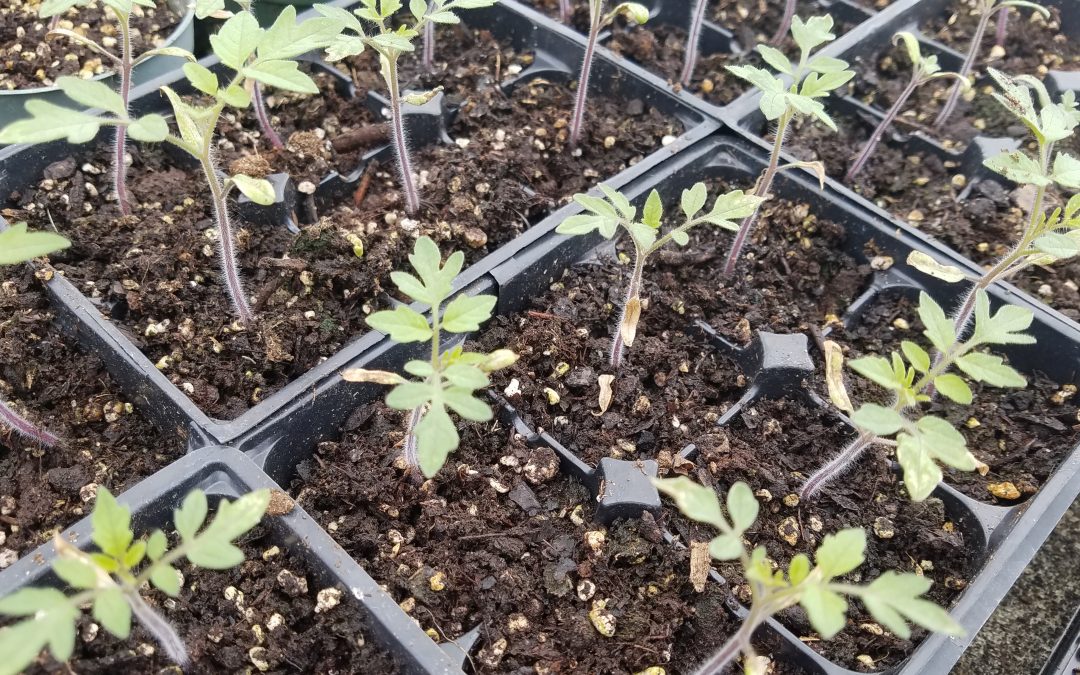
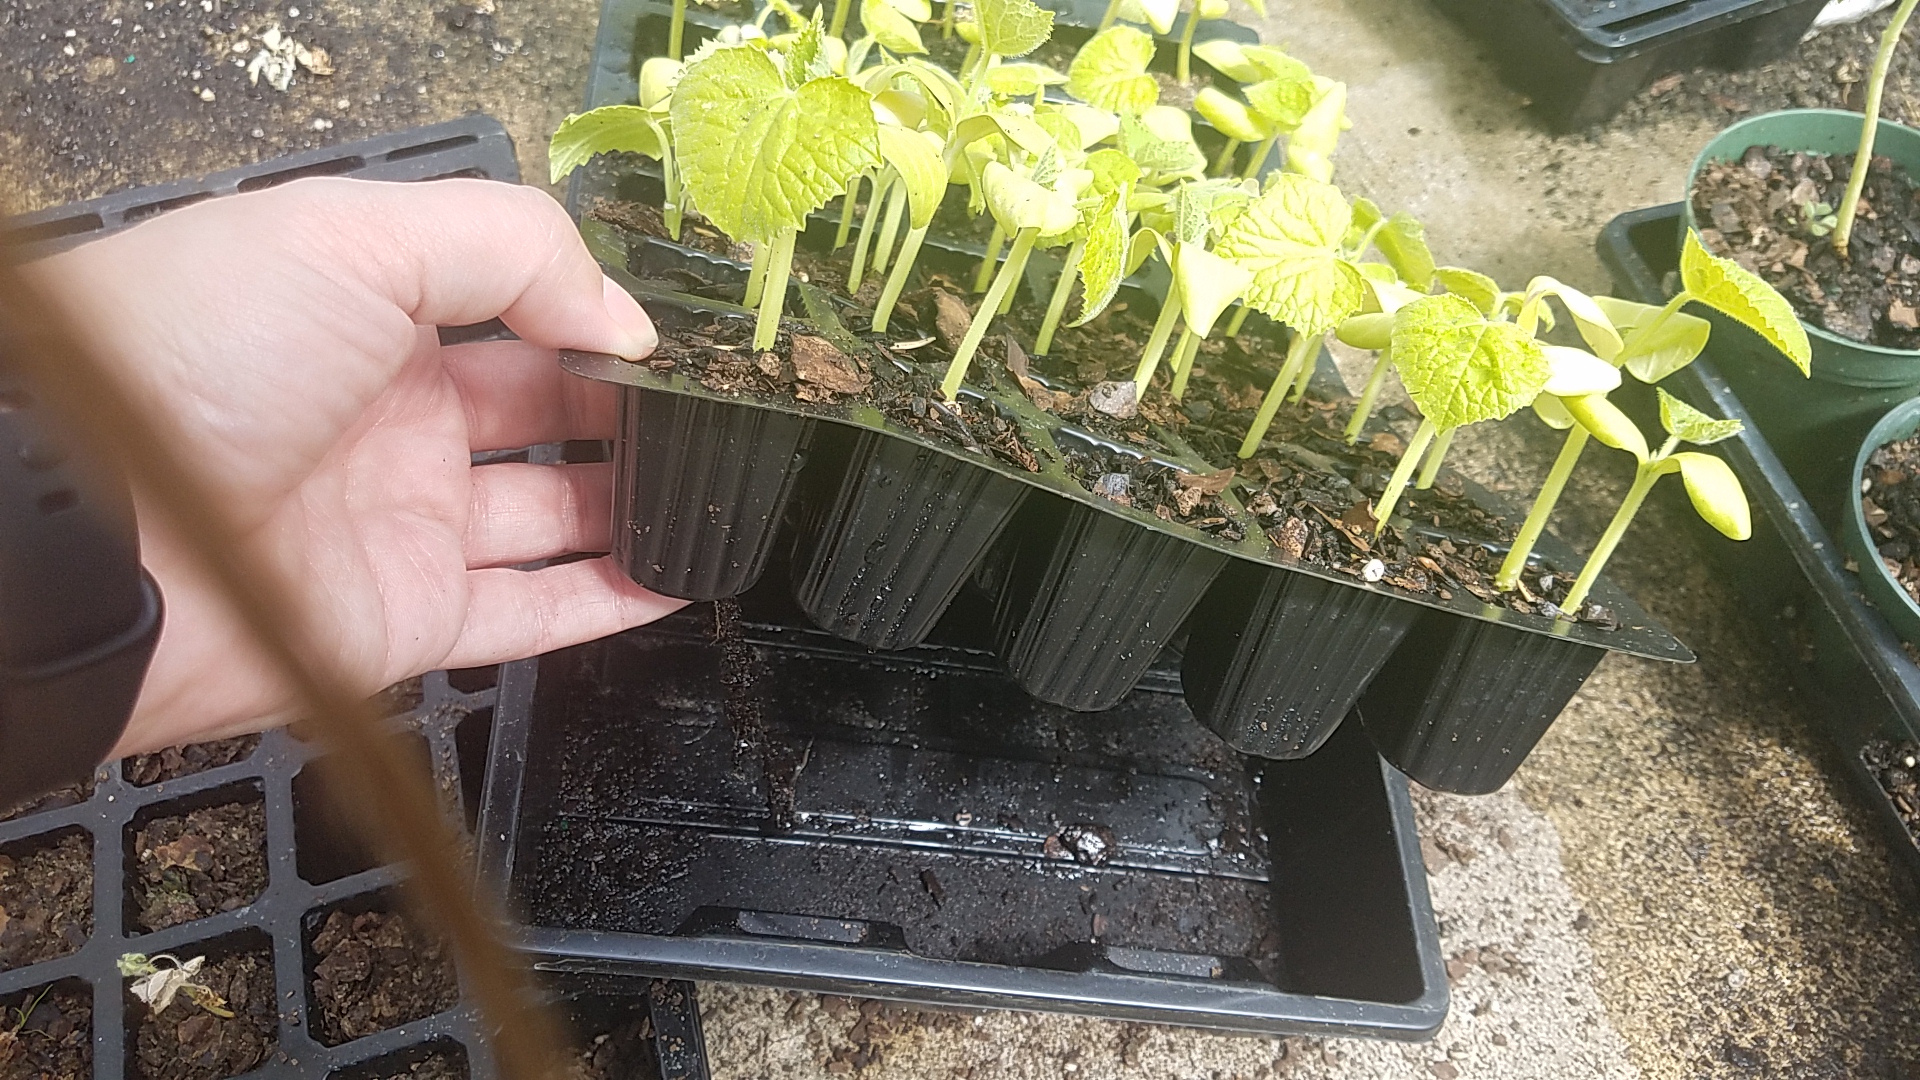
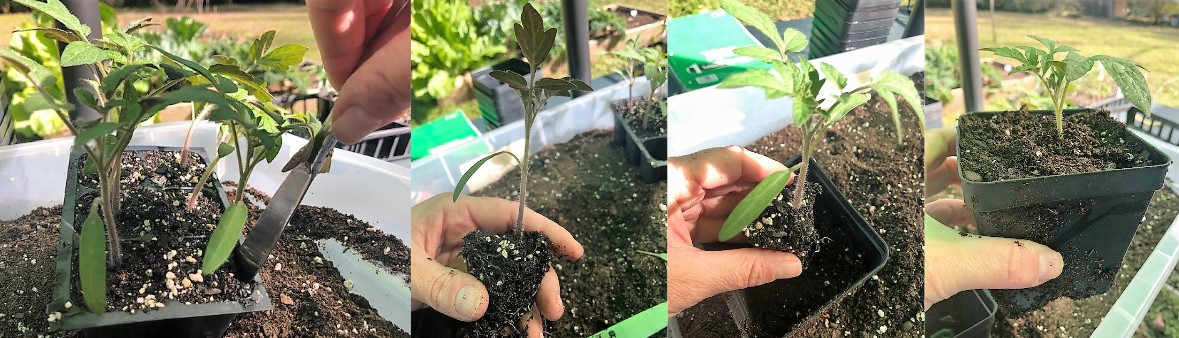
When up-potting, carefully extract each seedling using a butter knife to avoid disturbing the roots. Photos by Molly Jameson.
When seedlings develop “true leaves” (the second set of leaves after the initial seedling leaves), it is time to transfer them into larger pots (2″-4″ wide).
To start, fill the larger pots about halfway with pre-moistened, nutrient-rich potting mix designed for vegetables, ensuring good drainage.
After thoroughly watering the small seedlings, carefully extract each from the starter cells, using a butter knife for gentle and precise removal to avoid disturbing the roots.
Being careful not to disturb the roots, place each seedling gently into their halfway-filled pot and add more potting mix until the seedling is secure, standing upright, with all roots covered. There should only be one seedling per pot.
Keep seedlings in a sunny location with more than 6 hours of direct sunlight. If temperatures exceed 85°F, provide afternoon shade to protect them from intense heat. If using full spectrum grow lights indoors (such as a T5 fluorescent light fixture), place seedlings at a distance of 4 to 6 inches between the top of the seedlings’ canopy and the fluorescent bulbs for 12 to 14 hours a day.
Continue to keep the potting soil moist but not waterlogged.
Transplanting into the Garden:
When the time is right, dig a small hole in the garden bed and place the plant, along with the potting mix, in the hole, following the crop-specific spacing requirements. Photo by Molly Jameson.
Once the plants have developed strong roots and reach about the height of their pots, they are ready for transplantation into the garden.
If the plants have been indoors under grow lights, allow them to “harden-off” by gradually exposing them to outdoor conditions for a week. This helps them adjust to wind, direct sunlight, and varying temperatures.
Prepare the garden bed with compost and other soil amendments.
Water the plants thoroughly before carefully removing them from their pots, ensuring minimal disruption to the roots.
For each plant, dig a small hole in the garden bed and place the plant, along with the potting mix, in the hole, following the crop-specific spacing requirements (see Table 1 in the UF/IFAS publication Florida Vegetable Gardening Guide).
Cover the roots and maintain consistent soil moisture, avoiding waterlogging.
In summary, mastering the art of indirect seeding and planting fall vegetables can greatly improve your chance of a successful harvest. From carefully sowing your seeds in starter cells to up-potting and ultimately transplanting into your garden, each step is a vital component of the process. So, roll up your sleeves, get your hands dirty, and witness your fall garden flourish. Happy gardening!