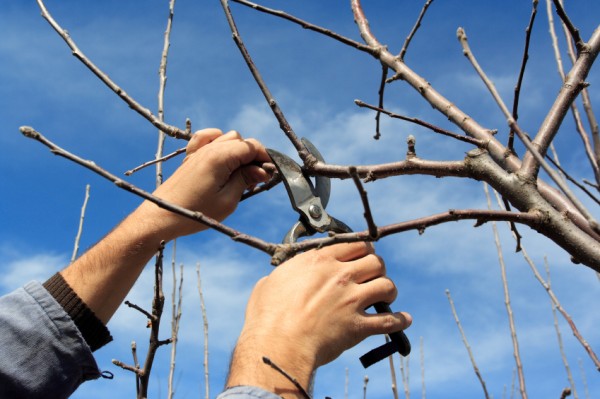
Pro Hort Series: Tree Pruning
Thursday, November 3, 8am-12pm. ProHort Series: Tree Pruning. Escambia County Central
Office Complex 3363 West Park Place Pensacola, FL 32505

Thursday, November 3, 8am-12pm. ProHort Series: Tree Pruning. Escambia County Central
Office Complex 3363 West Park Place Pensacola, FL 32505
 Though the calendar says December, the weather in Northwest Florida fluctuates between winter and spring temperatures. The nice days are wonderful opportunities to accomplish many of those outside landscape chores in preparation for spring. But, it is also a good time to start planning for next month’s colder temperatures. Since we don’t experience frozen soil, winter is the best time to transplant hardy trees and shrubs. Deciduous trees establish root systems more quickly while dormant; versus installing them in the spring with all their tender new leaves. Here are a few suggestions for tasks that can be performed this month:
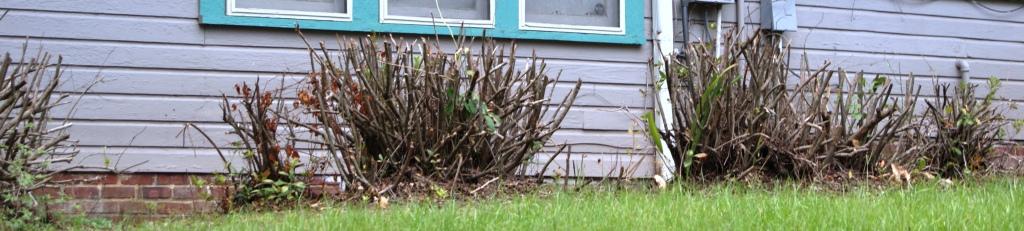
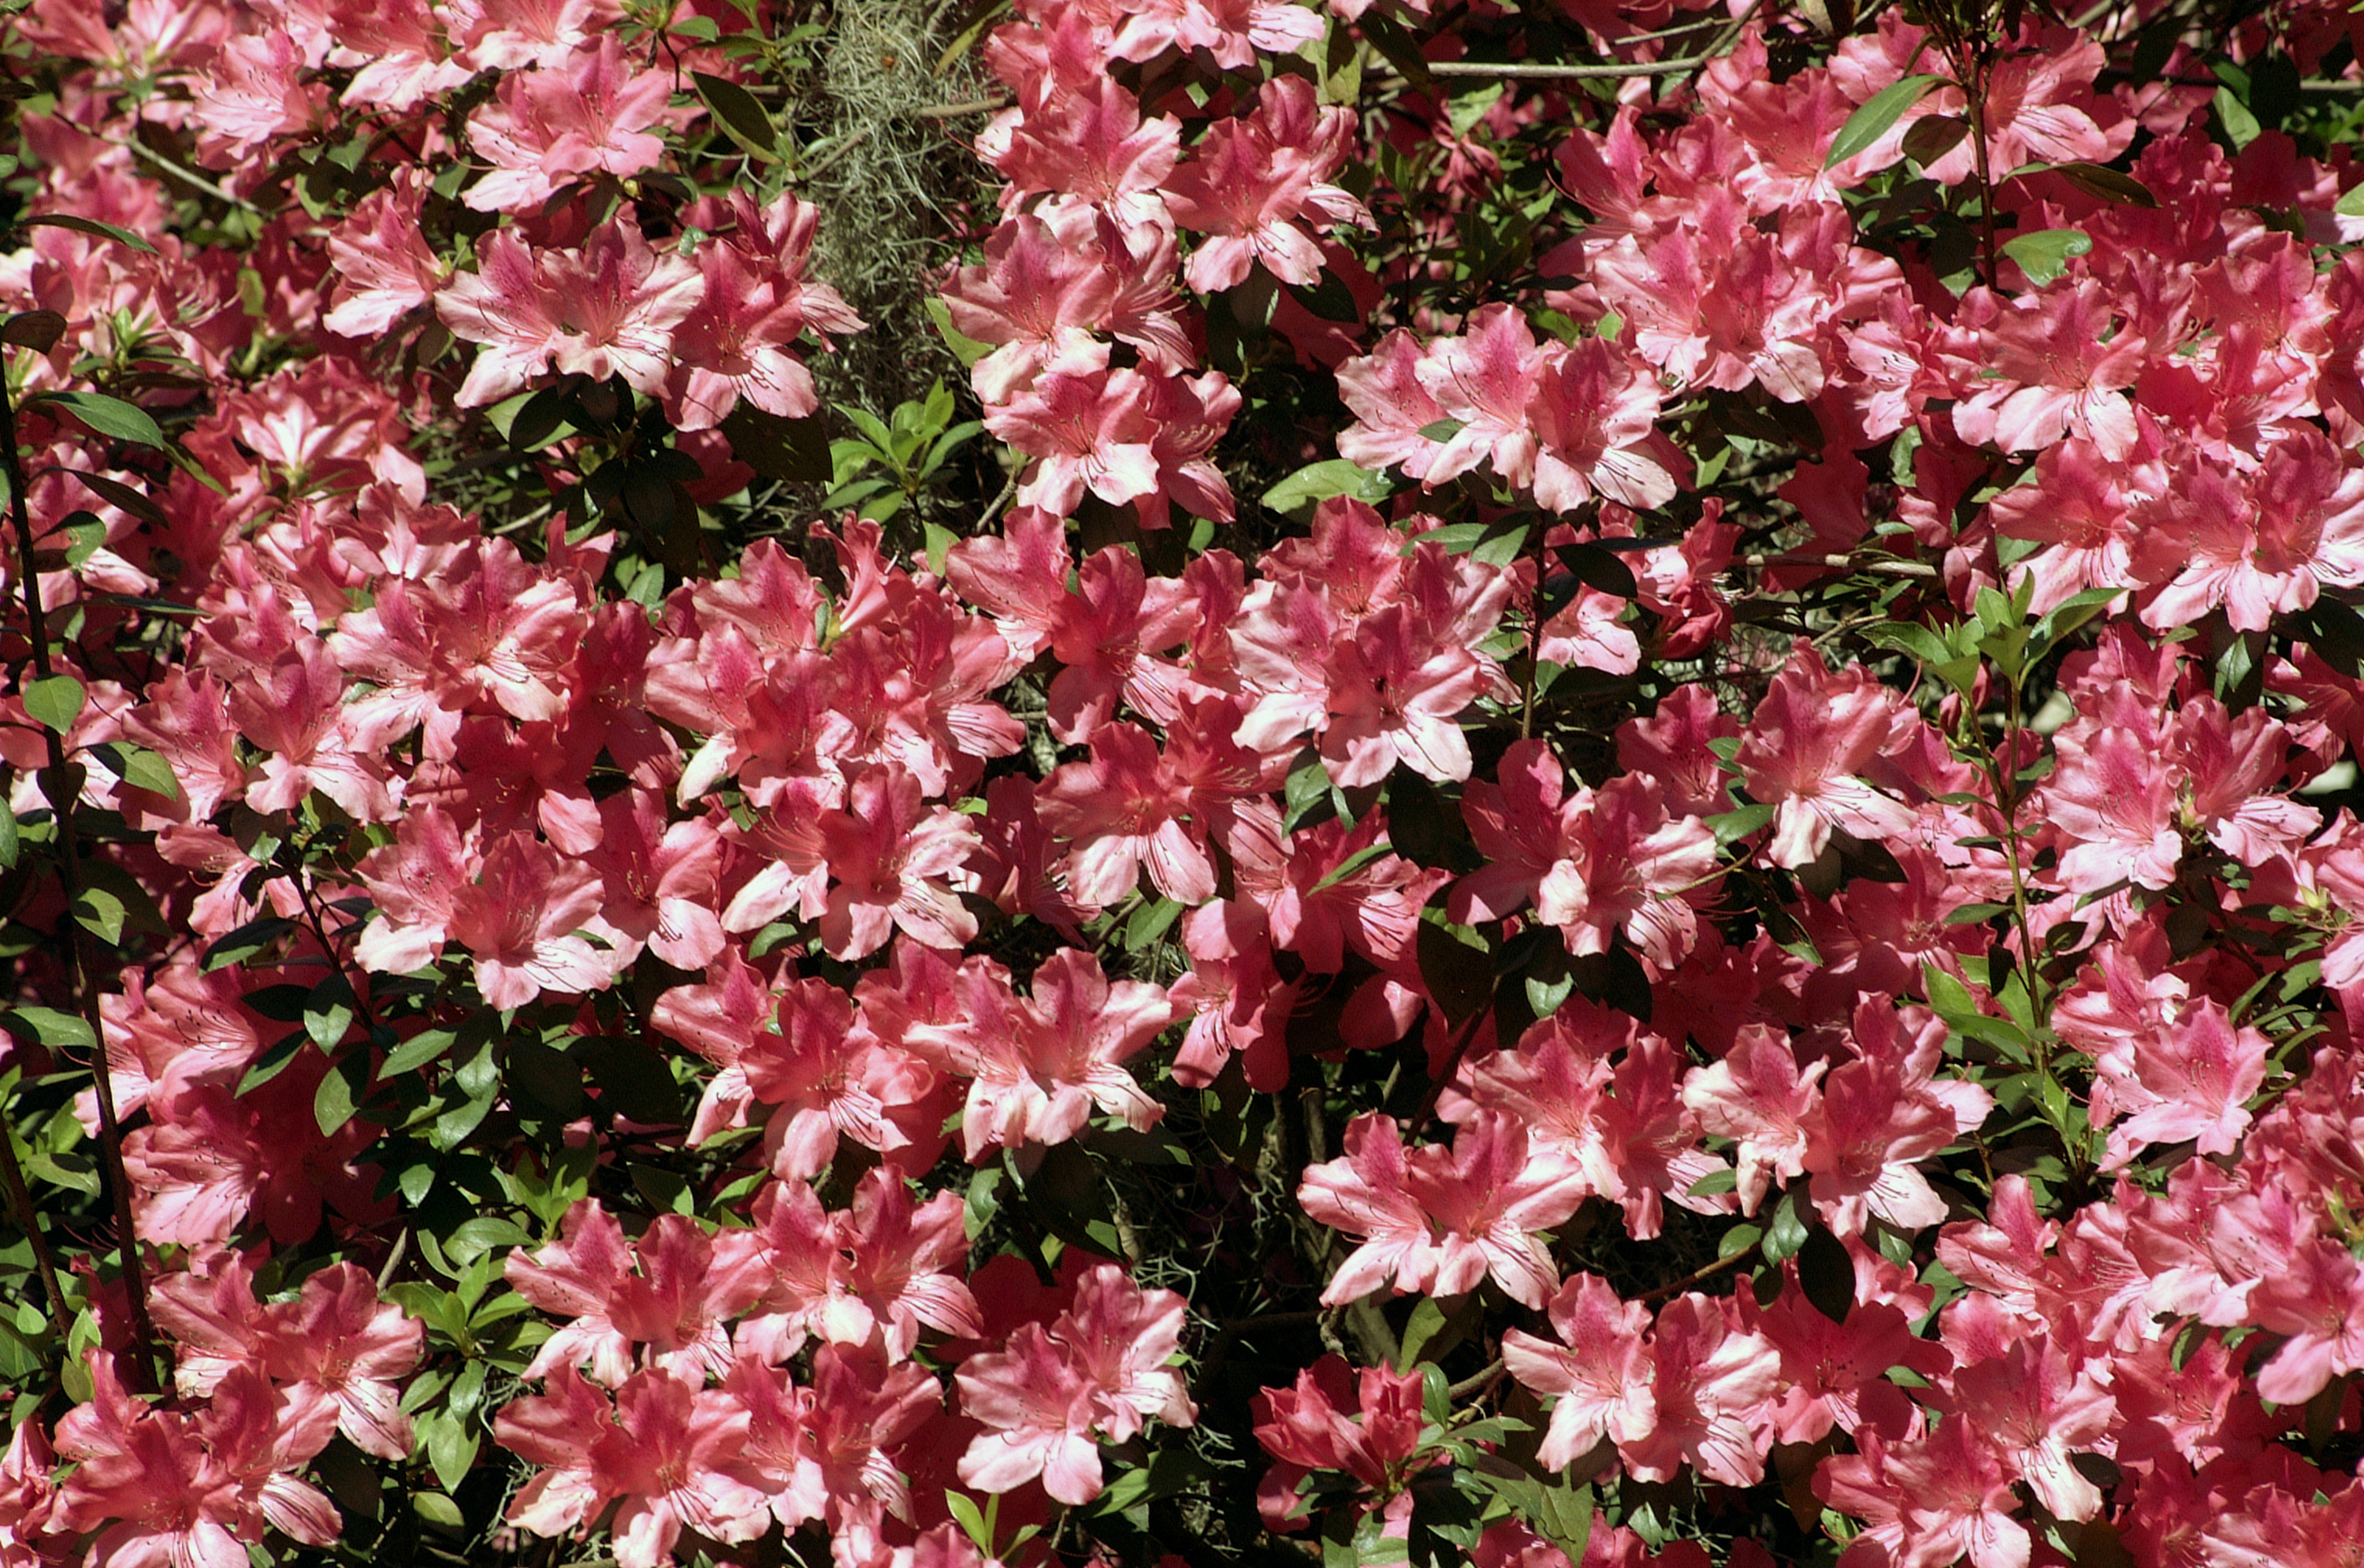
Azaleas pruned late in the fall will have little or no bloom in the spring. Image Credit: Matthew Orwat
As fall approaches, our spring blooming shrubs such as gardenia, spirea and azalea begin to look unkempt and overgrown. That means it is time to give them a severe pruning to get them ready for winter, right? Not so fast, take a minute to understand the growth habit of each species before diving in with the pruning shears.
Many do not understand that annual spring azalea bloom could be sacrificed completely by pruning spring blooming azaleas at the wrong time.
Pruning traditional azaleas in the fall will result in a loss of spring bloom the following year because most bloom on previous years’ wood. This means that they flower on growth put on throughout the previous growing season. If a gardener removes the previous season’s new growth, they are removing the blooms as well.
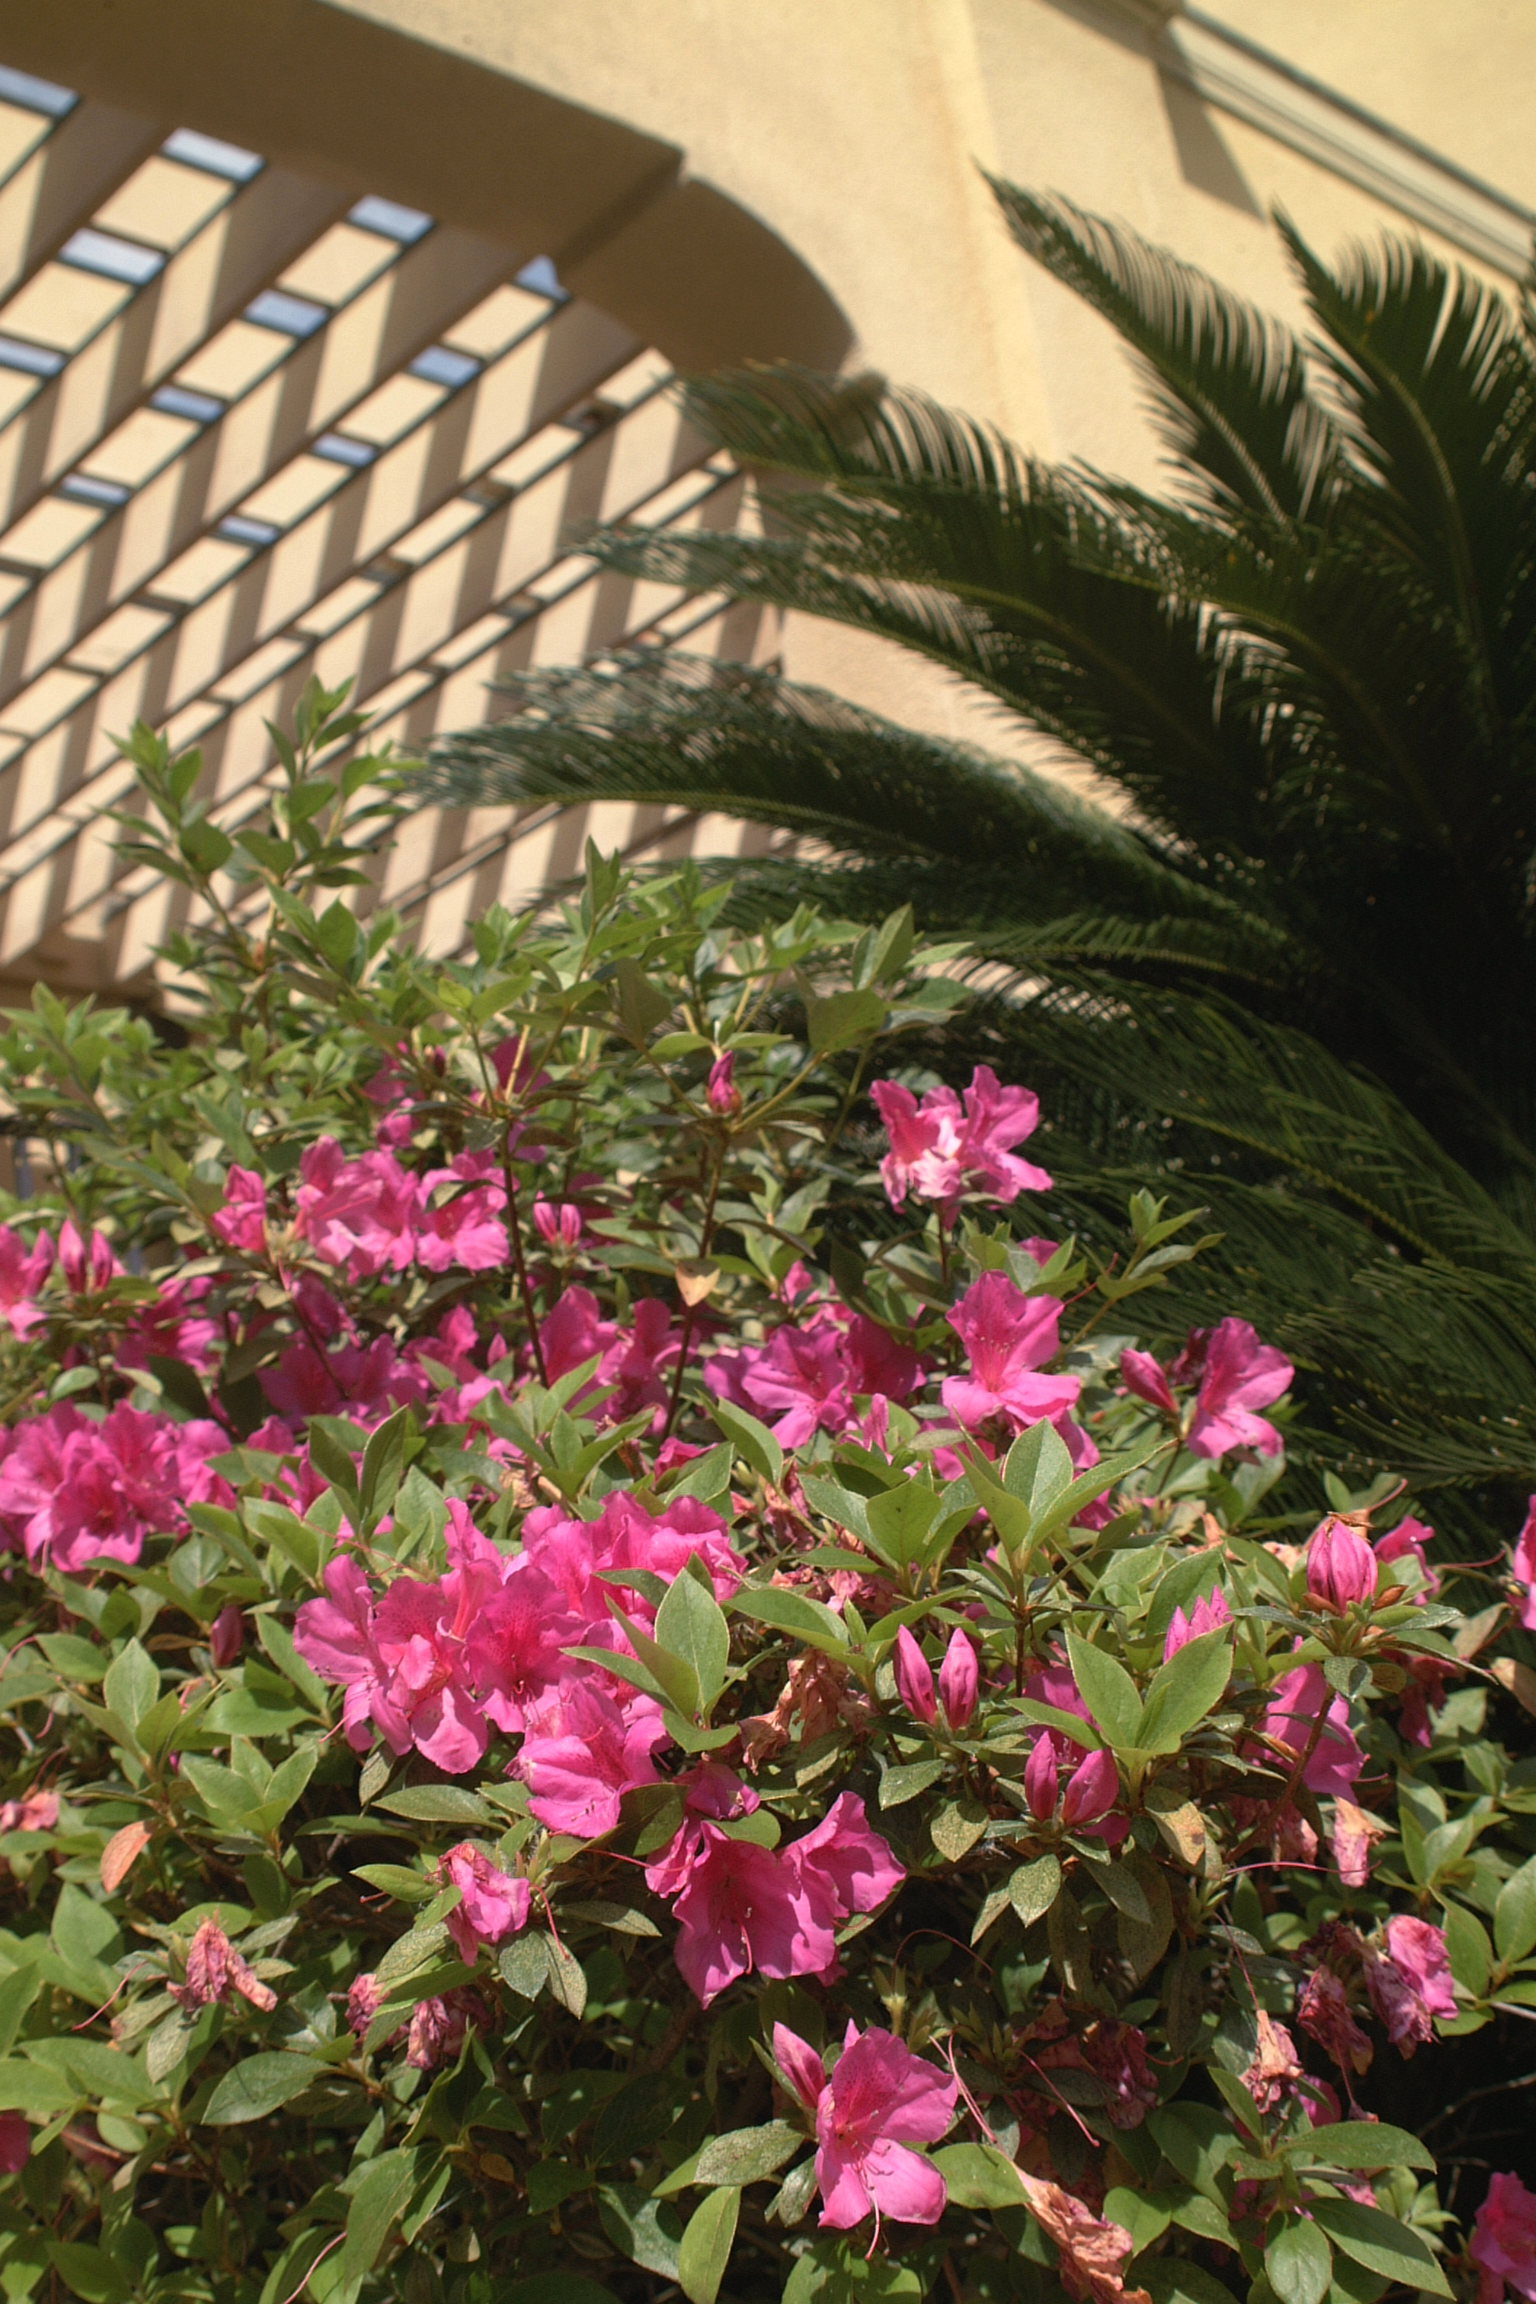
So, when is the proper time to prune azaleas? The ideal time to prune is directly after the spring bloom. This will give the plant enough time to generate abundant new growth, thus maximizing bloom next spring.
Even the developers of the Encore Azalea, a new repeat blooming type, recommend pruning as soon after the spring bloom as possible to maximize bloom set for the following year.
For more information on pruning azaleas or on general azalea culture, please read the UF / IFAS publication Azaleas at a Glance or check out the Pruning Azalea page on Gardening in a Minute.
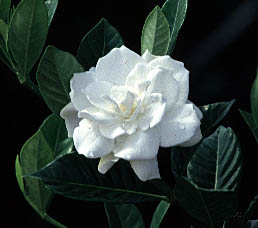
Gardenia, Image Credit Dan Culbert.
Gardenias don’t need much pruning except to remove any dead or non-productive wood, to help them remain bushy, and to remain the same size as other plants in the landscape. Choose a cultivar that will mimic the size of other shrubs, not one too large for the area. Pruning should be done as soon after the summer bloom as possible. Pruning after the beginning of fall will reduce the next year’s bloom production. Know your cultivar. Some cultivars of gardenia flower on new wood as well as old, while some flower on old wood only.
Spiraea:
Regarding spiraea, prune after the bloom as needed. The closer to the late summer or autumn, the greater negative effect pruning will have on bloom quality since spirea set their bloom in early autumn.
I hope this article prevented a few pruning disasters as well as started a thinking process for the act of pruning your landscape plants.
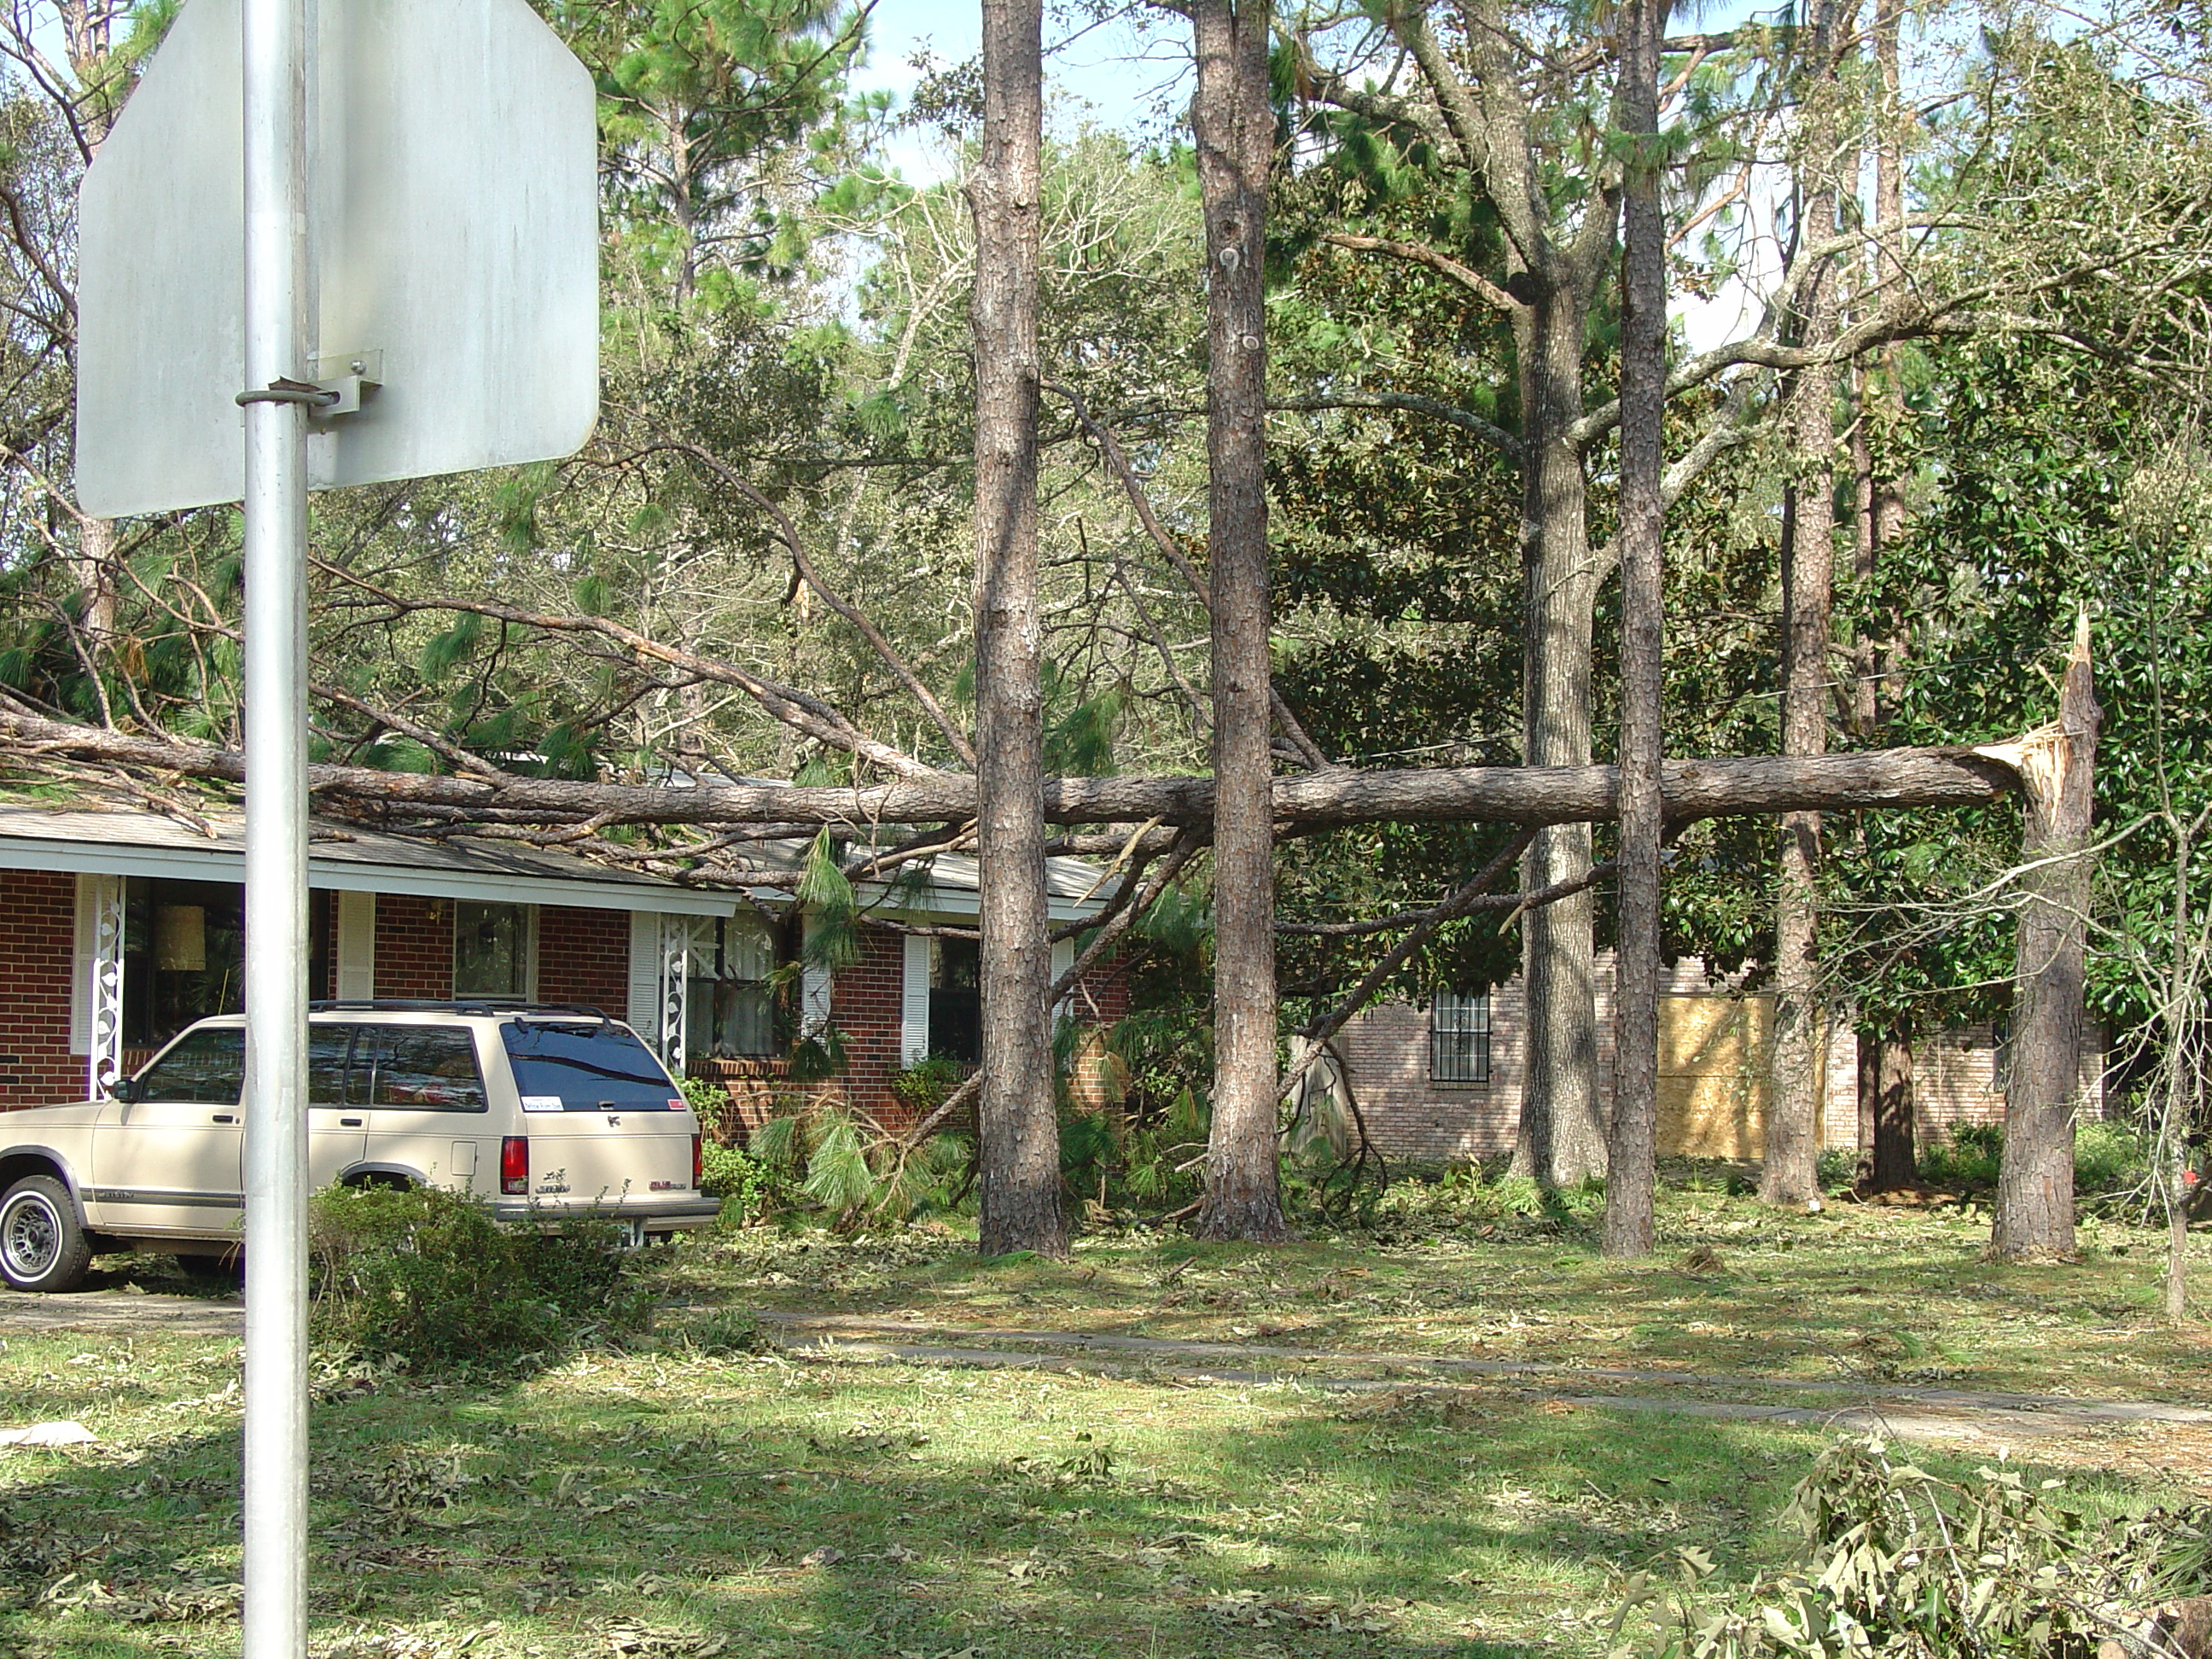
Tropical storm season officially ends November 30. I’m not predicting a storm but even with our average winds during a typical thunderstorm, you’d be wise to prepare.
Falling trees and flying landscape debris during a storm can cause damage. Evaluate your landscape for potential tree hazards. Pruning or removing trees once a hurricane watch has been announced is risky and tree trimming debris left along the street is hazardous.
Photo credit: Larry Williams, UF/IFAS.
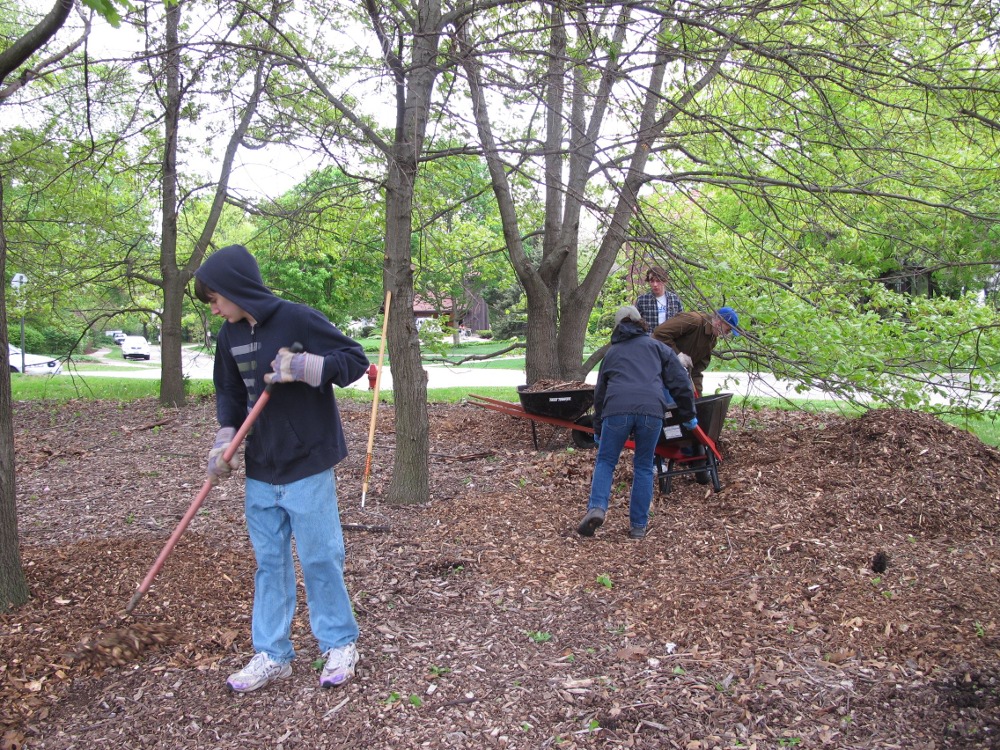
Now is a good time to remove dead or dying trees and to prune decayed or dead branches Also inspect trees for signs of disease or insect infestation that may further weaken them.
Professional help sometimes is your best option when dealing with larger jobs. Property damage could be reduced by having a professional arborist evaluate unhealthy, injured or questionable trees to assess risk and treat problems. Hiring a certified arborist can be a worthwhile investment. To find a certified arborist in your area contact the International Society of Arboriculture (ISA) at 217-355-9411 or at www.isa-arbor.com. You also may contact the Florida Chapter of ISA at 941-342-0153 or at www.floridaisa.org.
Consider removing trees that have low wind resistance, are at the end of their life span or that have potential to endanger lives or property. For example, laurel oaks are relatively short-lived, usually showing considerable dieback as they reach 50 years. They tend to lose their strength and stability faster than most other oaks and have low wind resistance. Consider removing a big, old laurel oak within falling distance of your home before the next storm.
Tree species with the lowest wind resistance include pecan, tulip poplar, cherry laurel, Bradford pear, southern red oak, laurel oak, water oak, Chinese tallow, Chinese elm, southern red cedar, Leyland cypress, sand pine and spruce pine.
Pine species vary in their wind resistance, usually with longleaf and slash pines showing better survival rates than loblolly and sand pine. However, when pines become large, they may cause damage if located close to homes or other valuable structures.
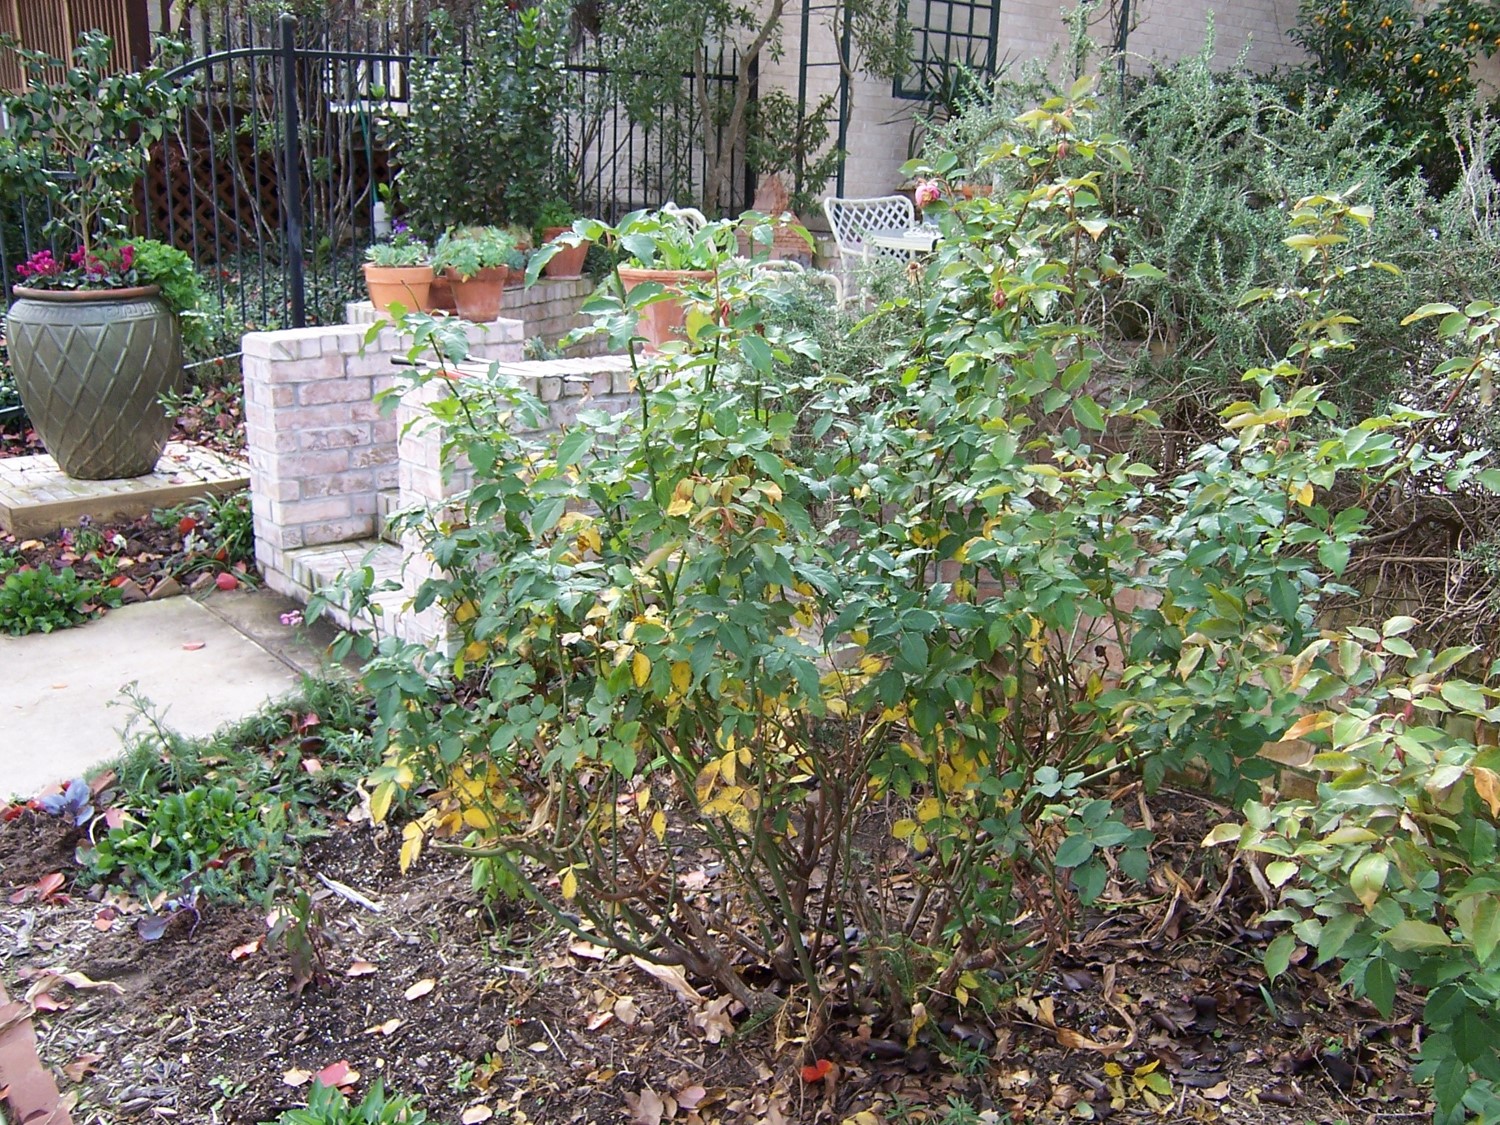
Belinda’s Dream Rose – Before pruning, with dense thick growth. Time to open this plant up !
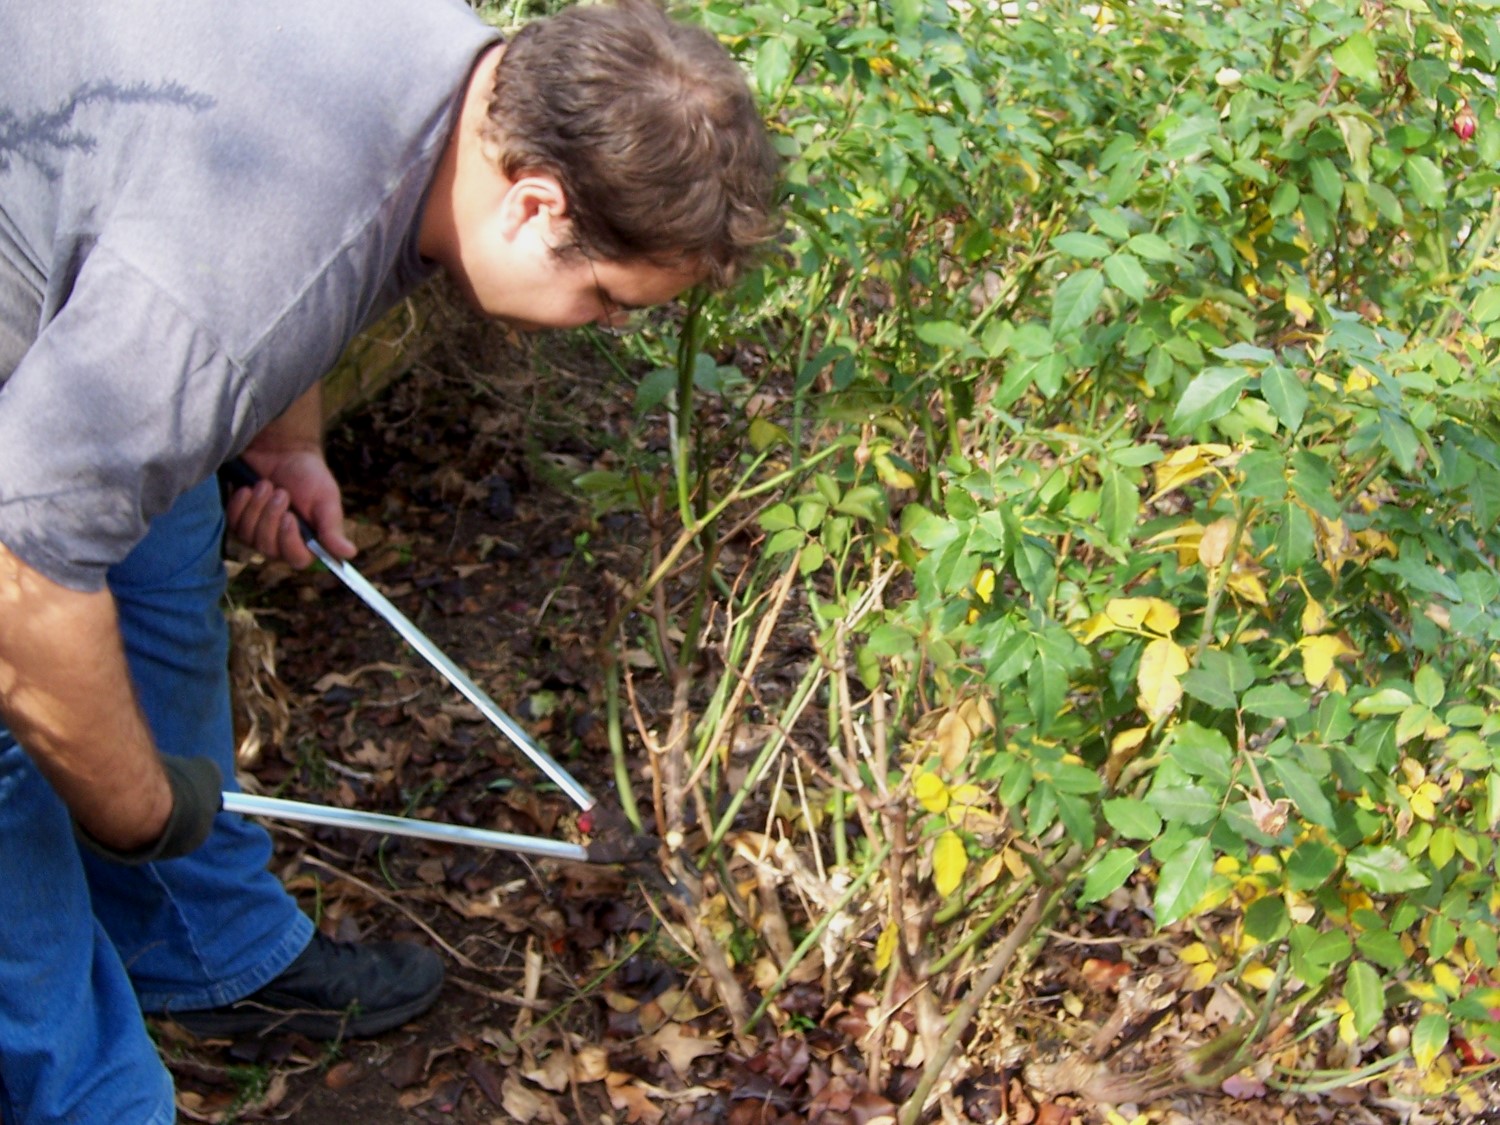
Start pruning by removing dead and diseased wood. Next remove crossing or rubbing branches, unproductive old growth and weak spindly growth
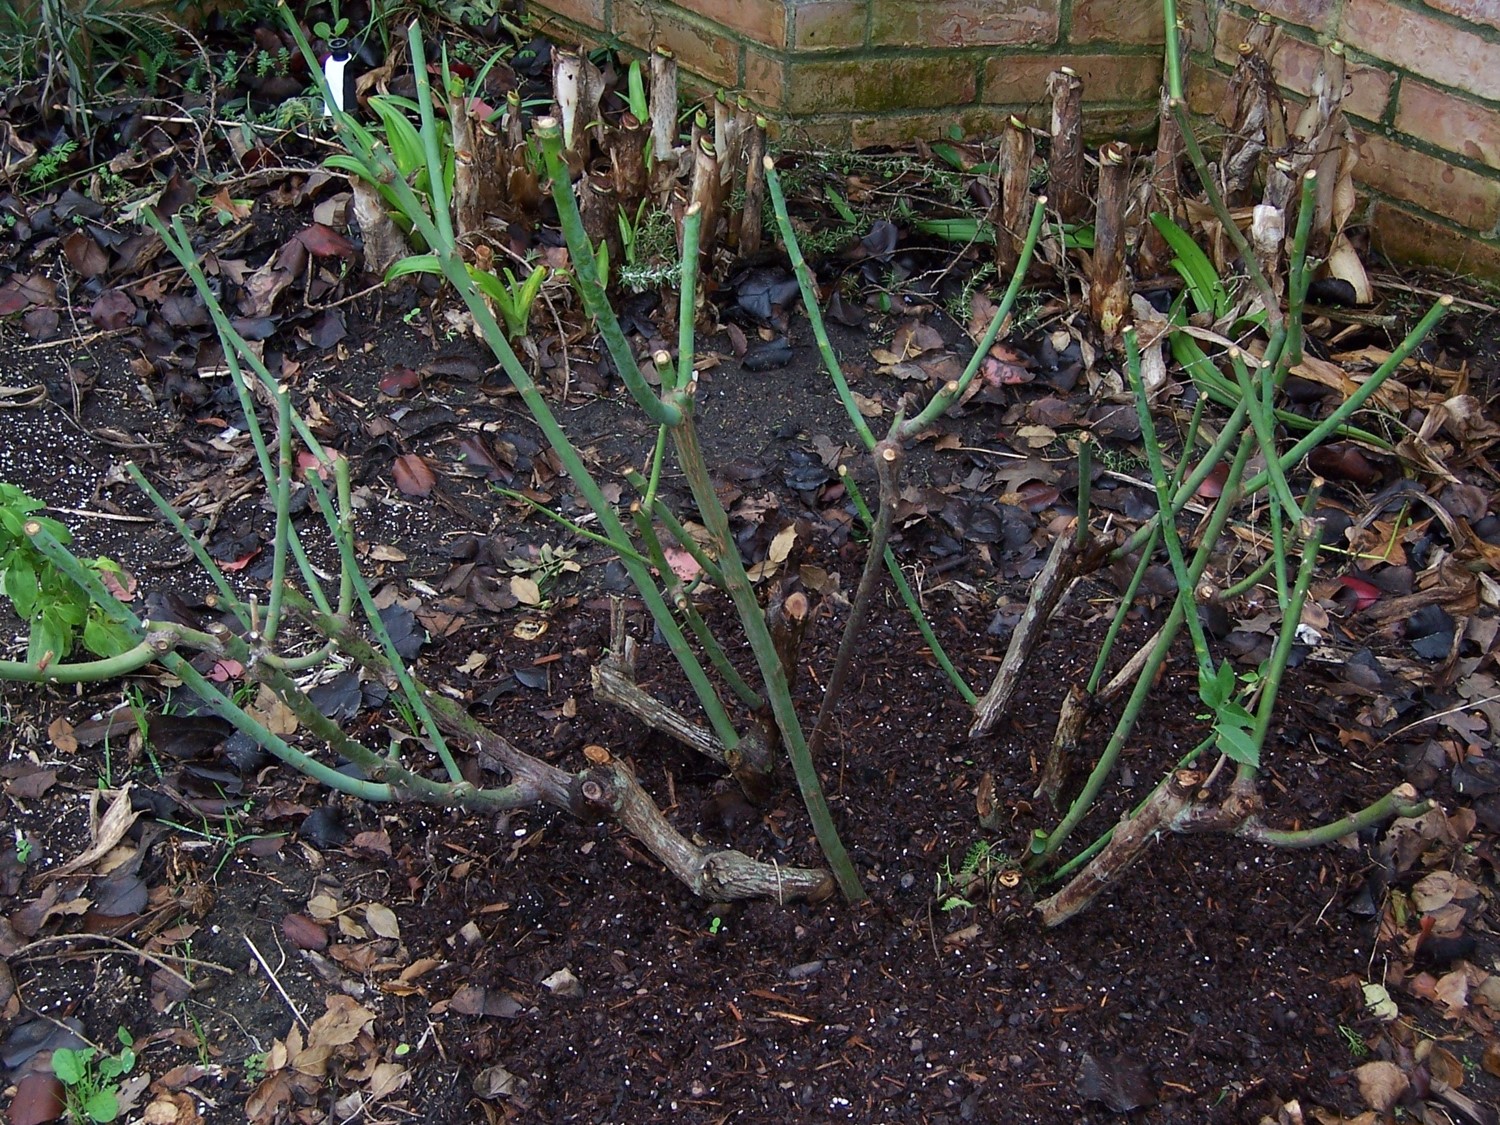
Shorten remaining growth by about half and look ! Your rose is pruned and ready to bear large flowers on long stems for another season !

UF/IFAS Photo by Thomas Wright
Soon beautiful blooms will come forth from one of the great landscape shrubs that characterize the South. Blooms of many colors will be produced from the azalea. It will be a magnificent show as it is every spring. Annual pruning of azaleas must be very carefully timed to maximize bloom potential. Too early and this years blooms may be cut off, but too late and next years buds may be removed, which will become next years blooms. Therefore, pruning must be timed for the sweet spot on the calendar!
UF/IFAS Photo by Sally Lanigan
Azalea blooms are located on last years growth or one year old wood. This makes it very important to wait to prune until after the blooms have occurred in order to capture the colorful spring bloom that azalea gardeners prize. Though many get “Spring Fever” this time of year and cut everything in sight, restraint is in order to prevent bloom loss and not only get green foliage from this years’ azaleas.
UF/IFAS Photo by Sally Lanigan
Also it is very important to remember that since blooms are formed on one year old wood, azaleas must not pruned too late in the growing season. If pruned too late the plant will not have time to set flower buds on the new growth before fall begins. A good rule of thumb is to never prune an azalea after July 4th.
So when should our wonderful azaleas be pruned?
Never before flowering in the late winter and early spring
Please see more information on the care of azaleas in the UF/IFAS publication, Azaleas at a Glance.