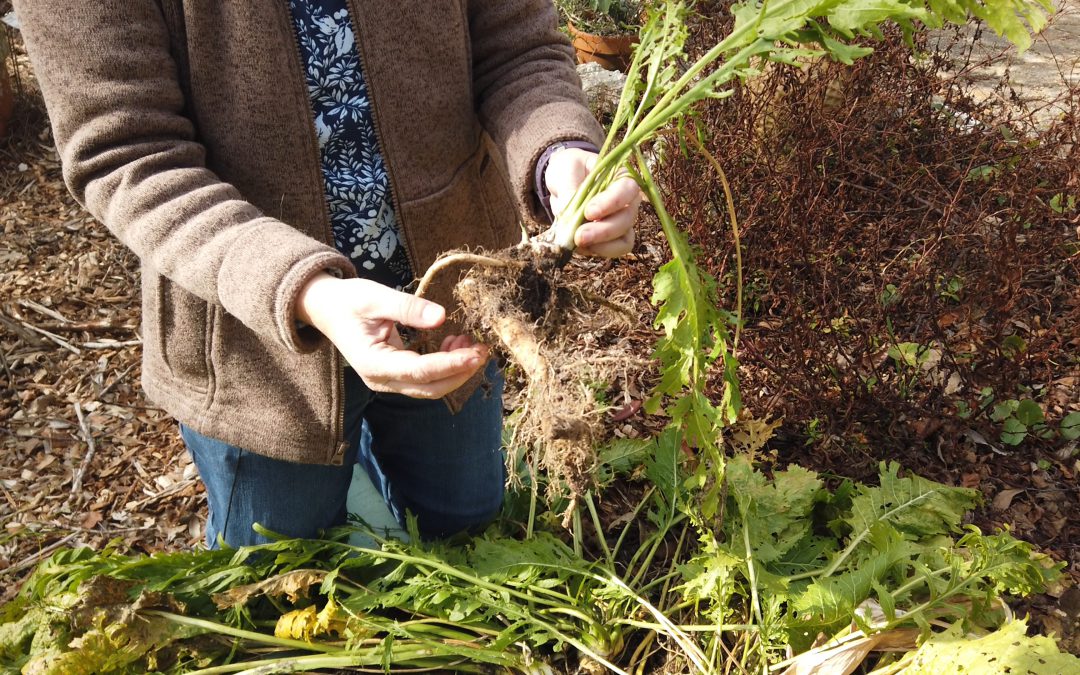
Grow your own horseradish in your home garden. You can then harvest roots to make a delicious, spicy sauce for your favorite dish. Learn outdoor care and kitchen prep with UF IFAS Extension Escambia County. #gardentotable #homegrown #homegardening
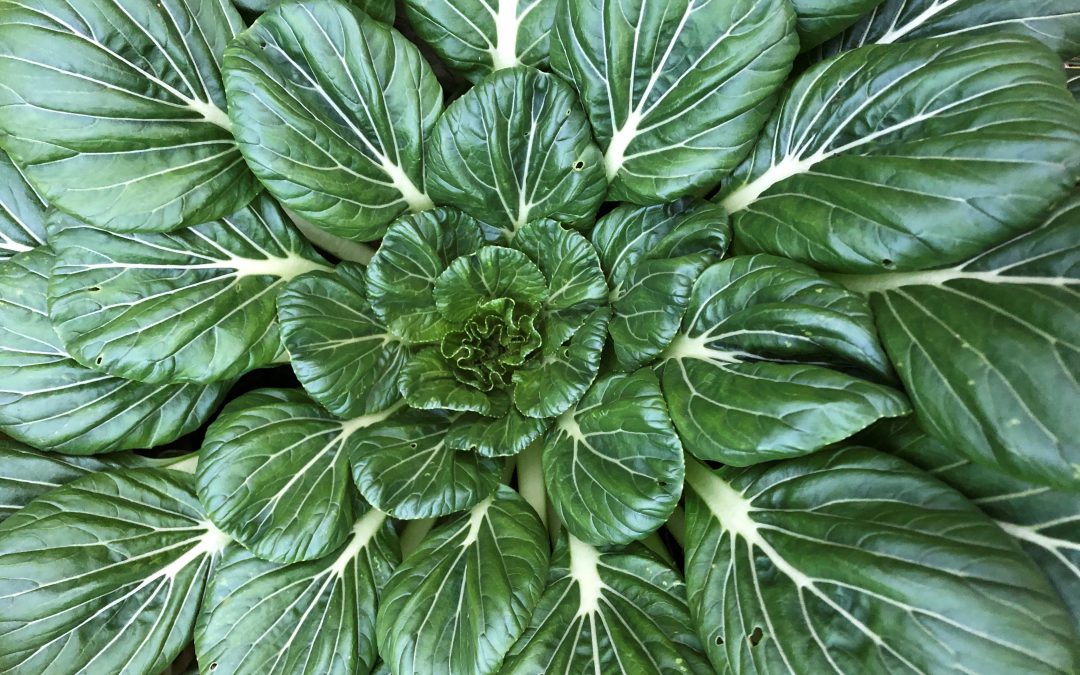
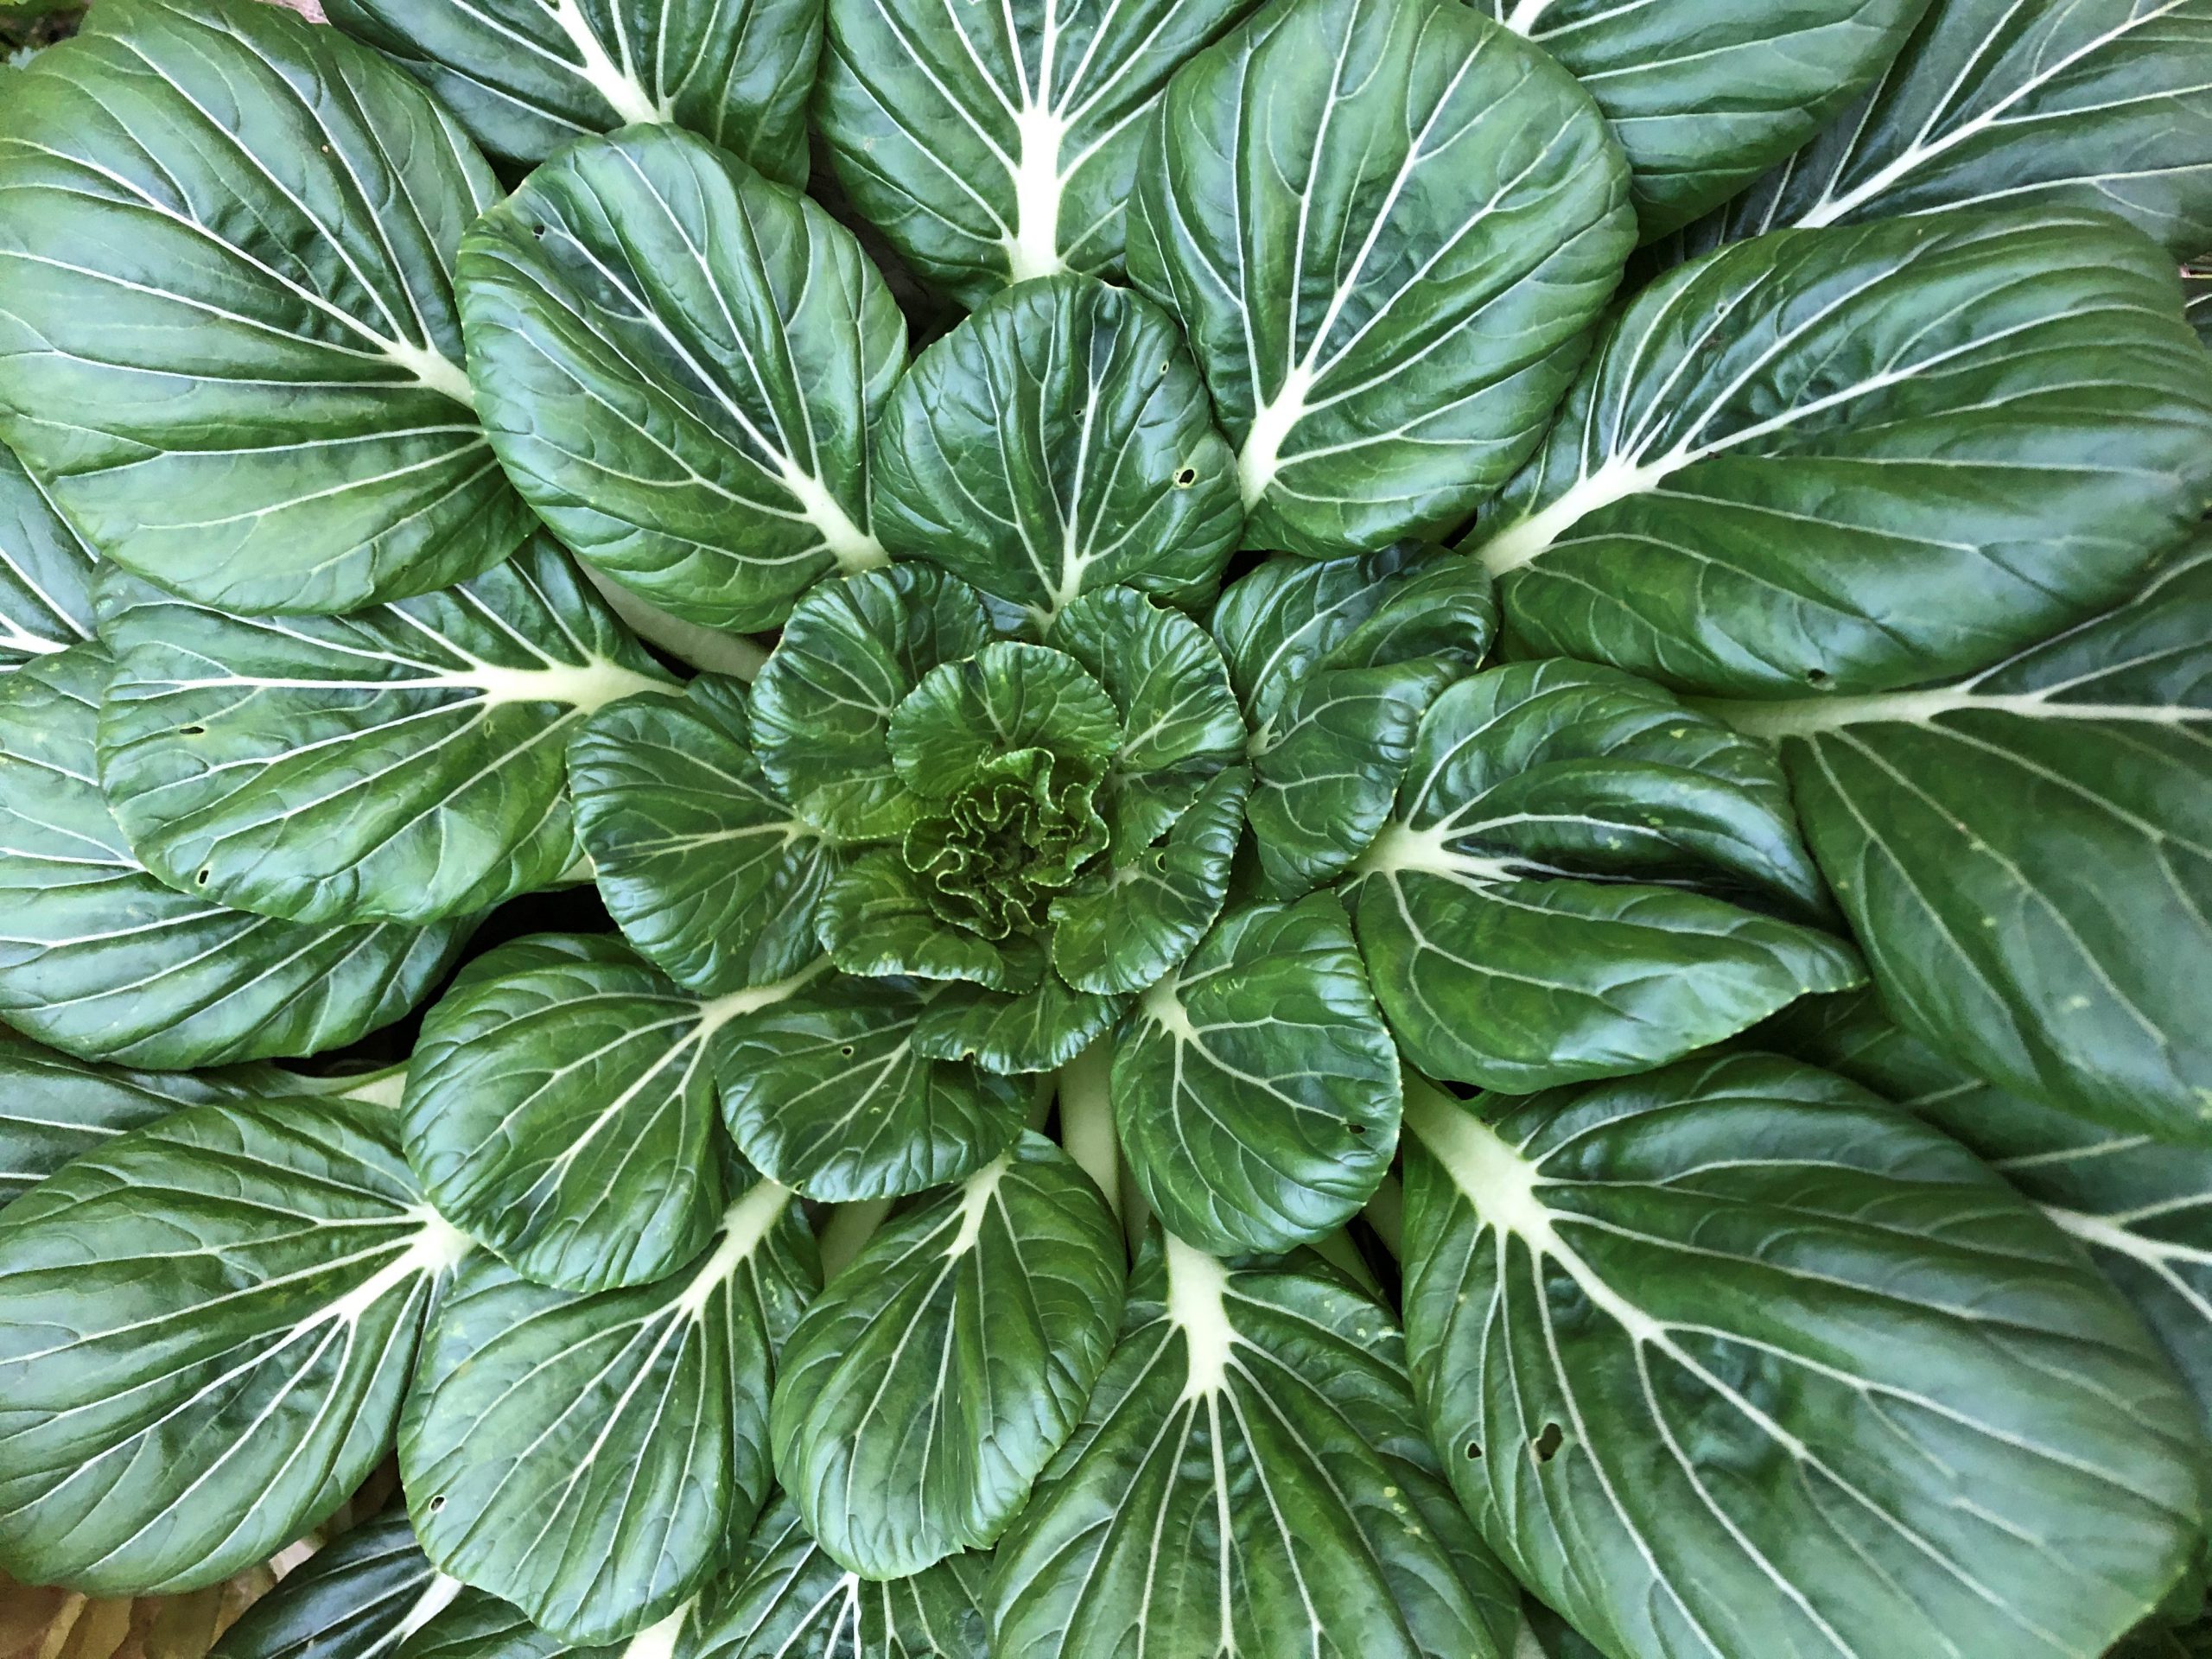
Tatsoi is a low-growing green with spoon-shaped, dark-green leaves. Photo by Molly Jameson.
Sweet to the palate, easy to grow, and a delight to watch take shape, tatsoi is a great choice for your fall and winter veggie garden.
Tatsoi is in the cabbage family, species Brassica rapa, and is closely related to another Asian green, bok choy. It originates in Japan, where it has been grown for over 1,500 years.
Tatsoi is an annual with spoon-like dark-green leaves and cream-colored stems that grows low to the ground. It is easy to start from seed, can handle partial shade, and grows relatively fast. It can be eaten raw, like spinach, or it can be lightly cooked to add a pleasantly distinct flavor to stir-fries and soups. It has a surprisingly mild mustard-like taste. It is full of vitamin C, calcium, potassium, folate, and phytonutrients.
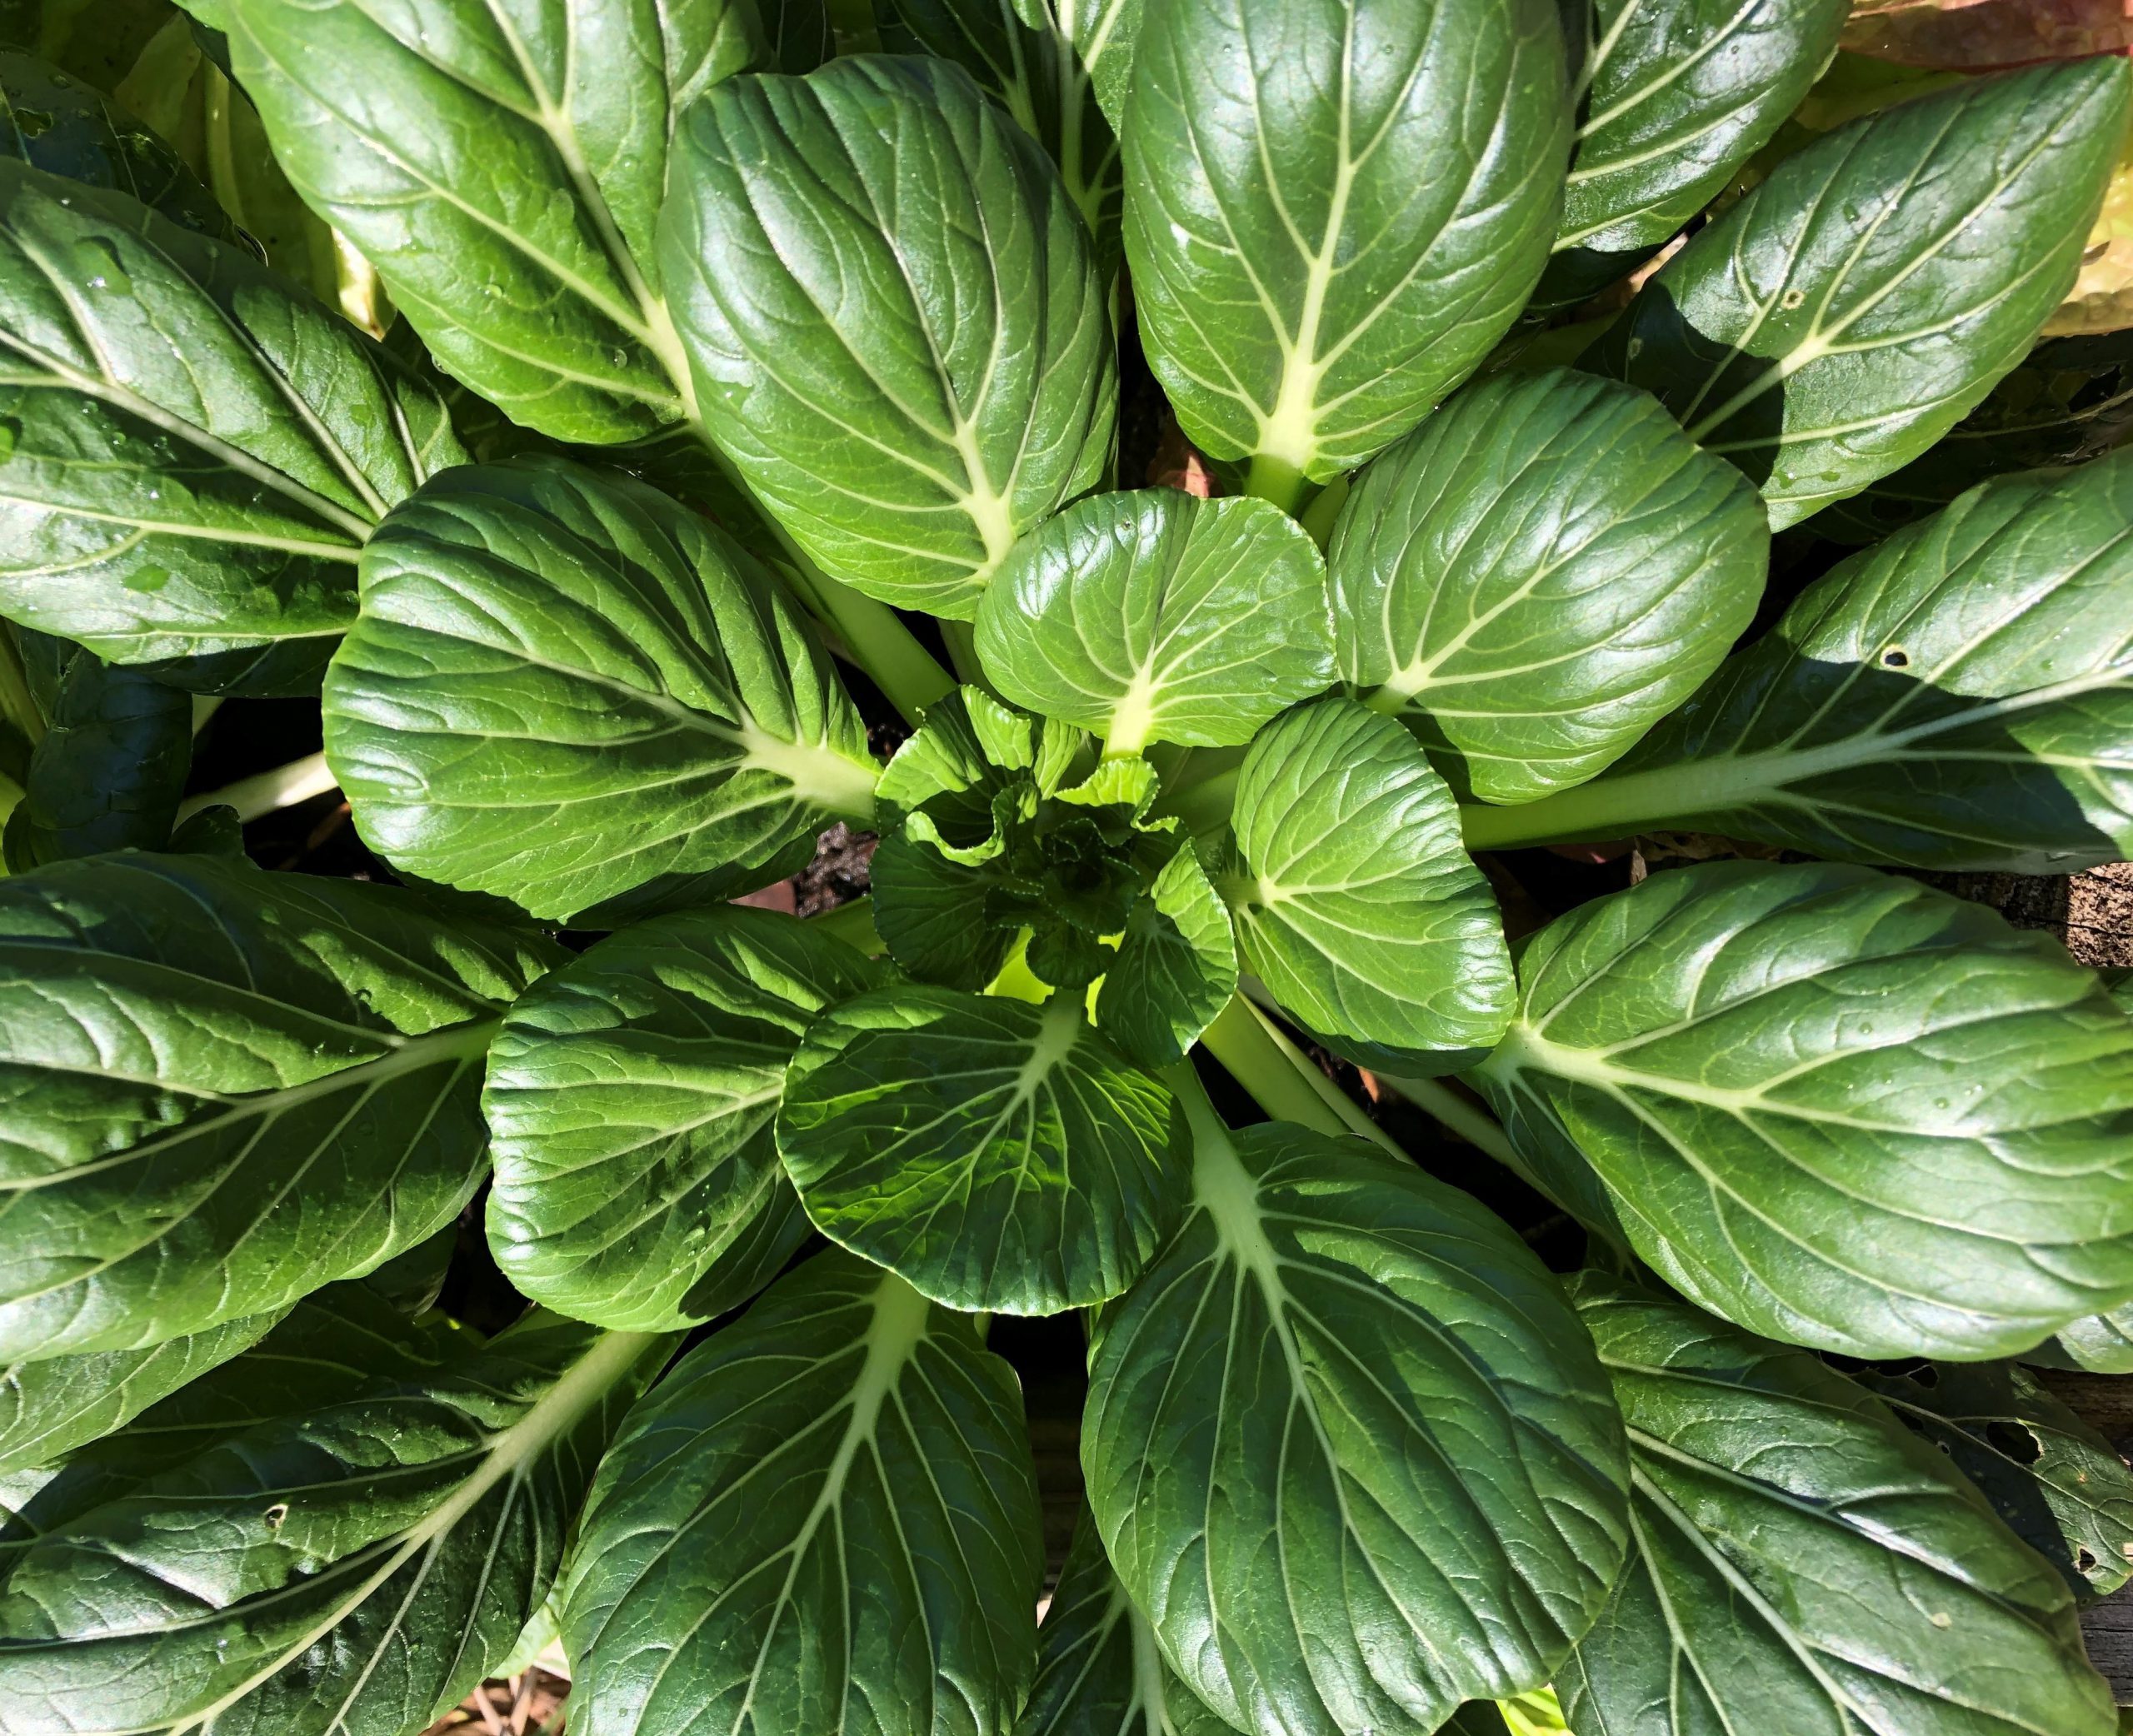
Tatsoi takes about 40 to 50 days to reach maturity. Photo by Molly Jameson.
Although it does well in the spring in cooler climates, it does best in fall and winter in Florida and can handle temperatures down to 15°F. It can be directly seeded into the garden and germinates in about five to 15 days. You can seed tatsoi one to three inches apart, but it should be thinned to about eight to 10 inches to reach full size, which takes about 40 to 50 days. Add the baby tatsoi you thin to your dinner salad.
Once thinned, harvest whole mature plants or individual outer leaves. If you find you just can’t get enough, seed more tatsoi every two weeks until the spring, when longer days and warmer temperatures will cause tatsoi to bolt. Bolting is when a plant diverts its resources away from the edible leaves and into the flowering stem for seed production.
For a truly continuous supply, allow your tatsoi to bolt, and it will produce many tiny, thin seed pods. Wait for the plant to dry completely and harvest the seed pods. Carefully open the pods over a plate to be sure to catch all the small round seeds within. Then, simply store the seeds in a dry, cool location, such as your fridge, in an air-tight container. Stored correctly, the seeds will last four to five years.
If you have yet to give tatsoi a position in your garden, give it a try this winter!
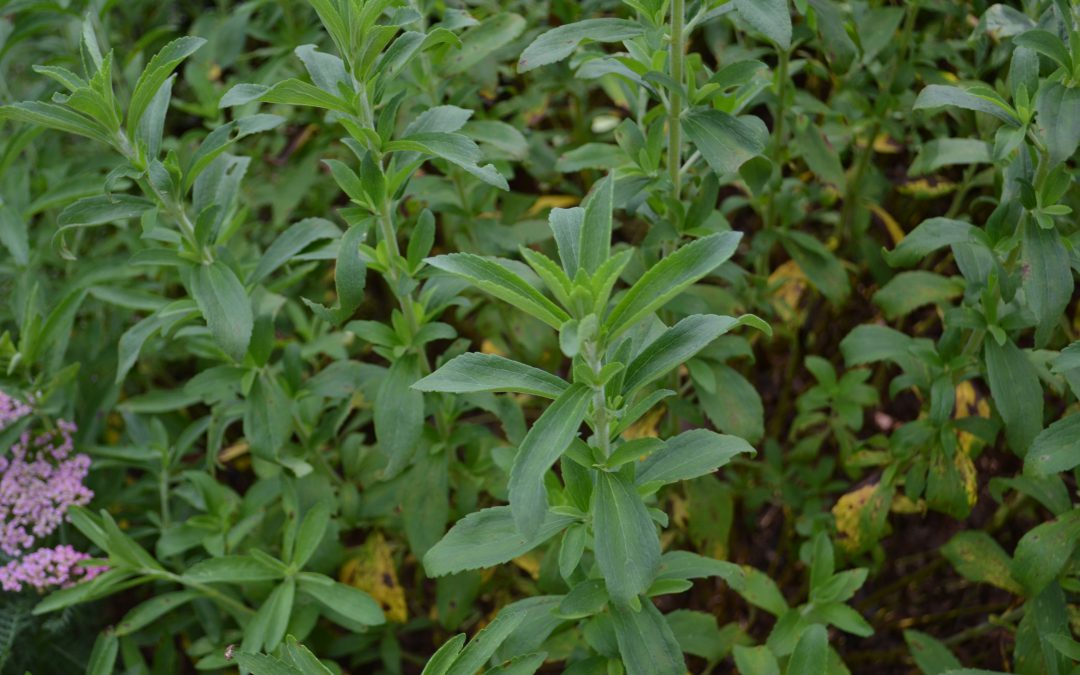
Stevia grows well when planted in the ground or in a container. Learn basic care in the garden and how to use fresh leaves to sweeten your next dish or drink with UF IFAS Extension Escambia County’s Garden to Table segment.
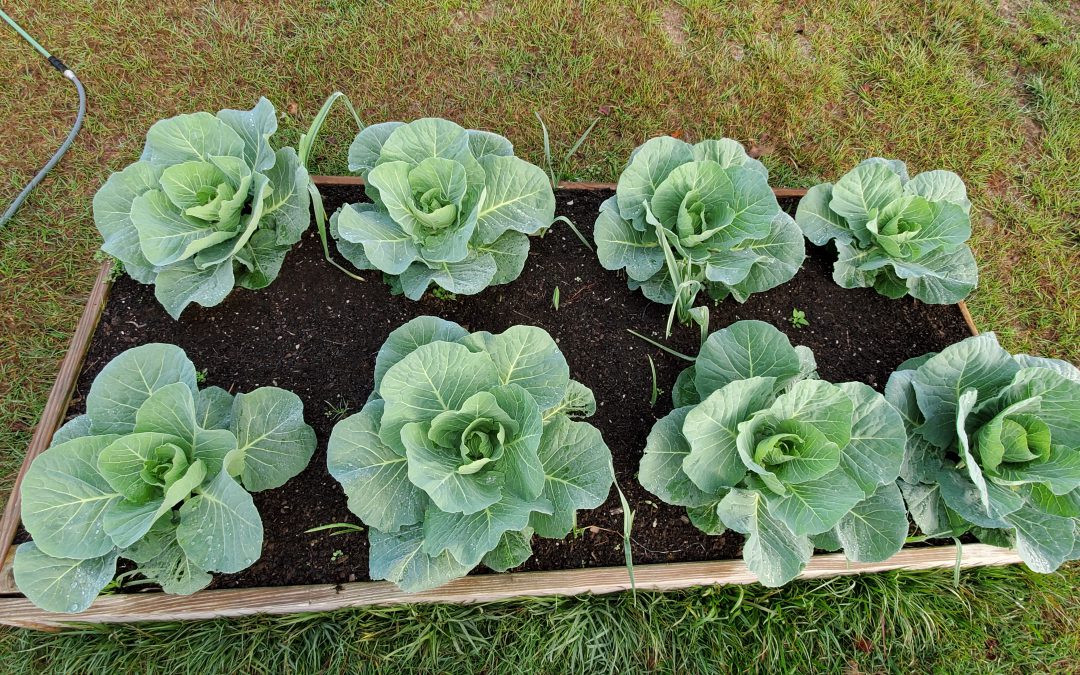
Daniel Leonard, Horticulture Agent at UF/IFAS Extension Calhoun County, answers commonly asked questions about raised bed gardening. In the video he discusses construction materials, the type of soil to use, fertilization, crop rotation, cover crops, and smaller container gardens.
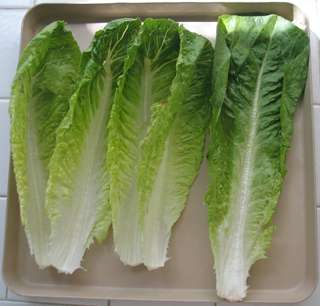
Who doesn’t enjoy a fresh, crisp bowl of salad? Lettuce happens to be a vegetable that is easily grown in Florida for fall & winter gardens. In Florida, four types of lettuce are commonly grown: crisphead, butterhead, leaf, & today’s topic, romaine.
Photo courtesy of Tyler Jones, UF/IFAS.
An interesting, little known fact about romaine lettuce is that it was cultivated extensively by the Roman Empire. By the fourteenth century, the Catholic Hierarchy had moved from Rome to Avignon, France bringing their prized lettuce along with them. During this period, the plant was known as “Avignon” lettuce. In England, romaine is called “cos” lettuce named after the Greek islands from which the lettuce was originally distributed. Of course, in the U.S., the name we give, Romaine, refers to the time when it was grown extensively in the Roman Empire.
Romaine is grown both commercially and in backyard gardens across the state. Like all lettuce, this is a cool season vegetable. September through March is a generally the extent of the growing season. Romaine can be grown from seeds or by transplants. If you are going the seeding route, just remember these seeds are very small and should be sown shallow and in a tight pattern, with 12”-18” row spacing and a light sprinkle of soil over the top. Newly planted seeds may require burlap or straw to help retain soil moisture for successful germination. Once plants reach a few inches in height, rows can be thinned to where plants are 8” apart.
Romaine needs adequate soil moisture throughout the season. Mulching around plants to retain moisture and adding a complete fertilizer such as 8-8-8 will help ensure a good yield. Lettuce is vulnerable to the usual suspects of garden pests. However, gardening in cooler months helps combat that threat.
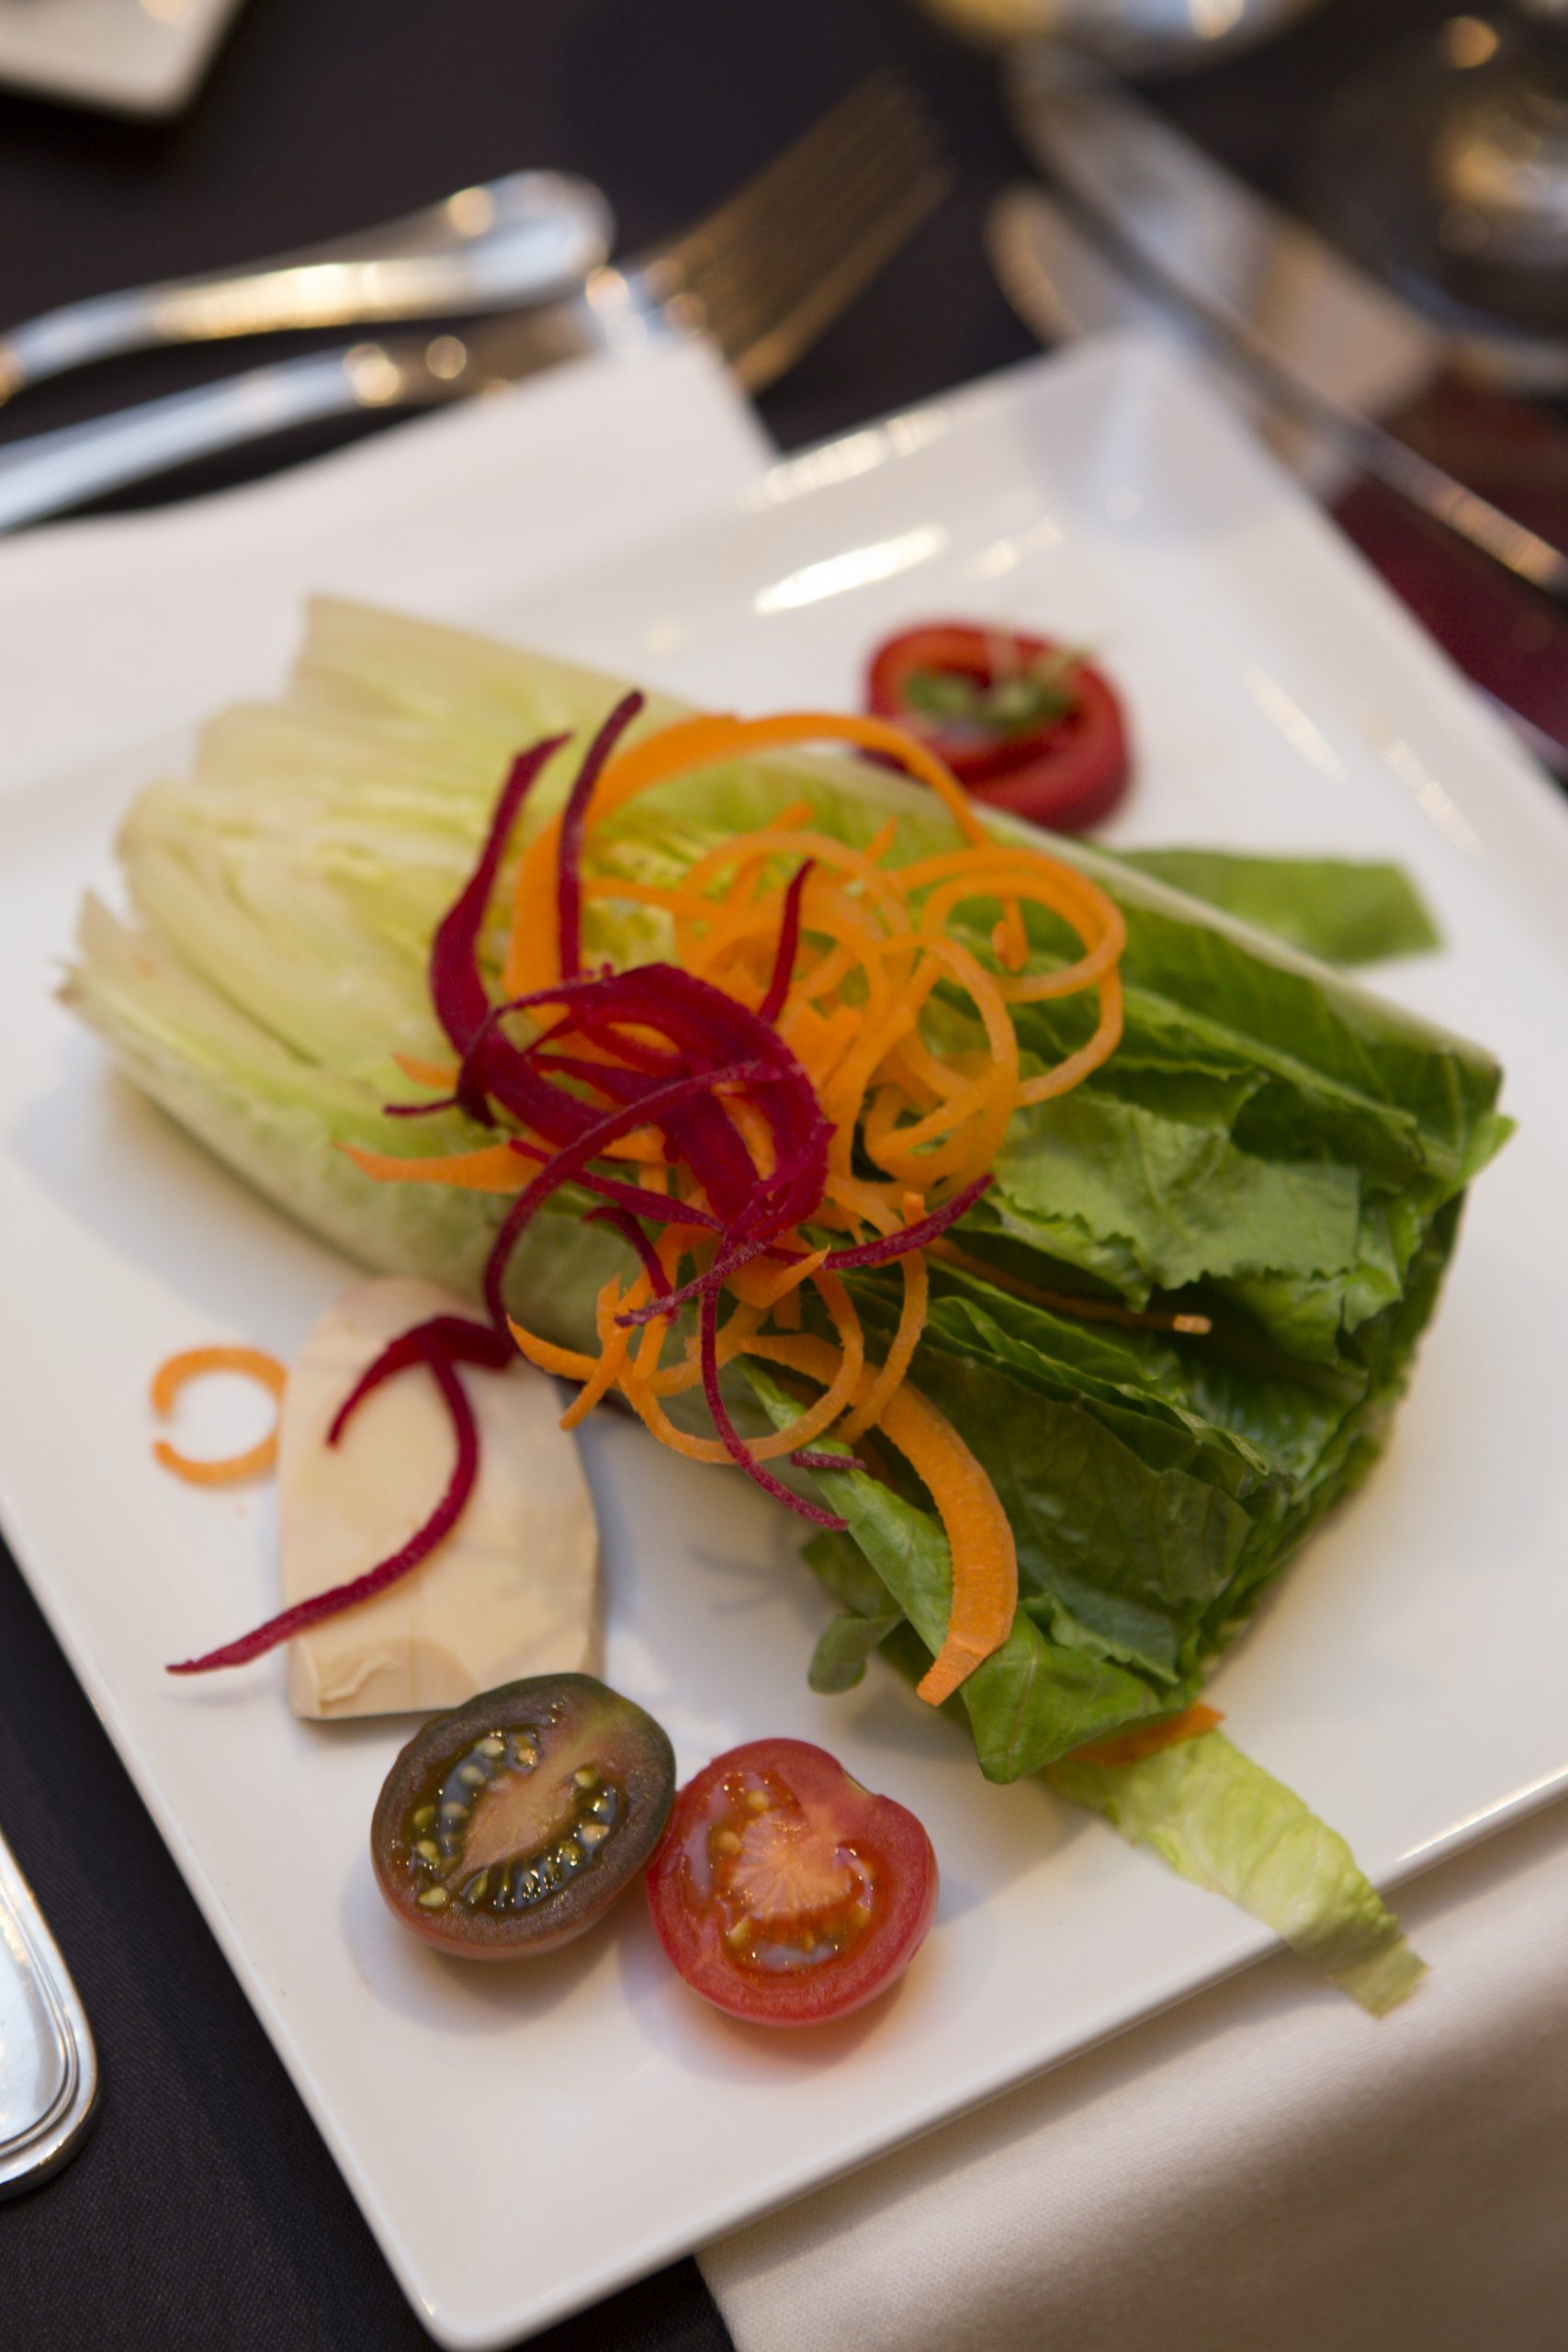
Romaine lettuce is fun and rewarding to harvest, as well. You can pick a few leaves off a plant or harvest the entire head.
For more information, contact your local UF/IFAS County Extension office.
Supporting information for this article can be found in the UF/IFAS EDIS publication, “Romaine – Lactuca sativa L.” by James M. Stephens, Emeritus Extension Vegetable Crops Specialist, UF/IFAS: https://edis.ifas.ufl.edu/mv125
UF/IFAS Extension is an Equal Opportunity Institution.
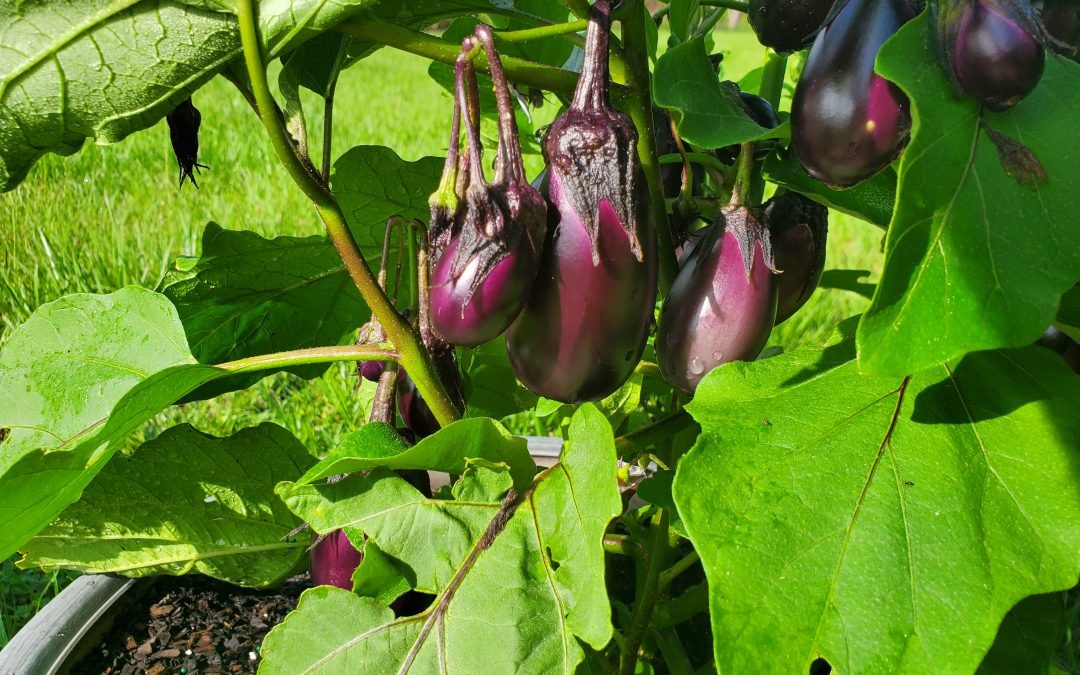
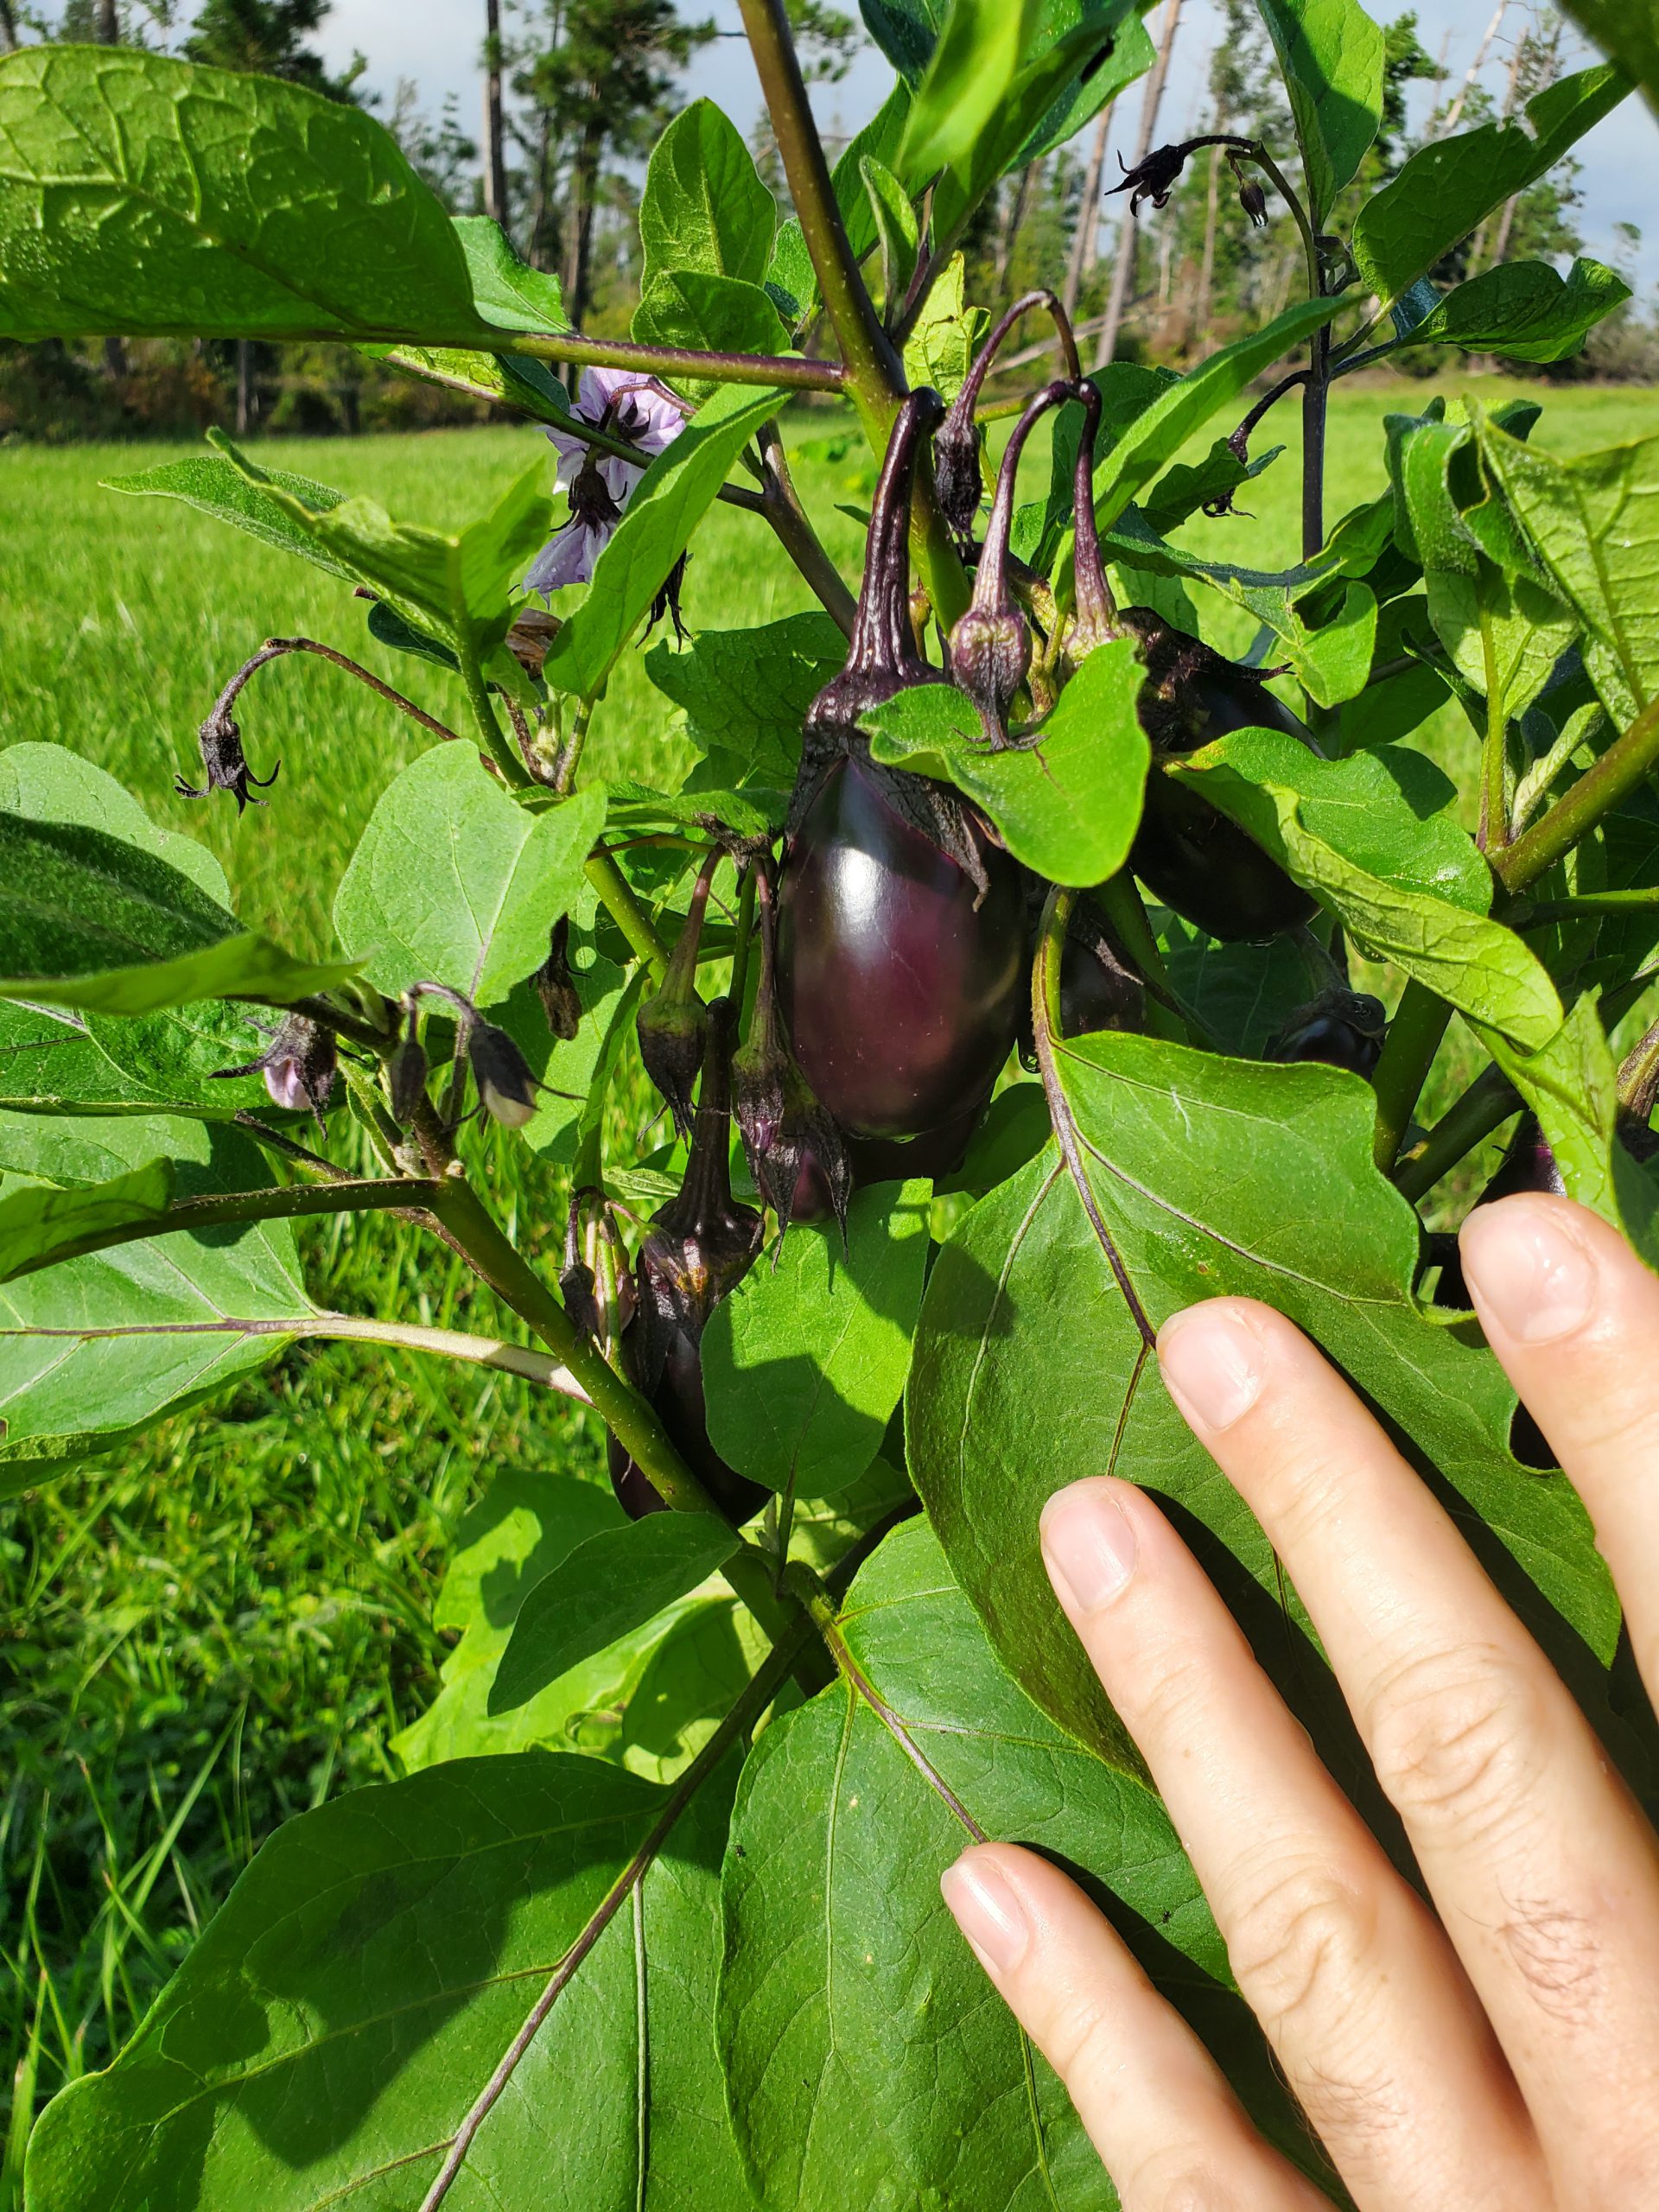
In my ongoing search for low-maintenance vegetable varieties that perform well in small spaces, like my raised bed garden, I decided to try a newish Eggplant variety called ‘Patio Baby’ this summer. Developed by PanAmerican Seed and winner of the 2014 All-American Selections Vegetable- edible category, I was drawn to ‘Patio Baby’ due to the advertising claims made that it was a true miniature variety, perfect for growing in containers, only reaching 20” or so in height and producing both “early” and abundant fruit. I’ve been very pleased with the performance of this extremely unique variety so far in my informal backyard trial and definitely think it deserves consideration in your garden too!
‘Patio Baby’ fruit ready for harvest in September 2020. Photo courtesy of Daniel Leonard.
The first observation when seeing a mature ‘Patio Baby’ is how small the plant is, leaves, flowers, fruit, everything. Compared to a standard ‘Black Beauty’ variety, ‘Patio Baby’ plants measure maybe a third as tall and wide. Where a “normal” eggplant fruit might be slightly larger than a softball and often have spines on their calyxes (the green part that connects the purple fruit to the stems), ‘Patio Baby’ fruit are roughly the size of a large chicken egg and totally spineless! I find this smaller plant and fruit size to have several perks. Vegetable plants that grow 2’ tall and wide are just about perfect for raised bed gardening. If you don’t require a large quantity of eggplant, you won’t have to sacrifice an entire bed’s space to ‘Patio Baby’ like you would with the standard varieties. Also, ‘Patio Baby’ fruit won’t bend or break branches and are held strongly on the plants, with no need for staking, another bonus when space is at a premium. Finally, I find it much easier to harvest, handle and prepare the small, spineless ‘Patio Baby’ fruit in the kitchen. Think of them as a “personal pan” eggplant. As I’m the only one in my house who eats much eggplant, I waste a lot less fruit cooking these little guys!
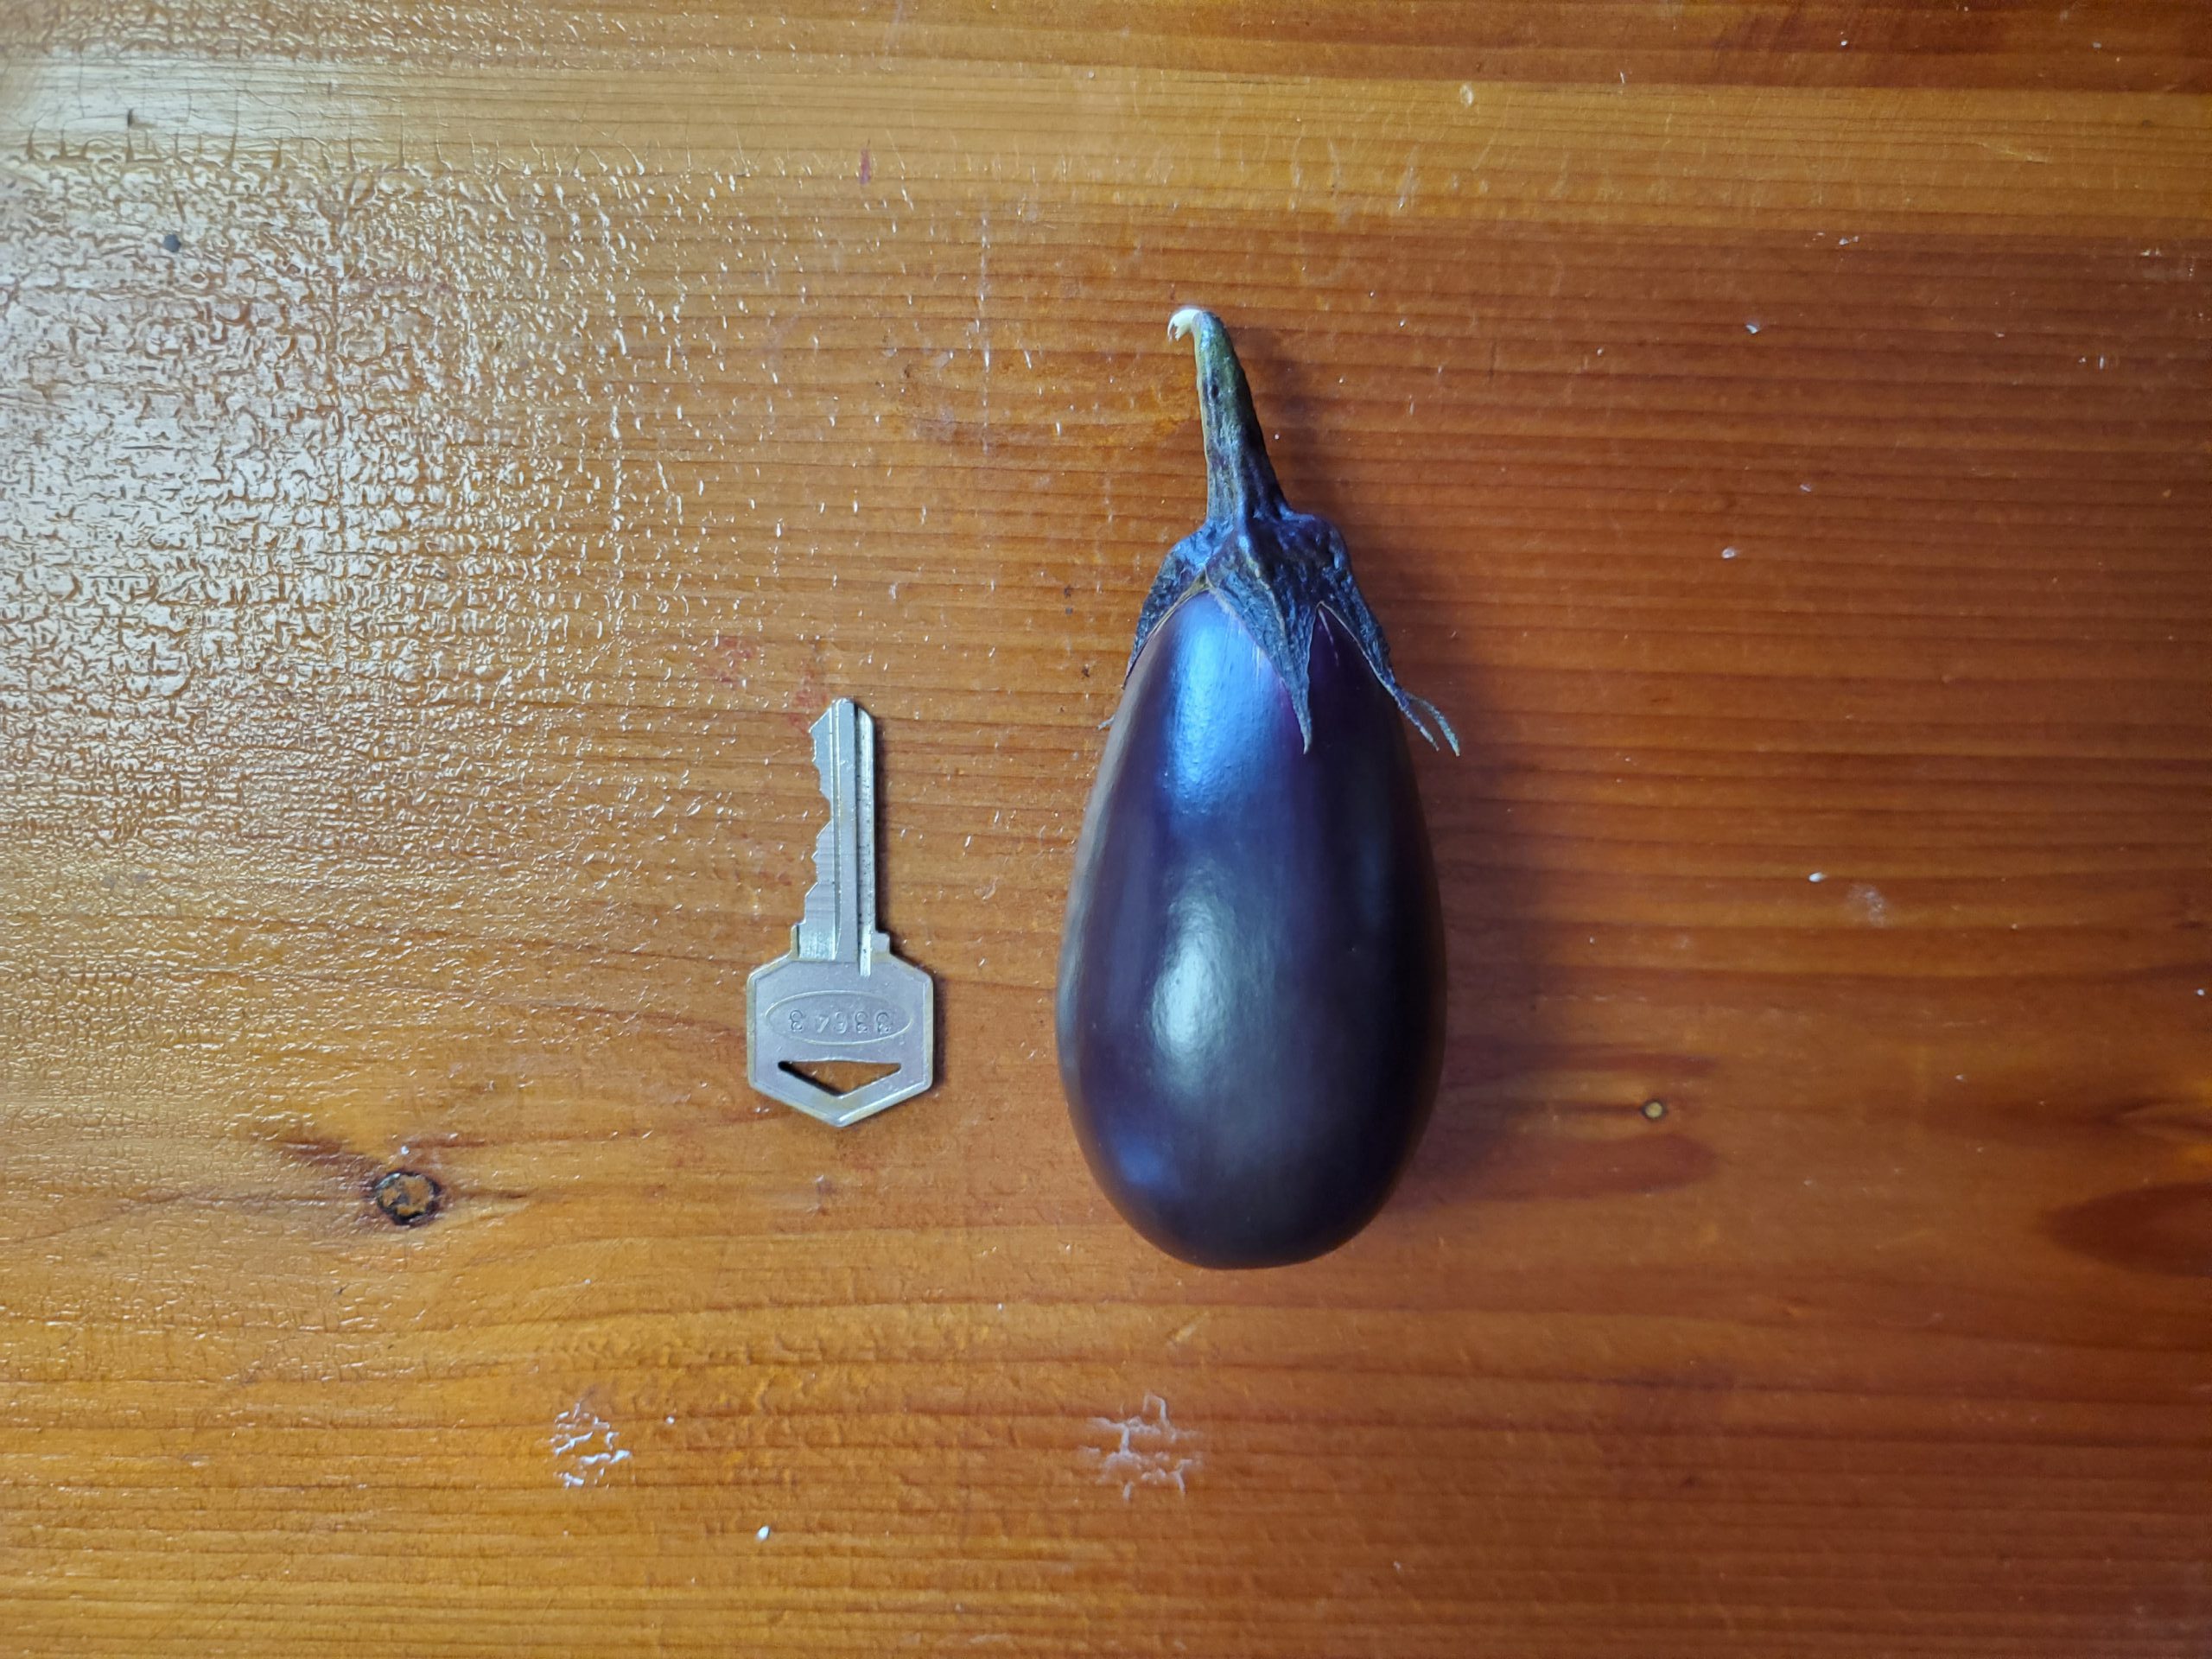
‘Patio Baby’ mature fruit. Standard house key used as a size reference. Photo courtesy of Daniel Leonard.
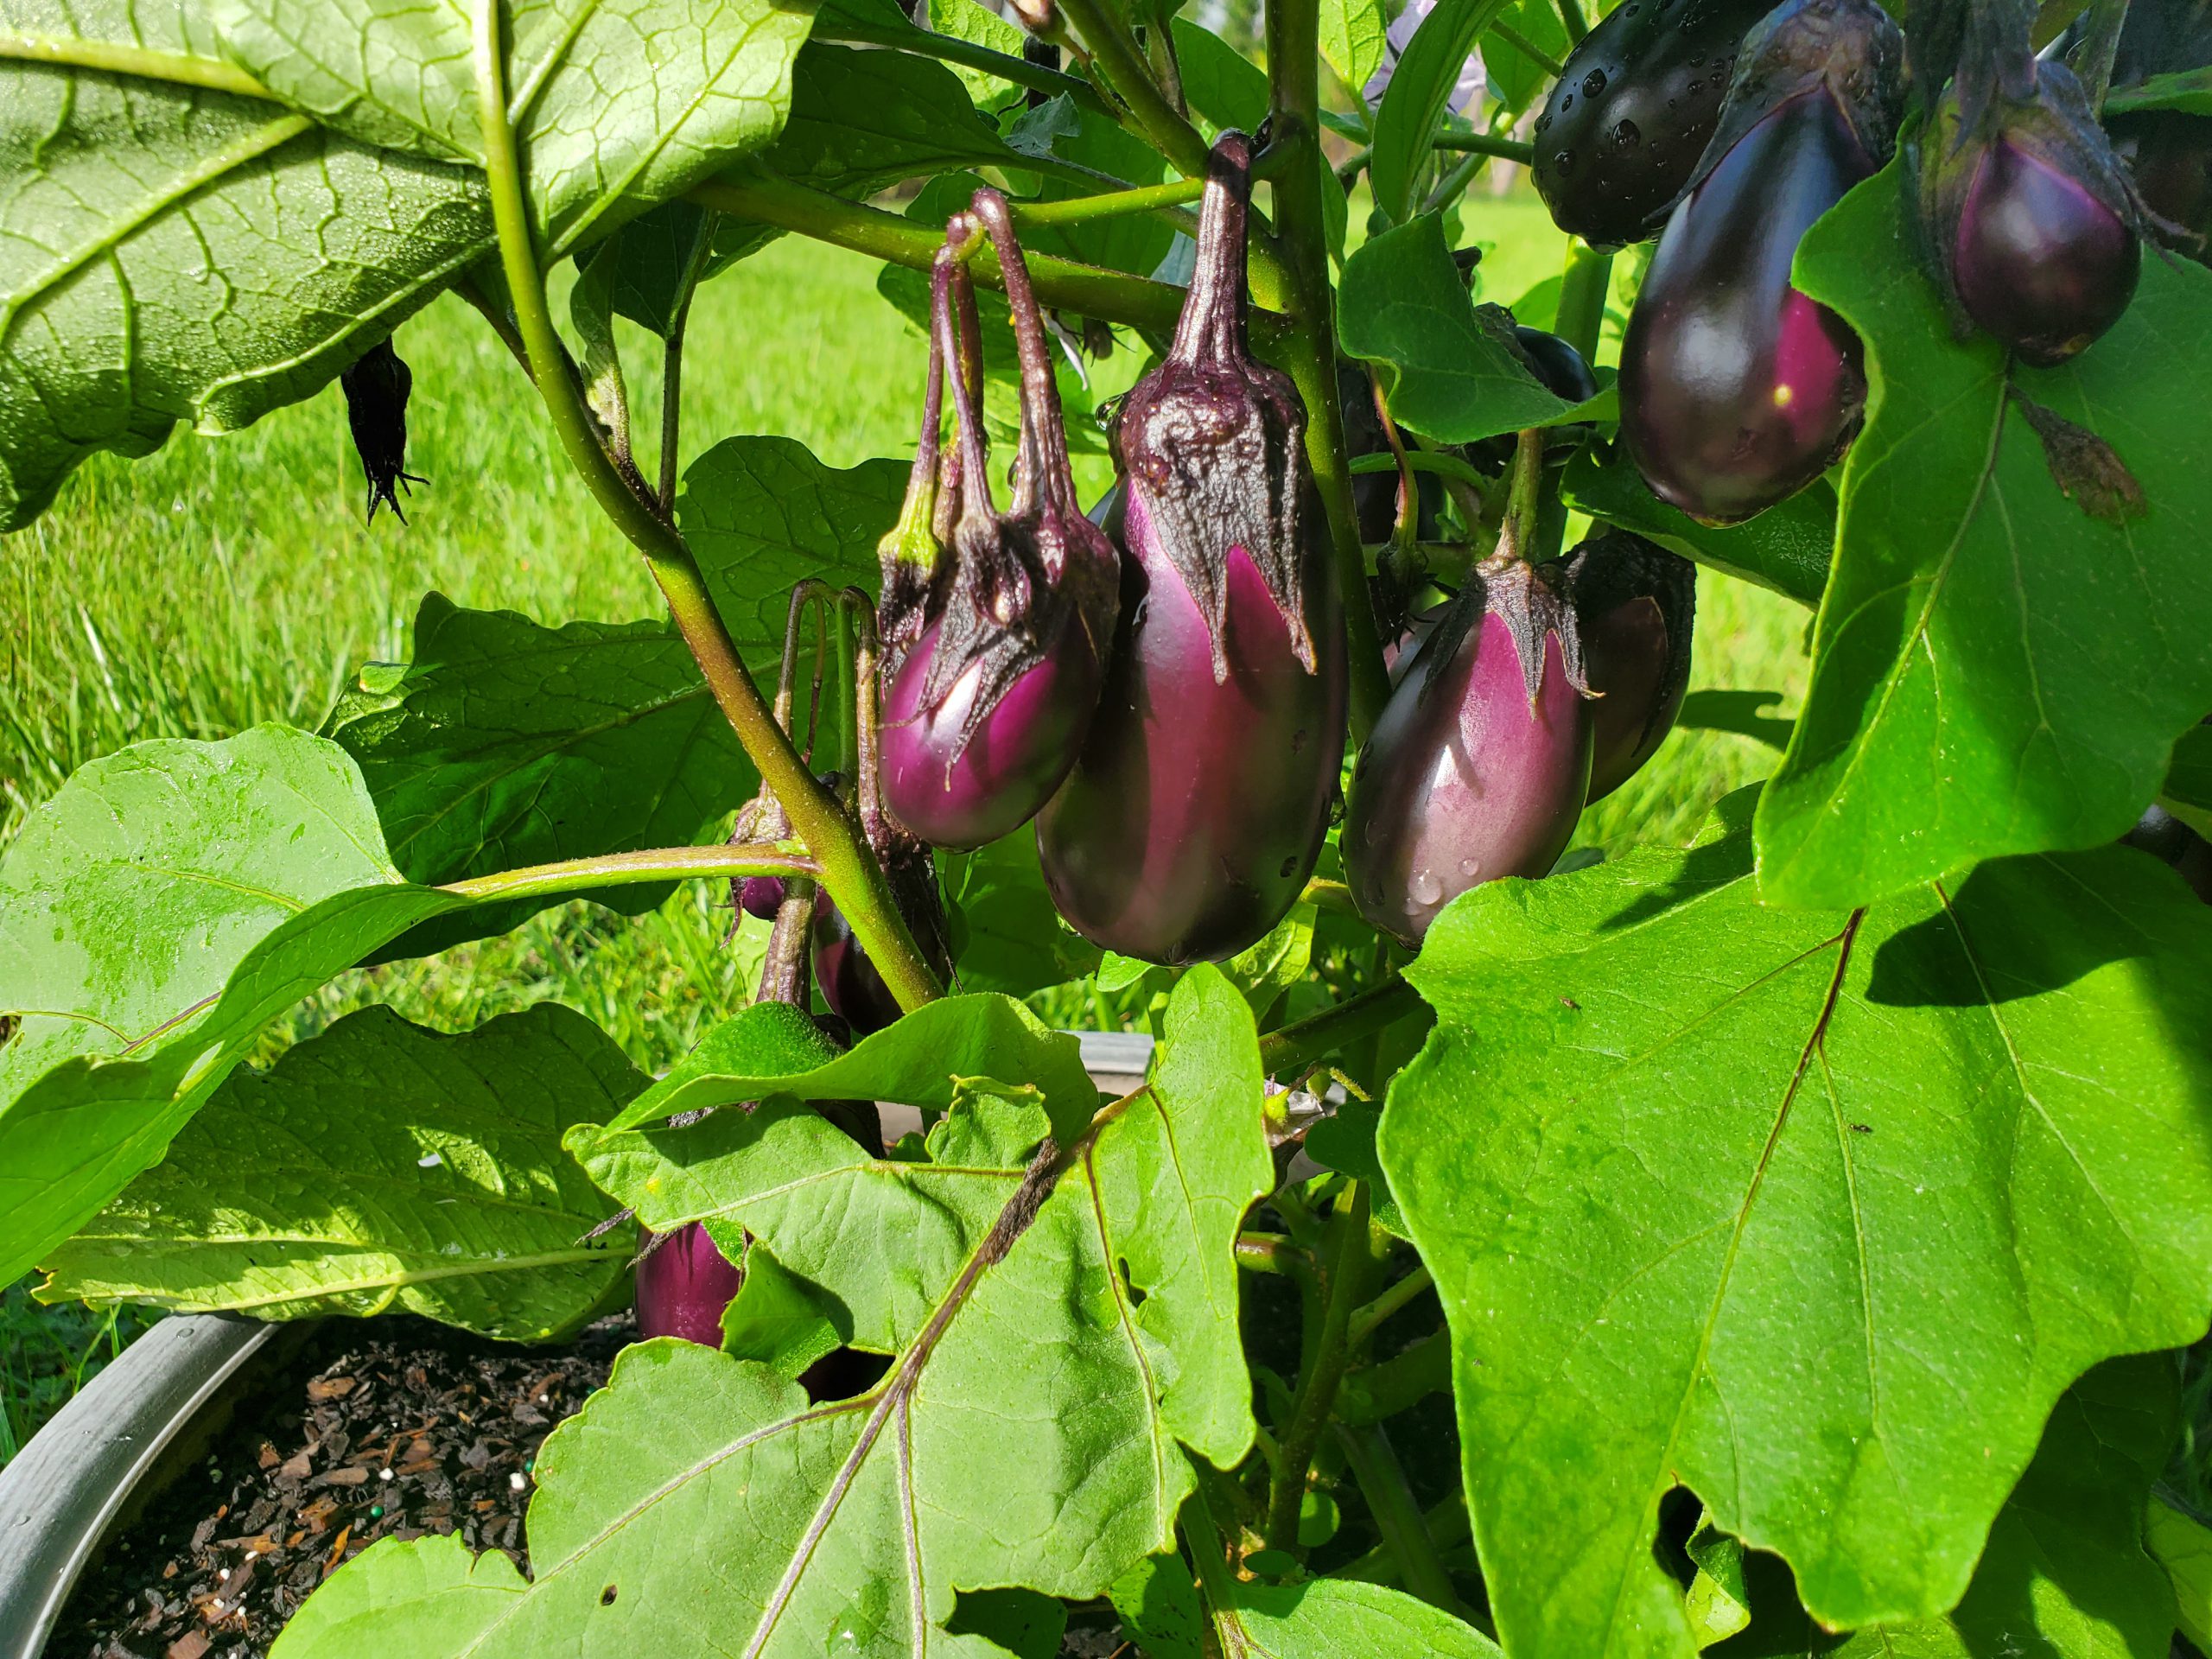
‘Patio Baby’ Eggplant also lives up to its reputation of being exceedingly easy and quick to grow. I purchased a packet of ‘Patio Baby’ seed from Johnny’s Selected Seeds in June and planted three in a 20” diameter decorative pot next to my raised bed garden during the first week of July, behind summer squash that had recently expired in the heat of late June. After sprouting, the plants grew strongly and, true to form for most Eggplant varieties, were bothered by no serious pest or disease issues other than the normal stinkbugs and occasional caterpillar that plague summer gardens in Florida. Around 8 weeks from sowing seed in the soil, cute, egg-shaped fruit were ready for harvest! Over the next three or four weeks, my single plant produced around 50 of the cute little fruit. More than enough for me and plenty to share, the goal of my gardening endeavors.
‘Patio Baby’ produces lots of fruit in a small package! Photo courtesy of Daniel Leoanrd.
If you’ve run out of space in your raised bed garden, just want a single plant for your back porch or simply want to try a novelty vegetable variety, my experience this summer deems ‘Patio Baby’ Eggplant is an excellent option! For an eggplant that is space-efficient, very early and heavy producing, and comes in a more easily harvestable, kitchen-friendly package, try ‘Patio Baby’. For more information about raised bed gardening, vegetable varieties or any other horticultural topic, contact your local UF/IFAS County Extension Office. Happy Gardening!