by Ray Bodrey | Feb 18, 2020

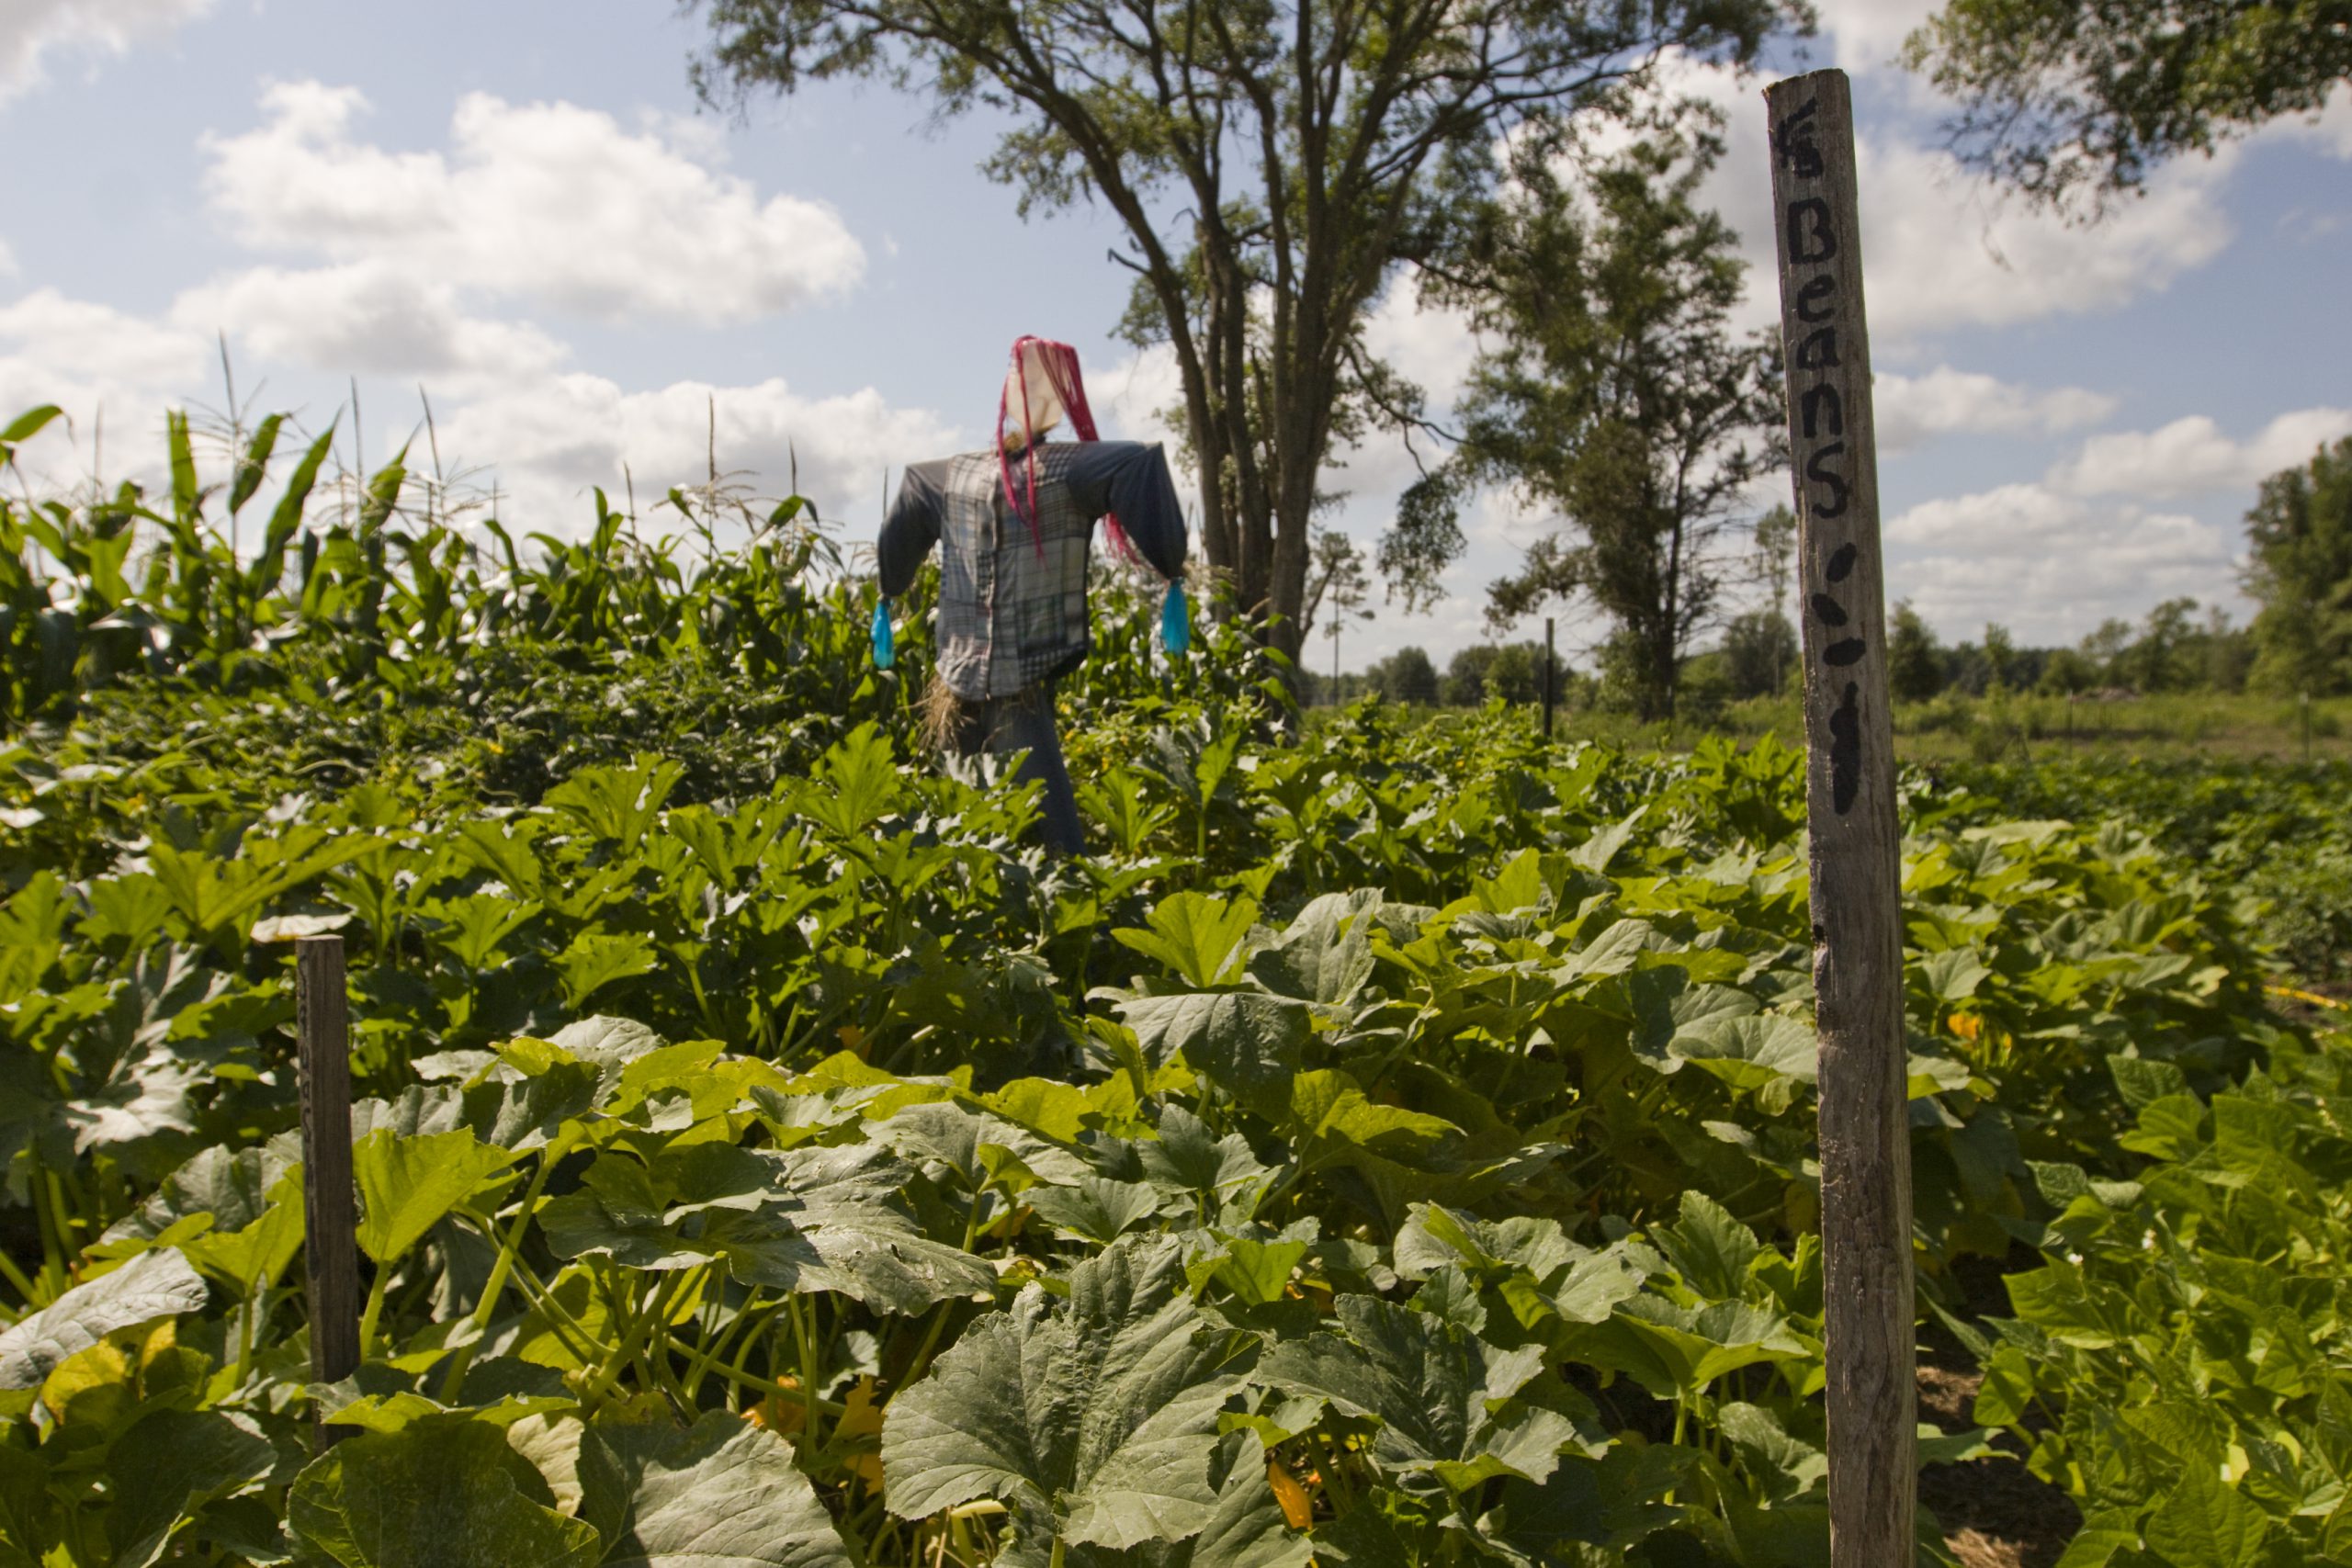
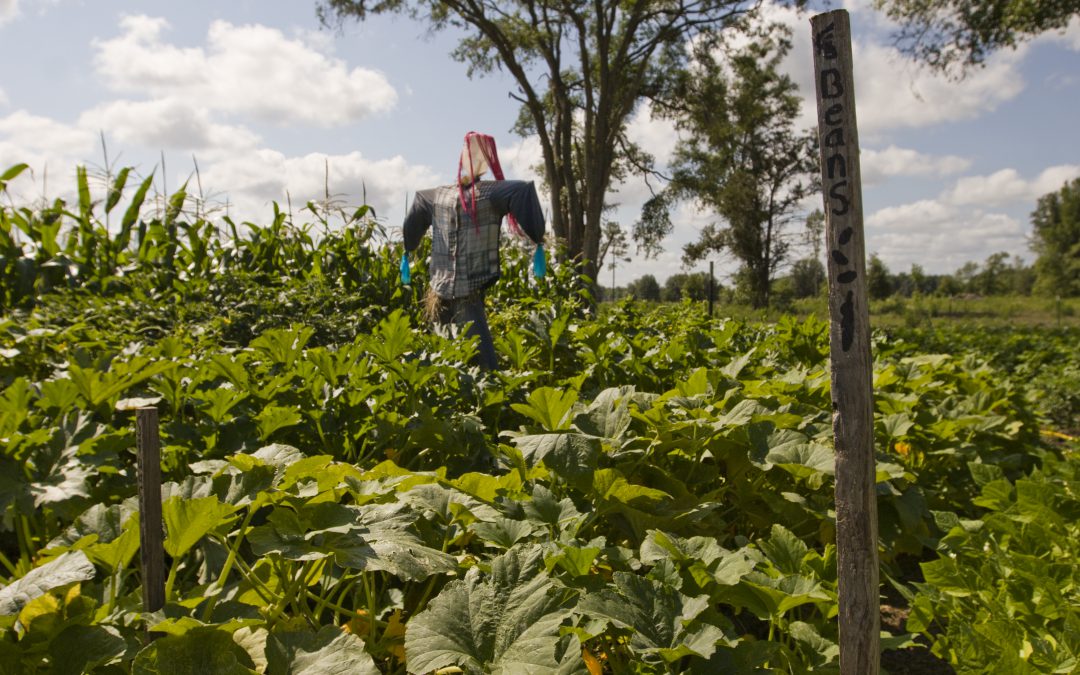
A scarecrow in a 4H youth vegetable garden in Gilchrist County, Florida. Beans, vegetables, gardening, sustainability, 4H, youth programs, education. UF/IFAS Photo: Tyler Jones.
Spring & summer are certainly not far away. The following information pertains to the first step in the vegetable garden planning process. Just remember, as the soil preparation goes, so goes the vegetable production.
By far the most physical part of vegetable gardening is soil preparation. This is the foundation that your garden is built on, so let’s not cut corners at this stage. Plain and simple, poor soil prep will result in poor garden performance. Before you begin prep, it is a good idea to have a soil sample analyzed. With a soil analysis complete, a more customized fertilizer and application may be recommended for your needs. However, a complete fertilizer like 8-8-8 or 10-10-10 can be used as general purpose.
Also, pH can be determined through this test. If the soil is too acidic for vegetables, then a liming requirement may be needed. pH is key information, especially regarding planting time. If one needs lime, it is recommended to wait at least a month before planting to allow the lime to begin to adjust soil pH. Generally, a small amount of lime can be added to a garden space regardless, as lime also contains the vital micronutrients calcium and magnesium. Contact your local county extension office for more information on soil testing.
To begin the garden prep, one will first need to remove the weeds from the space. The next step is to turn the soil. This will help aerate the soil and accelerate soil decomposition which leads to higher organic matter. Turing the soil will also eliminate any soil compaction issues that would stifle seed germination. With sandy soils throughout the Panhandle, one may need to amend by spreading a rich organic compost in the space.
An application of fertilizer can be mixed in at this stage as well. Always follow the manufacturers label regarding application directions. Once complete, the soil should then be turned by digging down six to eight inches. A large garden will require a motorized tiller, but hand held implements should be fine for smaller spaces.
After the soil is turned, be sure to break up any clods and rake so that the area is level. The soil should be of a fine texture by this point. Again, this makes seed germination much easier and will assist in further root development of transplants.
To have a vegetable garden that all will envy, it begins with soil prep. Remember, not only does a vegetable garden provide nutrition, but it also provides for exercise, a feeling of accomplishment and even could save you a few bucks. Please contact your local county extension office for more information.
Supporting information for this article can be found in the UF/IFAS EDIS publication: “Florida Vegetable Gardening Guide” by Sydney Park Brown, Danielle Treadwell, J. M. Stephens and Susan Webb: http://edis.ifas.ufl.edu/pdffiles/VH/VH02100.pdf
UF/IFAS Extension is an Equal Opportunity Institution.
by KR Woodburn | Jan 31, 2020


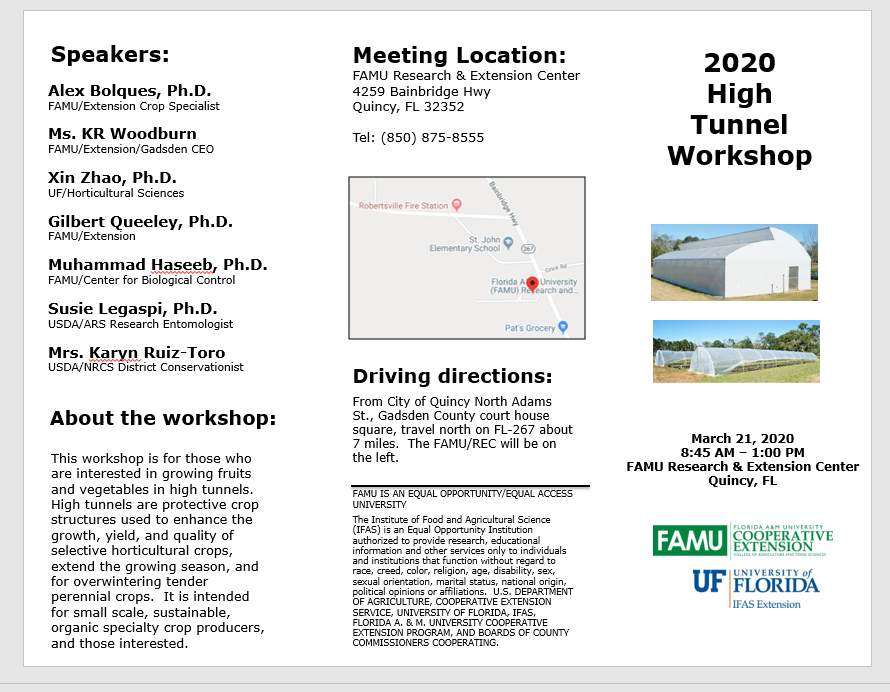
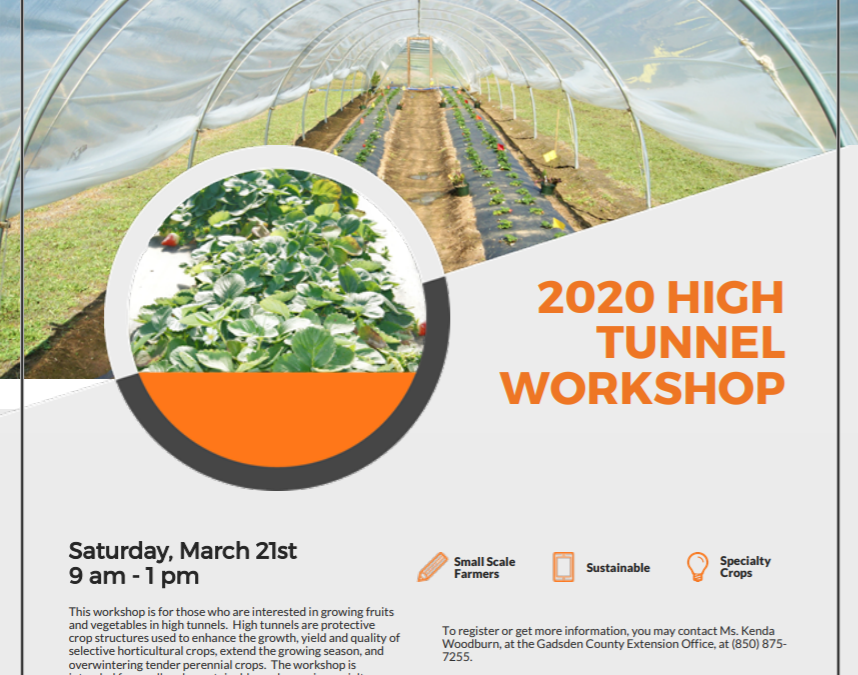
2020 High Tunnel Workshop
March 21, 2020
Agenda
- 9 A.M. Welcome
Mrs. Vonda Richardson, FAMU Extension, Director
- 9:10 High Tunnels: Site and Crop Selection Considerations for High Tunnels
Dr. Alex Bolques, FAMU Extension/REC – Utilizing Floating Row Covers to Exclude Insect Pests and Increase
Winter Protection in High Tunnels – Ms. Kenda Woodburn, FAMU Extension Agent, Gadsden County
- 9:30 Integrated Management Practices for High Tunnel Organic Vegetable
Production -Dr. Xin Zhao, UF Horticultural Sciences
Hot Pepper, Strawberry, and Leafy Green Production in Protective
Structures -Dr. Gilbert Queeley and Alex Bolques, FAMU Extension
- 10:20 Break
- 10:30 Monitoring and Management of Pest and Beneficial Insects in the High Tunnel Production Systems – Dr. Muhammad Haseeb, FAMU Center for Biological Control
- Cultural Management of Insect Pests: Plant-mediated Push-Pull Technology – Dr. Susie Legaspi, ARS Research Entomologist
- 11:20 Field Demonstration: Protected Ag
- Short walk to high tunnel areas
– Leafy greens production using organic methods
– Sustainable strawberry production using organic methods
– Low cost high tunnel structural improvements
– Strawberry season extension
– Selective vegetable hydroponic production systems
- 12:30 Lunch and Learn:
High Tunnel Cost Sharing Opportunities
Mrs. Karyn Ruiz-Toro, NRCS District Conservationist
Resources & Supplies for High Tunnel Growers
Ms. Kenda Woodburn, FAMU Extension
1 P.M. Adjourn
by Molly Jameson | Jan 27, 2020
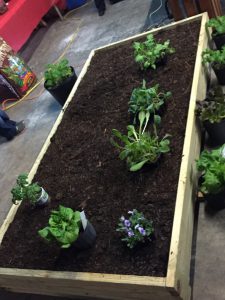
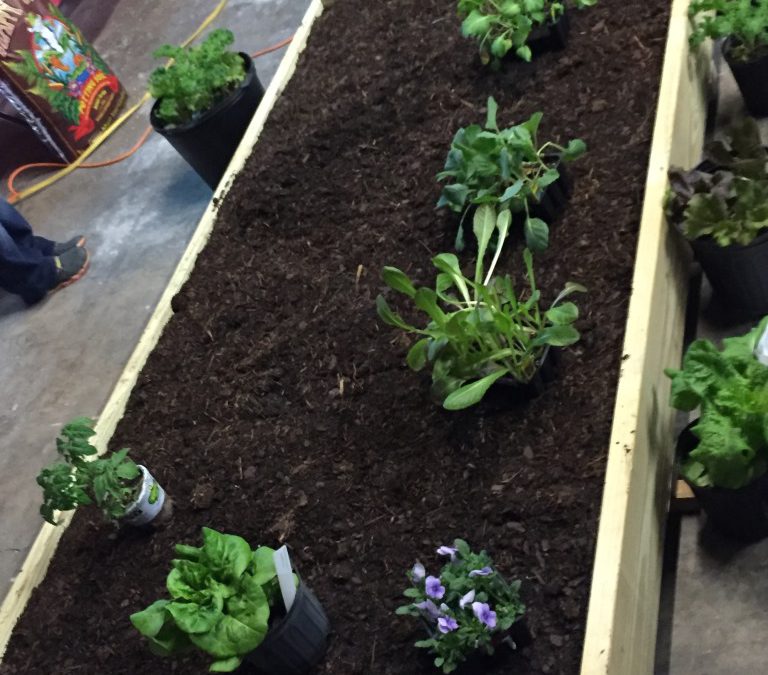
A raised bed container garden , about 8 inches deep. Image Credit Matthew Orwat
Interested in growing vegetable crops but have limited space for a garden bed? Maybe you live in an apartment, have poor soil, or you can’t find a sunny enough location to start an in-ground garden.
The good news is you can grow nearly any crop in a container! Even crops such as beans, squash, watermelon, and sweet potatoes can be grown to maturity and produce high yields if they are grown in properly sized containers with nutritious potting soil.
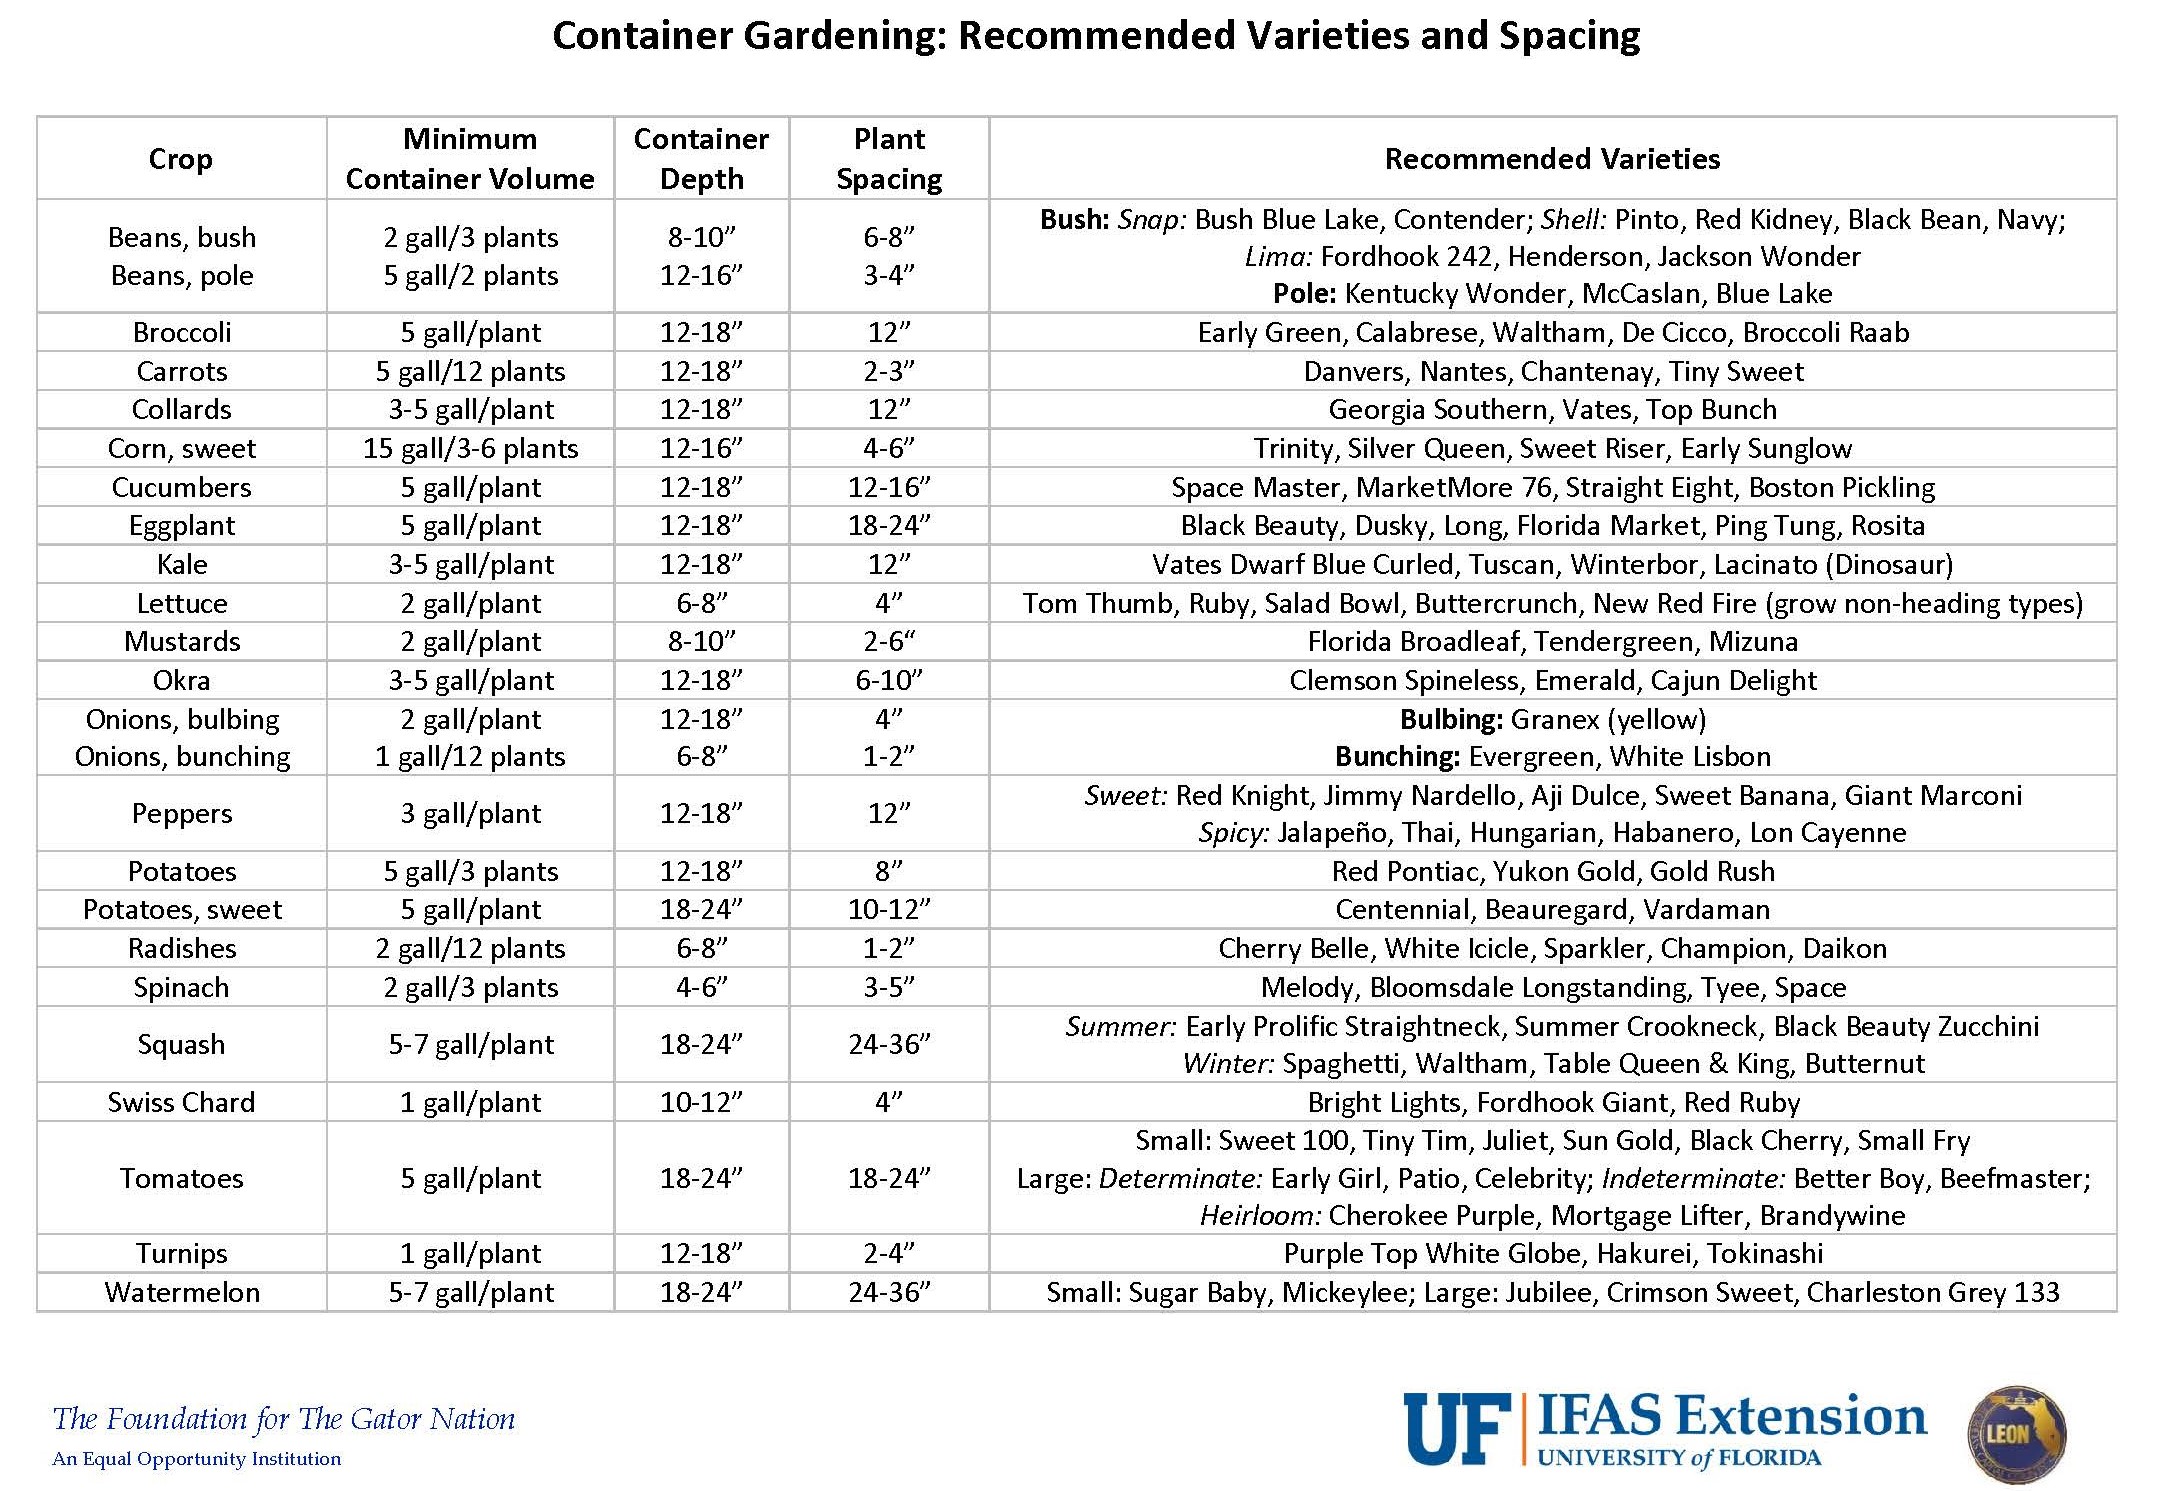
The Container Gardening: Recommended Varieties and Spacing chart covers the recommended minimum container volume, container depth, plant spacing, and varieties that do well in containers for each crop:
by Evan Anderson | Jan 27, 2020
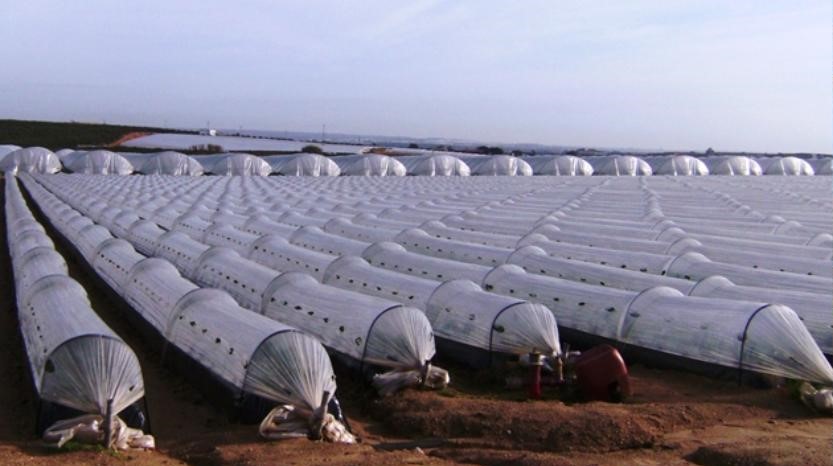
North Florida weather brings its ups and downs, and there are times during the winter season when the downs are low enough to trouble even cold-tolerant crops. Gardeners who wish to keep their plants growing as long as possible, or give them a head start in the spring, may want to consider installing low tunnels.
The term ‘low tunnel’ refers to a structure used for season extension that is usually made of hoops covered with some material, such as fabric or plastic. A low tunnel, as you might surmise, is low to the ground, like a miniature greenhouse that just covers the plants. They are usually no more than a few feet in height. A high tunnel, by comparison, is tall enough to walk in, but with a similar sort of construction.
These are versatile structures, which can act as more than just protection from cold. Low tunnels can be easily modified to provide extra shade for crops during the hottest months. A lighter fabric or fine mesh can also be used as protection from insect pests. Low tunnels can be constructed to stand on their own or may be integrated into a raised bed. They may even be placed inside a larger structure such as a high tunnel to offer a double layer of protection.
An example of a low tunnel using wire hoops and plastic mulch to prevent weeds. Photo credit – B M. Santos, UF / IFAS Extension
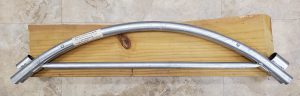
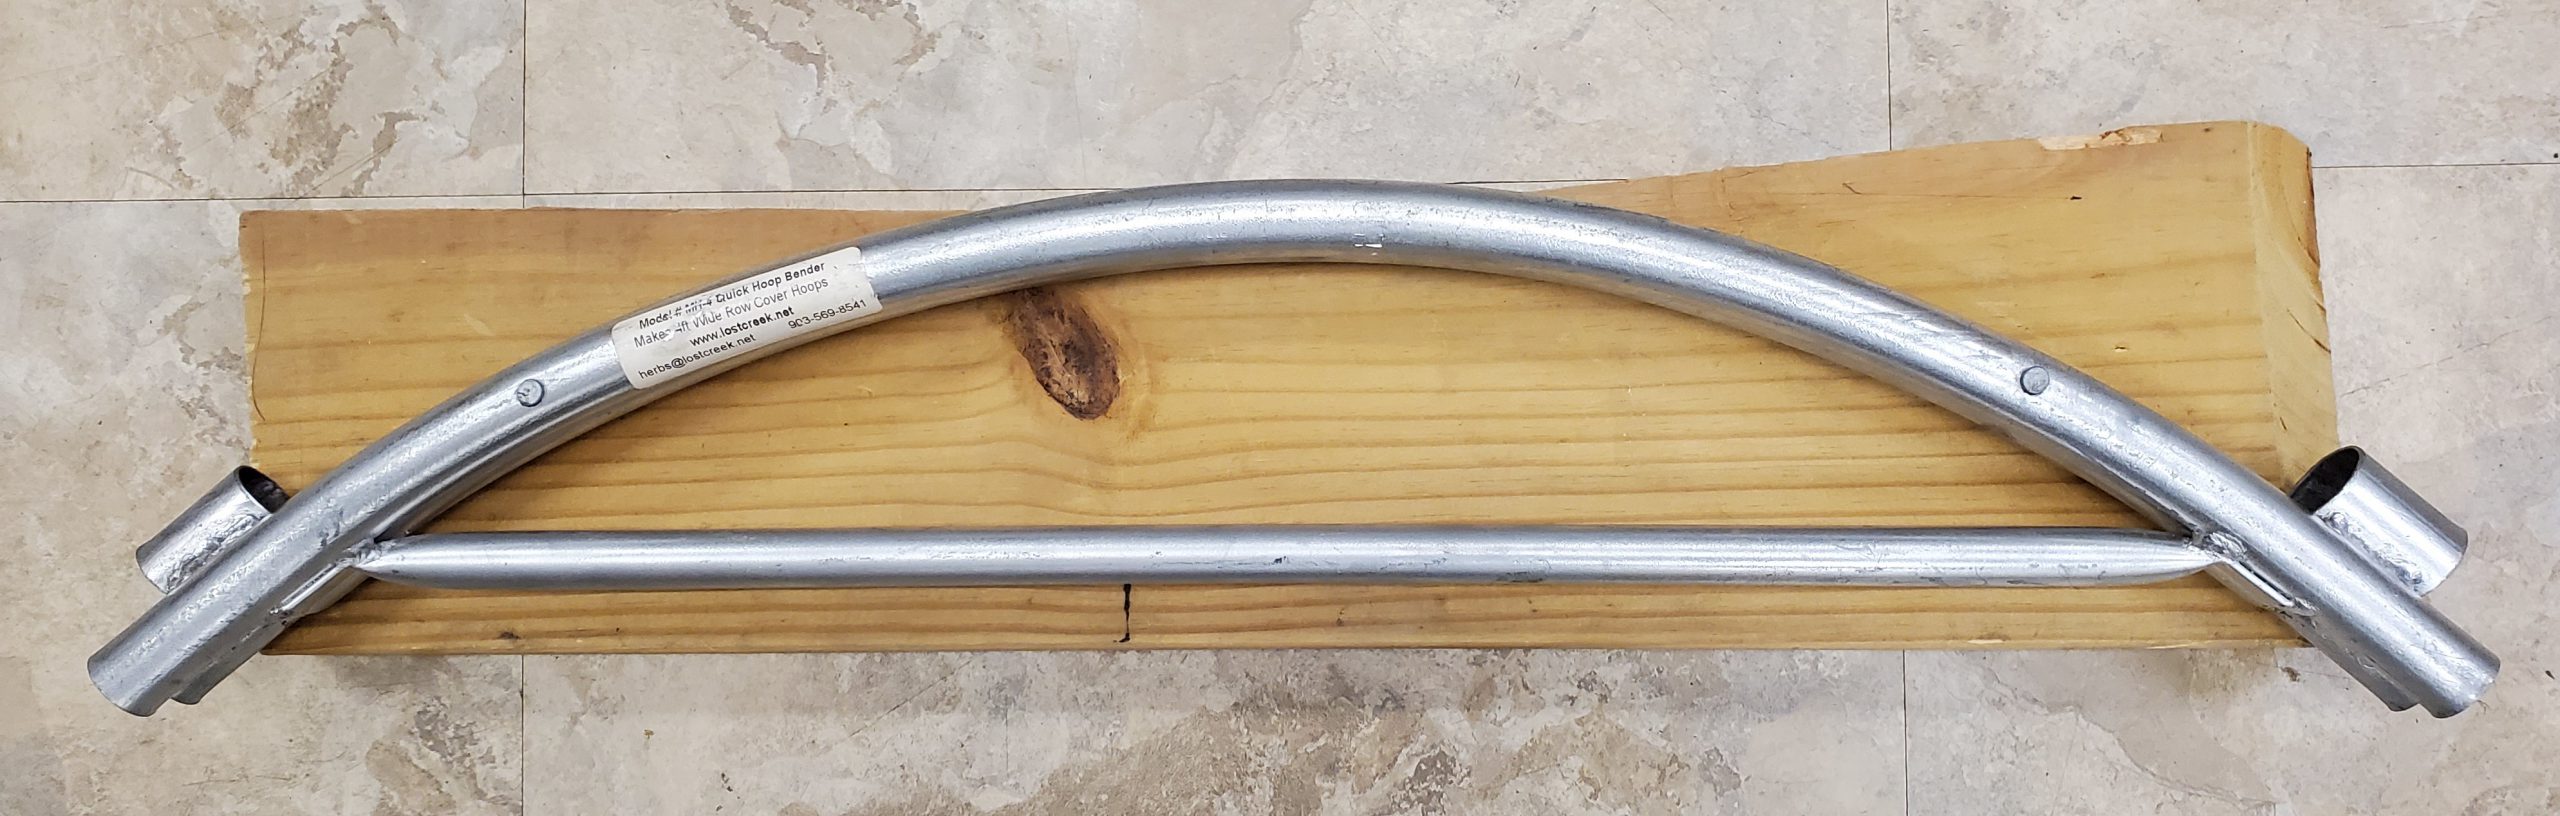
Pipe Bender for bending hoops for low tunnel systems. Image Credit Evan Anderson, UF / IFAS Extension
The cover of a low tunnel can be plastic, fabric, shade cloth, or even insect netting, depending on the needs of the crop. The hoops that hold the cover may be made of any sturdy material, such as wire, pieces of PVC, or metal electrical conduit. Hoop benders are available to help bend metal conduit to the correct shape. For more information about low tunnels, please see this EDIS publication.
by Daniel J. Leonard | Jan 23, 2020
Cruciferous vegetables, mostly cool-season annuals in the Brassicaceae (formerly Cruciferae) family, are part of a healthy diet, prized for their high fiber content and unique sulfur-containing compounds known as glucosinolates. This vegetable family includes things many of us love (or love to hate) like Brussels sprouts, cabbage, cauliflower, collards, kale, mustard, turnips, bok choy, and Chinese cabbage. They’re also commonly grown in Panhandle gardens. However, as anyone who has grown these species knows, some are easier than others. For example, kale and radish are among the easiest of all plants to grow. But get beyond the basics and folks often run into difficulty with species like broccoli and cabbage. The high rainfall/humidity and frequent warm spells experienced here during the growing season often lead to serious pathogen problems, dooming my garden in years past. However, this winter, thanks to a couple of new cultivars, ‘Capture’ Cabbage and ‘Burgundy’ Sprouting Broccoli, I’ve enjoyed a plentiful supply of tasty crucifers!
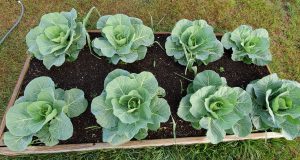
4’x 8′ raised bed planted with ‘Capture’ on 24″ centers.
‘Capture’ Cabbage, developed by Bejo Seeds of California as a mid-season “white” fresh market cabbage for the South, has been an outstanding performer in my garden this year. Touted as highly resistant to Black Rot and Fusarium Yellows (by far the two most devastating pathogens of Cabbage), I had to try it for myself. I planted seeds 24” apart in my standard 4’ wide x 8’ long x 12” deep raised beds filled with mushroom compost and aged pine bark. Seedlings were fertilized once about three weeks after germination with a general purpose 10-10-10 fertilizer. The plants that developed have been extremely vigorous (I’m glad I paid attention to plant spacing guidelines on the seed packet!) and have not shown ANY evidence of disease, even through an unusually warm and wet winter that would have hammered older susceptible varieties. My plants have begun to develop heads and should be ready for harvest and the kitchen in just a couple more weeks! If you’ve had problems getting a cabbage from germination to head formation and harvest without serious disease pressure, give ‘Capture’ a try next fall!
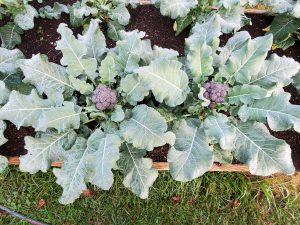
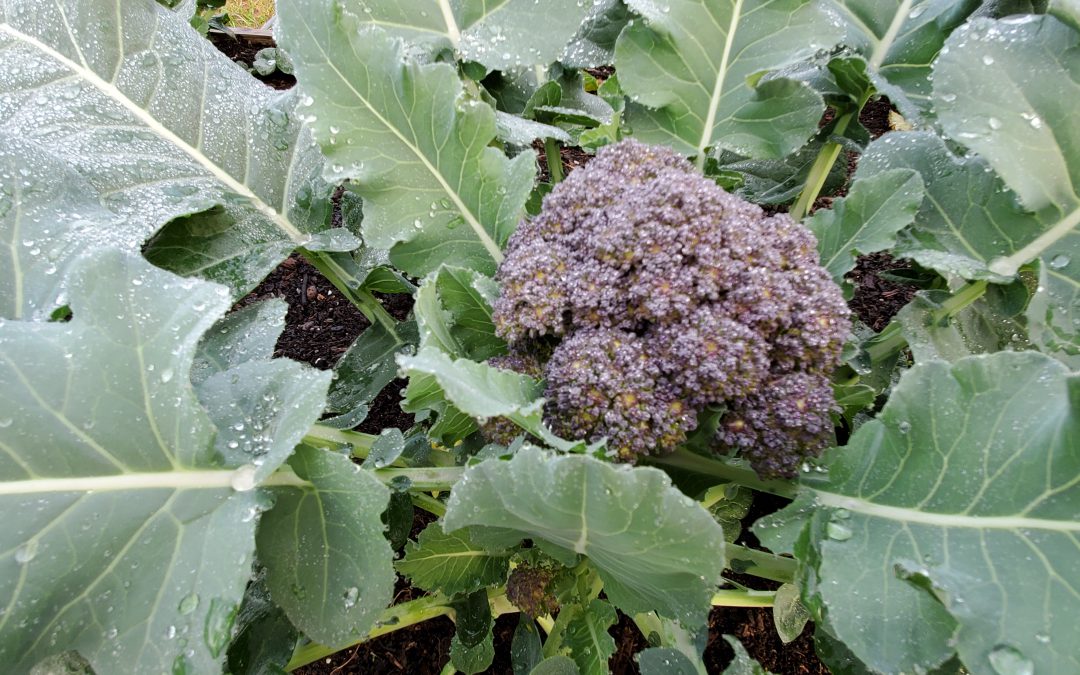
‘Burgundy’ Broccoli in the author’s raised bed garden.
‘Burgundy’ Broccoli, developed by Elsom Seeds in the United Kingdom, is a unique variety sure to turn heads in your garden. True to its name, the prolific florets are a deep, purple color. Though the central “head” on ‘Burgundy’ is quite small, that’s not the primary feature anyway. Considered a “sprouting” broccoli, this cultivar puts out an abundance of side shoots that make ‘Burgundy’ sort of a cut-and-come-again broccoli, allowing for a long harvest window. Another advantage from a disease avoidance perspective is the short maturity time (the time from planting seeds to having harvestable shoots) of around 40 days! For perspective, a “regular” heading broccoli has a maturity of around 60 day, lots more time for problems to happen. In the same growing conditions described above for cabbage, ‘Burgundy’ performed amazingly well for me, growing strong, healthy stalks, large, unblemished leaves and an abundance of purple shoots with a nice flavor profile!
If you want to enjoy homegrown broccoli and cabbage but disease pressures have made your previous efforts unproductive, give ‘Capture’ Cabbage and ‘Burgundy’ Broccoli a try! These two selections have made it easier than ever to enjoy unique, homegrown, healthy cruciferous veggies. Keep these and other quality, disease-resistant cultivars in mind when planning your winter garden in 2020!
by Molly Jameson | Nov 7, 2019
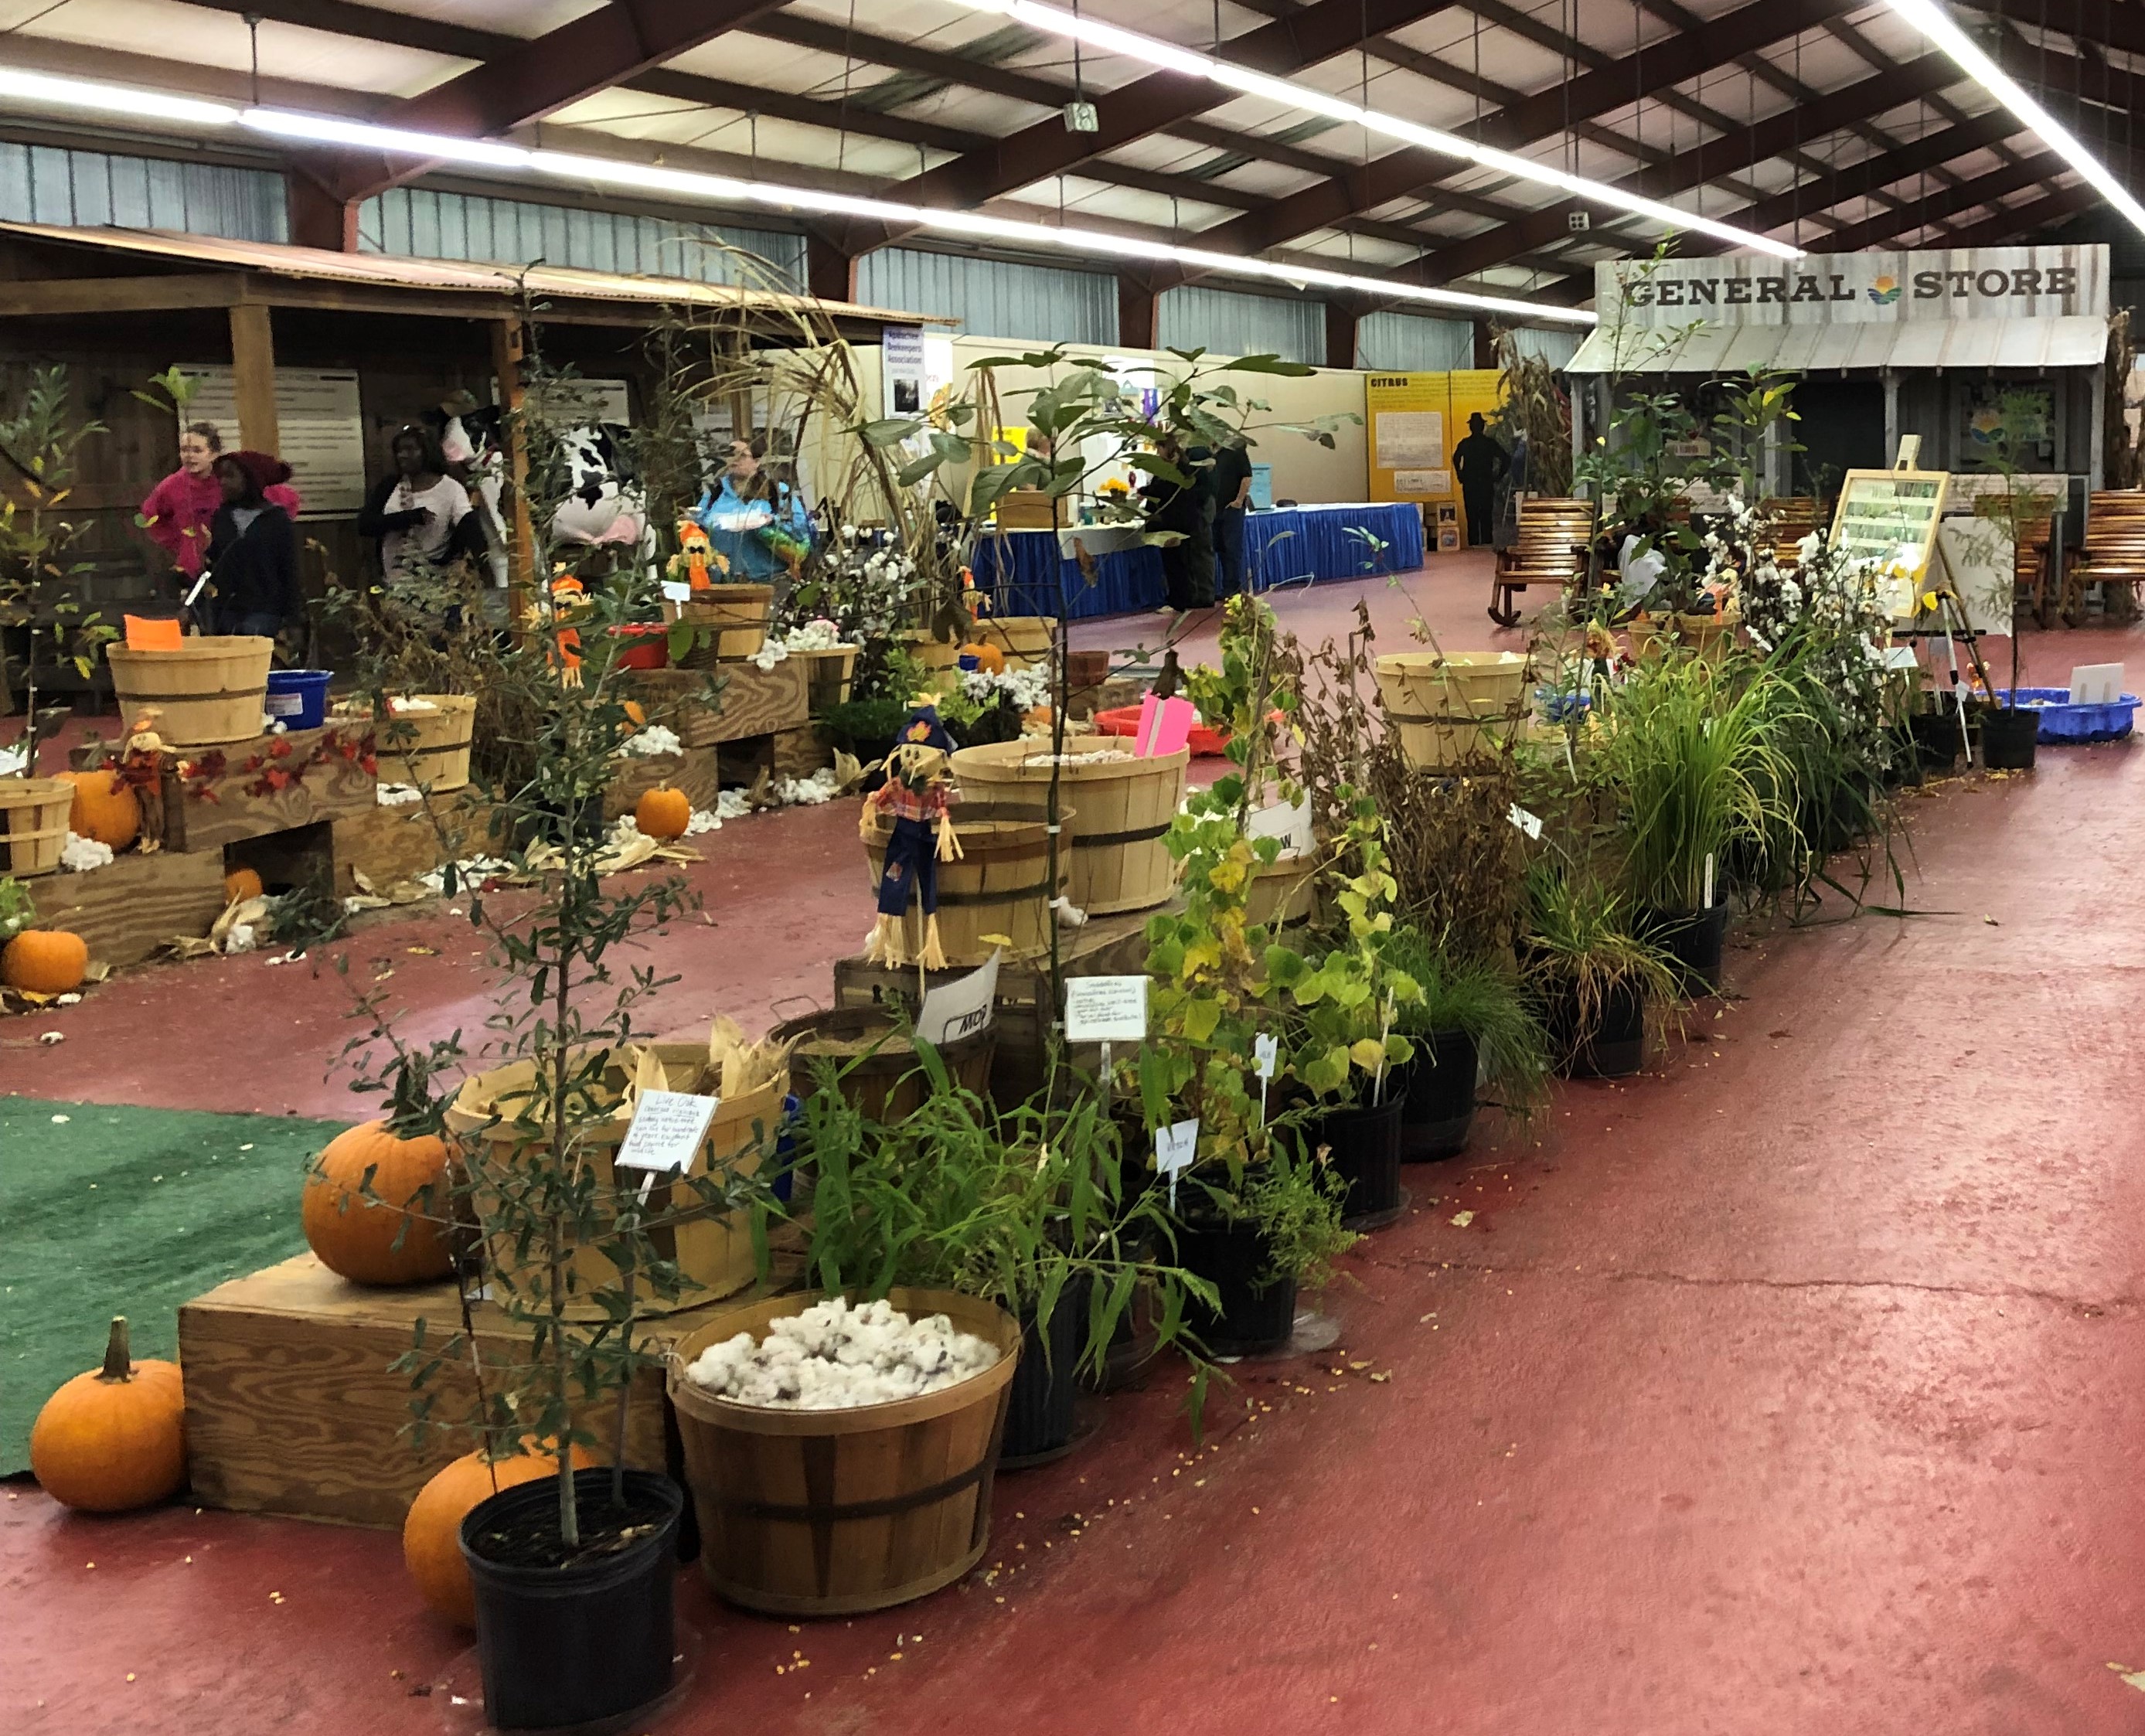
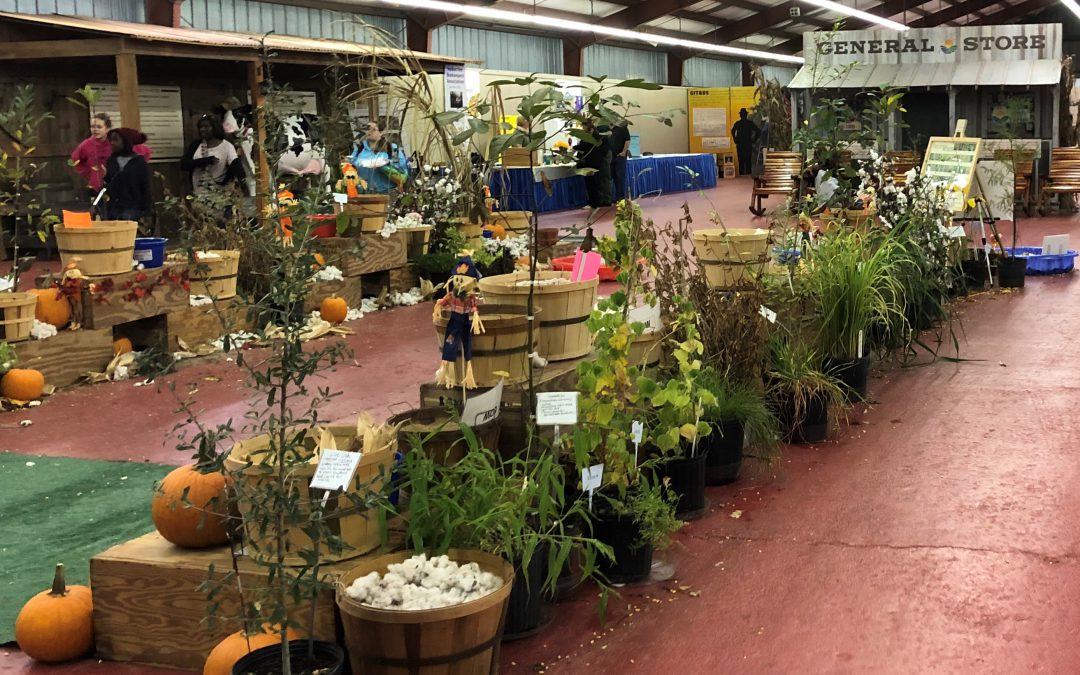
There are hands-on agricultural crop displays and much more in the UF/IFAS building at the North Florida Fair. Photo by Molly Jameson.
New Demonstrations in the UF/IFAS Extension Building at the North Florida Fair
Every year during the North Florida Fair in Tallahassee, extension agents from all over the Florida Panhandle showcase their various programming in the UF/IFAS exhibitor building. This includes educational displays and hands-on activities in areas such as horticulture, agriculture, livestock, 4-H youth, natural resources, and family and consumer sciences.

Once you have your fill of fair rides and funnel cake, see a live educational demonstration at the UF/IFAS building! Photo by Molly Jameson.
For instance, visitors can view and touch agricultural crops grown in our area, play in a giant tub of actual cotton, match images of song birds with their names, make a 4-H craft, and learn about the importance of wildlife habitat for animals.
This year, Extension is including even more to do and learn in the UF/IFAS building. There will be live demonstrations taking place throughout the fair week, which is November 7 to 17 this year.
Did you know you can convert recycled containers, such as milk jugs and soda bottles into self-watering planters? Or that when saltwater reef fishing, if fish are brought to the surface too quickly, it can rupture their organs? Learn all about these concepts and more during the UF/IFAS Extension Live Demonstrations.
UF/IFAS Live Demonstration Schedule:
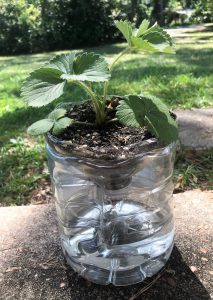
Turn all types of containers into self-watering gardens, such as planting a strawberry in a plastic jug using strips of old cloth as a wick. Photo by John Edwards.
Saturday, November 9:
- 1:00 p.m. – Food Safety with Extension Agent Kendra Zamojski
- 2:00 p.m. – Avoiding Barotrauma while Deep Sea Fishing with Extension Agent Andrea Albertin
Monday, November 11:
- 1:00 p.m. & 4:00 p.m. – Reef Fish Catch and Release Techniques with Extension Agent Laura Tiu
Tuesday, November 12:
- 6:30 p.m. – Rose Propagation with Extension Agent Matt Orwat
Thursday, November 14:
- 6:15 p.m. – Starting Plants in Recycled Newspaper with Extension Agent Paula Davis
- 7:00 p.m. – Food Safety with Extension Agents Laurie Osgood and Amy Mullins
Saturday, November 16:
- 3:00 p.m. – Planting with Recycled Containers with Extension Agents Molly Jameson, Mark Tancig, and Allison Leo
Sunday, November 17:
- 7:00 p.m. & 8:00 p.m. – Reef Fish Catch and Release Techniques with Extension Agent Erik Lovestrand
For more information about the North Florida Fair, visit the website at http://northfloridafair.com/.
See you at the fair!