
by Daniel J. Leonard | Oct 10, 2017
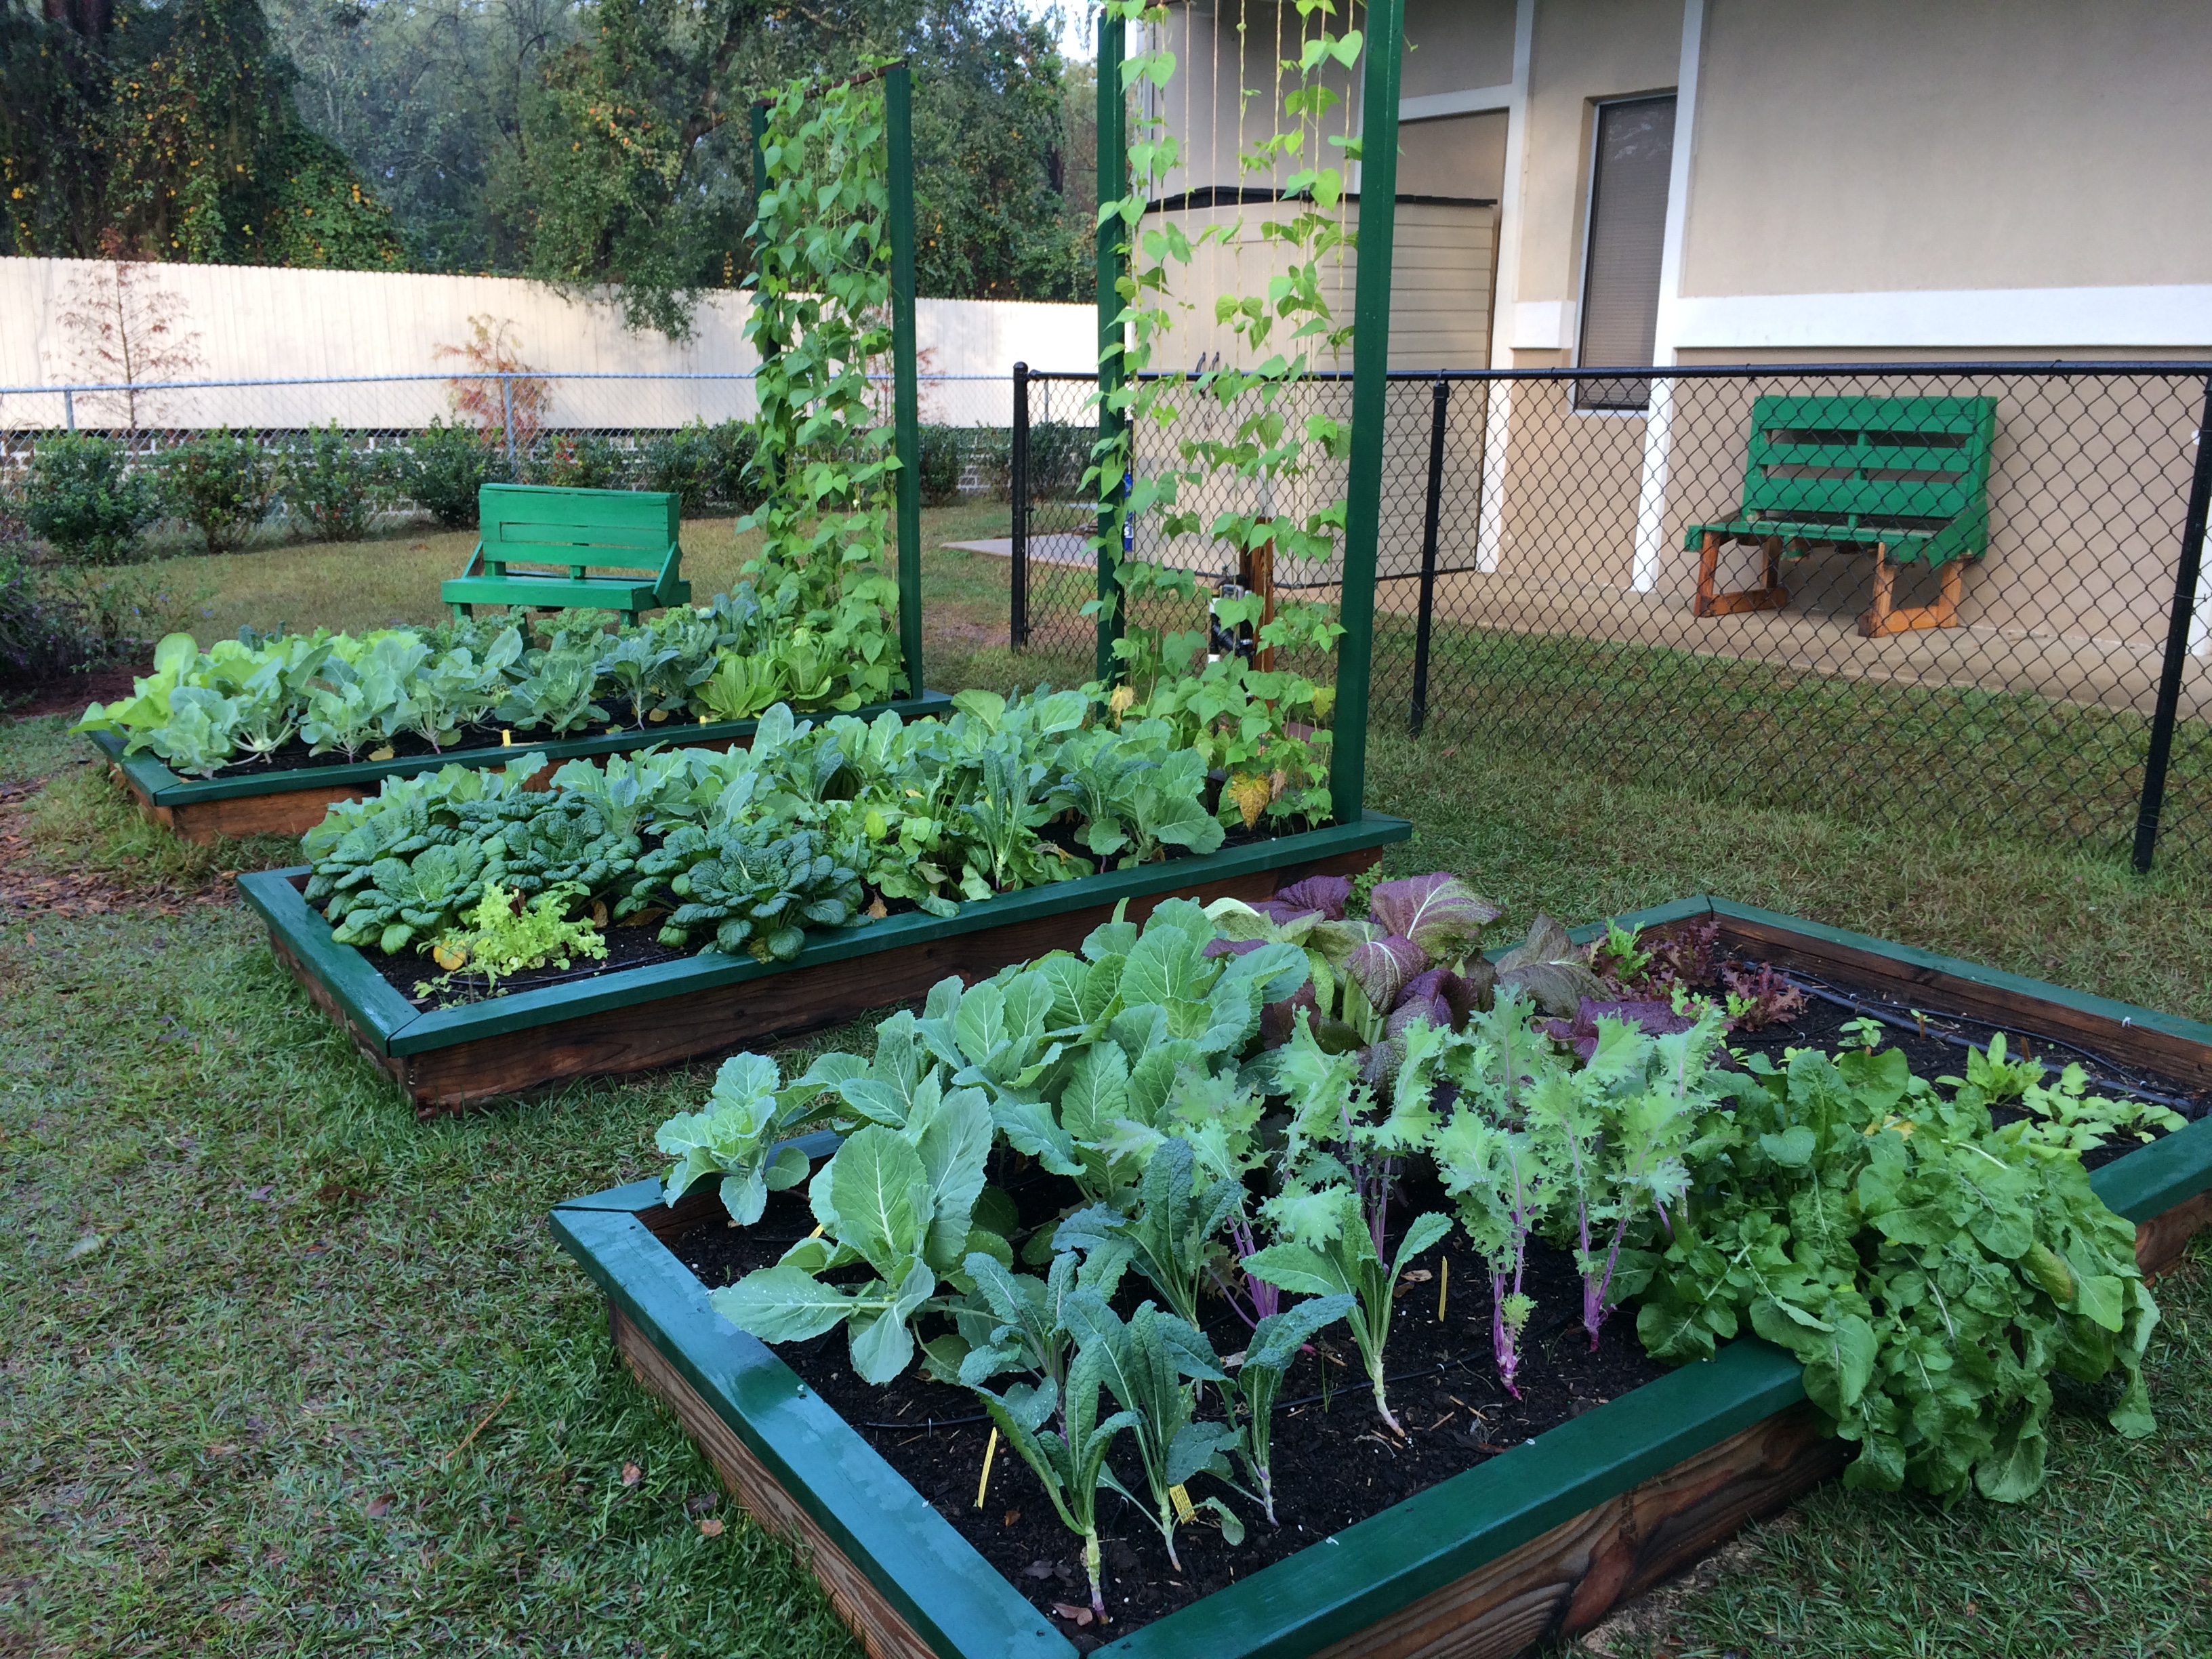
I had to do a hard thing last week. My battle-worn okra, eggplant and pepper plants that had produced so reliably since June and endured all the summertime challenges (heat, insects, disease, and a hurricane to name a few) were finally pulled out of my raised bed garden and discarded. A combination of lowered yields, increased insect pressure, and the fact that one can only eat so much okra in a calendar year sealed their fate.
However, before planting our cool-season veggie favorites, like those tender leafy greens and wonderfully crunchy carrots, there are a few things to do to get our raised beds in shape to give maximum yield performance and make growing a little easier.
Replenish the Soil
One of the main benefits of raised beds is the ability to grow in near-perfect soil conditions. If I was relegated to gardening in my yard’s less than ideal native sandy soil, I might have given up altogether by now and I suspect many of you would be in the same boat. Raised beds totally alleviate this problem and give gardeners the opportunity to grow in rich, fertile soil composed of your favorite homemade soil mixture (mine is two parts mushroom compost to one part aged pine bark) or commercial potting mix/compost. However, at the end of each growing season, you will notice you have a bit less soil in your beds than you did at the beginning. While frustrating, this is a natural process for soils rich in organic material – they naturally break down and decompose! So to give your veggies’ roots the maximum amount of growing space for the coming season, top off your beds with a quality soil/compost mix and till it in before sowing seed or setting out transplants.
Eliminate Competing Roots
If you have a mature tree anywhere near your raised bed garden, you are going to be in for a surprise when you till that new compost in! It turns out that tree roots like that rich, fertile raised bed soil just as much as vegetables do and will seek it out. It is not uncommon for mature trees to have root systems that stretch horizontally two to three times the height of the tree, meaning a 50’ oak tree could have roots growing well over a hundred feet away from its trunk! Therefore, unless you have a totally tree-free property, battling tree roots in your beds will be an ongoing issue. For instance, each fall, when I transition from warm season to cool season crops, I find that my neighbor’s Laurel Oak has filled all three of my raised beds full of feeder roots glad to be free of the infertile sand. This is a problem because those roots suck up vital water and nutrients meant for my vegetable crops, robbing them of reaching their full potential. It is good practice to thoroughly till your beds’ soil and remove as many of the competing roots as you can. Doing so will give your new plants a head start on becoming established before the competition returns.
Depleted soil and competition from tree roots are two of the biggest threats to your raised bed’s performance. By planning ahead and accounting for both of these things prior to planting your fall garden, you will be more likely to reap a larger yields when harvest time comes! For more information on raised bed vegetable gardening and other horticultural questions, contact your local UF/IFAS Extension Office. Happy fall gardening!
by Molly Jameson | Sep 18, 2017
The Garden Educator Training Series helps garden leaders start or improve their school or community garden. Photo by Molly Jameson.

By Tiffany Torres
Tiffany Torres is the Family Nutrition Program Northwest District Food Systems Specialist with UF/IFAS Extension.
With the cooler months of fall upon us, school gardens across the Panhandle are beginning to awaken from their summer slumber. Soon, students and teachers will begin to replenish the soil, plant their seeds, and dive into an engaging edible education experience.
For these schools and communities, gardens are much more than just a few beds of carrots. School gardens serve as outdoor classrooms, bringing academic concepts to life in new and exciting ways, while also encouraging environmental stewardship. In addition, school gardens can expose students to lifelong healthy eating habits by inspiring them to try new fruits and vegetables. In time, the school garden can become a facet of school culture and pride, ultimately reinforcing an overall healthier school food environment for students, teachers, parents, and the broader community.
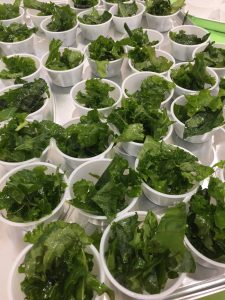
School gardens can inspire students to try foods, impacting their eating habits long-term. Photo by Molly Jameson.
To help support teachers and other school garden stakeholders on this journey, specialists at the University of Florida IFAS Extension Family Nutrition Program developed a seasonal school and community garden training. The “Garden Educator Training Series” provides teachers and volunteers with tools for improving school garden education, enjoyment, and long-term outcomes. This monthly education and networking opportunity welcomes teachers who want to start and sustain school gardens, college students who want to volunteer with local gardening projects, and other garden enthusiasts, such as Master Gardeners, who want to lend their time to ensure the success of school and community gardens.
Each session includes three engaging components: 1) seasonally relevant, hands-on gardening skills; 2) curriculum and education connections; and 3) community organizing strategies to build team commitments. Sessions also include an opportunity to share successes and challenges amongst fellow attendees, resulting in a stronger school and community garden network. Each garden project leader will build a “Living History Binder,” which they will fill with resources throughout the series and use with their team to help organize their garden projects.
Through the Garden Educator Training Series, it is our hope that everyone involved will gain tangible and valuable skills to launch or improve their school or community garden projects. The program will give educators the tools necessary to design their gardens to be outdoor classrooms; promote health and wellness through gardening; facilitate community engagement; and teach students valuable life skills such as teamwork, cooperation, focus, and patience – inspiring the next generation of “garden leaders, not just garden weeders.”

The Series provides teachers and volunteers networking opportunities and tools to improve school garden education. Photo by Molly Jameson.
Interested in participating in the Garden Educator Training Series? The Series is free of charge, and will take place at the Leon County Extension Office (615 Paul Russell Rd, Tallahassee, FL). Fall sessions are 4:30 to 6:30 p.m. on September 14th, October 12th, November 9th, and November 30th. To register, visit the UF/IFAS Leon County Eventbrite website (https://leongetsfall2017.eventbrite.com).
For further information, please contact the UF/IFAS Extension Office at Leon County by calling (850) 606-5200.
by Matthew Orwat | Aug 26, 2017
This event has been cancelled due to Hurricane Irma and the impact it is having on the speakers, who were planning on travelling from central Florida. Rescheduled for February 2018
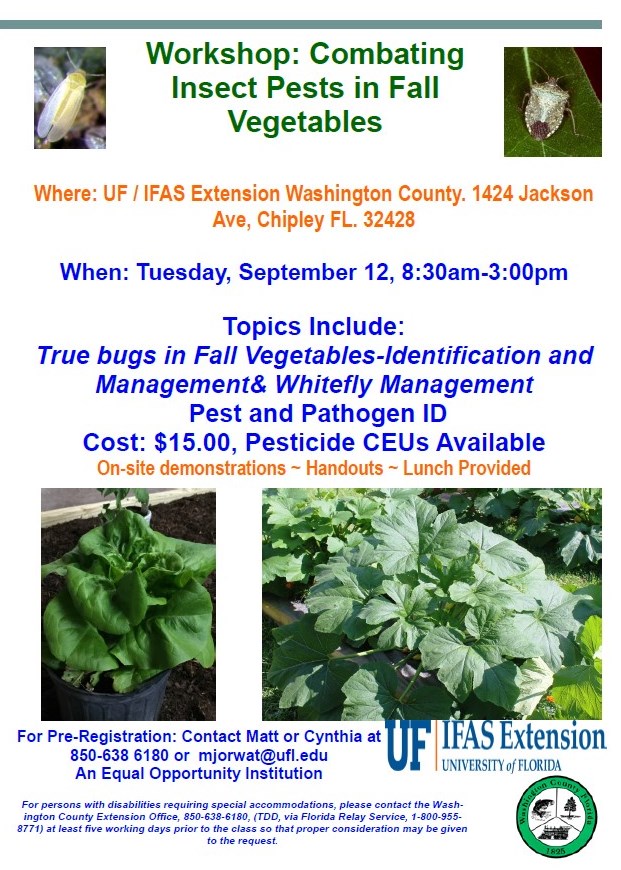
Entomology specialists from the University of Florida and Extension agents will be leading hands on sessions focusing on insect pest management in vegetable production. This workshop is relevant to anyone growing vegetable crops in any season, but will have a special focus on fall vegetable pests.
Lunch will be provided and CEUs for pesticide license holders will also be available.
Cost: $ 15.00
Address: Washington County Ag Center East Wing, 1424 Jackson Ave, Chipley FL 32428.
Time: 8:30am-3:00pm
Pre Registration required for count: Contact Nikki or Cynthia at 850-638-6180 or email Matthew Orwat at mjorwat@ufl.edu
or register online at eventbrite HERE !
Agenda
-
Welcome and Introduction 8:30am-8:35 Matthew Orwat, Washington County Cooperative Extension, Amanda Hodges, University of Florida
-
True bugs in Fall Vegetables-Identification and Management 9:00am-10:15am
-
Cowpea Curculio 10:15am-10:30pm
-
Break 10:30am-10:45am
-
Whitefly Management 10:45am-11:10am
-
Invasive Species problems in North Florida Vegetable Production 11:10am-11:30am
-
Invasive Stink Bugs and Related True Bugs 11:30am-11:50pm
-
Lunch 11:50pm-12:30pm
-
Tomato leafminer Tuta absoltua 12:30m-12:45pm
-
Old World bollworm and Exotic Spodoptera Pests 12:45pm-1:05pm
-
Common Vegetable Plant Diseases in the Florida Panhandle 1:05pm-1:35pm
-
Pest and Pathogen Walk 1:35pm-2:05pm
-
CAPS Exotic Corn Diseases of Concern 2:05pm-2:35pm
-
Sample Submission, Arthropod and Disease samples 2:35pm-2:50p
by Matt Lollar | Aug 25, 2017
If you’ve attended any of our landscaping classes, then you’ve probably heard the phrase “Right Plant, Right Place”. This phrase is a simple reminder to research plant growth habits and growing conditions before making selections for your landscape. This not only holds true for ornamental plants, but for edible crops as well. A term used to describe the use of edibles as ornamentals is “Permaculture”. Now this is an extremely simplified definition of the term, but permaculture comes from a combination of the words “permanent” and “agriculture”. The thought behind permaculture is to fashion an edible landscape after a natural ecosystem.
There are a number of strategies to becoming a successful permaculturist. Below you will find a few examples.
- Site Observation and Analysis – The slope, orientation to the sun, and sectors of your yard should all be documented.
- Slope – Identifying the slope of your yard can help you determine the natural flow of water and nutrients. For example, if you have a hill in your back yard you may want to install some plant beds between the peak of the slope and your house. These beds will help absorb water and nutrients before they have a chance to reach the house.
- Orientation – Think about the location, relevant to your house, of each of your edible landscape areas. The eastern side of your house receives morning sunlight, which is much cooler than the western side of your house that receives sunlight in the afternoon. A tomato plant will be much happier if it can avoid the afternoon heat.
- Sectors – While walking your property, you will notice differences in soil texture, soil moisture, and the plants and weeds growing in these different areas. You can divide your yard based on these characteristics along with slope, orientation, and shade percentage to develop sectors of your property.
 Cover Crops and Living Mulch – Cover crops are planted in areas that you would normally allow to go fallow. Living mulches are plants that are planted alongside edible plants to help fill voids. The benefits of both are listed below.
- Weed Supression
- Erosion Control
- Produce and/or Scavenge Nutrients
- Nematode Supression
- Harbor Beneficial Insects
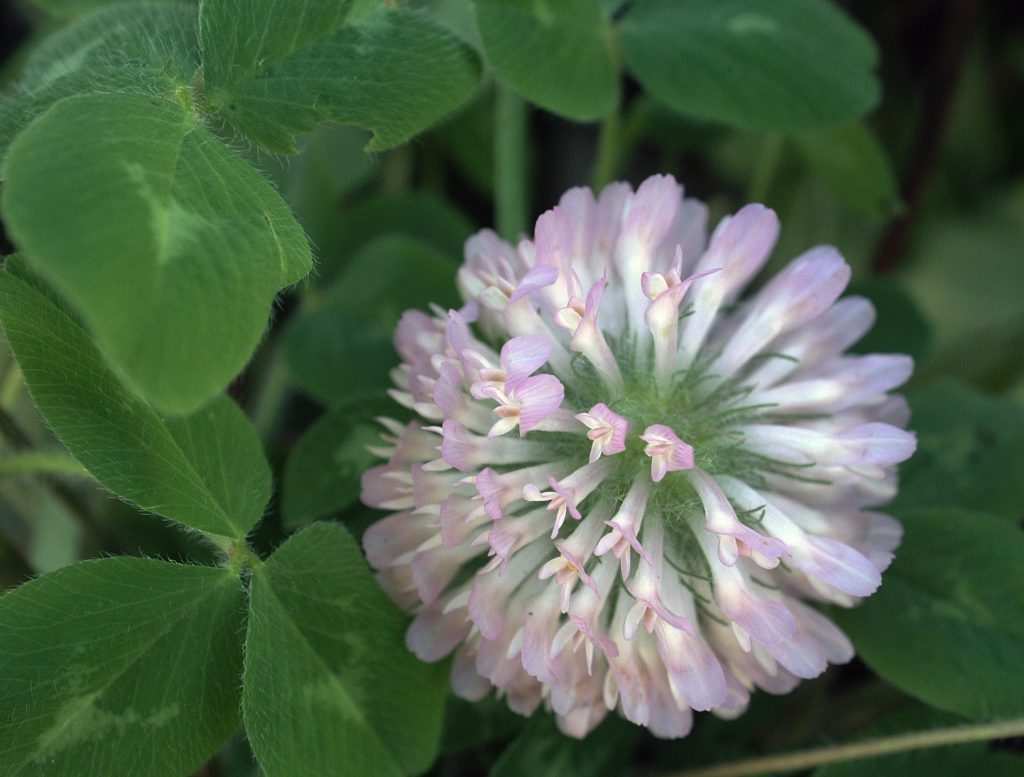
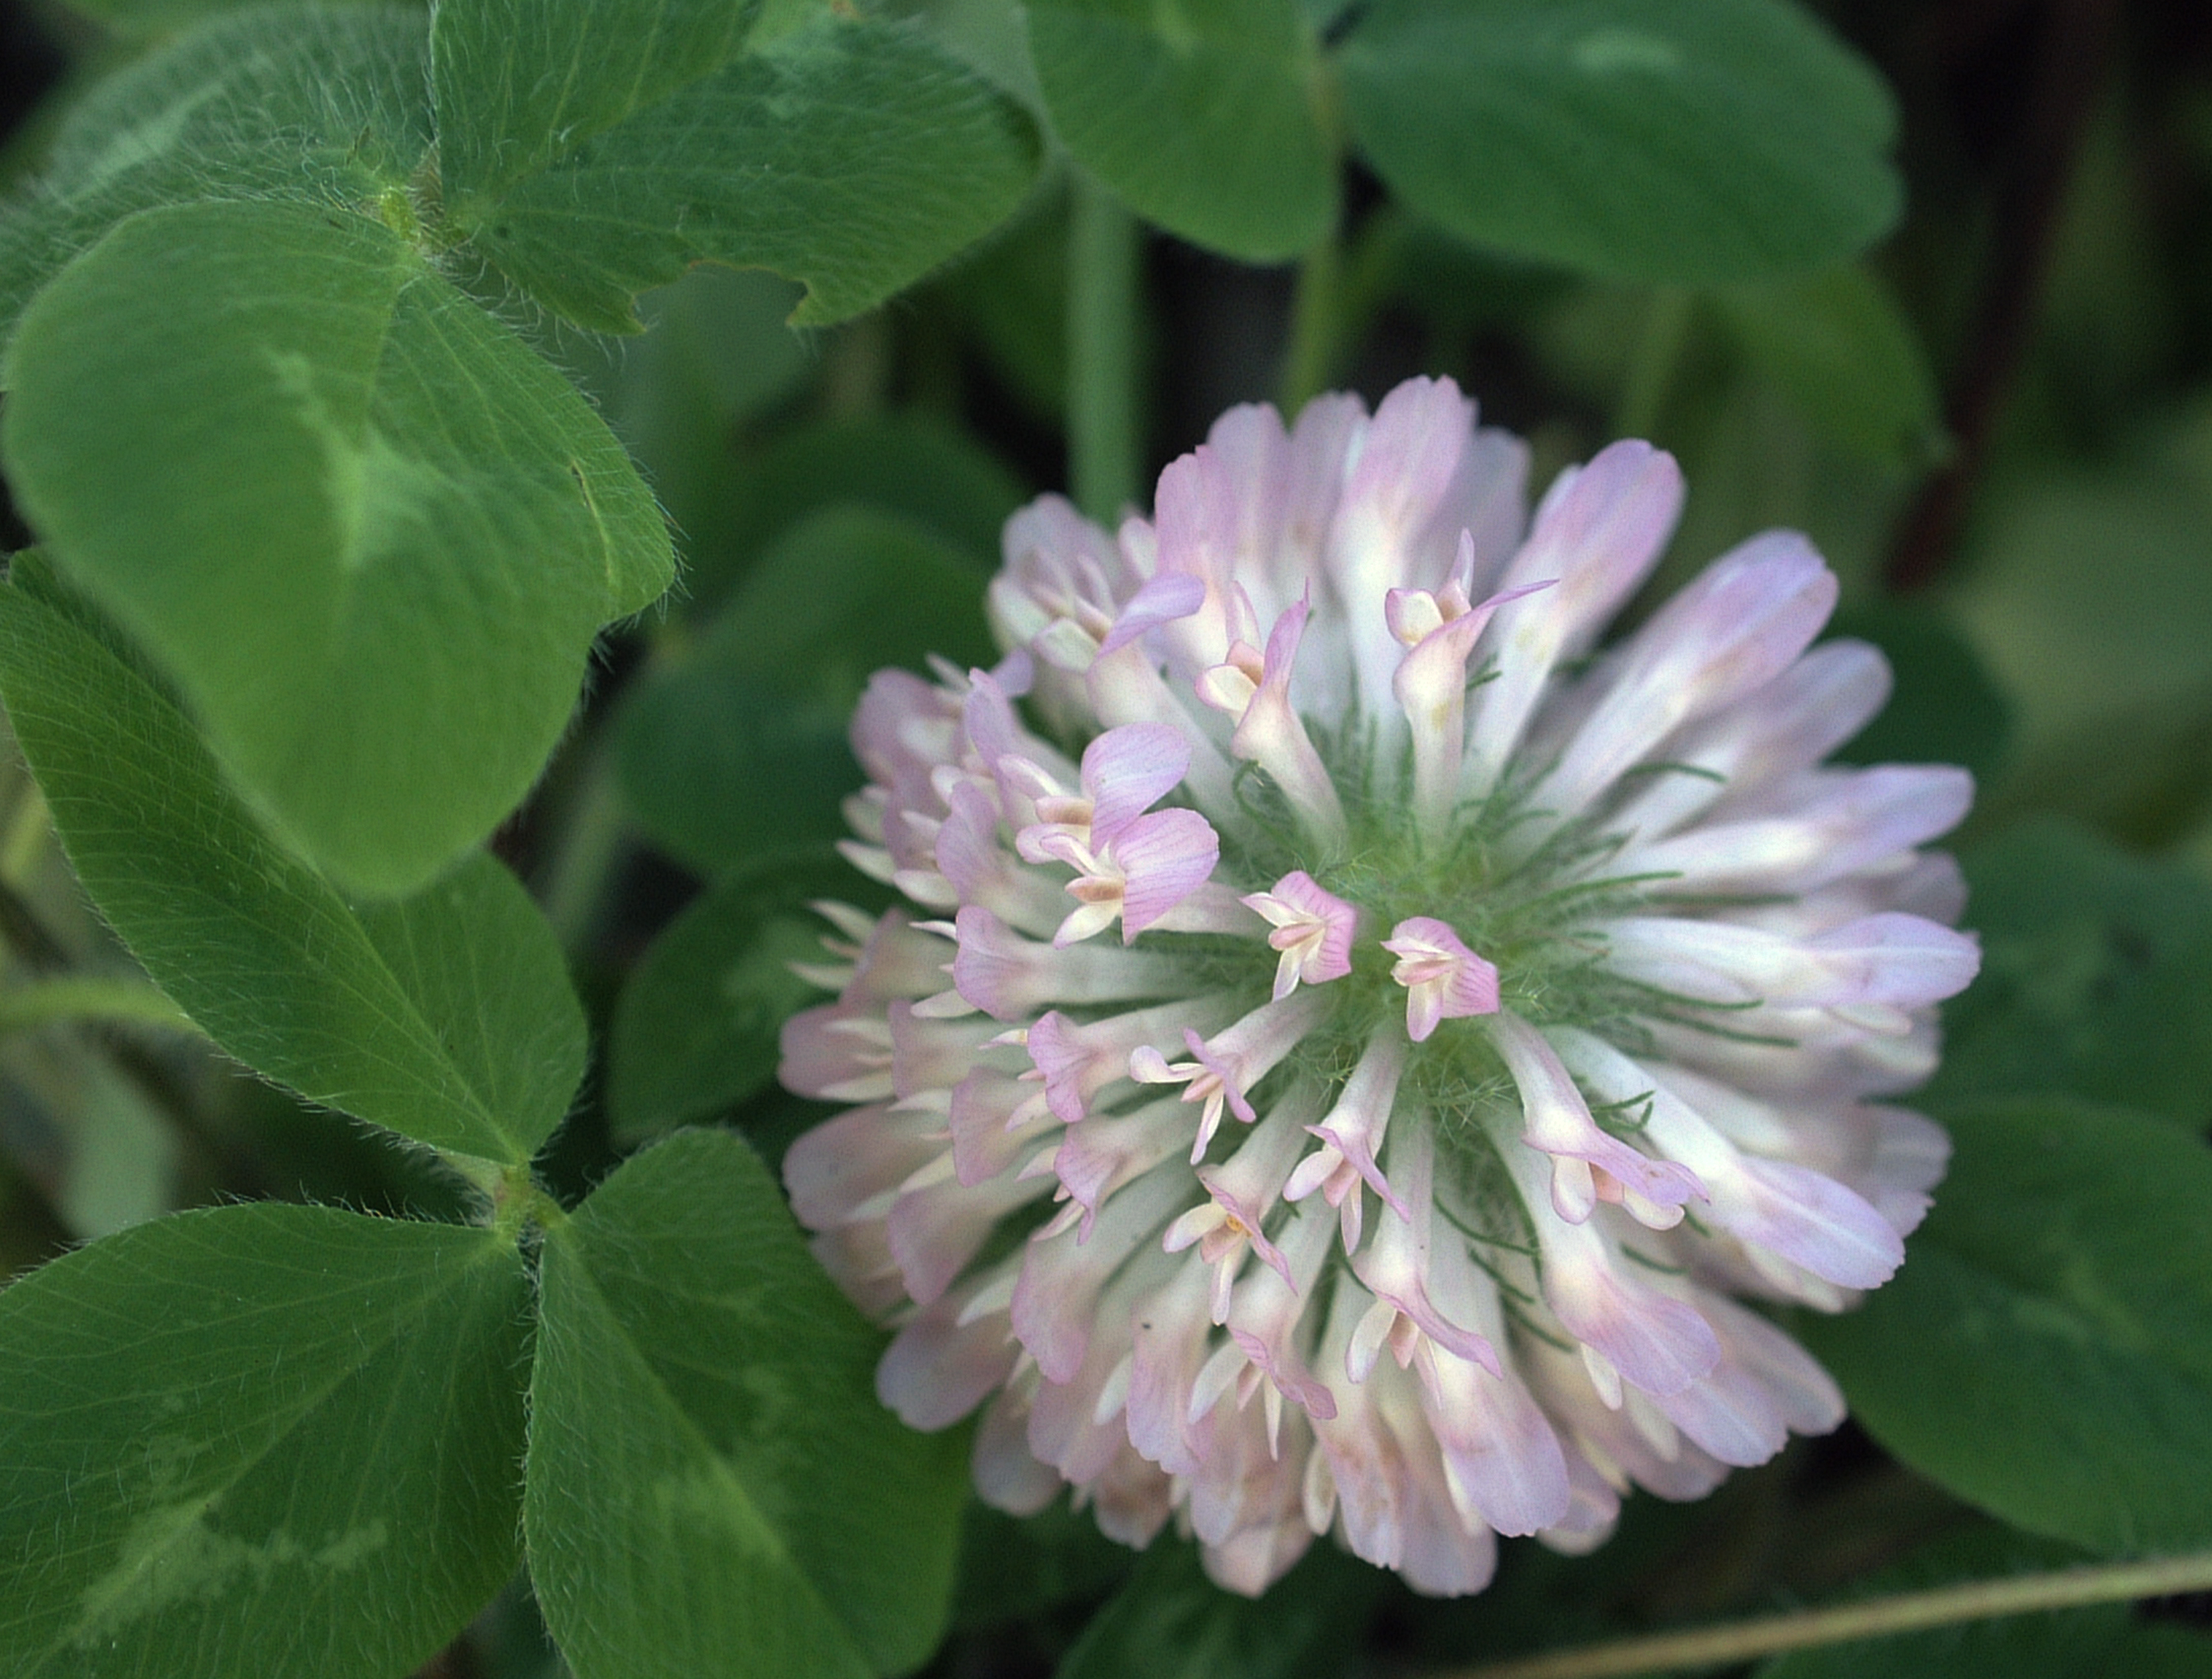
Clover is an excellent cover crop choice and has a beautiful flower. Photo Credit: University of Florida/IFAS.
- Space Utilization – The third criteria is to mimic a forest. Just like any good forest, your “forest garden” will consist of different layers of vegetation.
- You can start by planting large deciduous trees such as pecans or pears farthest from the house. These trees will allow filtered light to penetrate the layer below.
- Next, you can plant smaller fruit trees such as citrus or peaches along the understory of the larger trees.
- Then, you can plant your vegetable and herb garden around your fruit tree plantings.
- Finish by planting root and vining vegetables such as carrots or sweet potatoes at the edge of the forest.
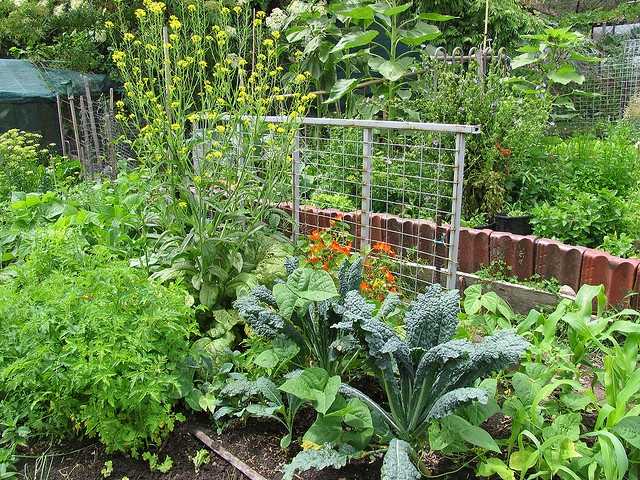
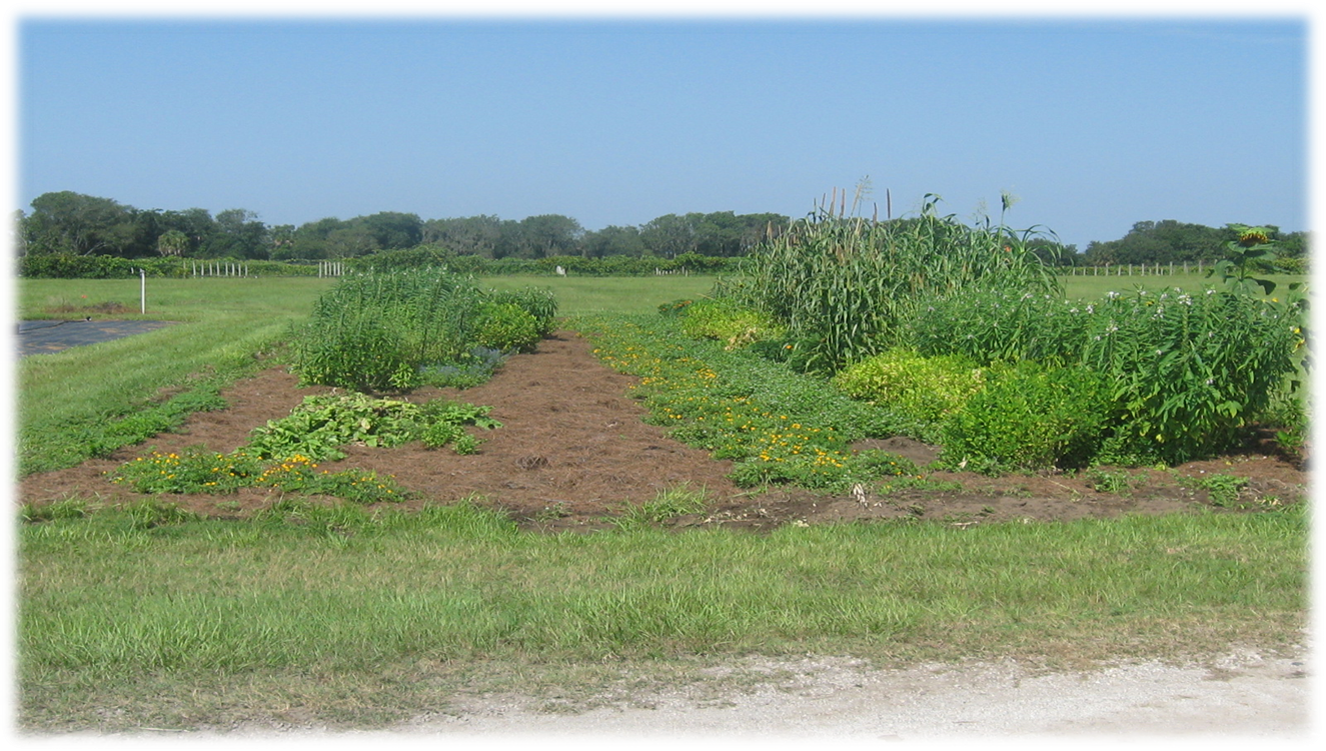
A mixed vegetable garden. Photo Credit: eXtension.org.
We’ve just scratched the surface of the concept of permaculture, but I encourage you to dig a little deeper. What could be the harm with being able to eat your landscape? Just don’t eat too much or you may lose your landscape entirely!
An “Intermediate Permaculture” class is scheduled for Saturday, September 23 at the Jackson County Extension Office. For more information, please call (850)-482-9620 and ask for Matt.
For more information on permaculture please visit the NC State Permaculture Page.
For more information on “Right Plant, Right Place” please visit the UF/IFAS Florida Friendly Living Site.
by Molly Jameson | Jul 12, 2017
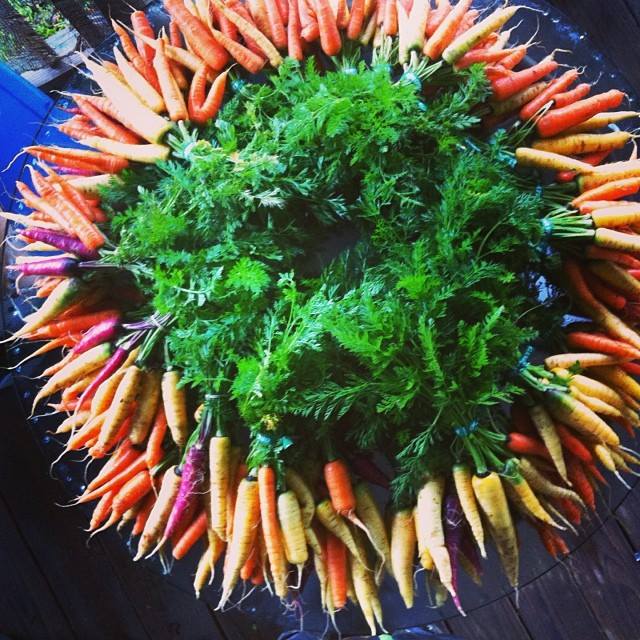
The modern carrot is available in many sizes, colors, and flavor profiles thanks to thousands of years of plant breeding. Photo by Kelly Thomas.
Fruits and vegetables have undergone various forms of domestication for thousands of years. Throughout this time, selective breeding of wild forages has allowed humans to develop crops with many desirable traits, such as increased size, higher sugar content, more nutrition, and brighter colors.
If you ate a carrot 5,000 years ago, you would be in for a surprise. First, it would not be orange. Instead, it would be white or purple, and would taste very bitter and be very small. We think wild carrots were first cultivated around 1,100 years ago, but that it took another 600 years to develop carrots that are not only available in white and purple, but also yellow, orange, and even red.
Sweet corn 9,000 years ago was a thousand times smaller, and barely edible, tasting more like a raw dried potato than corn, with only a few hard kernels per ear.
When you trace back the history of fruits and vegetables, you not only see many changes taking place through human intervention, but also many rituals, beliefs, and superstitions along the way. Take the mighty onion, for example. Did you know that Greek athletes in the Ancient Olympic Games would eat pounds of raw onion, drink the juice of onions, and rub onions all over their bodies before competing?
Roman generals believed garlic gave soldiers courage and strength, so they planted whole fields of it in areas they conquered, believing this transferred bravery to the armies. According to ancient Egyptian records, the Pharaoh gave the Egyptian slaves who built the pyramids garlic daily, along with their meager rations of beer and flat bread, as a means to increase strength and endurance. By today’s standards, it is believed it cost the Pharaoh two million dollars to keep the slaves supplied with garlic.
The Aztecs domesticated tomatoes around 500 BC, but they were not introduced to Italy until the 16th century. Even then, it took Italians another 250 years to embrace the tomato, as this member of the nightshade family was – understandably – feared to be poisonous. Can you imagine your pizzas and spaghetti without marinara?
Cucumbers originated in India, where their domestication started more than 4,000 years ago. They were traded to the Middle East and Europe about 3,000 years ago, and were even mentioned in the Epic of Gilgamesh. In Ancient Rome, Emperor Tiberius, who reigned briefly from 14 to 16 AD, demanded that he be served cucumbers daily. In the winter, his gardeners had to grow cucumbers in mobile wooden frames to protect the plants and expose them to the sun.
So the next time you enjoy the crunch of a bright orange carrot, sink your teeth into a chunk of hot garlic bread, or nurture your prized heirloom tomatoes, reflect back on just what it took our ancestors to get to the fruits and vegetables we relish today.
by Matt Lollar | Apr 13, 2017
Most of you plant a spring vegetable garden with a number of different vegetable types. However, you may not realize that you are improving the health of your soil and your crops by planting a diverse garden. Intercropping is a gardening practice of growing different crops in the same field. When planting a mixture of crops in the same field year after year, it is important to rotate the location of each type of vegetable. This is a practice known as crop rotation. Intercropping and crop rotation will help reduce insect pest populations, increase beneficial insect populations, and reduce weed populations.
Crop Diversity
Growing plants in your garden that pest insects don’t like to eat makes the pests work harder to find what they do like to eat. Studies have found reduced whitefly numbers on squash plantings mixed with a crop of buckwheat when compared to squash planted alone. Another crop mixture that may be unintentional, but may work in your favor is a row of crapemyrtles along the edge of your garden. Crapemyrtles will attract the crapemyrtle aphid which will attract predatory insects. When the predatory insects run out of crapemyrtle aphids to eat, they will move to your garden and begin to hunt pest insects on your vegetable crop.
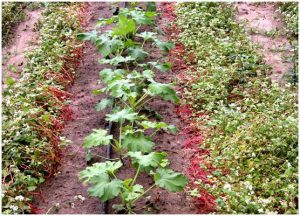
Squash with living mulch of buckwheat. Photo Credit: Oscar Liburd, UF/IFAS Extension
Trap Cropping
A trap crop is a plant that attracts a pest insect away from your food crops. Trap crops work best when planted at the edge of your garden, along a fence row, or in movable containers. A bare space, let’s say 5 feet or so, should be kept between your trap crop and your garden. This will help keep the pests from moving on to your vegetables. When you find a good population of pests on your trap crop then it is time to spray them with insecticide or cut the crop down and remove the debris to a location far from your garden. If your trap crops are planted in containers, then it makes them that much easier to remove from near the garden area.
Cover Crops and Green Manure
Soil organic matter can be increased by the use of green manure and cover crops. Cover crops are generally planted during the off-season, but they can be planted in between vegetable rows and tilled in at a designated time as a green manure. Both cover crops and green manure improve the production of your garden by:
- Suppressing weeds by competing for water, light, and nutrients;
- Holding the soil in place and preventing erosion;
- Scavenging for nutrients that can be utilized in future crops;
- Reducing nematode populations;
- Providing a habitat for beneficial insects.
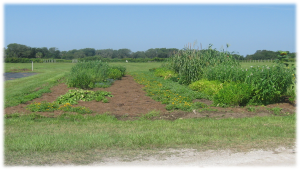
A mixed plot of cover crops and trap crops. Photo Credit: UF/IFAS Extension
A number of different crops can serve as cover crops or green manure crops. Most are legumes (bean family) or grasses. A few that you might like to give a try are:
- Cowpeas
- Sunn hemp
- Sorghum-sudangrass
- Winter rye
More detailed information on cover crops and green manure can be found at this link: http://edis.ifas.ufl.edu/aa217.


