by Julie McConnell | Sep 3, 2015
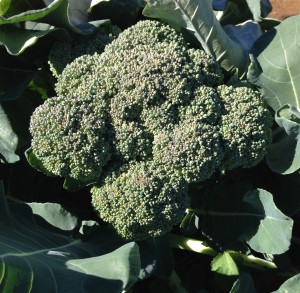
Broccoli, a popular winter vegetable. Photo by Mary Derrick, UF IFAS
As the days get shorter and temperatures decrease, it is time install your cool season vegetable garden. Many vegetables can be grown in Florida, but it is important to understand what the climatic requirements are for each crop to have the most success.
To get the most of your garden space know the recommended months for planting and the turnaround time for harvest so that you can stagger plantings or change out crops as needed.
September is the ideal time to plant cabbage, beets, kale, lettuce, mustard greens, onions, and radishes. After the New Year some options include eggplant, potatoes, English peas, and turnips.
Many gardeners start their tomatoes and peppers as early as February, but they are frost sensitive and early planting carries some risk of cold damage.
If you are interested in learning more about fall vegetable gardening, join the UF/IFAS Bay County Master Gardeners on Friday, September 18th for a free vegetable gardening workshop. This class will be held at the Bay County Extension Office at 2728 E. 14th Street in Panama City. To register please call 850-784-6105 or email bay@ifas.ufl.edu. Fall-VegMG2015
For more information and a full chart of what to plant when see Florida Vegetable Gardening Guide.
by Matt Lollar | Aug 26, 2015
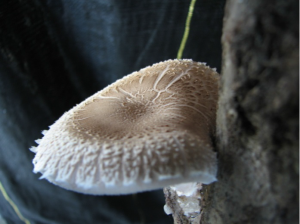
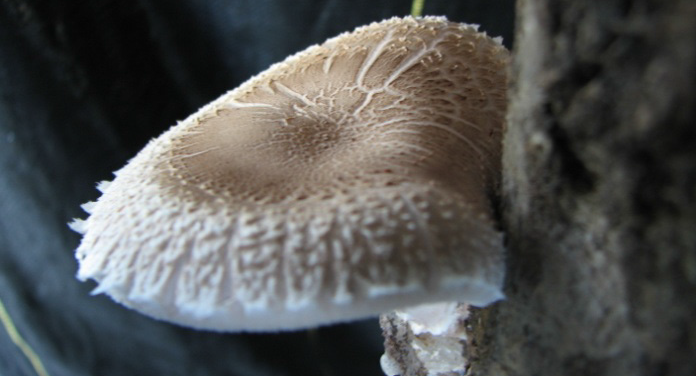
A shiitake mushroom growing on a log. Credit: Clay Olson, UF/IFAS Extension – Taylor County
Mushrooms are an excellent low calorie food with a high fullness factor (they fill you up). But the “common” or “button” mushroom lacks natural flavor. On the other hand, shiitake mushrooms have all the benefits of button mushrooms, but offer a flavor punch and a higher fiber content. However, they are a bit more expensive. Wouldn’t it be great if you could grow mushrooms in the home garden? Growing mushrooms may be easier than you think.
Mushrooms are fungi that grow on rotting organic matter. Shiitake mushrooms are best grown on hardwood logs. Oak logs are generally used for a mushroom food source, but sweetgum, red maple, and poplar can also be used. Logs ranging from a diameter of 2” to 7” and 3’ to 4’ long are recommended. Once the logs have been cut to size, the fungus inoculation process can begin. Holes are drilled into the log and the spawn are inserted. Spawn is a fancy name for the mixture of mushroom roots (mycelium) and a growing substrate (usually made up of compacted sawdust or a wooden dowel). The plugged holes are sealed with wax. The inoculated logs should be placed in a cool, moist, well ventilated place. It can take anywhere from 6 to 18 months for the mycelium to inhabit the logs. This process is called “spawn run” or “incubation”. Mushrooms grow best within a temperature range of 50-70°F, so the fruiting process is a spring or fall event.
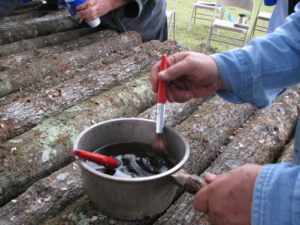
Capping the spawn plugs. Credit: Clay Olson, UF/IFAS Extension – Taylor County
The recommended mushroom strains for Florida are: CS-41; CS-15; CS-24; CS-125; CS-16; CS-11; and CS-118. Favorable conditions are strain-specific, so please do some research before purchasing strains. A list of supply dealers can be found at the North American Mycological Society webpage.
Mushroom production is a fun activity, but it is extremely labor intensive. This article is just a brief summary of process. For more information on producing your own mushrooms, please visit the UF/IFAS Small Farms Mushroom Production webpage. Mushroom production is not a recommended business venture for Florida, but can be a fun hobby.
by Matthew Orwat | Aug 11, 2015
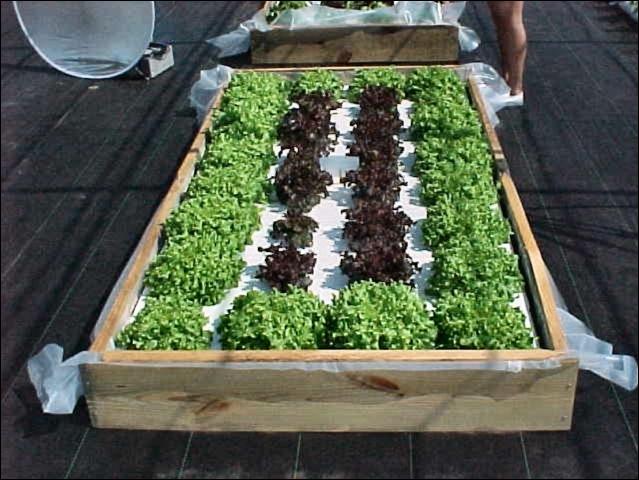
Building a floating hydroponic garden as a fall project could be rewarding and delicious. In the fall, lettuce, cabbage and greens are ideal for floating hydroponic gardens.
Watch a video by UF / IFAS Extension Agents to learn how to construct your own floating hydroponic garden by clicking on the picture below.
The publication, Building a Floating Hydroponic Garden, is also available for those interested in more information.
by Taylor Vandiver | Aug 3, 2015
As our world and our lives become more centered on technology it seems that all the information we need is just a touch screen away. After all, you are most likely reading this article from a laptop, smart phone, or tablet. While convenient and portable, there are some places you might not wish to take your electronics and one of those places is in the garden. You may say, “Well Taylor, that’s what they make waterproof, shatterproof, dirt proof, etc. cases for!” and I would say that you’re right. However, technology has many limiting factors such as battery life and screen glare. Now believe me, I am by no means disparaging technology! I come from a generation that considers Wi-Fi as necessary as water and an outlet comparable to oxygen. But there is something to be said for having a book in hand when out in the garden. For one thing your neighbors won’t worry about you as they see you march around the garden with your phone in the air doing the “No Signal Dance”. Also, a book is great to have in order for you to jot down any notes or reflections. I would like to list for you a few books that I often reference when I receive calls from homeowners. These books will cover various topics and all of them can be found on the UF/IFAS Bookstore website, the links for each can be found below. If you have any questions contact your local Extension Office and, as always, feel free to contact me and I can give you a rundown on my collection of favorite reference books!
- New to the UF/IFAS bookstore: “Trees: North & Central Florida” a field guide to 140 common tree species. This sturdy, pocket-sized field guide–the only one of its kind for north and central Florida–is designed for landscape professionals, arborists, naturalists, gardeners, and anyone seeking to know the trees around them. Full color photographs of leaves, bark, flowers and full trees, together with clear descriptions and other information make identifying trees easier than ever. This book also features a handy diagnostic key, an introduction to plant parts, a glossary and a ruler to guide you, whether you’re a trained botanist or a complete beginner.
- “Poisonous Plants of the Southern United States” John W. Everest, Thomas A. Powe, Jr., and John D. Freeman (of Auburn University). Identification of common poisonous plants found along fence lines and in pastures in the Southern United States.
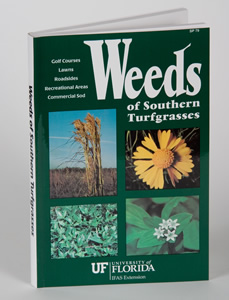
- “Weeds of Southern Turfgrasses” This practical weed identification guide contains 427 color photographs of 193 weed species, their geographical range, and life cycle descriptions. Includes a glossary of taxonomic terms and index of common and scientific names.
- “Disorders and Diseases of Ornamental Palms” Recently revised and updated, this ID deck is a diagnostic tool for landscape professionals and backyard hobbyists. The color photographs and explanatory text helps users identify and distinguish between the nutritional deficiencies, physiological disorders and common diseases of ornamental palms. All palms in the U.S. suffer from disorders and diseases, and identifying the differences can be tricky. These cards feature photographs and descriptions and are cross-referenced for easy comparison between different symptoms and the potential problems causing them. Includes a table of contents and 55 laminated, ring-bound cards.
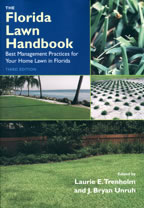
- “Florida Lawn Handbook: Best Management Practices for Your Home Lawn in Florida” Written in practical language by turfgrass experts, this highly-anticipated new edition offers the most current lawn management information. Color plates identify various grass types, weeds, diseases, and insects—including those that are good for your lawn! Chapters cover selection, establishment, and maintenance for each type of lawn; soil analysis and fertilization; yearly calendars for lawn care and culture; mowing, watering, and calibrating sprinkler systems and fertilizer spreaders; overseeding for winter color; preparing a lawn for drought and low temperatures; safe pesticide application and use; the latest integrated pest management strategies; organic lawn care; and complete, illustrated diagnostic information for weeds, diseases, insect problems, nematodes, and other pests.
- “Sustainable Gardening for Florida” Gardeners today face a unique challenge: how do you create a beautiful, thriving landscape without over-use of fertilizers, pesticides, and water? Sustainable Gardening for Florida might be the first place to look for answers. This book provides interesting, money-saving ideas to reduce your ecological footprint. It includes chapters on composting and mulching, integrated pest management, water-wise irrigation and rainwater harvesting, preparing your garden for disasters, and all aspects of managing meadows, lawns, trees and shrubs, edible gardens, rain gardens and waterfront gardening.
- “Vegetable Gardening in Florida” From James Stephens, the founder of the Florida Master Gardener Program, this is the one resource you need to successfully grow vegetables in Florida. Whether you’re growing beans, tomatoes, herbs, or any other Florida crop, this guide will take you from site selection and insect management through the harvest and storage of your produce. Useful planting guides, gardening measurement conversions, and organic gardening information are accented with full-color throughout.
by Roy Carter | Jul 14, 2015
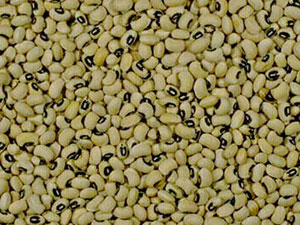
Southern Peas, Image Credit UF / IFAS gardening solutions
Cowpeas are one of the most important food legumes in the semiarid tropics covering Asia, Africa, Southern Europe, and Central and South America.
A drought-tolerant and warm-weather crop, cowpeas are well adapted to the drier regions of the tropics, where other food legumes do not perform well. It also has the useful ability to fix atmospheric nitrogen through it its root nodules, and it grows well in poor soils with more the 85 percent sand and with less than 0.2% organic matter and low levels phosphorus.
A farmer might call them cowpeas. A grocer might call them black-eyed peas. A restaurant waitress might call them field peas. But they are all talking about the same vegetable the southern pea. If you think you’re confused now, wait until you see some of the other names for this vegetable. My information was provided by Emeritus Extension Vegetable Specialist, Jim Stephens, of the University of Florida/Institute of Food and Agricultural Sciences and Okaloosa county director Larry Williams.
A good part of the confusion over southern pea variety names is due to the fact that gardeners can easily save their own southern pea seeds. Over the years, true varietal identity gets lost. So, gardeners think up new local names for the Southern pea varieties that grow. As the seeds are spread around, what started out as a single variety may become known by several names. Added to this fact that there are so many recognizable southern pea varieties and it’s easy to see how confusion can result.
Some years ago, more than fifty southern pea varieties and strains were identified through scientific testing. Since then, plant breeders have added many more varieties to that old list.
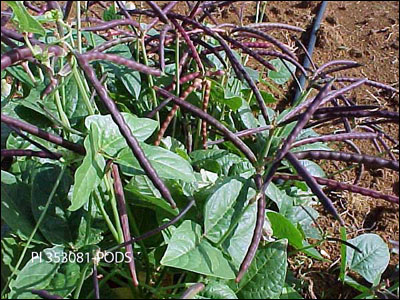
Southern Pea Plant, image Credit UF / IFAS gardening solutions
Today, eleven southern pea classifications are recognized. By looking for the characteristics associated with each grouping, gardeners usually can come fairly close to identifying unknown seed stock. With the exception of the purple hull group, southern pea classification is based mostly on the color of the seed and seed eyes and the spacing of the seed in the pods.
Varieties are called Crowder’s if the seeds are spaced so closely that the seed color varies. The color can be general over the entire seed coat or it may be concentrated around the seed eye. Colorless varieties are called creams. The purple hull group includes varieties with some purple coloring on their pods, even though they may fit into other groups due to seed characteristics.
As I said, there are III Classification Groups – The Black-Eyes, The Black-Eye Crowder’s, The Colored-Eyes, The Colored-Eye Crowder’s, The Purple Hull group, The Black Crowder’s, The Brown Crowder’s, The Speckled Crowder’s, The Creams, The Cream Crowder’s, and The Field Forage Group. To make matters even more confusing Southern peas also can be classified according to plant growth habit. Pea plants may be bush, top pick, vining, or semi-vining types.
Southern peas recommended for North Florida includes Black-eye No. 5, Cream 8, Cream 12, Knuckle Hull, Magnolia, Pink Eye, Purple Hull, Texas Cream 40, White Acres, Top Pick Eye Purple Hull, Top Pick Cream 40, Sadandy and Zipper Cream.
Southern peas can be planted in our area in the spring, summer, or fall. For more information on how to grow Southern Peas, contact your local county extension office and see Publication SP 103, Florida Vegetable Gardening Guide.

by Blake Thaxton | Jul 14, 2015
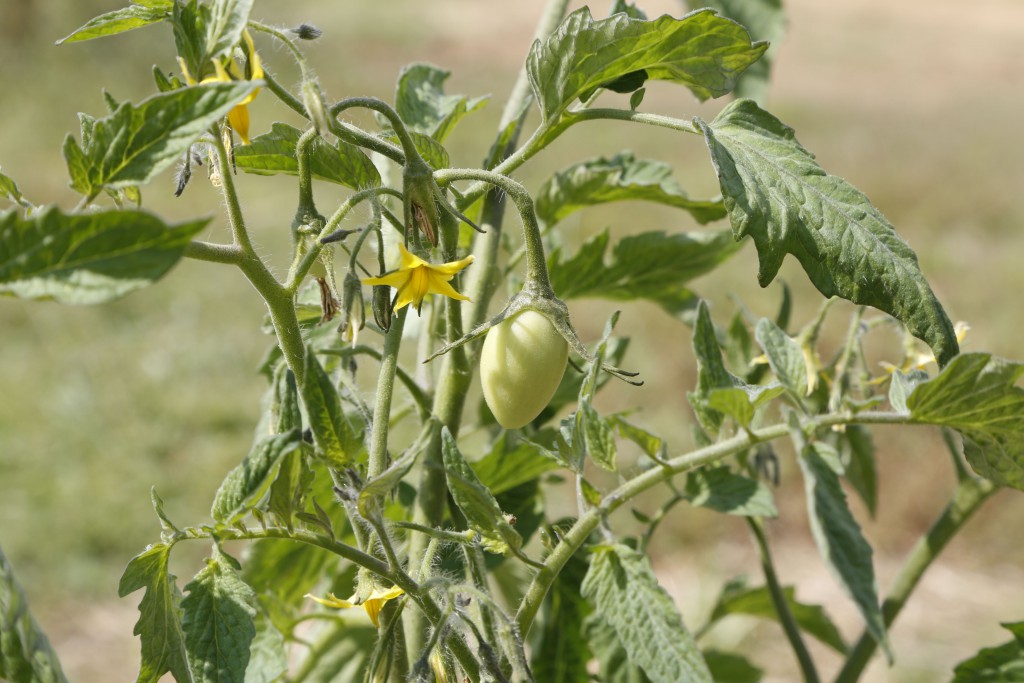
Photo Credit: Abbie Seales Rolph
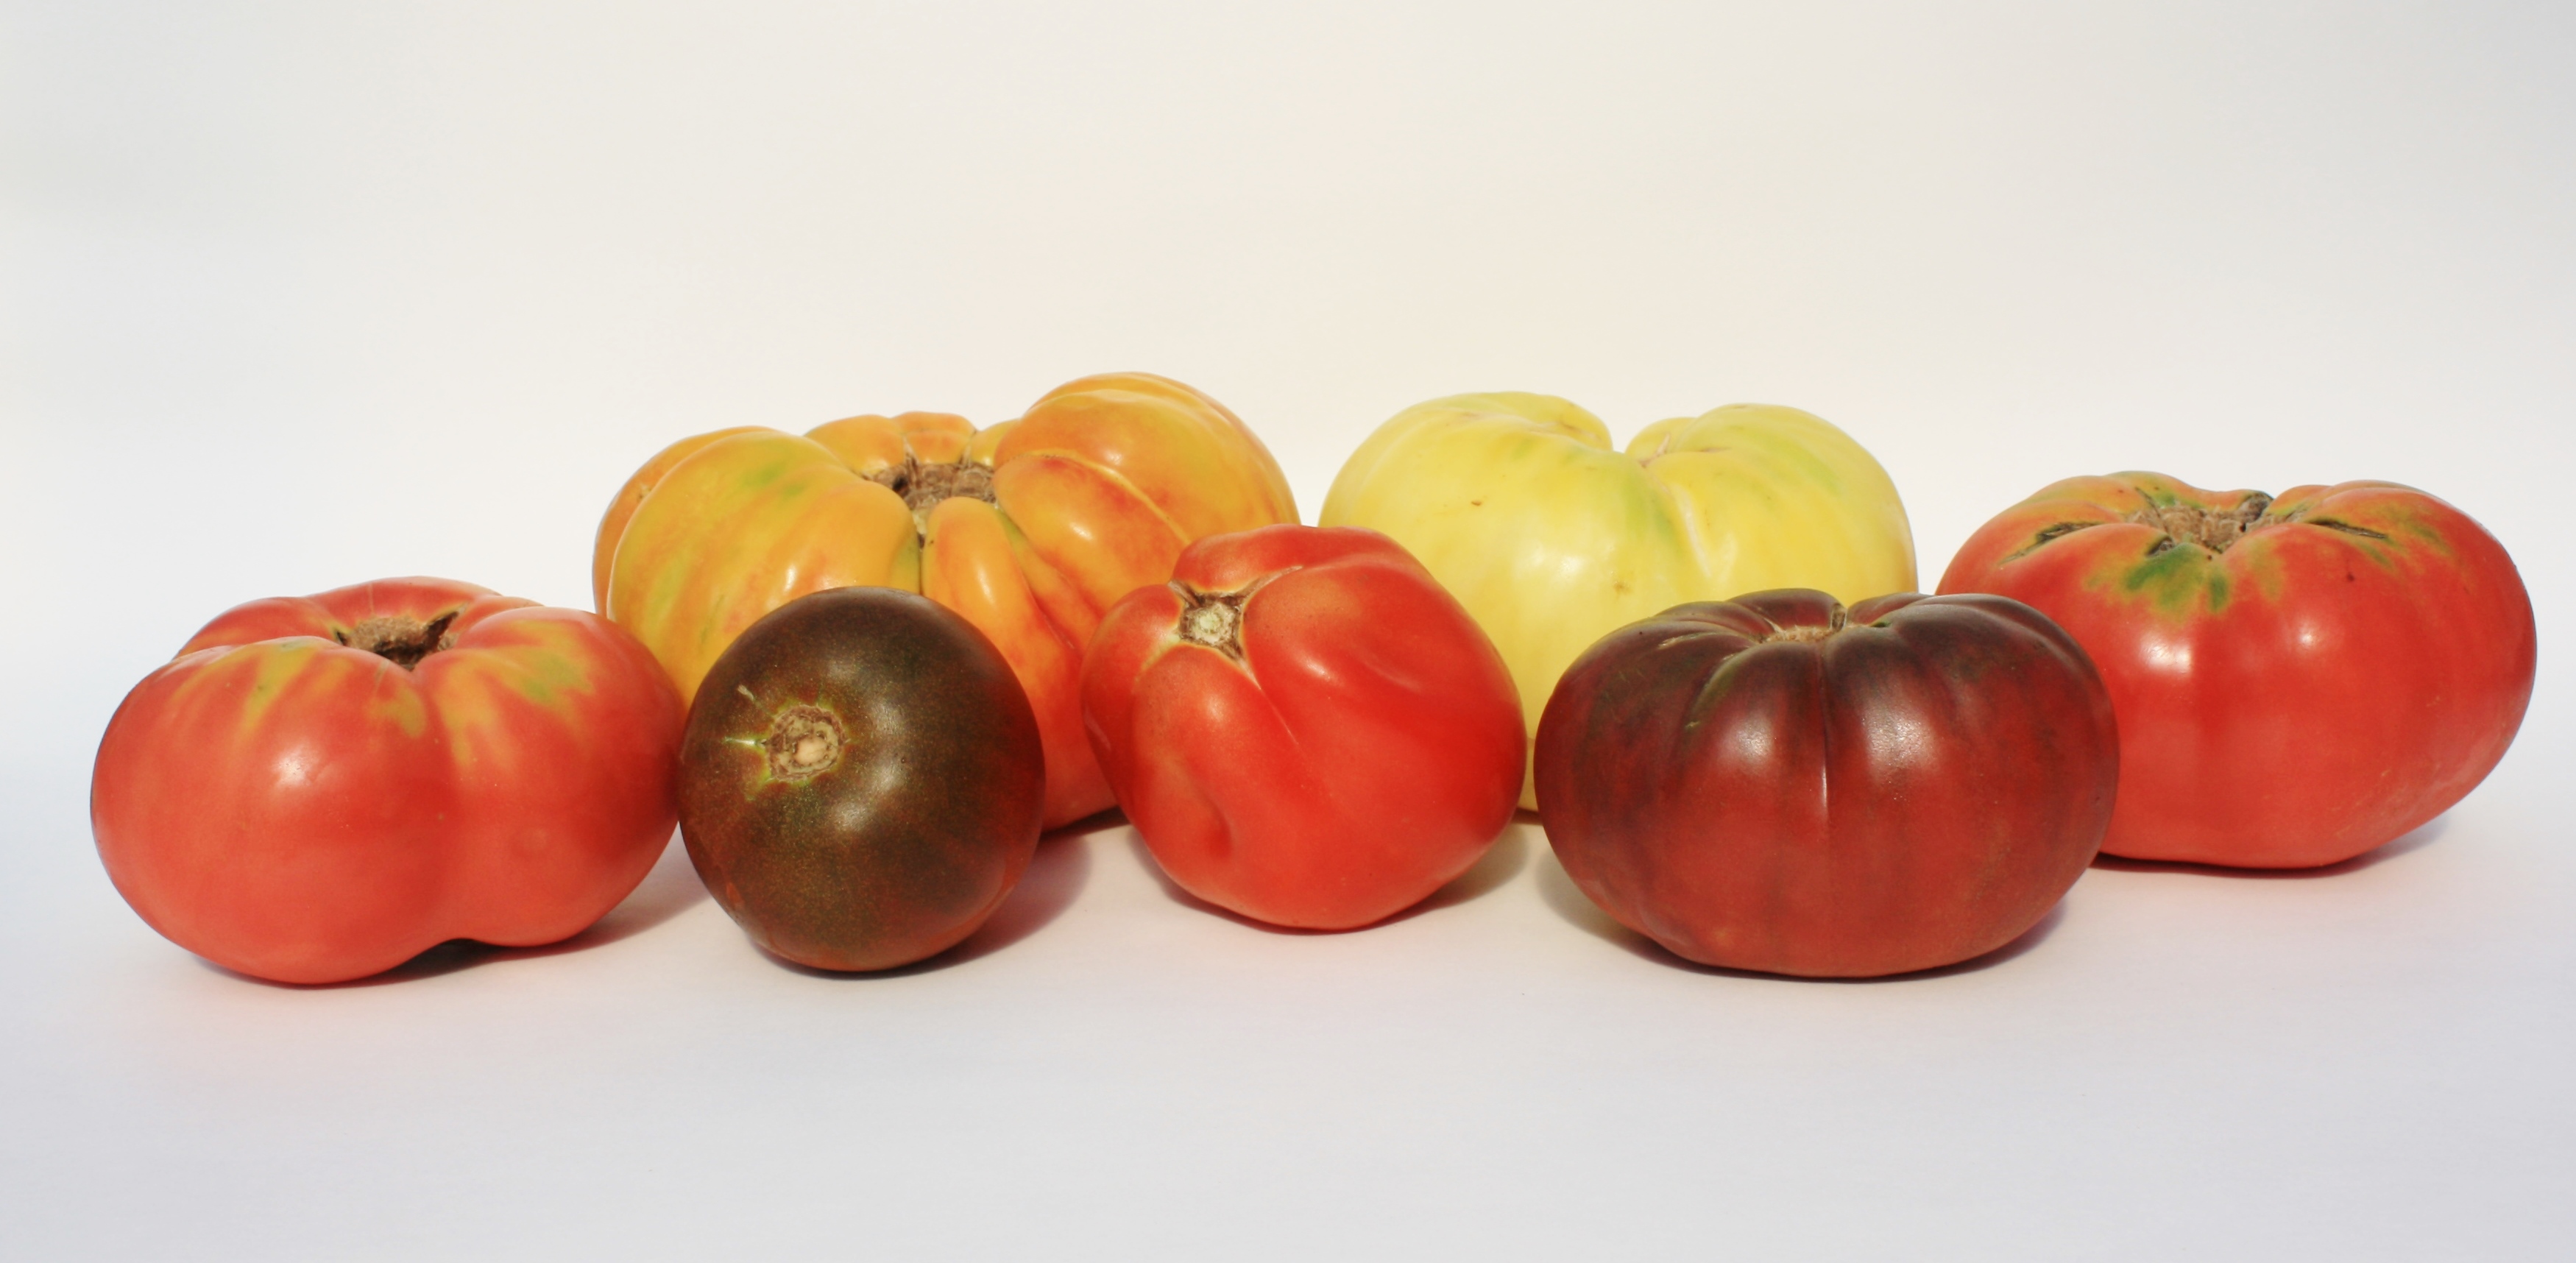
One of the many great thing about living in Florida is the long growing season that the climate affords to gardeners. For up to 8 months a year warm season vegetables can be grown. The colder months are mild enough to grow other crops as well. Although most gardeners tomatoes are suffering from the extreme heat of the middle of Summer, fall preparations can begin for tomatoes.
Keeping in mind the first frost is likely to arrive at the beginning of November seeds need to be planted very soon. In general most varieties wont be ready for 70 days after transplant into the garden. To be sure to get a good harvest, fall tomatoes should be planted close to August 1st. This planting date gives a target first harvest of mid October.

There are variety to choose from. photo credit: Blake Thaxton
The heat of August and the beginning of September can induce stress on the plant and inhibit fruiting. Because of this it is a good idea to choose “hot-set” varieties. These varieties are more tolerant to high temperatures. Typically tomatoes set fruit at temperatures of 65° to 85° Fahrenheit. “Hot-set” hybrid varieties have been selected for the ability to produce at temperatures slightly above that range. A few to look for in seeding catalogs and on seed company websites are Phoenix and Solar Fire.
To learn more, read Tomatoes in the Florida Garden or call you local extension office.