by Sheila Dunning | Feb 18, 2021
The term “ornamental grass” is a catch-all phrase used to describe grasses and “grass-like” plants. Individual species are adapted to a wide variety of landscape sites (i.e., wet or dry, sun or shade, hot or cold climates, and varied salt tolerance). Growth habits range from low ground covers to intermediate shrub-like plants to very tall hedge-like plants. Ornamental grasses are very dynamic; the size, shape, texture, and color of grass changes with every season.
Deciduous Ornamental Grass
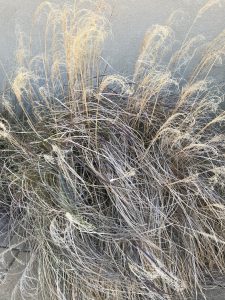
Grasses with foliage that dies in the winter and remains dormant until the weather warms in the spring are considered deciduous. The winter character of deciduous ornamental grasses adds tremendous interest to the winter garden when contrasted with evergreen plants or structures such as walls or fences. The dried foliage of deciduous grasses creates sound as it expands and contracts in response to changes in temperature or moisture, while interaction with wind creates movement in the garden. For these reasons, pruning of the dead foliage and inflorescences is not recommended at the time of the first frost.
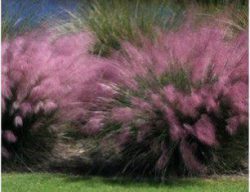
Pruning of ornamental grasses should be done in late winter or early spring, just prior to new shoot growth. In Northwest Florida, gardeners should target the end of February to prune ornamental grasses. For deciduous grasses, such as Japanese silver grass (Miscanthus sinensis), the old foliage may be completely removed within inches of the soil. Be cautious to not remove the growth point by leaving the grass clump at least 4 inches high. For evergreen grasses, such as muhly grass (Muhlenbergia capillaris), the ragged leaves can be removed to neaten the appearance of the plant without shortening all the way to the ground. So, depending on the damaged portions, the remaining grass clump can be 6-18 inches high after pruning. Grasses recover quickly from a heavier pruning. Within a few months the plant will have completely regrown. If desired, old flower stalks and seed heads may be removed any time they no longer have a neat appearance. For more information on ornamental grass species and growing tips, please visit the EDIS Publication: Considerations for Selection and Use of Ornamental Grasses.
by Matt Lollar | Dec 9, 2020

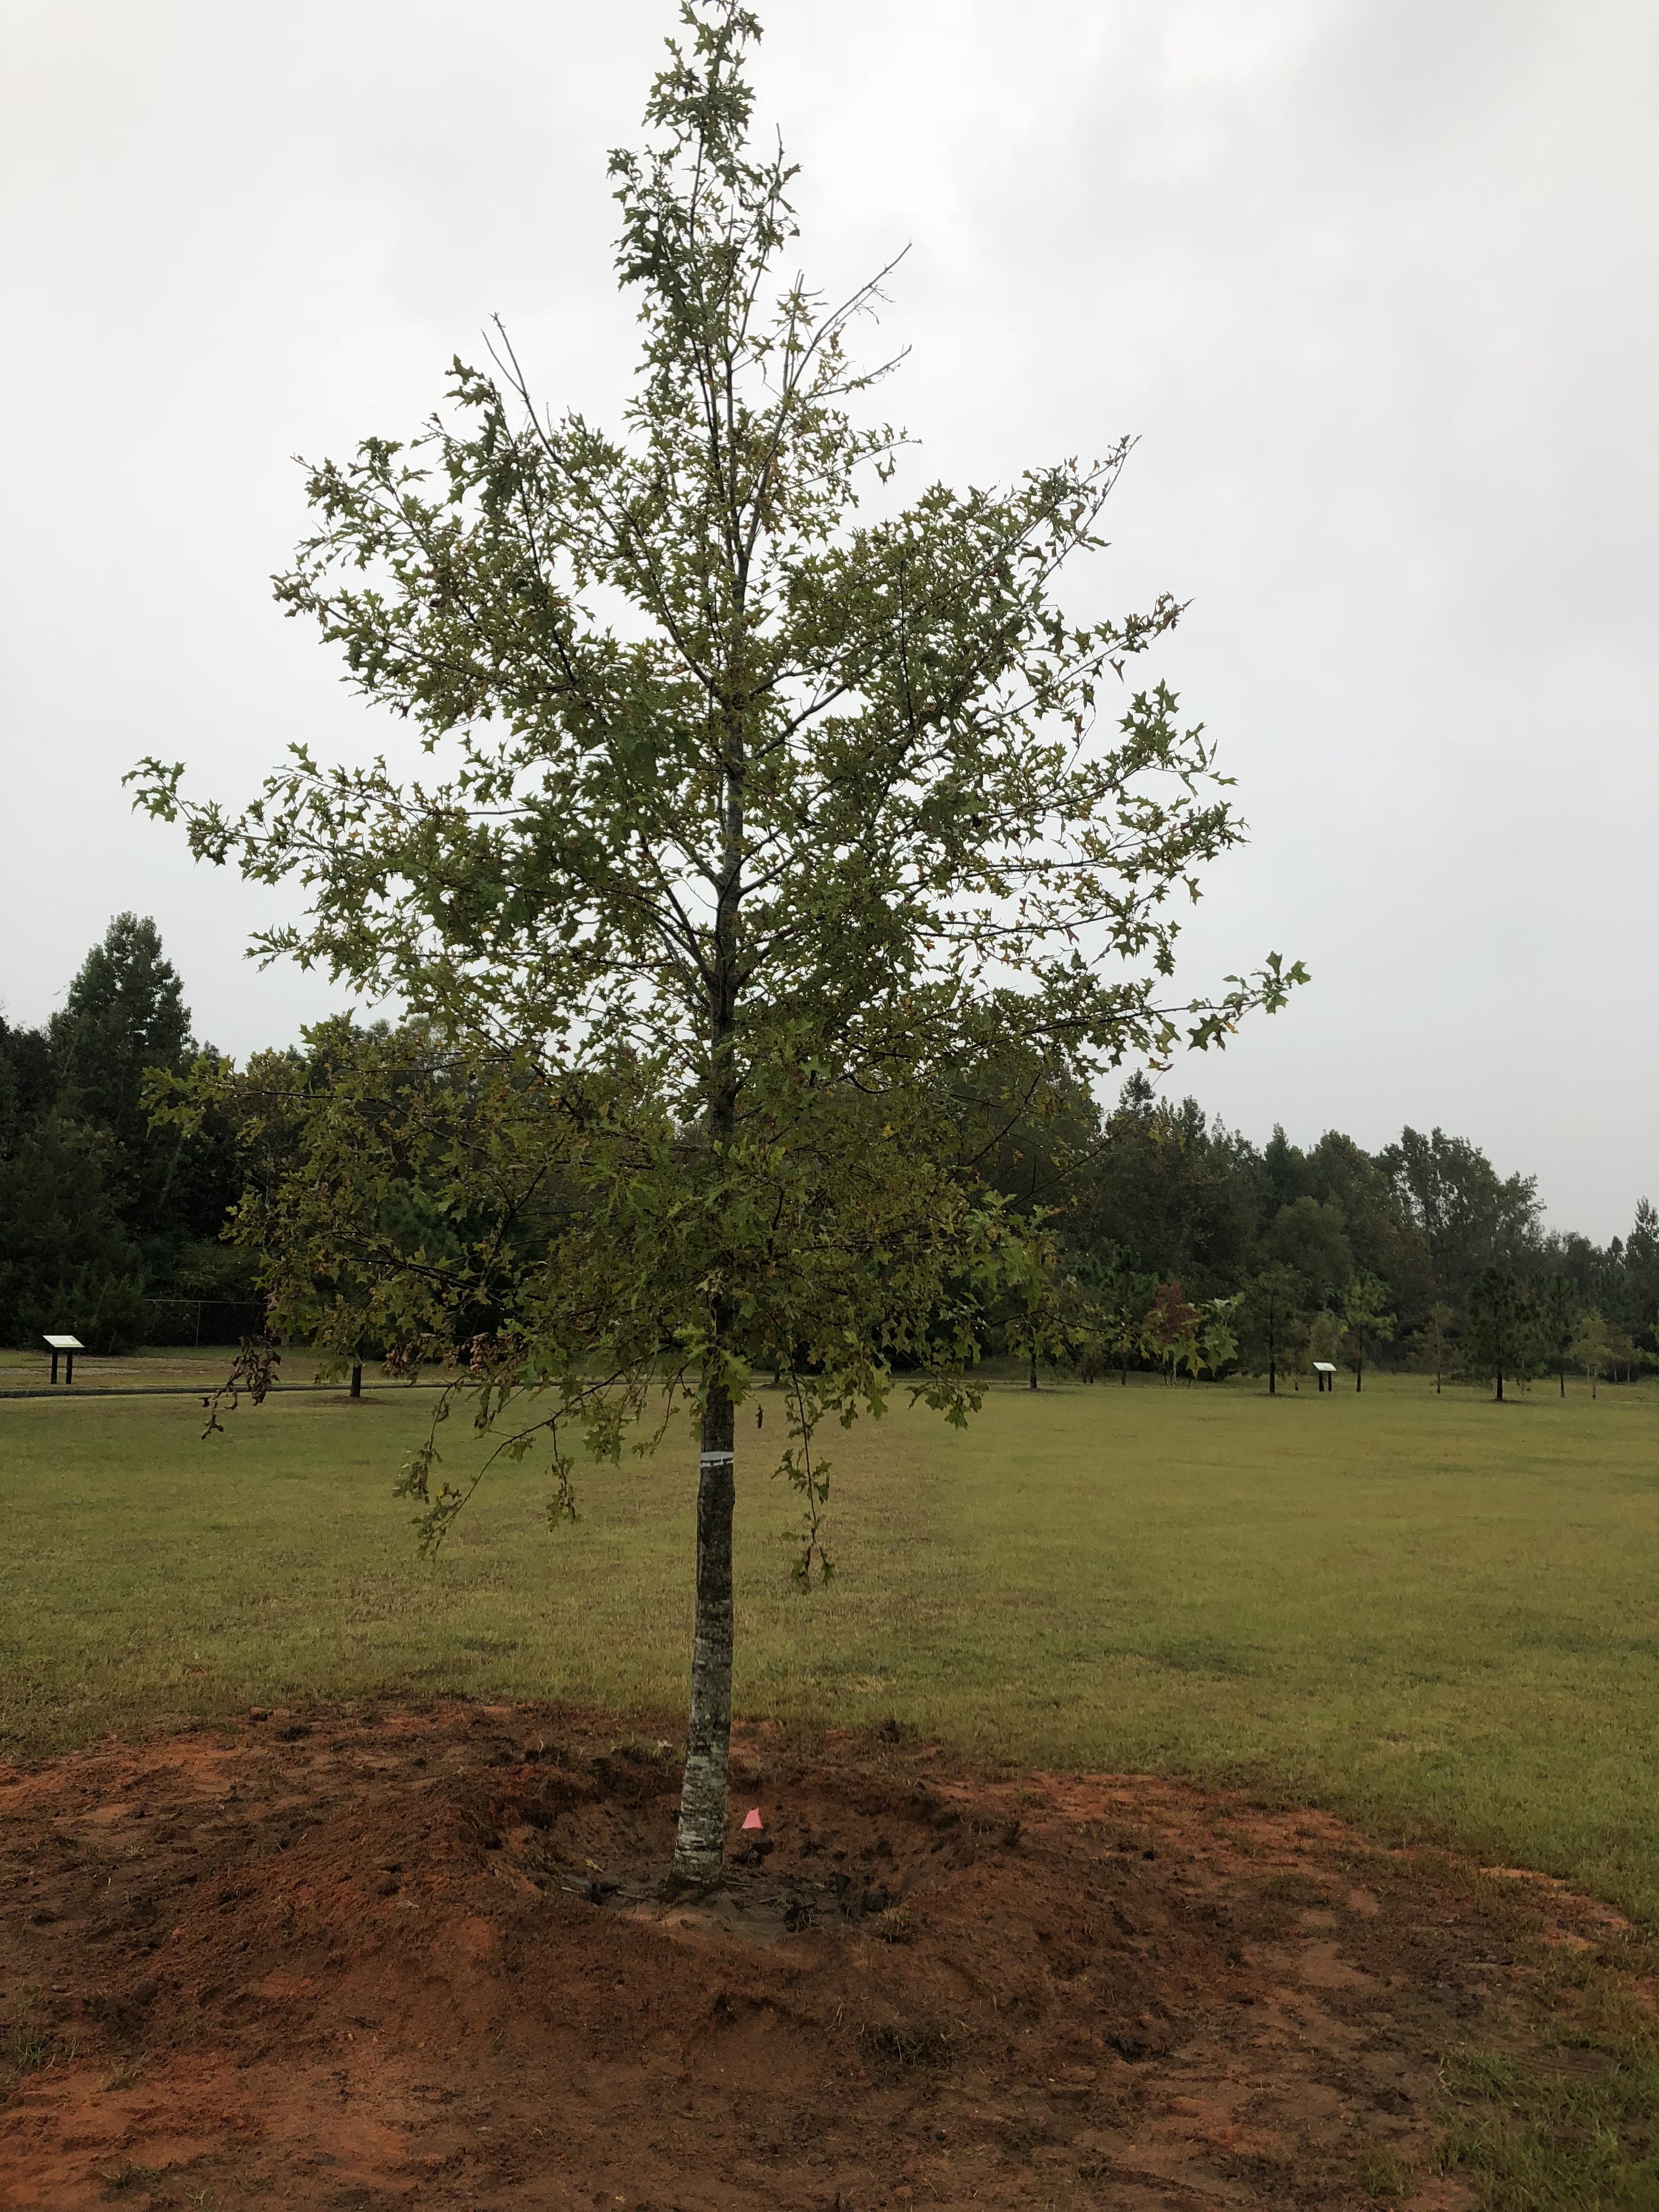
A planted tree with water retention berm. Photo Credit: Matt Lollar, University of Florida/IFAS Extension – Santa Rosa County
Often, Extension agents are tasked with evaluation of unhealthy plants in the landscape. They diagnose all sorts of plant problems including those caused by disease infection, insect infiltration, or improper culture.
When evaluating trees, one problem that often comes to the surface is improper tree installation. Although poorly installed trees may survive for 10 or 15 years after planting, they rarely thrive and often experience a slow death.
Fall/winter is an excellent time to plant a tree in Florida. Here are 11 easy steps to follow for proper tree installation:
- Look around and up for wire, light poles, and buildings that may interfere with growth;
- Dig a shallow planting hole as wide as possible;
- Find the point where the top-most root emerges from the trunk;
- Slide the tree carefully into the planting hole;
- Position the point where the top-most root emerges from the trunk slightly above the landscape soil surface;
- Straighten the tree in the hole;
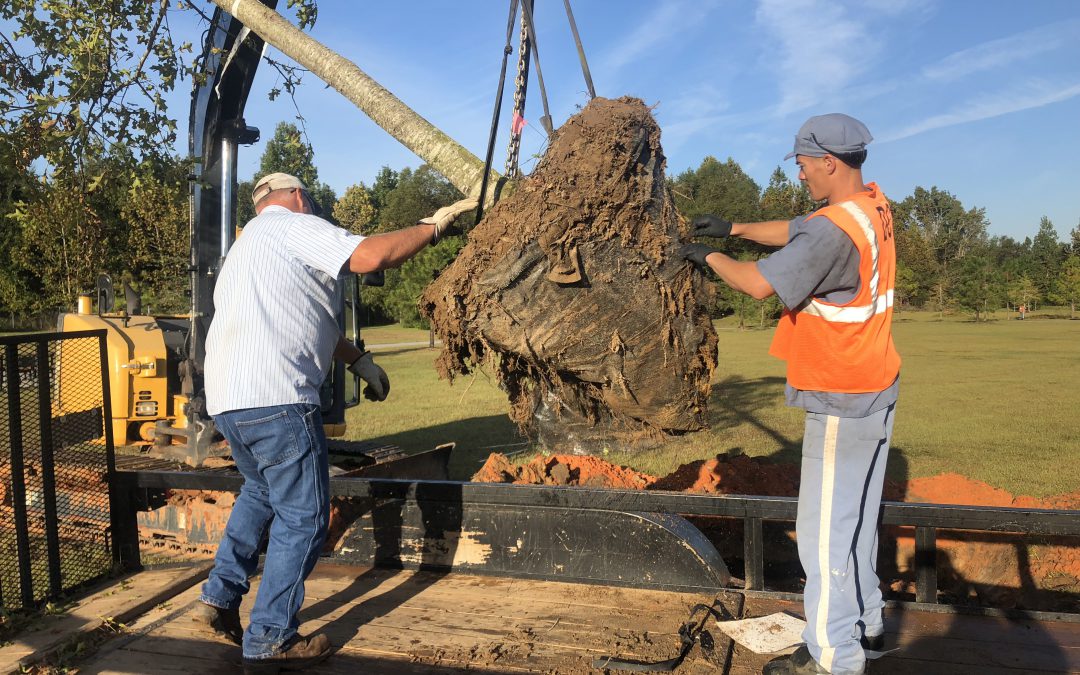
- Remove synthetic materials from around trunk and root ball;
- Slice a shovel down in to the back fill;
- Cover the exposed sides of the root ball with mulch and create water retention berm;
- Stake the tree if necessary;
- Come back to remove hardware.
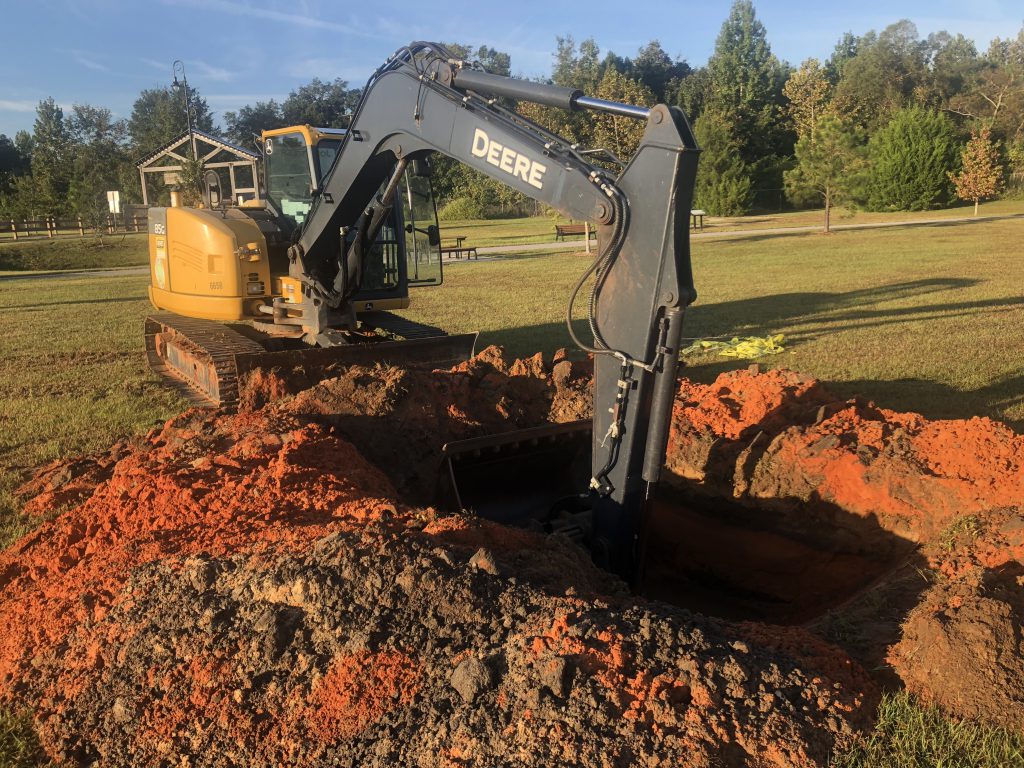
Digging a properly sized hole for planting a tree. Photo Credit: Matt Lollar, University of Florida/IFAS Extension – Santa Rosa County
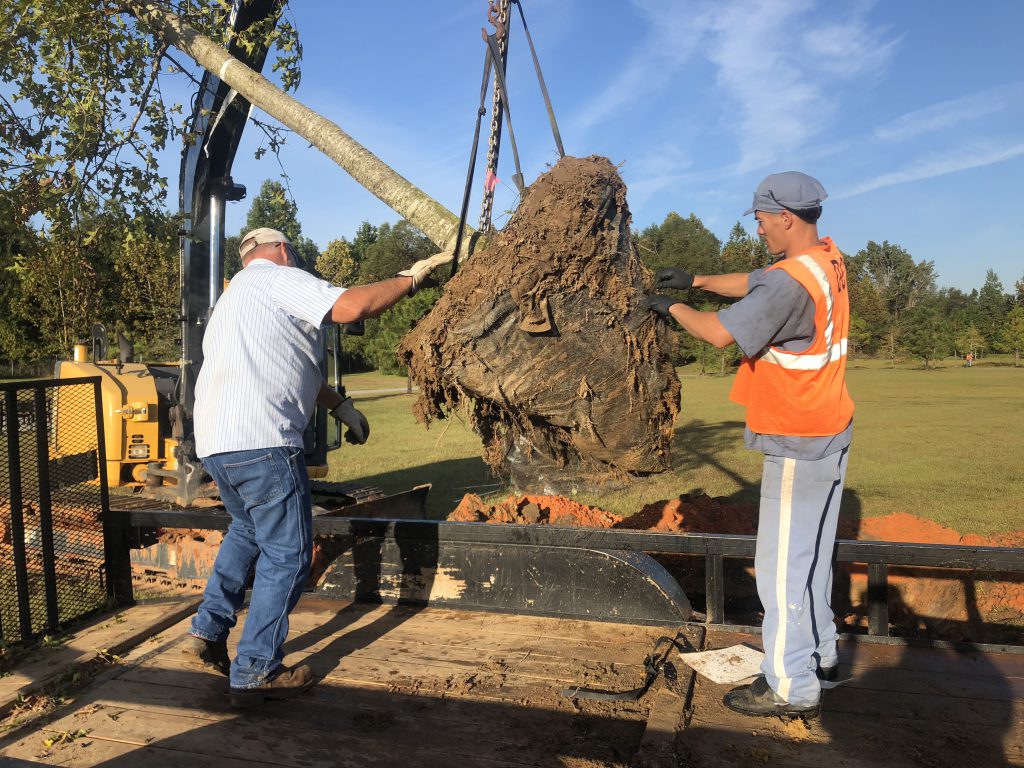
Removing synthetic material from the root ball. Photo Credit: Matt Lollar, University of Florida/IFAS Extension – Santa Rosa County
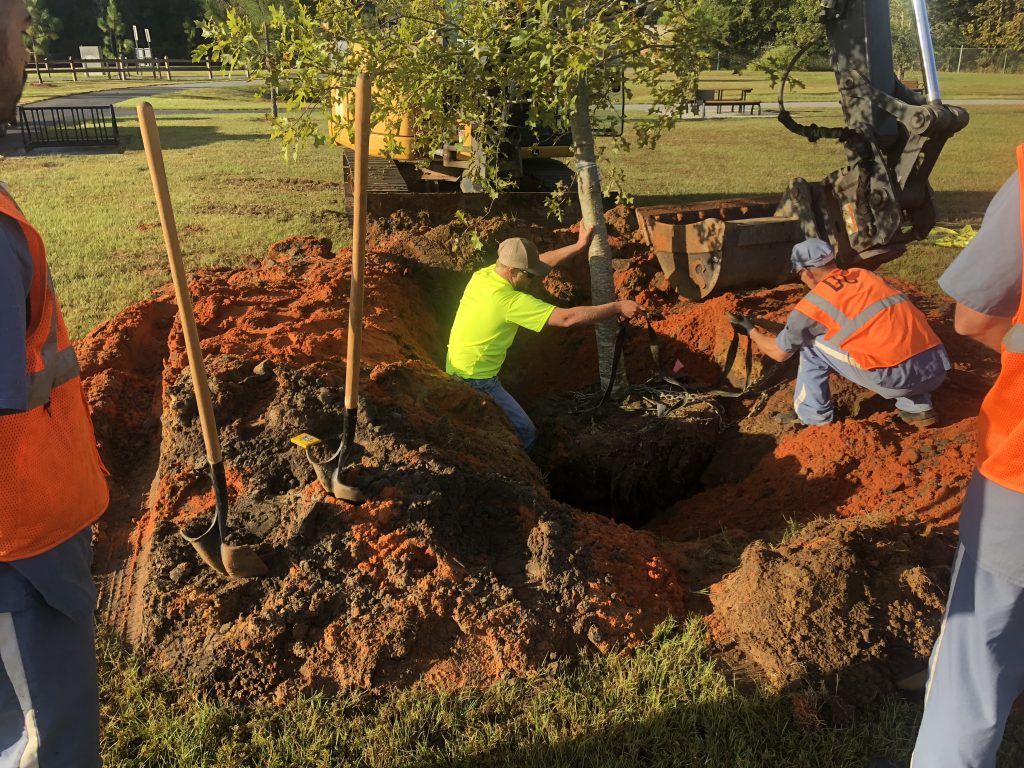
Straightening a tree and adjusting planting height. Photo Credit: Matt Lollar, University of Florida – Santa Rosa County
For more detailed information on planting trees and shrubs visit this UF/IFAS Website – “Steps to Planting a Tree”.
For more information Nuttall Oaks visit this University of Arkansas Website.

by Taylor Vandiver | Jun 3, 2014
In a world of limited time and space, container gardens seem to make more and more sense. Poor soil and no place to put plants in the ground are no longer good excuses for not being able to enjoy the simple pleasures of gardening. Container gardening allows the individual to create gardens to fit any situation. Gardening in containers can be just as rewarding as having a full-size garden.
There are a few items to consider when you are planning your container garden. The first is the plants you intend to use. If you are planting more than one plant in the same pot be sure that all your plants meet the same requirements. The requirements you should consider are amount of light, amount of water, climate and fertilizing needs. Some other things you might want to think about when planning your container garden are height, color, and texture. A nice variation of these elements will make your container gardens more attractive and increasingly more interesting to look at.
The next step in container gardening is choosing your container. A good rule of thumb is: “Anything that holds soil and has drainage holes in the bottom may be transformed into a container garden.” It can be a pot you purchased from the local gardening center or an old bathtub you picked up off the side of the road. However, be sure that the size of the container matches the current and potential size of your plant. For vibrant plant growth, the containers must provide adequate space for roots and soil media, allowing the plant to thrive.

Colorful containers bring life to your small spaces.
Next on your list is choosing a soil for your container. Container soils need have good aeration and decent drainage, while still being able to retain enough moisture and nutrients for plant growth. When choosing what to use in containers, never use garden soil by itself. When garden soil is added to a container, both drainage and aeration are severely impeded, and the results are plants that grow poorly or not at all.
Container soils are often referred to as soilless or artificial media, because they literally contain no soil. They are commonly composed of various media such as peat moss, perlite, vermiculite, bark and coir fiber (ground coconut hulls) in a variety of mixes. When using soilless media remember t0 moisten it slightly before planting. Fill a tub with the media, add water and lightly fluff the media to dampen it. This will keep the mixture from becoming hydrophobic (unable to take up water) throughout its life in the container. When adding media to your containers, never fill the pot to the top. You should leave about a one-inch space between the top of the soil and rim of the pot. This will make watering the pot easier as it provides a place to “put water” and not have it run over the edge.
When watering your container gardens, the best time to do so is in the morning. Watering in the morning allows the leaves of your plants and soil to dry out, preventing diseases and viruses. Remember that overwatering is the most common reason for fatalities in container gardens. Check your soil by pushing your finger into the media; if the media is moist don’t water it. When it comes to fertilizing your container gardens, fertilize only as needed. Over-fertilization will result in a buildup of salts and may burn the roots of your plants. Try to fertilize your plants during the growing season, and only if needed during the dormant seasons.
The most important objective when container gardening is to be creative. Maybe, try a variety of plants in one container garden. While an nicely put together individual container can be quite impressive, think what might happen if you put several containers together in a group. Also, don’t limit your container gardens to flowers–many vegetables can be grown in a container and actually do quite well. There really is no limit to what can be done in a container!