by Molly Jameson | Aug 20, 2018
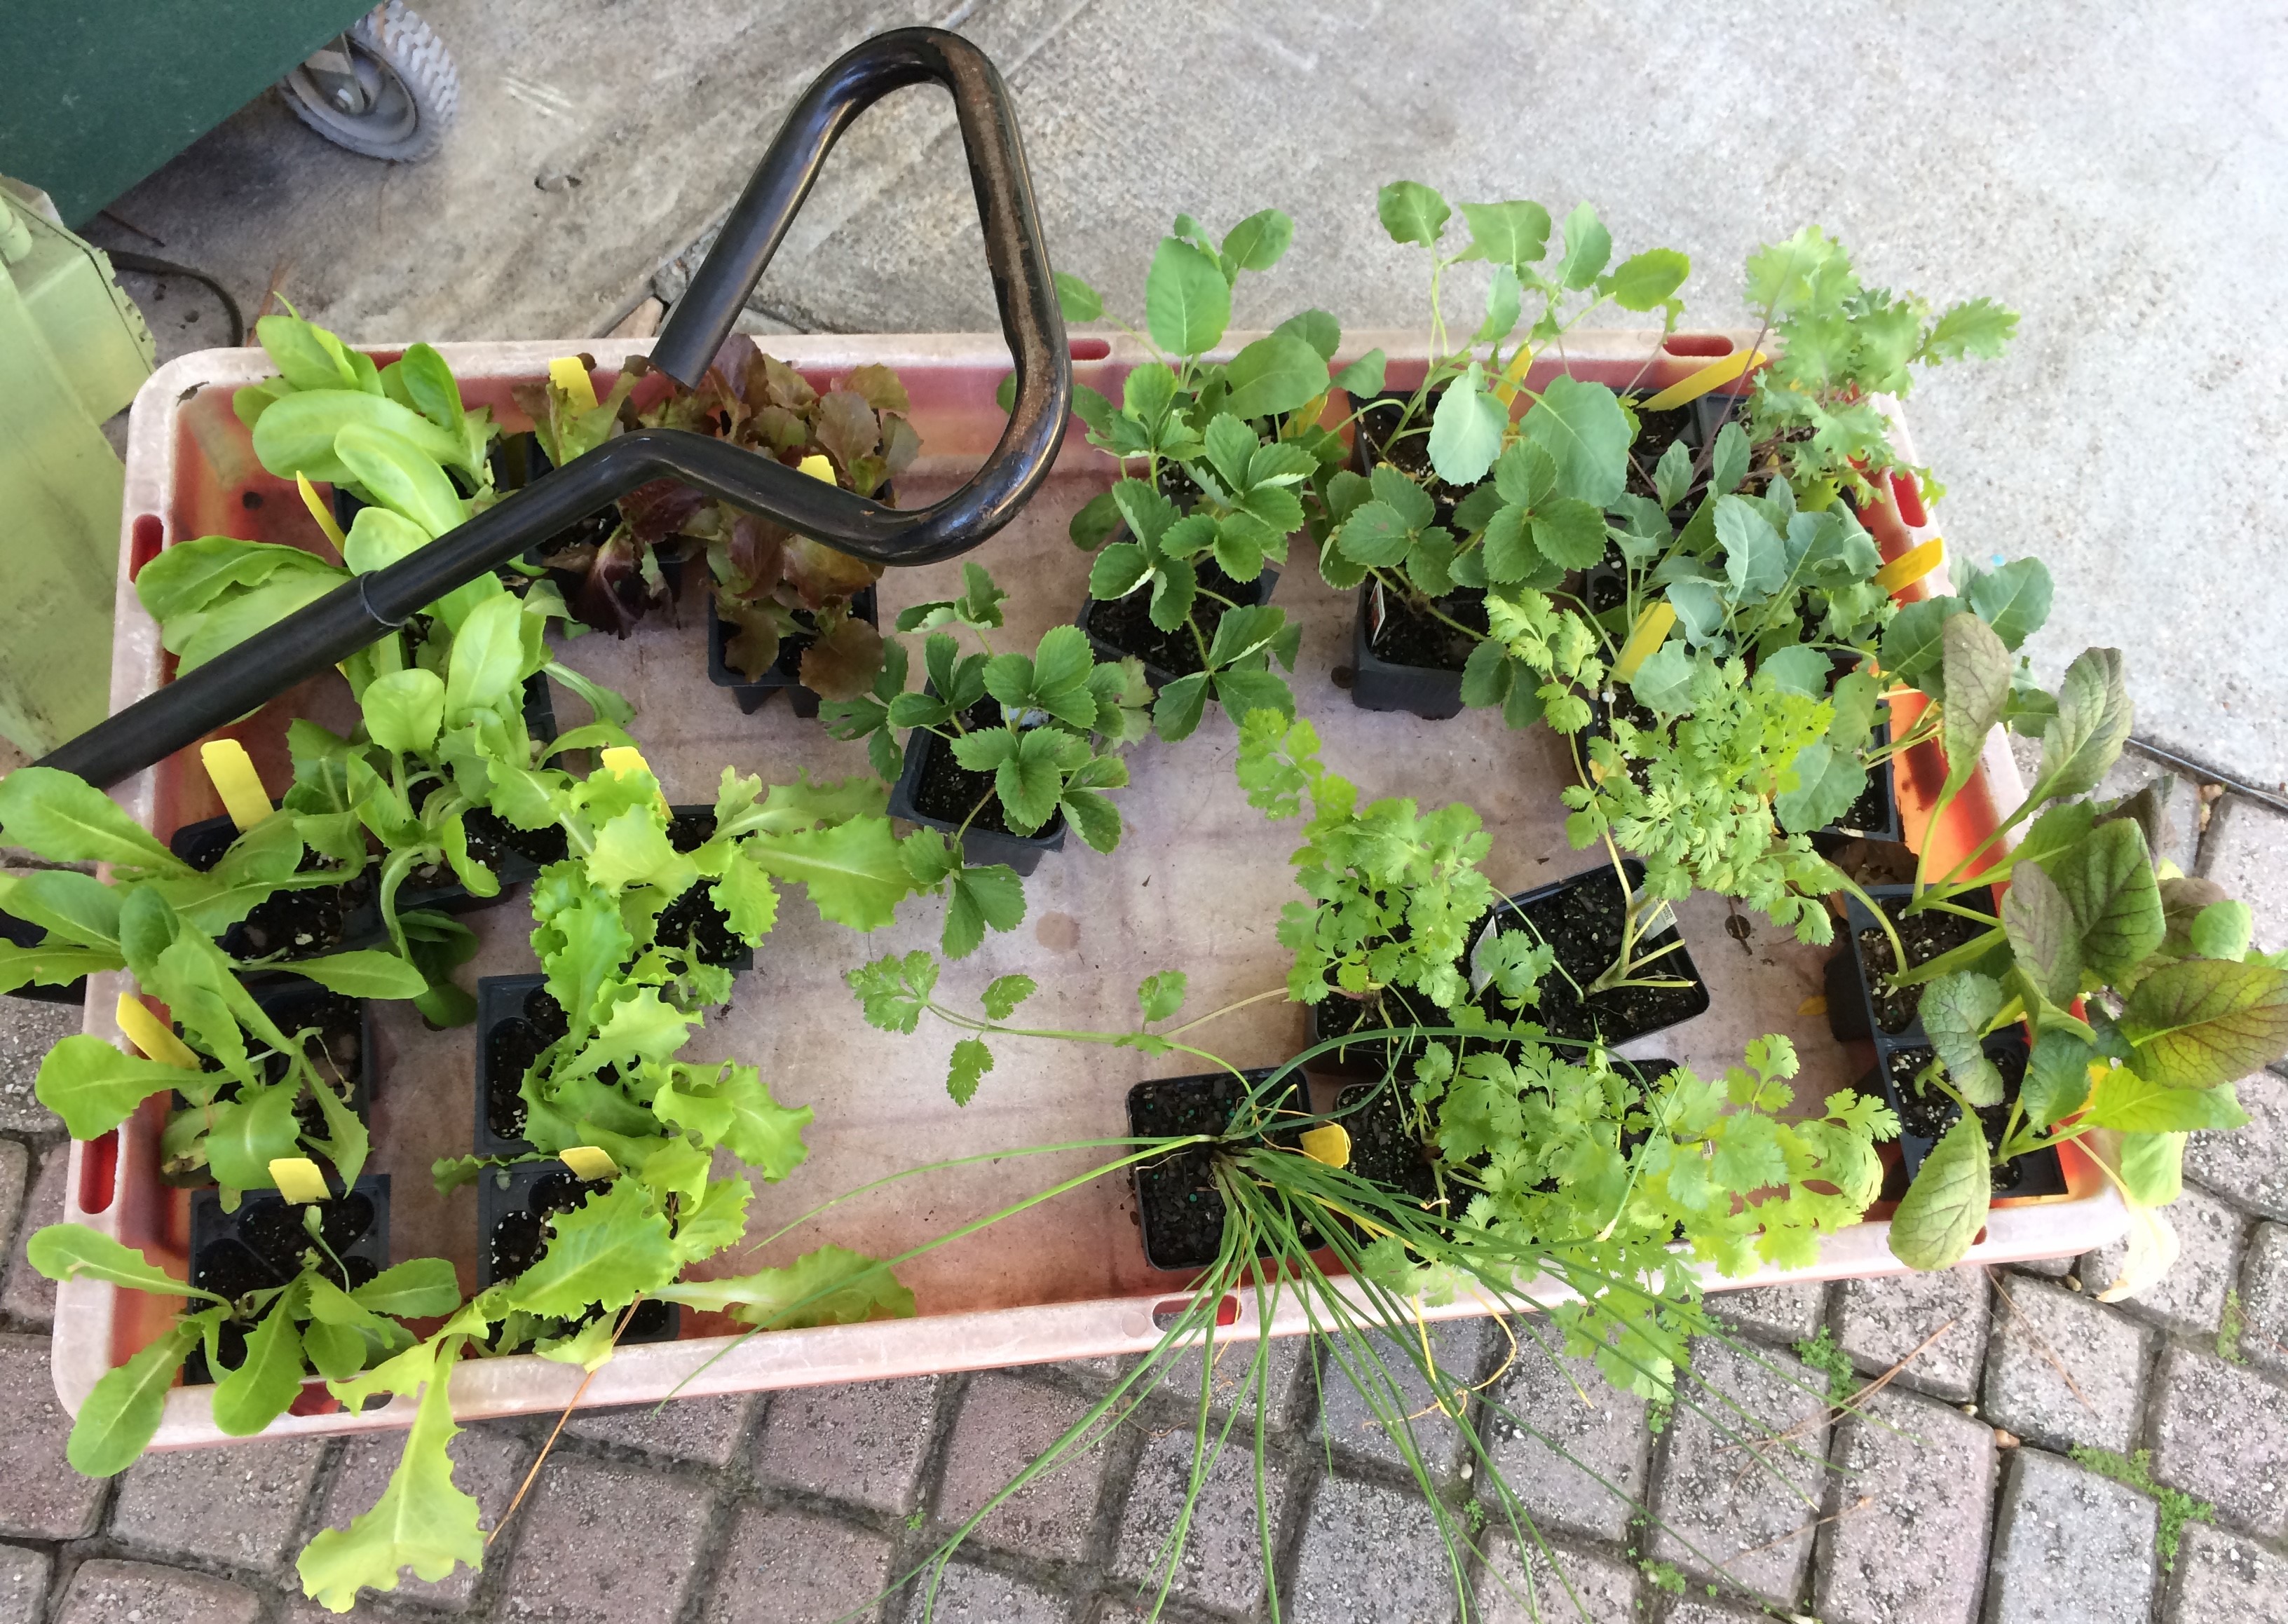
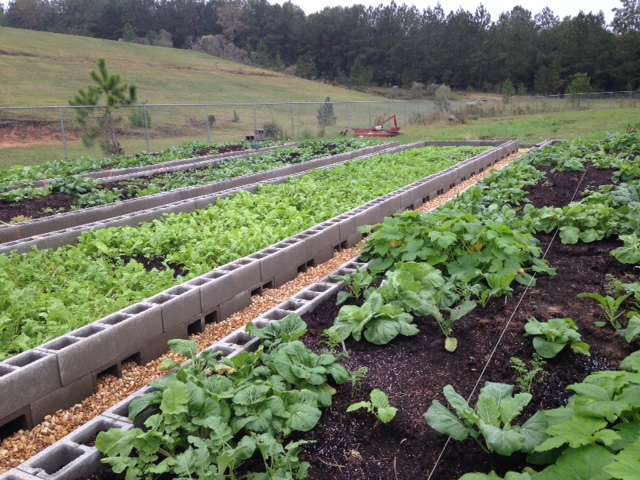
Start preparing now so your fall garden will be full of dark leafy greens, multi-colored lettuces, and root vegetables of all shapes and sizes. Photo by Molly Jameson.
August is a double-edged sword. The oppressive heat is at its pinnacle – where even the thought of spending time in the garden makes you break into a sweat – but it is also the time of year that visions of fall start coming into focus, and you can’t help but peek at the weekly forecast for signs of declining temperatures.
If your garden looks anything like mine, there are sweet potato vines weaving in and out of every corner of sunlight they can find. The sweet peppers you let fully ripen are bright red and sweeter than ever. You may have already reaped the reward of your watermelons, but you’re still hoping you can get the harvest timing right for the late season bloomers. Your okra is as tall as you – maybe even taller – and you’re grateful, for their big oblong heart-shaped leaves are shading out at least some of those warm-season weeds.
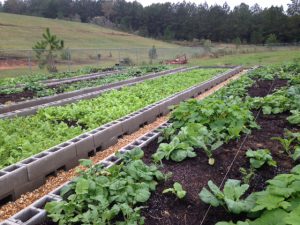
Fall is the time to start growing kale, lettuce, onions, parsley, mustard greens, and much more. Photo by Molly Jameson.
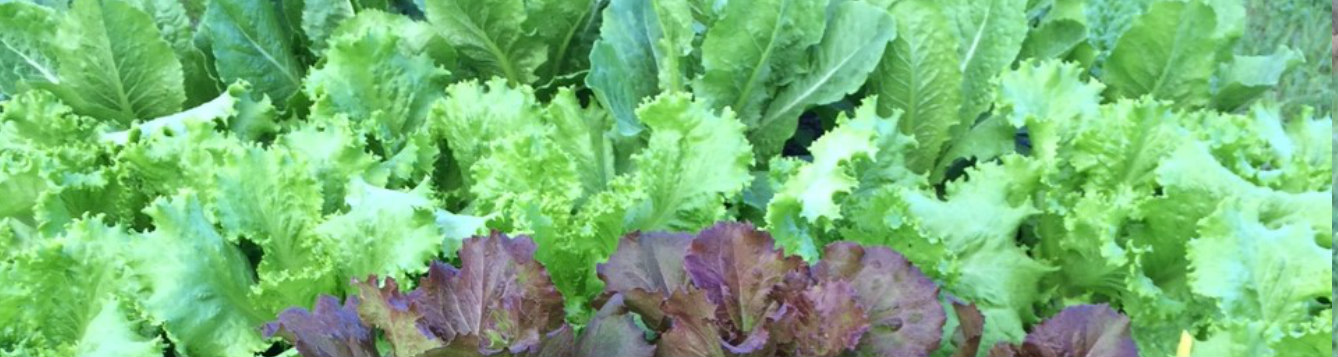
But the seasons are-a-changing, and soon you’ll be pulling up the last of your summer garden to make room for dark leafy greens, a cornucopia of roots, and a rainbow of lettuce varieties.
If this is making you want to rush to your nearest plant nursery and unearth all your half-used fall seed packets, then come on down to the Leon County Extension Office in Tallahassee to join us for our annual Fall Backyard Gardening Series!
This is a two-part series, running from 6:00 to 8:00 p.m. on September 4 and 6:00 to 8:00 p.m. on September 11, 2018, at 615 Paul Russell Road. I, along with Extension Agents Mark Tancig and Trevor Hylton, will discuss garden site selection, soil and fertilization, and fall planting and gardening techniques. As a bonus, you’ll leave with freshly planted vegetable seeds to take home to later transplant into your garden.
Please register on Eventbrite. The cost for both evenings is $10, and light refreshments will be provided. For more information, contact Molly Jameson at mjameson@ufl.edu or by phone at 850-606-5219.
And if you’re not in the Tallahassee area, check with your local extension office to see what fall gardening events they may have available. Tending a fall garden in Florida can be one of the most rewarding outdoor endeavors you can experience!
by Matthew Orwat | Aug 20, 2018
 The heat and humidity of August is upon us, the cool of fall seems very far away, but is it? Believe it or not, now is the time to start planning fall vegetable gardens.
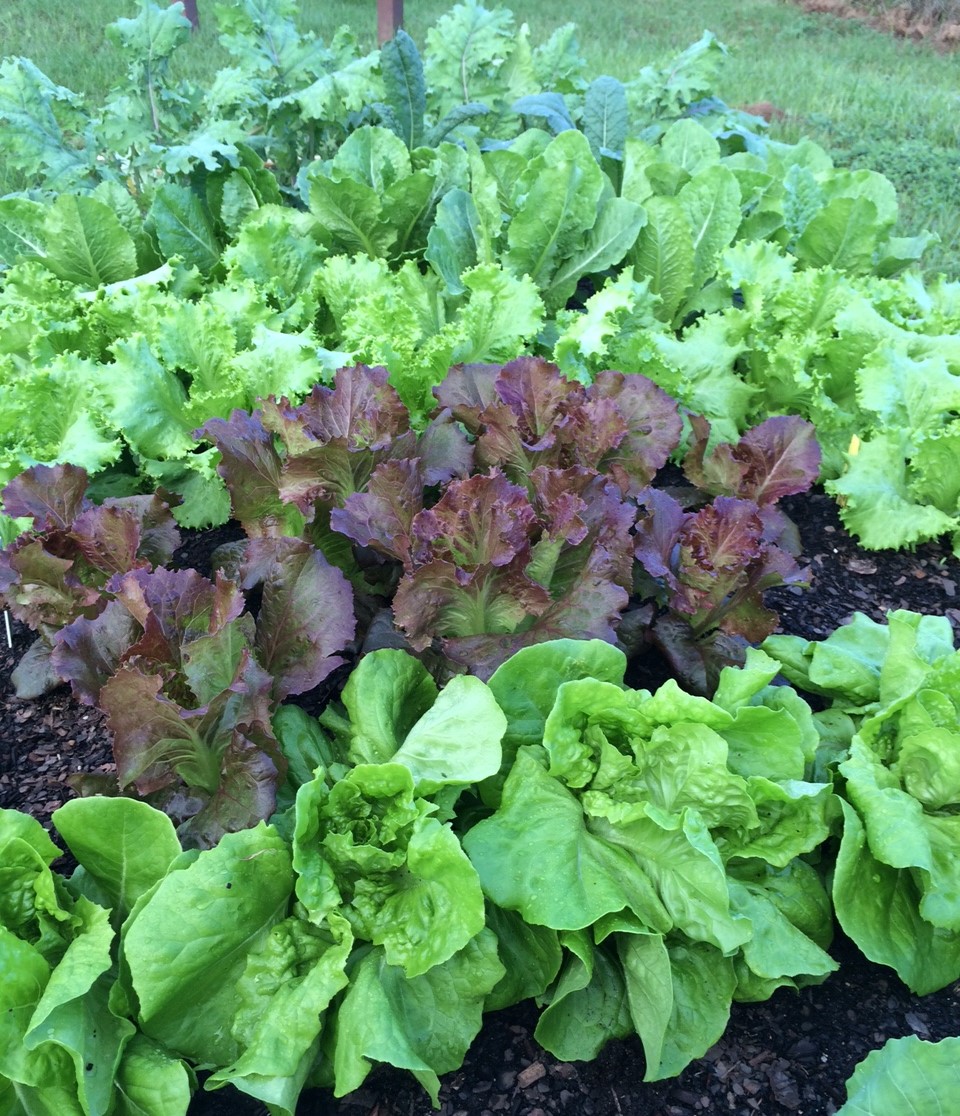
One of the most popular fall vegetables throughout the lower southern states are greens. There are old stand-bys such as cabbage, mustard, turnip and collard, but also more novel selections such as kale, and rainbow Swiss chard. One technique to extend the cropping season of collards and kale, is harvesting only lower leaves while allowing plants to continue to grow, instead of harvesting entire plants. If several plants of each are planted, there will be enough for a family to have a continuous supply of greens through the season.
Most greens prefer a pH of 6.0 to 6.5, but will tolerate pH in the range of 5.5 to 7.0. If pH is too low, the rate of dolomitic per hundred square feet to raise pH one point is 2-3 lbs. Dolomitic lime must be added at least two months before planting to be effective. Greens may be fertilized with a variety of products from compost (at the rate of 20 lbs. per 100 sq. ft.) to 10-10-10 (at the rate of 2-3 lbs. per 100 sq. ft.) balanced fertilizer with micronutrients. Two to three light repeat applications in the soil at the leaf’s edge may be warranted if plants show a need.
Starting in late August, if the weather is not blisteringly hot, collards may be started by direct seeding. If hot days are excessive, it may be necessary to drop a shade cloth on young plants until weather cools. This will improve development in the event of extended heat in early September. It is also necessary to water regularly and thoroughly while making sure plants are well-drained.
In mid-September, kale, Swiss chard, turnip greens, mustard greens and cabbage may be planted. It is often an advantage to stagger plantings from September through December to extend the season.
Greens can be planted by either direct seeding or transplanting. I have found that if starting greens when it is still very warm, direct seeding is desirable since more transplant shock occurs when temperatures are higher. When it is cooler, transplanting may be more advantageous since the plants will be more developed and ready to harvest sooner.
Greens make a delightful addition to any meal so why not grow your own and experiment with novel types that cannot be found in store shelves. The video below details some novel techniques used to maximize greens’ harvest. Happy Gardening.
Video: Greens and Lettuce for Fall Gardening
Florida Vegetable Gardening Guide

by Mark Tancig | Nov 20, 2017

Proper maintenance all year long is the best way to achieve a healthy lawn. Credit: Jim Stevenson
If you’ve been to a local garden center lately, there’s a good chance you’ve seen some displays marketing winterizer fertilizer for your lawn. Many of these displays are quite shiny and state all sorts of reasons why you should apply fertilizer to prepare your lawn for winter.
However, as with most purchases, a little consumer research is a good idea before being persuaded by those glossy ads. Where do you find such non-biased, evidence-based information on lawn and garden topics in Florida? UF/IFAS Extension, of course!
UF/IFAS research has found that for warm-season grass species used for North Florida lawns, the last application of fertilizer should occur no later than September. Why so? Well, similar to deciduous tree species, our warm-season grasses, including centipede, St. Augustine, bahia, and zoysia, are adapted to go dormant at the onset of cooler weather.
Once the transition into dormancy begins, the turf is not actively growing, therefore nutrient uptake slows down. Eventually, the turf becomes brown and will remain that way until warmer spring temperatures initiate active growth again.
What about all the glossy ad’s claims regarding improved root growth? When looking over the N-P-K values of winterizer fertilizers, you will notice that most have a high third number, indicating a greater proportion of potassium. Research does show that adequate potassium levels do make turf more resilient to stress. However, if the turf has been maintained properly throughout the year – proper mowing height, irrigation, and fertilization – then the lawn’s root systems are likely strong enough to get it through winter.
Winterizer fertilizers that contain a high proportion of nitrogen, say over a 5 on the N-P-K analysis, can actually cause your lawn harm. Nitrogen promotes leaf and shoot growth, which is tender to damage from cold weather. If these type products are applied late in the year, new growth is likely to be nipped by a cold snap, causing stress to the lawn, which can lead to greater pest pressure and poor growth the following spring.
For a healthy lawn, there’s no substitute for year-long good care. If you are having a lawn issue or would like more information on fertilizing lawns, please call your local Extension Office or check out some of UF/IFAS’s online resources!

by Les Harrison | Oct 16, 2017
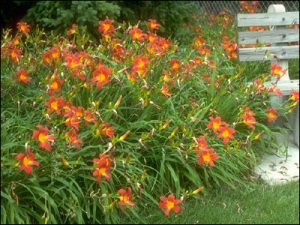
Daylilies in full bloom. Image credit UF / IFAS Solutions Website
“A penny saved is a penny earned” is the famously frugal advice from Poor Richard’s Almanac. The author Benjamin Franklin, elder statesman and founding father of the United States, offered this simple pearl of wisdom to 18th century American colonist to remind them to cautiously manage their assets.
This concept has met the test of time and had been resurrected in a variety of guises. Individuals, families, companies and governments have all applied a variation of this resource management concept, especially when their economic outlooks are challenged.
As basic as the idea is it can be applied to almost any situation, even the home landscape. Daylilies, the commonly encountered flowering ornamental in many 21st century gardens, is an excellent example of getting the most return for the least output.
The daylily is a popular flowering perennial with East Asian origins which has adapted well to Florida landscapes. Plants are available in a wide variety of growth habits, flower shapes and colors, including yellow, orange, red, pink, purple, near-white and shades and combinations of all of these.
Flowering starts in March for early-season bloomers with late-season cultivars starting in mid-May. The typical bloom period is about four to seven weeks, although some varieties bloom even longer.
Daylilies are colorful and easy to grow. Propagation is easy this time of year, just dig, separate, and replant.
As their name accurately indicates, daylilies are members of the lily family, in the genus Hemerocallis. “Hemero” is Greek for “day” and “callis” for “beauty,” so the scientific name translates to beauty for a day.
For the adventurous eater, the flower buds and petals of daylilies are edible raw, boiled, stir-fried, steamed, stuffed, or battered and fried. Dried daylily petals, called “golden needles,” are used in numerous Chinese dishes.
Many of the modern varieties of daylilies available today have been developed from native Chinese species. Early settlers from Europe and Asia brought many of the original species with them to America.
Daylilies grow best in full sun or filtered shade. The darker colored red and purple varieties flourish better in partial shade, while light colored yellows, pinks and pastels varieties need full sun to bring out their best colors.
The filtered light level under pine trees is ideal for growing daylilies. Heavy shade should be avoided because it will cause thin, spindly growth and poor flowering.
The soil pH should be between 6.2 and 6.8, with 6.5 being optimal.
The soil of daylily beds should be topped with three to four inches of organic matter, such as peat, compost, or well-rotted manure. The amended soil should be mixed or tilled, leveled and then moistened.
Daylilies survive dry conditions well because of their extensive root systems. However, the number and size of blooms, plant growth, and overall vigor can be adversely affected by prolonged drought.
Daylilies multiply fairly rapidly and plant division is an easy way to propagate them for new locations in the home landscape or to share with friends. Division is best done immediately after the flowering season.
Dig the entire clump and shake or wash off the soil without damaging the roots. It is easy to see where the divisions can be made with smaller clumps being easily pulled free to establish a new planting.
The home gardener can expand and share the beauty of these perennials and only spend a little time to accomplish this. No doubt Ben Franklin and Poor Richard would approve.
For more information, check out this excellent publication titled “Daylilies for Florida”.
by Les Harrison | Oct 2, 2017
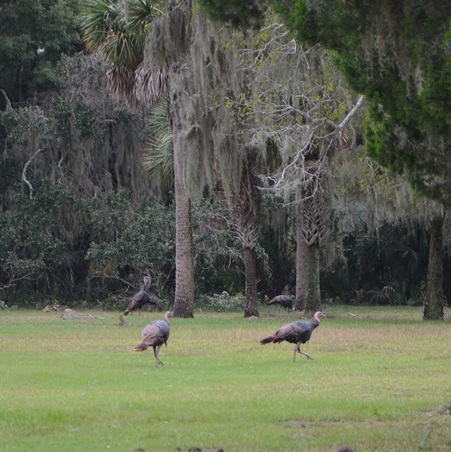
While yard work is important to maintain an attractive lawn, if done successfully, the resident can spend quality time in other pursuits like watching the wildlife from the front porch.
With the passing of September the end is in sight, well at least the end of summer, and hopefully summer-like weather. The hot humid days of August gave way to the hot humid days of September,now October, and the Florida Panhandle is finally experiencing cooler temperatures. At least temporarily.
Days have shortened noticeably and the plants have noticed. Foliage growth has slowed and seed production is in overdrive.
As the season slowly shifts, the needs and care for the lawn and landscape are changing too. Inputs need six months ago and environmental factors which were true in the spring are now being altered by the immutable and timeless forces of nature.
Fertilizer is one factor which must be considered in light of the dormant season’s approach. Inappropriate or excessive application will waste resources and end up in the water supply where it will do no good.
As many warm season grasses and plants are reducing their growth rates to prepare for winter, the need for nutrients slows. Nitrogen, the first number on a fertilizer tag’s list of ingredients percentages, is especially vulnerable to misuse by the well-intended but inexperienced or uninformed person.
Over application of nitrogen will promote the aggressive growth of tender green foliage in the lawn. If a frost or freeze occurs when the tender vegetation is presence, the plant will experience excessive damage or death.
The directions on home and garden fertilizer bags, and soil test report all recommend restricting or eliminating nitrogen application late in the growing season. This is sound advice.
Herbicide use changes in the late summer and autumn also. As with misapplied fertilizer, misused herbicides will waste resources and can end up in the water supply.
Weeds and other targets of herbicides must be actively growing for the herbicide to work effectively. Late summer and fall can present challenges to effectively applying herbicides.
With very few exceptions, plants must be actively growing for herbicides to work properly. Plants slowing towards dormancy will not absorb as much herbicide and may, species depending, be completely immune.
Herbicides do not work on plants which are under drought stress. It is important to remember early fall is the driest time of the year in panhandle Florida, nature’s way of forcing a fall growth shutdown.
Yard waste and grass clipping will help refresh mulch in flower beds and on tree root zones. The summer heat and humidity have combined with bacterial activity to breakdown the current supply of mulch.
The on-site utilization of yard waste as mulch or as a basis for compost is a good practice to establish. It will benefit the landscape and reduce the multiple layers of expenses required to collect, haul and dispose of this material.
If properly composted, the material reduces the chances of introducing weeds, insects and diseases which can be on commercial products. Another way to look at the subject is “What is produced in the Florida Panhandle stays in the Florida Panhandle…and saves everyone money in the process.
While Septembers early weeks were just as oppressively hot and humid as August, relief seems to be here. Be ready to spend the cooler days enjoying a private bit of paradise in Northwest Florida without worrying about problems which could have been avoided.
To learn more about getting the lawn and landscape ready for autumn, contact your UF/IFAS Extension Office.