by Joshua Criss | Nov 21, 2024
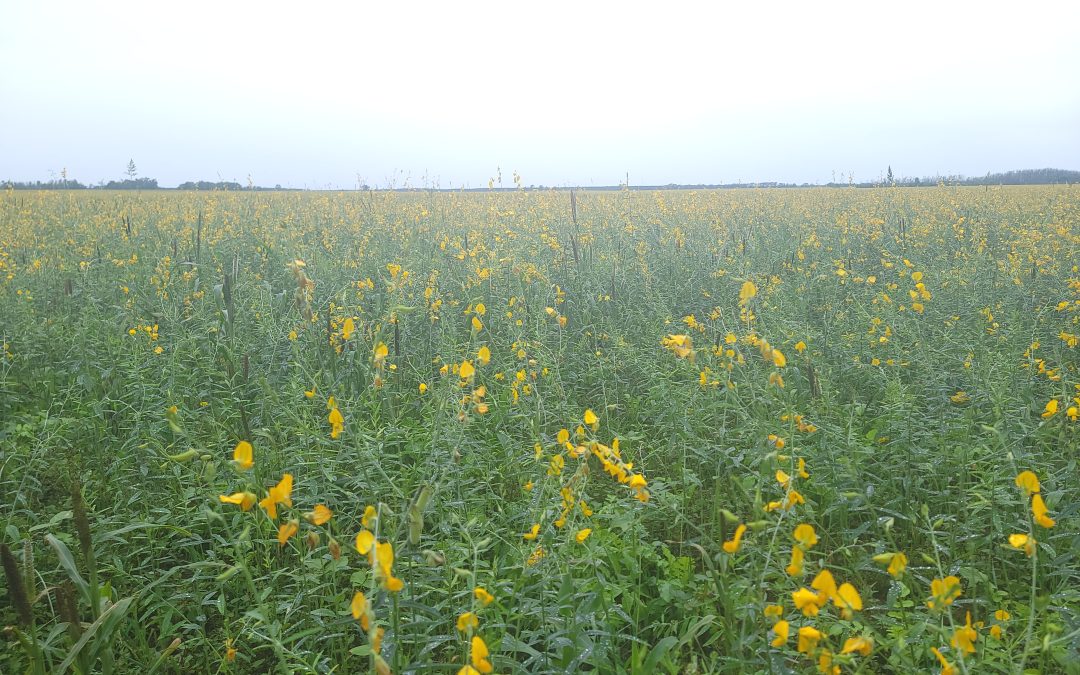
A Sea of Yellow
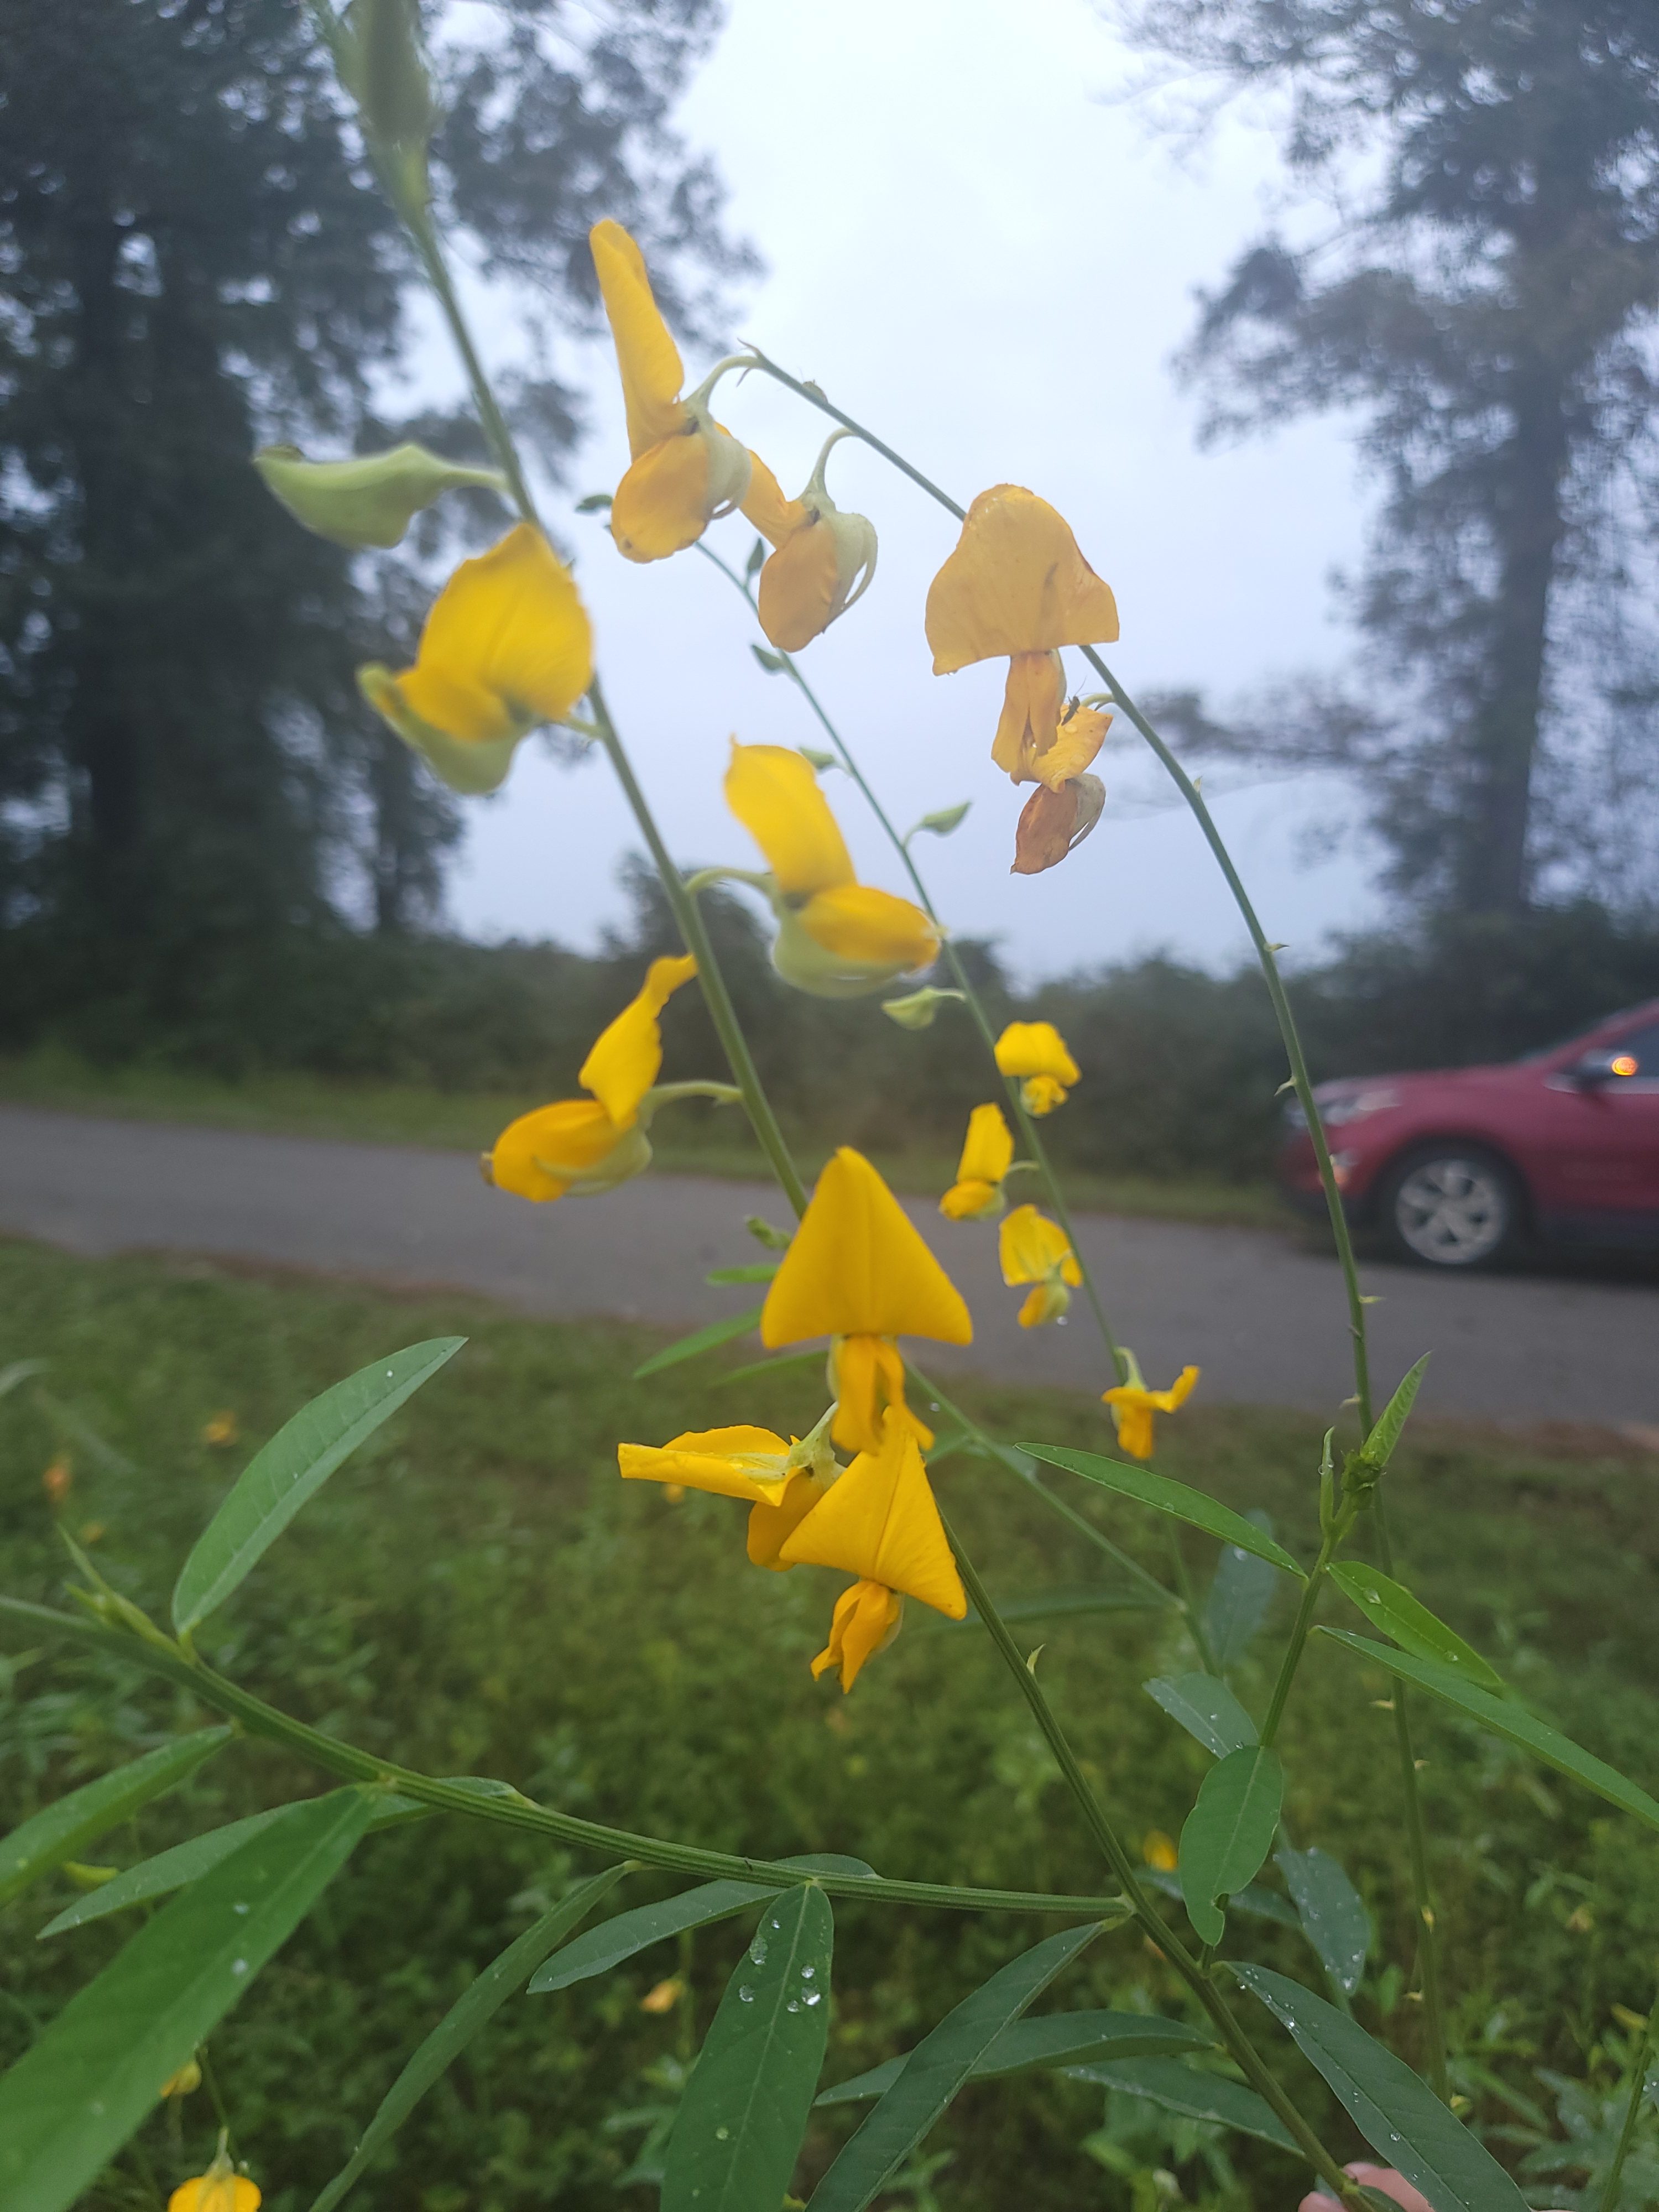
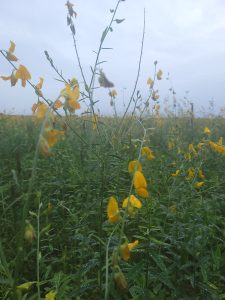
You do not often see a sea of yellow flowers on what was recently a field of row crops in North Florida. In this instance, the culprit is a cover crop called sunn hemp (Crotalaria juncea). Cover cropping, or green manure as it is sometimes known, is not a new concept. It is a great method for improving soil quality, adding organic matter, augmenting nitrogen supply, supporting pollinators when resources begin to wane, and combating nematodes. Incorporating this sustainable agriculture practice into home vegetable gardens is an excellent method to build long-term viability and production.
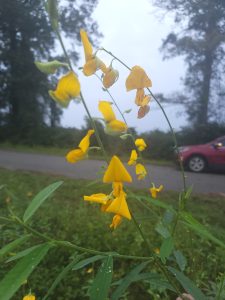
Many plants may be used in this capacity, but this article will focus on sunn hemp. This annual is an herbaceous, short-day flowering plant in the Lamiaceae or legume family. Its erect stems produce a great deal of biomass and, as a legume, will augment nitrogen stores within your soil profile. As if that wasn’t enough to sell you, this plant is also known to suppress nematode populations. Native to India and Pakistan, where sunn hemp is grown for fiber, this plant grows well in tropical and temperate environments. It will thrive in even sub-par conditions and requires little fertilizer input.
UF/IFAS Photo: Josh Criss
Seed Time
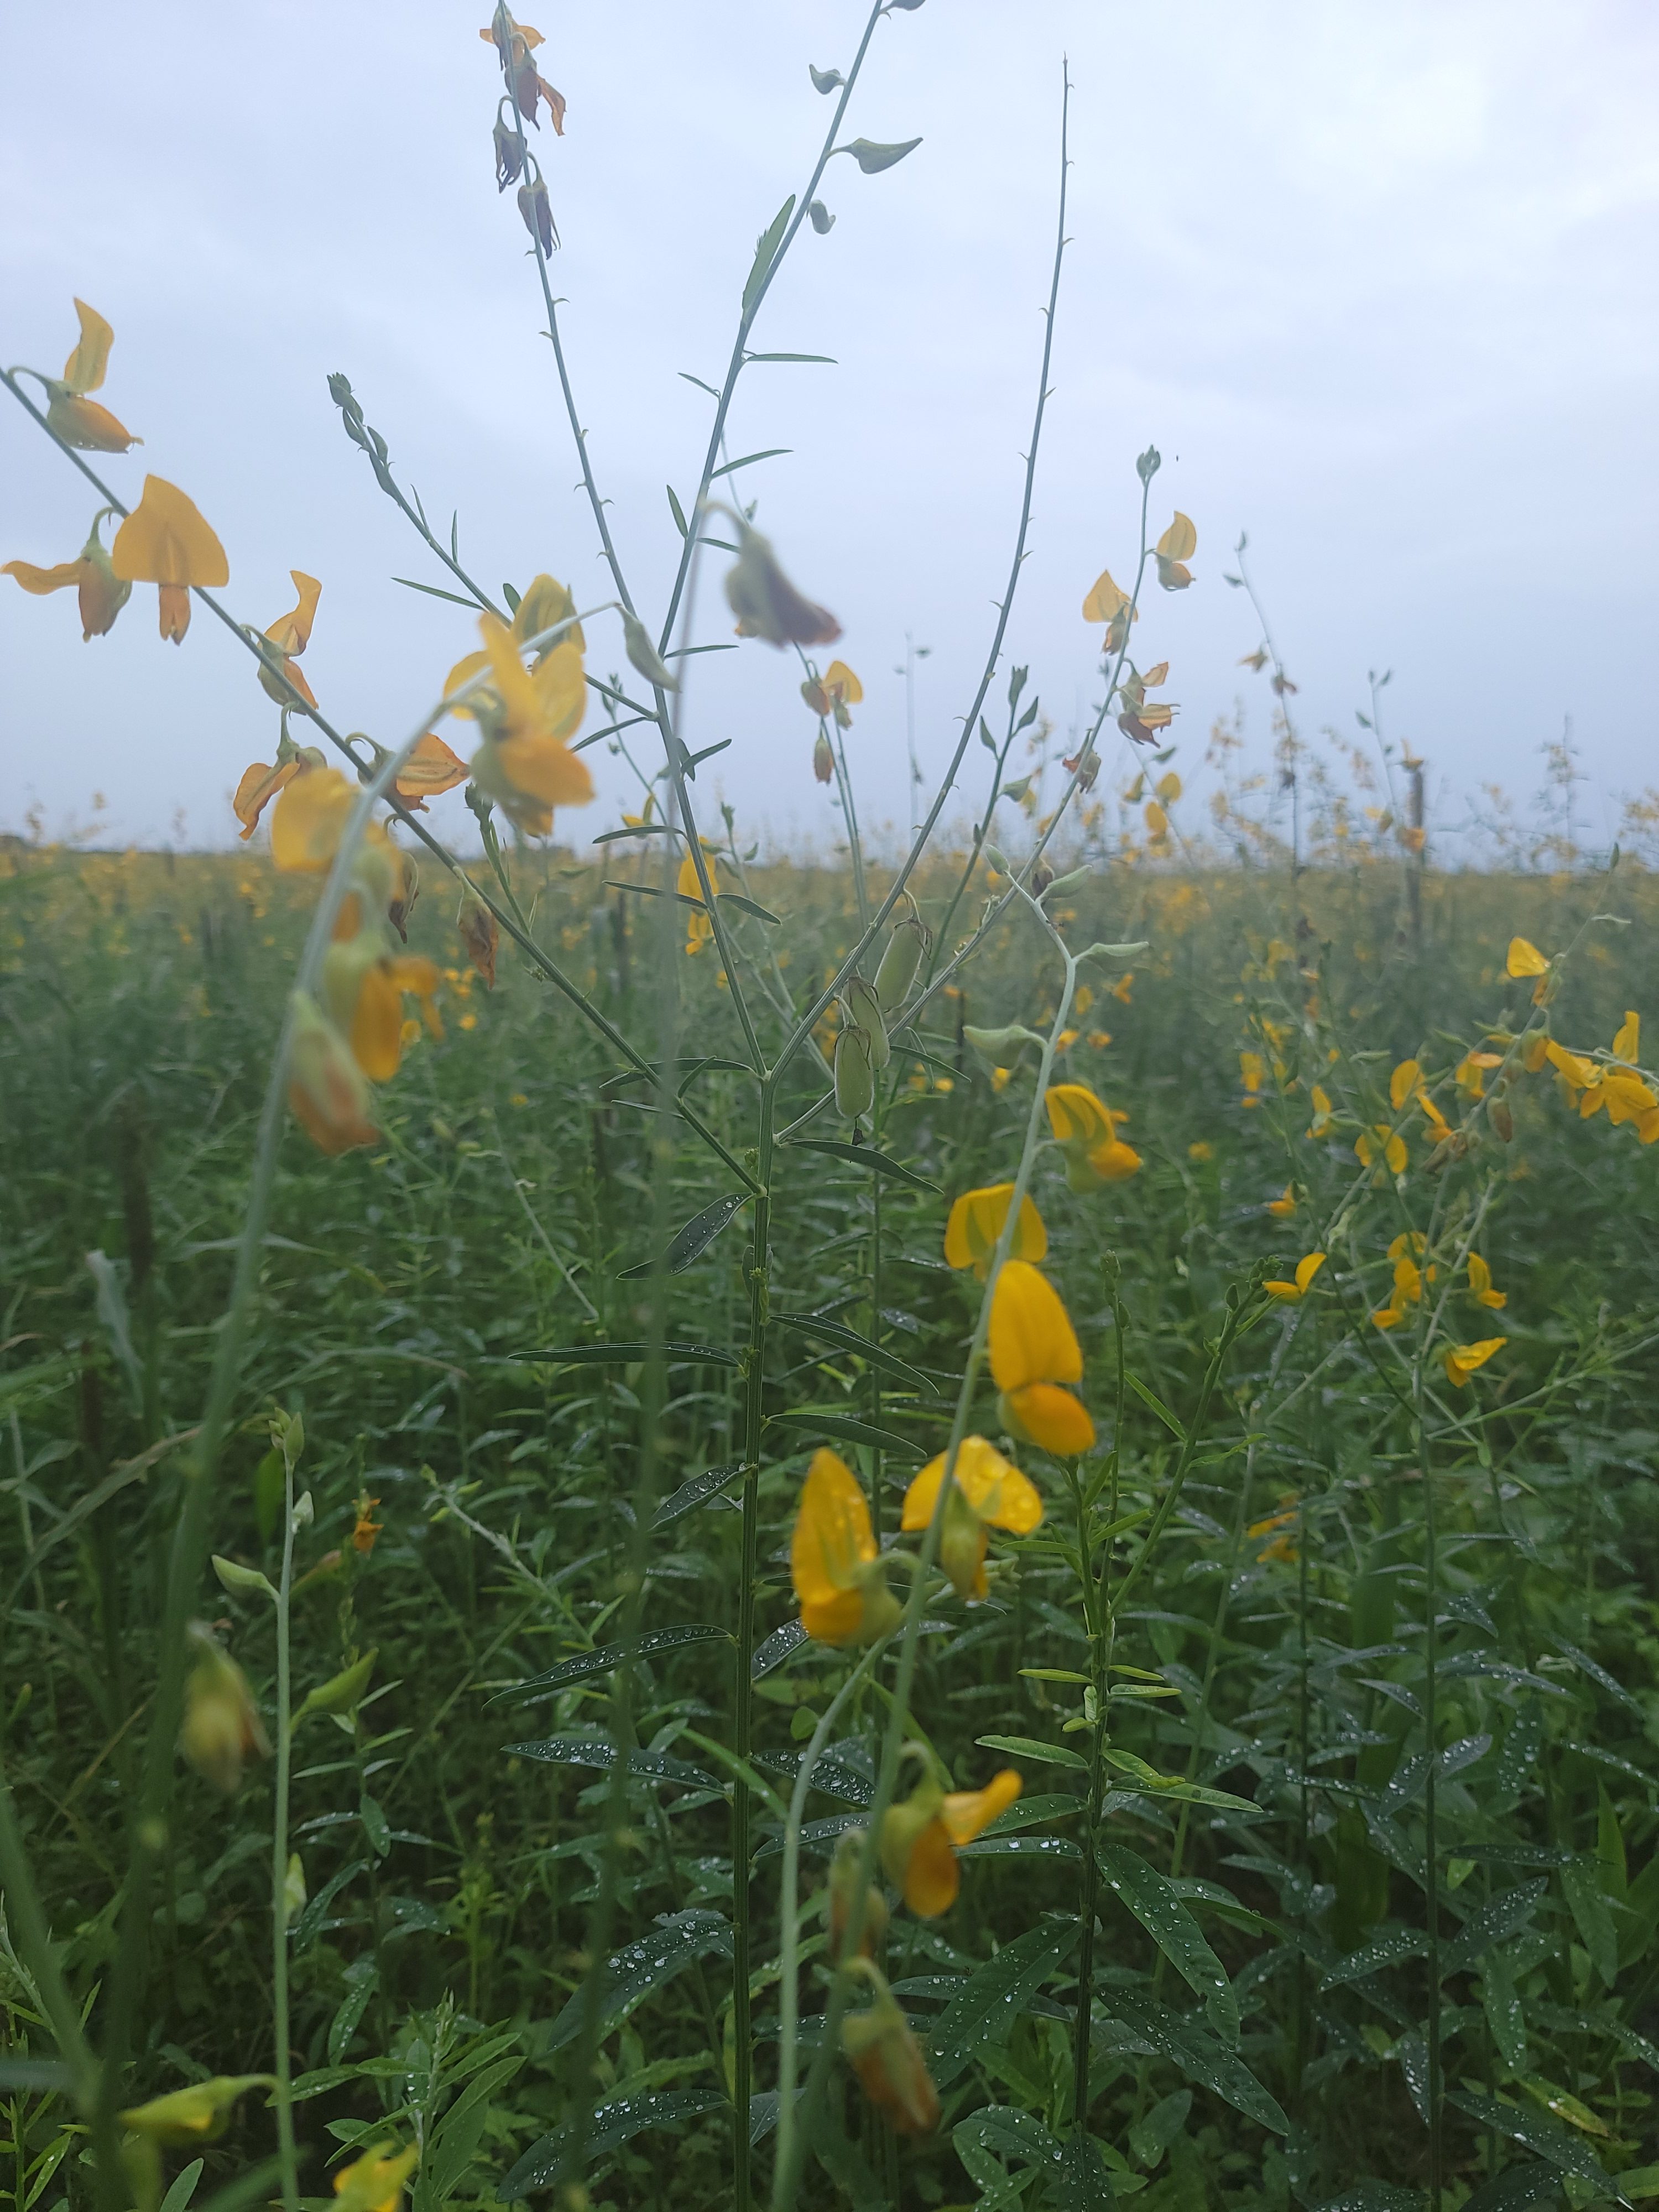
Seed this plant once your summer gardens have begun to wane. The shorter day length will keep the plant confined to about 3-4 feet while still allowing it to flower. It may also be planted earlier in the year to maximize below-ground biomass and add organic matter. In this scenario, the plant will likely grow to 7 feet tall with a closed canopy within 10 weeks.
Sunn hemp requires little fertilization as it is a legume, a plant family known to fix nitrogen from the atmosphere. This same mechanism is one of the features of this plant as a cover or green manure crop, as it can add up to 320 pounds of nitrogen per acre back to the soil when planted en masse.
Seeding rates within a home garden are much smaller. A farmer may plant 30-50 pounds of seed, which is not practical in small-scale growing. Instead, aim to cover the garden area through broadcasting seed, as a denser planting will reduce the later branching of this plant. Ensure you have 8-12 weeks of warm, frost-free weather, and terminate them prior to reaching the full bloom stage. Doing so will provide your gardens with the same benefits seen in farm fields utilizing this sustainable practice.
UF/IFAS Photo: Josh Criss
To Sum it Up
Sunn hemp is an excellent plant for your gardens before your fall greens. The biomass it produces and the nitrogen it recovers make it very attractive to farmers and should raise eyebrows even in the home garden. The trick is learning to manage this plant within your crop rotation. For more information on soil management refer to these IFAS documents, or contact your local extension agent for additional information on this and any topic regarding your gardens and more.
by Matt Lollar | Nov 13, 2024

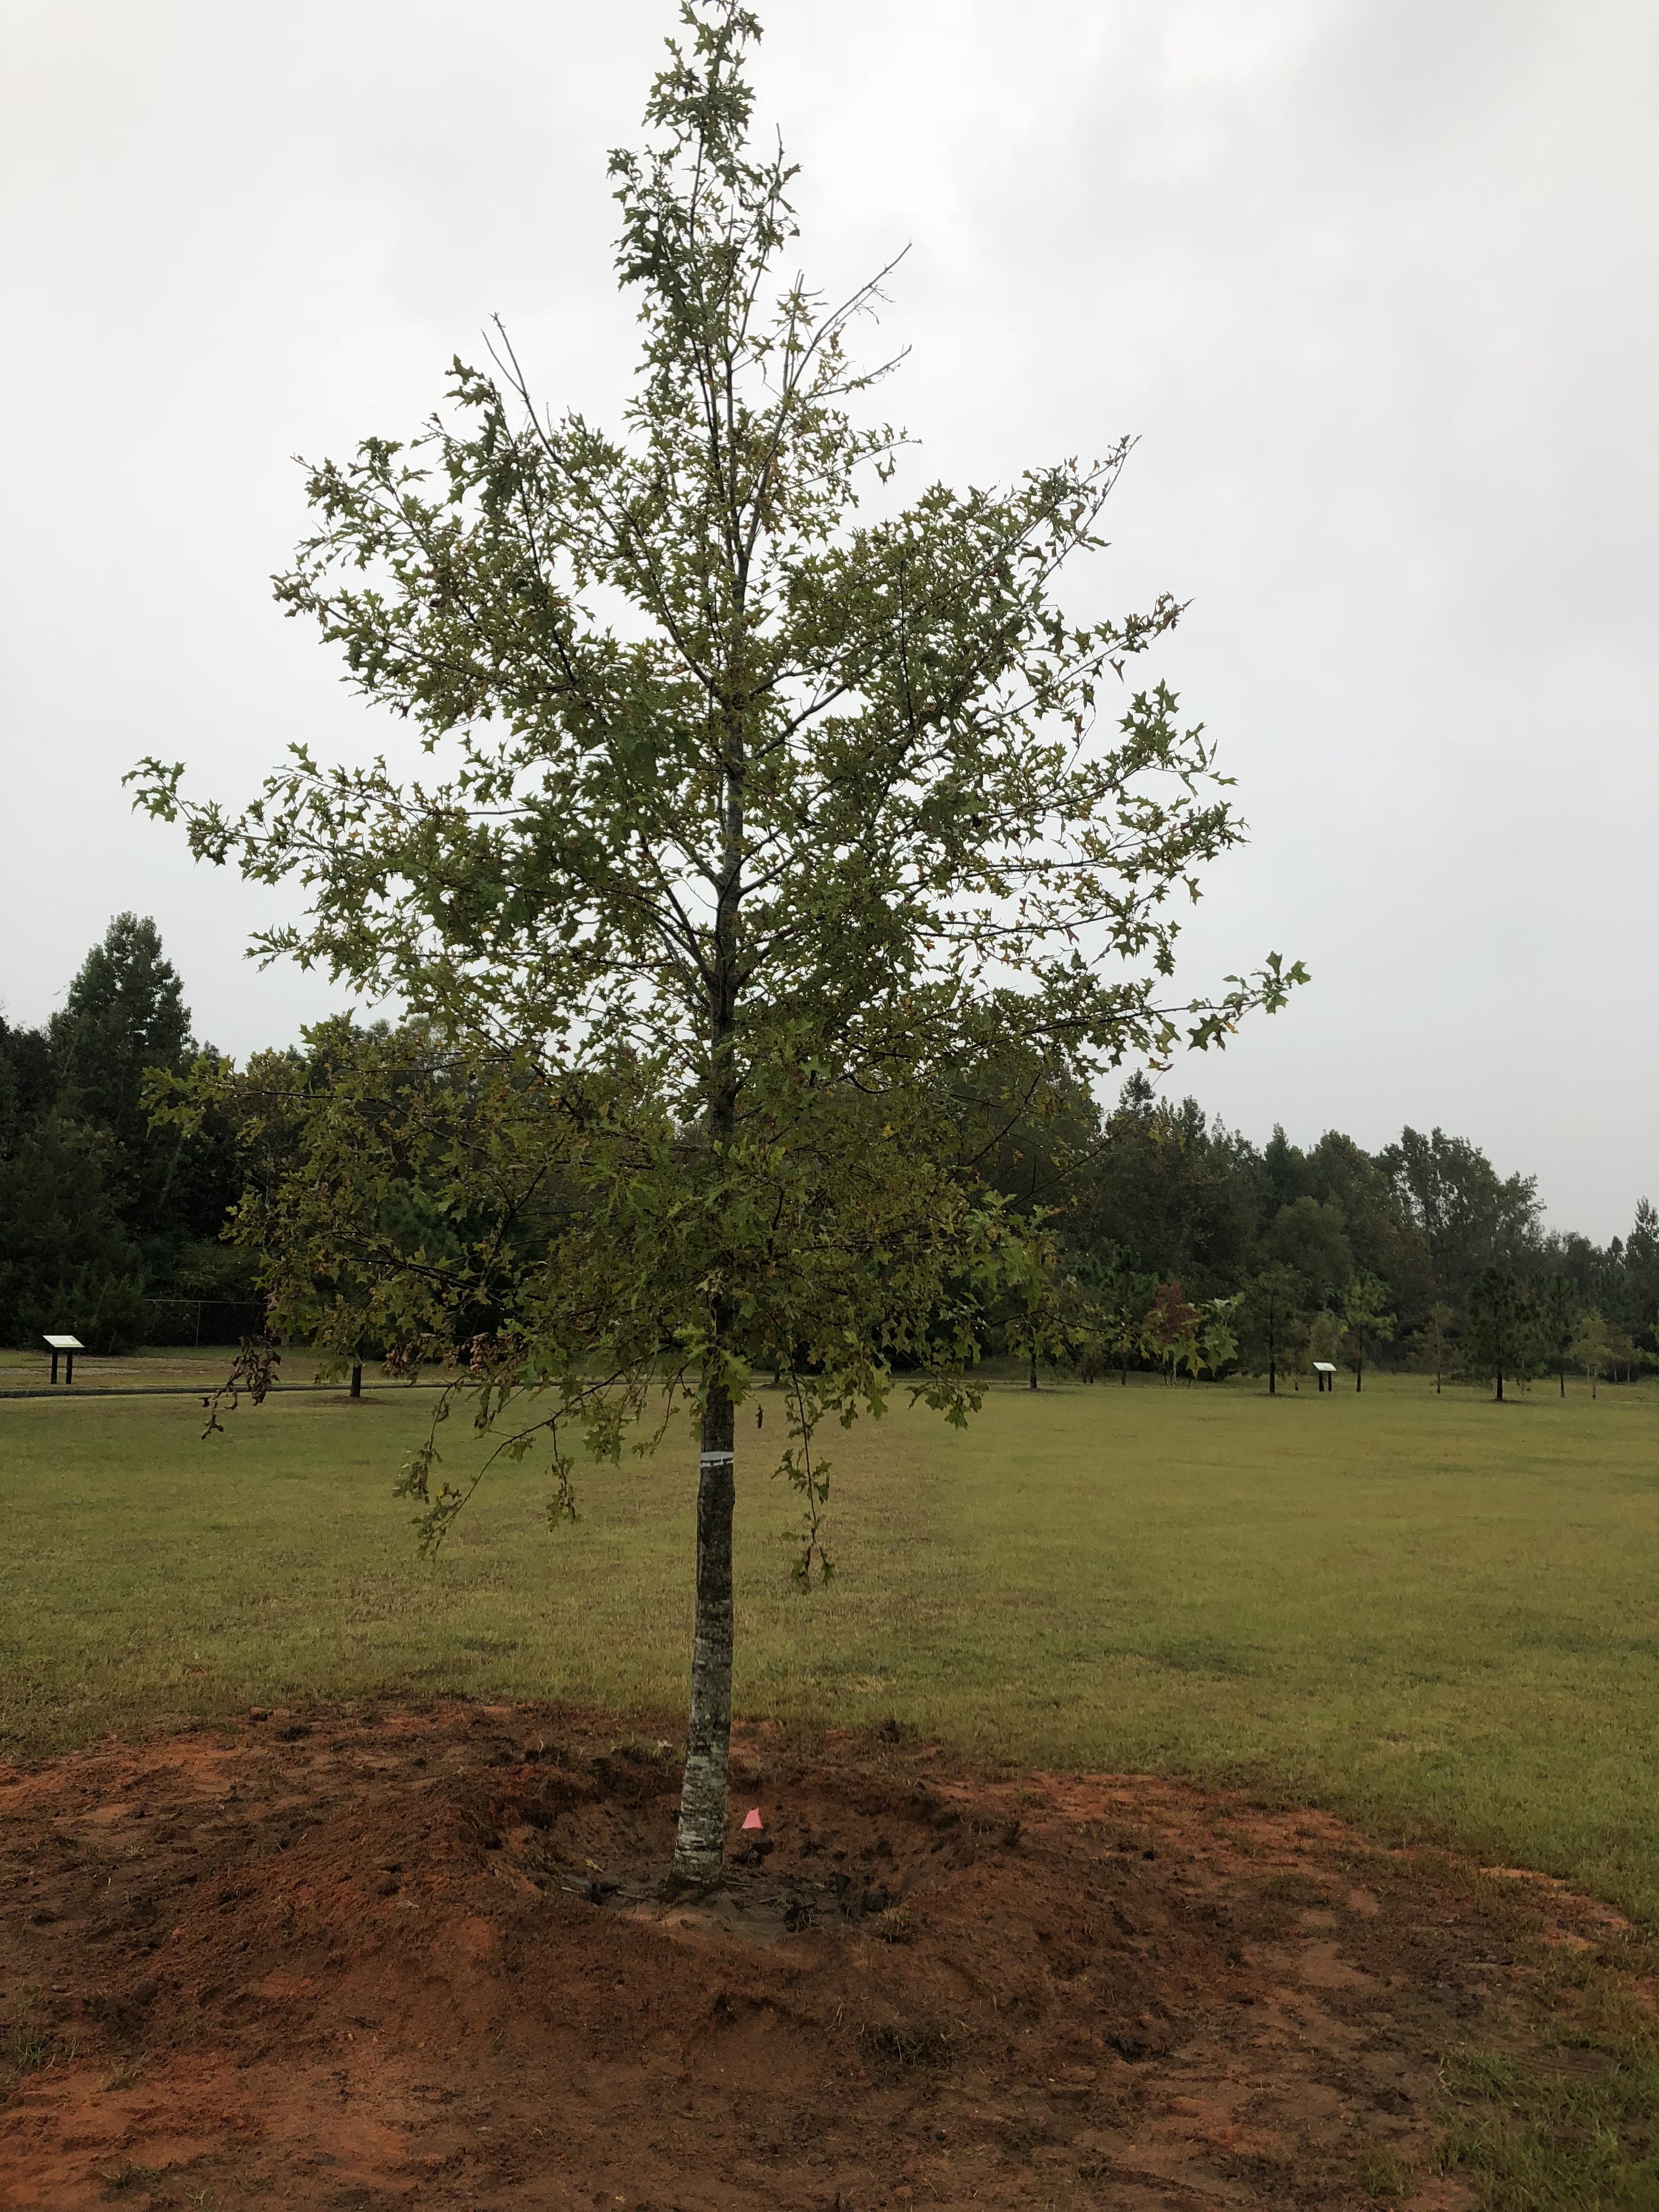
A planted tree with water retention berm. Photo Credit: Matt Lollar, University of Florida/IFAS Extension – Santa Rosa County
Extension agents are frequently tasked with evaluation of unhealthy plants in the landscape. They diagnose all sorts of plant problems including those caused by disease infection, insect infiltration, or improper culture.
When evaluating trees, one problem that often comes to the surface is improper tree installation. Although poorly installed trees may survive for 10 or 15 years after planting, they rarely thrive and often experience a slow death.
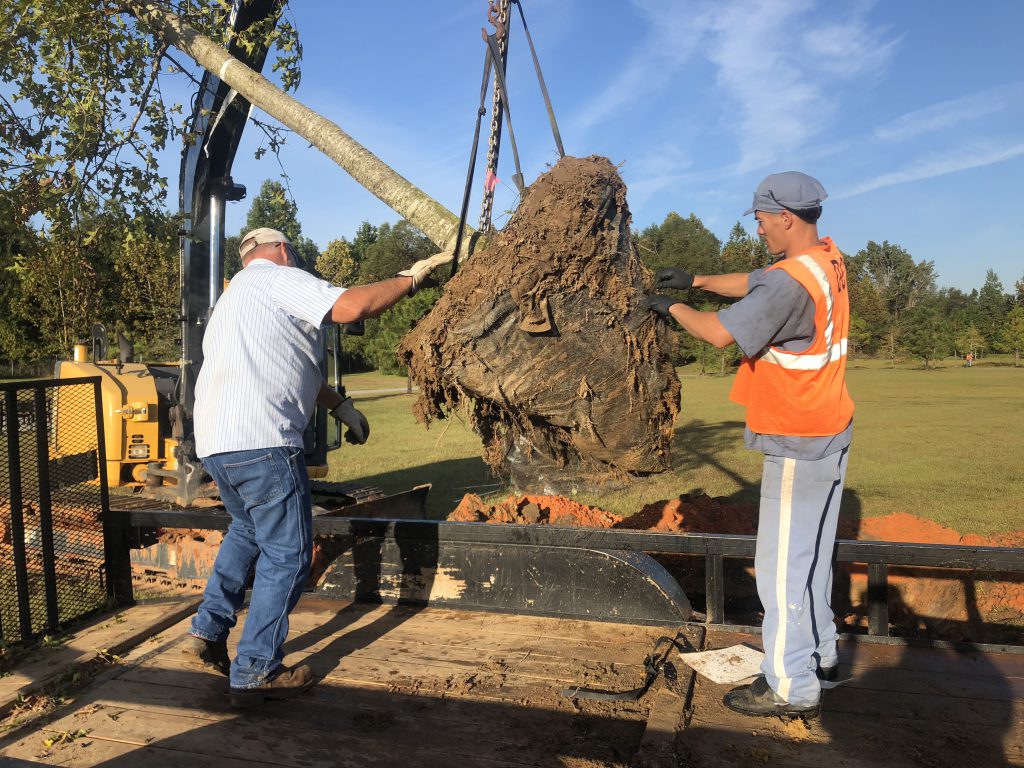
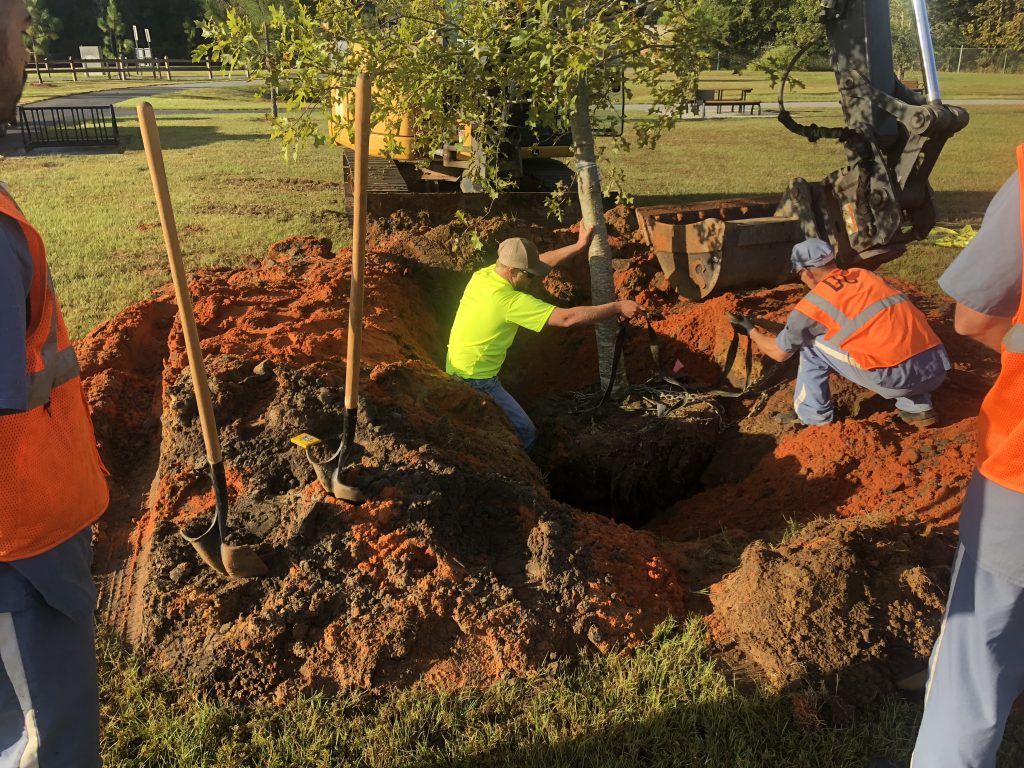
Fall is an excellent time to plant a tree in Florida. A couple of weeks ago beautiful Nuttall Oak was planted at Bagdad Mill Site Park in Santa Rosa County, FL. Here are 11 easy steps to follow for proper tree installation:
- Look around and up for wire, light poles, and buildings that may interfere with growth;
- Dig a shallow planting hole as wide as possible;
- Find the point where the top-most root emerges from the trunk;
- Slide the tree carefully into the planting hole;
- Position the point where the top-most root emerges from the trunk slightly above the landscape soil surface;
- Straighten the tree in the hole;
- Remove synthetic materials from around trunk and root ball;
- Slice a shovel down in to the back fill;
- Cover the exposed sides of the root ball with mulch and create water retention berm;
- Stake the tree if necessary;
- Come back to remove hardware after establishment.
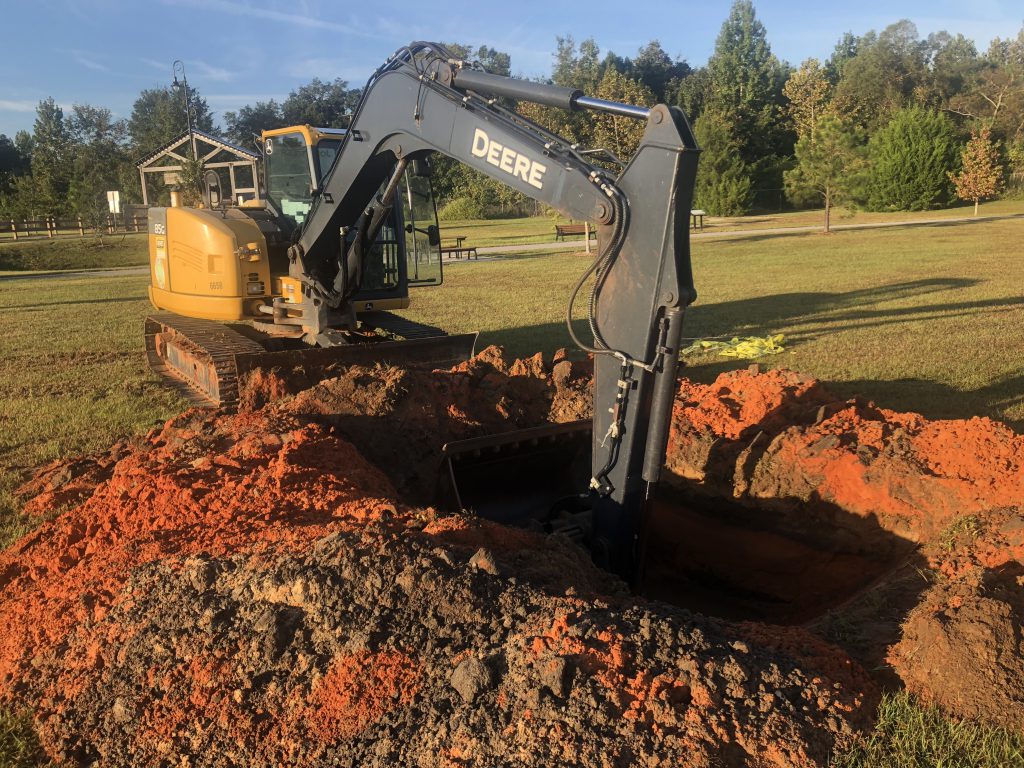
Digging a properly sized hole for planting a tree. Photo Credit: Matt Lollar, University of Florida/IFAS Extension – Santa Rosa County
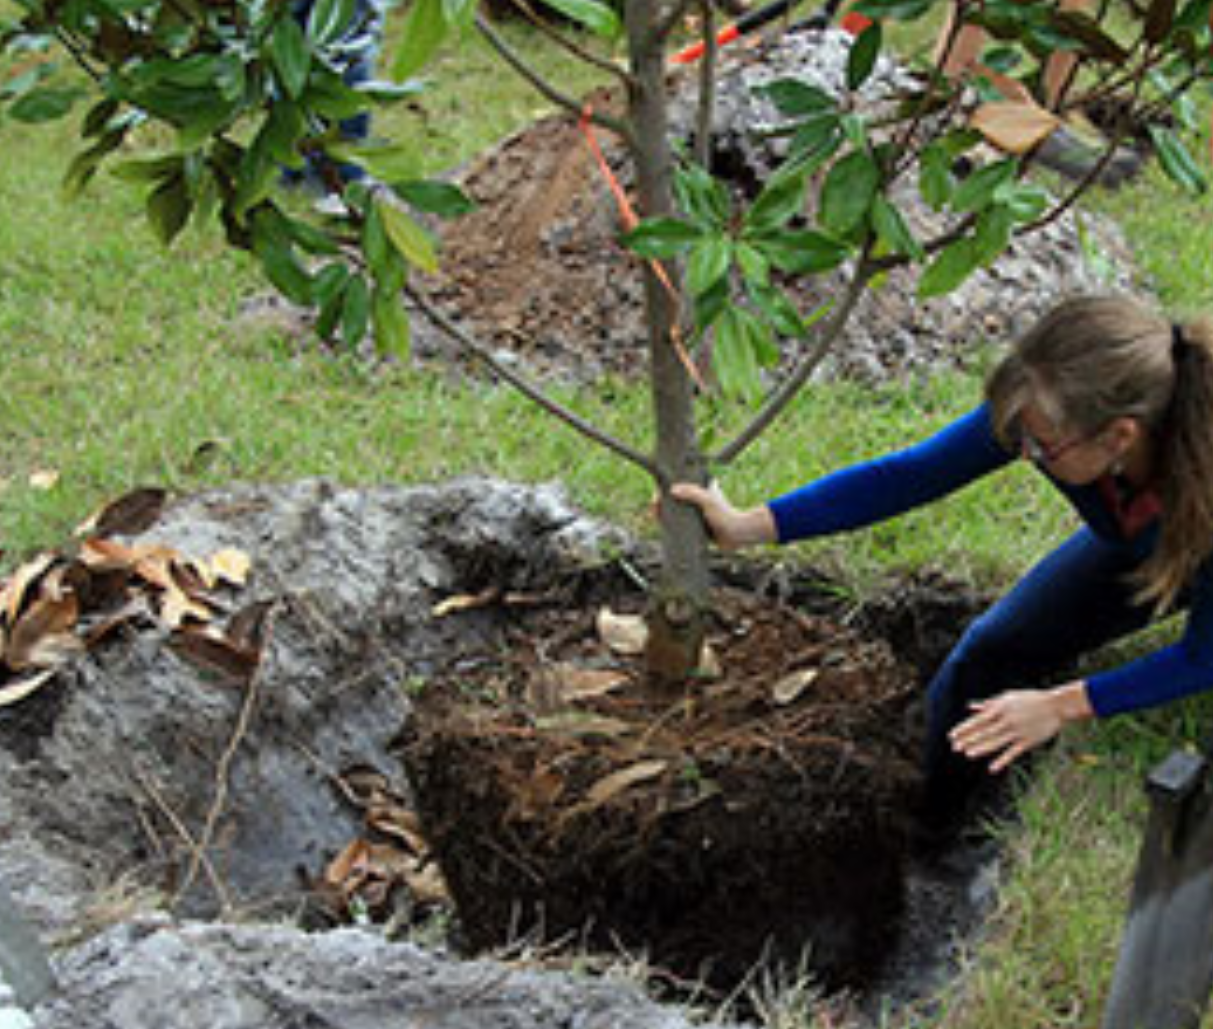
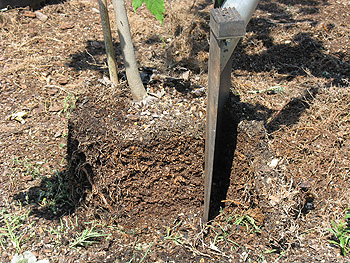
Removing synthetic material from the root ball. Photo Credit: Matt Lollar, University of Florida/IFAS Extension – Santa Rosa County
Straightening a tree and adjusting planting height. Photo Credit: Matt Lollar, University of Florida – Santa Rosa County
For more detailed information on planting trees and shrubs visit this UF/IFAS Website – “Steps to Planting a Tree”.
For more information Nuttall Oaks visit this University of Arkansas Website.
by Sheila Dunning | Nov 6, 2024

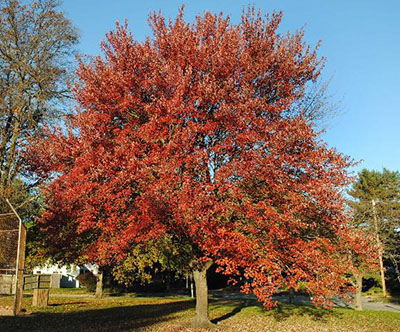
Red Maple structure IFAS Photo: Hassing, G.
Though the calendar says November, the weather in Northwest Florida is still producing summer or at least spring-like temperatures. The nice days are wonderful opportunities to accomplish many of those outside landscape chores. But, it is also a good time to start planning for next month’s colder temperatures. Since we don’t experience frozen soil, winter is the best time to transplant hardy trees and shrubs. Deciduous trees establish root systems more quickly while dormant; versus installing them in the spring with all their tender new leaves.

Remove an inch or more for extremely rootbound trees.
Here are a few suggestions for tasks that can be performed this month:
- Plant shade trees, fruit trees, and evergreen shrubs.
- Do major re-shaping of shade trees, if needed, during the winter dormancy.
- Check houseplants for insect pests such as scale, mealy bugs, fungus gnats, whitefly and spider mites.
- Continue to mulch leaves from the lawn. Shred excess leaves and add to planting beds or compost pile.
- Replenish finished compost and mulch in planting beds, preferably before the first freeze.
- Switch sprinkler systems to ‘Manual’ mode for the balance of winter.
- Water thoroughly before a hard freeze to reduce plants’ chances of damage.
- Water lawn and all other plants once every three weeks or so, if supplemental rainfall is less than one inch in a three week period.
- Fertilize pansies and other winter annuals as needed.
- Build protective coverings or moving devices for tender plants before the freeze warming.
- Be sure to clean, sharpen and repair all your garden and lawn tools. Now is also the best time to clean and have your power mower, edger and trimmer serviced.
- Be sure the mower blade is sharpened and balanced as well.
- Provide food and water to the area’s wintering birds.
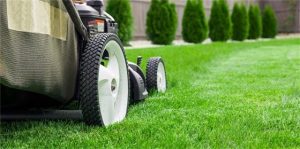
Mowing a lawn. Photo Credit: University of Florida/IFAS
by Matt Lollar | Oct 8, 2024
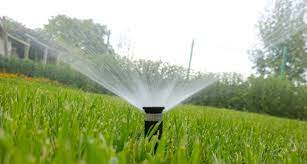
On a recent family walk, I noticed something pretty obvious. One of our neighbors had a broken irrigation head. Luckily this is an easy fix, because a new rotor can just be screwed into place. But seeing the amount of water running into the street got me thinking about some additional ways to save water. Scroll down for some water saving tips based on the 9 Principles for Florida Friendly Landscaping.
Water runoff from a broken irrigation head. Photo Credit: Matt Lollar, University of Florida/IFAS Extension – Santa Rosa County
4 Ways to Save Water
- Pick the right plant for the right place. Turf is an excellent choice for catching runoff in the situation pictured above. However, it’s important to evaluate your yard based on the amount of sunlight received throughout the day. Once you’ve determined if you need sun loving, shade loving, or plants that can handle a little of both, you’ll want to check how well your soil drains. Some plants can handle wet conditions better than others. Use the FFL Plant Guide to help pick the plants for your space.
- Irrigate based on plant requirements. Plants like to be watered thoroughly to the extent of their rootzones. For turf, we recommend irrigating deeply and infrequently early in the morning. This method encourages the roots to grow deep to reach the water needed. Most established trees and shrubs don’t need supplemental irrigation unless we’re going through an extended period of drought. Review the Summary of Turf and Landscape Irrigation Recommendations to help determine the amount of water your yard needs.
- Calibrate the irrigation system. If you have an irrigation system, then you need to make sure it’s calibrated. To do this, you’ll first need to make sure your system doesn’t have any leaks or broken heads and redirect heads to water plants instead of the driveway, sidewalk, or road. Next, you’ll need to determine how long to run your system based on water output. The run time test is detailed on the UF/IFAS Calibrating Your Irrigation System webpage.
- Use mulch around trees and shrubs. Mulch can help hold moisture and conserve water. It’s important to keep mulch to between 2 and 3 inches deep and at least 2 inches away from the base of trees and shrubs. There’s a lot more information on Choosing and Installing Mulches on the Gardening Solutions website.
Following these simple tips will ensure that you’re watering efficiently and effectively. If you have additional questions about irrigation or just about anything plant related, please contact your local UF/IFAS Extension Office.
by Joshua Criss | Oct 4, 2024
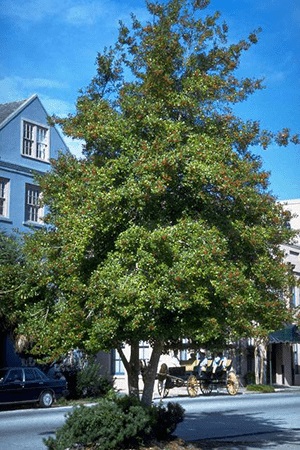
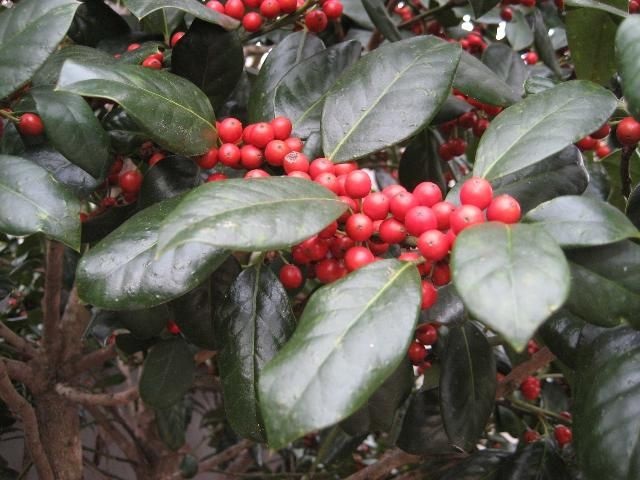
Winter color is not always easy to find here in Florida. While staple annuals such as snapdragons (Antirrhinum majus) require planning and extra effort in the autumn. Instead, envision a perennial powerhouse that will not only provide colorful berries when the temperature drops but is a pollinator magnet in the spring. The Holly tree (Ilex spp.) perfectly embodies this vision. These low-maintenance evergreens, with their waxy leaves and colorful berries, are a sight to behold in your landscape, whether as a hedge or an accent plant.
Where and How to Plant
Hollies generally prefer partial shade and well-drained soils. However, exceptions exist, such as the Dahoon holly (Ilex cassine), adapted to wetter environments. Whatever cultivar you place in your landscape, following the planting and care instructions is crucial. Plant it in a hole approximately one foot wider than the root ball. Dig deep enough to cover most of the root ball but shallow enough so the uppermost root is slightly above the soil line. This may be counterintuitive, but roots need air to thrive, and shallow planting allows infiltration in the rhizosphere. To regulate soil temperature and soil moisture, add a 2-3 inch layer of mulch around the base of the plant. It is critical to leave some space between the tree trunk and mulch.

Photo: Edward Gilman, UF/IFAS.
Cultural Practices for Success
Irrigation is critical to establishing these plants, which should take between 3 and 6 months. Once established, cease irrigation except in drought conditions. Don’t apply too much water in either case, as hollies will suffer with wet feet. Fertilizers should be applied twice yearly in March and September. Have your soil tested before applying fertilizer to ensure a complete nutrient profile.
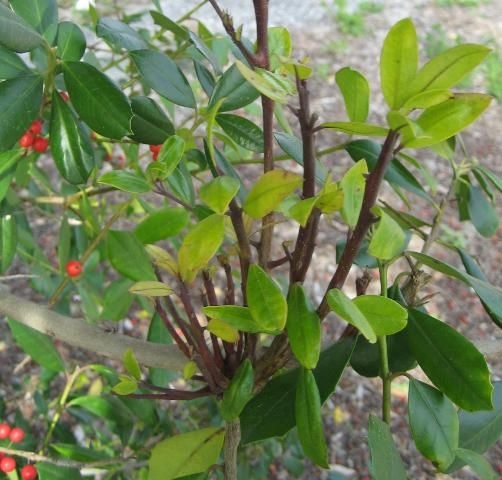
Pruning is not routinely required with holly trees. It is advisable to remove dead, diseased, and dysfunctional branches. Dysfunctional branches are those that grow back toward the main leader of the tree. These risk rubbing against one another, causing wounds that may become infiltration sites for pathogens. You should also remove sprouts coming from the root zone, commonly called suckers.
Potential Issues
Pests and pathogens are infrequent in hollies and are usually the product of improper growing practices. Occasionally, scale or spittlebug insects can infest the tree. Their presence will be punctuated by the appearance of blackened leaves, which is a symptom of sooty mold. Scouting these plants often will allow early detection and control of these pests. Some pathogens may also affect these trees. Most often, these are fungi caused by excessive moisture. Look for dieback or strange growth patterns in the plant’s foliage. When you see these, make sure the roots are not waterlogged.

Photo: UF/IFAS
Summing Things Up
Hollies are an excellent and low maintenance addition to any landscape. Their berries and flowering patterns provide multiple seasons of interest and are a resource for birds and pollinators alike. For more information on Florida wildflowers, see these Ask IFAS documents, or contact your local extension agent for additional information on this and any topic regarding your gardens and more.