by Sheila Dunning | Sep 30, 2024
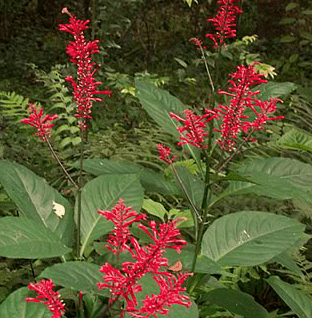
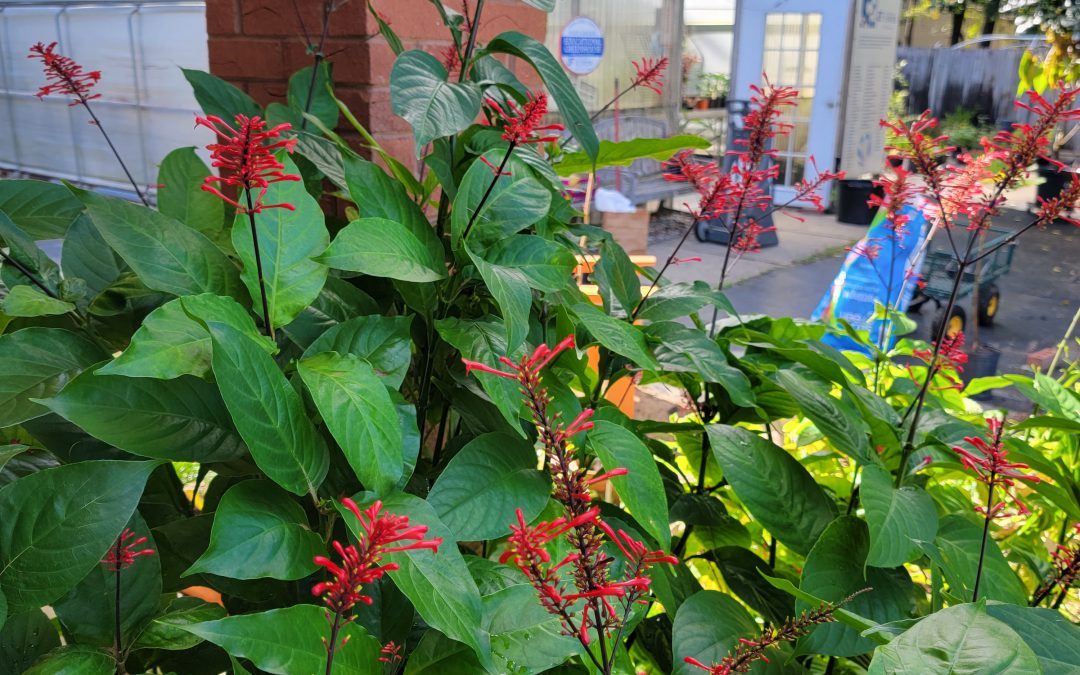
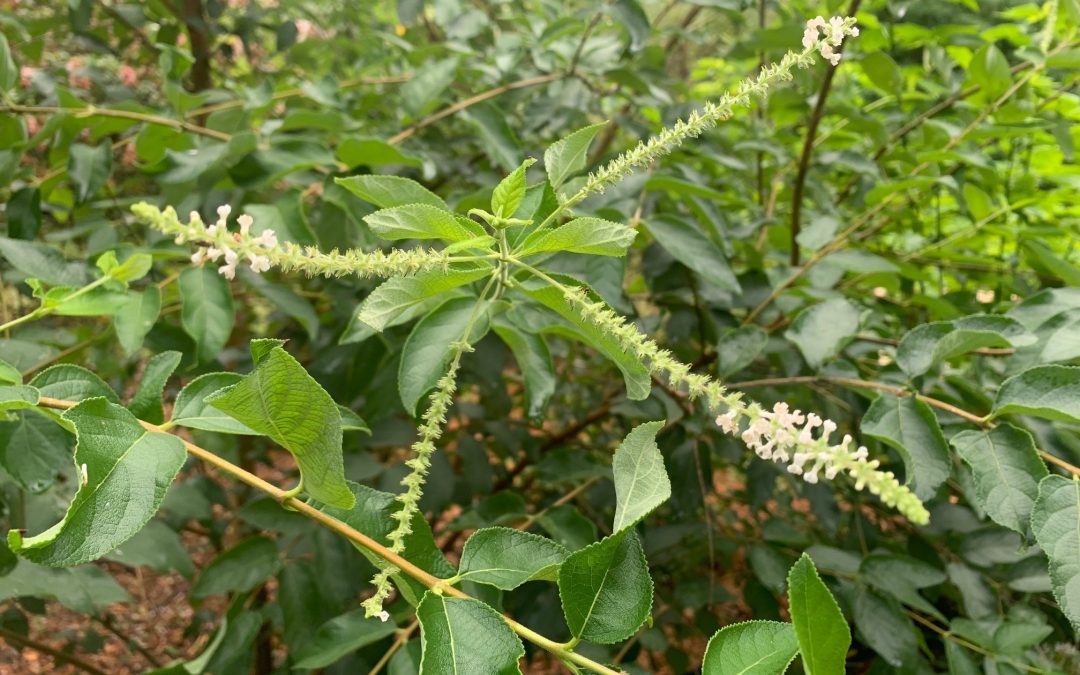
Looking to add something to brighten your landscape this autumn? Firespike (Odontonema strictum) is a prolific fall bloomer with red tubular flowers that are very popular with hummingbirds and butterflies. It’s glossy dark green leaves make an attractive large plant that will grow quite well in dense shade to partial sunlight. In frost-free areas, firespike grows as an evergreen semi-woody shrub, spreads by underground sprouts and enlarges to form a thicket.
Bright red blooms of Firespike
In zones 8 and 9 it usually dies back to the ground in winter and resprouts in spring, producing strikingly beautiful 9-12 inch panicles of crimson flowers beginning at the end of summer and lasting into the winter each year. Firespike is native to open, semi-forested areas of Central America. It has escaped cultivation and become established in disturbed hammocks throughout peninsular Florida, but hasn’t presented an invasive problem. Here in the panhandle, firespike will remain a tender perennial for most locations. It can be grown on a wide range of moderately fertile, sandy soils and is quite drought tolerant. Firespike may be best utilized in the landscape in a mass planting. Plants can be spaced about 2 feet apart to fill in the area quickly. It is one of only a few flowering plants that give good, red color in a partially shaded site. The lovely flowers make firespike an excellent candidate for the cutting garden and is a “must-have” for southern butterfly and hummingbird gardens. Additional plants can be propagated from firespike by division or cuttings. However, white-tailed deer love firespike too, and will eat the leaves, so be prepared to fence it off from “Bambi”.
by Carrie Stevenson | Sep 11, 2024

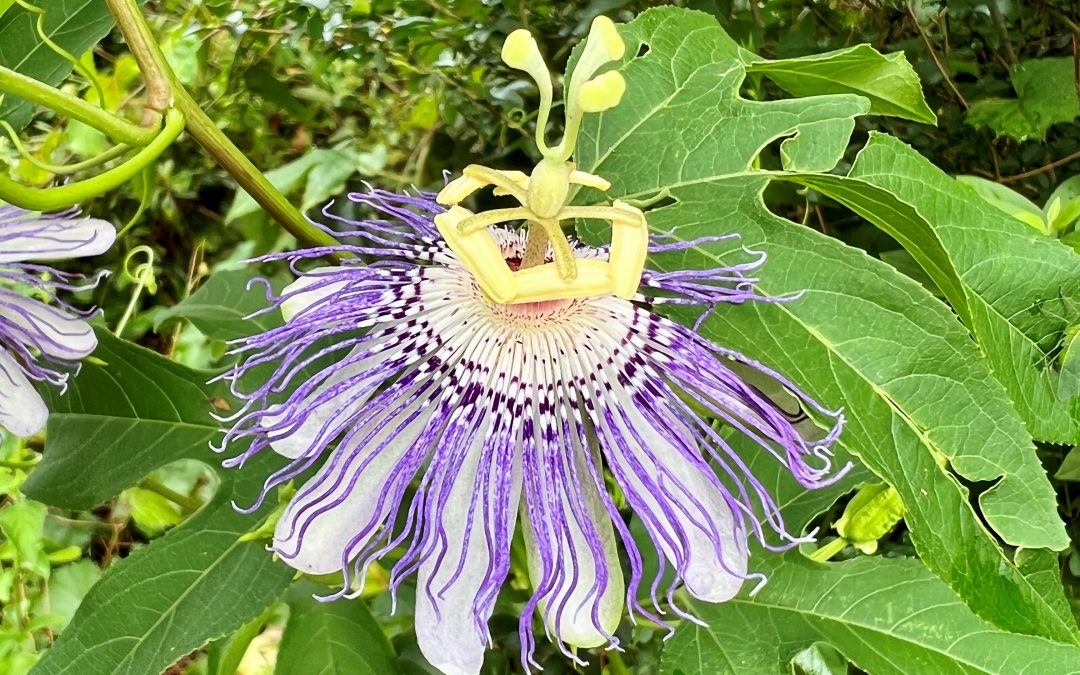
The ornate passionflower attracts human and insect attention, alike. Photo credit: Mike Clark
There are some things in nature that look so bizarre, so beautiful, or so ornate that one can scarcely believe they’re real. This was how I felt the first time I looked closely at a passionflower (Passiflora incarnata) bloom. Between the deep shade of purple, the squiggly intricate filaments of the “corona” above the petals, and the bright green stigma and ovary, it seemed like something from the imagination of Dr. Seuss.

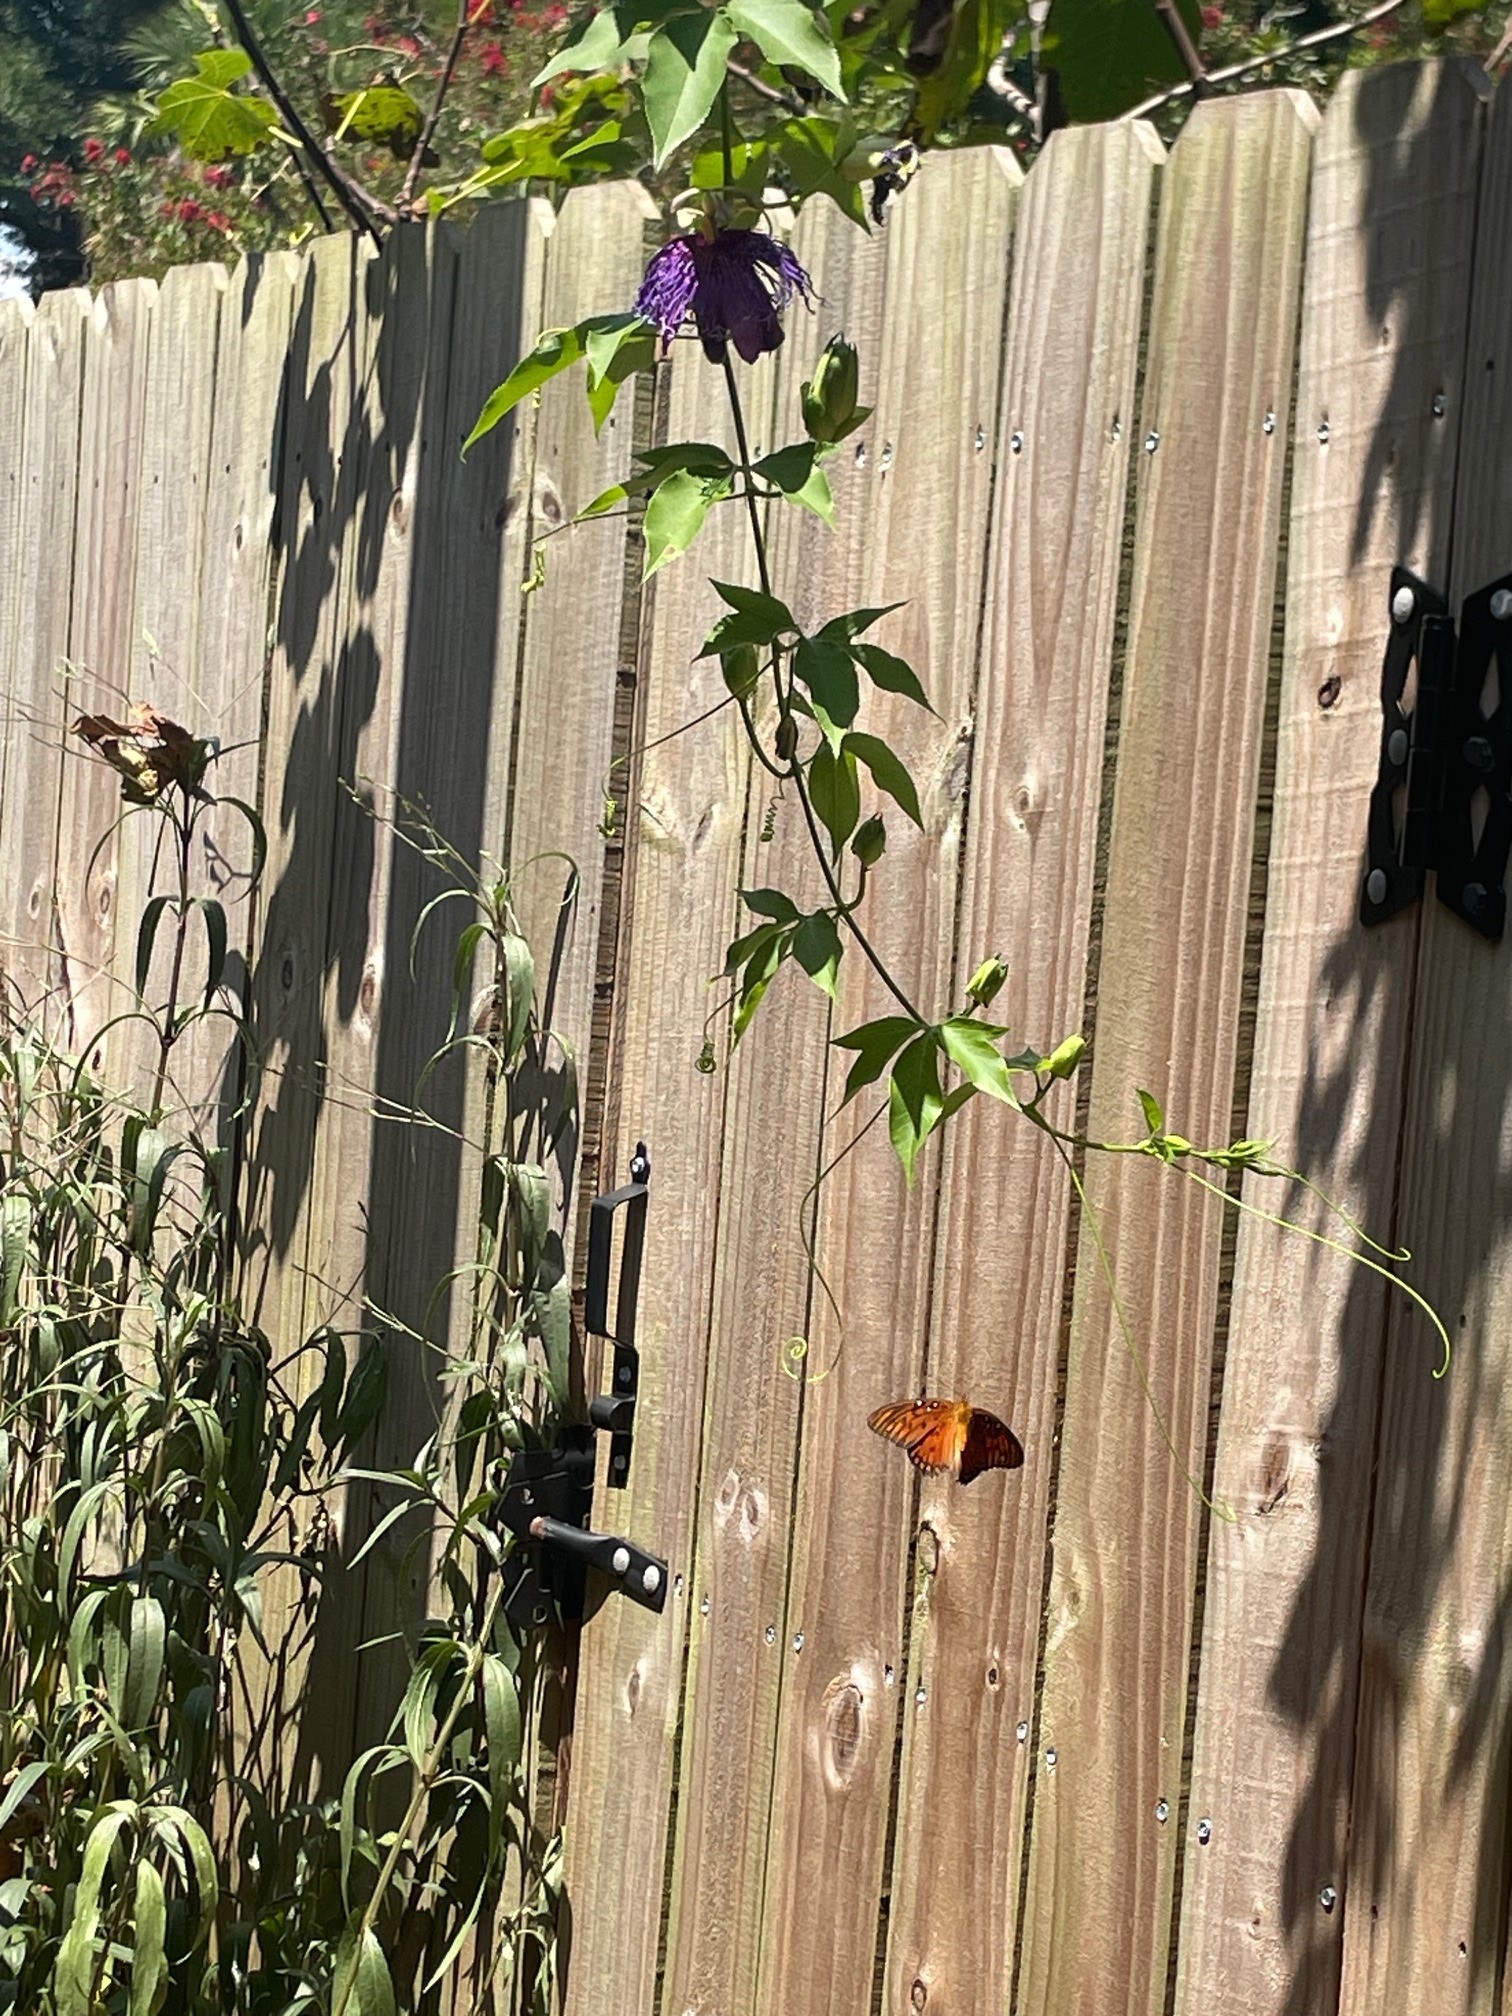
A Gulf fritillary butterfly visits the passionvine in my yard. Photo credit: Carrie Stevenson, UF IFAS Extension
Our vine is full of blooms right now, and every time I walk past the arbor I stop in admiration. I’m not the only one—the plant is covered up with Gulf fritillary butterflies, small orange and black near-mimics of monarchs. Like the monarch, they possess chemical defense mechanisms that make them taste bad to would-be predators. Fritillaries are so fond of passionvines as a nectar source that they are sometimes referred to as “passion butterflies.” Adult females frequently lay their eggs on the plant, as well.
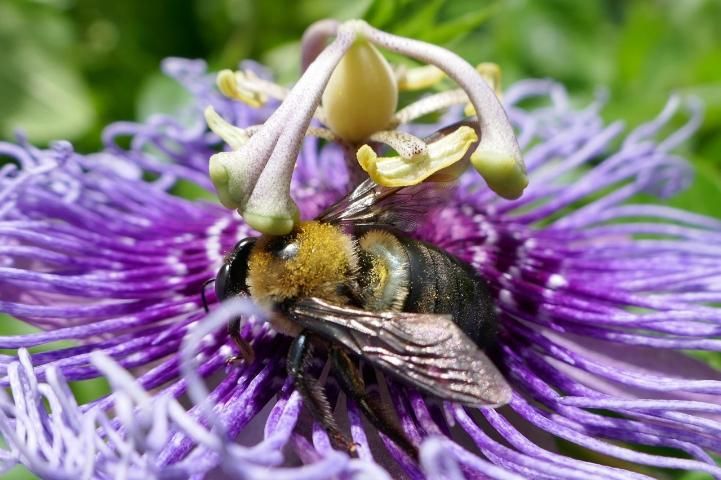
Carpenter bees are big fans of the flower, digging for pollen throughout its bloom time. The leaves also attract pollinator insects; they have “extrafloral nectaries” that secrete a sugary substance at their bases, attracting bees and ants.

A carpenter bee visiting a passionflower. Photo credit: UF IFAS
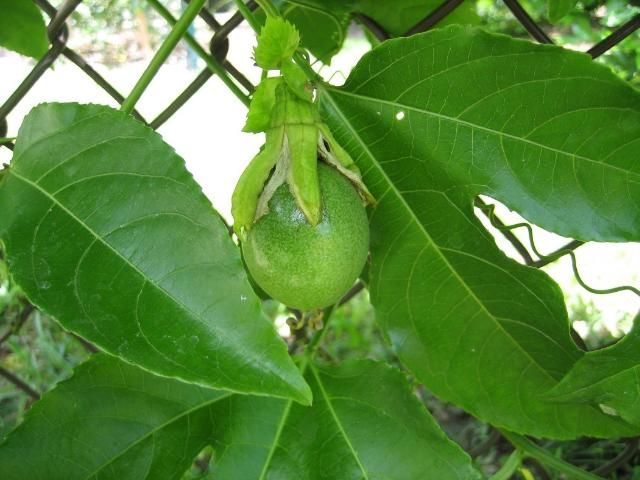
Passionfruit are quite large for such a delicate vine—spherical, green, and about the size of a chicken egg. The plant is also known as a “maypop.” I’ve seen two explanations for this; the fruit’s skin is fairly thin, so it will respond with a satisfying “pop” if stepped on. Alternatively, the name could come from the idea that if the fruit drops into the soil and overwinters, a new vine will “pop” out of the ground the following May.

The passionfruit of the native Passiflora species. Photo credit: Mark Bailey, UF IFAS
The fruit is edible and has been prized for millennia as both a culinary and medicinal plant. Passion fruit juice has a strong, tropical flavor and contains fiber, vitamins A & C, and iron. It’s often used in jellies, ice cream, and other desserts. The pulp is edible raw, including the seeds. Most commercial production is in the equatorial regions of the world, particularly South America. Parts of Africa and Oceania produce it as well, along with more local sources in Florida, Puerto Rico, California, and Hawaii.
There are 500 varieties of Passiflora, with our native P. incarnata being one of the most cold-hardy of the varieties. The genus and common name “Passion” reference an early association of the flower with the crucifixion of Christ, with the flower parts imbued with symbolism and used by early Spanish missionaries to teach religious concepts to indigenous people in the Americas.
by Beth Bolles | Sep 4, 2024
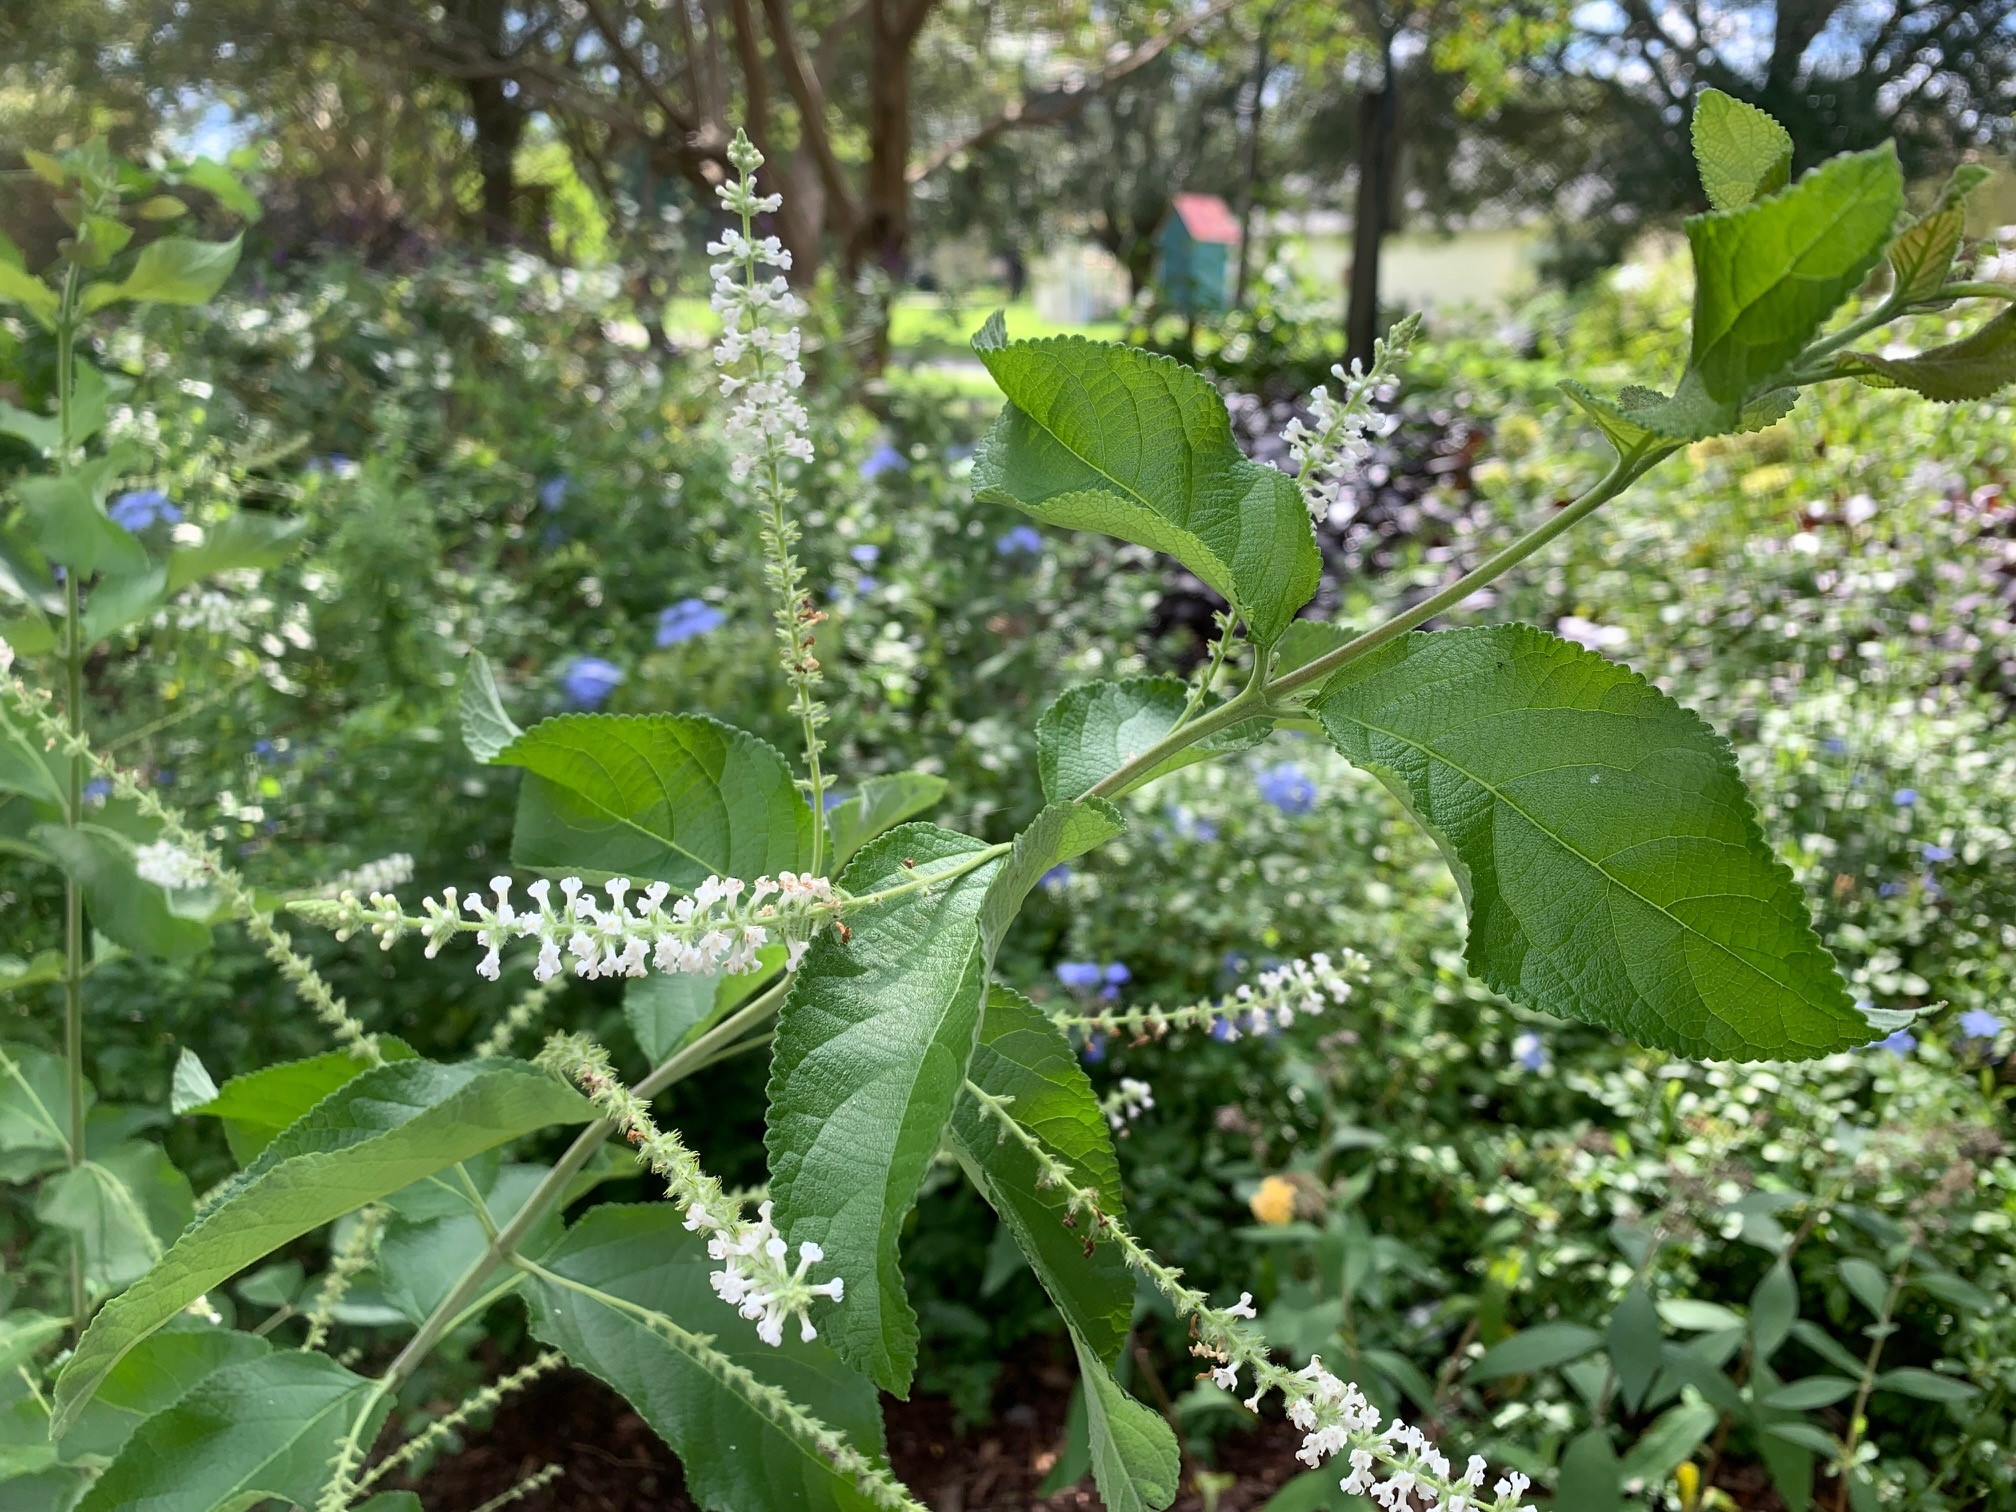
Two years ago, the Escambia Master Gardener Volunteers were gifted with the flowering perennial Sweet Almond bush (Aloysia virgata). It has quickly become a favorite plant of volunteers and garden visitors due to its many attractive features.
Although, Sweet almond bush is not a Florida native, it is Florida-friendly plant for zones 8b -10b. Plants grow very large, from 6-10 feet with branching that can spread out in all directions. In North Florida, plants can be damaged by a freeze but either return from the base or from growing points higher on branches.
One of the best features are the fragrant white flowers spikes that will be present late spring through fall. Many types of pollinating insects will be attracted to the flowers, although sometimes flowers are too high on the plant for many of us to get a good look at pollinator details.
Sweet almond bush blooms. Photo by Beth Bolles, UF IFAS Extension Escambia County
We have plants both in full sun and partial shade that are performing well in the Escambia Demonstration Gardens. Plants do receive water when rainfall is lacking for about 5-7 days (or all of August this year in the Northwest Panhandle). You can shape your plant with a little light pruning during the growing season to keep branches a little more in bounds. Don’t forget to start a few new plants from these cuttings and then share a low maintenance plant with your neighbors.
by Ray Bodrey | Sep 4, 2024
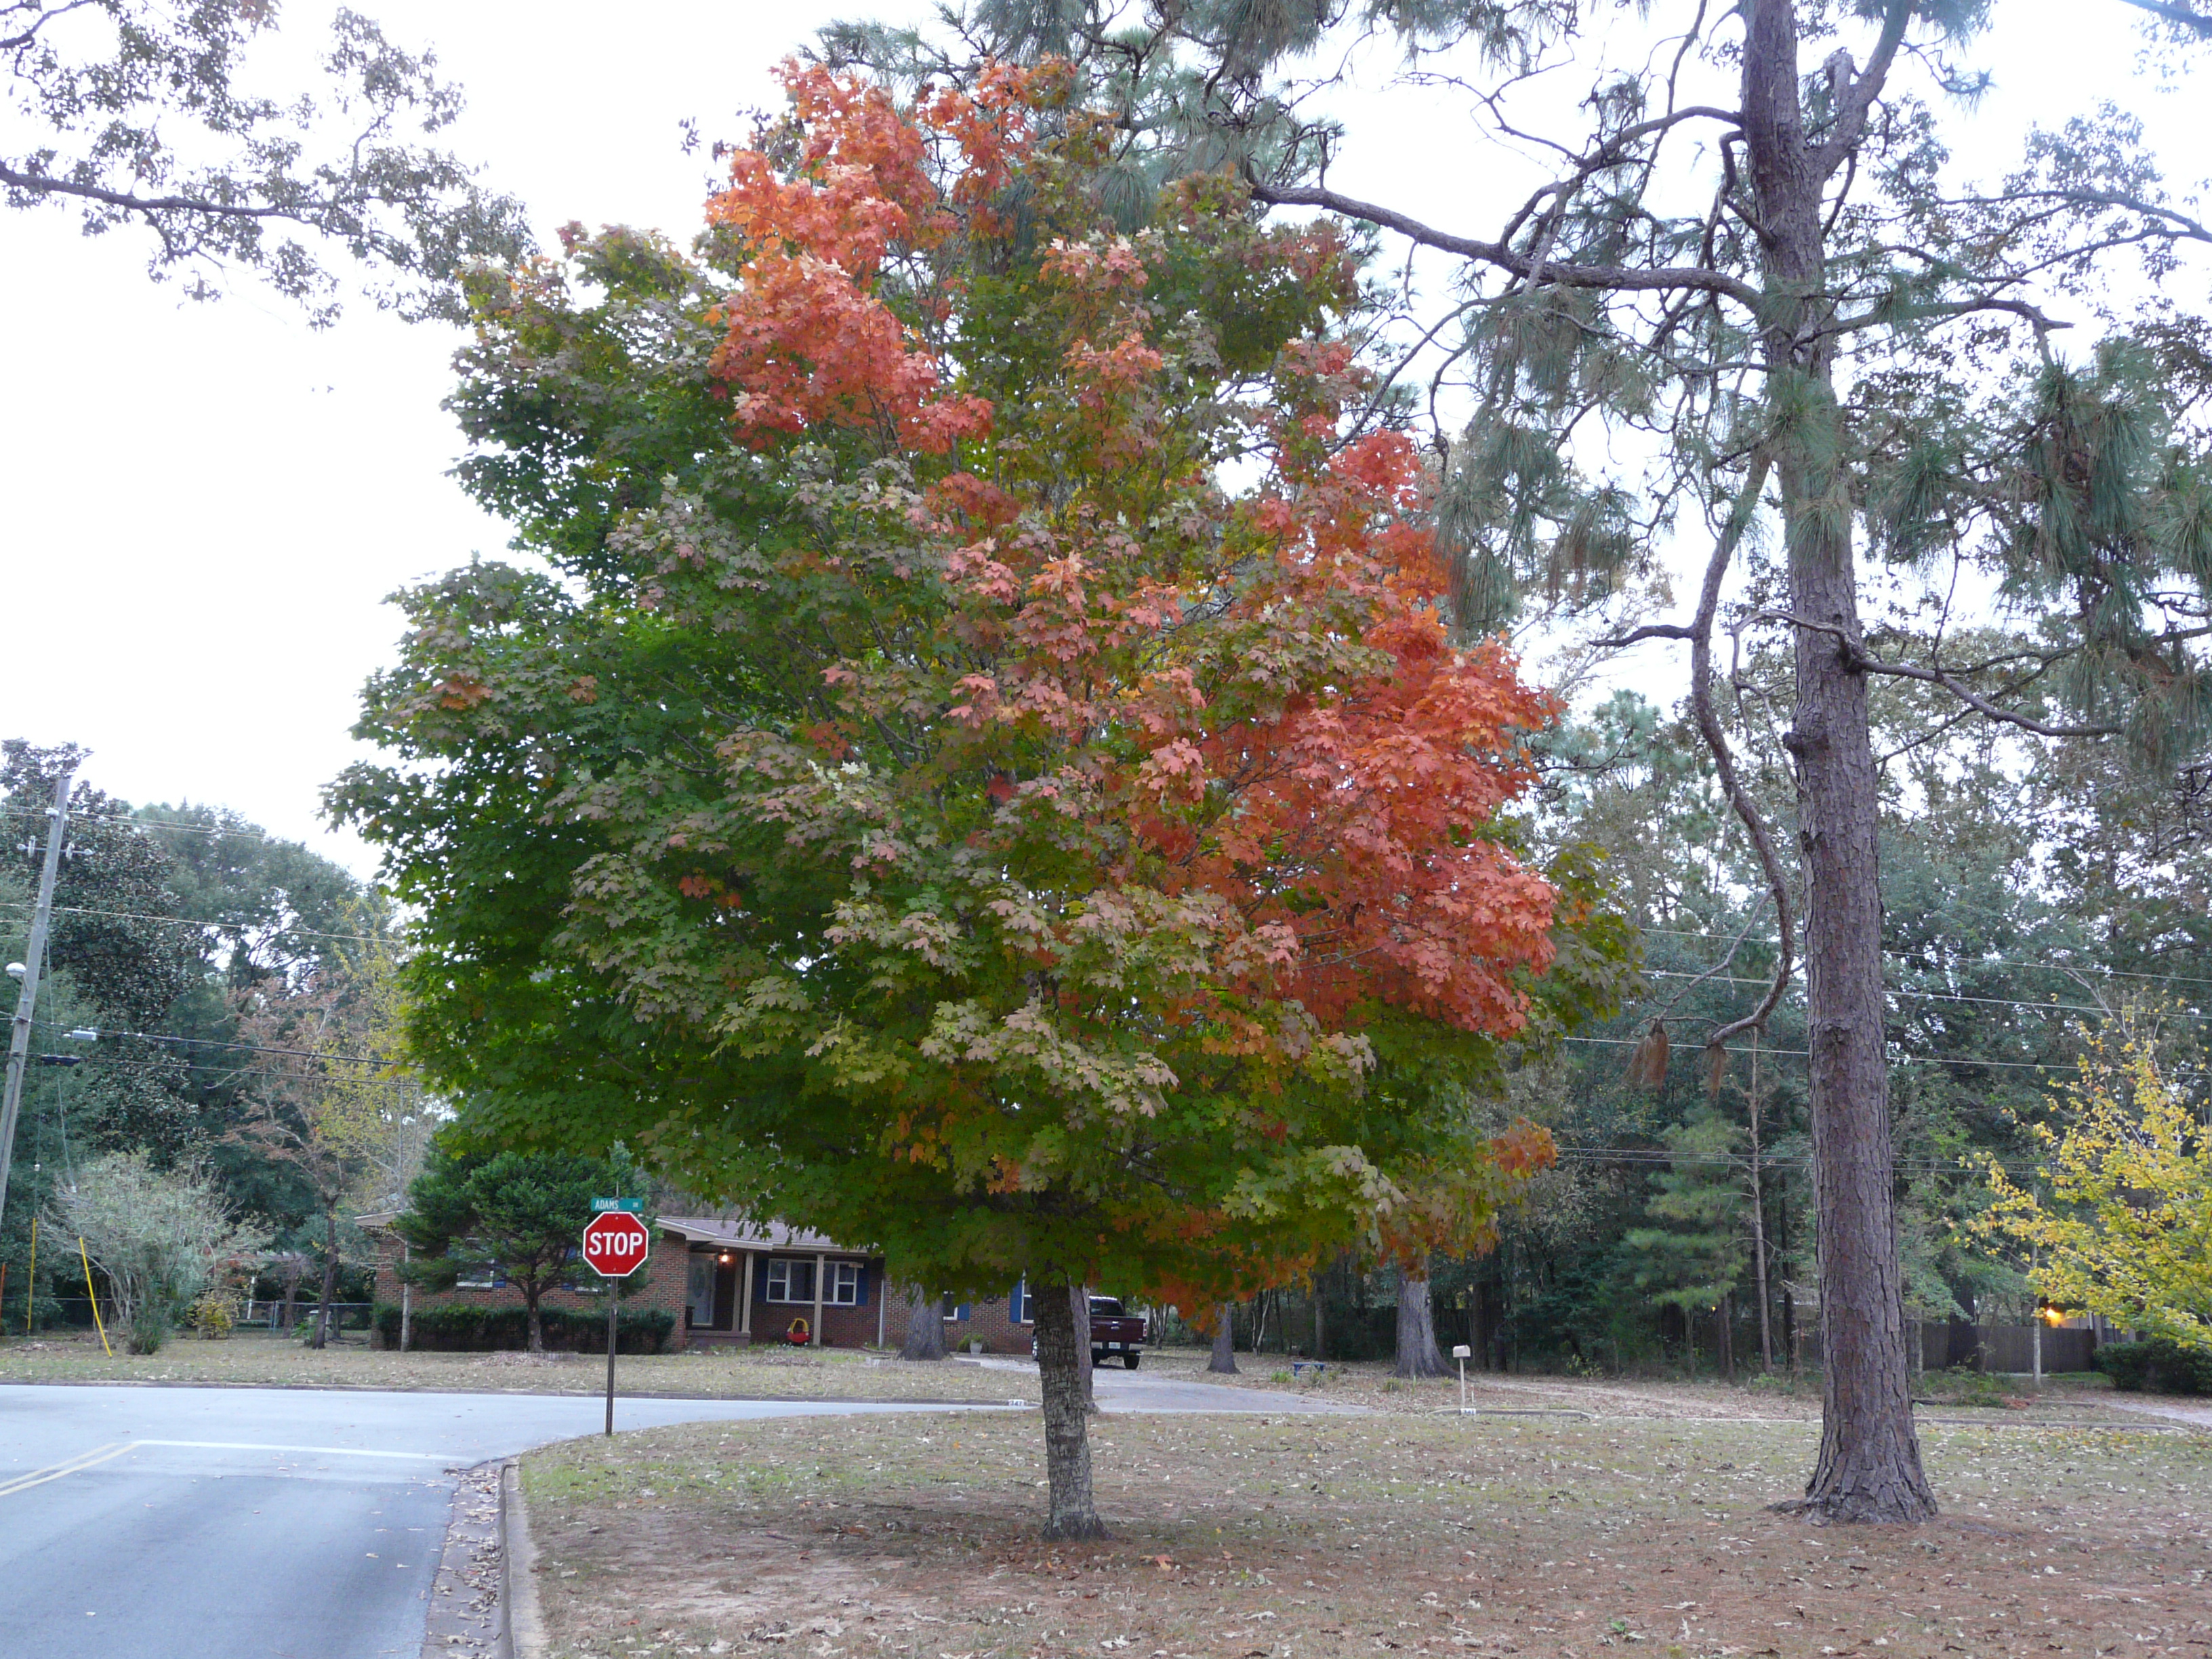
Fall is a season that is synonymous for two great joys in life…..football games and the changing leaf colors! However, in Florida we just don’t have the incredible burst of vivid fall leaf color as our northern neighbors enjoy each year, but we do have enough temperate region plants that can give us some seasonal change in foliage.
So what makes this brilliant display of autumn leaf color anyway? This seasonal change is brought on by a few variables, such as lower temperatures, shorter photo period/shorter days and chemical pigments found in leaf tissues. Some of the pigments that give autumn leaves their bright colors are actually present in the leaves as soon as they unfold as flush in early spring. But, during spring and summer, when the plants are growing vigorously, a green-colored material called chlorophyll dominates and shades out the other leaf pigments.
Chlorophyll plays on important role in a process called photosynthesis, which is the process by which plants capture energy from sunlight and manufacture food. Chlorophyll can also be found in water bodies and is an indicator of water quality. As plants get ready for cool season dormancy, the production on new chlorophyll decreases to almost being nonexistent. That’s when the before mentioned pigments, also called carotenoids, take over and make the leaves turn brilliant orange, red, purple and yellow.
There are some plants in the Florida’s landscape that do provide good fall color. Unlike most of the flowering shrubs, which hold their blossoms for only a brief period, the trees and shrubs that turn color in the fall will usually retain their varied hues for a month or more, depending on the weather.
Red Maple. Credit. UF/IFAS Extension
What are some examples of trees that will lend fall color in your Panhandle landscape?
- Shumard Oak
- Turkey Oak
- Ginkgo
- Hickory
- Golden Rain Tree
- Red Swamp Myrtle
- Dogwood
- Red Maple (see photo)
- Sweet Gum
- Black Gum
- Crape Myrtle
- Tulip Tree
- Bradford Pear
- Cypress
What about annuals that provide color in the fall? Petunias, pansies and snapdragons will be in full bloom over the next few months.
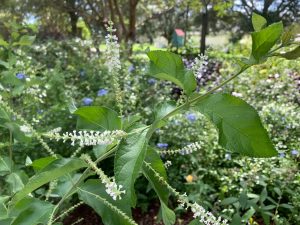
Firespike. Credit. UF/IFAS Extension
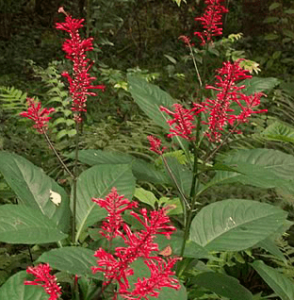
What about blooming perennials for fall? Salvia, firespike (see photo), chrysanthemum, beautyberry and holly are great for color in the fall and attract wildlife to your landscape.
A mix of these plants will ensure fall color in your landscape. For more information contact your local county extension office.
Information for this article was provided by Patrick Minogue, Forestry Specialist with UF/IFAS North Florida Research and Education Center, as well as the UF/IFAS Gardening Solutions: https://gardeningsolutions.ifas.ufl.edu/design/outdoor-living/gardening-for-fall-color/
by Joshua Criss | Aug 12, 2024
Managing your soil is easily the most critical task in gardening. Well-managed soils retain water and nutrients, making them available to your plants, thus enabling them to thrive. It may seem daunting, but with a bit of knowledge, you’ll quickly discover that soil management is much simpler than you thought. Soil management can be broken down into two major topics. The first is the physical properties outlined in a previous article, which may be found here. The second, and arguably more complicated of the two, are those chemical properties that drive plant growth.
The What and Why of Soil pH
When considering chemical properties, you first need to look at soil pH. This is the measure of acidity or alkalinity within your soil profile. Innate soil pH is a product of the parent material from which your soil has formed, which tends to be slightly acidic on the Panhandle. Testing is the only accurate way to measure your soil’s pH level and buffering capacity. Your county extension office will be happy to facilitate that testing.
So, why is pH so important to plant growth? You’ll want to manage your soil’s pH for two reasons. The first is that soil acidity greatly influences the form that fertilizers and herbicides take in your landscape. Put into context, if you add fertilizers into the soil with an incorrect pH, that fertilizer may not dissolve in the water present. It will thus be unavailable to your plants. Here is another example of putting the right plant in the right place. Some, such as centipedegrass, thrive in a low-nutrition environment created by a low pH, whereas most vegetable plant species and many other landscape species only want a slightly acidic environment. Placing plants that will grow in the natural pH of your soil is a great way to ensure success in your gardens.
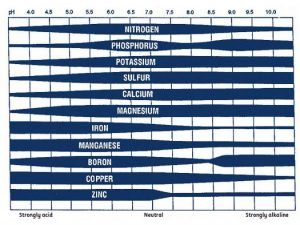
UF/IFAS photo
Ok, you’ve tested your soil and discovered it is not optimal for the plants you want to grow. Fear not, as you can take some actions to adjust your soil’s inherent acidity levels. Keep in mind that any changes will be very localized and are temporary. To raise soil pH, you must apply some version of calcium, colloquially called liming. Your calcium source should be based on soil testing, as different types may also add needed nutrients. Most notably, dolomitic lime will change soil pH while adding magnesium. Soil testing will also tell you to provide the buffering capacity of your soil, which will dictate the amount needed to adjust the soil properly. Soil pH may also be lowered through elemental sulfur additions, but this process is very difficult and may become detrimental to plant growth through repeated application. In this instance, it may be preferable to address via plant selection versus pH adjustment.
How Does Soil Hold Onto Water and Nutrition
The other main consideration for soil chemical properties is cation exchange capacity or CEC. Now, this can be a very complicated topic. Put very simply, it refers to your soil’s ability to retain both water and applied nutrients. It’s important to understand as it holds components critical to plant growth in the root zone of said plants. This happens as there are negative charges on the surfaces of clay particles in your soil that latch onto the positive ions of applied fertilizers.
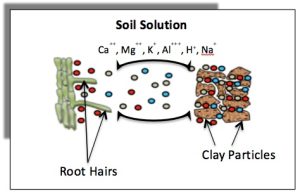
Photo: University of Georgia Extension
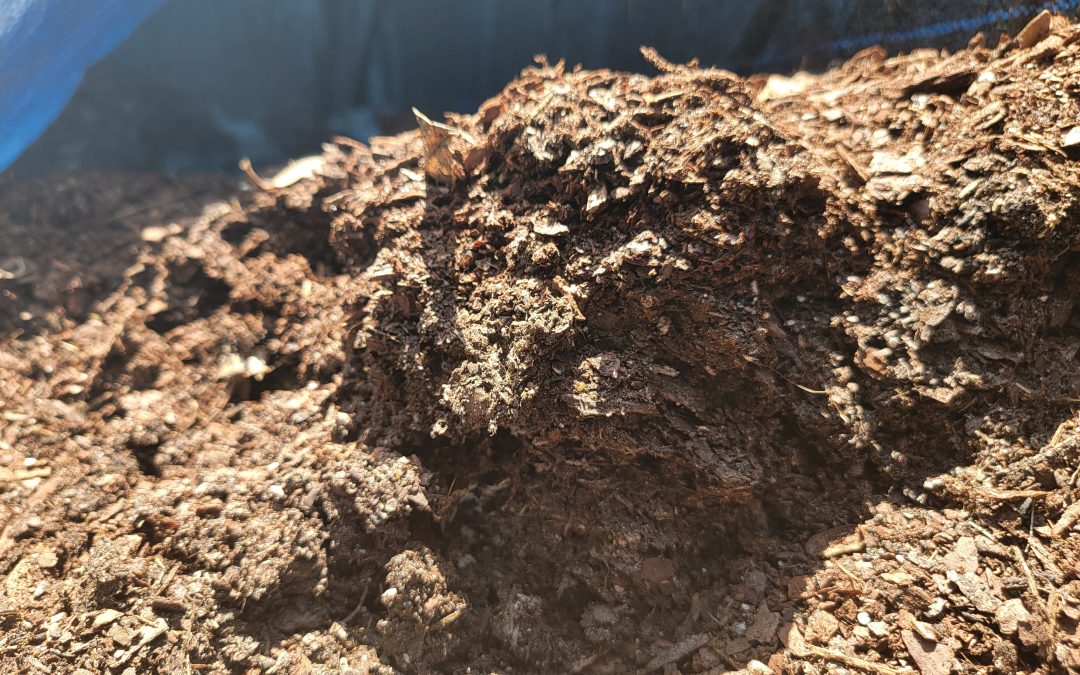
So, what about soils low in clay, such as those in Florida? Organic matter will help in this arena. It mimics clay’s properties and will retain nutrients better than your native soil. However, this is not a pass to add endless amounts of compost, as they come with a nutritive load that must be considered in your garden management plan. Adding 1-3 inches worked into your plant root zone is more than enough when establishing new gardens.
Understanding your soil is critical when gardening anywhere. In Florida, where soils are less than optimal, understanding how water and nutrients are retained and used by your plants will help avoid much frustration. For more information on soil management refer to these IFAS documents, or contact your local extension agent for additional information on this and any topic regarding your gardens and more.