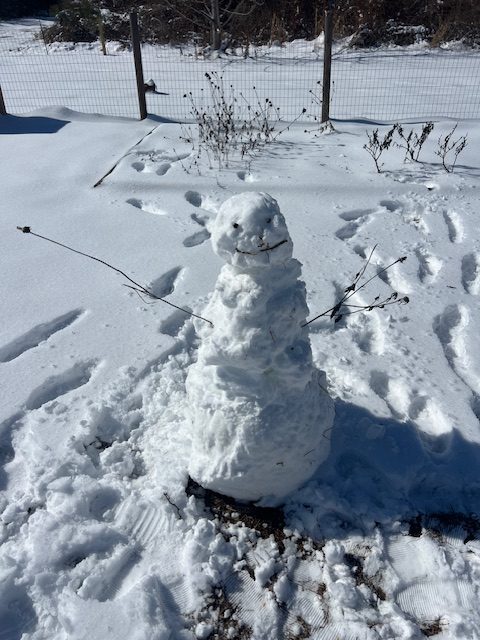
Snowman in the Garden. Photo Credit: Abbey Smith, UF/IFAS Extension
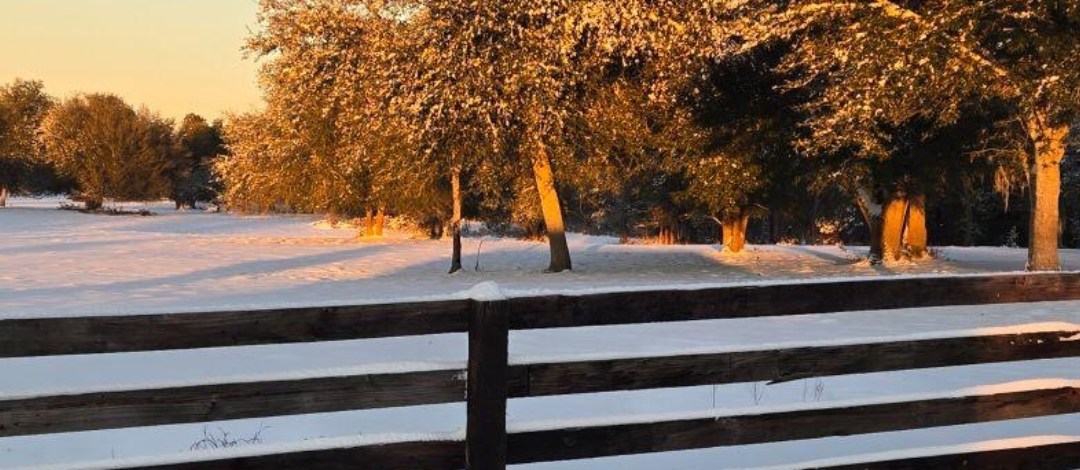
2025 has already been a year for the books, as Winter Storm Enzo has proven that it really can snow in the Sunshine State. With the fluffy white snow also comes below freezing temperatures, therefore most landscape plants that fit the hardiness zones of Florida are not cold-tolerant or what is also called “cold-hardy.” In the Florida Panhandle, freezes are becoming more prevalent in recent years, so it is best to act ahead of time to protect your patio and landscape plants from feeling the adverse winter affects.
Preparation in Advance
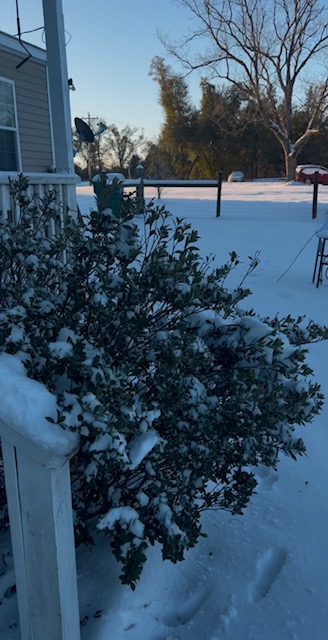
Gardenia bush in the snow. Photo Credit: Abbey Smith, UF/IFAS Extension Jackson County
It is always best to do your research and know what hardiness zone(s) your plants will thrive in. This will help you understand the level of cold tolerance the plant can withstand and will allow you to select cold tolerant varieties that will grow best in the Florida Panhandle. You can find your hardiness zone by using this link: https://planthardiness.ars.usda.gov/.
Proper care throughout the year will also help your patio and porch plants withstand freezing temperatures; a healthy plant has a better chance of recovering from cold damage than an unmaintained one. A freeze event can usually be spotted in the forecast multiple days in advance, and it is best to be proactive by moving potted plants that would be adversely affected to the indoors or to a warmer sheltered area.
Cold Protection Tips
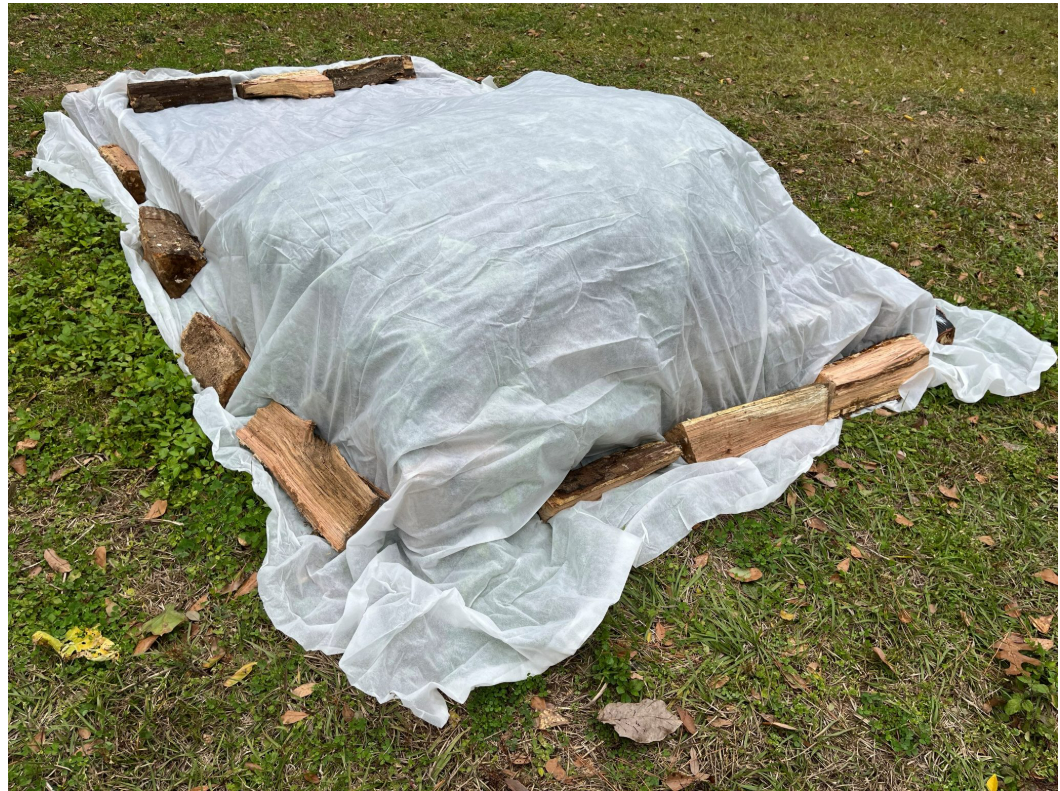
One of the most effective ways to protect your plants from cold weather is covering them up during the night. Frost cloths can be purchased at most garden stores or through online platforms. If you are unable to buy frost cloths, you can use breathable materials such as old bed sheets or burlap bags that will still allow for air flow to the plant but keep it insulated and warm.
Example of frost cloth protection. Photo Credit: Molly Jameson, UF/IFAS Extension Leon County
You can also use mulch for insulation. Applying a thick layer of mulch around the base of your landscape plants will help insulate the soil to regulate ground temperatures and protect the plant’s root system from cold weather damage. Pine straw or leaves will work best and should be applied in a 3-to-4-inch layer kept away from the base of your stem or trunk of the plant. In some cases, it may be necessary to use an outdoor heat lamp, but always ensure that it is placed away from any flammable materials and only used as needed.
It has been said that using your irrigation at home can be a form of freeze protection. This is typically not effective for a homeowner. When farmers run irrigation to protect their crop, the irrigation systems that are used commercially are designed for scenarios like this. The irrigation must be run for several hours after temperatures rise for this method to work and protect the plants. With a home irrigation system, this is considered water-wasteful and the amount of water a home irrigation system emits can turn into heavy ice quickly, which will damage your plant rather than offer protection.
Cold protection for plants in Northwest Florida is all about preparation. Whether its covering plants, adding mulch to your landscape, or moving your plants indoors, a little effort can go a long way in preventing cold damage. With a bit of TLC, you can keep your landscape and garden beautiful all year long.
Gardening in the Panhandle LIVE! is launching Season 6 with new topics starting on March 6, 2025! Each episode is delivered live on Zoom Webinar then posted to our YouTube Playlist. If you would like to join us live and help drive the panel discussion, be sure to click on the title below to register and submit your questions a few days prior to air date.
Learn how to incorporate edible plants into your landscape. Whether your goal is a large vegetable garden or one tree with edible fruit, we can help you find ways to make your landscape a source of fresh food!
Are you trying to create a tropical look in your North Florida yard but frustrated with freeze damage? Let us teach you what plants can offer lush foliage and withstand cold weather!
Not only people love Florida’s climate, but many plant pests thrive here, too. Learn how to identify and manage landscape pests using Florida-Friendly Landscaping practices.
We all know the importance of pollinators, but how can you help to support them? Join us to learn how to attract, identify, and count for the 2025 Great Southeast Pollinator Count!
Growing houseplants can be tricky since our indoor climate is very different from outdoors. Learn how to help your houseplants thrive while keeping your home comfortable!
Flowering bulbs can create dramatic impact in the landscape, but some have specific requirements that might not fit our climate and soil conditions. Learn how to select the right ones for your North Florida landscape!
Did you miss a broadcast or want to watch one again?
This is the time of year where we often pledge to change and/or improve something about ourselves, but why not have a garden resolution, too. If you’d like a garden resolution or you’ve run out of personal resolution ideas (and you’re a gardener), then I have a couple of suggestions to help you garden with purpose this year.
Try to Accept more Imperfections in Your Landscape
Just like maybe we shouldn’t be so hard on ourselves or family members, we should also give our landscapes some grace. It’s hard to be perfect, and most landscapes have some minor, mostly aesthetic, imperfections, but that’s okay. Consider these landscape imperfections signs of character and what make it unique. Try to focus on the positive qualities of the overall landscape and not fixate on minor insect damage or a weed or two in the lawn. You may find that many of these issues clear themselves up on their own and your anxiety, worry, and efforts were not needed.
Reduce Pesticide Use
Somewhat dovetailing with accepting more imperfections, try and pledge to use less pesticides in your landscape. Many pesticides are applied in an attempt to fix minor landscape problems that often go away on their own. Based on numbers collected by various agencies, gardeners apply literal tons of pesticides to their ornamental landscapes. These products have environmental impacts and are often not fixing the problem, due to misdiagnosis, wrong timing of application, and/or other improper usage.
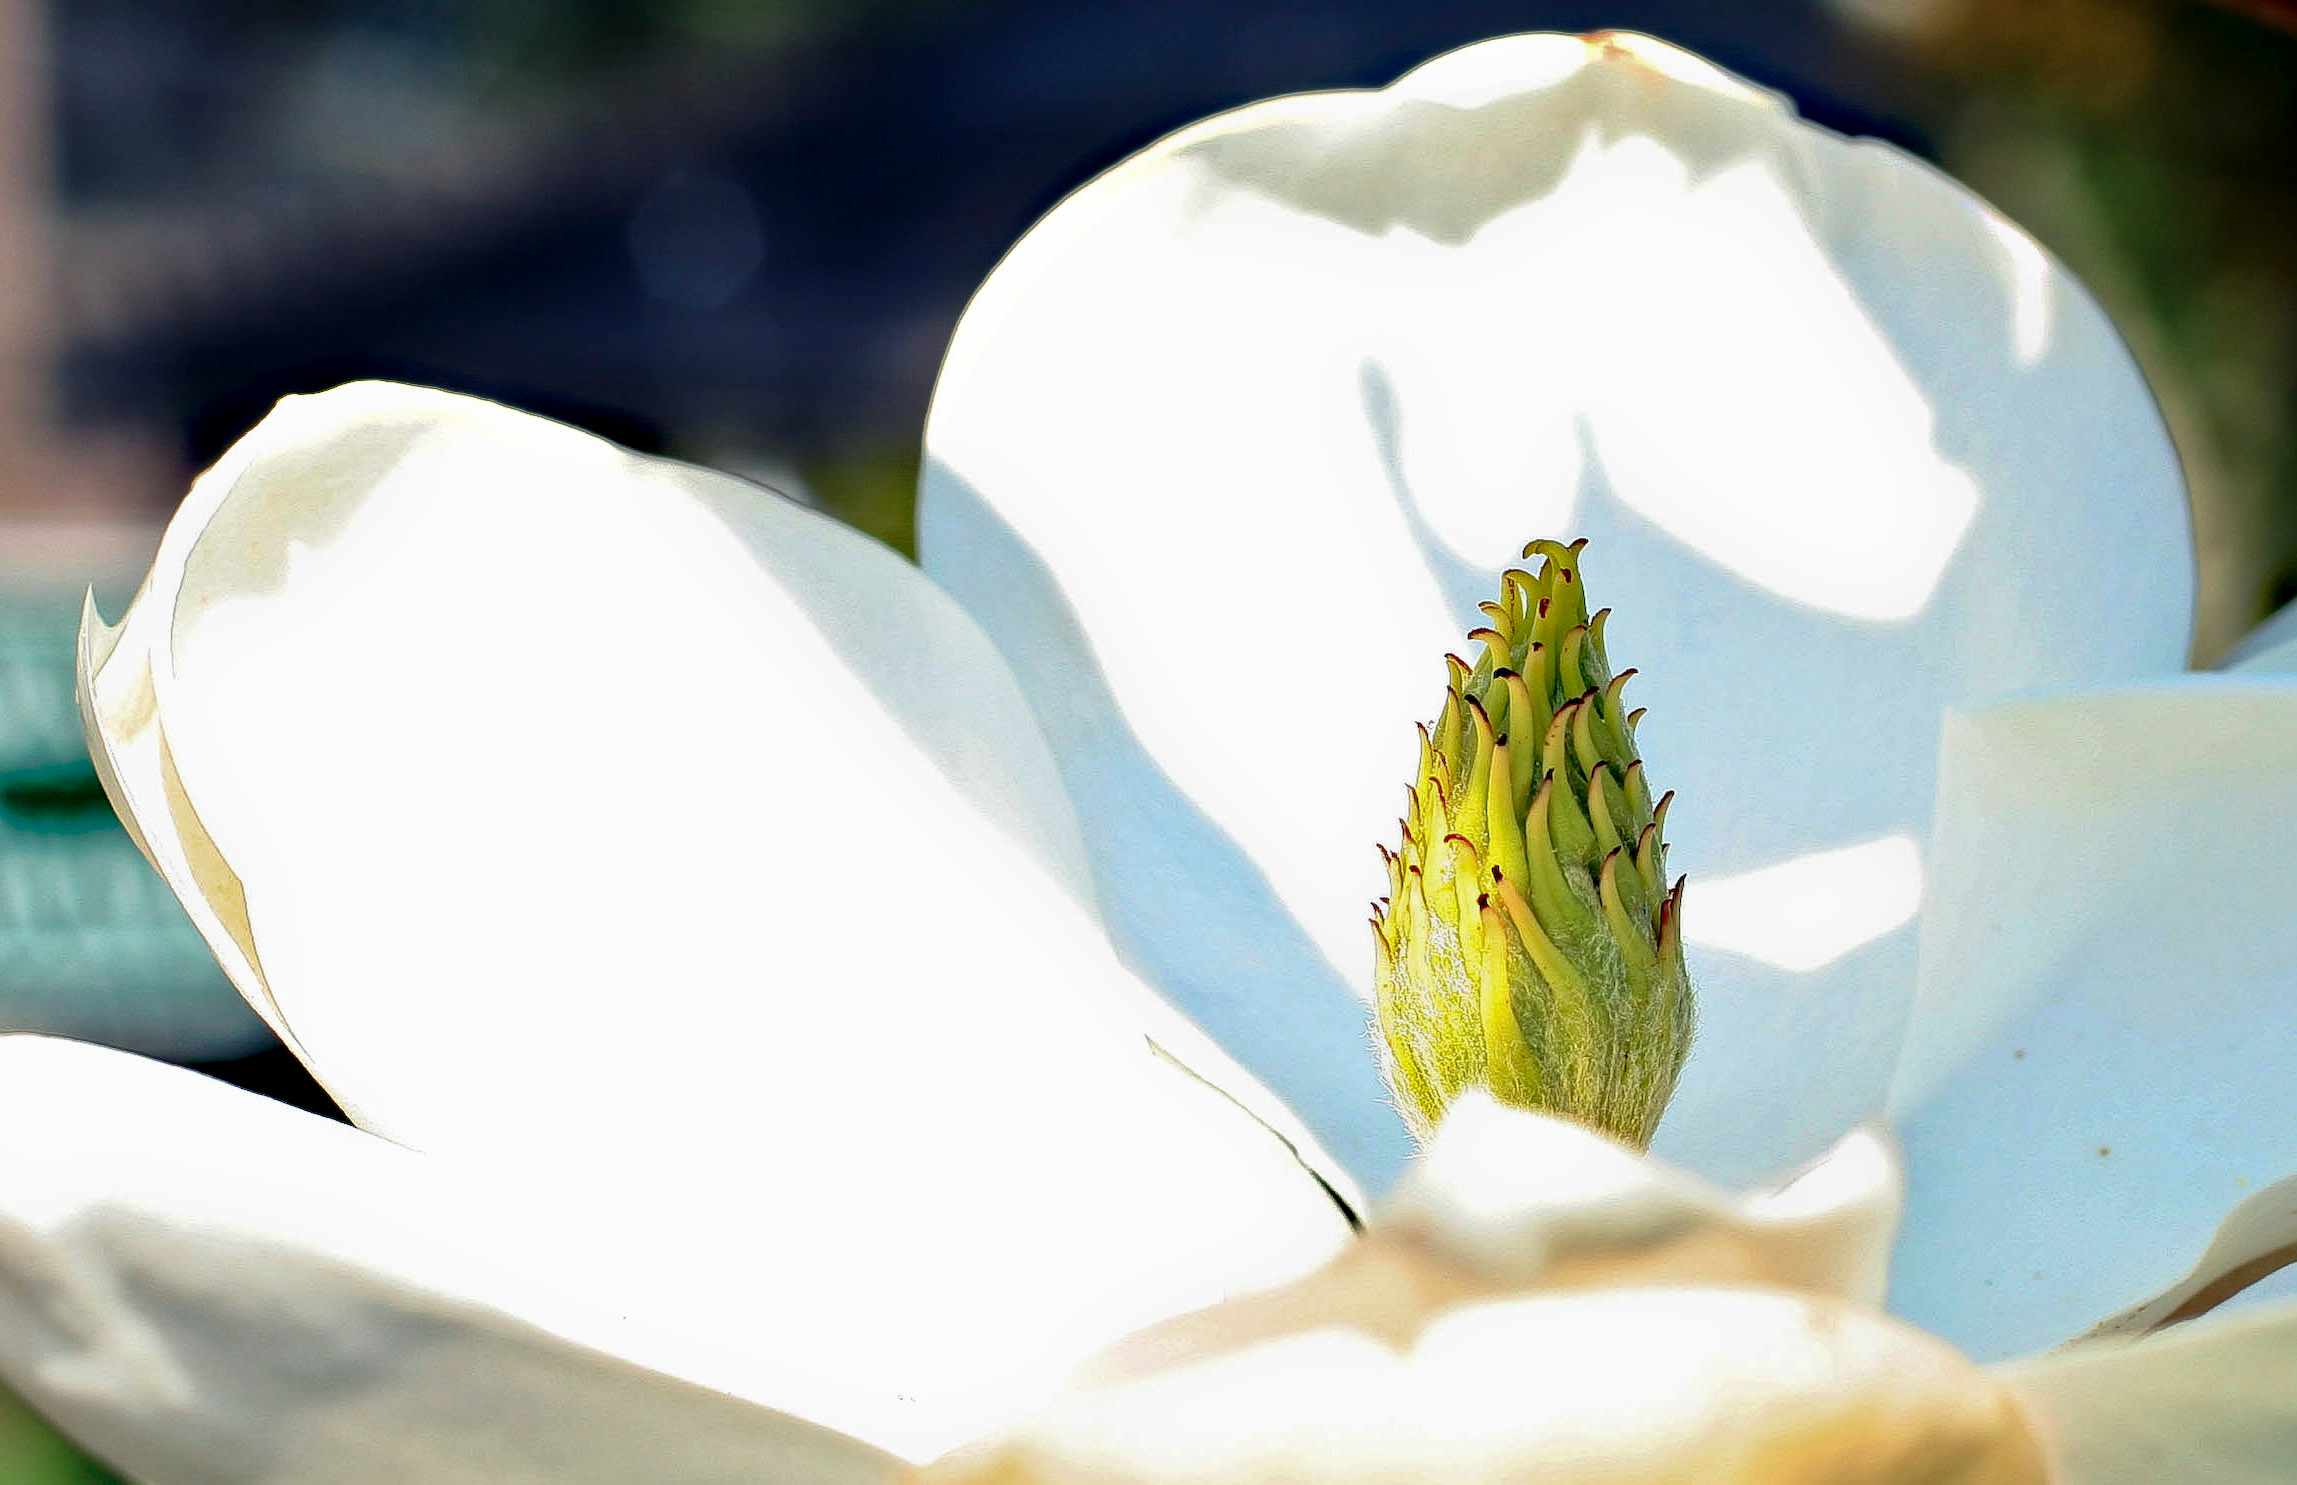
The native southern magnolia (Magnolia grandiflora) is a great native tree to plant in your landscape. Credit: Laura Ciociola.
Plant More Native Species
When thinking of new plantings or browsing the nursery, consider selecting native species for your landscape. Native species are more adapted to our native insects, diseases, soil conditions and climactic patterns. Native plants aren’t necessarily easier to grow – you still need to take care to get them well established – but they tend to be better able to handle the environmental stressors of our area. Additionally, native plants are most likely to benefit native wildlife species.
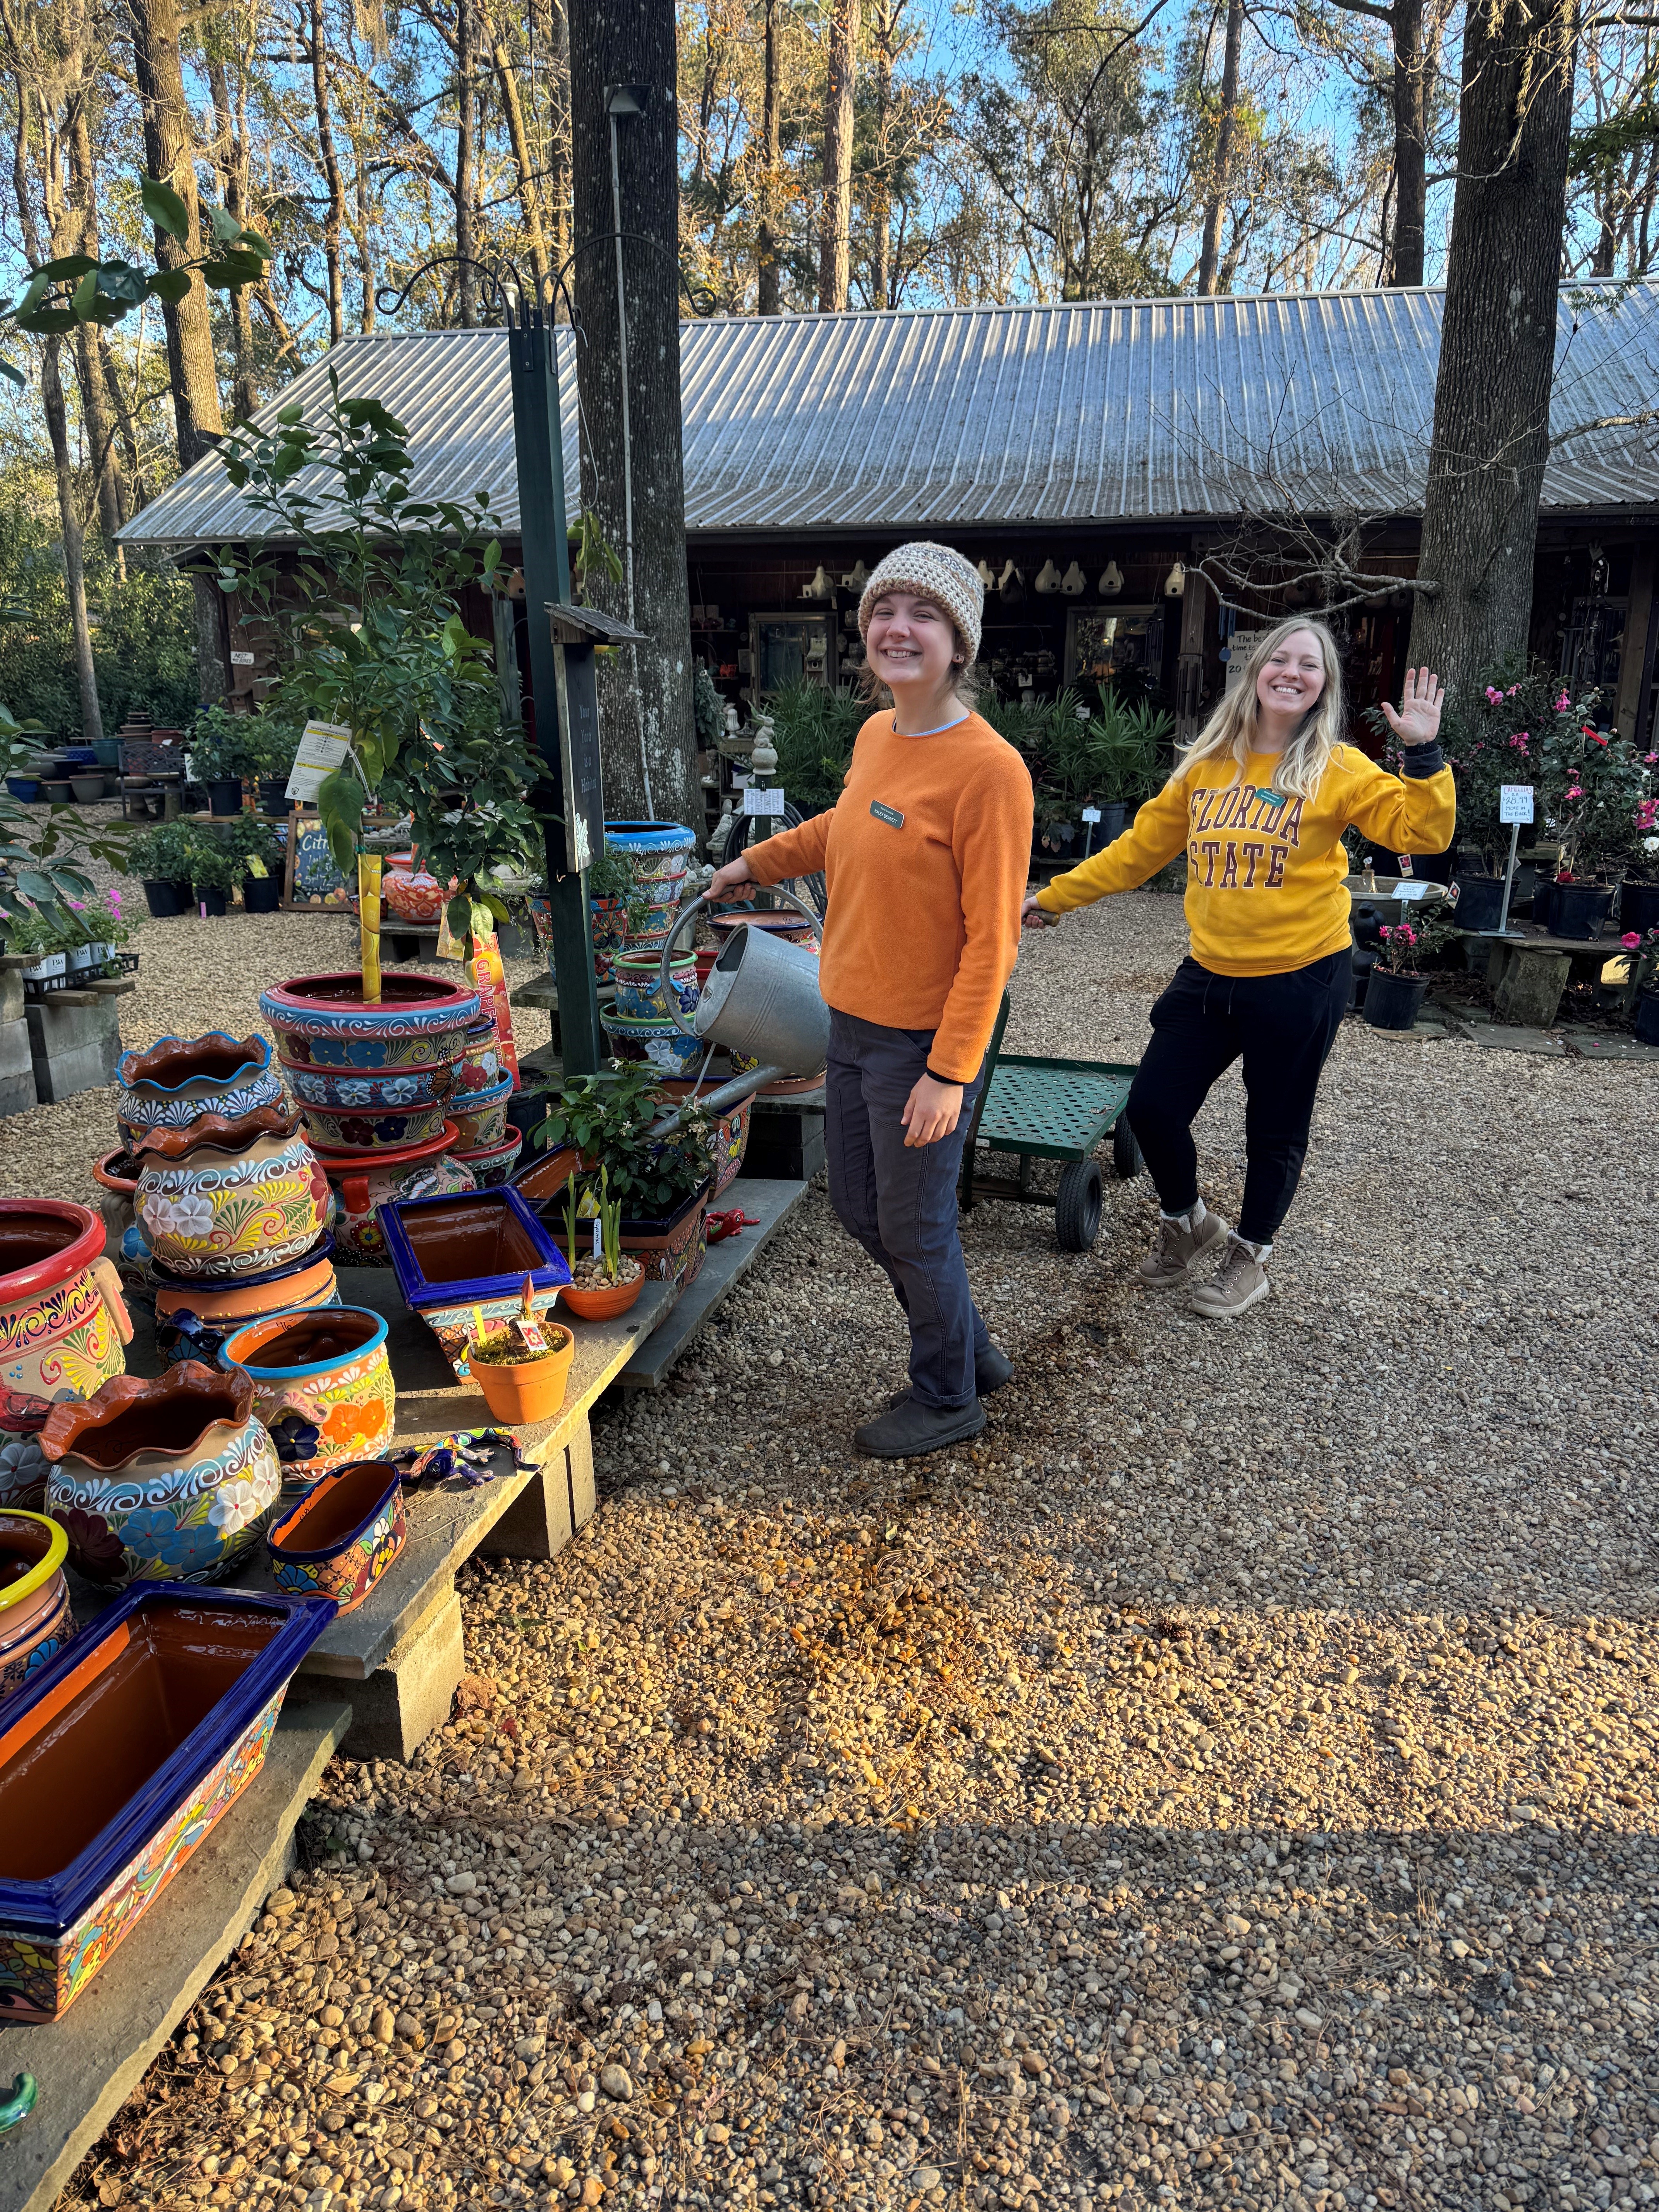
Local nurseries typically only offer plants well suited to your area and are your neighbors! Credit: Native Nurseries
Shop at Local Nurseries
When looking for those native plant species, try to support your local nursery businesses. Local nurseries tend to only carry the plants that are best suited to the area, and they’re your neighbors, too. To help find both native plant species and local nurseries, there is an association of Florida native plant nurseries (the Florida Association of Native Nurseries – FANN) that has a wonderful online search tool to find the perfect plant from the closest nursery.
Of course, don’t forget to utilize your local extension office if you decide to take on these resolutions. Whether it be help confirming that it is just a minor imperfection, help diagnosing a disease or insect problem, selecting native plant species, and or finding a local plant nursery, your local extension office can lead you in the right direction. UF/IFAS Extension’s Gardening Solutions webpage and Florida-Friendly Landscaping™ Program site also have plenty of online resources to help you have another successful and sustainable gardening year.
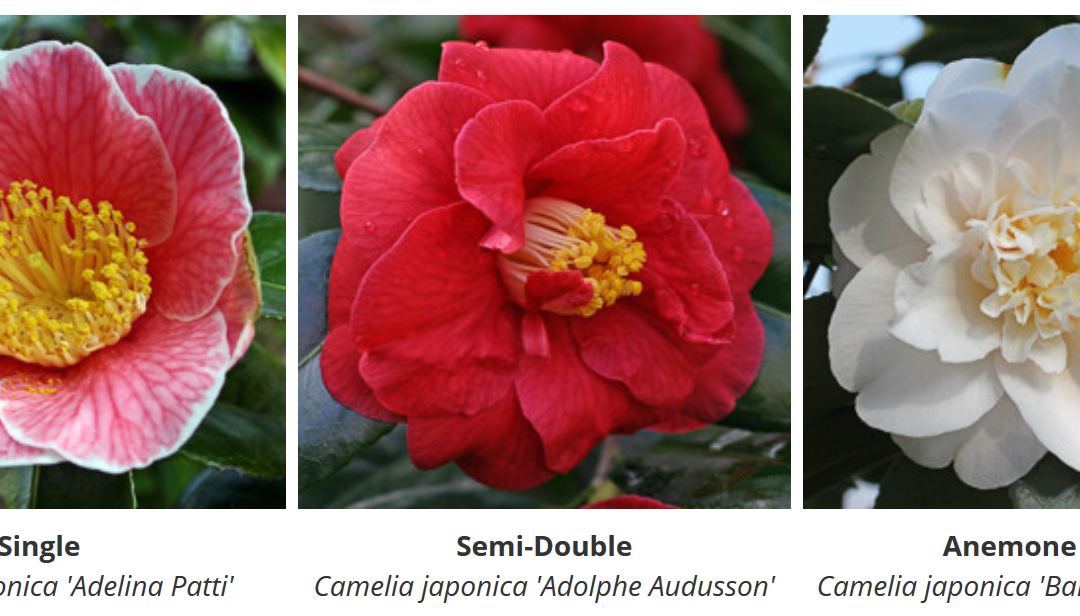
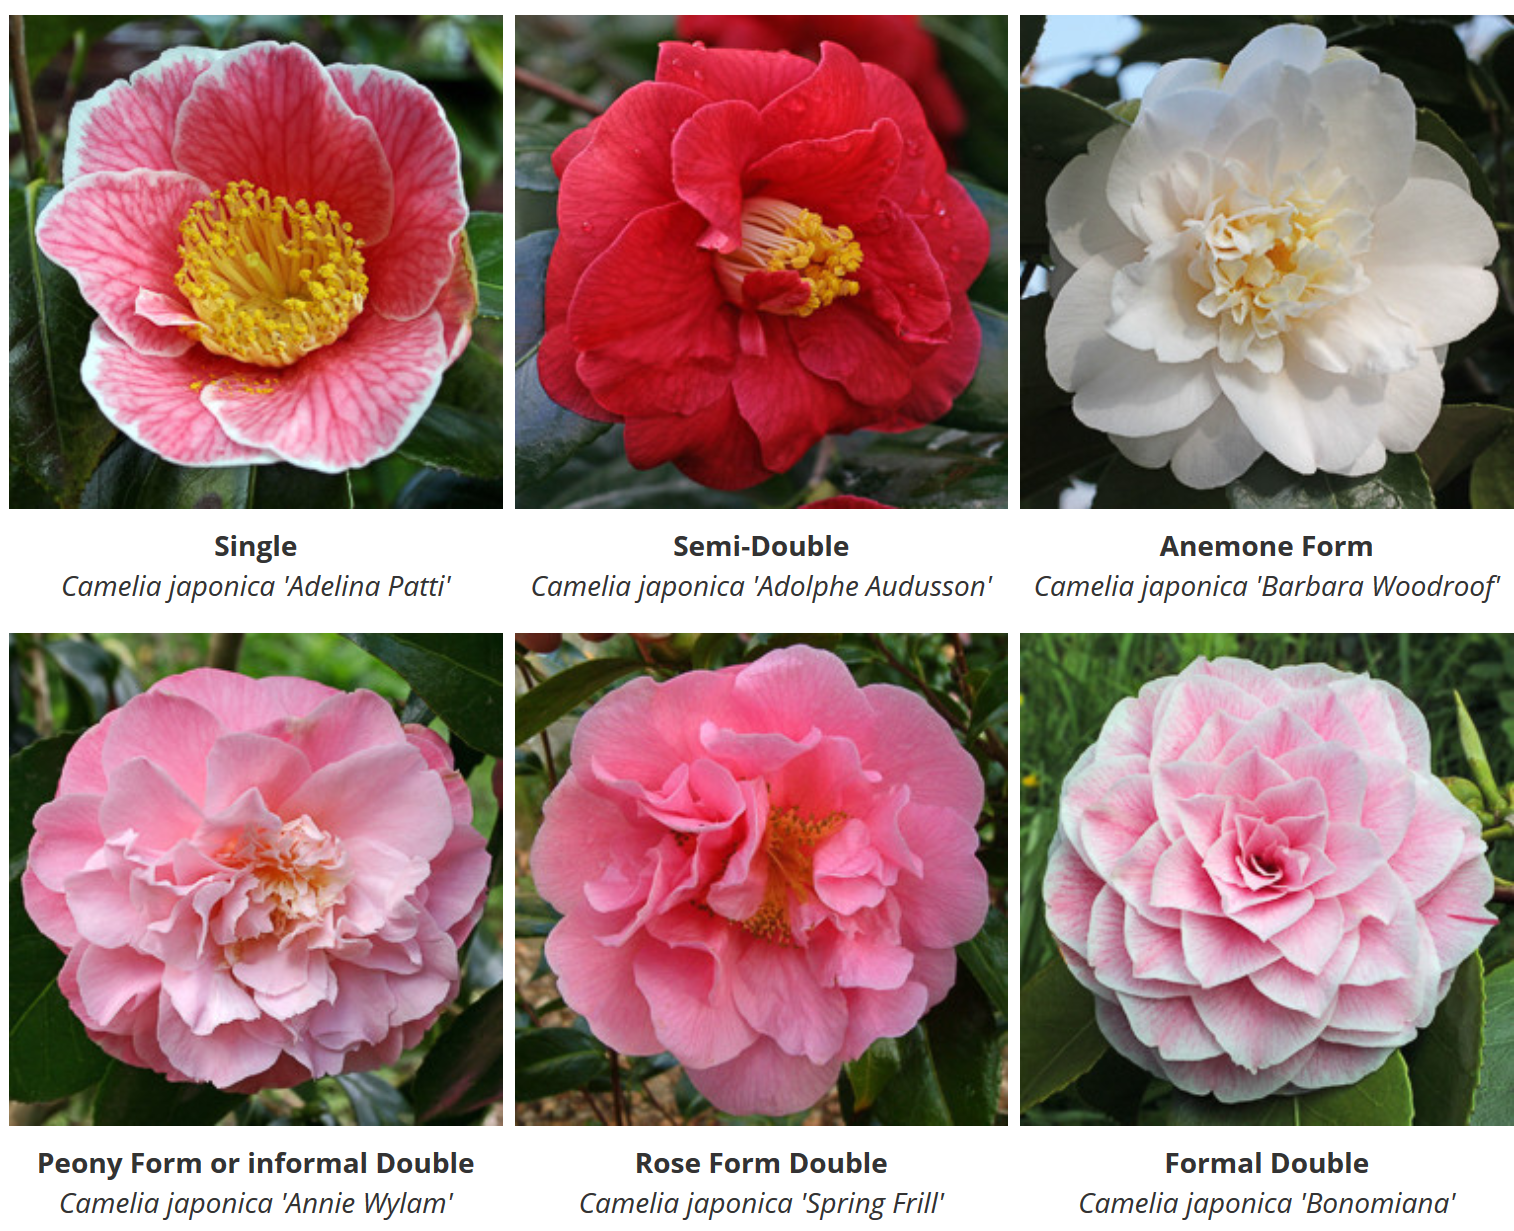
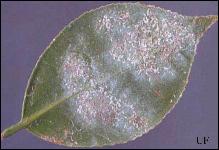
Camellias have been a part of the landscape in the Southeastern United States for over 200 years. They are native to Asia and were introduced near Charleston, South Carolina in 1786. The common name camellia refers to varieties and hybrids of Camellia japonica and to lesser known varieties of C. sasanqua and C. reticulata. The growing conditions in Northwest Florida are well suited for many camellia varieties. Camellias can serve several functions in the landscape including foundation plantings, screens, accent plants, background groupings and hedges. Maximum benefit can be achieved by mass plantings or groupings. Single plants should be focal point in beds rather than randomly placed throughout the lawn. Camellias flower in the fall and winter when their display of colorful blooms is most appreciated. During the remainder of the year their evergreen foliage, interesting shapes and textures, and relatively slow growth make camellias excellent landscape plants. Some camellia growers enjoy competing in flower shows and manipulate the flower buds to achieve larger and earlier flowers. This involves removing competing flower buds and applying gibberellic acid (a plant hormone). Individual cultivars can be selected for size and form ranging from small and irregular to large and upright. Texture and foliage color also differ among the various species and multiple varieties. Midseason flowering varieties that bloom from November through January are best suited for Florida conditions. Warm fall temperatures may prevent early varieties from flowering properly. Late-blooming selections may attempt to send out new leaves before the end of the flowering period which results in “bullnoses”. Bullnosing is characterized by poor quality flowers which do not open fully and may even drop while still tight buds. Extended dry periods while in the bud stage can make the condition more likely. While flowering, camellias need 1 inch of water applied each week. Camellias perform best in partially shaded locations which are enhanced by good drainage and air movement. Fertile, acidic soils high in organic matter are preferred. The soil must be well drained because camellias will not grow in wet areas. Do not plant them in areas with a high water table and/or hard pan. This will result in a shallow root system which is more susceptible to injury during dry periods. Camellias should be installed where cold air can move in and out freely, but the area should be protected from strong northwest winds. Plantings under established trees or in areas that have structures to block the wind are usually injured less by cold temperatures. These conditions enable the plants to gradually thaw or warm in the morning before being exposed to direct sunlight. Dense shade may result in sparse foliage and poor flowering. Camellias exposed to full sun may appear yellow-green, but may yield more flowers. Either situation is stressful to the plants and can lead to pest problems. Tea scale is the most common insect on camellias. Scales generally feed on the underside of leaves and may not be noticed until large populations have developed. Symptoms include very small elongated white and/or brown raised “flakes” on the underside of leaves that turn yellowish in color.
The Panhandle isn’t known for its fall foliage. The best we can normally hope for are splashes of pale yellow amidst a sea of green pine needles, drab brown leaves killed by the first frost, and invasive Chinese Tallow trees taunting us with vibrant colors we know we shouldn’t have. However, in 2024, you’d be forgiven if you forgot you were in Florida and had instead been transported to a more northern clime where leaves everywhere turned brilliant shades of yellow, orange, purple, and red. I’ve heard comments from many folks, and I agree, that this is the best fall color we’ve seen here in a long time – maybe ever. So, why were the leaves so pretty this past year? Let’s dive in.
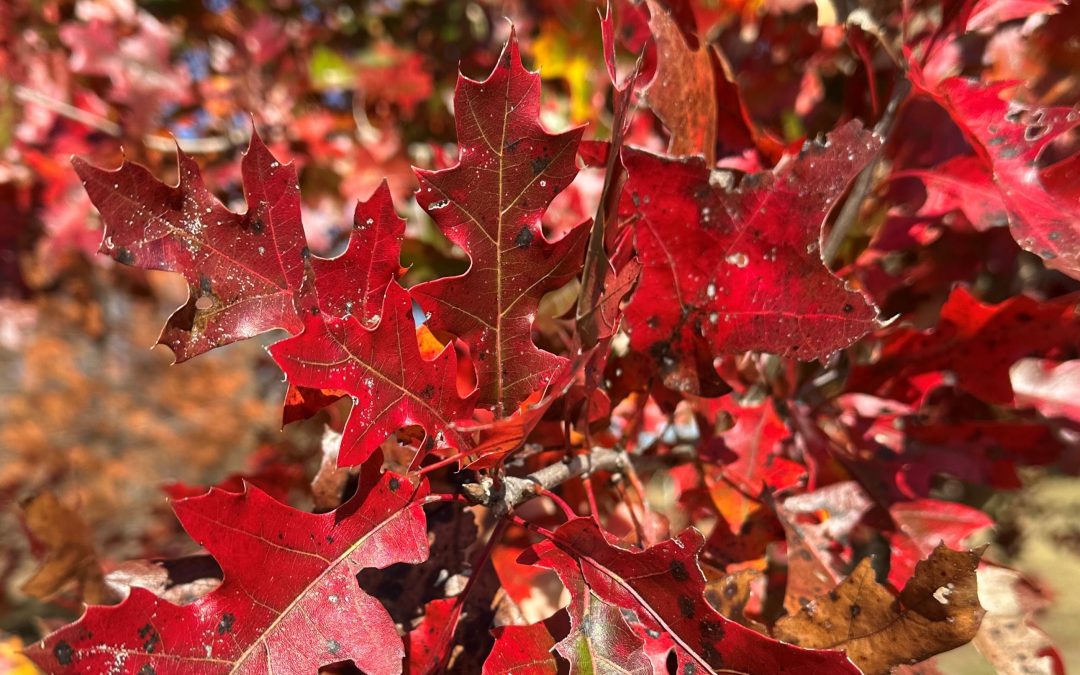
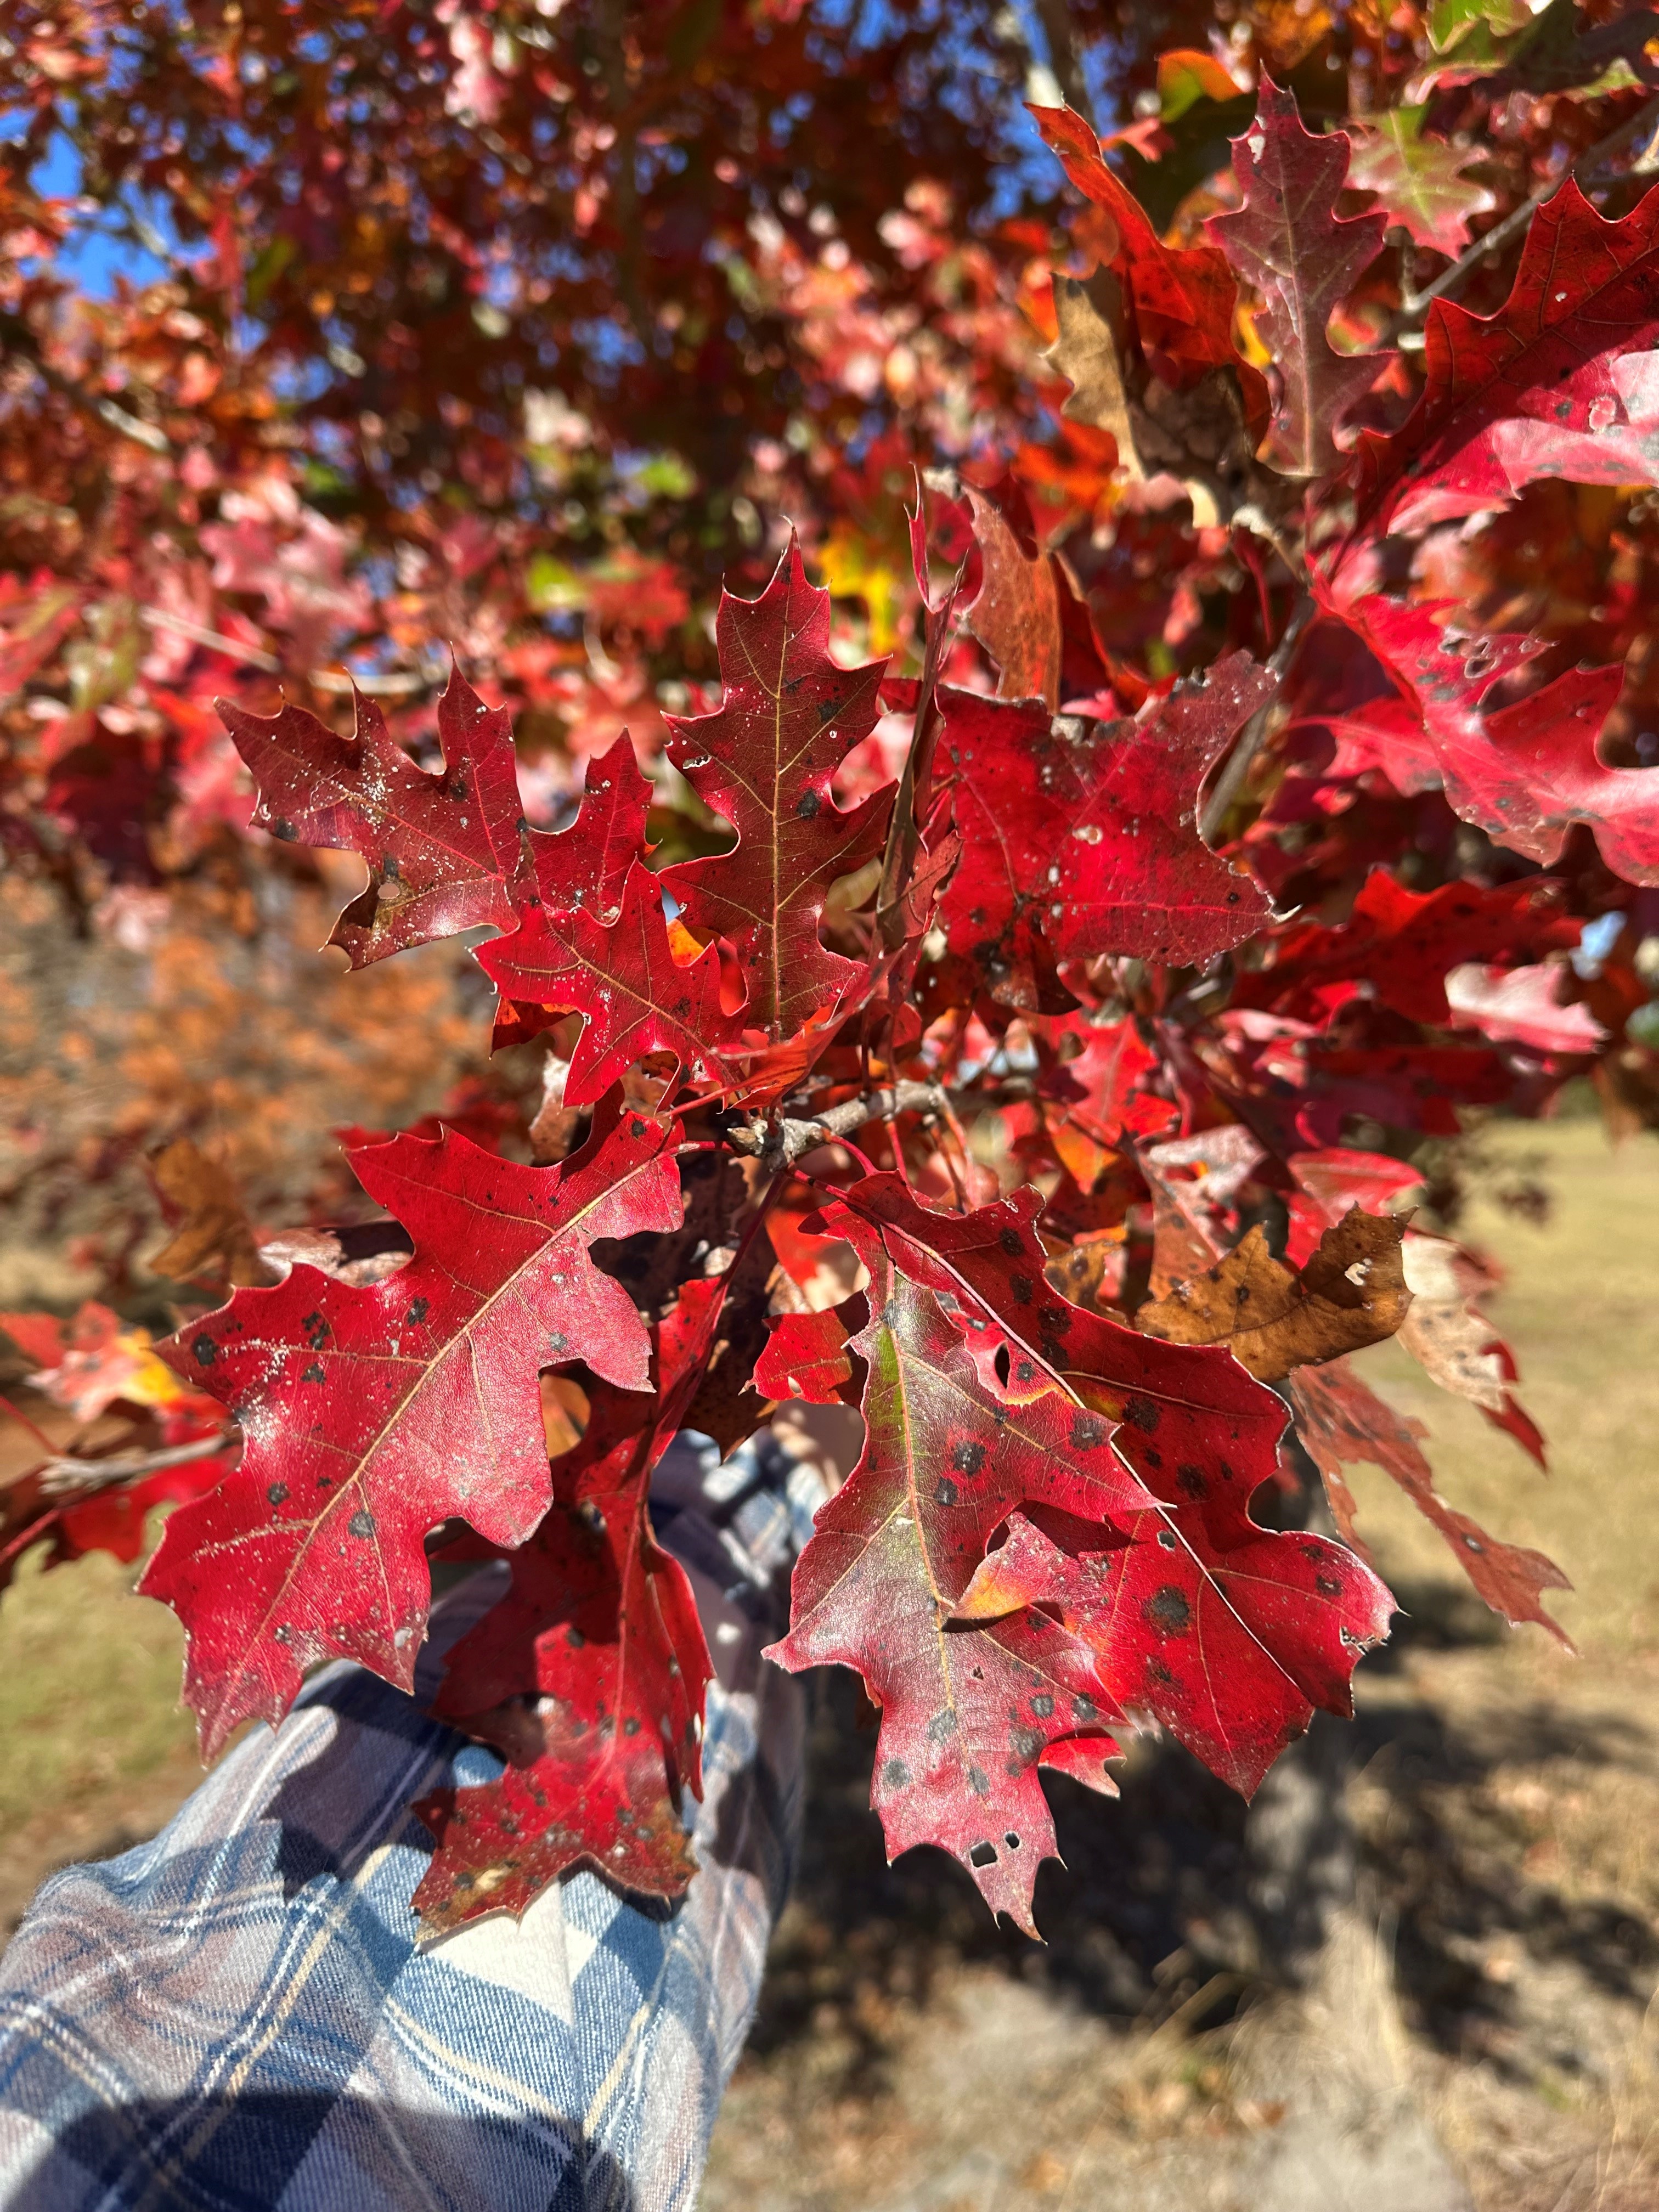
Shumard Oak displaying brilliant red fall foliage. Photo courtesy of Daniel Leonard.
What causes leaves to change colors in the fall?
First, what makes leaves of deciduous trees/shrubs (plants that shed their leaves in the winter) change color in the first place? The primary driver of leaf color change is daylength. During the summer, leaves appear green due to the presence of chlorophyll, which reflects green light, absorbs red and blue light, and is responsible for photosynthesis. When days shorten in the fall, plants sense that winter is coming and produce hormones that signal leaves to shut down chlorophyll production. They then initiate construction of a “wall” of cells that seals leaves off from the rest of the plant. When this happens, existing chlorophyll is “used up”, sugars build up in the now sealed off leaves, and other compounds that give leaves color, anthocyanins and carotenoids, take center stage. These compounds allow leaves to exhibit the familiar autumnal hues of yellow, red, orange, purple, and brown. However, plants go through this physiological process of shutting down growth and shedding leaves every year and excellent fall color. What we experienced this year, doesn’t always result. There has to be more to the fall 2024 story.
Why were leaves so pretty this year?
A second factor is required for a great fall foliage show – weather. According to the U.S. Forest Service, ideal temperature and moisture conditions must be met for leaf color to be its most intense. Ideal autumn conditions include warm (but not hot) sunny days with cool (but not freezing) nights and adequate (but not excessive) moisture. Too hot and plants become stressed, lessening fall color potential. Too cold, and frost can kill foliage – turning it immediately brown and preventing color development. Too rainy or windy, and leaves can be blown off prematurely. 2024 brought neither extremely hot, extremely cold, or extremely wet conditions, and we were blessed to experience a Goldilocks fall color season.
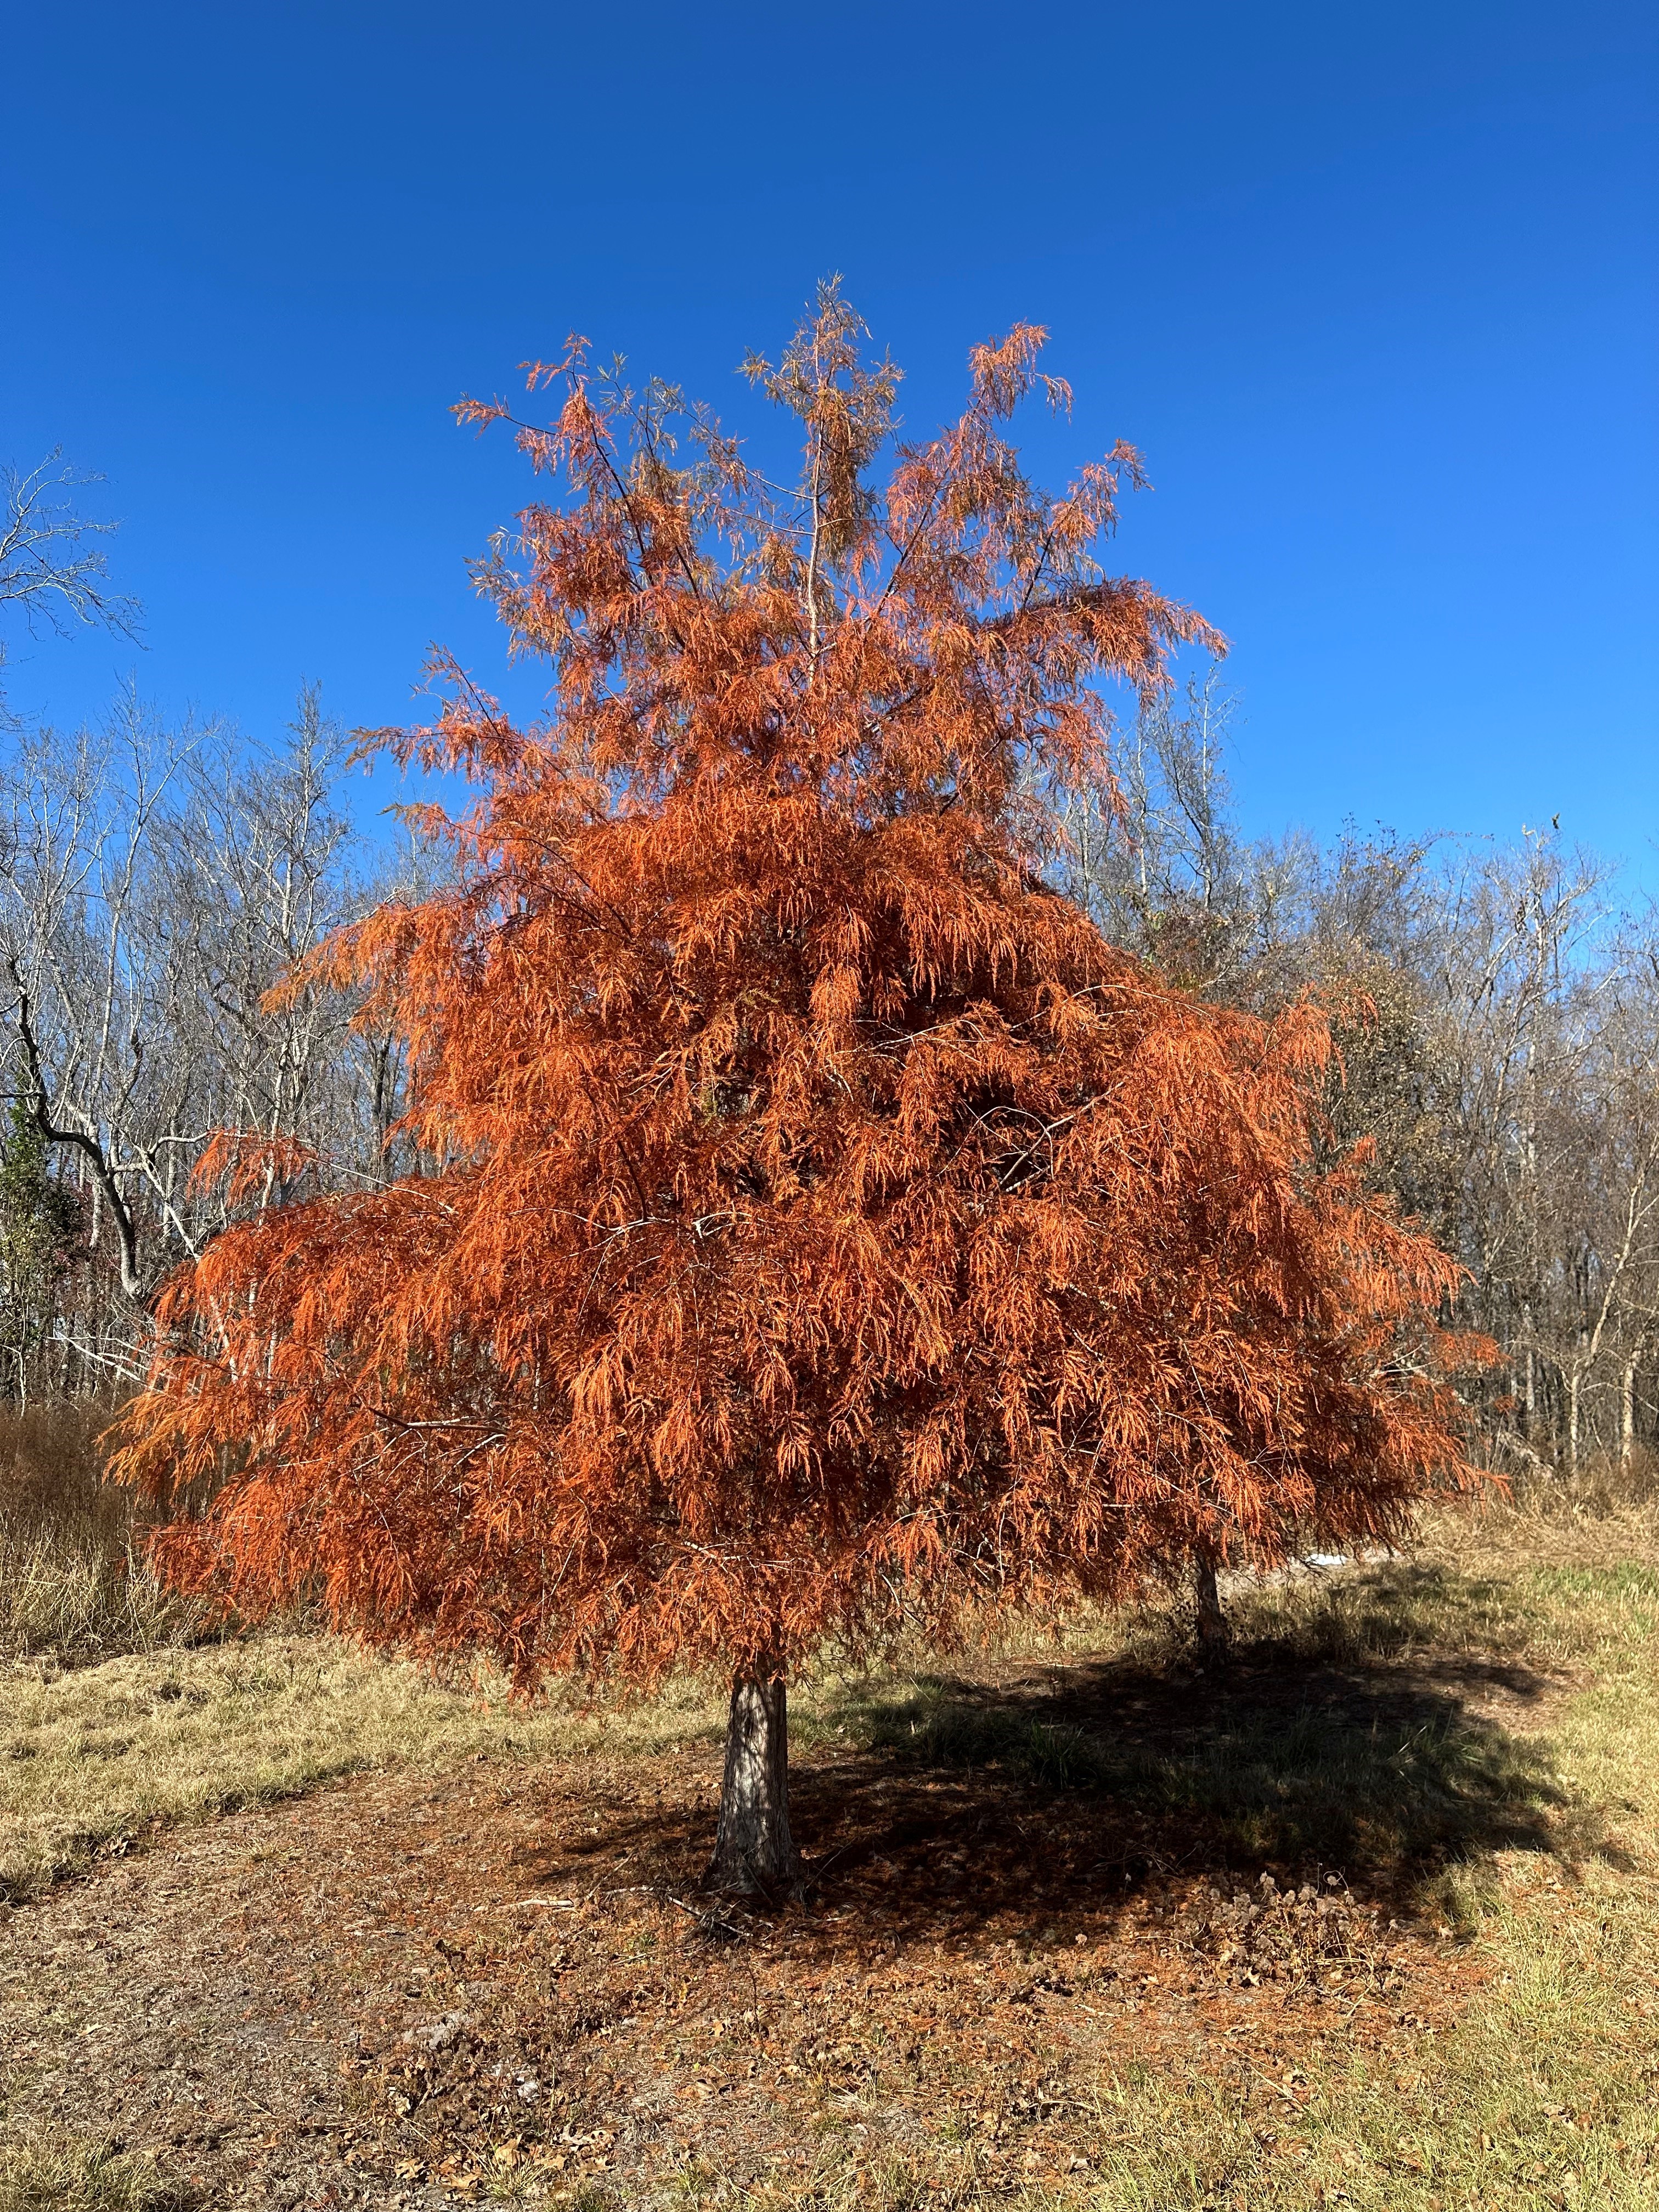
Bald Cypress with trademark burnt orange color. Photo courtesy of Daniel Leonard.
Did Some Trees Have Better Color than Others?
While pretty much all deciduous trees exhibited their peak color potential this year, there were definitely standouts! Fortunately, many of the prettiest trees this fall also make outstanding landscape trees. Be on the lookout for the following trees in nurseries this winter and consider adding a few to your yard to take advantage of the next Goldilocks fall color year:
Red Maple (Acer rubrum) – brilliant red fall leaves.
Florida Maple (Acer floridanum) – yellow/orange.
Deciduous Oaks (Quercus spp) – generally red to purple. Some species like Sawtooth Oak ( acutissima) are yellow.
Green Ash (Fraxinus pennsylvanica) – yellow.
Swamp Tupelo (Nyssa sylvatica) – crimson to purple.
Sweetgum (Liquidambar styraciflua) – highly variable but generally reds, oranges, and purples.
Bald Cypress (Taxodium distichum) – burnt orange.
For more information about fall color, which trees and shrubs produce great fall color and perform well in landscapes, or any other horticultural topic, contact your local UF/IFAS County Extension office. Happy Gardening!