I enjoy starting my garden from seeds. Ordering seed opens so many more options relative to the limited old-fashioned seed and transplant selections that line garden shelves. Picking newer, improved varieties has several other advantages as well, including increased disease resistance, earlier fruiting, unusually colored/shaped fruit, and generally more vigorous plants. One of the most exciting days of the year in my house is when the cardboard box full of the season’s seed packets comes in the mail! However, I garden exclusively in small, 4’x8’ raised beds and only need a couple of plants of each veggie variety to fill the fridge with fruit; meaning I always have leftover seeds in the packets! In the past, I’ve thrown the excess seed away and chalked it up to the cost of gardening in small spaces, but this spring, as seeds became somewhat hard to come by and several of the varieties I normally grow were out of stock, I started saving and storing my leftover seed packets for future seasons to ensure I have what I want! You can save and store seeds too, here’s how.
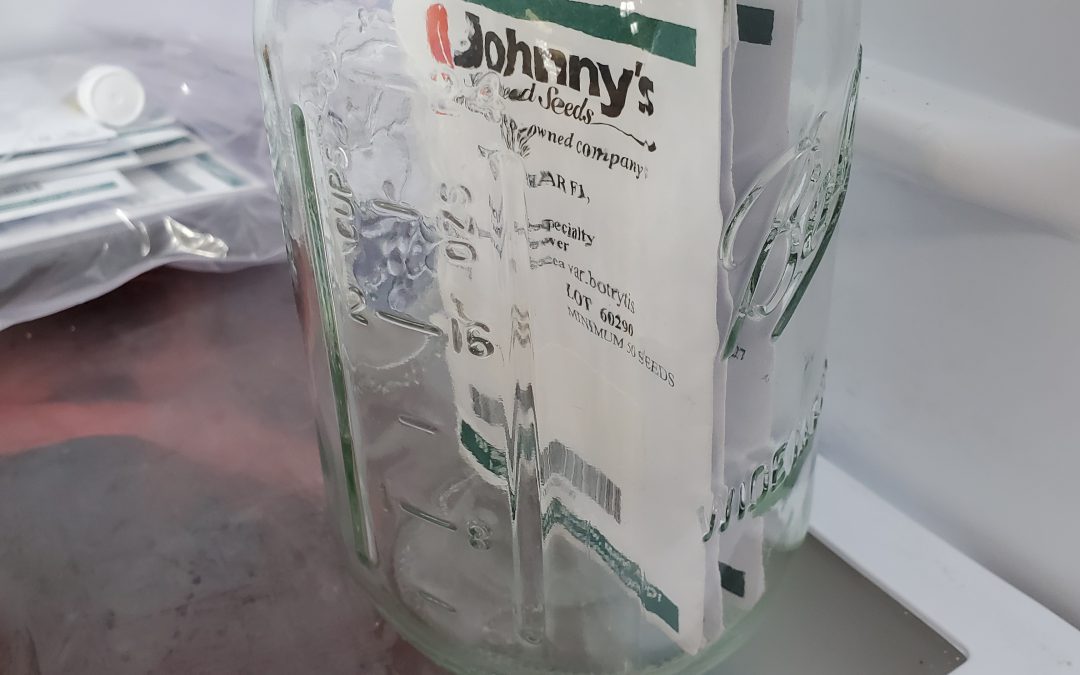
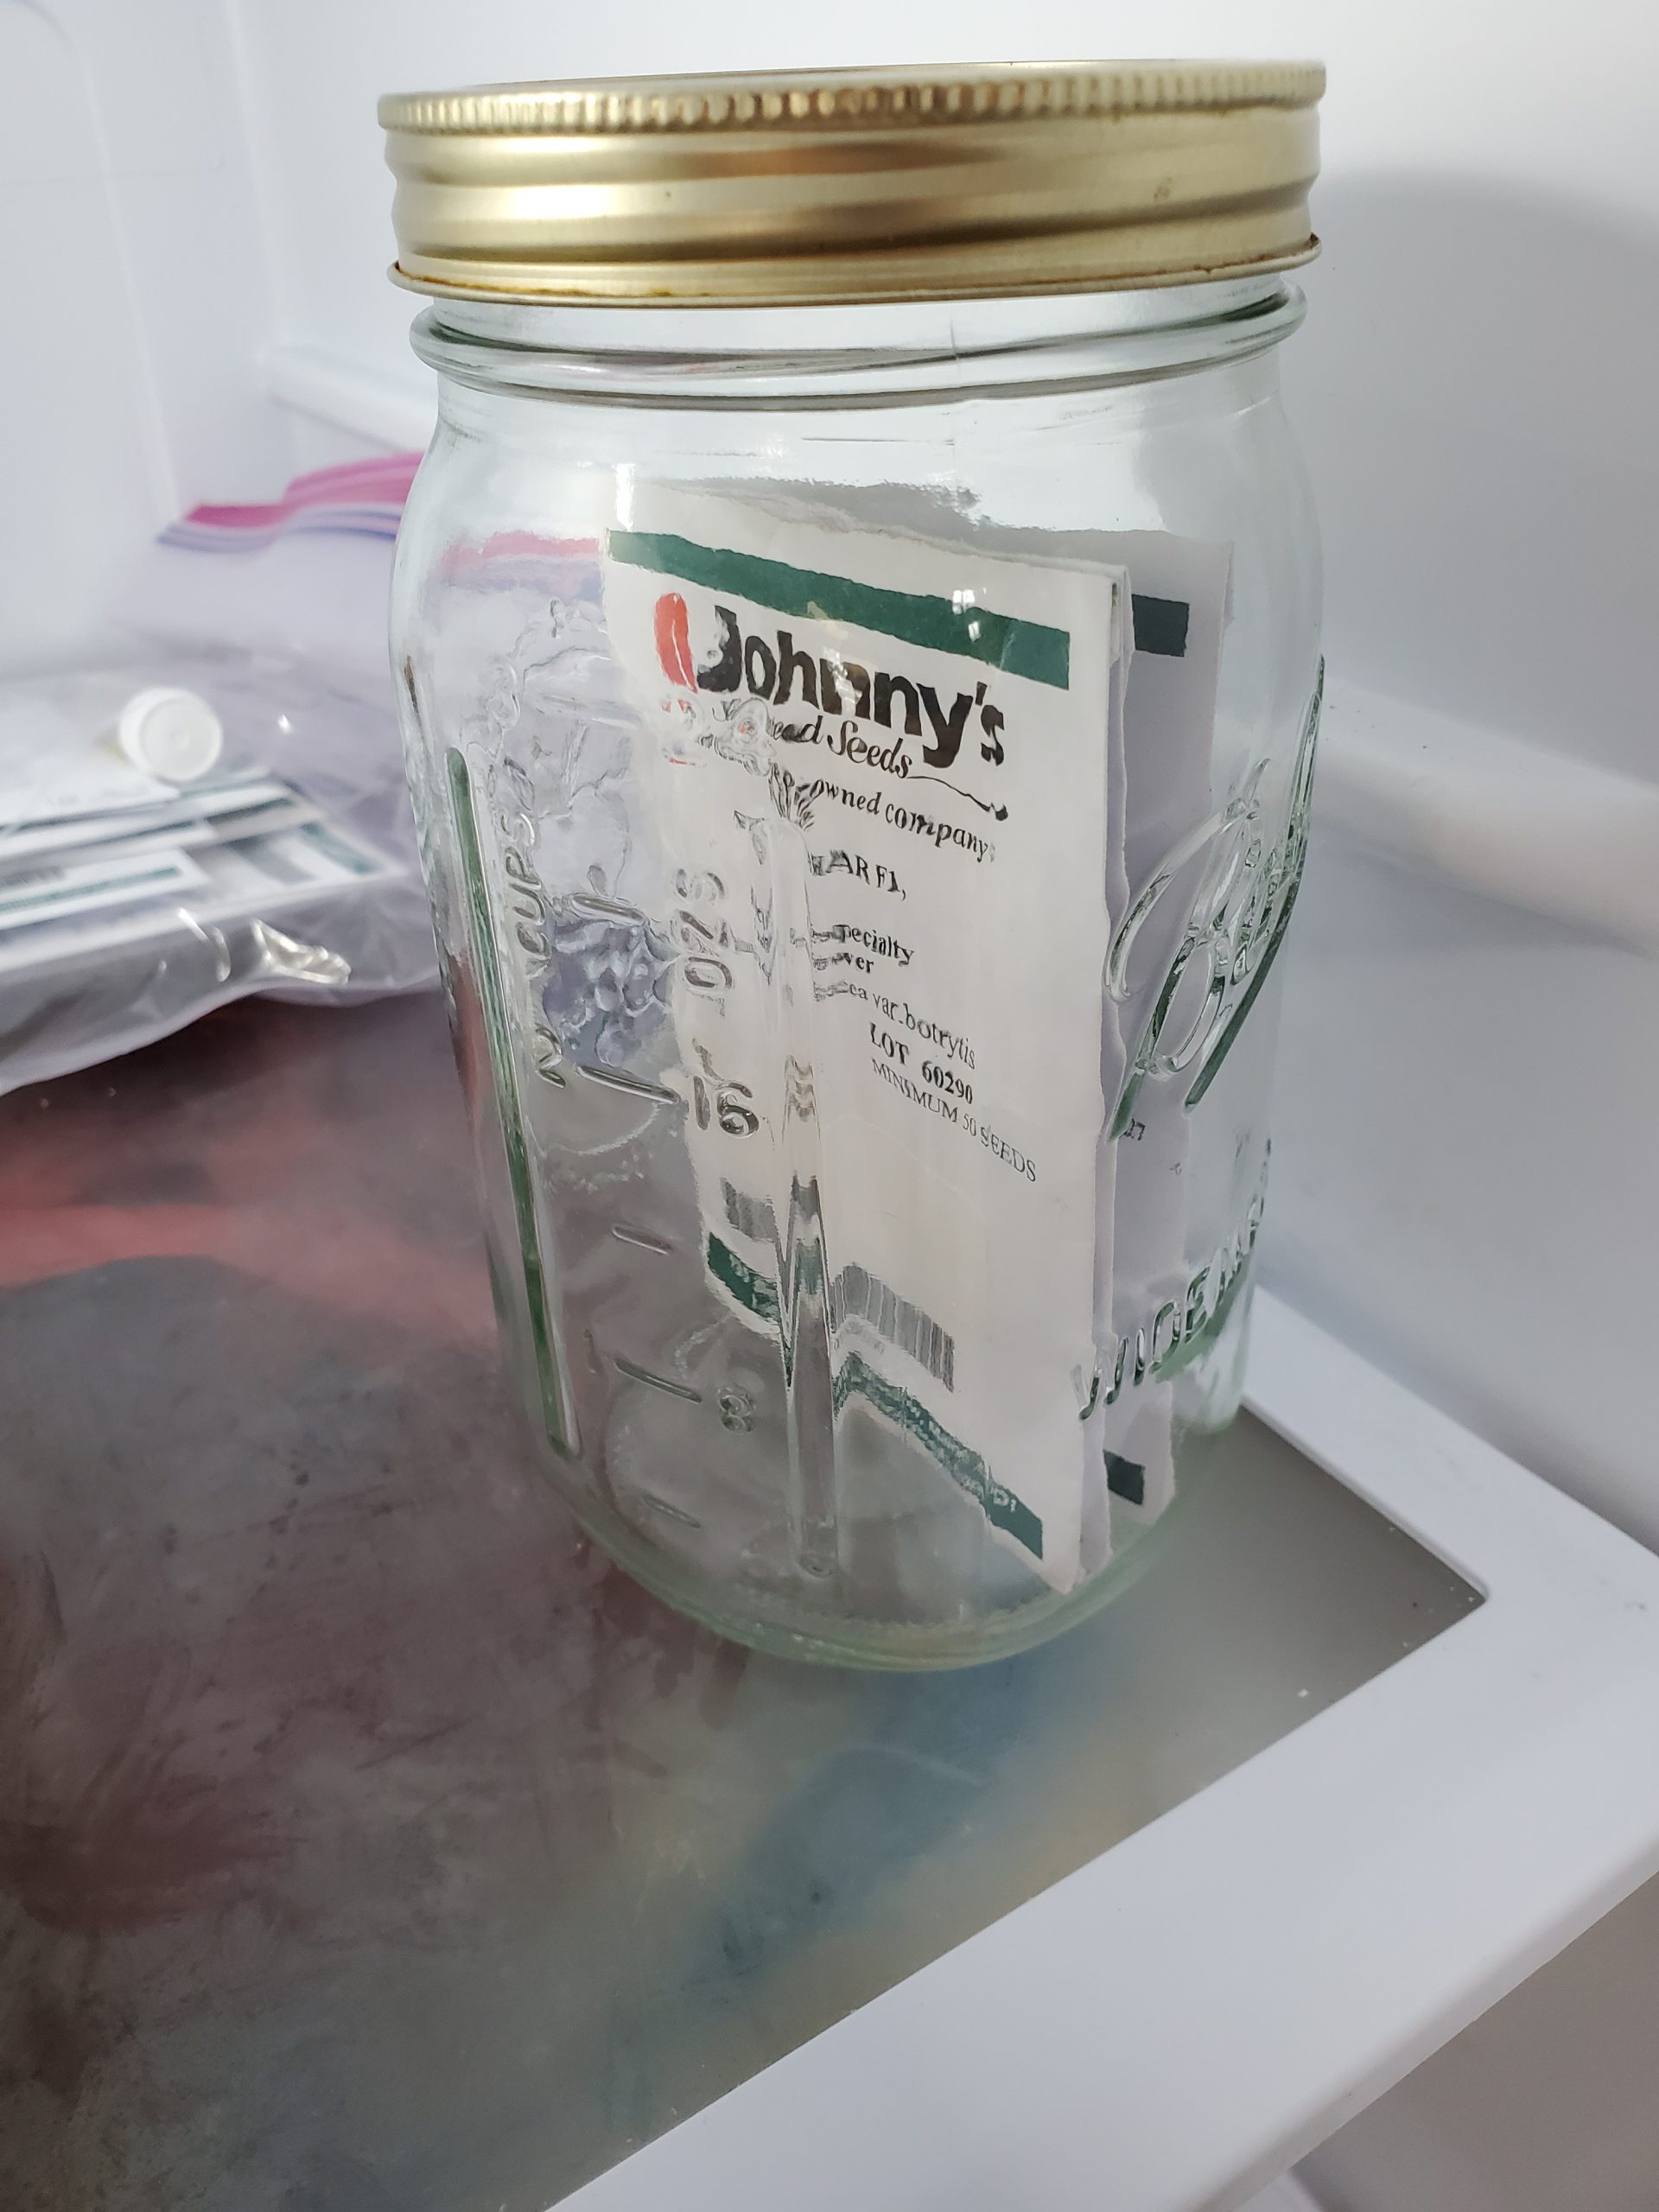
Cauliflower seed waiting for the fall garden in the author’s refrigerator.
Properly storing your leftover seeds is a relatively simple process. While seed longevity definitely varies somewhat according to species, regardless of how they are treated by you, remembering the following few tips can help improve the stored seeds’ viability and vigor for the next season.
Store Cool. Seeds like to be stored in a refrigerator around 40 degrees F. Seeds stored warmer, near room temperature, or colder, as in a freezer, will decline much more rapidly than those in the fridge.
Keep it Dry. Humidity or moisture in the seed storage area is a sure way to reduce the shelf life of seeds. Store dry in plastic bags or glass containers and add a dessicant. Dessicants help keep storage containers dry and can be found for around $1 each from various online purveyors, making them a cheap insurance policy for your home seed bank!
Don’t Store Pelleted Seed. These days, you can buy pelleted seed for many of the smaller seeded vegetable varieties, like lettuce and carrots. The pelleting process and materials used, while making it easier for old eyes and those of us with fumbling fingers to plant, reduces seed longevity. Do your best to plant all the pelleted seed you purchase. If you store pelleted seed, don’t say you weren’t warned when next season’s germination is poor!
Plant All Stored Seed the Next Season if Possible. Remember, that while most non-pelleted vegetable species’ seed can remain viable in storage for more than a year, it’s best to only store seeds until the next season and use them up. Regardless of how well you store them, seed germination percentage (how many in the lot will sprout when planted) and vigor (how strong the germinating seedlings are) decline in direct proportion to time spent in storage.
Plant Old Seed Heavy. As germination rates in storage may have declined, it’s best to plant stored seed a little thicker than you normally might. If you need a squash plant in a certain spot, instead of just planting one seed, put three or four in the hole to ensure you get a plant. You can always thin extras later, but time lost replanting cannot be regained.
By following these few simple tips, you can waste a lot less seed and ensure that you have what you want to plant for the following year! As always, if you have any questions about saving and storing seed or any other agriculture or horticultural topic, please contact us at the UF/IFAS Calhoun County Extension Office. Happy Gardening!
The following resources were used as references when writing this piece and may prove helpful to you also, check them out:
Flowers can often be fickle in the landscape, so, this year, I decided to add a shot of no-maintenance color to my landscape with foliage plants! The benefits of ornamentals that don’t need flowers to put on a show are many. Their water and fertility needs are often less because they don’t have to support the large energy and irrigation requirements the flowering process demands. They don’t need deadheading to look their best and they lend an awesome texture that is overlooked in many landscapes. My summertime foliage plant of choice provides all those things in a small, bright yellow package; it’s a widely sold selection of Duranta called ‘Gold Mound’.
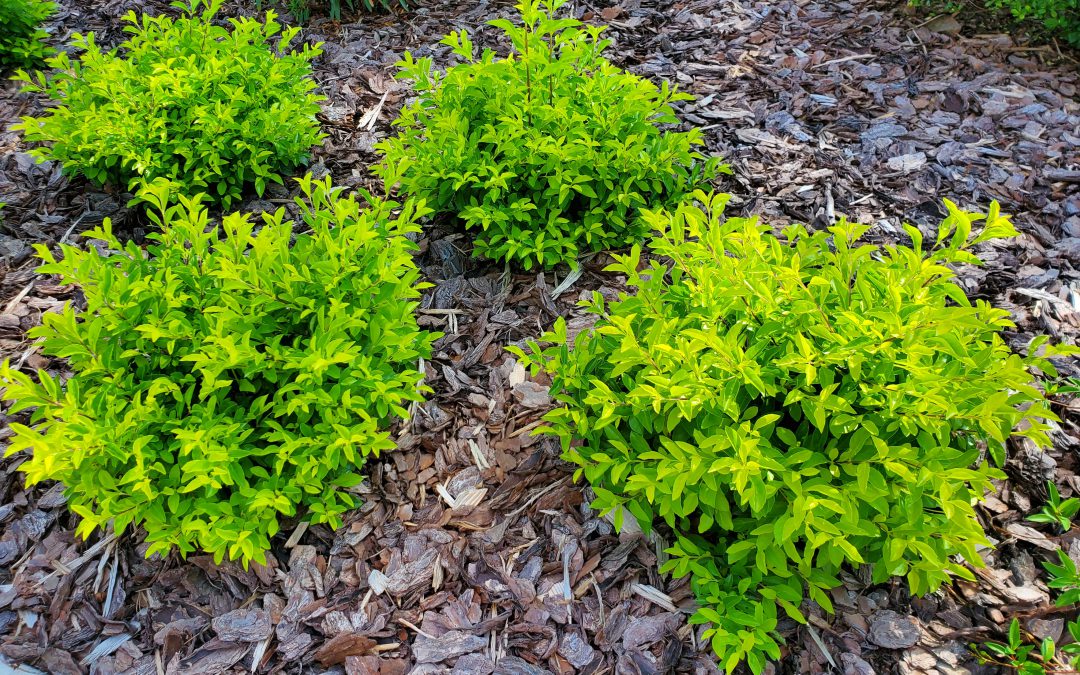
Mass of ‘Gold Mound’ Duranta in the author’s landscape.
‘Gold Mound’ Duranta is a small shrub known for its chartreuse to bright yellow foliage and generally grows 24” or so tall and wide in the Panhandle, allowing it to fit in nearly any landscape. ‘Gold Mound’ has been around in the horticulture trade a long time and is a popular perennial shrub in the southern parts of Florida. It was recognized as the Florida Nursery, Growers, and Landscape Association’s (FNGLA) plant of the year in 2005 and regularly occupies a spot in the color displays of big box and local nurseries, even in the Panhandle, however, despite these attributes, ‘Gold Mound’ is a rare find in Northwest Florida landscapes. That needs to change!
In our neck of the woods, Duranta ‘Gold Mound’ is incredibly low maintenance. I planted a grouping of thirteen specimens near the end of my driveway to provide a consistent season long splash of color to complement the fleeting blooms of the spring flowering shrubs, the drab greenery of the neighbor’s lawn and the on-again, off-again ‘Drift’ Roses they share the bed with. The result has been awesome! I watered frequently until the small shrubs were established and on their own, with no irrigation since. I fertilized at planting with a slow release, polymer coated fertilizer and have not had to help them along with subsequent applications. Even better, despite our frequent rainfall and heat/humidity, no pests or diseases have come knocking. Just because I enjoy gardening doesn’t mean I need a landscape full of divas and I can count on ‘Gold Mound’ to not need pampering.
Incredible chartreuse foliage of ‘Gold Mound’.
Maybe my favorite part of ‘Gold Mound’ Duranta in the Panhandle is that it isn’t permanent. Duranta is a native of the Caribbean tropics and is not particularly cold hardy, most Northwest Florida winters knock it back hard, if not outright killing it. Therefore, ‘Gold Mound’ is best enjoyed here as an annual, planted when the weather warms in the spring, enjoyed until the first frost, then pulled up and discarded. Easy peasy. No long-term commitments required. My uncle, the chainsaw gardener, doesn’t even have to chop it back! Just compost the plants each winter or toss them in the trash, hit up your local nursery the next spring for some new plants and do it all over again. Though it has to be replanted each year, Duranta ‘Gold Mound’ won’t break the bank. The generic ‘Gold Mound’ is commonly sold in 4” containers for just a few dollars apiece in the annual section of plant nurseries, making it a very affordable option, especially compared to some of the new, designer perennials it competes with.
Though some landscape designers recommend just using a single specimen of ‘Gold Mound’ here and there for small pops of color, I prefer using groupings of the plant. I’ve seen successful plantings of ‘Gold Mound’ massed in large groups to create annual color beds at key points in landscapes and also planted across the front of a bed to complement darker foliaged backdrop or foundation plants, such as Boxwood or Loropetalum. Regardless of how you decide to use them in your yard, I don’t think you can go wrong with adding some color pizazz to your landscape with the inexpensive, low-maintenance, Florida-Friendly plant, ‘Gold Mound’ Duranta. Happy gardening!
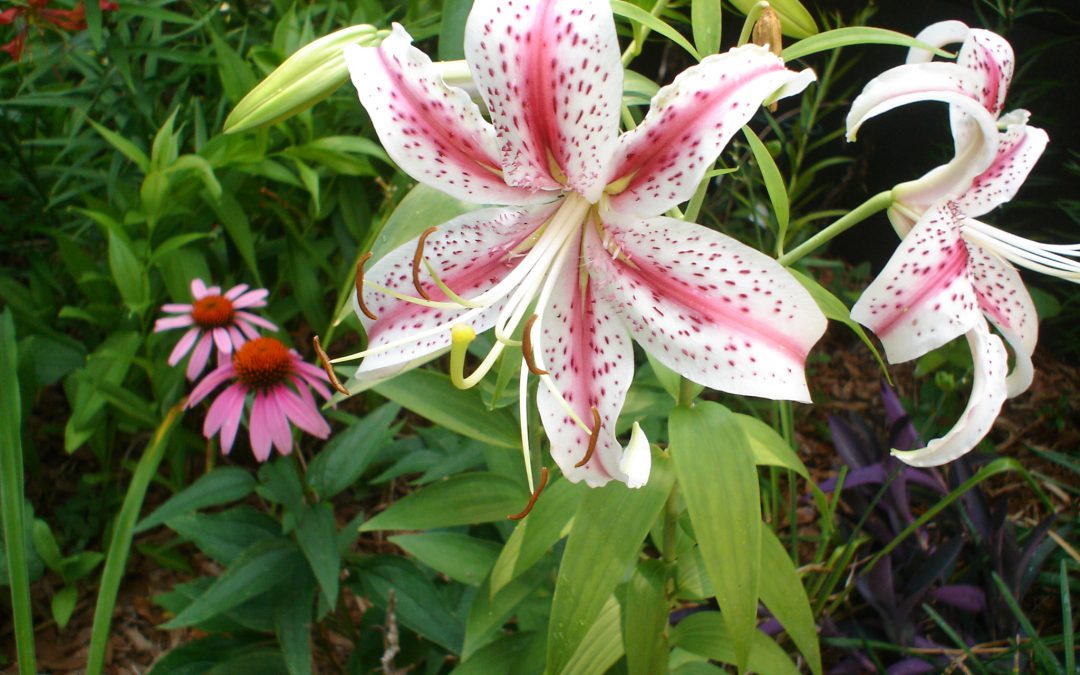
Lilies offer one of our most striking flowers in the garden. Learn a few basics about growing lilies in your own garden with UF IFAS Extension Escambia County Master Gardener Volunteers.
Sunflowers, Helianthus spp., are a great choice for gardeners who are looking for some cheerful color in their landscape. Here in Florida, we have the main ingredient for success, lots of sunshine!
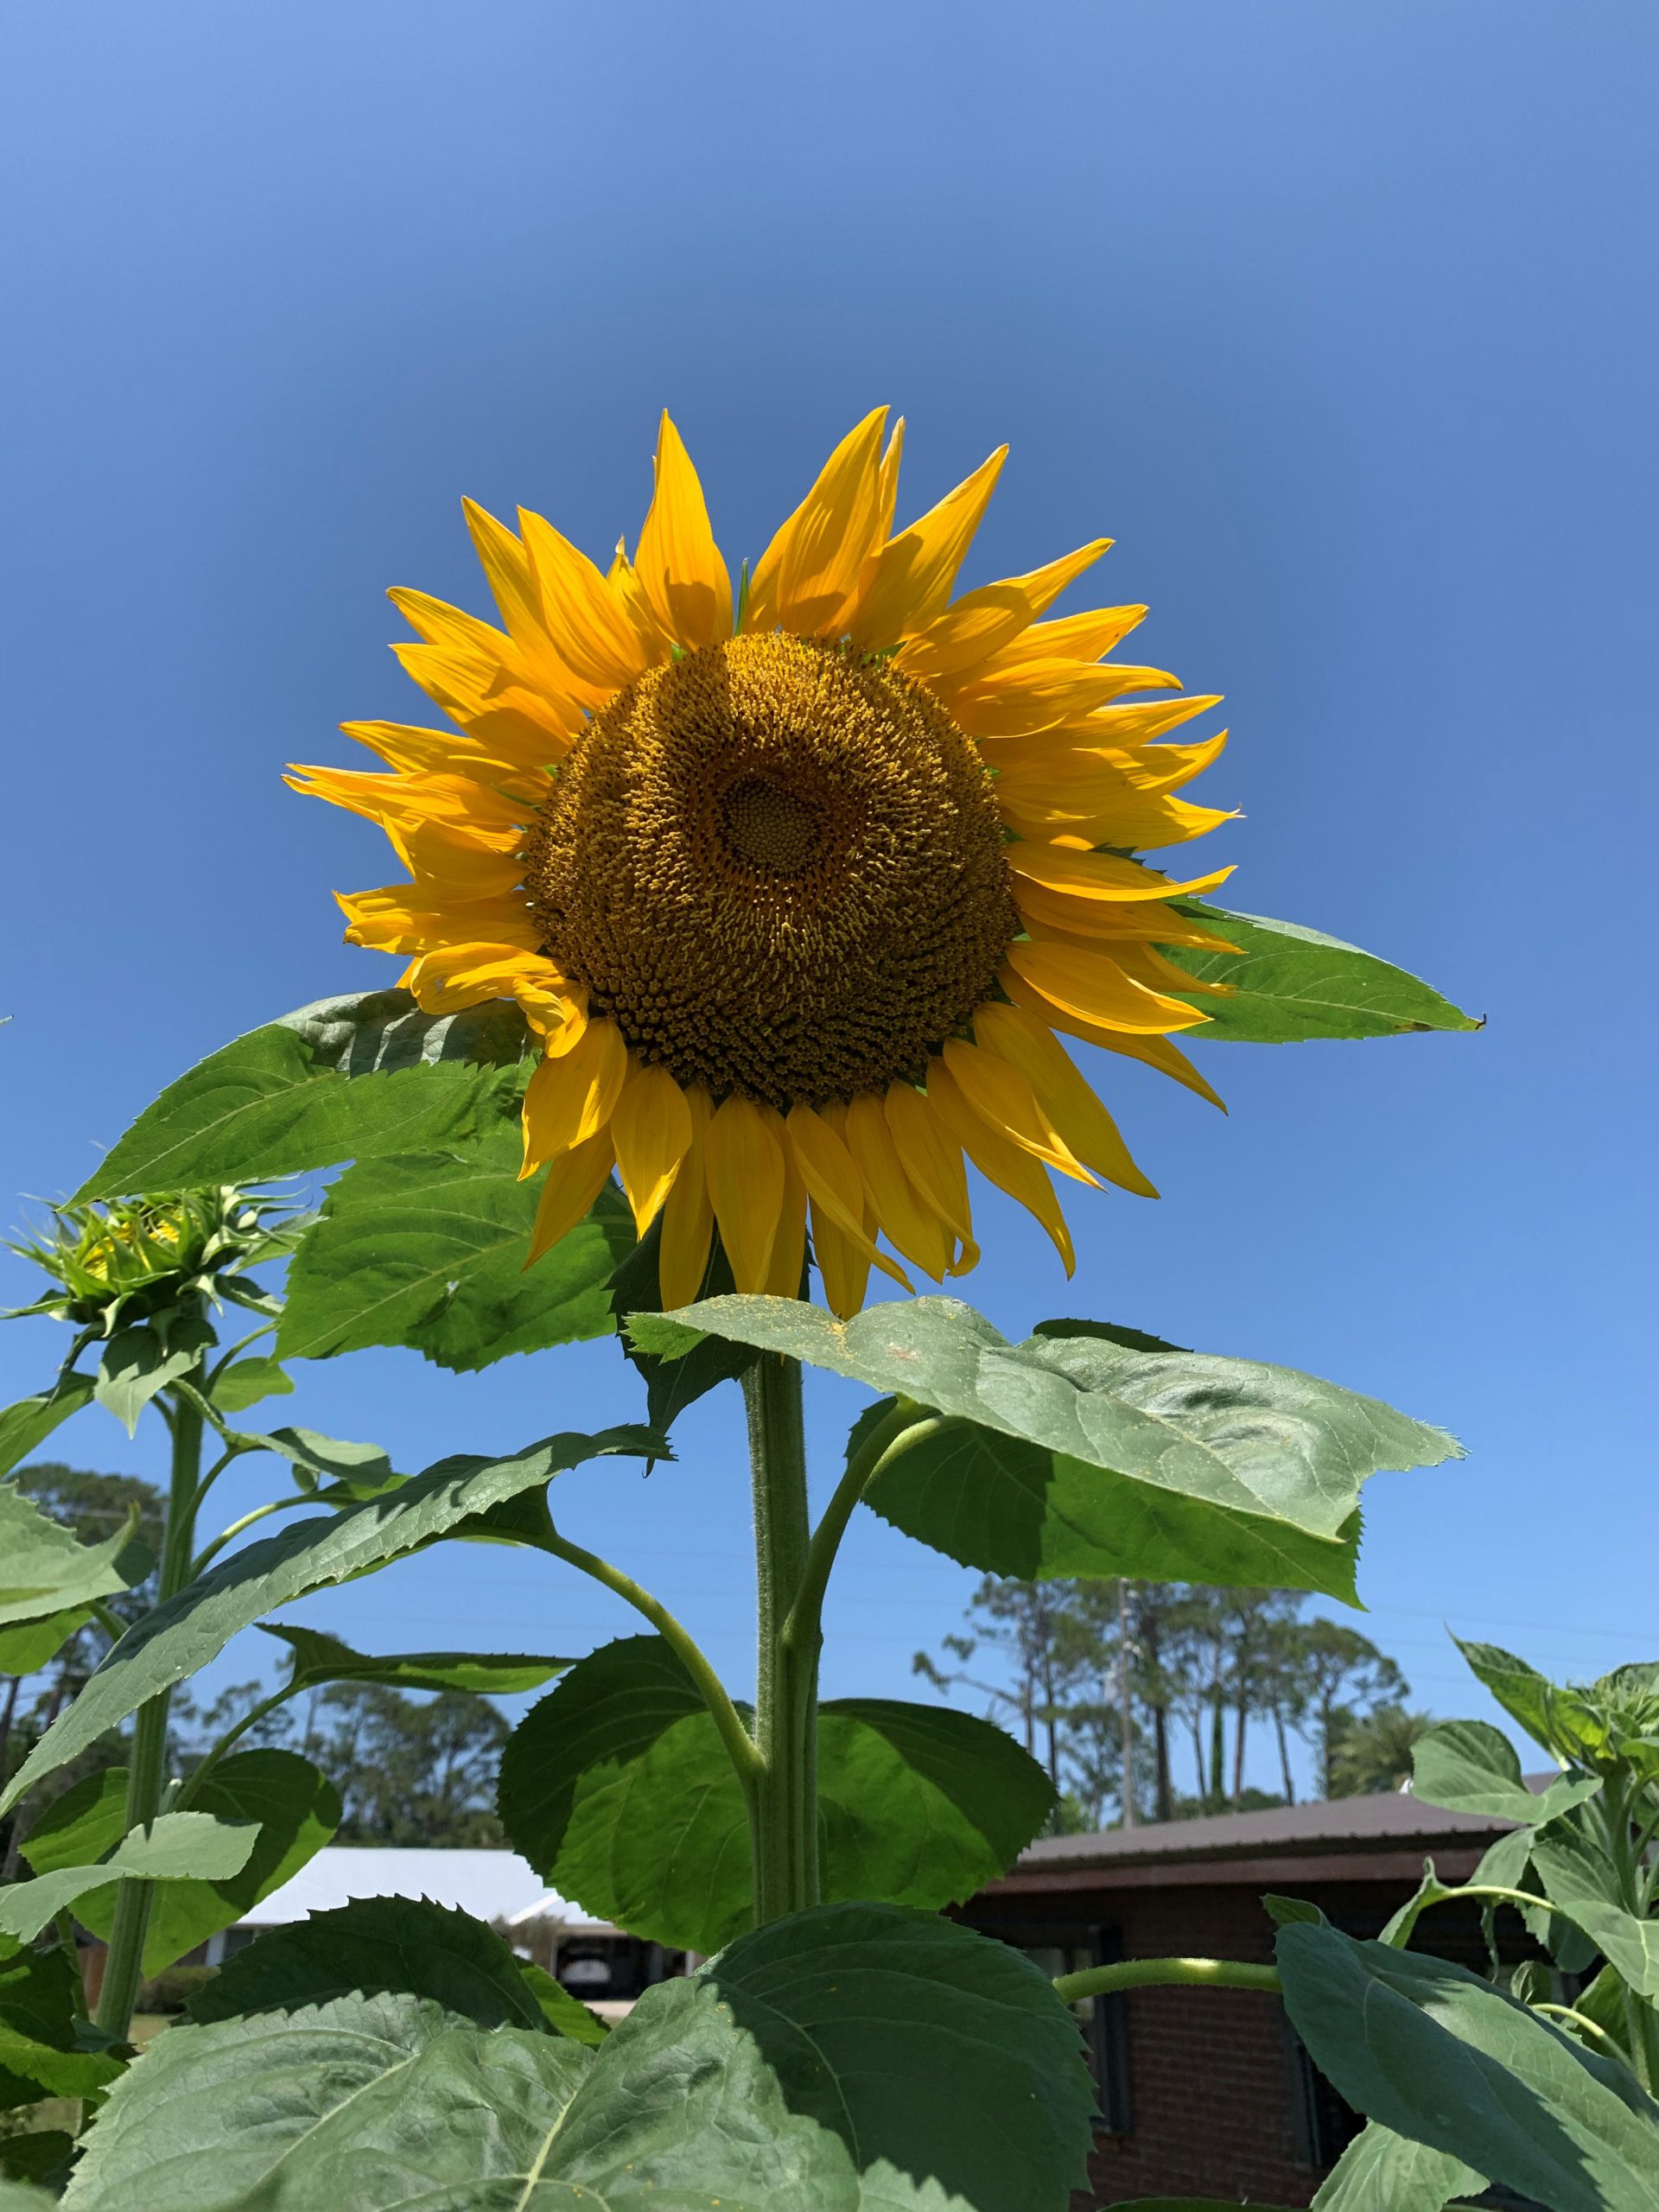
‘Skyscraper’ Sunflower bloom. Photo courtesy of Ray Bodrey.
Sunflowers are short-lived annuals. The average time between planting and bloom is roughly 65 days. You can typically plant sunflowers in Florida beginning in late winter until early fall. Only the coldest months cause problems, and for most years that’s only November – January. Sunflowers can be planted almost anywhere there is full sun. The major selling point with sunflowers is, of course, the impressive blooms (figure 1). These yellow to sometimes orange or red-petaled flowers develop a central seed disc, with most variety’s flowers having approximately an 8” diameter.
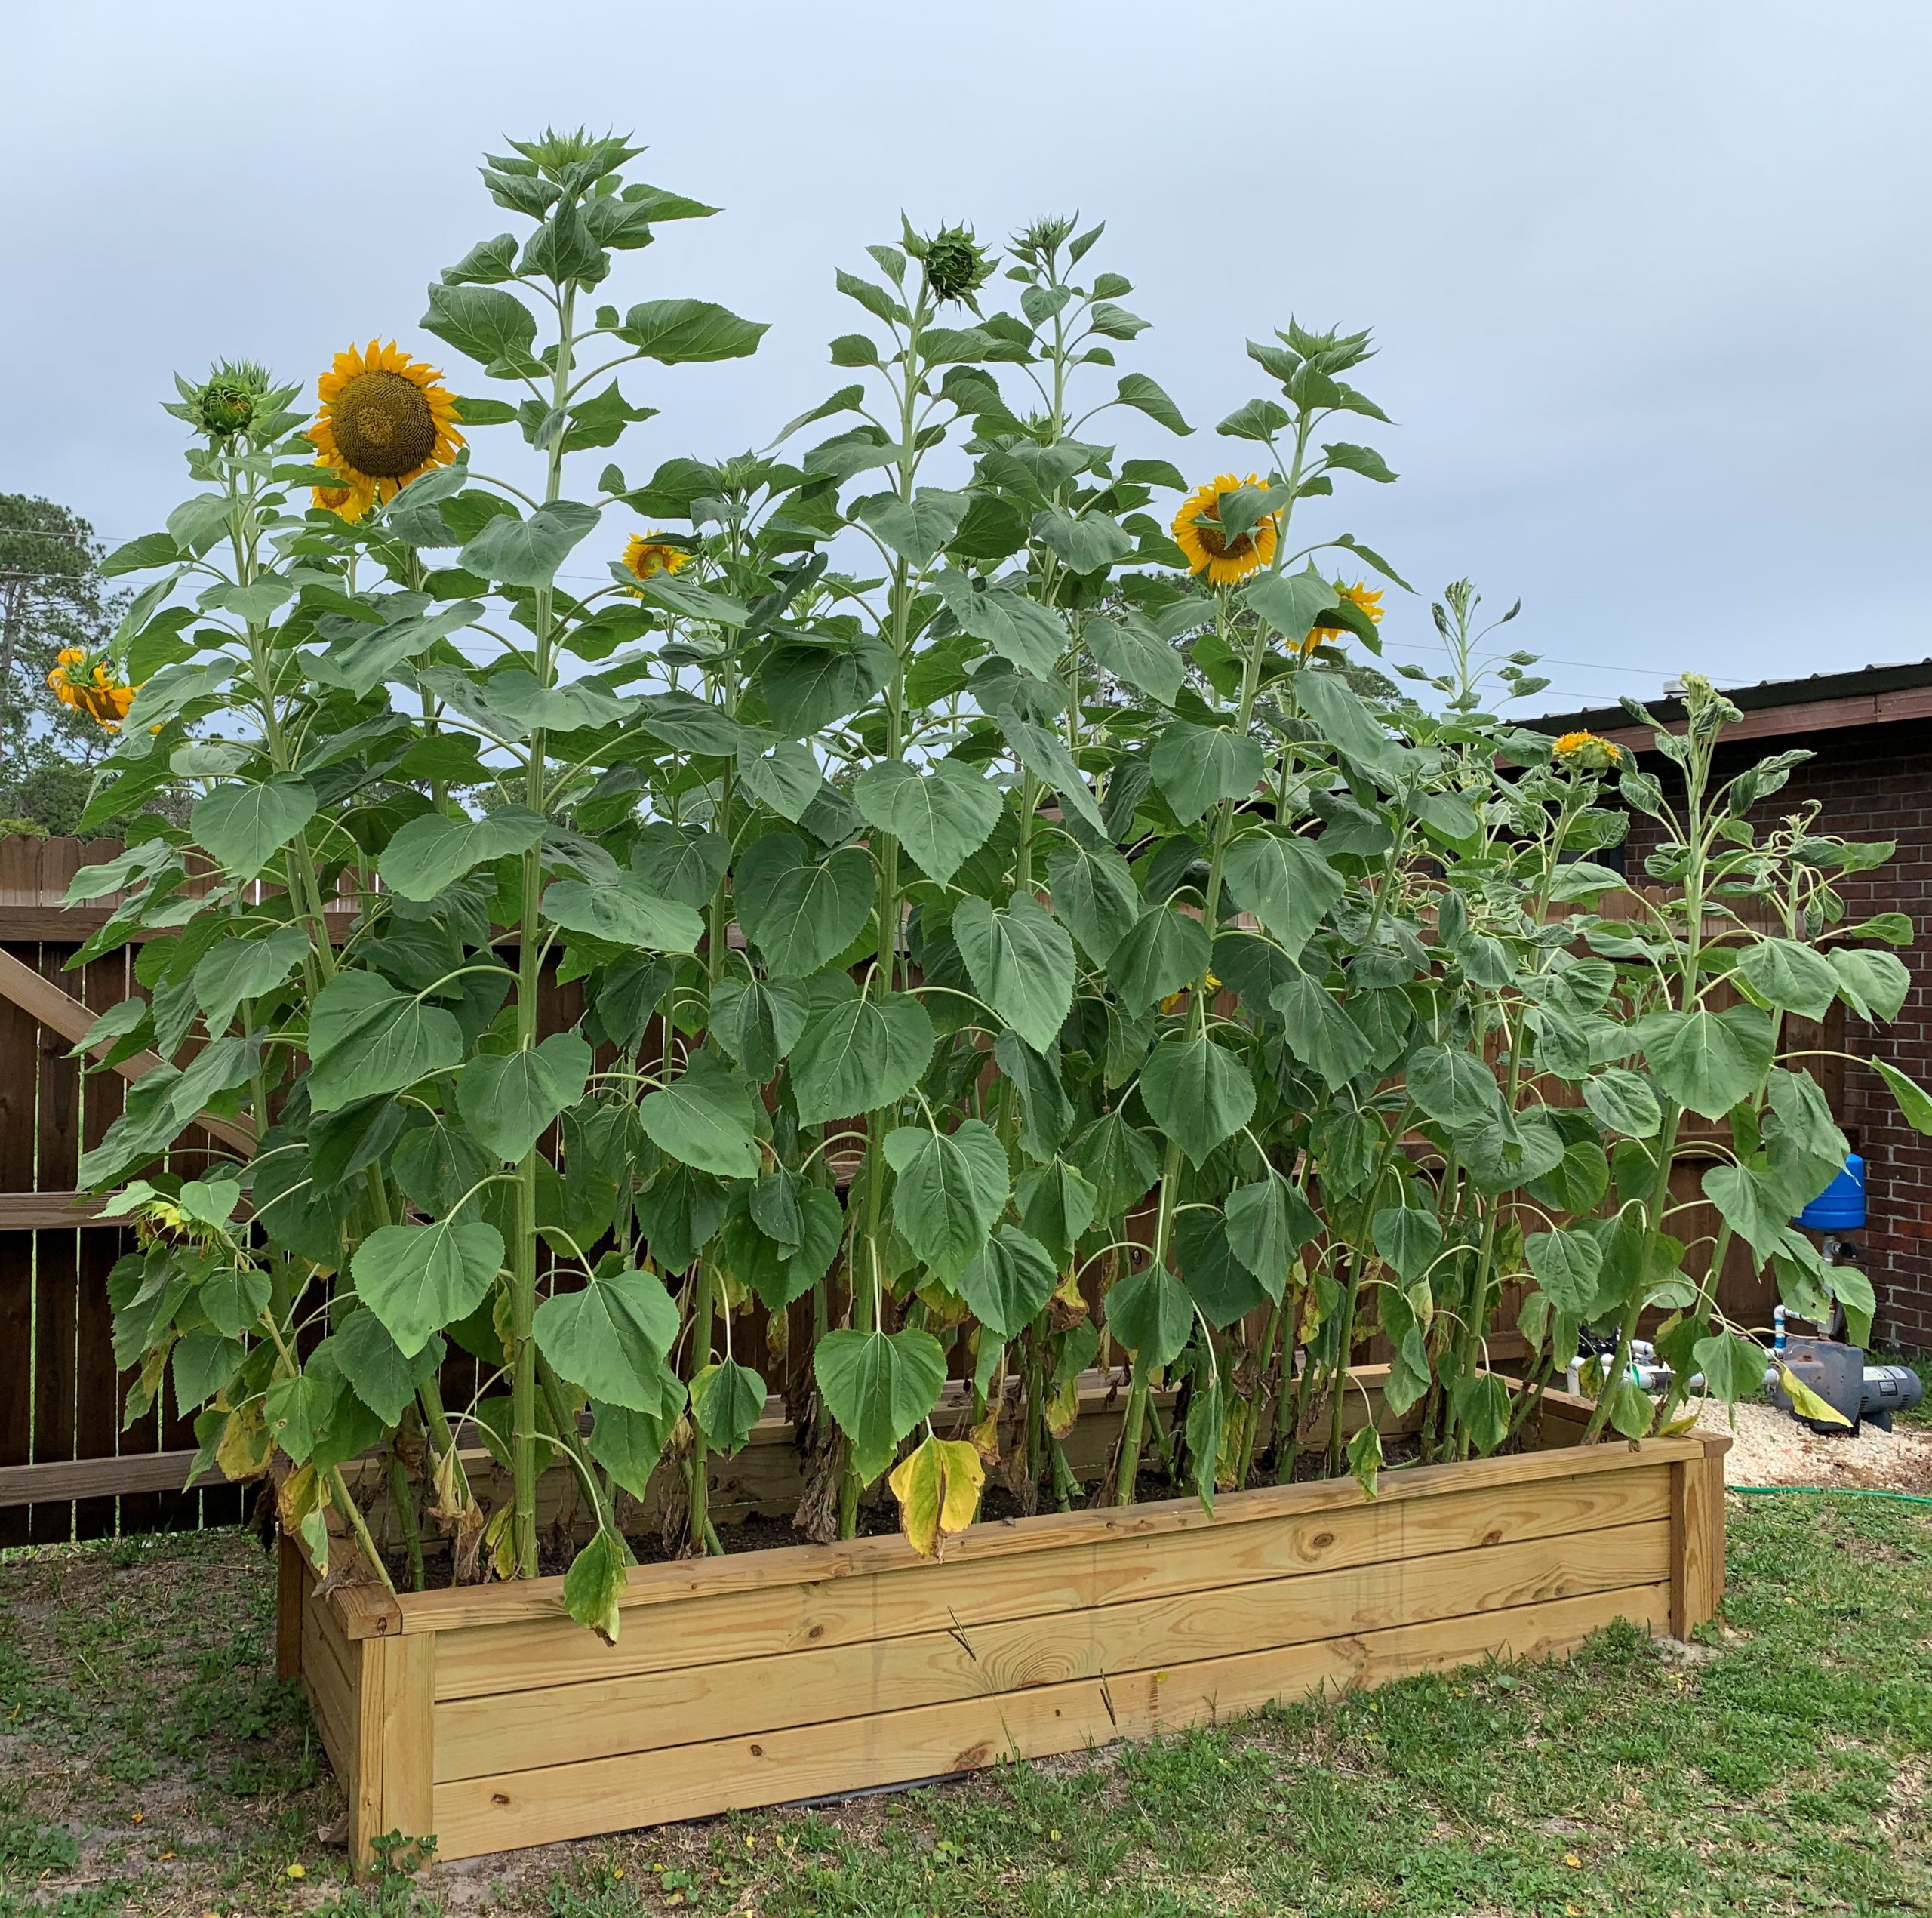
When planting, you may choose to plant in narrow rows with close seed spacing in order to cull weaker plants later. A final row and seed spacing of 2’-3’ is recommended for full height and development of most varieties. However, you may also choose to plant in a bed, using a close pattern as seen in the photo below. In any event, sunflowers are easy to propagate by seed and are very low maintenance. Occasionally, powdery mildew and spittle bugs can be a nuisance. A general garden fungicide and insecticide will help if problems occur.
‘Skyscraper’ sunflowers planted on close spacing. Photo courtesy Ray Bodrey.
Sunflowers are available in many varieties, consisting of different color blooms and plant sizes. These sizes range from dwarf (1’-3’) to tall (10’-15’) varieties. You may wish to stake taller varieties at some point, as plants will tend to lean with no wind break in place. Here’s a few garden variety common names to look for: ‘Sunbright’, ‘Sonja’, ‘Sunrich Lemon’, ‘Sunrich Orange’ and ‘Autumn beauty’. Seed companies also have mixes available in packets. For tall plants, ‘Mammoth’ or ‘Skyscraper’ varieties will do the trick.
If you are fond of the sunflower bloom and looking for a groundcover, there are a couple of native perennials that fit this category. Beach sunflower, Helianthus debilis or swamp sunflower, Helianthus angustifolius, are groundcovers/ornamentals for landscapes and thrive in dry, hot climates and in a range of soil types. They also are great pollinator attractors.
For more information on growing sunflowers, contact your local county extension office.