by Julie McConnell | May 13, 2020
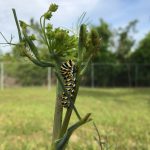
Eastern black swallowtail caterpillar on fennel. Photo: J_McConnell, UFIFAS
Working from home has given me the opportunity to take more notice of my landscape and allow more time for insect scouting. While looking for turfgrass pests a few weeks ago, I noticed a caterpillar I didn’t recognize feeding on a broadleaf weed in my lawn. Since it didn’t appear to be a typical turfgrass pest, I decided to collect a few and try to figure out what they were. I’m glad I did because it turned out they were Buckeye Butterfly larvae! This random find has led me to some experimentation with raising butterflies and I thought I’d share some tips in case others might like to try it.
**Before collecting be sure to consult the U.S. Fish and Wildlife list of endangered and threatened species in Florida and never collect from Florida State Parks or other dedicated conservation areas. Never release species not native to our ecosystem. **
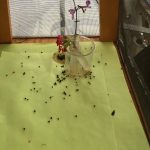
Lining the bottom of your enclosure with paper makes cleanup easier. Photo: J_McConnell, UFIFAS
You will need an adequate enclosure to keep caterpillars, chrysalises, and newly emerged butterflies/moths. I am fortunate to have a beautiful handmade cage constructed by a Master Gardener Volunteer at my disposal. It has a wooden frame and floor, screened walls, and the door latches. There are many options available for online purchase, but I would recommend getting one listed as “tall” or having a minimum height of 24 inches. Also, be sure you will be able to clean it easily – growing caterpillars create a lot of frass (excrement) that needs to be cleaned daily. I line the bottom of my enclosure with paper for quick cleanup.
Be sure you can offer fresh food for caterpillars and butterflies. Caterpillars usually have a limited menu of what they can eat depending on species. If you find them actively feeding on a plant, that is a pretty good sign that it is a good larval food source. Once you identify the caterpillar you can look up alternate larval host plants that the species eats.
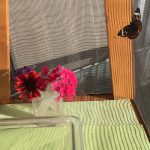
Provide a variety of fresh flowers when butterfly emerge
Collecting foliage and keeping it hydrated can be a challenge. I use small floral water tubes. They have rubber lids that pop on and off with slits where I can insert small stems, but the insects do not get in and drown. I usually set these in another container to keep them upright. I can easily add fresh flowers when I expect a butterfly to emerge so that nectar is available. If your enclosure is large enough you may be able to keep small potted plants inside, just remember to keep them watered.
Where do the caterpillars come from? I intentionally plant several plants that are larval butterfly (caterpillar) hosts such as parsley, fennel, and passionflower vine. I check these plants for caterpillars that I can collect along with foliage. After the butterflies emerge, I release them into my yard so they can find a mate and keep the cycle going.
For more information on attracting butterflies to your landscape see Butterfly Gardening in Florida.
by Daniel J. Leonard | May 13, 2020
It’s been a challenging spring in this guy’s garden! Despite getting the normal early start required for successful gardening in Florida, I’ve been affected by Bacterial Leaf Spot stunting my tomatoes, cutworms that reduced my watermelon plantings by half, and an eternal test of my patience in the form of a dog that seems to think my raised beds are merely a shortcut to a destination further out in the yard. My latest adversary is the most potentially destructive yet, an outbreak of Southern Armyworm (Spodoptera eridania).
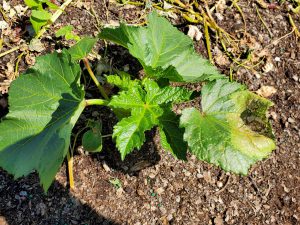
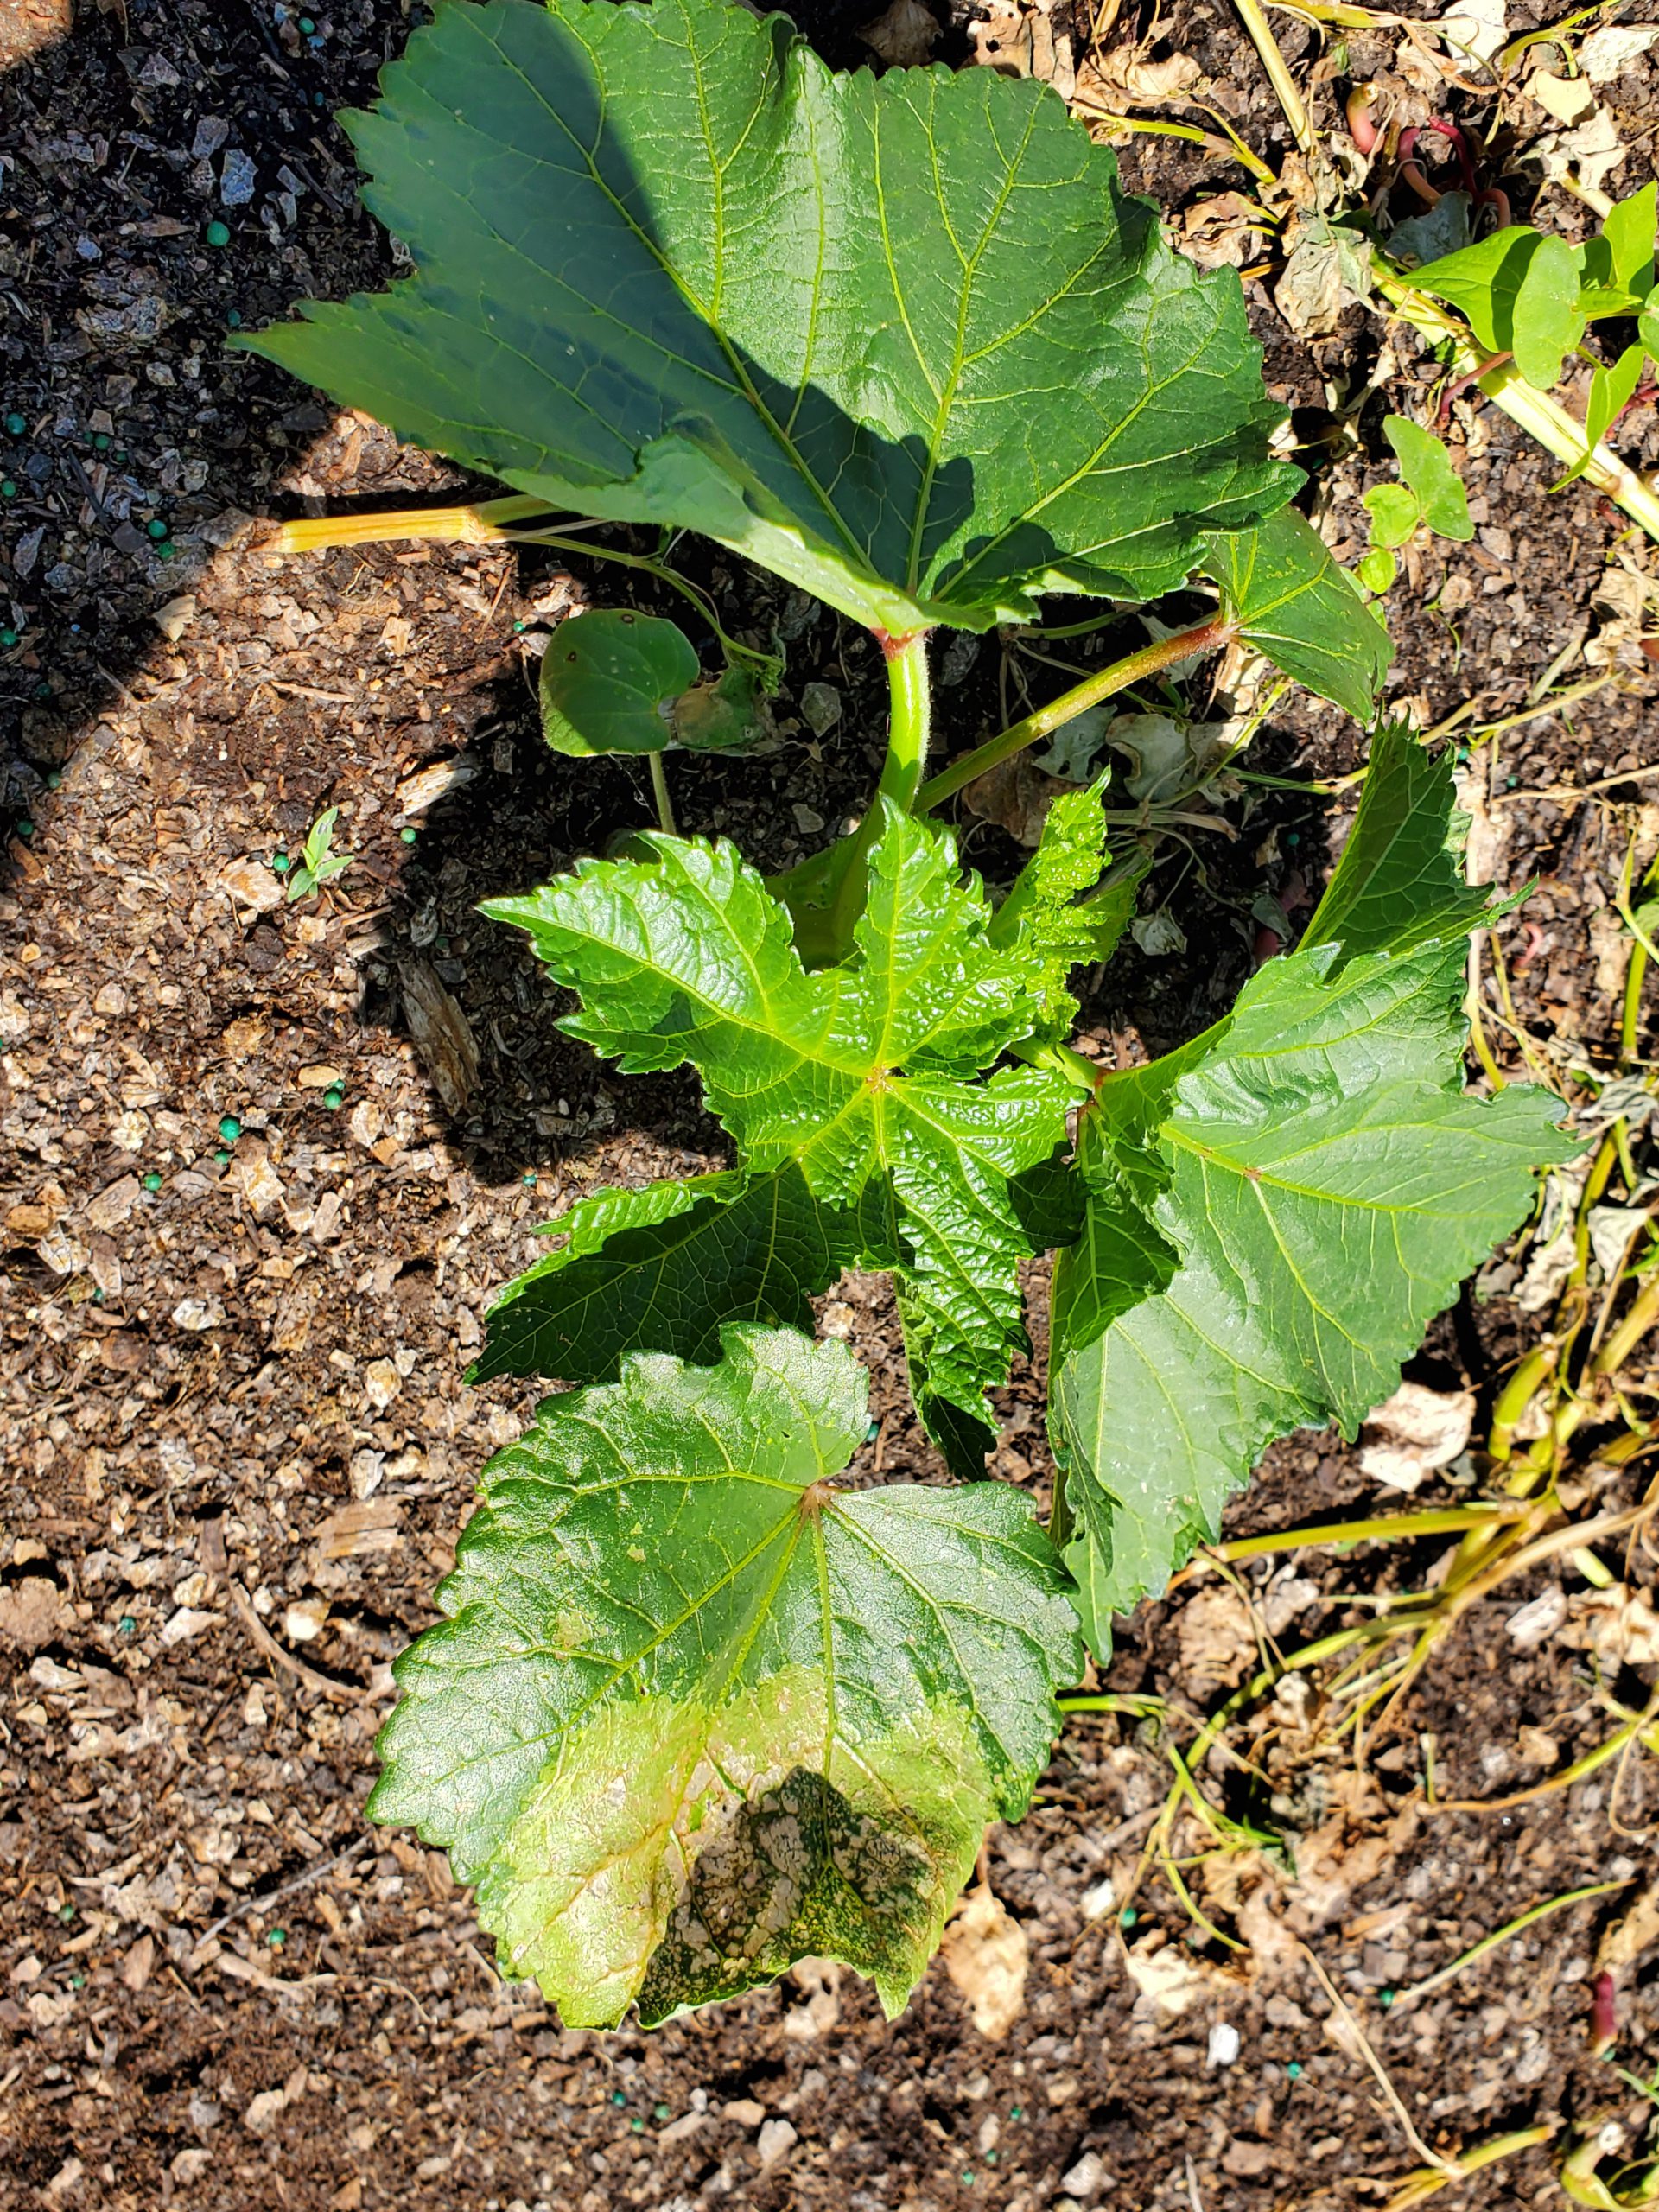
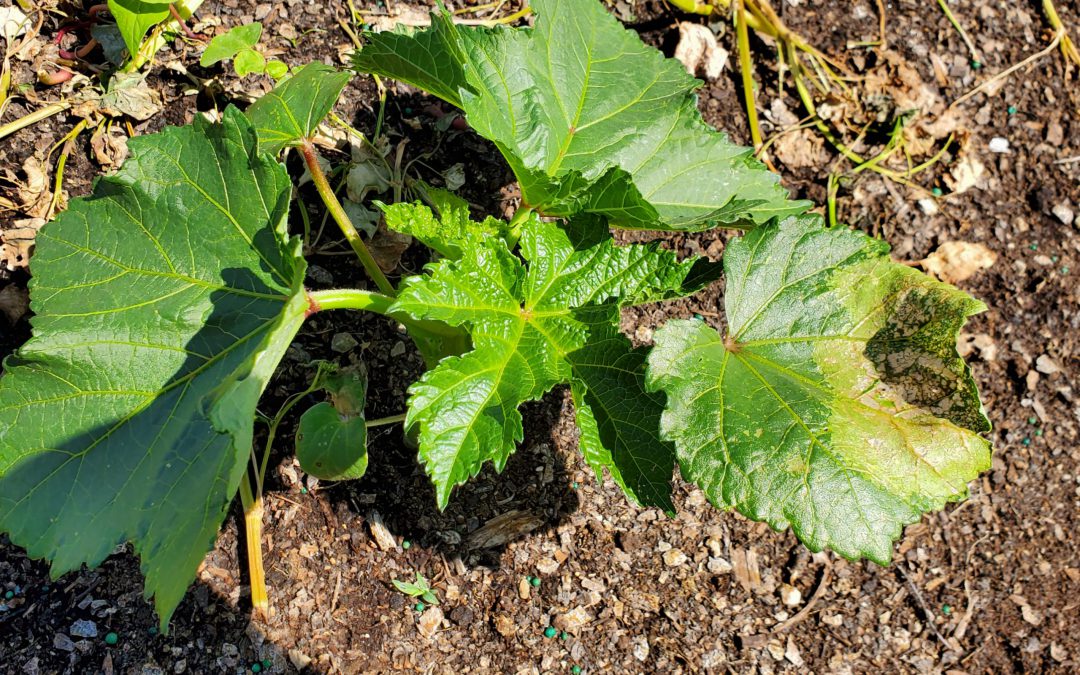
Early Southern Armyworm damage on Okra seedlings. Photo courtesy of the author.
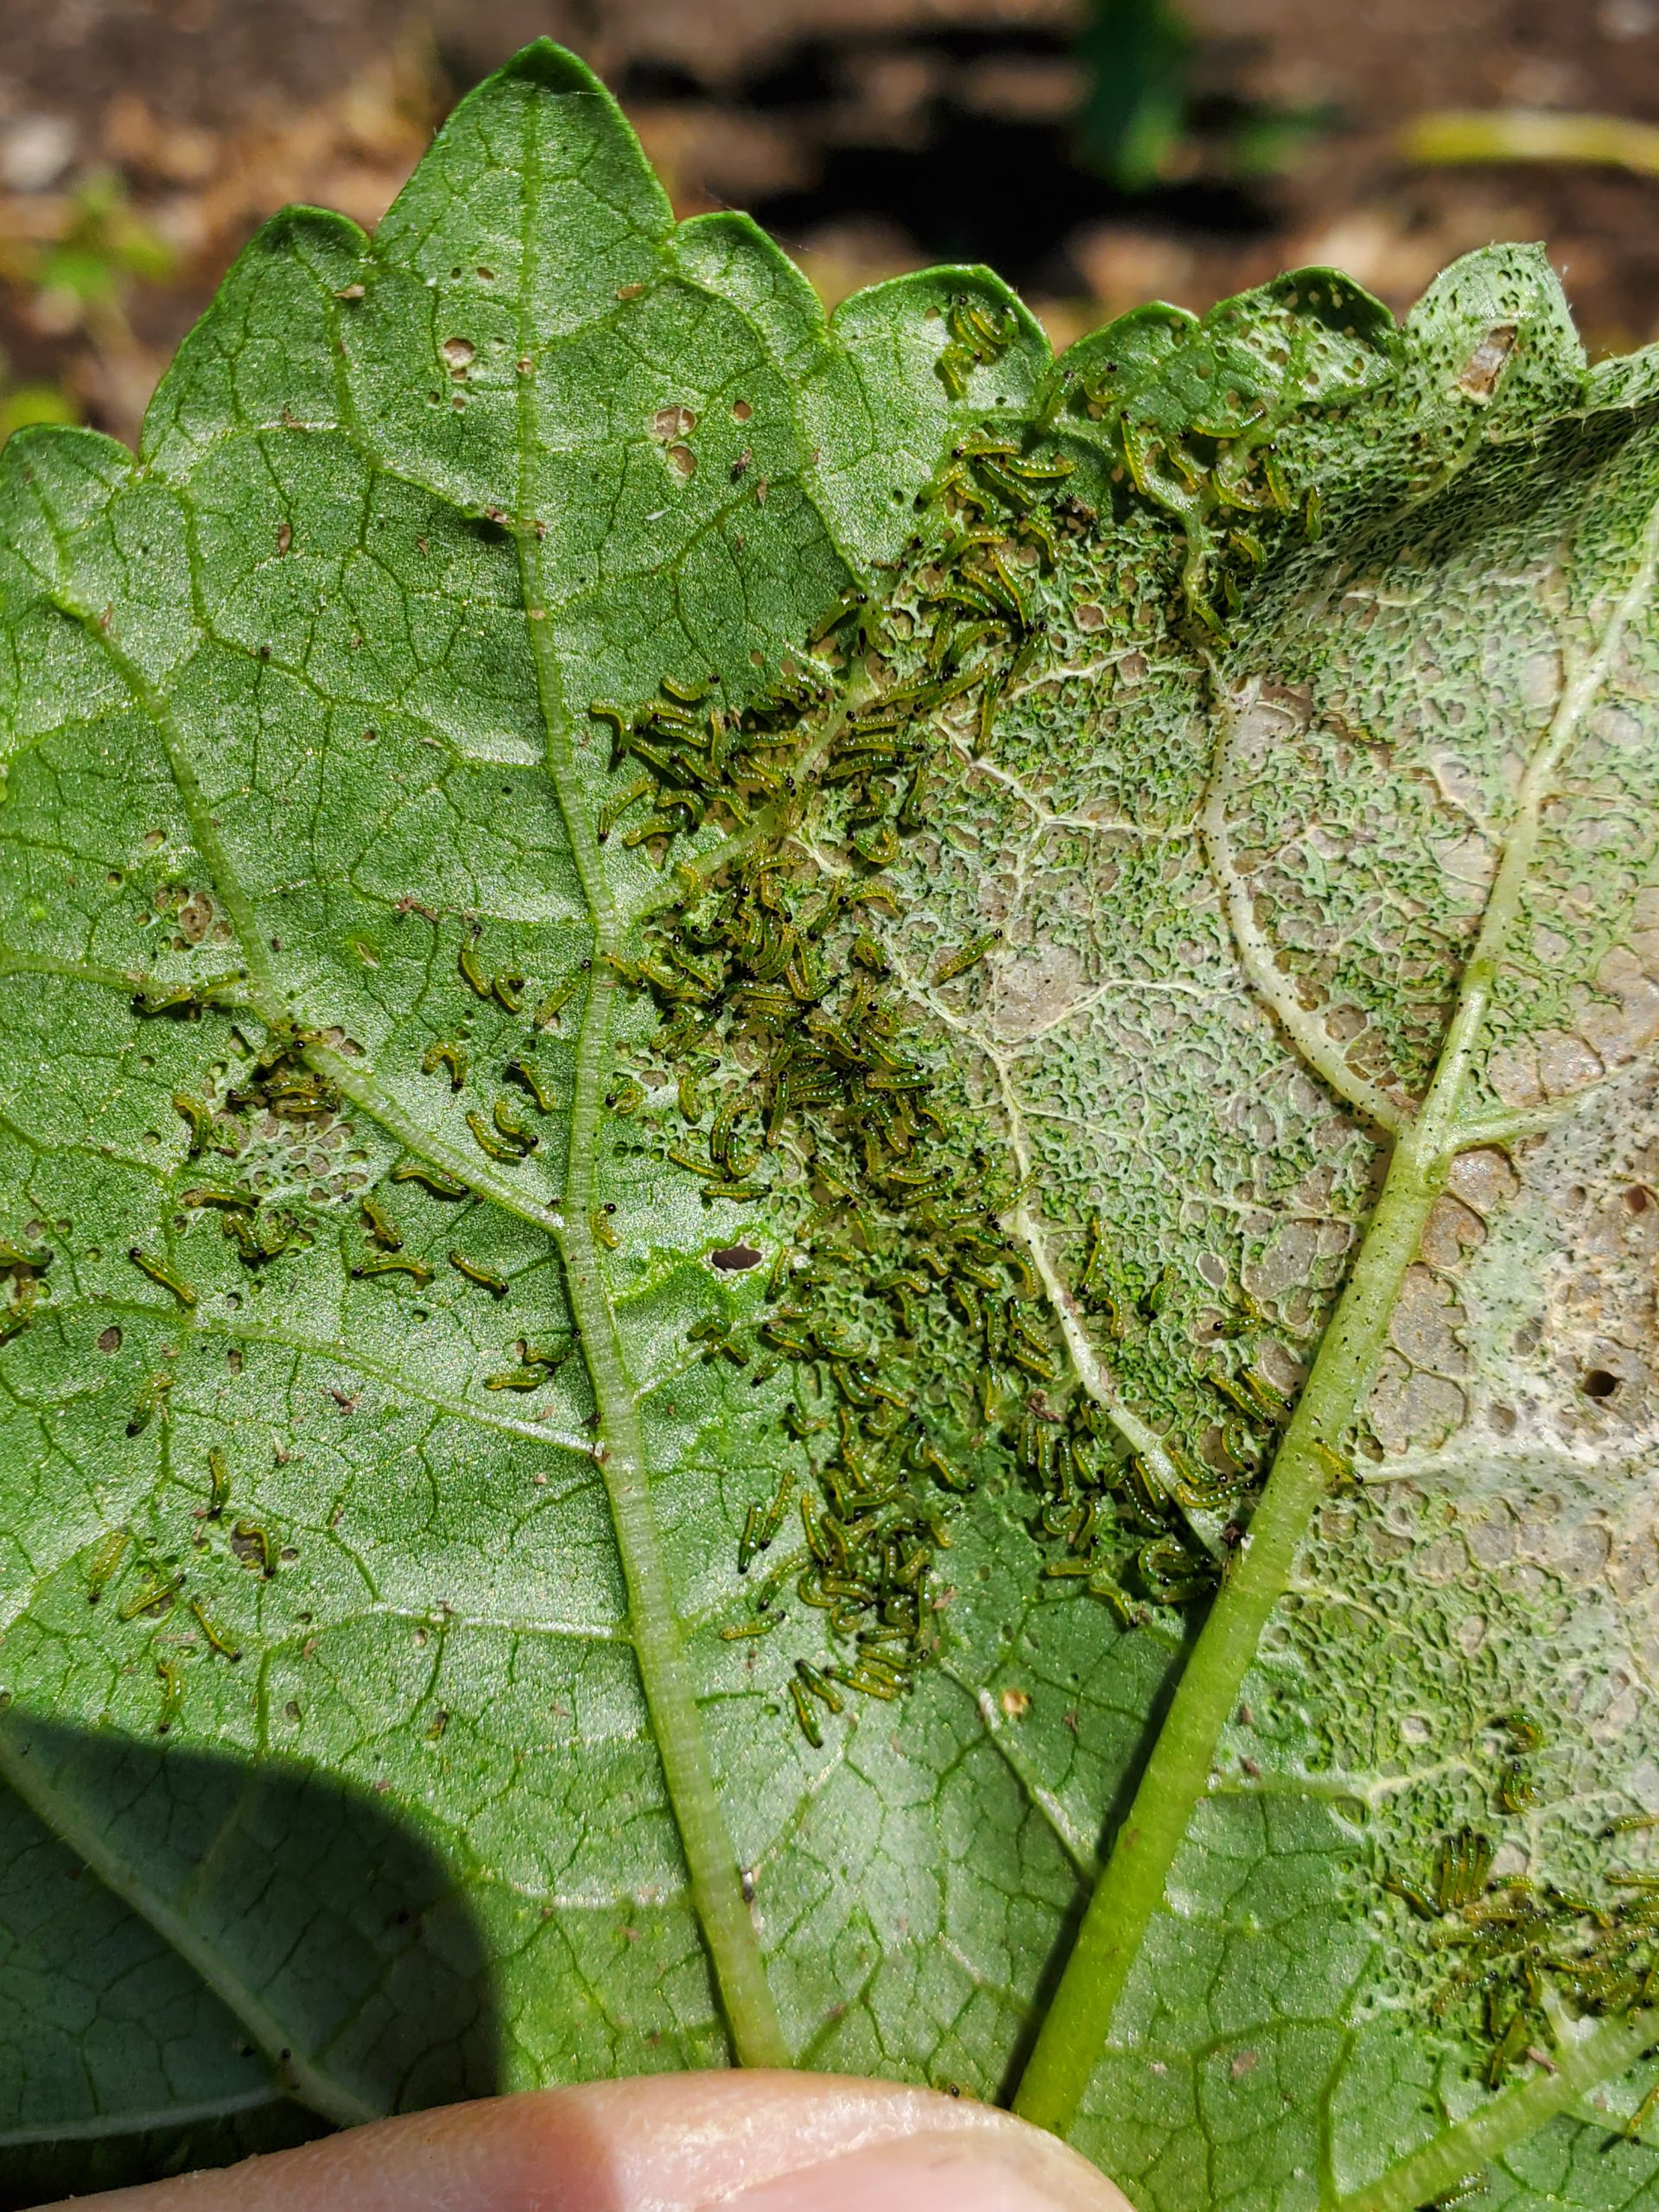
Unlike some serious garden pests that wait until the heat of summer to emerge, Southern Armyworms begin appearing in spring gardens around the end of April. Adult moths can survive mildly cold weather and venture into the Panhandle as soon as warmer spring weather arrives. Once the adult moths arrive, egg masses are then laid on the undersides of leaves and hatch in a little under a week. Once loosed upon the world, Southern Armyworm larvae (caterpillars) become indiscriminate, voracious feeders and congregate in extremely large numbers, allowing them to destroy small, developing garden vegetable plants in a manner of days. Young larvae feed on the undersides of leaves and leave little but a skeleton. As larvae grow larger, they become solitary and begin to bore into fruit. Once they’ve eaten the good stuff (leaves and fruit), large larvae turn to branches and even plant stems!

Southern Armyworm larvae feeding on Okra leaves. Photo courtesy of the author.
The good news for gardeners is that Southern Armyworm, and most other caterpillar pests, are easily controlled if outbreaks are caught early. Scouting is critical for early detection and good control. Armyworm damage generally appears from above as brownish-gray sections of affected leaves with a yellowish ring surrounding these sections, this ring indicates the current feeding zone. Affected areas will appear transparent and “lacy” due to the skeletonizing effects of larval feeding. If you see leaves that look “off” in the manner just described, check underneath for the presence of a horde of tiny greenish worms.
If found in this early stage, an application of Bacillus thuringiensis (Bt), a biological pesticide utilizing a bacterium destructive to caterpillars, is extremely effective. Bt has to be ingested by caterpillars with leaf tissue to work; thorough coverage of leaf surfaces is critical for maximum control. I generally follow up with a sequential application of Bt a day later to ensure that I achieved good coverage of the plant surfaces and, therefore, good control. Unfortunately, Bt is much less effective on older larvae. Infestations not caught early require harsher chemistries like carbamates, pyrethroids and organophosphates for adequate control.
Don’t let armyworms or other caterpillar pests destroy your garden, get out there daily and scout! You have a short window for easy caterpillar control with a harmless to people, natural product, Bt. Don’t waste it!
For more information about Southern Armyworm, other caterpillar pests, Bt, or any other horticultural topic, please consult your local UF/IFAS Extension Agent. Happy Gardening!
by Daniel J. Leonard | May 7, 2020

Early BLS symptoms appear on lower leaves. Photo courtesy of the author.
Tomatoes are among the most notoriously difficult vegetable species to grow in Florida. Even when you do everything right (choose disease resistant varieties, buy clean seed/healthy transplants, plant early, rotate crops, scout for insects, prune and support vines, etc), things can go wrong in a hurry. Bacterial Leaf Spot (BLS) caused by the pathogen Xanthomomas perforans, is one of those things. BLS often hitches a ride into gardens undetected on seed and transplants and presents itself as warm and humid weather arrives in late April/early May. Outbreaks typically happen in concurrence with the frequent heavy rainstorms that accompany these months and quickly wreak havoc on tomato plants.
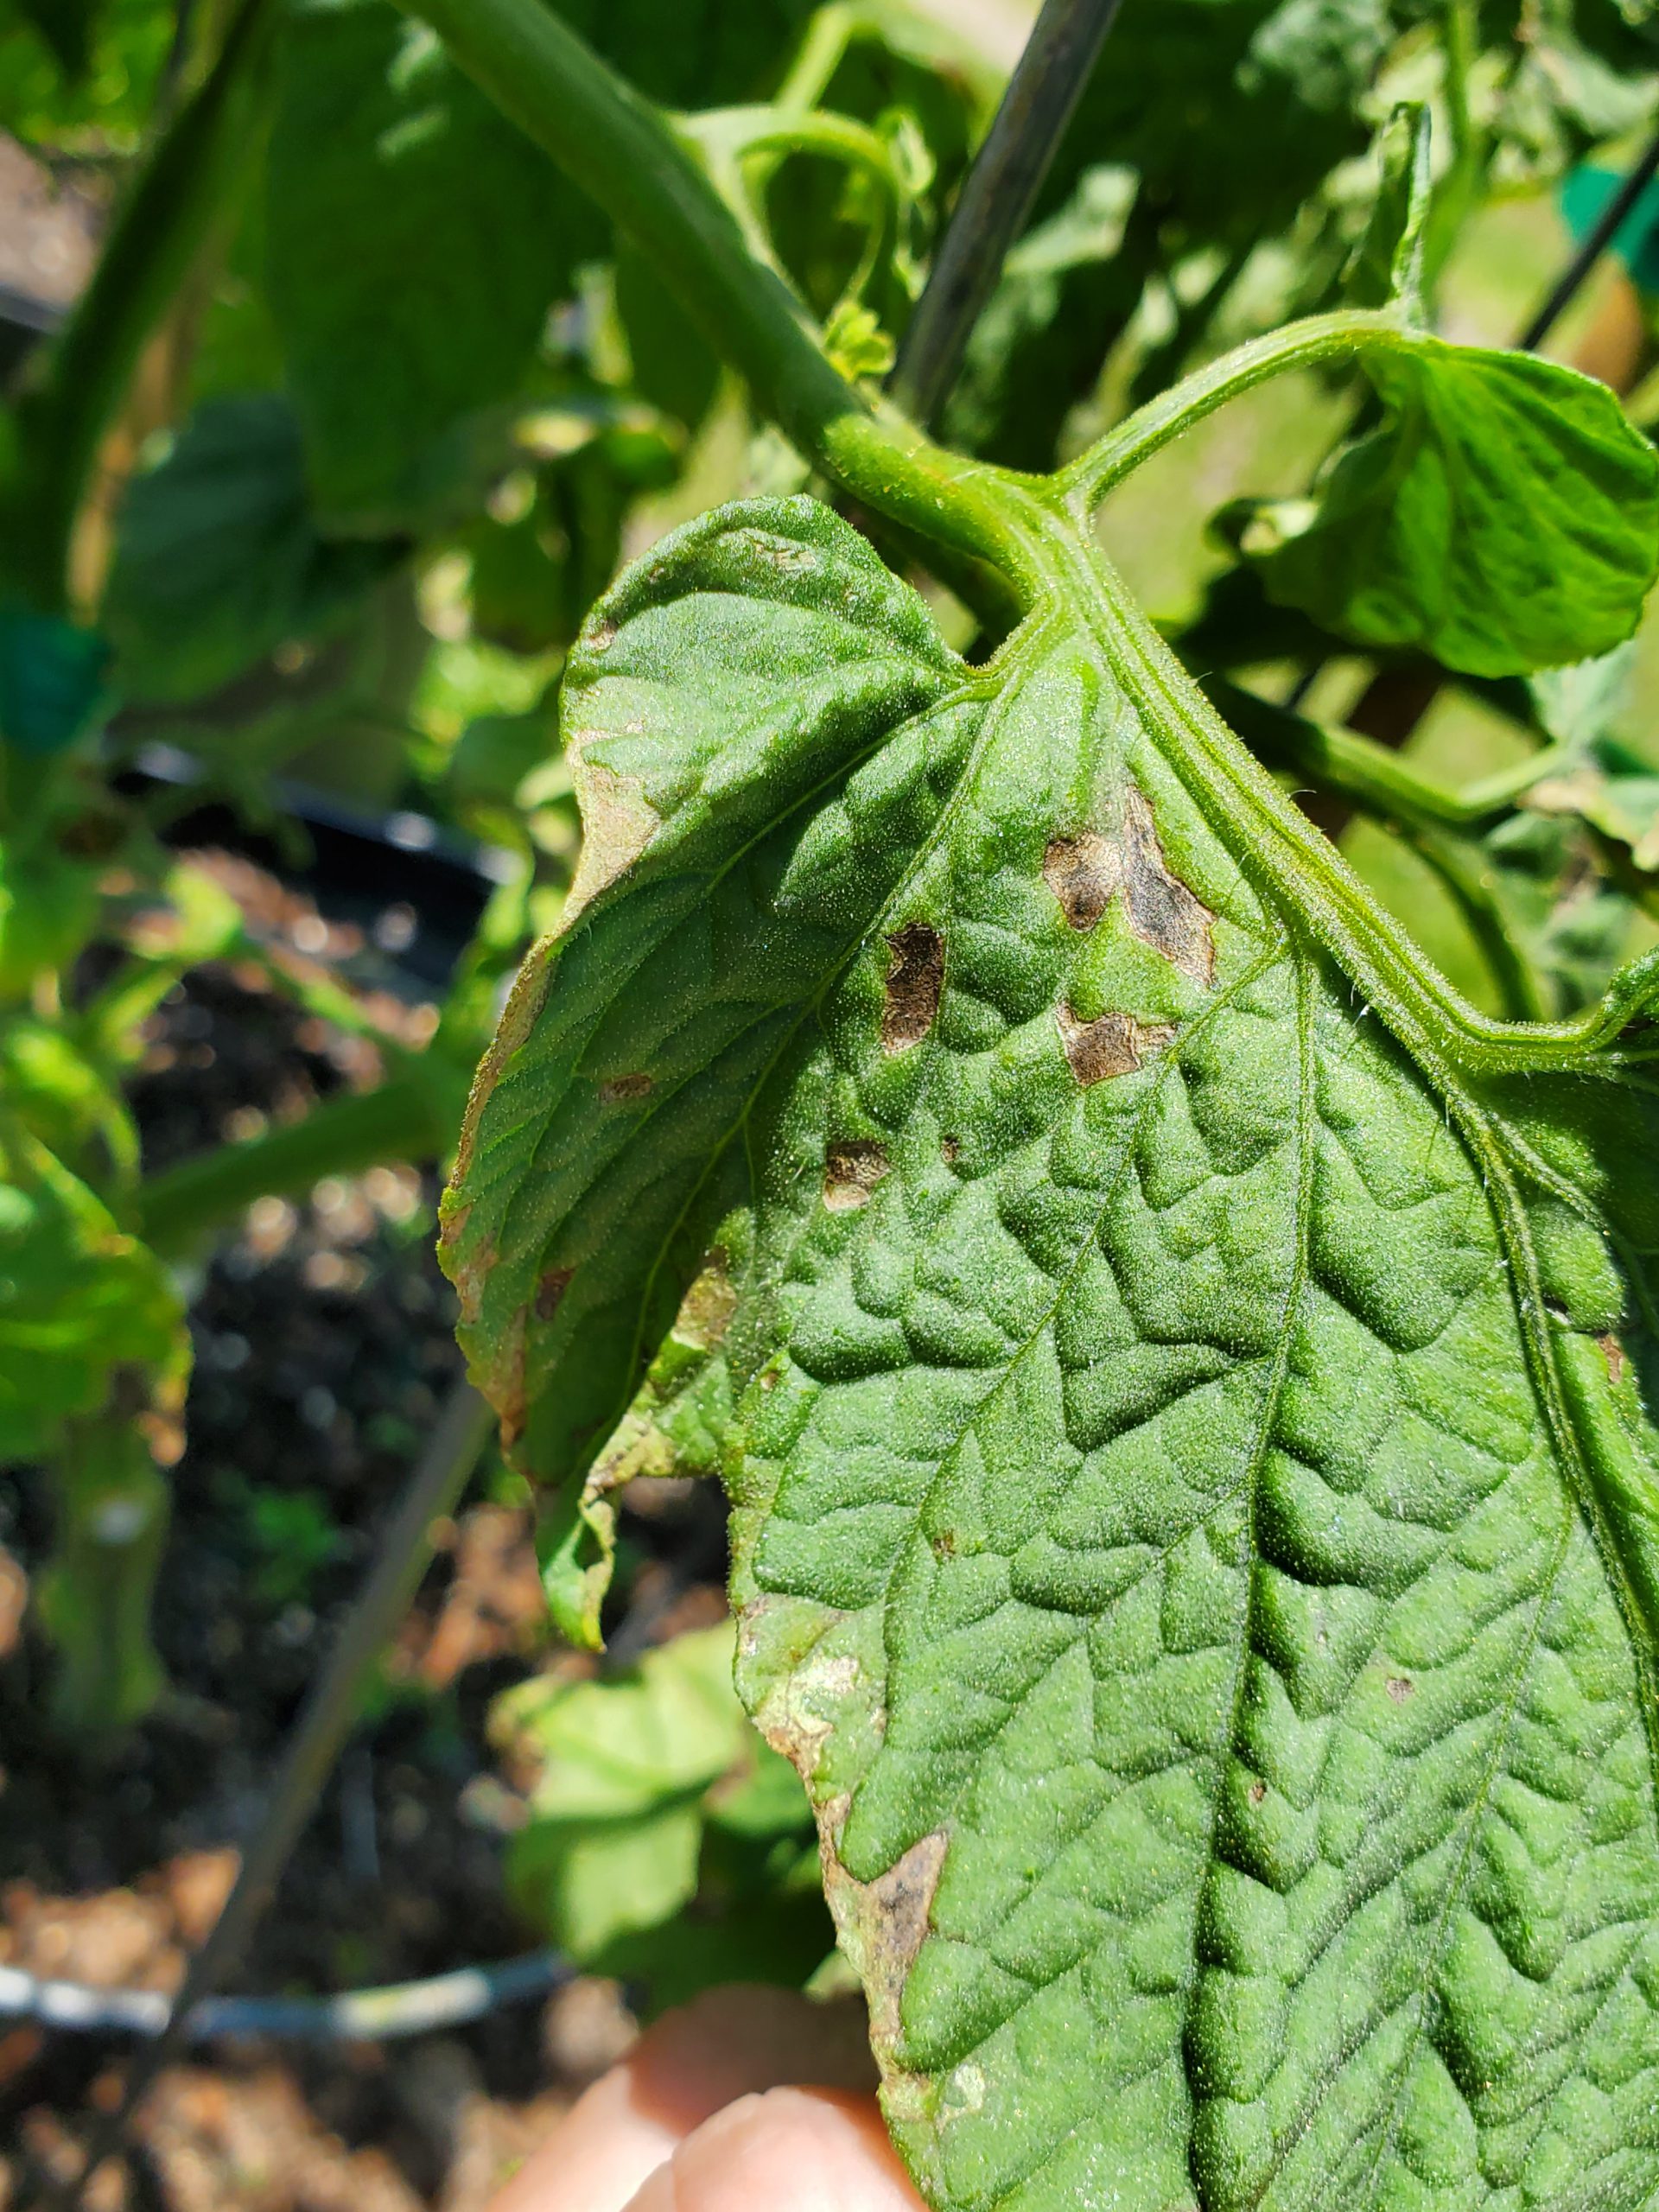
BLS occurrence, much worse in some springs than others, has exploded this year in home gardens. First noticed on the plant’s lower leaves, BLS pathogens enter through natural openings in leaves called stomata, manifest as small, “water-soaked” leaf lesions and then develop within days into dark circular spots, sometimes surrounded by a yellow halo. As conditions worsen, all these individual infections cause a general yellowing or “blighting” of entire leaves. Though the issue begins on tomato leaves, BLS can affect all parts of the plant, including stems, flowers and fruit too! It’s at this point, when blighted leaves become obvious and lesion developing on flower stalks cause both flowers and small fruit to drop, that most home gardeners notice that something is up.

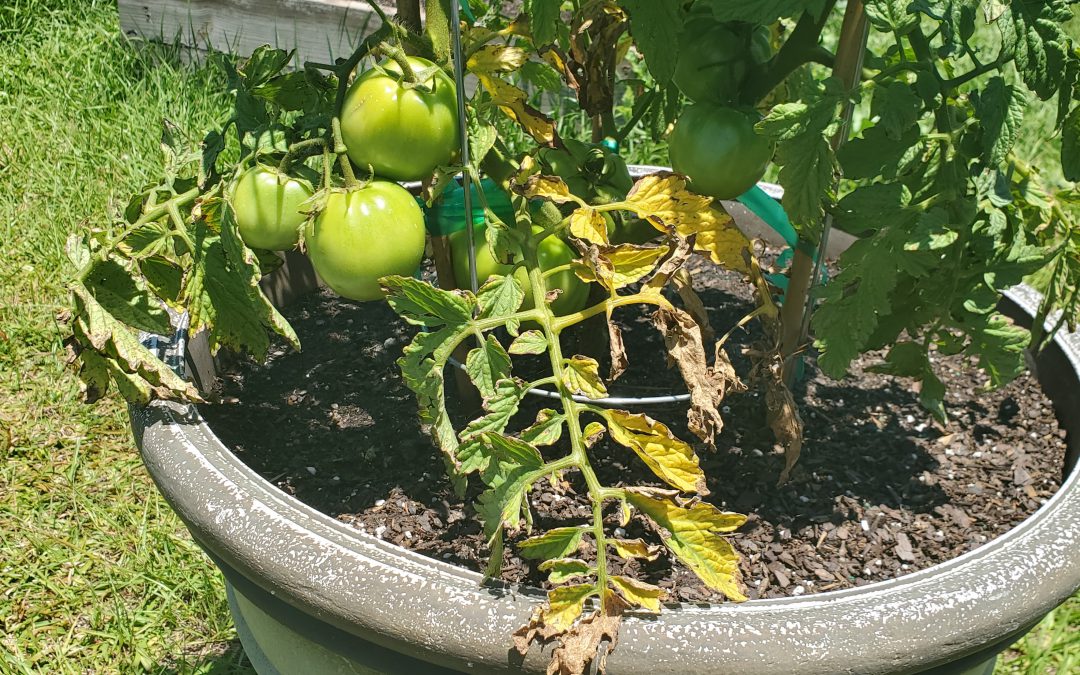
Advancing progression of BLS with “blighted” leaves. Photo courtesy of the author.
Unlike with many other pathogens, gardeners don’t have an abundance of options to control BLS. However, taking the following preventative measures can reduce the pathogen’s impact and stave off disease progression until ripe fruit can be harvested.
- Don’t irrigate overhead. Utilize drip/microirrigation or hand water beds and containers at soil level. This prevents the leaves from becoming wet; wet leaves become a perfect host for BLS.
- Never work tomato plants when leaves are wet. No staking, pruning, tying, or anything else until plant tissue is dry. Working wet tomato plants is an excellent way to spread bacteria!
- Sanitize pruning tools often and wash hands after working infected plants.
- Maintain airflow in plants by planting at correct spacing and thinning interior leaves as necessary to facilitate quicker drying of the plant.
- Prune lower leaves to at least 12” from the soil’s surface to prevent disease transmission from soil to leaves through splashing water.
- Remove infected leaves (when plants are dry!) to slow disease progression.
- Rotate crops and destroy infected plants to prevent buildup of BLS organisms in soil.
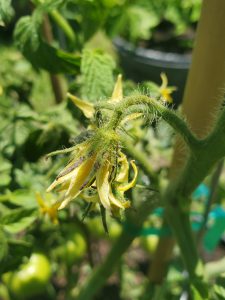
BLS lesions on tomato flowers. Photo courtesy of the author.
- Preventative measures are best, but if your garden has a history of BLS and local weather forecasts call for warm/wet/humid weather, it is best to spray fungicides proactively to protect your crop. A weekly spray with a tank mixture of copper and mancozeb is effective at keeping BLS at bay. This is the only chemical spray combination proven to be effective in controlling BLS.
- Unlike many common tomato pathogens that can be reliably avoided through planting resistant cultivars like ‘Big Beef’, ‘Celebrity’ and others, no varieties are resistant to BLS.
While BLS is an extremely destructive pathogen of both home and commercially grown tomatoes, growers can lessen the disease’s effects by following the preventative measures outlined above and spraying with a copper/mancozeb mix if necessary. Growing tomatoes this year hasn’t been easy, but it’s worth it to fight back and realize a harvest despite difficulties like BLS!
If bacteria have given you the blues or other garden issues are bringing you down, give your local UF/IFAS County Extension Agent a call! We’re here to help you be successful in all your horticultural endeavors. Happy gardening!
by Daniel J. Leonard | Apr 29, 2020
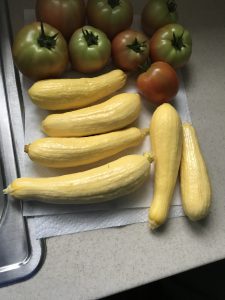
‘Multipik’ fruit. Photo courtesy the author.
Never one to be satisfied growing “standard” vegetable varieties, last year I decided to peruse various seed sources in search of a superior yellow summer squash selection. Plain ‘Yellow Crookneck’ just wasn’t doing it for me anymore. After doing a little research and consulting a friend who works for Johnny’s Selected Seeds, I settled on a straightneck variety called ‘Multipik’.
Developed in the 1980’s by Harris Seed and now sold by many seed purveyors, ‘Multipik’ enjoyed immediate popularity with commercial squash growers due to its many outstanding qualities but curiously, is just making inroads with the home garden market. Even as it is set to celebrate its 30th anniversary next year, two years of personal experience with ‘Multipik’ verify several important characteristics making it a superior choice to many other traditional summer squash varieties: earliness/heavy yields and a precocious gene.
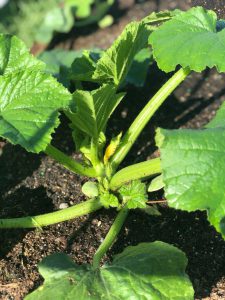
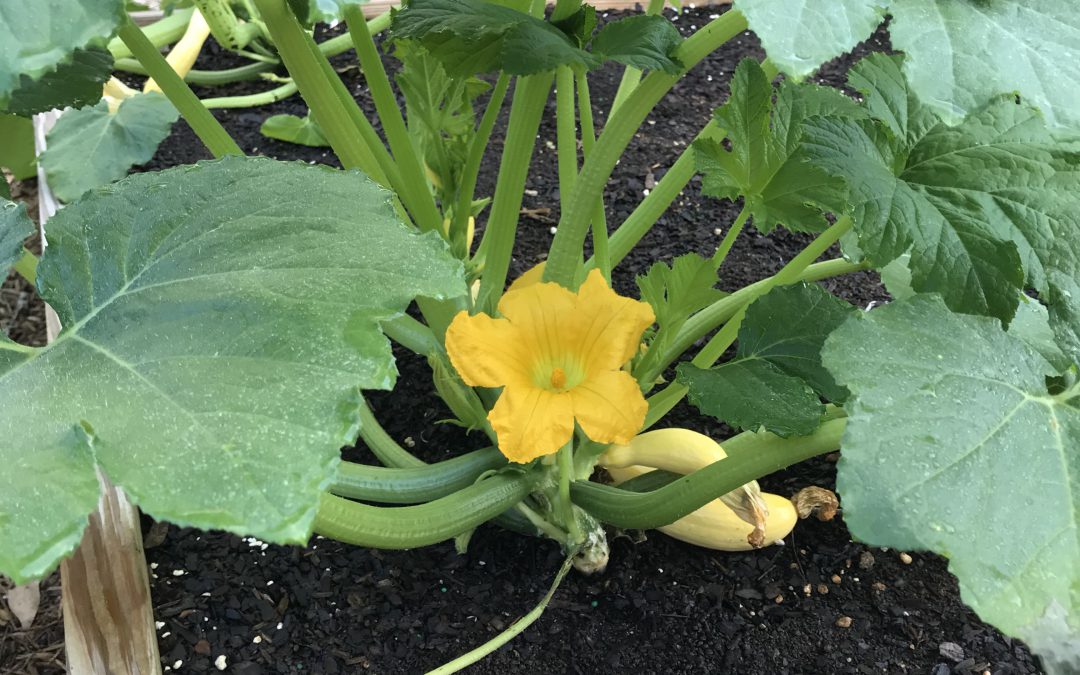
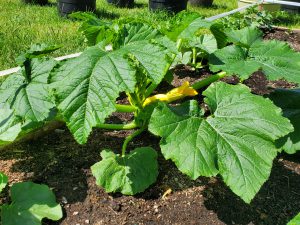
Newly developing ‘Multipik’ fruit. 4 weeks after planting. Photo courtesy the author.
The longer I garden, the more I’m convinced that earliness to maturity is directly related to yield potential in home gardens, especially in the Panhandle. Lots of varieties have high yield potential but that potential is often at least partially wasted here due to the length of time from seed to harvest. Ideally, you could plant, grow a crop and be done by mid-late June, before intense heat, humidity and all the wonderful garden pests and diseases arrive to destroy spring gardens. Maturing just 50 days from planting, ‘Multipik’ beats that deadline (when planted on time in late March) and yields heavily for at least a month before succumbing to the harsh Panhandle summer. Many traditional summer squash varieties, including ‘Yellow Crookneck’ mature 8-14 days later. While 8-14 days doesn’t sound like much, it can mean a major yield difference when factoring in the almost certain late season pests, diseases, and adverse weather conditions.
The next major advantage ‘Multipik’ offers is a precocious gene, meaning that it will mask symptoms and maintain its yellow color if infected with either Watermelon Mosaic Virus (WMV) or Cucumber Mosaic Virus (CMV), two destructive pathogens commonly affecting squash by discoloring fruit and reducing yield. This trait is critical to commercial growers because yellow squash that isn’t yellow isn’t marketable and is important to home gardeners too as a means to eke out higher yields under virus pressure. While the precocious gene isn’t a cure for either virus, it can help hold them at bay while you harvest! Another quirk caused by the precocious gene is the all-yellow appearance of the fruit, from the peduncle (the stalk holding the fruit to the plant) to the apex! From one end of the fruit to the other, Multipik ensures that when you plant yellow squash, you harvest yellow squash.
‘Multipik’ just days from harvest. Photo courtesy the author.
Whether you are trying to avoid yield loss from late season insect and disease pressure plaguing your traditional squash plantings or just want to try something a little different, I highly recommend planting ‘Multipik’ Squash. This early, disease-resistant cultivar with delicious medium sized, light yellow fruit is sure to be a hit in both in the garden and on the table. As always, if you have any questions about vegetable gardening or any other horticultural topic, give your local UF/IFAS County Extension Office a call! Happy gardening!
by Beth Bolles | Apr 23, 2020
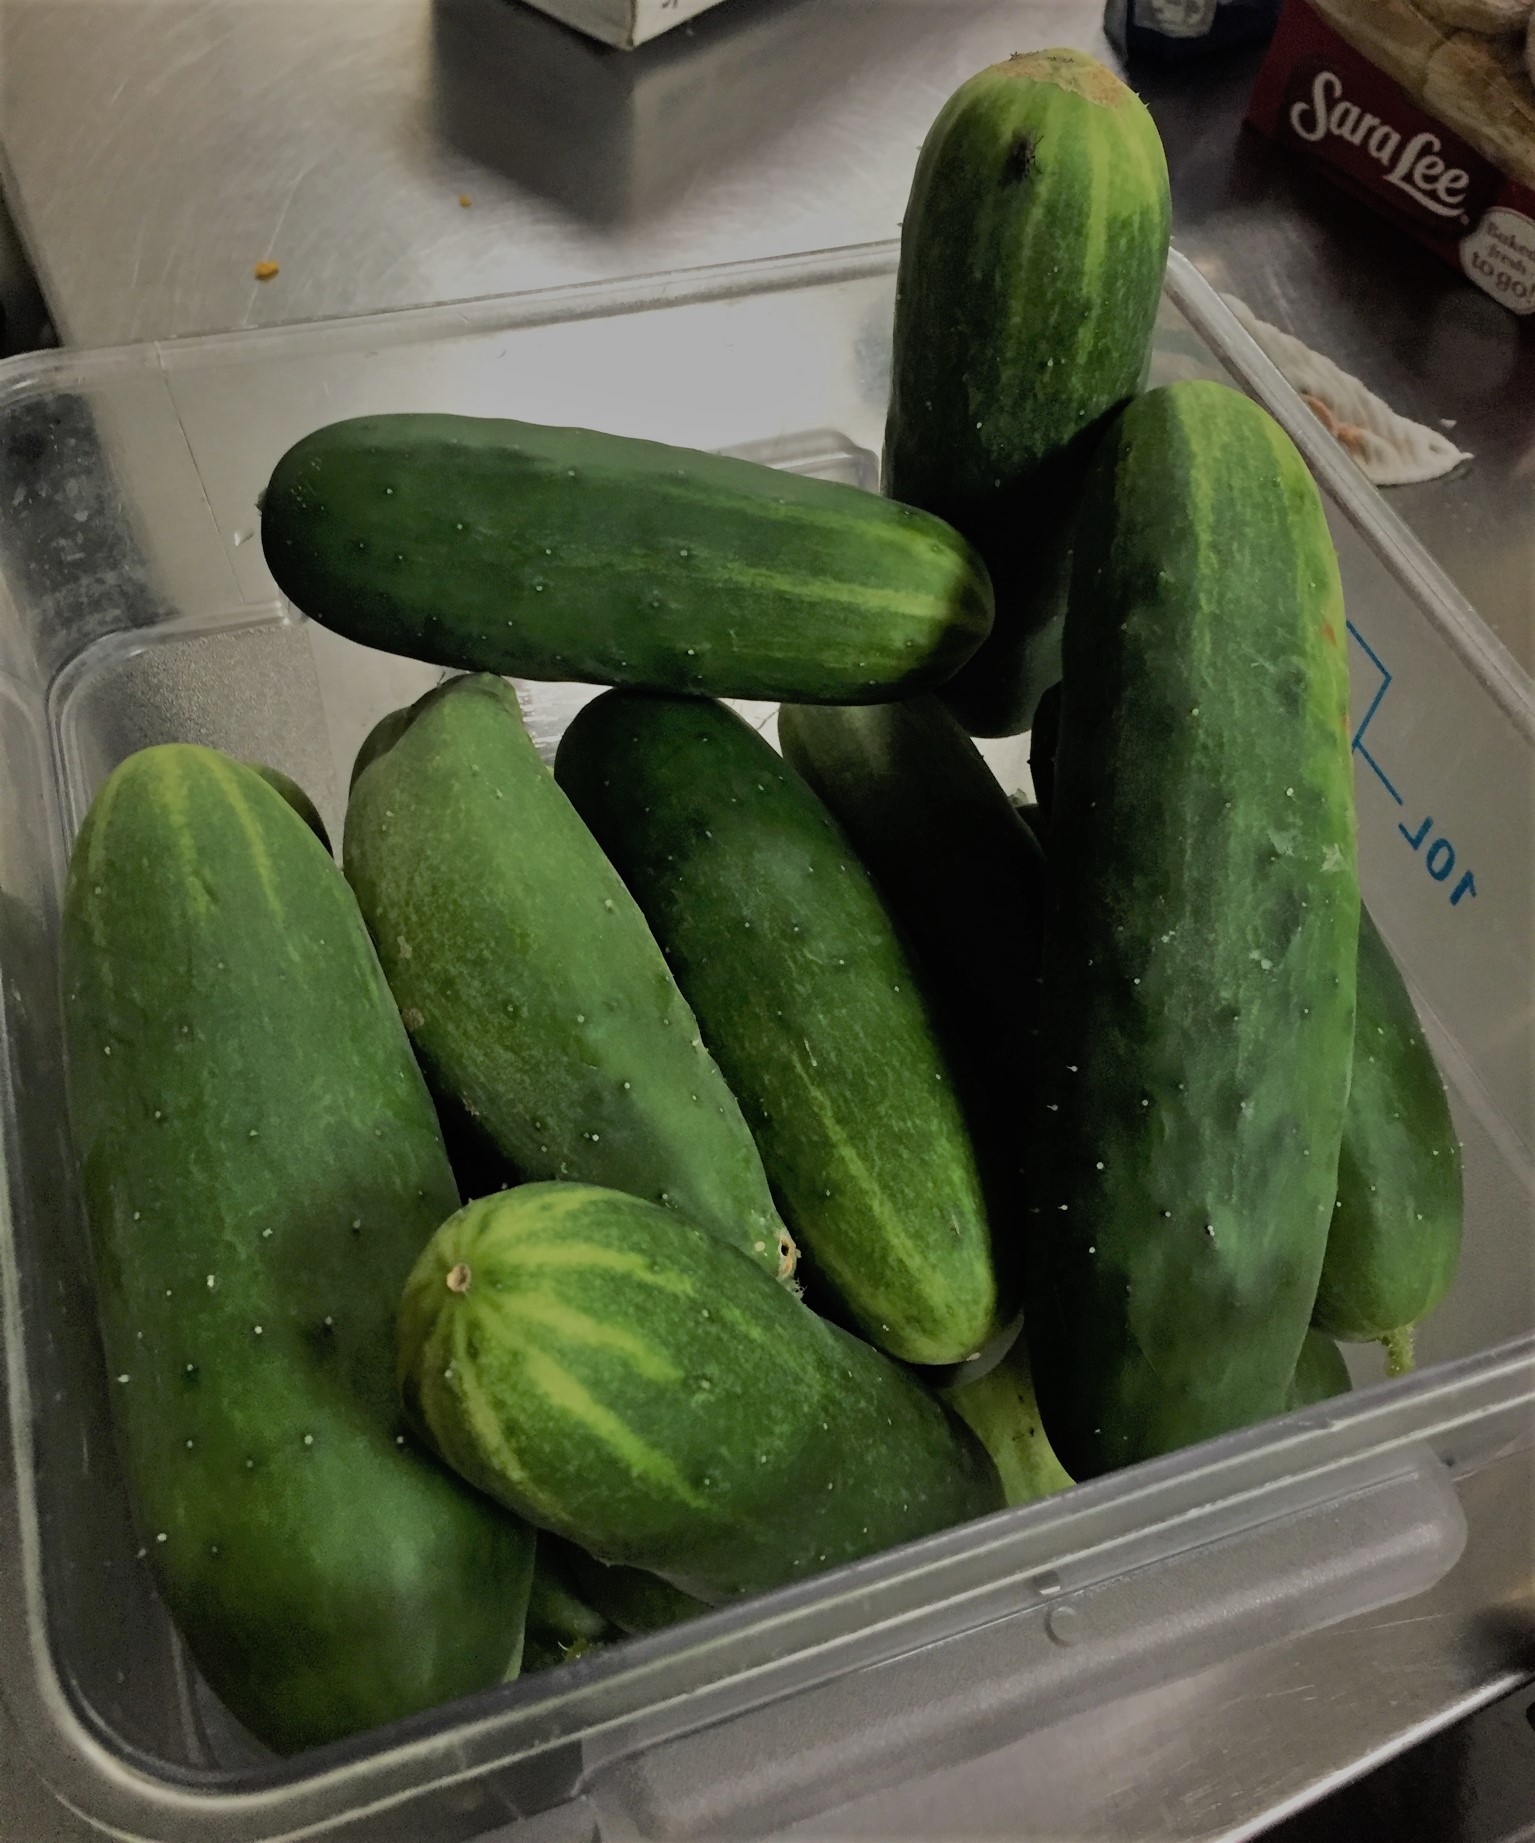
Cucumbers are a favorite fruit of many gardeners and with a little routine care, you can harvest fresh fruit from your own home garden. Learn some basic information about starting your own cucumbers In the Backyard Garden with UF IFAS Extension Escambia County.