Video: Pruning Tips for Removing a Branch
Pruning is often needed on a tree or shrub to help maintain a healthy and safe plant. Learn how to remove a branch on a tree or shrub with UF IFAS Extension Escambia County.

Pruning is often needed on a tree or shrub to help maintain a healthy and safe plant. Learn how to remove a branch on a tree or shrub with UF IFAS Extension Escambia County.
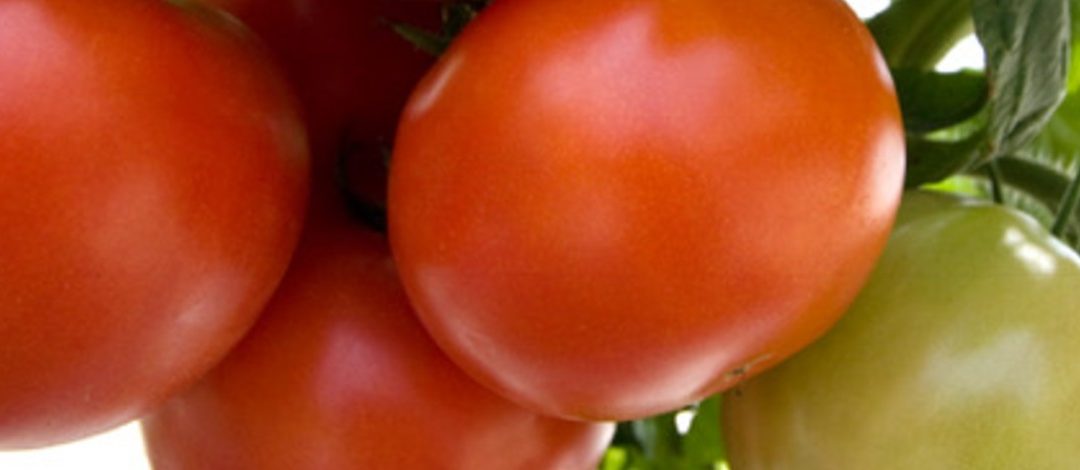
There are common reasons for failure with vegetable gardens in North Florida. One of those reasons is planting at the wrong time of year. We can grow vegetables year-round here in North Florida but it’s important to plant and grow the right vegetable during the right season. Most warm-season vegetables, such as tomato and cucumber, are planted and grow when frosts and freezes are not likely to happen. While the cool-season crops, such as strawberry and onion, are planted and grow during the cooler months of fall, winter and early spring. We have to be careful to select the correct varieties, as well.
Many gardeners overdo it in fertilizing and liming their gardens, which can result in failure. I’ve seen gardeners create problems in their gardens by watering too much or at the wrong time of day. Some gardeners use too much of a good thing such as mushroom compost, wood ashes, Epsom salt or copper fungicides in their gardens, creating lasting problems. And, unfortunately, too many gardeners don’t know how to identify beneficial insects versus pest insects and misuse insecticides as a result.
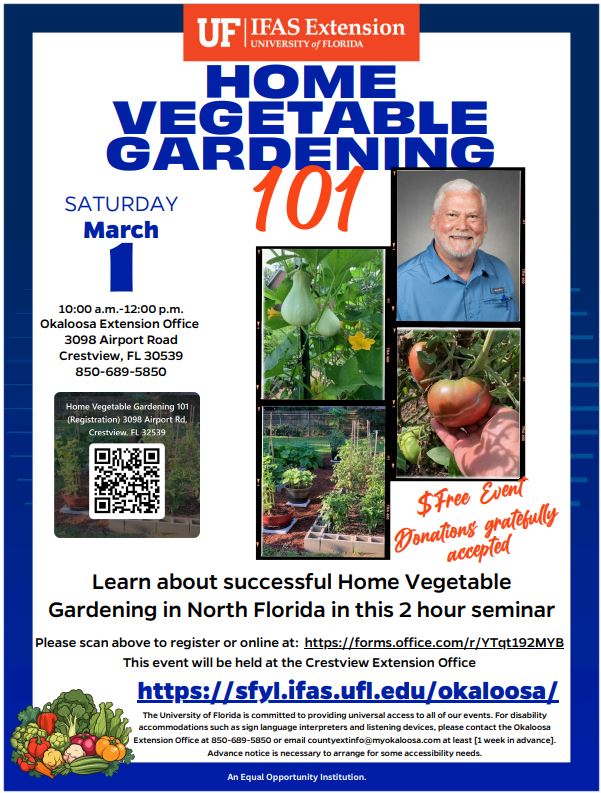
To be successful with vegetable gardening in North Florida, a person needs to know these basics. This is the kind of information I will cover in the free, two-hour seminar titled Home Vegetable Gardening 101.
The Home Vegetable Gardening 101 seminar is scheduled for Saturday, March 1, 10 a.m. to 12 noon at the UF/IFAS Extension Office in Crestview. The address is 3098 Airport Road in Crestview, FL. Please use the registration form below to register or call (850) 689-5850. Space is limited.
The registration form is here: https://forms.office.com/r/YTqt192MYB
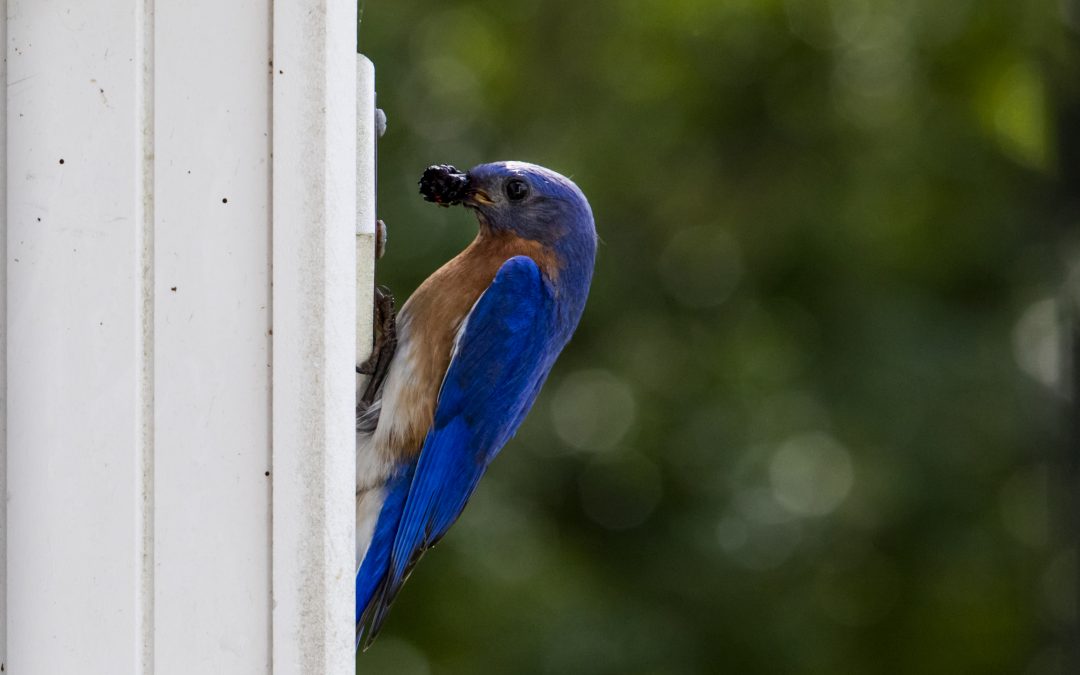
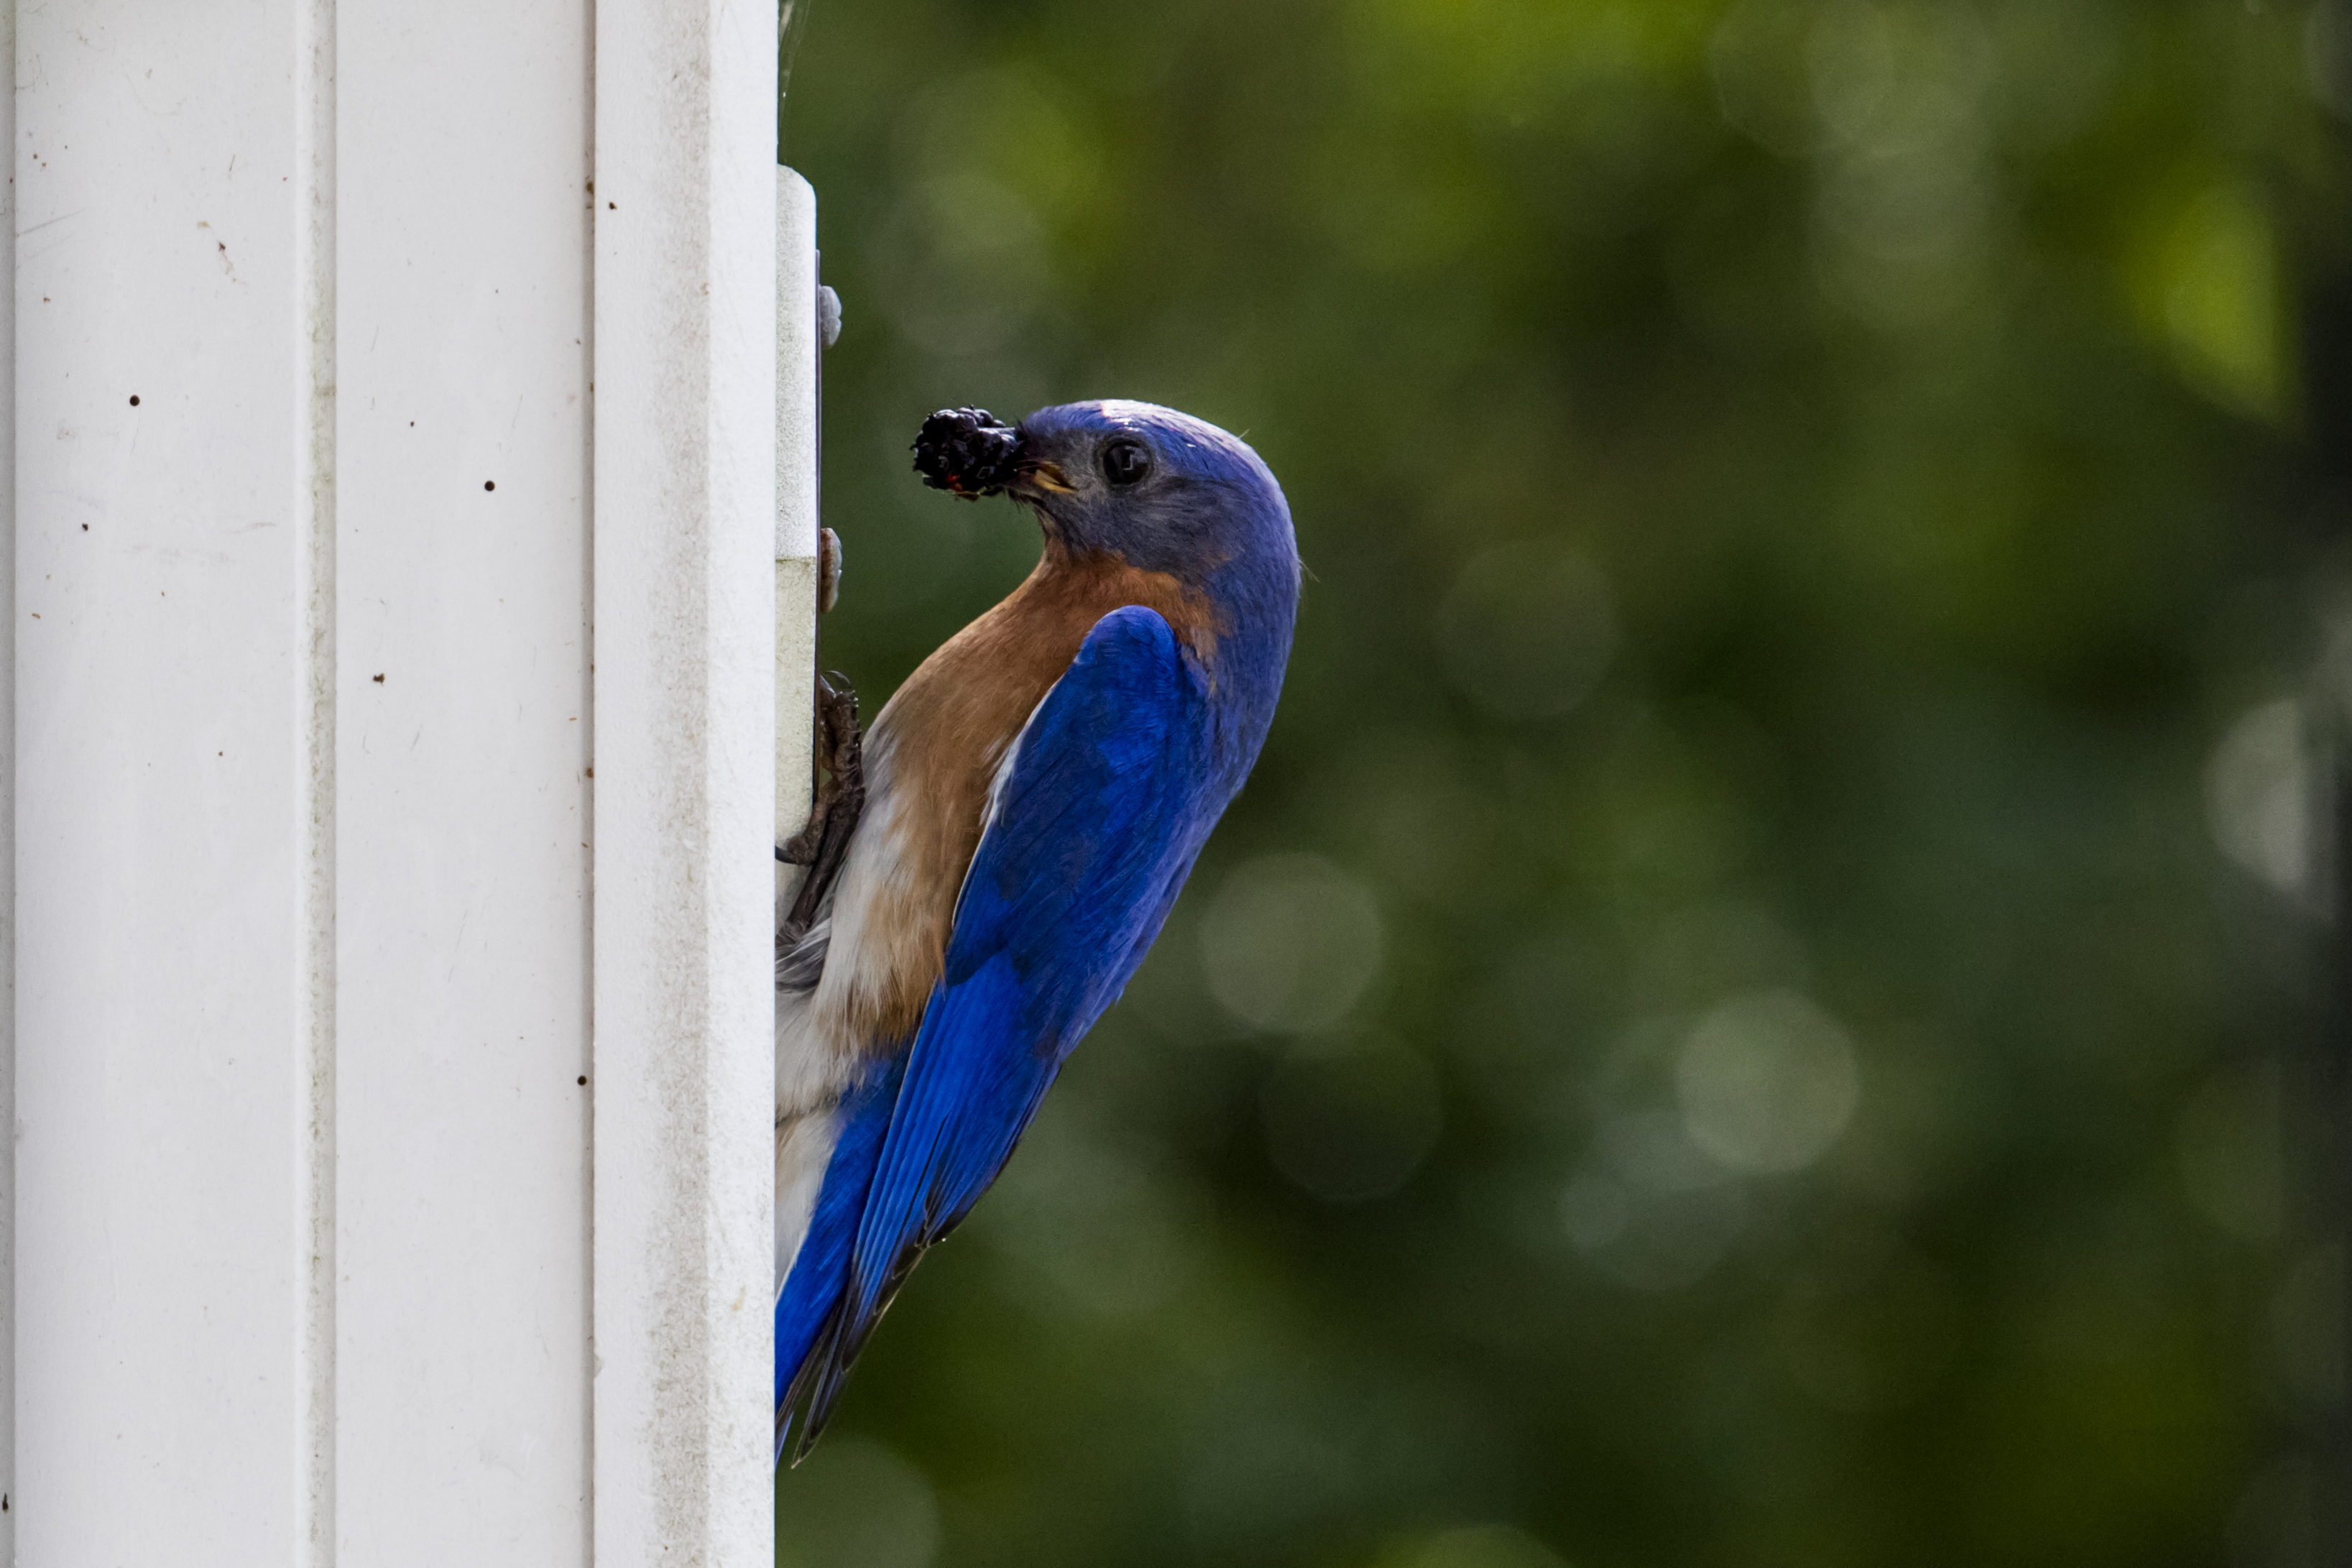
Last month, we experienced historic snowfall throughout the Panhandle. During these magical snow days, I noticed that I had to refill my bird feeder faster than expected. Even as snow fell, birds flocked to the feeder all day long.
UF/IFAS Photo by Cristina Carrizosa
In winter, birds rely more on bird feeders because many plants are dormant and aren’t producing food. Insects are also less abundant during the colder months. (Read about where they go here: Where Do Insects Go in the Winter?). Growing native plants in your landscape can help provide extra food sources for birds and habitat for overwintering insects. However, long periods of freezing temperatures, like those we experienced last month and in December of 2022, can damage natural food sources and make it even harder for birds to find food.
Consider supporting your local and migrating bird populations this winter by putting out a bird feeder. In return, expect a colorful show you can enjoy in your own yard! Here are some recommendations for success:
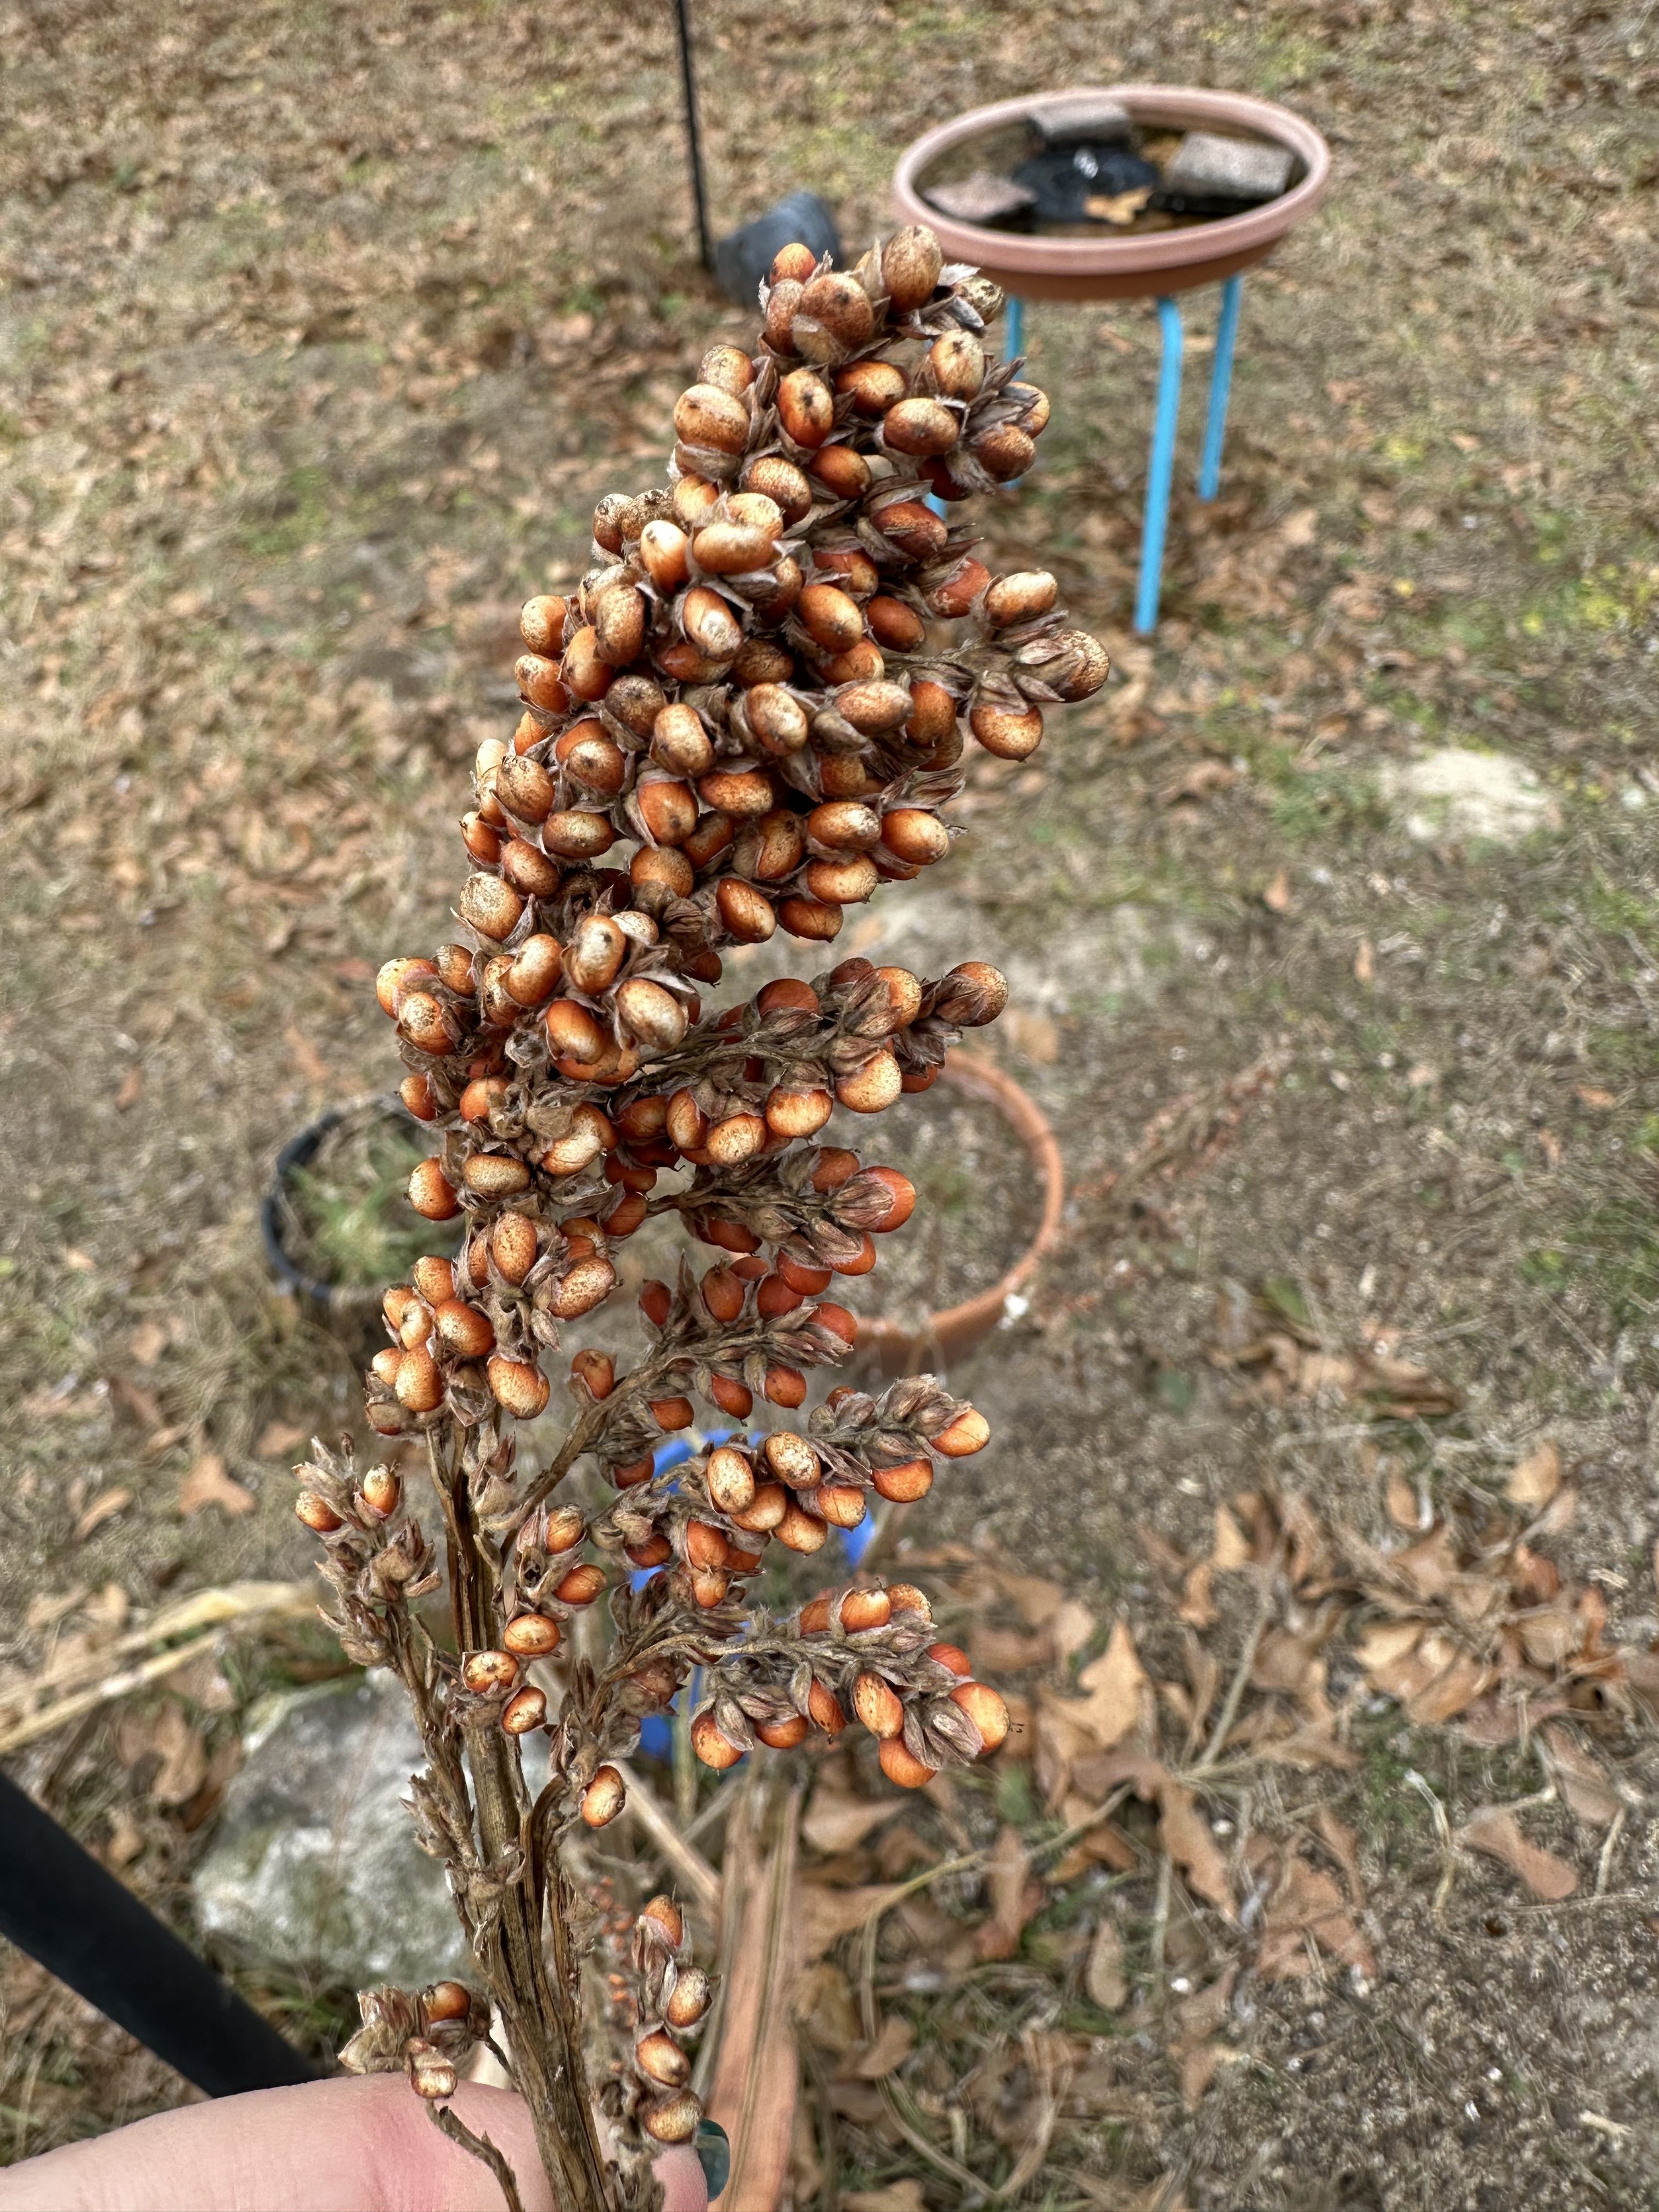
Millet growing under bird feeder from uneaten seed.

Pine cone bird feeder
The best way to support your local birds is by planting native plants and providing a safe habitat in your yard. Native plants produce food and attract insects that birds feed on, helping them thrive year-round. When food is scarce, bird feeders can be an important supplement, but regular cleaning is essential to maintain bird health.
For more detailed information on feeder selection, food types, and tips, visit: Bird Feeder Guide.
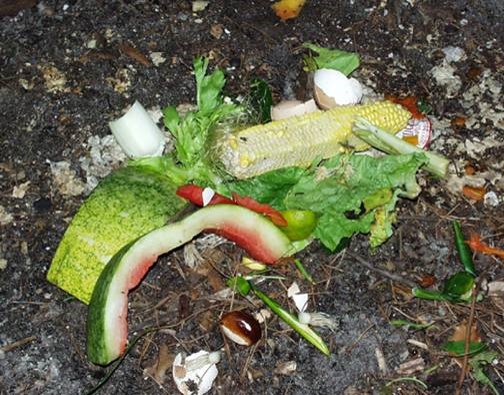
Kitchen and yard waste can be recycled into excellent soil amendments, reducing waste and saving money. Photo credit: UF IFAS Extension
When we turn the page into a new year, the motto is often “out with the old, in with the new.” But what if we actually kept the old and transformed it into something really useful? That’s exactly what happens with composting. Instead of raking up leaves, bagging them, and throwing them away, you can recycle them in a compost bin. The same goes for food waste—instead of throwing it in the trash, a significant percentage of our groceries can be repurposed. These in-house materials can produce your own high-quality potting soil and mulch, for free.
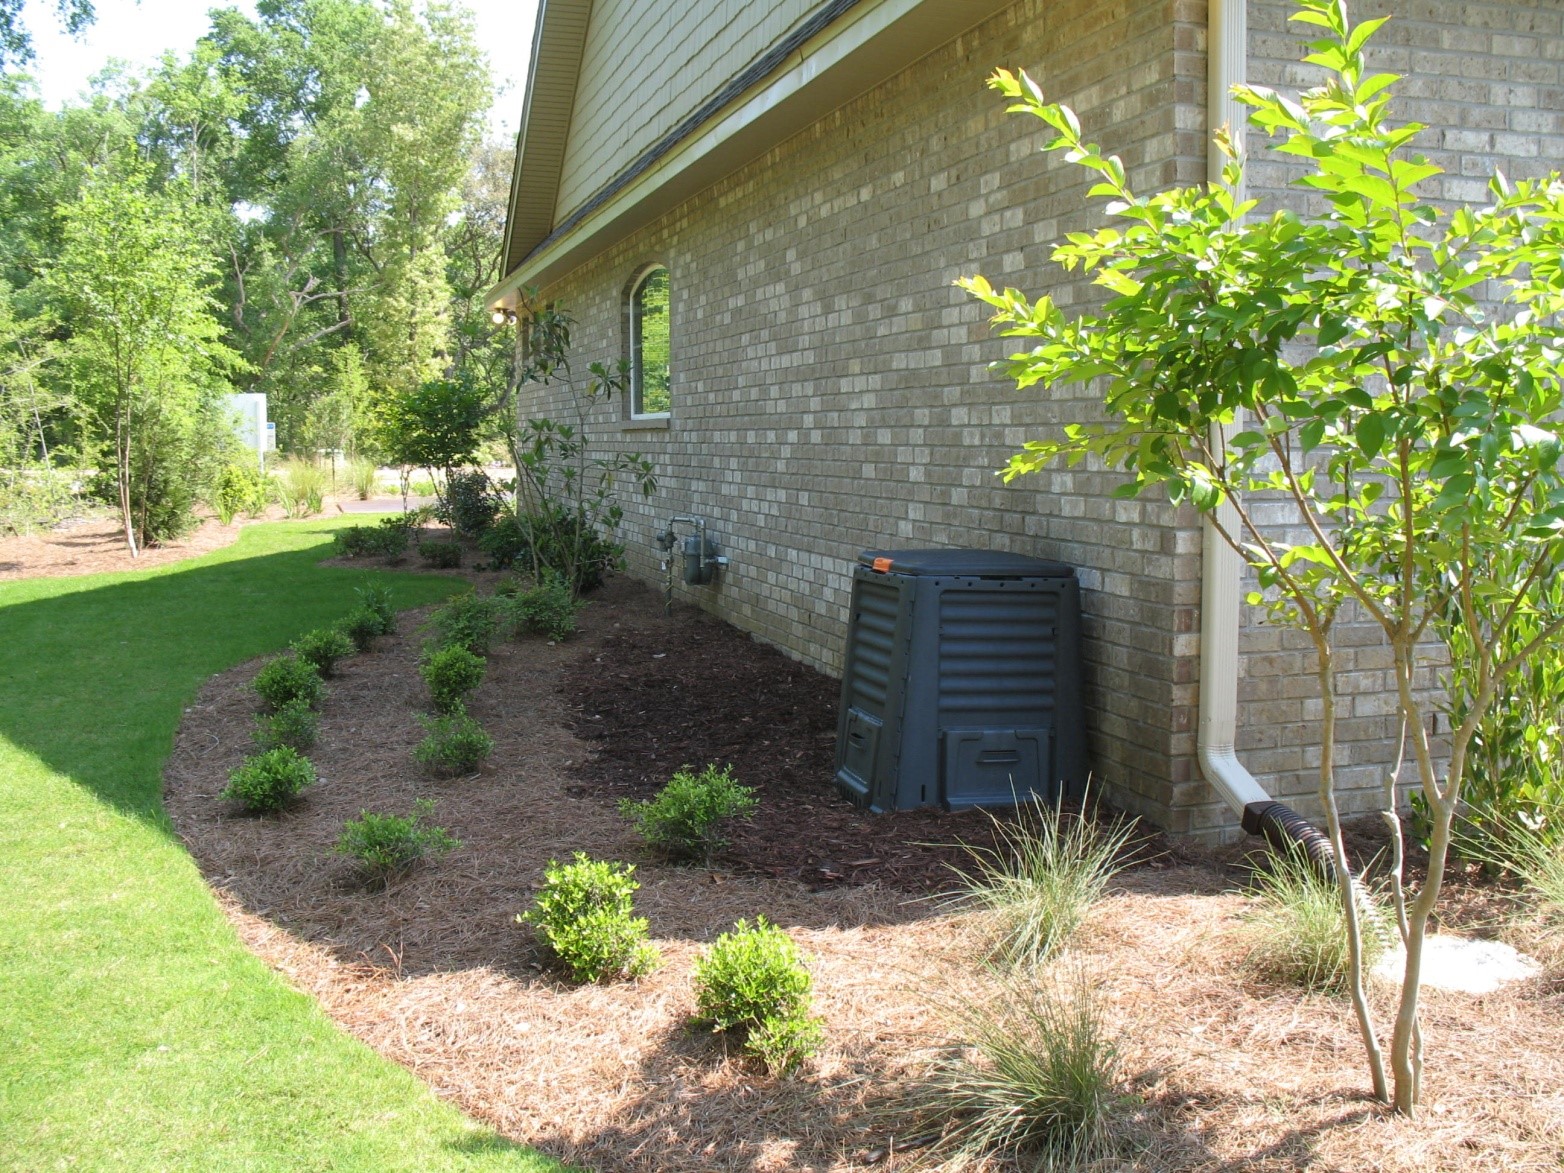
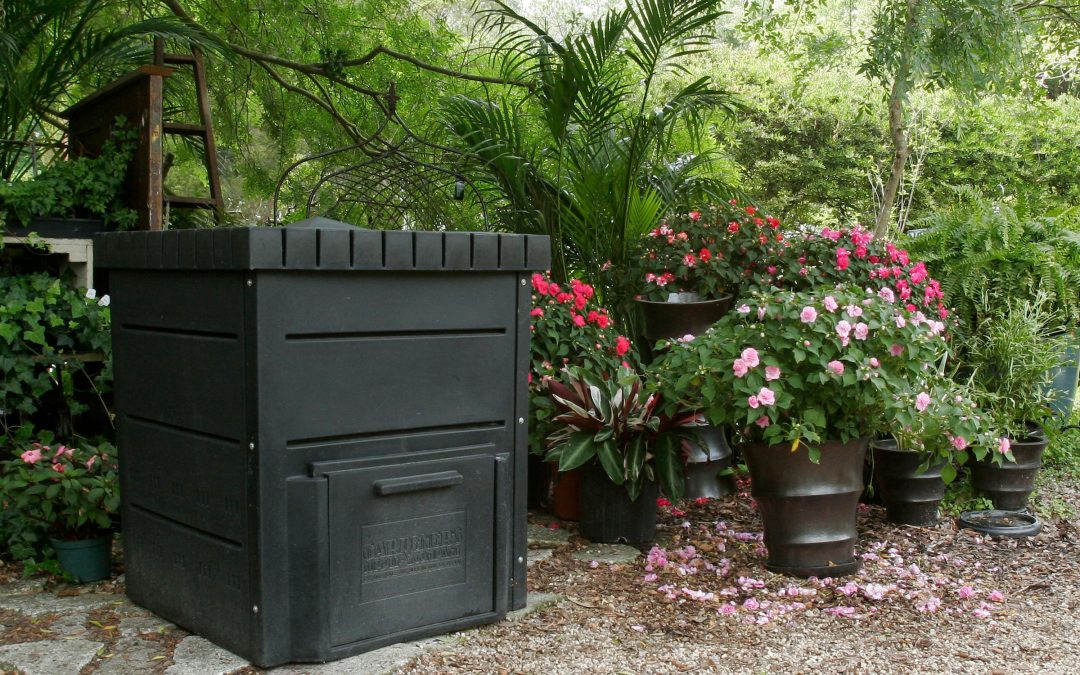
Compost bins should be located in an unobtrusive but convenient location. Photo credit: Carrie Stevenson, UF IFAS Extension
So, where to start? Logistics are important. If a compost bin is inconvenient, you won’t use it. Locate bins in a regularly traversed part of your yard, so it’s easier to make dropping the kitchen waste into a bin part of your routine. If you’ve got space, you can use a counter-top compost container or just a second trash can to hold material until it goes outside. Compost bins should be fairly close to a water source in case you need to moisten the material.
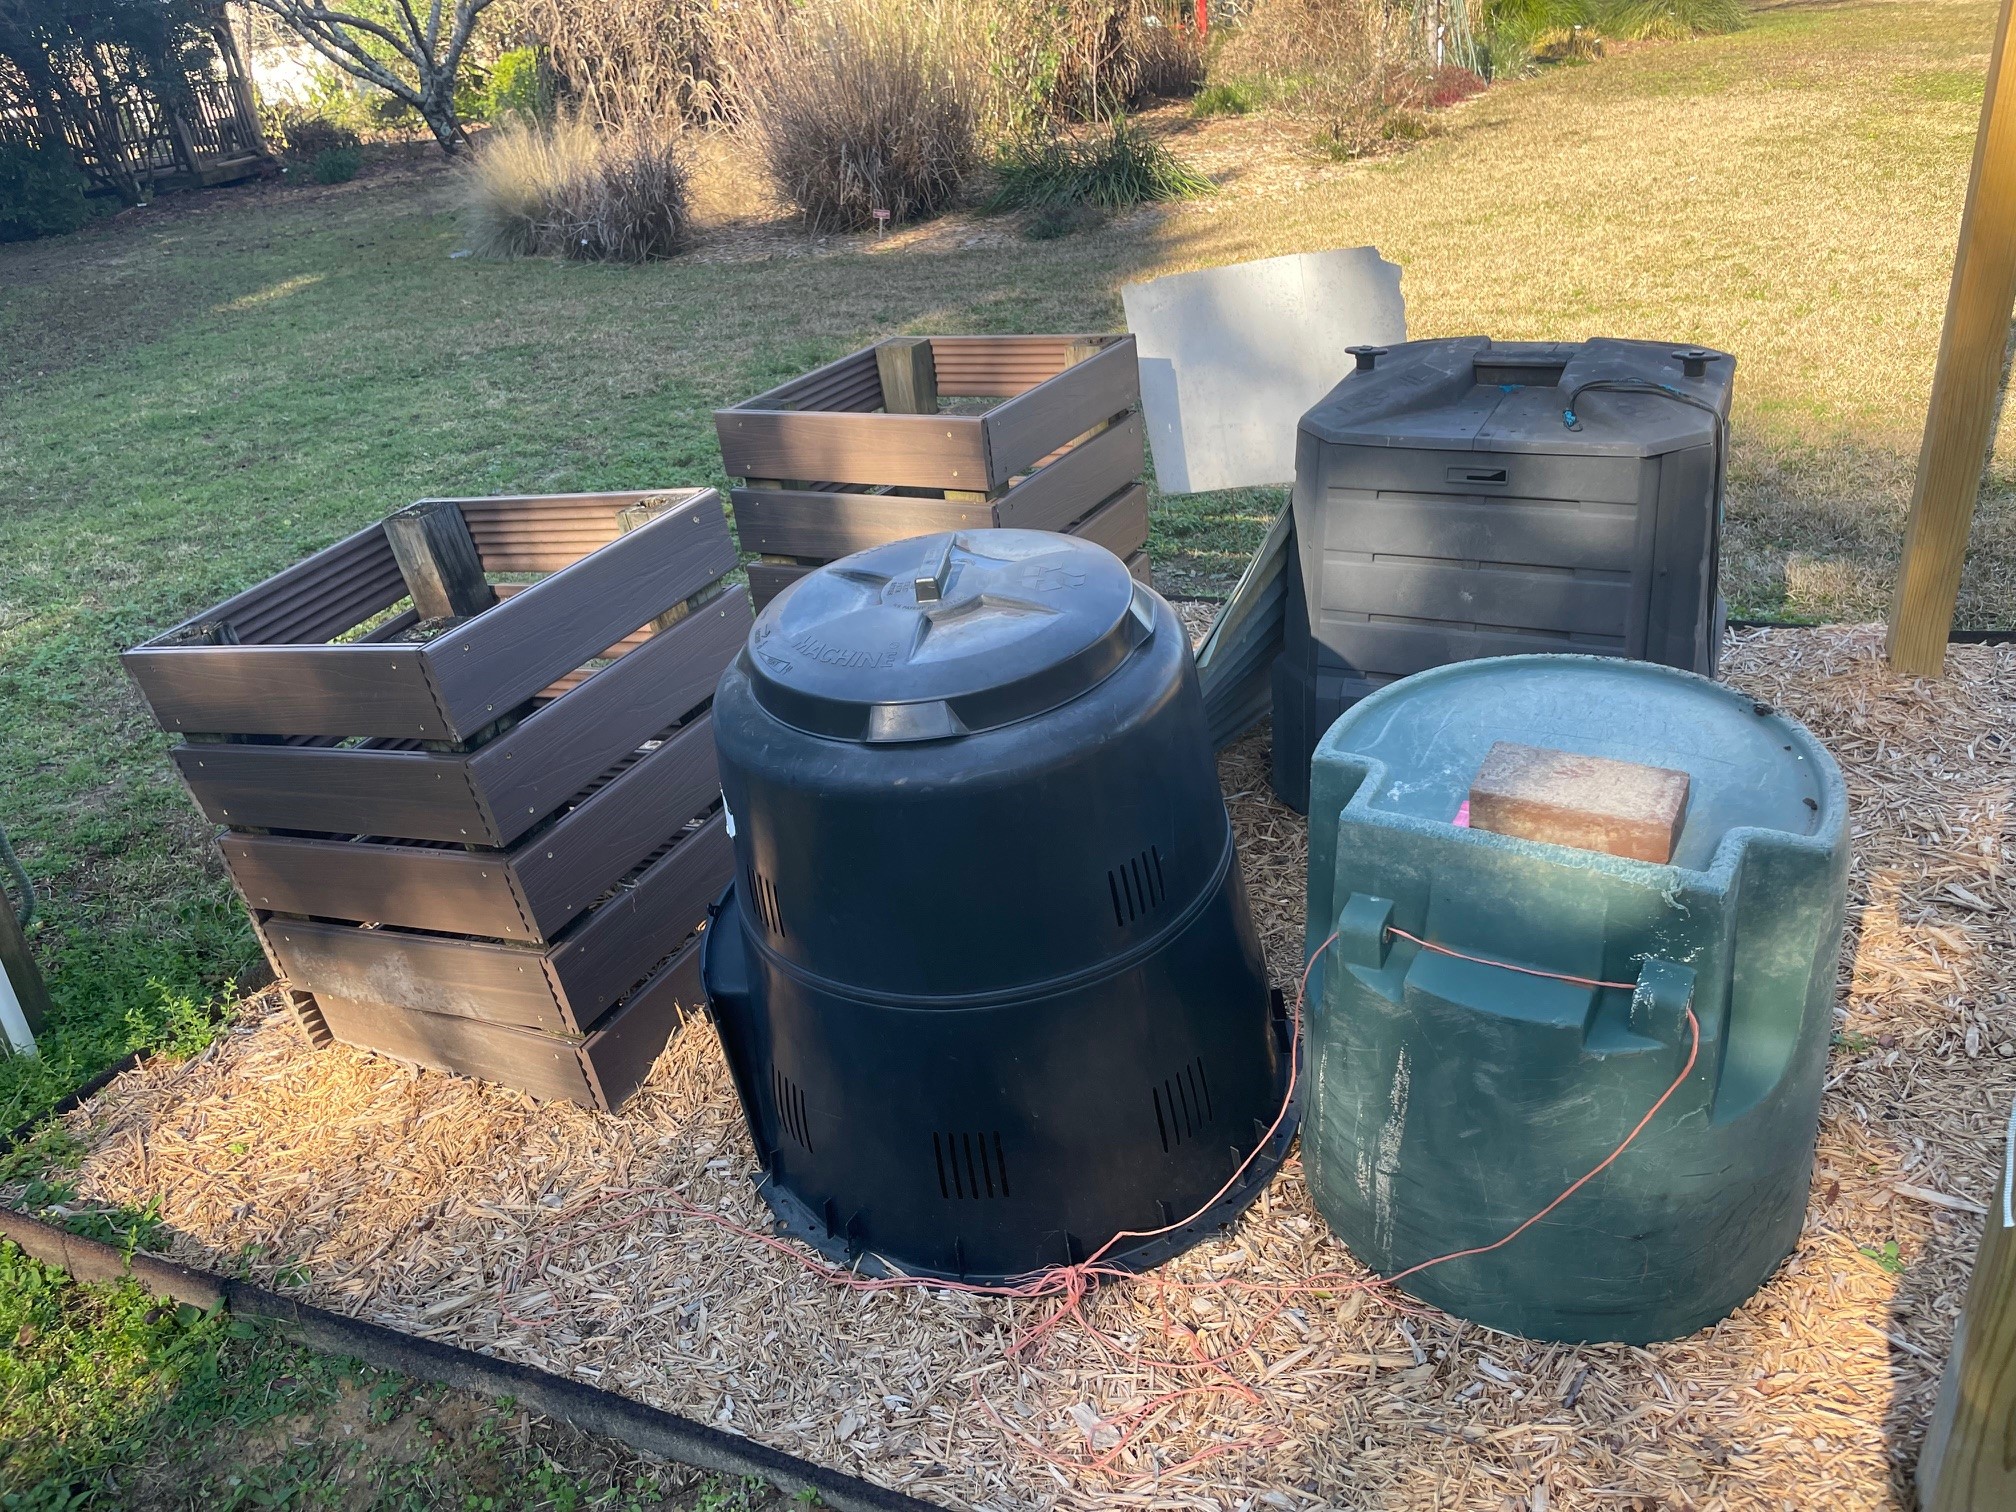
The composting demonstration area at our Extension office includes several types of bins. Photo credit: Carrie Stevenson, UF IFAS Extension
There are numerous types of bins, ranging from open-topped 3-sided wooden or concrete block piles, to hand-built bins with adjustable slats, or prefabricated plastic and metal bins and turners. If you have a lot of space, the open holding areas might work fine. But, in a neighborhood you may want a neater, more contained and covered bin.
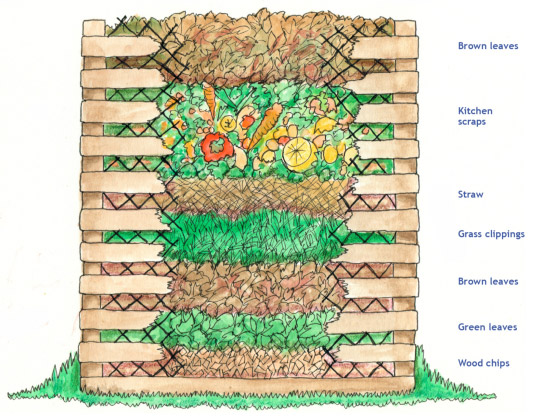
Properly layered compost. Figure courtesy of Colorado State University Extension
The ingredients for compost are simple—you need “greens” and “browns”. “Greens” include fresh vegetables, fruit, eggshells, coffee grounds, lawn clippings, and other materials that contain nitrogen. These should be raw waste—if they’ve been cooked in oil or butter, they can go rancid in the pile, causing an odor and attracting unwanted wildlife. “Browns“ are carbon-rich materials that include dry leaves, straw, pine needles, and shredded uncolored paper. Besides oils, you’ll want to avoid meat and dairy products, dog/cat waste, and plants full of weedy seeds or recently treated with pesticides.
Finished compost can be used as a soil amendment or potting soil. Photo credit: IFAS Photography
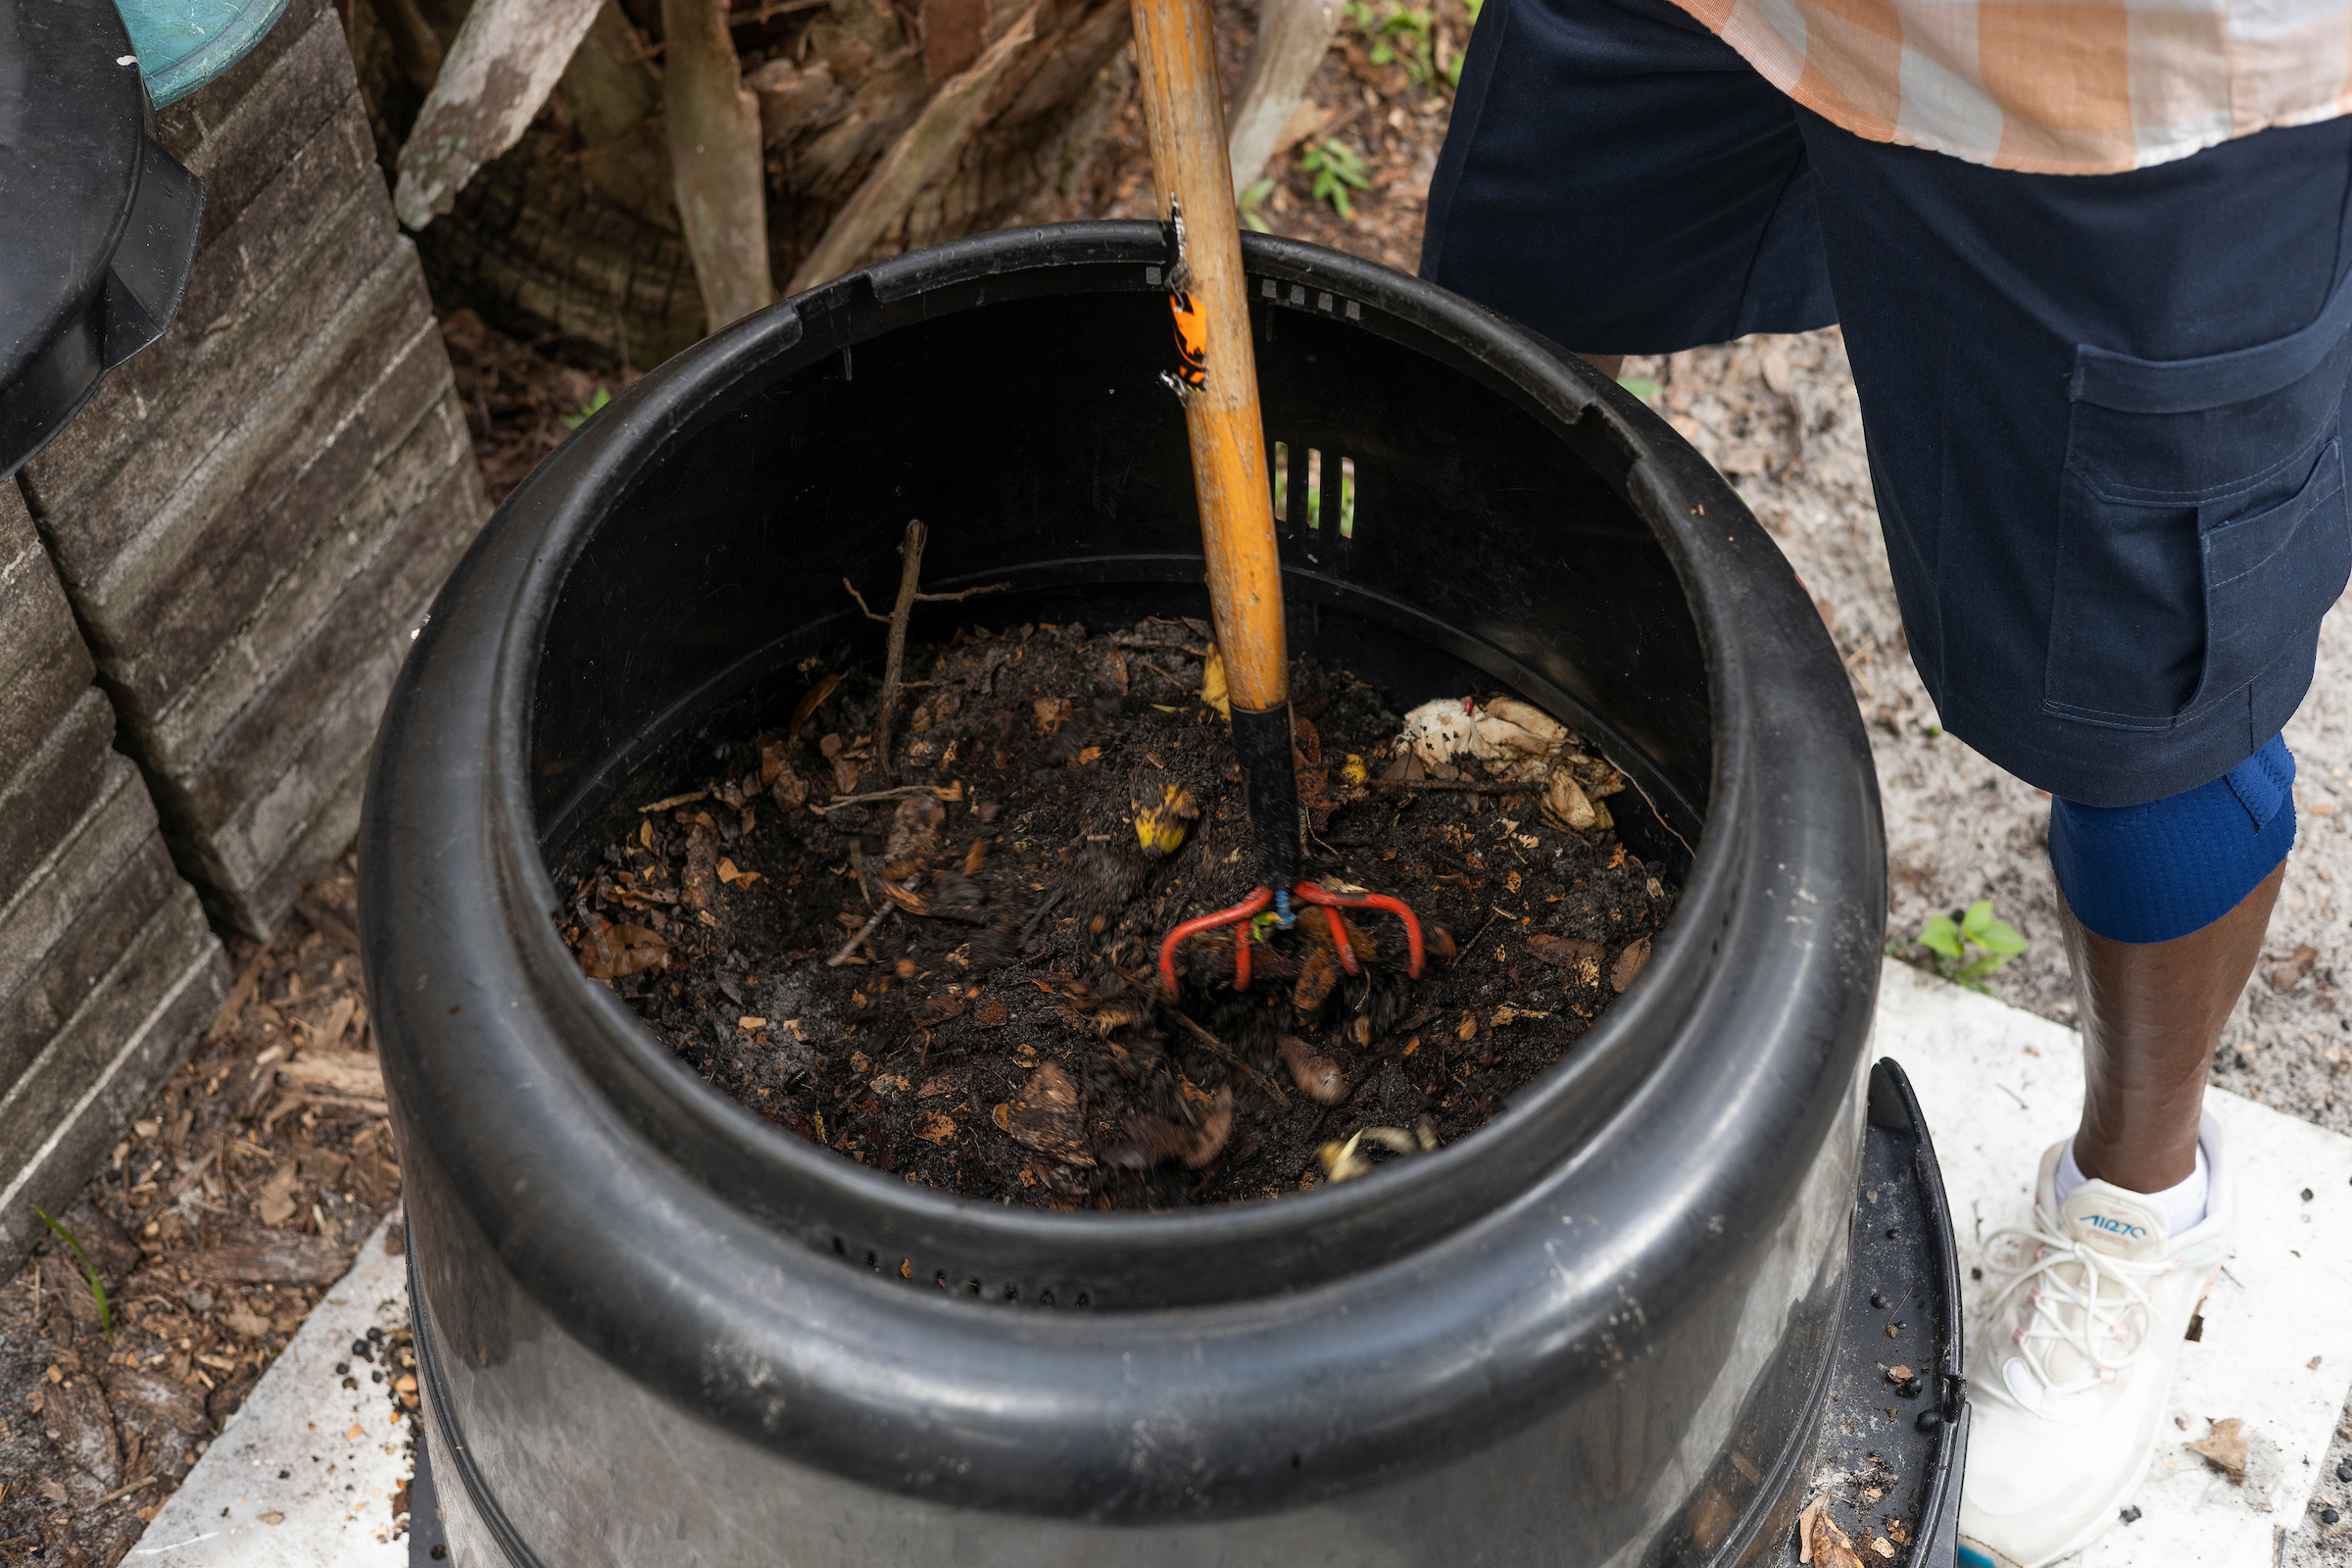
This mix of green and brown materials provides a balance of carbon and nitrogen. You’ll layer the materials, green/brown/green/brown and add a bit of water. Once the compost starts “cooking,” microorganisms from the surrounding soil will start further breaking down the larger materials. These are the critters who put the decomposition in compost. Worms will often make their way in, adding their efforts to the material breakdown. There is a much more specific process of vermiculture (aka worm farming) if your primary interest is producing worms. Compost can take as long as you want it to—in the hot, humid Florida summers, with regular mixing you can produce compost from raw materials in as little as 2 months. In cooler weather or in passive composting, where you just dump it and leave it alone—it will take longer. Properly managed compost will not smell bad, so if there is an odor, add more “browns” or mix it. Ideas for troubleshooting compost bins can be found in Table 3 of the UF publication, “Compost Tips for the Home Gardener.”
For more information and great detail on both composting and vermiculture, check out the recorded webinar on YouTube our horticulture team hosted in October.
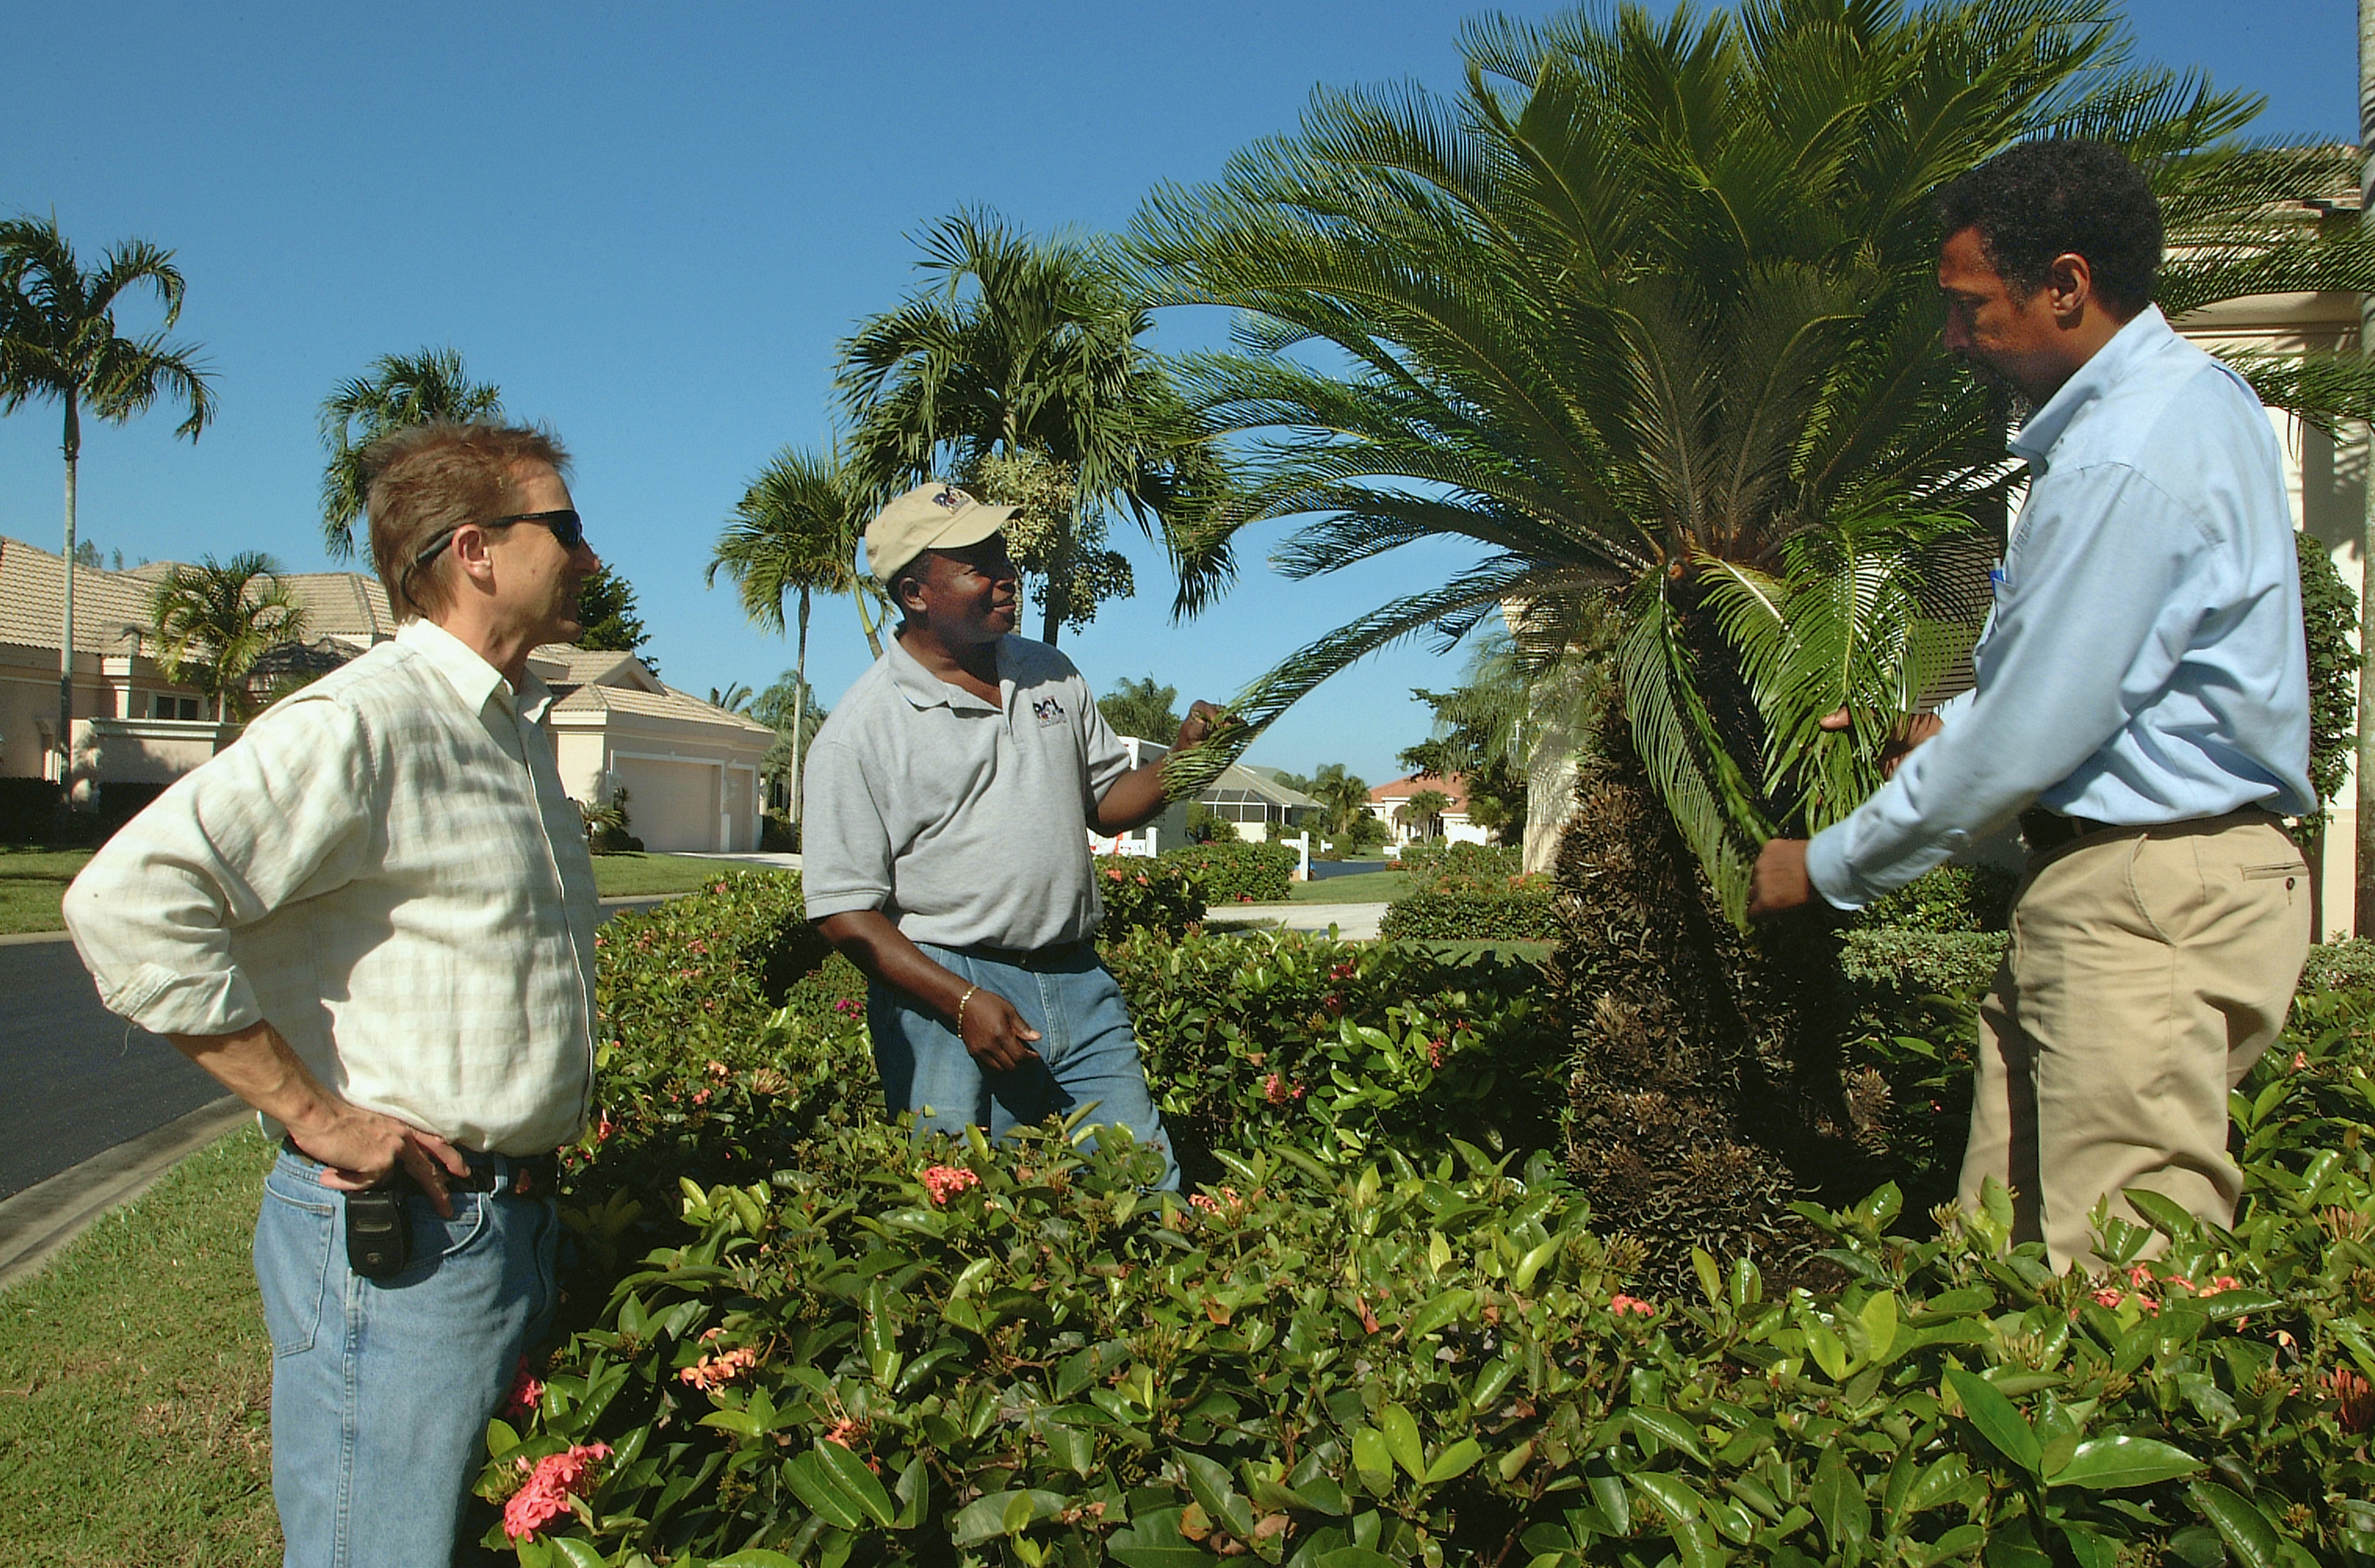

Not what palms are used to seeing
While palms may survive, or even thrive, for years in climates cooler than those to which they are native, eventually they may experience temperatures cold enough to cause injury. The January 21st snow and wind chill is likely to take a toll on many of the palms in Northwest Florida. We have experience with this since it also happened in January 2014 and December of 2022. Unfortunately, much of the damage in 2014 was not evident for 18-24 months and we are not out of the window for 2022. Healthy palms can hold on with stored food reserves, but repeated events can continue to weaken them. When cold damage is severe, plant tissues are destroyed and water uptake into the plant may be reduced for years. Many times, it is only the protected bud that will remain alive. These palms can still be saved if the bud remains alive. Winter is not over, even though the temperatures are now creeping higher and higher. So, evaluate what damage you may already have and prepare for any additional, yet to come. Here’s a reminder of what to do.
One of the most common problems associated with freezes is that the freeze-killed lower portion of the spear leaf is degraded by secondary fungi and bacteria that are always present in our natural environment. Palm owners are often anxious to trim off the damaged leaves following a cold weather event. Avoid the temptation to remove these fronds until danger of additional freezes has passed. Even dead leaves provide insulation to the critical bud. As the weather warms, the dead fronds need to be removed from around the bud so that the spear can begin to dry out. Drenching the bud area with a copper fungicide will reduce the secondary microbes. Repeat applications will need to continue as the palm leaves develop. Copper fungicides, unlike other fungicides, are active against bacteria and fungi. Be cautious to not use a copper nutrient spray rather than a fungicide. Delay fertilizer application until new fronds have developed. The best analysis for palms is 8-2-12 + 4Mg. Utilization of proper palm fertilization can improve cold hardiness of palms.
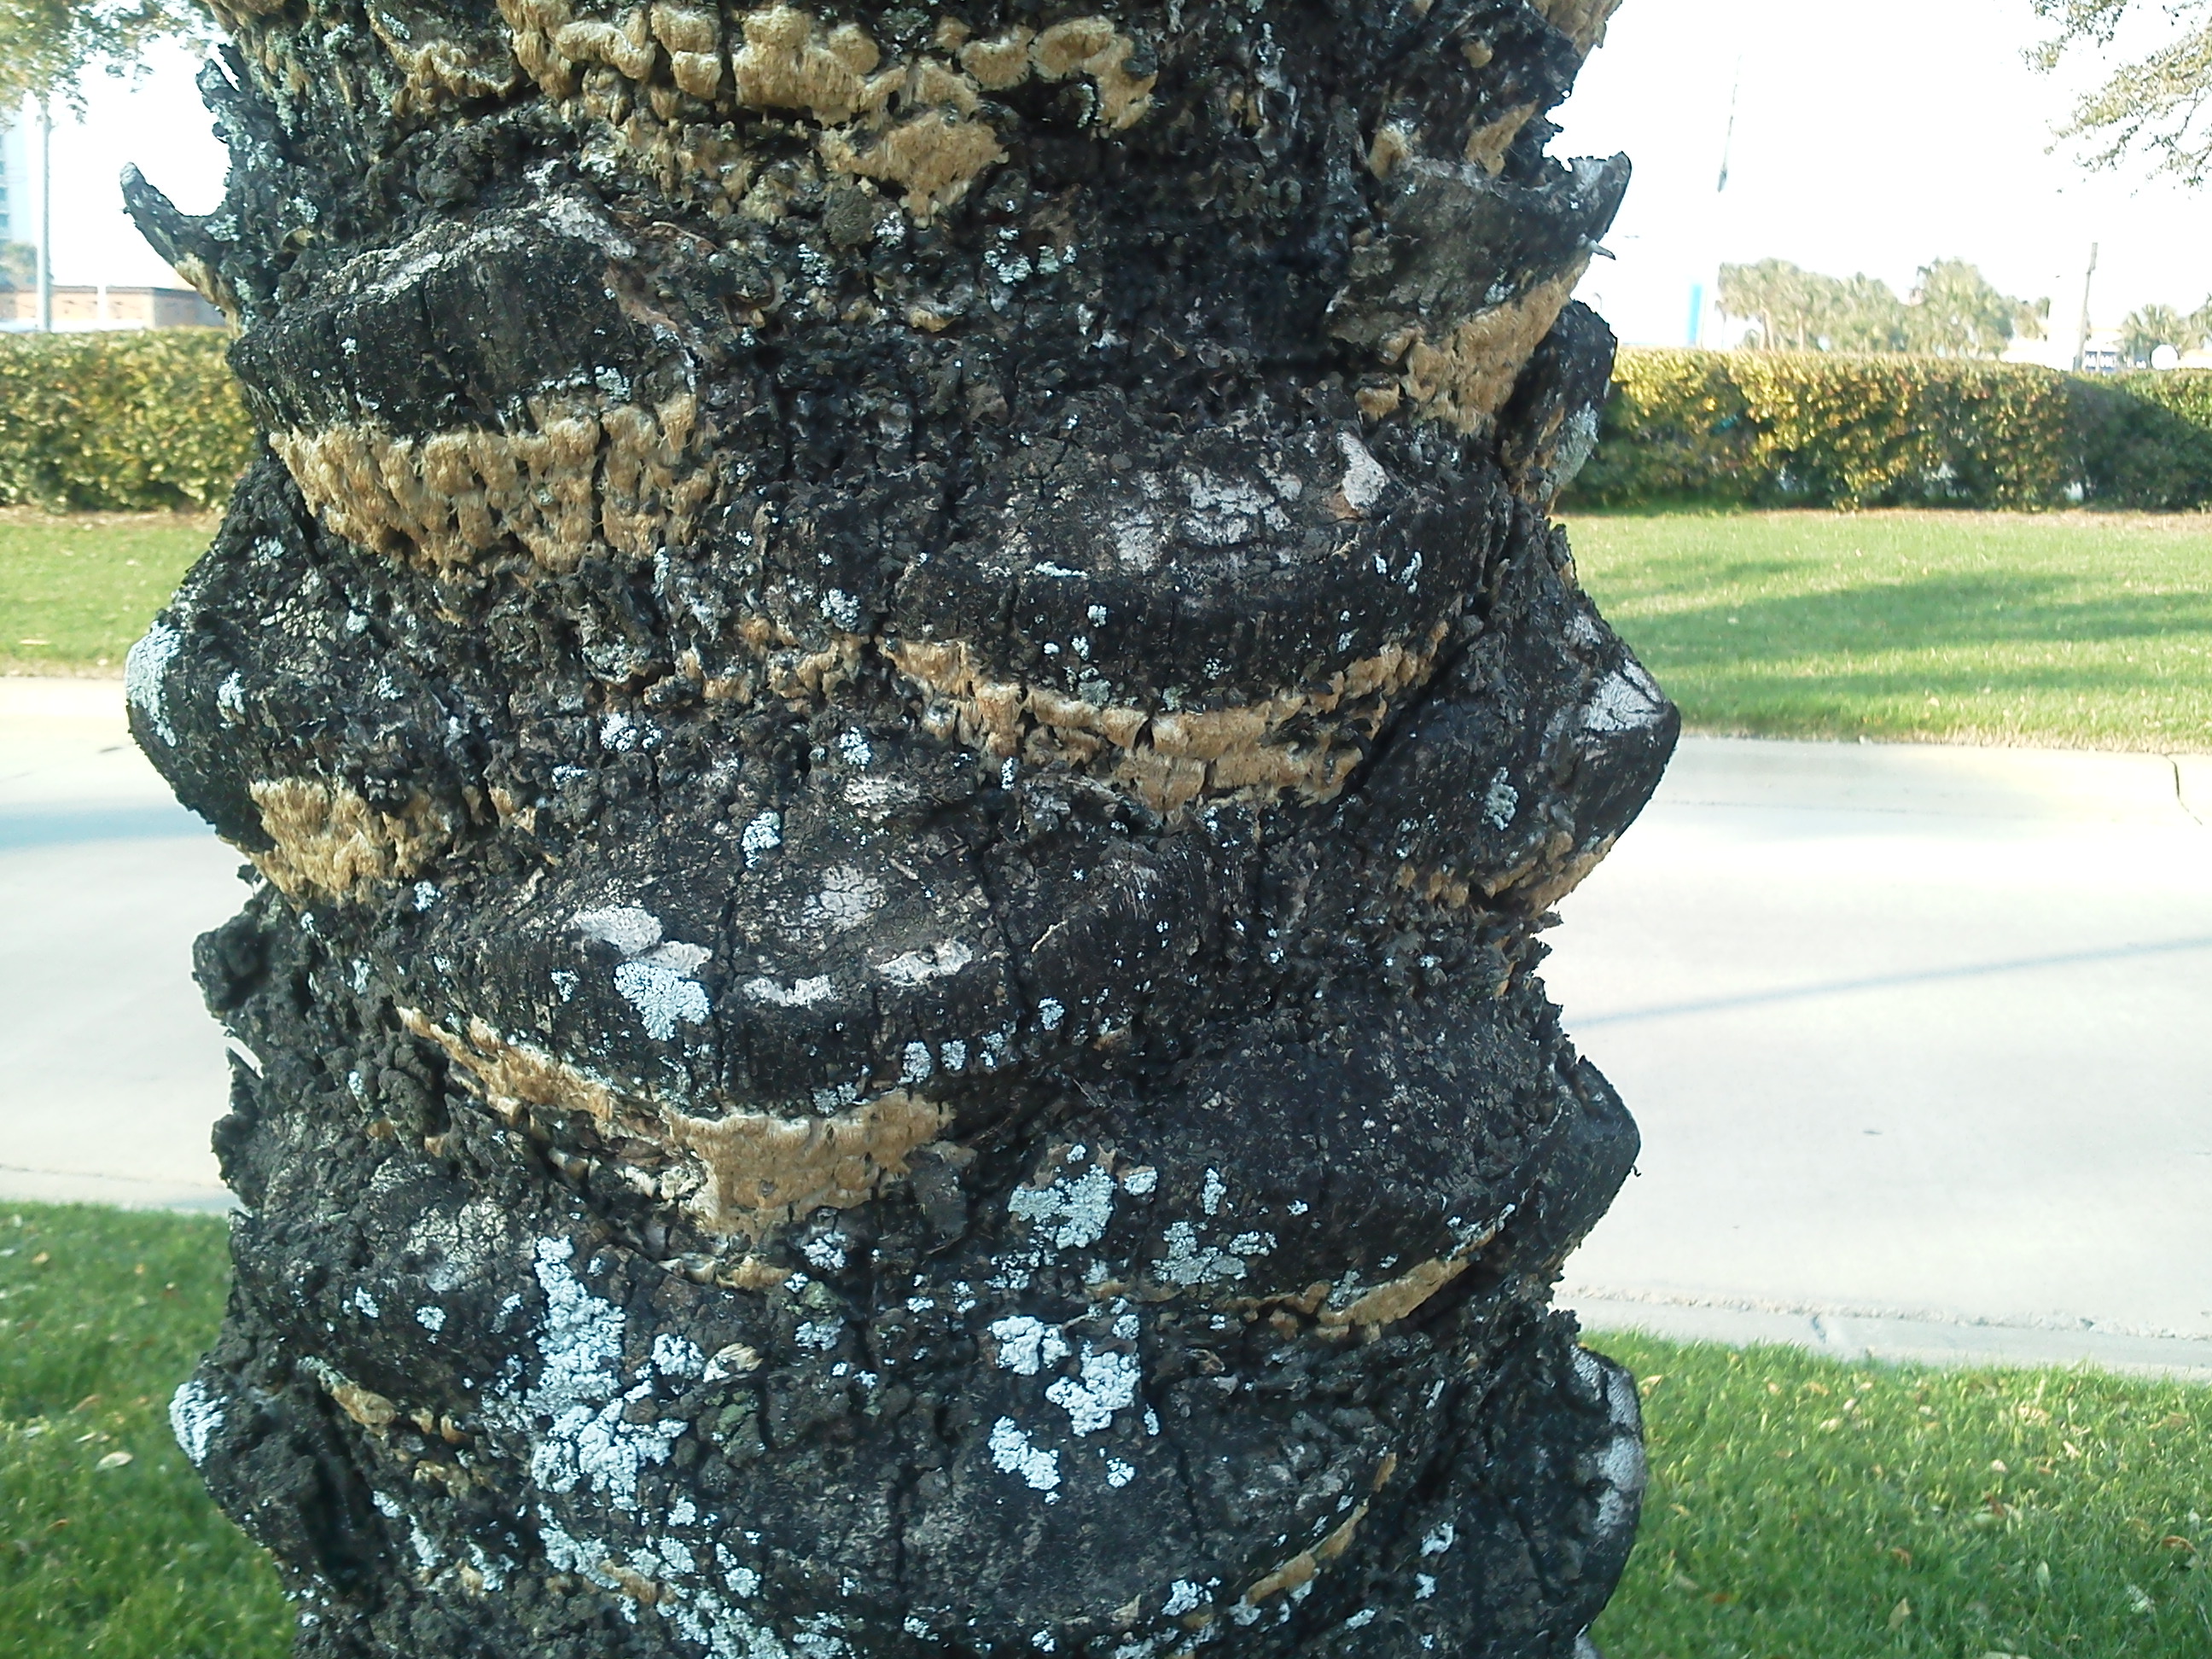
Palm trunk decay appeared 2 years after 2014 freeze.
Palms damaged by cold can still show symptoms six months to three years following a freeze. New leaves in the spring may appear misshapen. Usually, the palm will outgrow the damage. However, sometimes the palm loses its ability to take up water. If there is a sudden collapse of the fronds in the crown during the first hot days, the palm may die. There is nothing that can be done to save the palm.