by Daniel J. Leonard | Jun 24, 2021
Nutsedge, commonly called “nutgrass”, is one of the most important and difficult to control weed pests in the world. Found in nearly every growing situation, from crop fields and vegetable gardens to landscapes and turfgrass lawns, I bet every person reading this has contended with controlling nutsedge at some point! Nutsedge (a common term to describe several species of weeds in the genus Cyperus) not only reduces curb appeal, but also h as a detrimental effect on desirable plantings around it. Because of its aggressive nature and dense root system, it competes heavily with “good” plants for water, light, and nutrients, causing the plants we are trying to grow to suffer. This is a weed that you definitely do not want in your lawn or landscape!
To keep nutsedge at bay, it’s important to know a few facts about it. First, “nutgrass” is not a grass at all, but a totally different class of plants known as sedges. This is important because selective herbicides used to kill grassy weeds will not affect nutsedge. Though they’re grass look-alikes, sedges can be distinguished by their distinctive triangular shaped stems. You can actually feel the three edges of nutsedge stems. If ever in doubt over whether a weed is a grass or a sedge, remember “sedges have edges”. Most sedges are perennials, dying back to the ground each year in winter and reemerging from tubers, called “nutlets”, that can survive over a foot under the ground! Also, while sedges generally prefer wet areas, they aren’t very particular about where they grow and are equally at home in sand or clay, wet or dry, and sun or shade. All these characteristics make sedges hard to control and cause much consternation amongst gardeners!
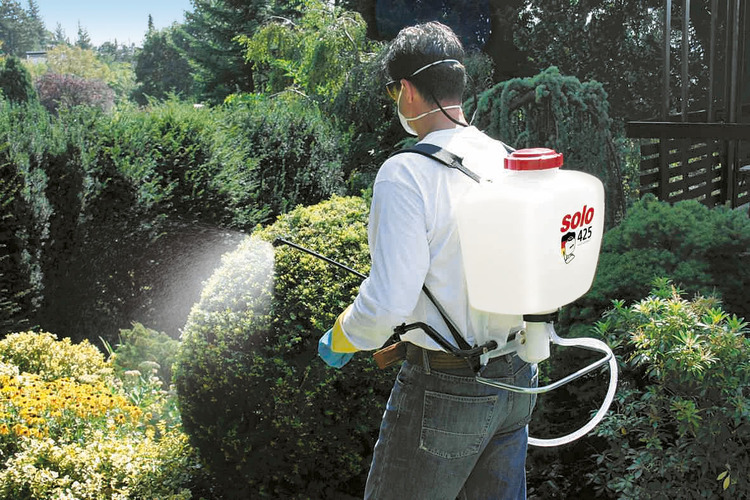
The first line of defense in controlling nutsedge is keeping a dense cover over any bare ground. In lawns, this means maintaining a thick, healthy turf as weeds love to enter lawns through thin or patchy areas. This can be accomplished by mowing regularly, fertilizing appropriately based on a soil test, not overirrigating while also not allowing the grass to suffer badly during droughty periods. Easier said than done. In landscape beds, preventative control is a little easier. First, as nutsedge prefers wet areas, only irrigate when it is needed. During much of the year, most established landscapes can get by on rainfall alone. Next, simply maintain a roughly 3” layer of pine straw, wood chips, pine bark, or other natural mulch of your choice. Doing so will reduce all manner of weeds, nutsedge included, and is generally beneficial for ornamental plants as well! I do not recommend landscape fabric as it is a pain to install and remove and is not extremely effective at reducing nutsedge as the sedge’s sharp growing points punch right through most plastic or fabric mulches.
Though mulching and other preventative measures can reduce nutsedge numbers, those methods alone are usually not enough and chemical herbicides are required. Fortunately, in Panhandle lawns and landscapes, there are several excellent, readily available options for sedge control: imazaquin and halosulfuron.
- Imazaquin is the active ingredient in the common product Image Kills Nutsedge and has good activity on most sedge species. It can be applied safely to all the common turfgrass species grown in the area and can even be sprayed right over the top of most common ornamental landscape plants!
- Halosulfuron is the active ingredient in the product Sedgehammer (available online or at specialty landscape supply stores) and several other generic products. Halosulfuron products provide excellent control of all nutsedge species and are safe to use in all turfgrass species found in Florida. While most landscape plants are tolerant of halosulfuron application, use care and try to only spray it on sedge weeds to avoid any unwanted yellowing or damage.
While both products begin working immediately, it may take several weeks to see sedge weeds start suffering and patience is necessary! Though both products are effective, follow up applications 3-4 weeks later are generally necessary to clean up any surviving sedge.
Nutsedge is a nasty little weed that can be difficult, though not impossible to manage. Through some smart cultural practices and timely applications of either imazaquin or halosulfuron, you can keep your lawn and landscapes nutsedge free! For more information about nutsedge control on your property or any other agricultural or horticultural topic, contact your local UF/IFAS County Extension office! Happy Gardening!
by Daniel J. Leonard | May 13, 2021
Crape Myrtle season is almost upon us. Soon, every roadside, landscape, and gas station parking lot in the deep south will be lit up in gaudy colors from white to hot pink to fire engine red. A well-placed Crape Myrtle (Lagerstroemia hybrids) can turn even the most boring landscape into a picturesque photo op once summer rolls around. These toughest of flowering trees also ask very little of gardeners to look their best, thriving in many varied settings with a wide range of care given to them. Despite their low-maintenance nature, I see all too many Crape Myrtles languishing in landscapes. While it is difficult to fail with Crape Myrtles, it is not impossible if you site and maintain the trees incorrectly. This summer, follow these three tips to get the most out of the best small tree a southern landscape can offer.
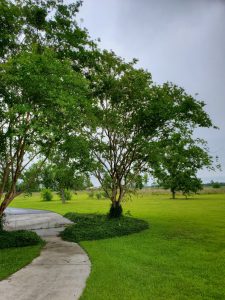
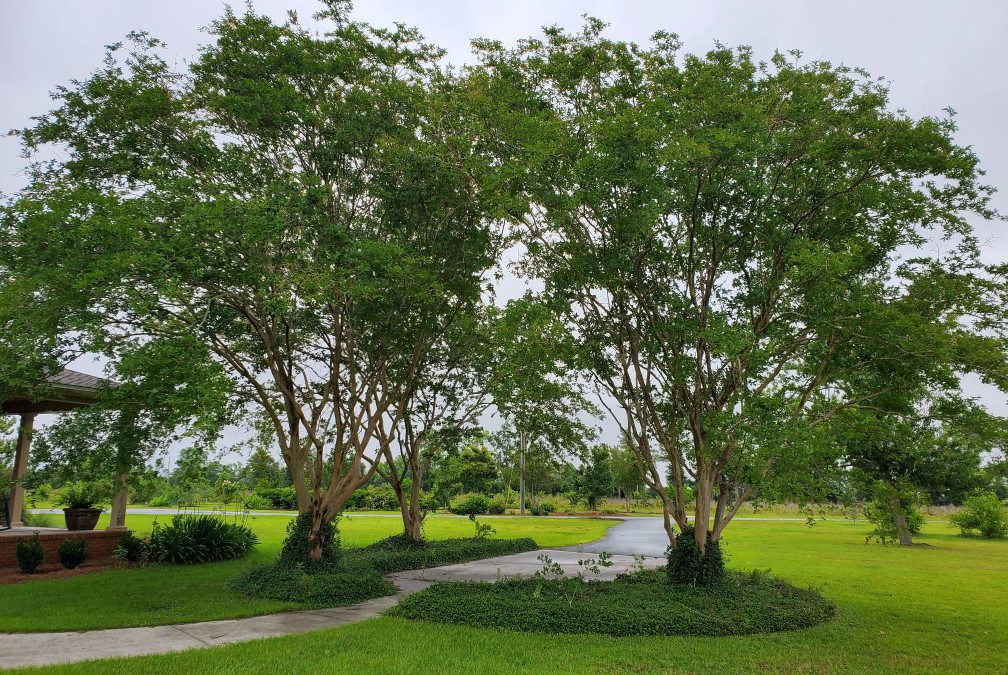
Properly sited, pruned, and maintained crape myrtle. Photo courtesy of Daniel Leonard.
- Do not murder your Crape Myrtles. For any reason. No other tree gets lopped off each year to a random height in the belief that it makes it prettier. While your “murdered” crape may indeed produce more flowers the following season, you are permanently damaging the tree, giving rot and decay a foothold, unnecessarily making the tree more susceptible to storm damage, and ultimately shortening the tree’s lifespan. The only pruning that should be done to the species is an occasional “limbing-up” to expose the gorgeous flaky bark underneath and to remove dead or dying branches.
- Don’t plant Crape Myrtles in shade. Crape Myrtles perform their best in 6+ hours of blistering full sun per day. Even light shade at various times during the day will greatly reduce flowering, cause the tree to appear thin, and force it to reach for the sun, creating a leggy look. There are many wonderful small landscape trees like Greybeard, Redbud, and Japanese Magnolia that make excellent Crape Myrtle alternatives in shady sites. If you can’t put a Crape in full sun, plant something else.
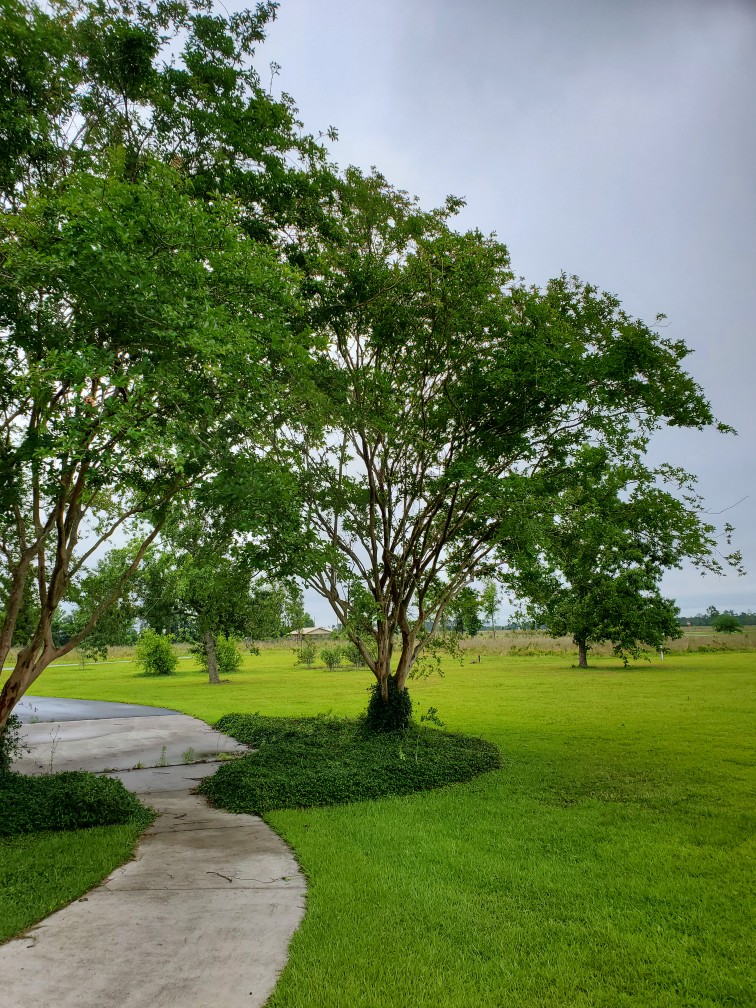
- Keep the area under the canopy free of turfgrass. Turf is a wonderful feature in lawns, just not directly under crape myrtles. Grass does an excellent job of scavenging nutrients and water that otherwise would benefit the crape myrtle above. Also, having grass inside the dripline forces homeowners and landscape professionals to cut the grass right up to the trunk. This often leads to soil compaction from heavy mower traffic and damage from lawnmower decks and string trimmers, which damages the thin Crape Myrtle bark and can even girdle and kill the tree. Either kill out the grass and weeds under the canopy with a nonselective herbicide like Glyphosate and then mulch or plant a shade loving groundcover like Asiatic Jasmine.
Crape Myrtle is one of the most rewarding plants Panhandle gardeners can grow as well as one of the easiest. By following just a few best practices, not overpruning, planting only in full sun and keeping the ground free of turfgrass under the canopy, pretty much every landscape can enjoy success with the species. For more information on growing Crape Myrtle and other gardening topics, reach out to your local UF/IFAS County Extension office! Happy Gardening!
by Mark Tancig | Apr 8, 2021
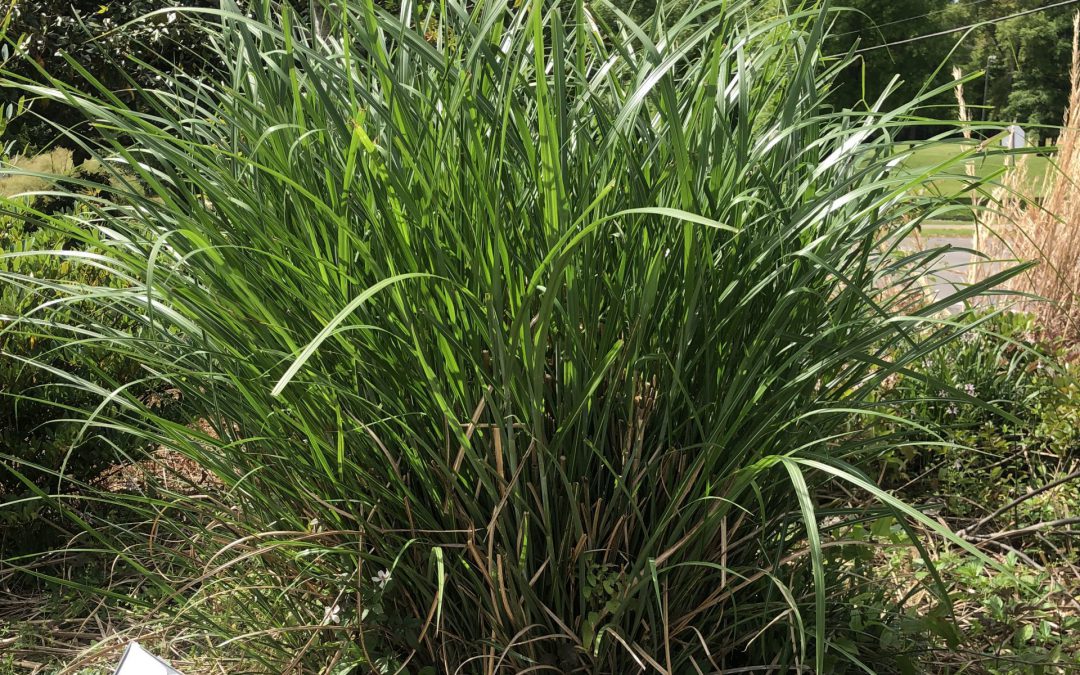
Ornamental grasses are a great addition to the landscape. Most are usually easy to establish, need little water and fertilization, provide different textures, and are generally low maintenance. The one main maintenance activity that is necessary for most of our north Florida ornamental grasses is a good “haircut” in the spring.
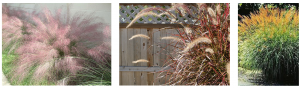
Ornamental grasses for north Florida, such as muhly grass, purple fountain grass, and Miscanthus (l to r), add texture, color, and winter interest to a landscape. Credit: UF/IFAS.
Pruning grasses removes the spent flowers and seed heads, as well as all of the brown leaves, which provided the fall and winter interest that ornamental grasses bring to the landscape. These leaves also serve as a sort of natural wind-chime during the cold, windy days of our winters and may even provide cover and nesting material for wildlife. However, now it’s spring, and lush green growth is waiting to pop through that dead mix of leaves and stems. Pruning clears all that out, allowing for good air movement and a rejuvenation of the plant that can help minimize pests and disease.
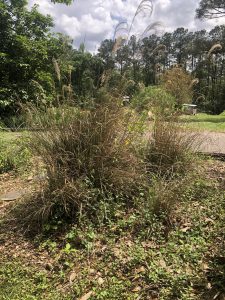
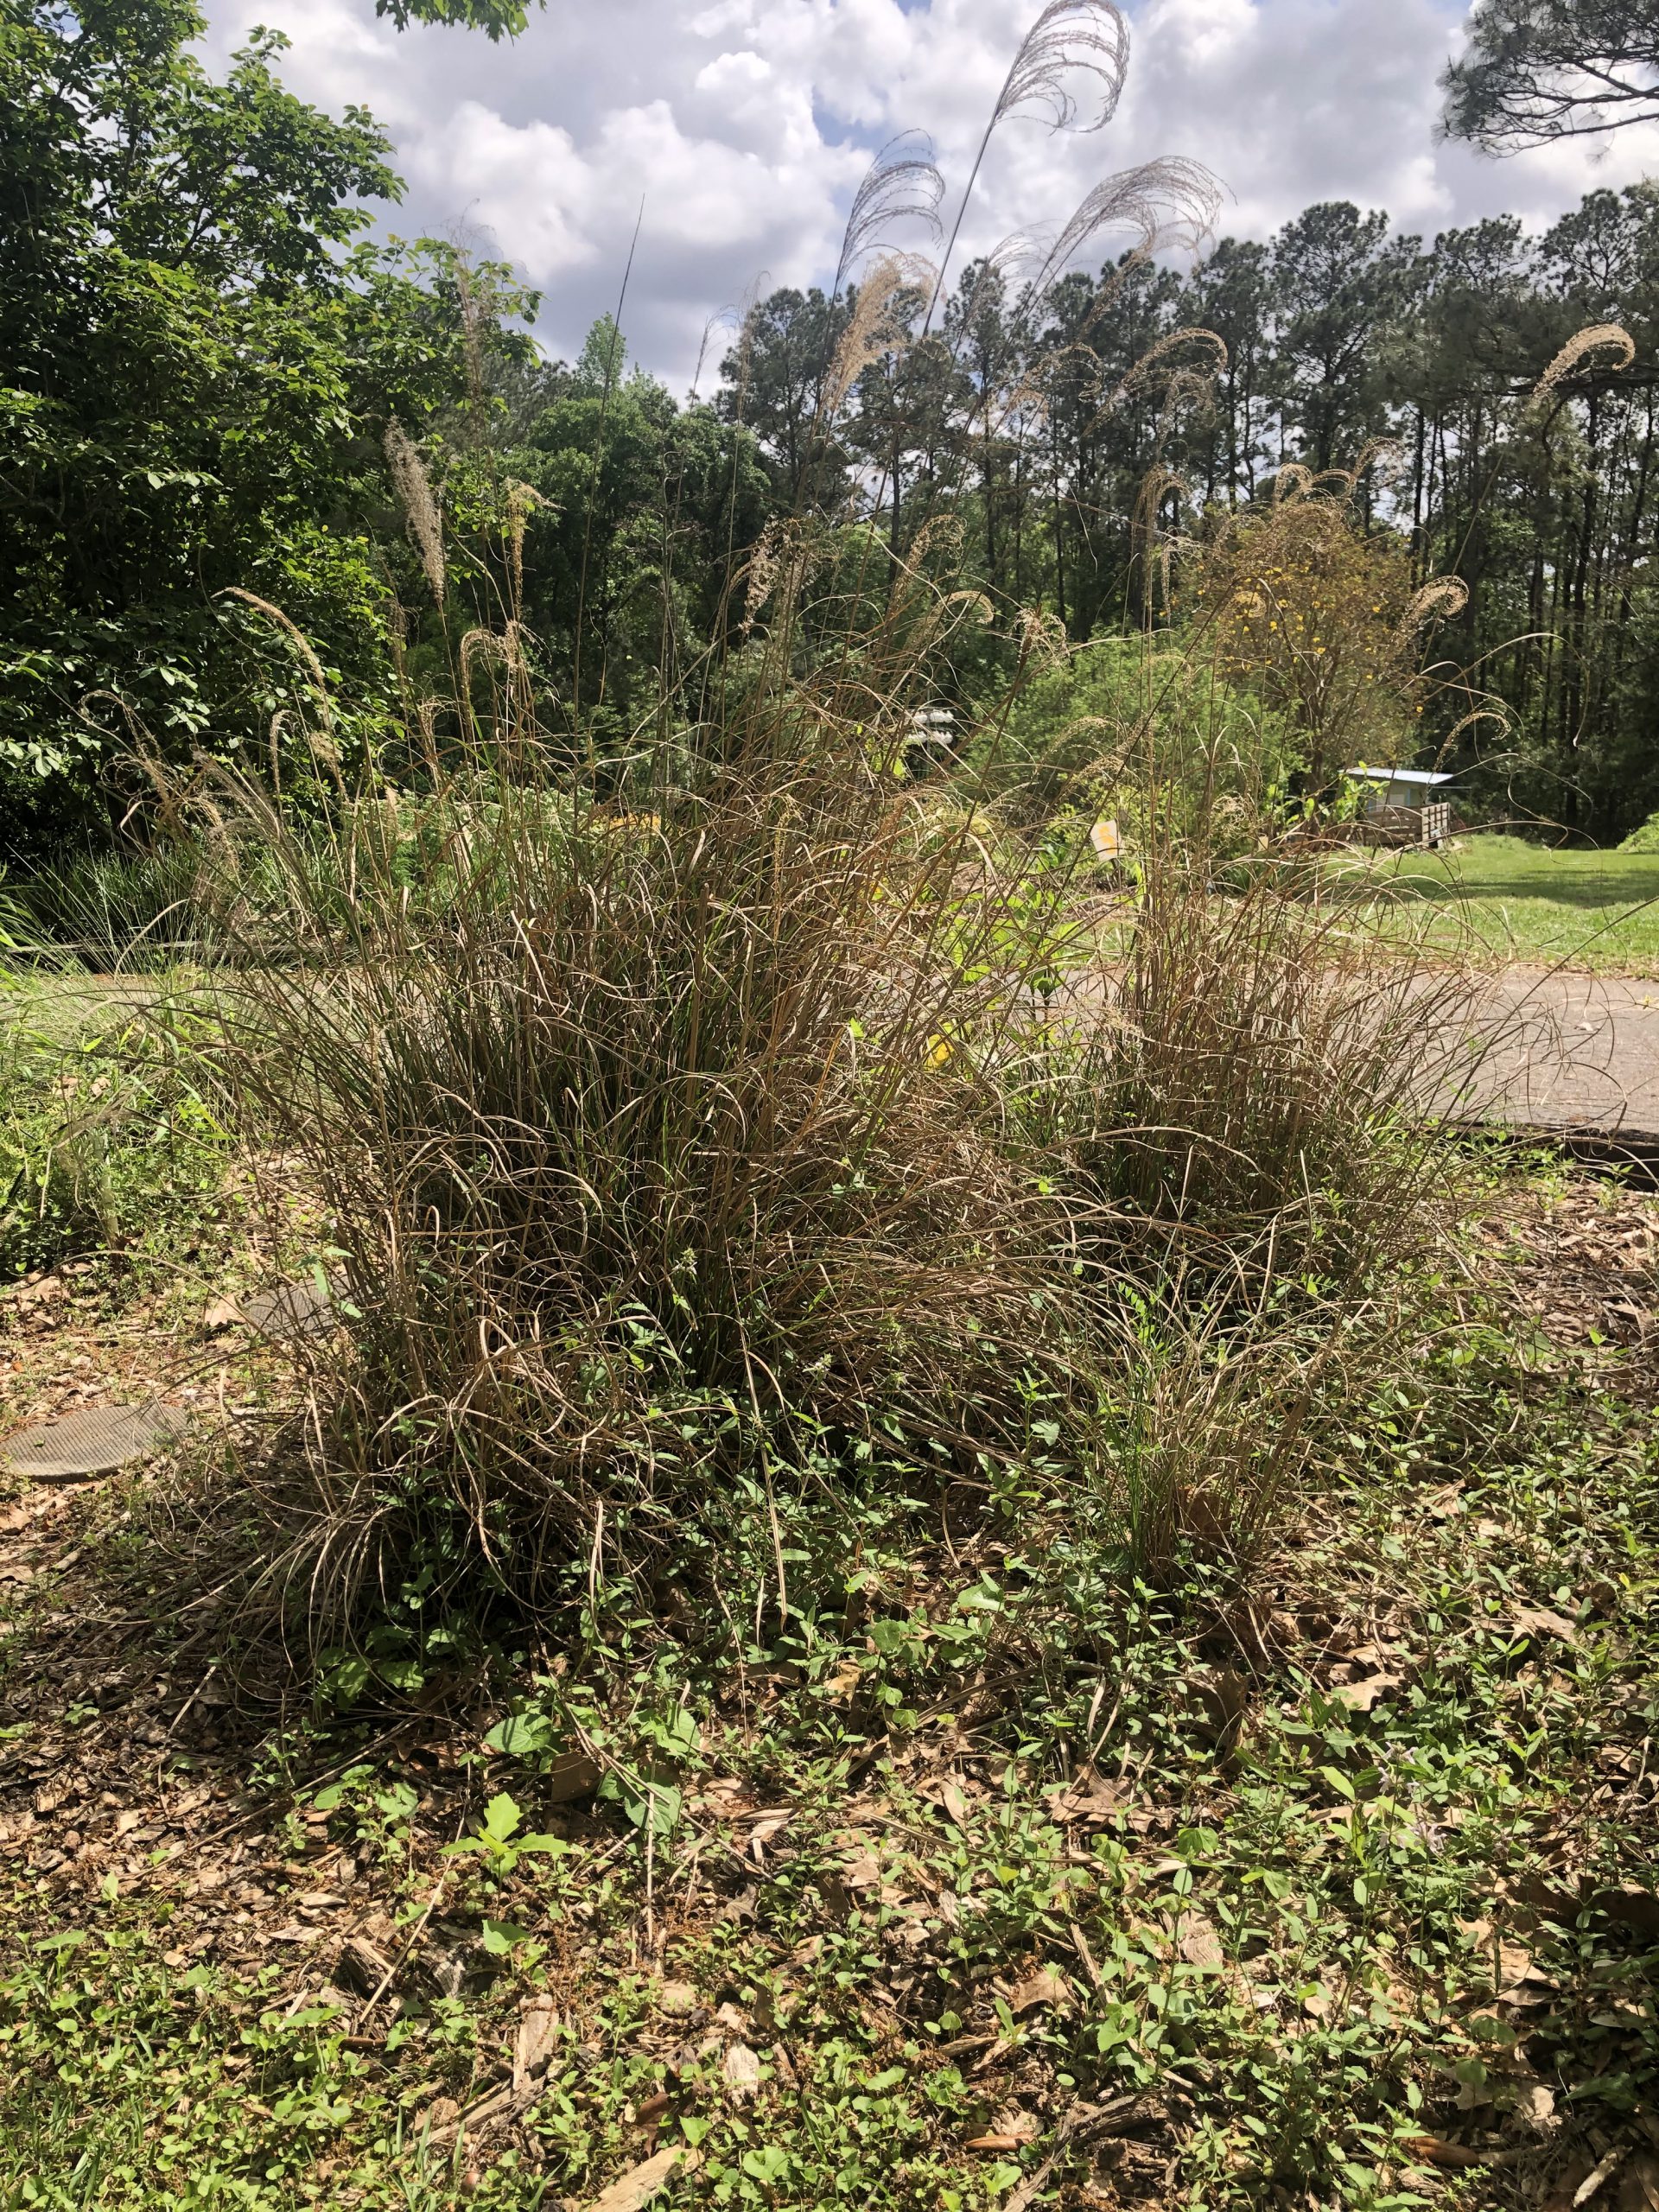
Miscanthus grass before a spring “haircut”. Credit: Mark Tancig, UF/IFAS.

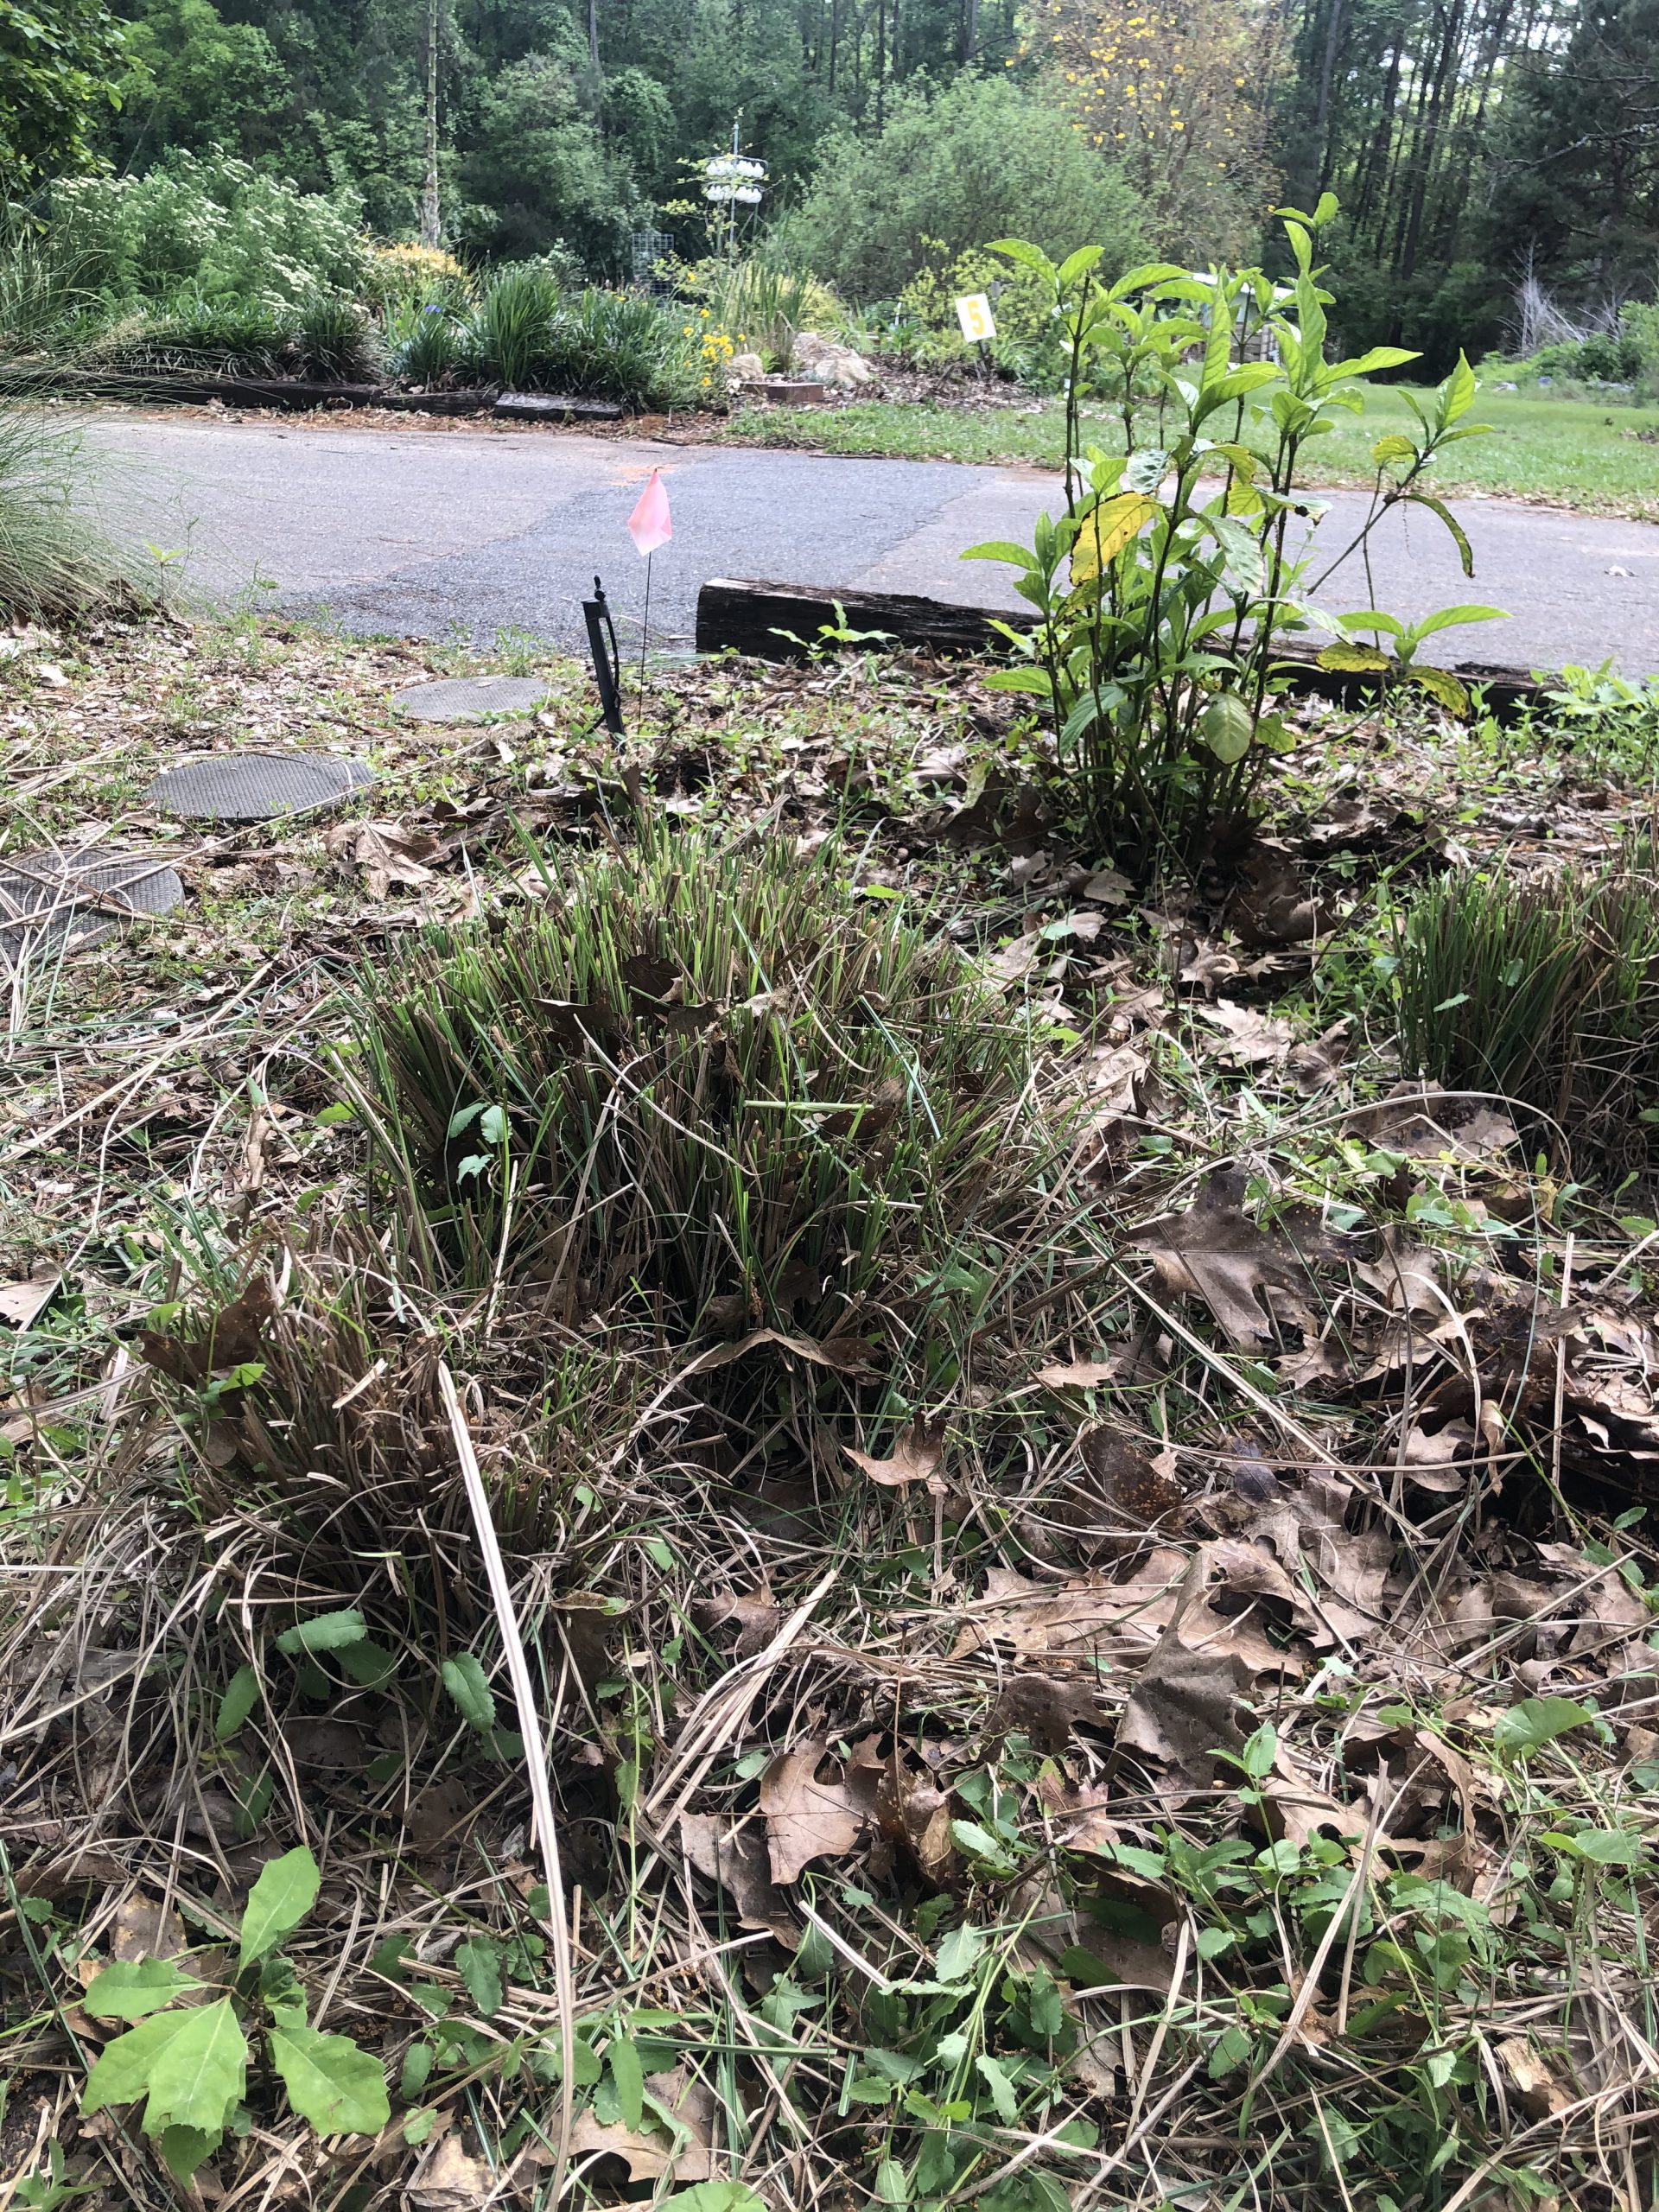
Miscanthus grass after a spring “haircut”. Credit: Mark Tancig, UF/IFAS.
To prune ornamental grasses, wait for after the last average frost date and grab some nice sharp shears. Next, just shear the clump about six inches above the soil line working from the outside towards the center with a slight angle, creating a sort of fade effect. For larger specimens you may need to adjust the cut a bit higher and may even want to use a hedge trimmer. Nice clean cuts are preferred.
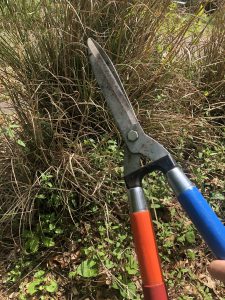
Shears are the way to go when pruning ornamental grasses. Orange and blue handles optional! Credit: Mark Tancig, UF/IFAS
One good pointer I saw online is to also bring along an old belt or a piece of rope to cinch up the dead material before pruning to easily collect the debris. I tend to use a cut and swipe motion that pushes the large material to one side of the plant, and I follow up with a metal garden rake to pull out more of the old, coarser material.
Within no time, new growth will flush out from the mound and often surprise you with how quick it can grow. This proves just how dynamic ornamental grasses can be in the landscape, showcasing lush green growth during one season and providing stark, whimsical interest during another.

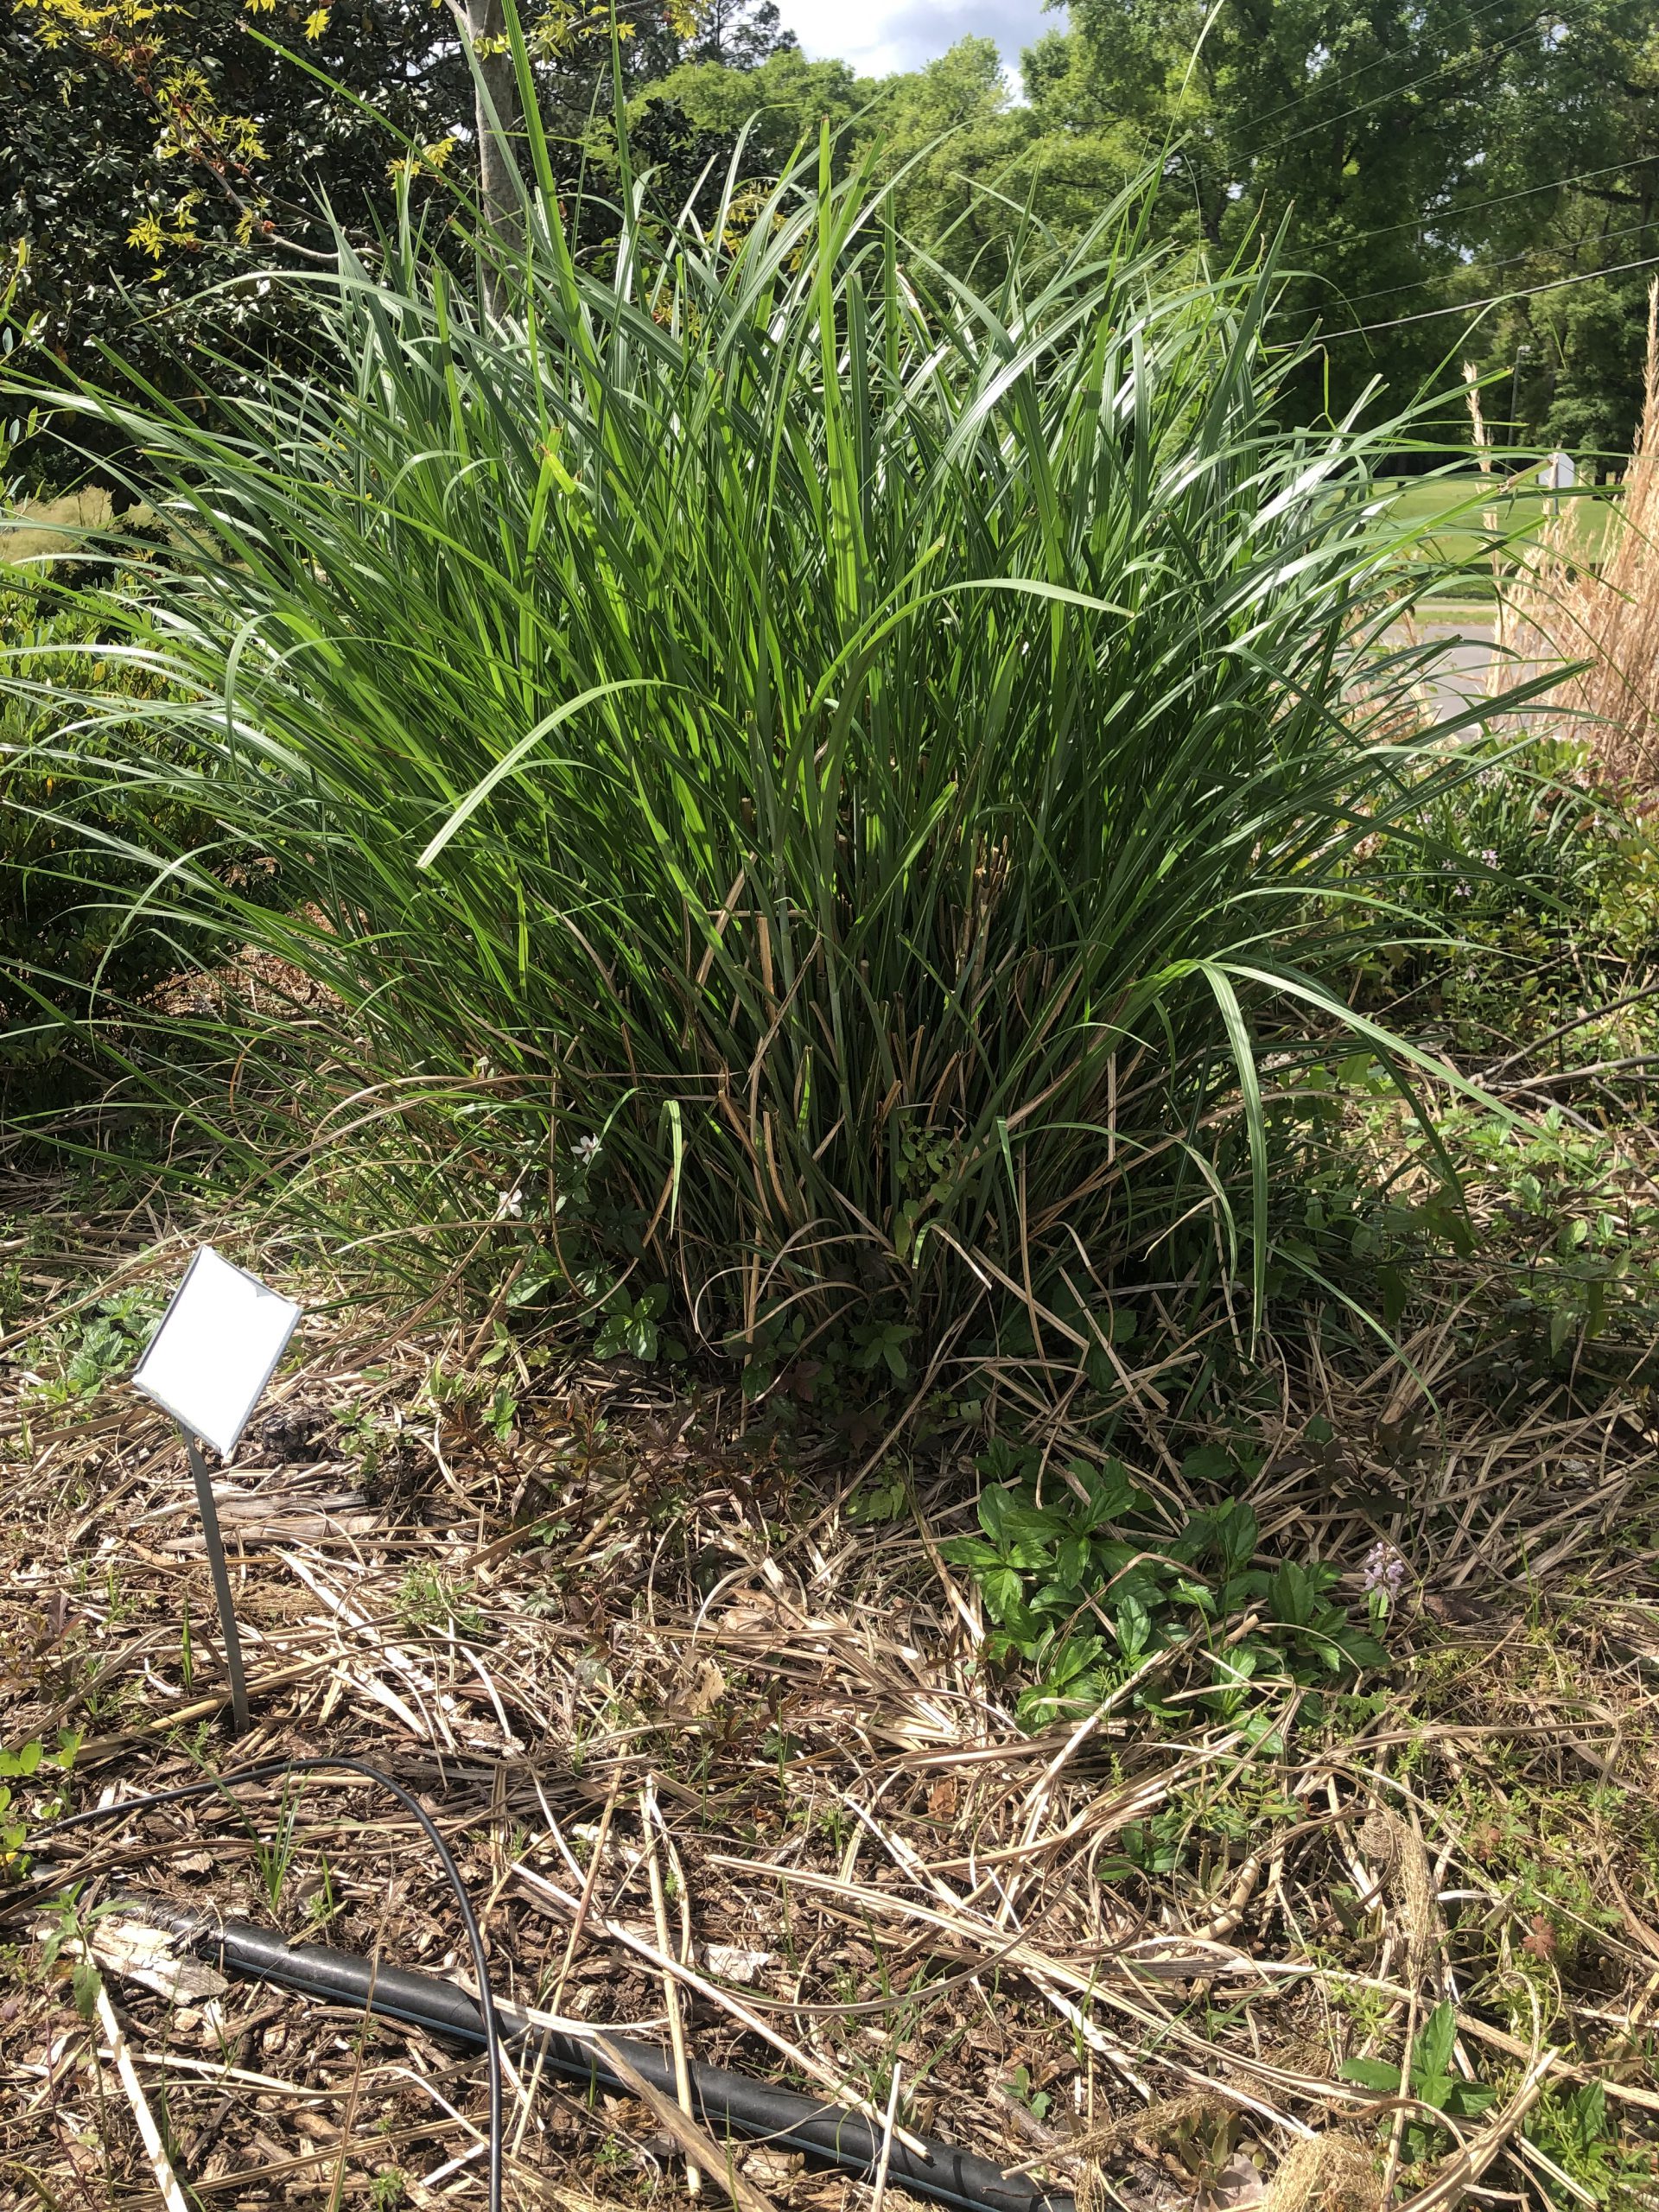
Miscanthus grass two weeks following pruning. Credit: Mark Tancig, UF/IFAS.
by Daniel J. Leonard | Feb 2, 2021
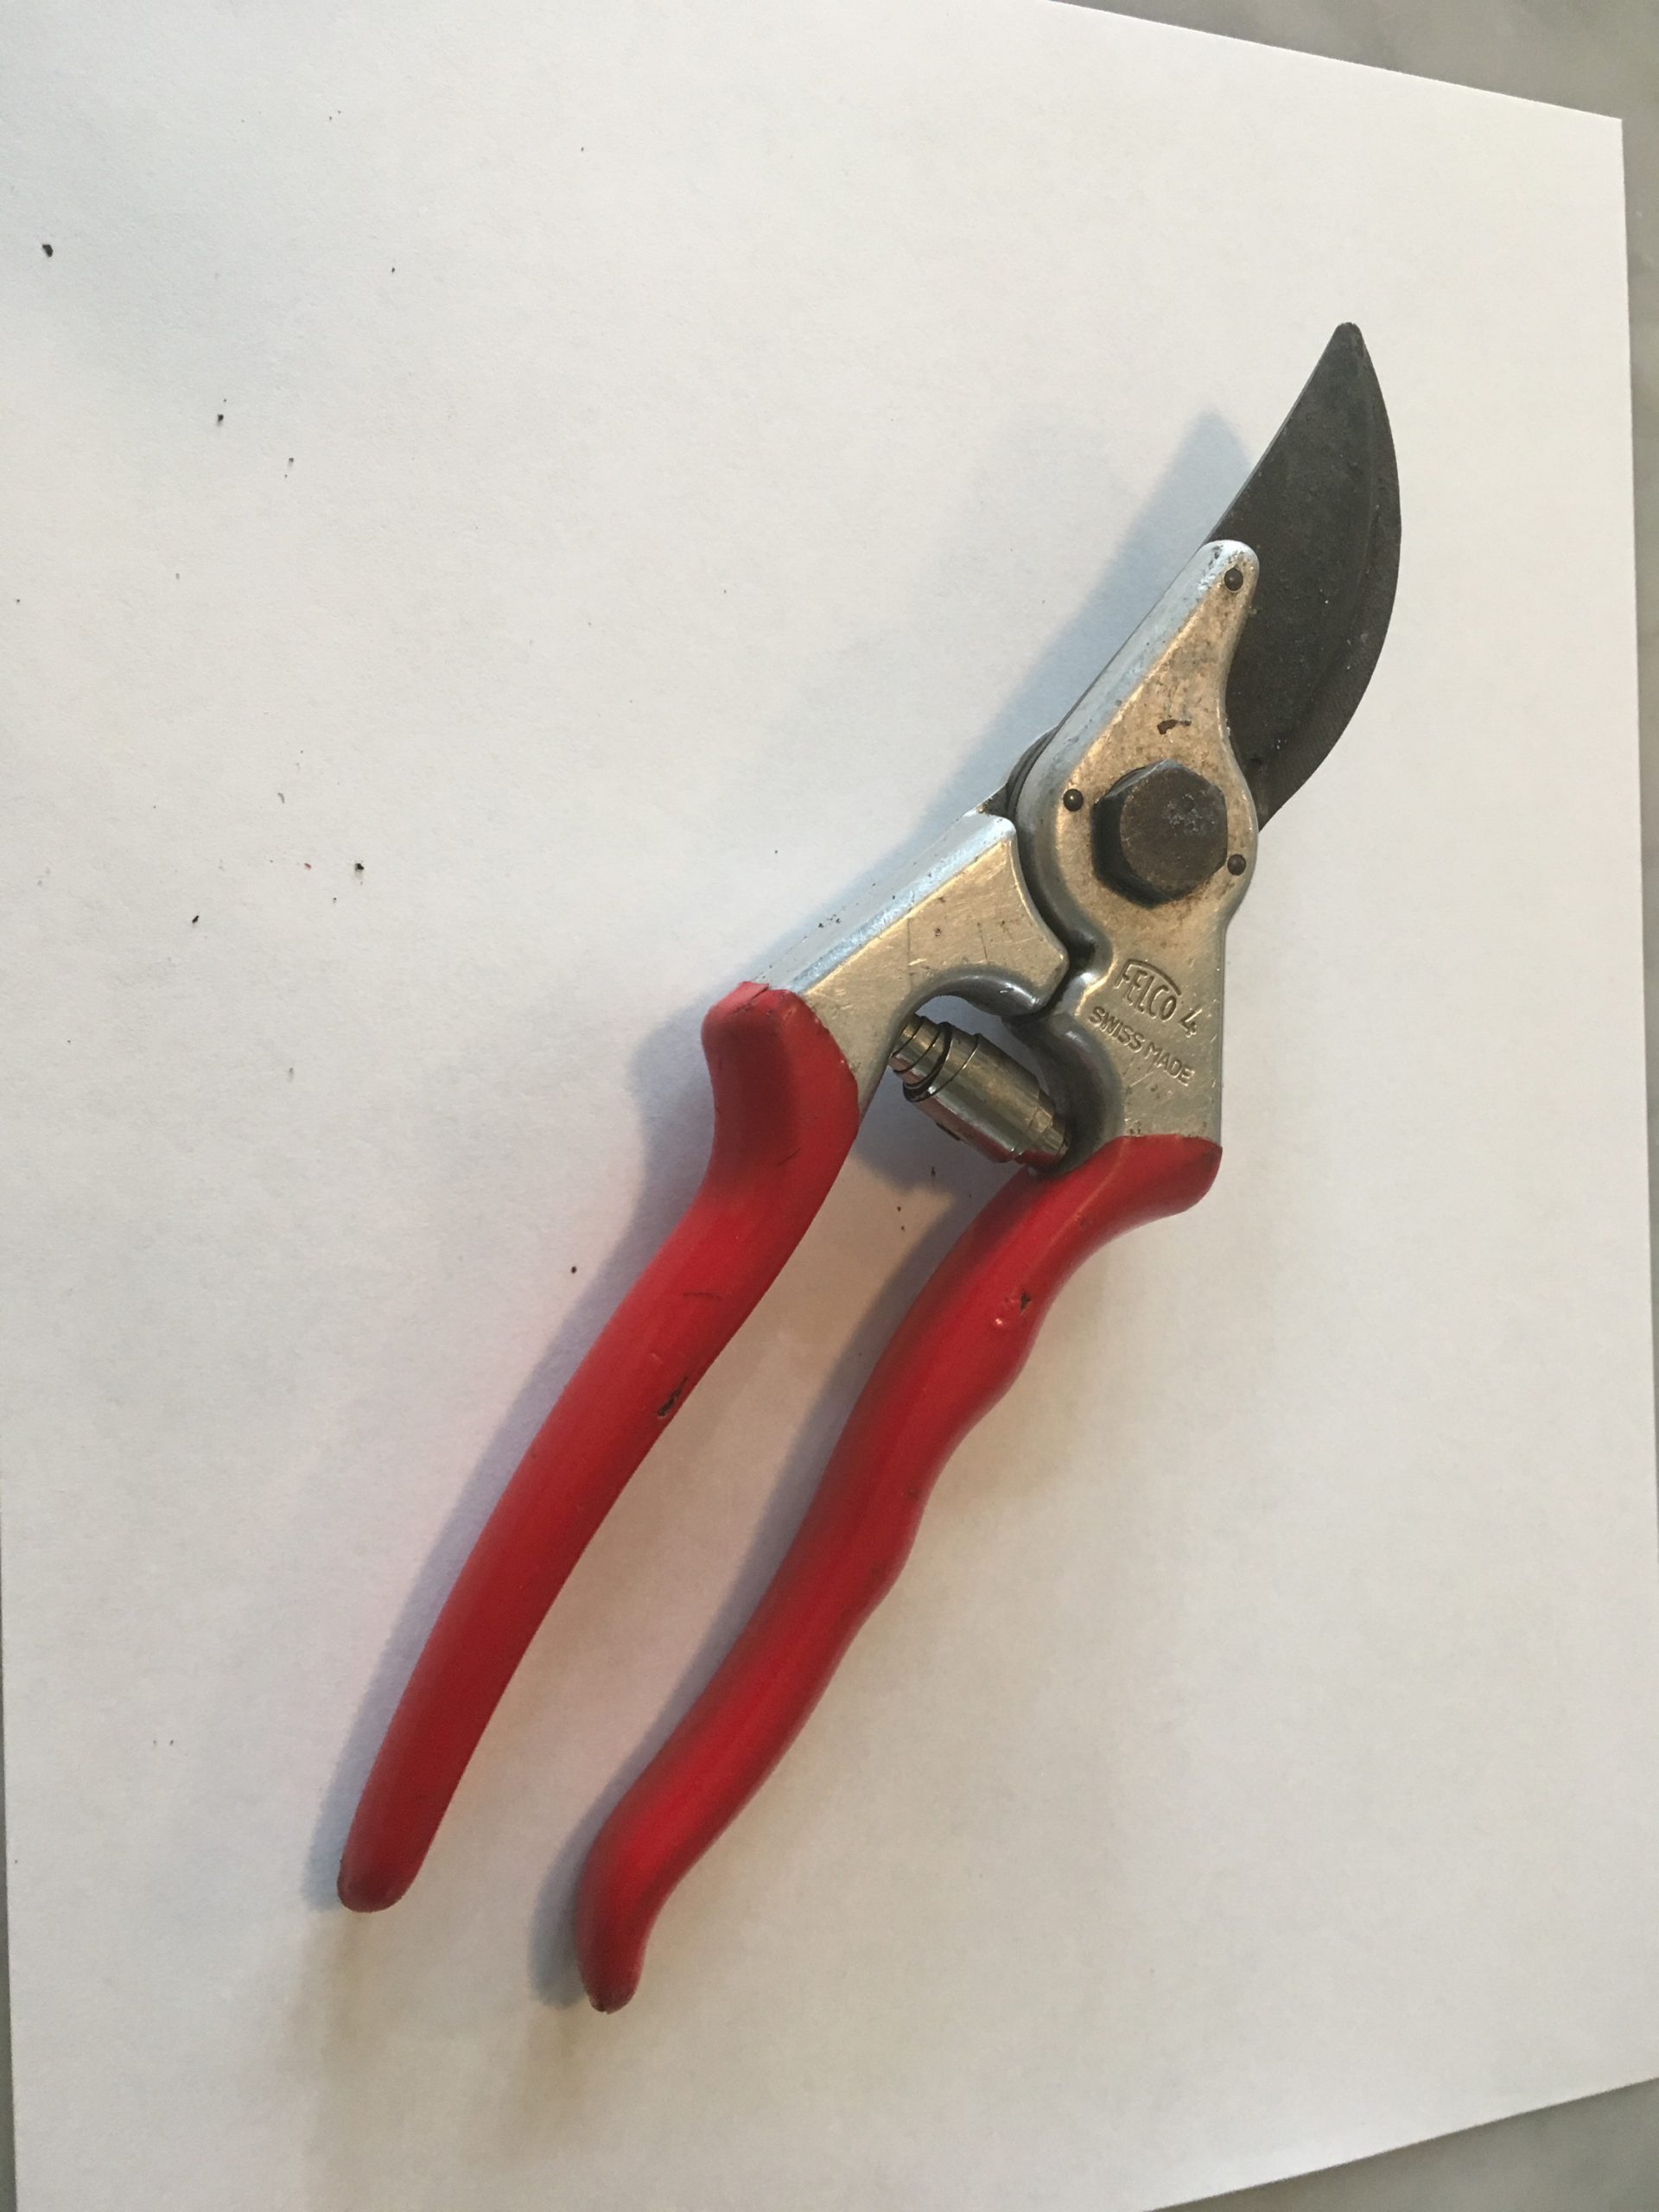
There is an old saying that rings true in pretty much any situation – “You get what you pay for.” Gardening tools, especially pruners, are no exception. We’ve all been there, fumbling around with a pair of rusty, dull, cheap garden pruners that just barely get the job done. Unfortunately, they can also do considerable harm to the plants you’re trying to improve, as anything short of a nice, sharp, clean cut introduces the potential for insect/disease infestation and will produce a wound that takes much longer to heal, if it ever heals properly at all. You wouldn’t want your doctor to start hacking away at you with a dirty, second-rate scalpel. Don’t subject your plants to the same treatment! While I’m not advocating blowing hundreds or thousands of dollars outfitting your garden tool shed with top of the line everything, investing in a pair of quality bypass hand pruners will pay dividends many years into the future and make your gardening experience much more enjoyable!

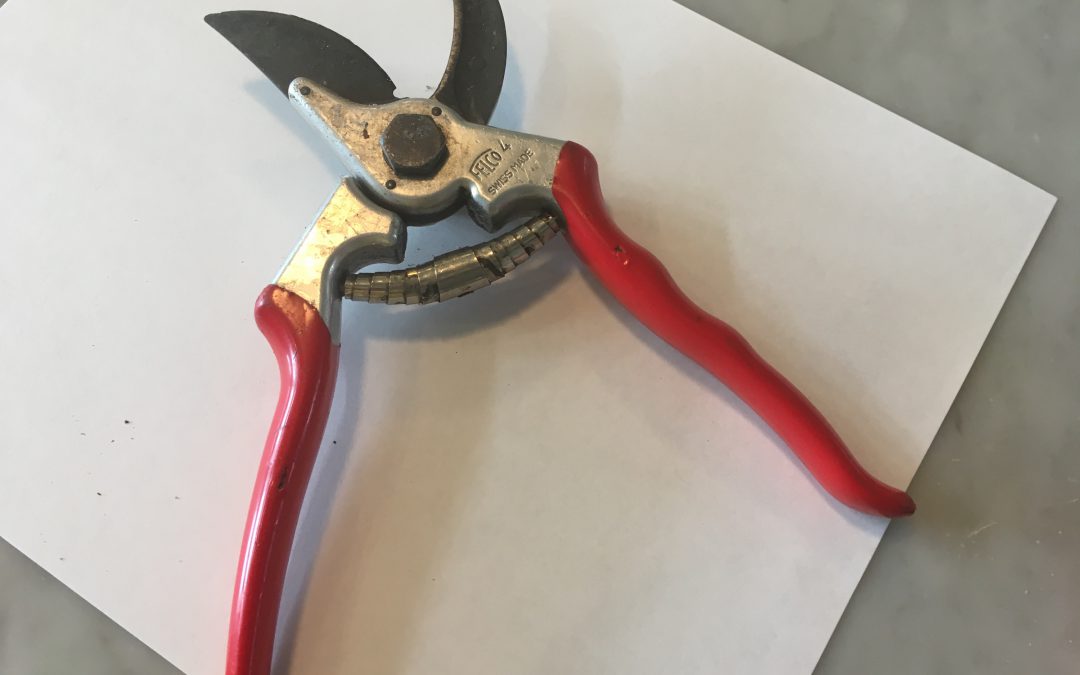
The classic Felco #4 bypass hand pruners. Photo courtesy of Walton County Master Gardener Andrea Schnapp.
Found in three designs, from old-fashioned anvil pruners that smush and smash their way to a cut, to ratcheting pruners that make short work of larger branches but tend to be cumbersome and complicated, to bypass pruners that produce clean cuts in a scissor-like manner, hand pruners accomplish many tasks in the landscape. From cutting small limbs, to harvesting vegetables, to deadheading annual flowers and everything in between, there isn’t a more frequently used, versatile tool. Therefore, it makes sense to buy a quality pair that will perform excellently, still be snipping long after your pruning days are over (if you take care of them), and that are comfortable enough you will enjoy using them. When shopping for your pair of “forever” pruners, there are a few things to look for.
- Only use bypass style pruners. Your plants will appreciate it.
- Look for heavy duty pruners with frames made from quality aluminum or stainless steel; they won’t rust and won’t easily bend or break.
- Buy pruners with replaceable parts. This is especially key because springs eventually rust and gum up and blades break and will eventually lose their ability to hold an edge over time (though you can and should resharpen them).
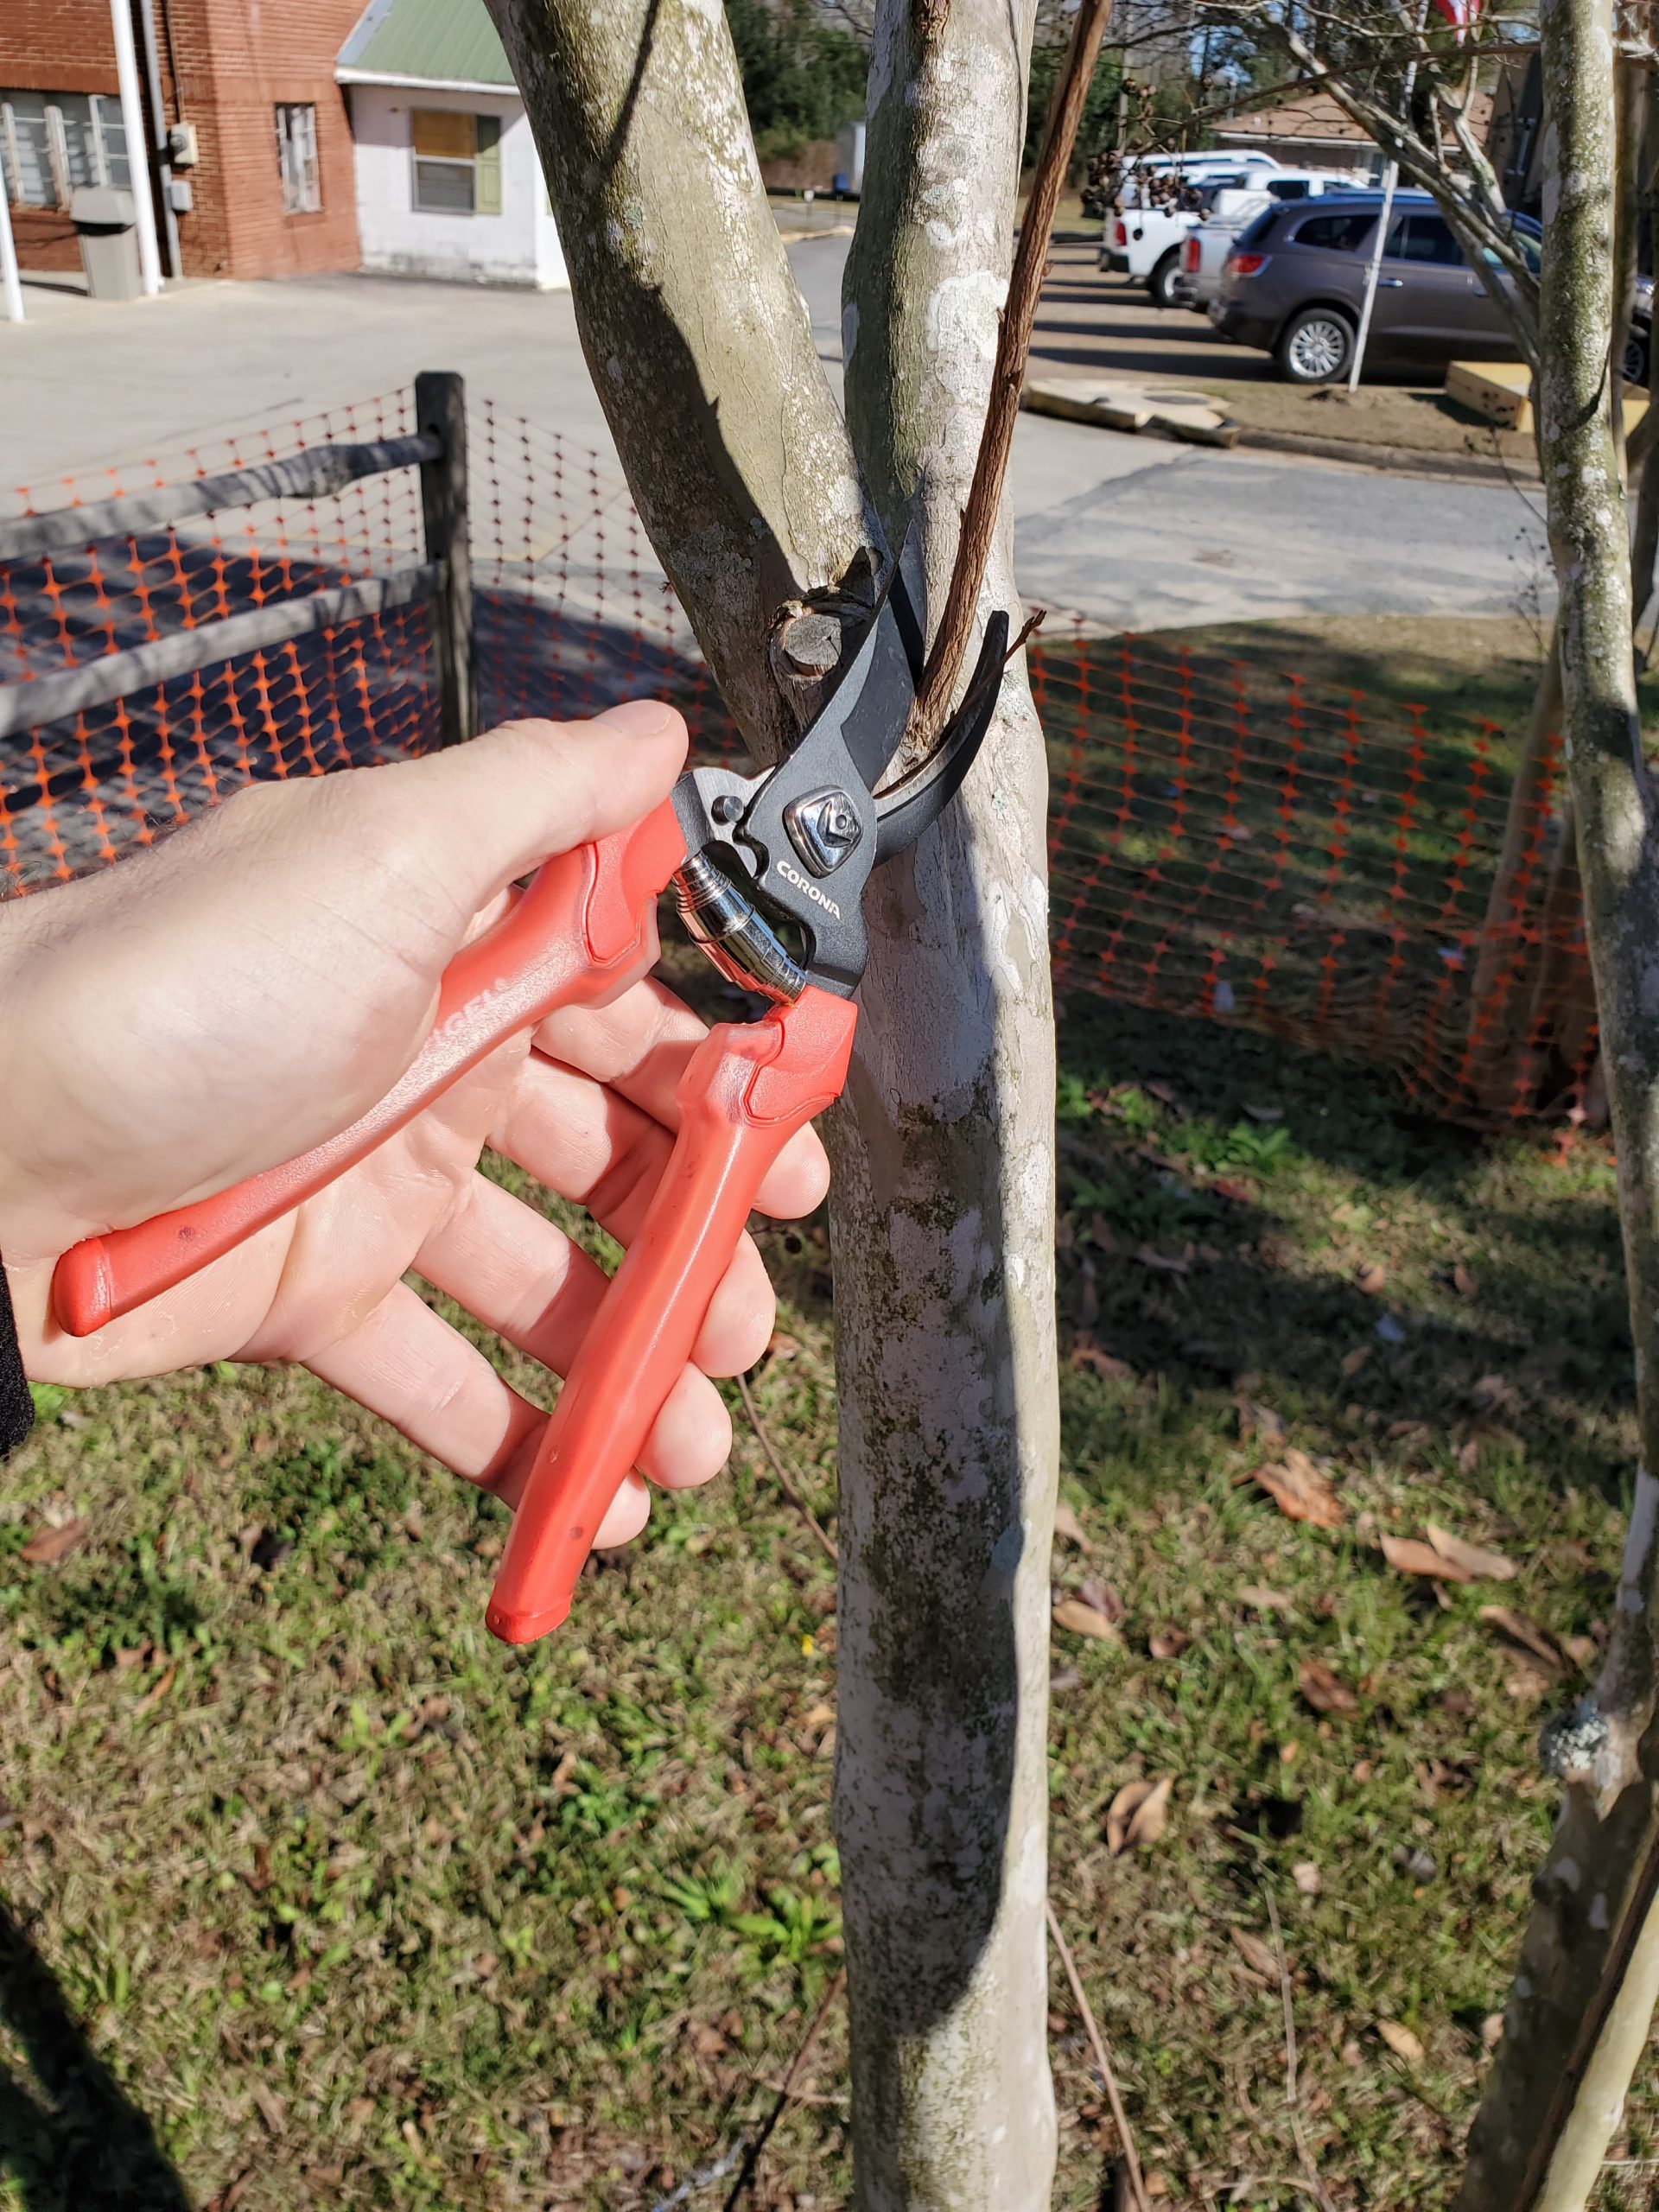
There are two commonly found brands that fit all three above criteria, albeit at different price points. For a high quality “budget” blade, various models from Corona do an excellent job for the money ($20-30) and won’t hurt your feelings too badly if you happen to lose a pair. Should you decide to splurge a little, Felco makes sharp, indestructible pruners, in multiple models around $50 to fit all size hands. Felco has become the horticulture industry standard and you’d be hard pressed to find a nursery owner or landscaper that didn’t own a pair (or two).

Corona ComfortGel bypass hand pruner. Photo courtesy of Daniel Leonard.
Regardless of which brand you buy (and there are many more than the two above listed) a pair of well-made pruners, if taken care of, should last a lifetime and make your gardening experience much more enjoyable for you and your plants! If you have any questions about gardening tools or equipment or any other horticulture or agronomic topic, feel free to contact your local UF/IFAS Extension Office. Happy Gardening!
by Sheila Dunning | Dec 4, 2020

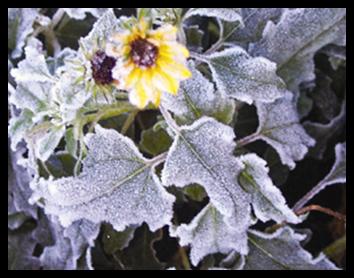
Frost on Dune Sunflower
Picture by: Pam Brown
UF/IFAS Extension
December is finally here and that means consistent nights of watching for dropping temperatures. Tropical plants and newly installed shrubs are susceptible to cold injury. Those colorful, blooming plants that have added a tropical look to the landscape all summer may begin to suffer when the temperatures drop below 500 F. Leaves may turn yellow and flowering stops. These plants will need to be moved inside or have temporary greenhouse built around them. But, hardy plants that haven’t established a sufficient root system will also need additional attention when the temperatures drop dramatically.
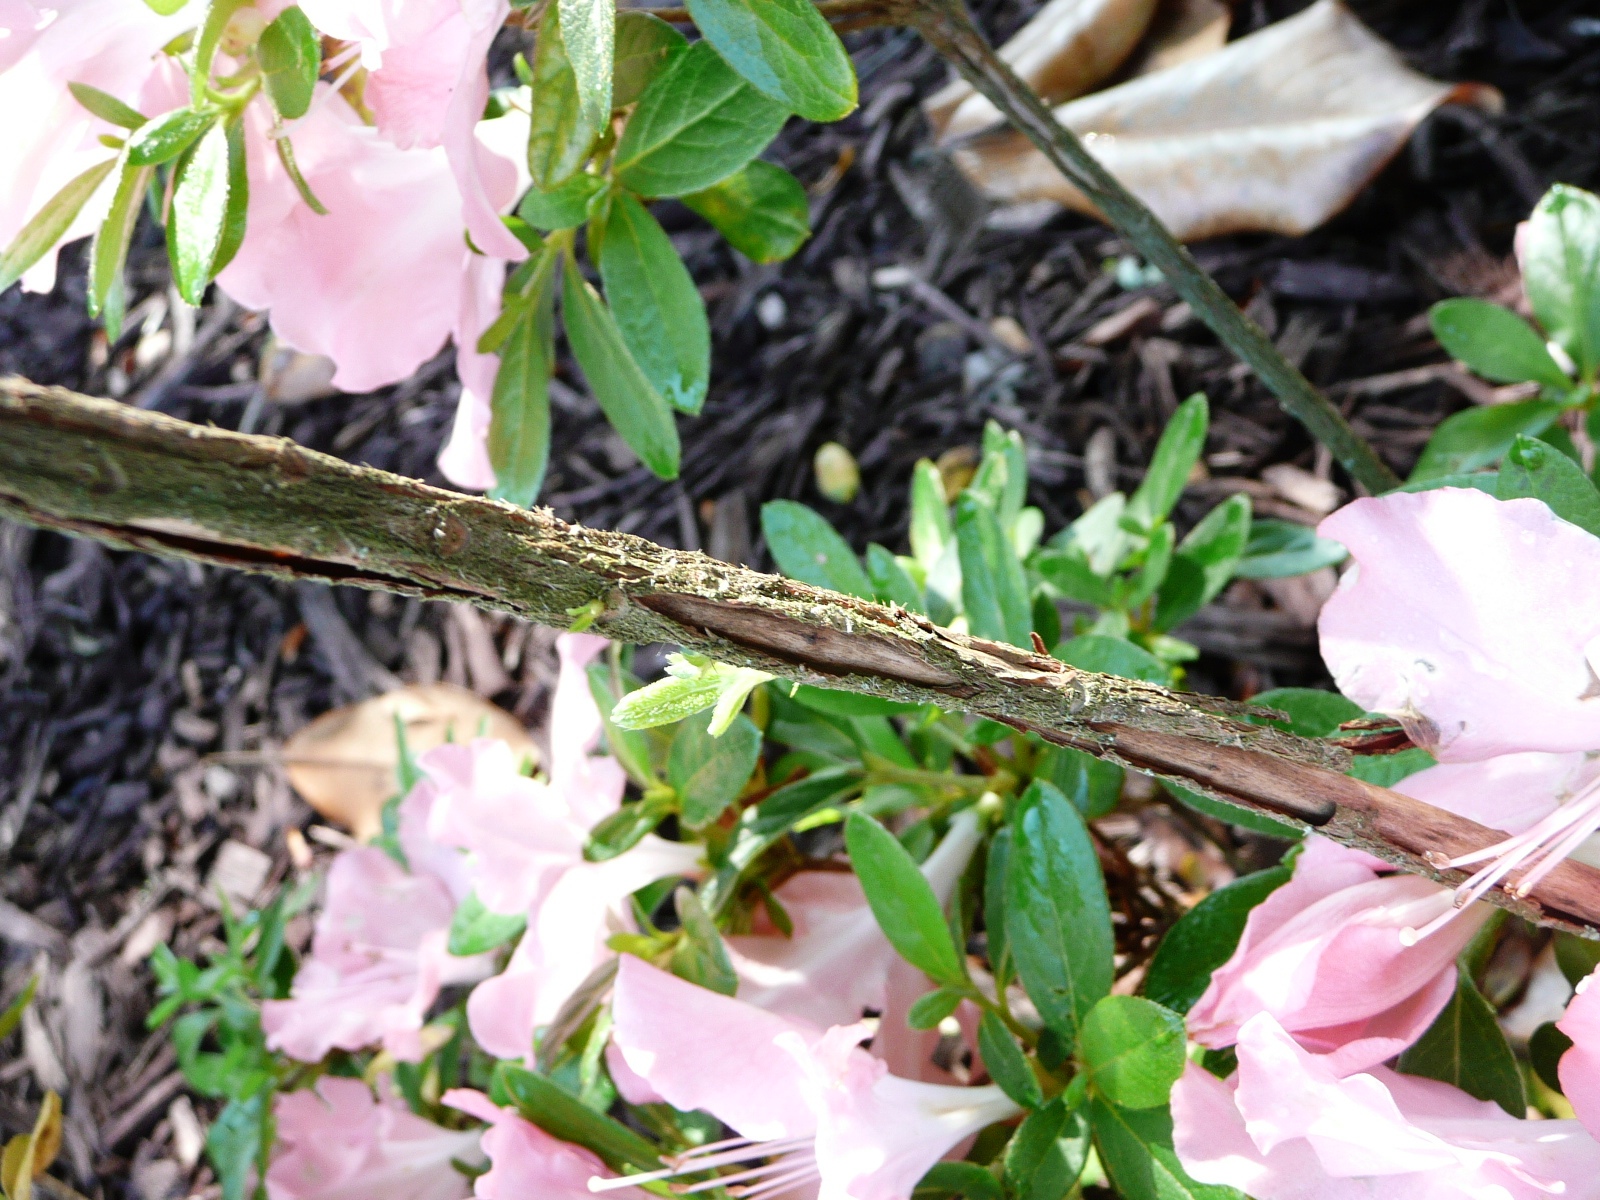
The ability of plants to endure a freeze depends on the species and the weather leading up to the extra cold night. Gradual decreases in temperatures helps plants acclimate to winter. But, a sudden one day drop of 40-50 degrees results in a rapid freeze that causes ice to form inside the plant cells. Leaf and stem tissue expands so quickly that it splits, resulting in parts of the plant incapable of transporting water and nutrients, as well as, performing photosynthesis. However, it may be late the following spring before the damage is noticed, when that section of the plant has slowly staved to death.

Cracked bark from frost
Additionally, plants can experience desiccation or drying out. This happens when dry winds and solar radiation result in the loss of more water from the leaves than can be transported by a cold root system. The resulting symptom is marginal and/or tip burning of leaves that leads to totally brown leaves.
Freezes (when the temperature drops to 320 F) are characterized as radiational or advective. Radiational freezes occur on calm, clear nights when heat radiates from the surfaces of plants, making them colder than the air due to the rapid loss of heat. If there is moisture in the air, ice will also form on the surfaces. Under these conditions, ice forms between plant cells, rather than within the individual cells. Most hardy plants can tolerate these type of freezes if they are properly hydrated.
Advective freezes occur when cold northern winds move in rapidly, dropping temperatures quickly, and causing widespread foliage desiccation. Cultivation and maintenance practices can impact a plant’s ability to endure extended periods of low temperatures. Shade-tolerant species installed under the canopy of a tree typically display less injury from radiational freezes because the trapped heat from the ground and the overhead foliage creates a microclimate. Well-watered soil around a plant will absorb solar radiation during the day and re-radiate heat over night, raising the temperature around the plants. Shrubs that are not pruned in the late summer or fall have leaves that can withstand frost and wind. But, the removal of foliage late in the growing season triggers a flush of new growth, that is very sensitive to lower temperatures. The same response can result from fertilizer applications after plant’s have slowed down in growth.
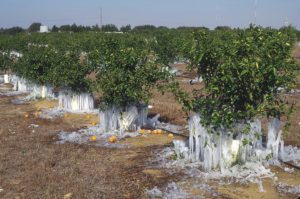
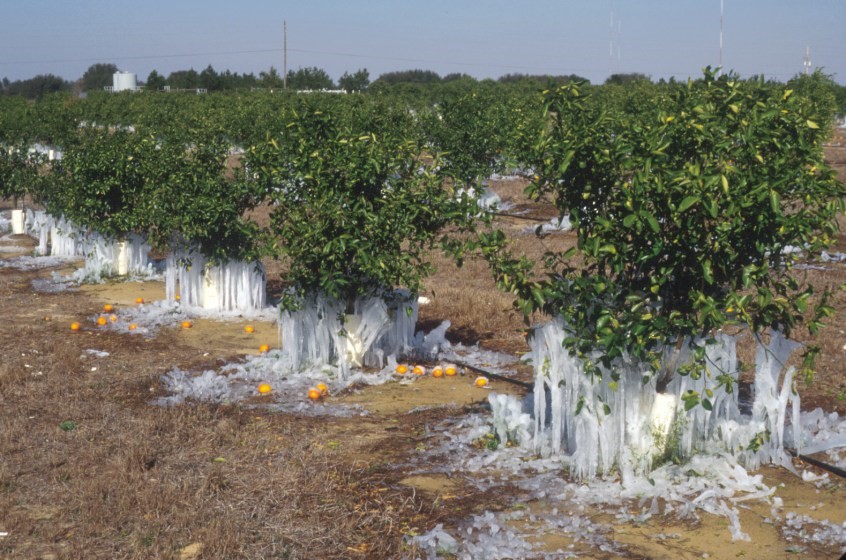
Irrigation Frost Protection on Citrus
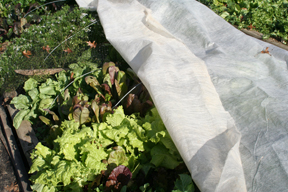
Row Cover
Picture by: Univ of Maryland Extension
So, what can you do to prepare for upcoming freezing temperatures? Begin by avoiding pruning and fertilizing at the end of the season and making sure that the plants have been watered within 24 hours of a cold night. Next, insulate against water loss and increase heat radiation by adding a three-inch of mulch, as well as, covering the trunks of sensitive trees with a commercial tree wrap. Then, consider what needs to be covered. Frost cloth or other breathable fabrics can trap heat for the night and provide a protective layer from frost settling on the leaves. It needs to be placed by mid-afternoon and removed the next day when temperatures are above 320 F. Plastic is not recommended unless the timing regime can be followed reliably and a structure is used under the material to keep the plastic off the foliage. Anchoring of the cover is critically important in the event of an advective freeze.
Finally, turn off the sprinkler system. Commercial agriculture often uses a running irrigation system to keep the leaf surface temperatures near, but not below, 320 F because sprinkling utilizes latent heat released when water changes from a liquid to a solid state. The thin layer of ice melts and re-freezes on the surface throughout the night, without ice forming within the plant tissues. For the technique to work, sprinkling must begin as freezing temperatures are reached and continue until thawing is complete. Landscape systems are not designed to deliver the amount of water over the length of time required to accomplish this type of frost protection.
When the cold nights have passed, don’t forget to check your plants for water. But, wait until winter has passed before pruning out the frost damaged stems.