by Evan Anderson | Apr 30, 2025
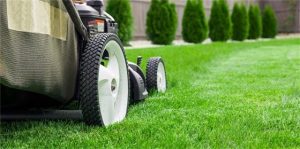
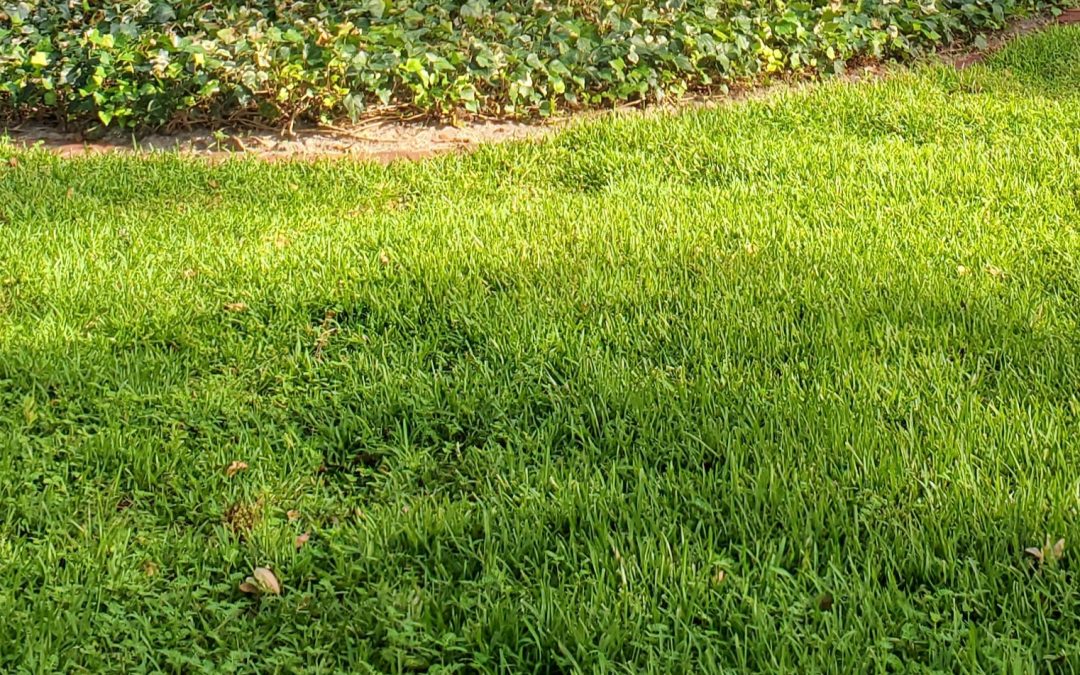
Mowing a lawn. Photo Credit: University of Florida/IFAS
Mowing a lawn isn’t always as simple as making sure there’s gas in the mower. Lawns are alive, and treating turfgrass without care can cause problems in the long run. To make sure your lawn is healthy, follow these guidelines.
- Know your turfgrass! Different grasses need to be mowed at different heights. Even the specific variety or cultivar can make a difference, but in general, bahiagrass should be cut to 3-4 inches, bermudagrass to ½ – 1½ inches, centipedegrass to 1½ – 2 inches, zoysiagrass to 2 – 2 ½ inches, and St. Augustinegrass to 2 ½ – 4 inches. Dwarf or finer-leaved varieties are usually cut lower and more often than taller grasses.
- Mow regularly enough to avoid removing more than 1/3 of grass blade height at one time. This makes sure the plant is not overly stressed and can recover from mowing quickly and efficiently, as well as promoting deeper root systems.
- Sharpen mower blades when they start to become dull. Freshly cut grass that has a ragged or torn appearance is a good sign that it’s time to sharpen the blade.
- Pick up debris such as twigs before mowing to avoid damage to the mower blade.
- Avoid mowing if grass is wet. Dew in the early morning or water from irrigation or rainfall will cause grass to clump and stick.
- In uneven lawns, take care to avoid scalping grass when pushing a mower over inclined areas.
- For a truly professional looking lawn, mow in different directions each time you mow. This can help to avoid forming wear patterns.
- Leave clippings on the lawn rather than bagging them. Clippings break down over time, recycling nutrients and adding organic matter. Grass clippings typically do not contribute to thatch buildup. If clumps form, they can be broken up with a rake to evenly distribute the cut grass over the lawn.
- Sweep clippings from hard, impervious surfaces to limit nutrient runoff.
Follow these guidelines and take care with other lawn management such as watering and irrigation, fertilization, and pest and disease control. You’ll have a great looking lawn before you know it!

by Danielle S. Williams | Apr 21, 2025
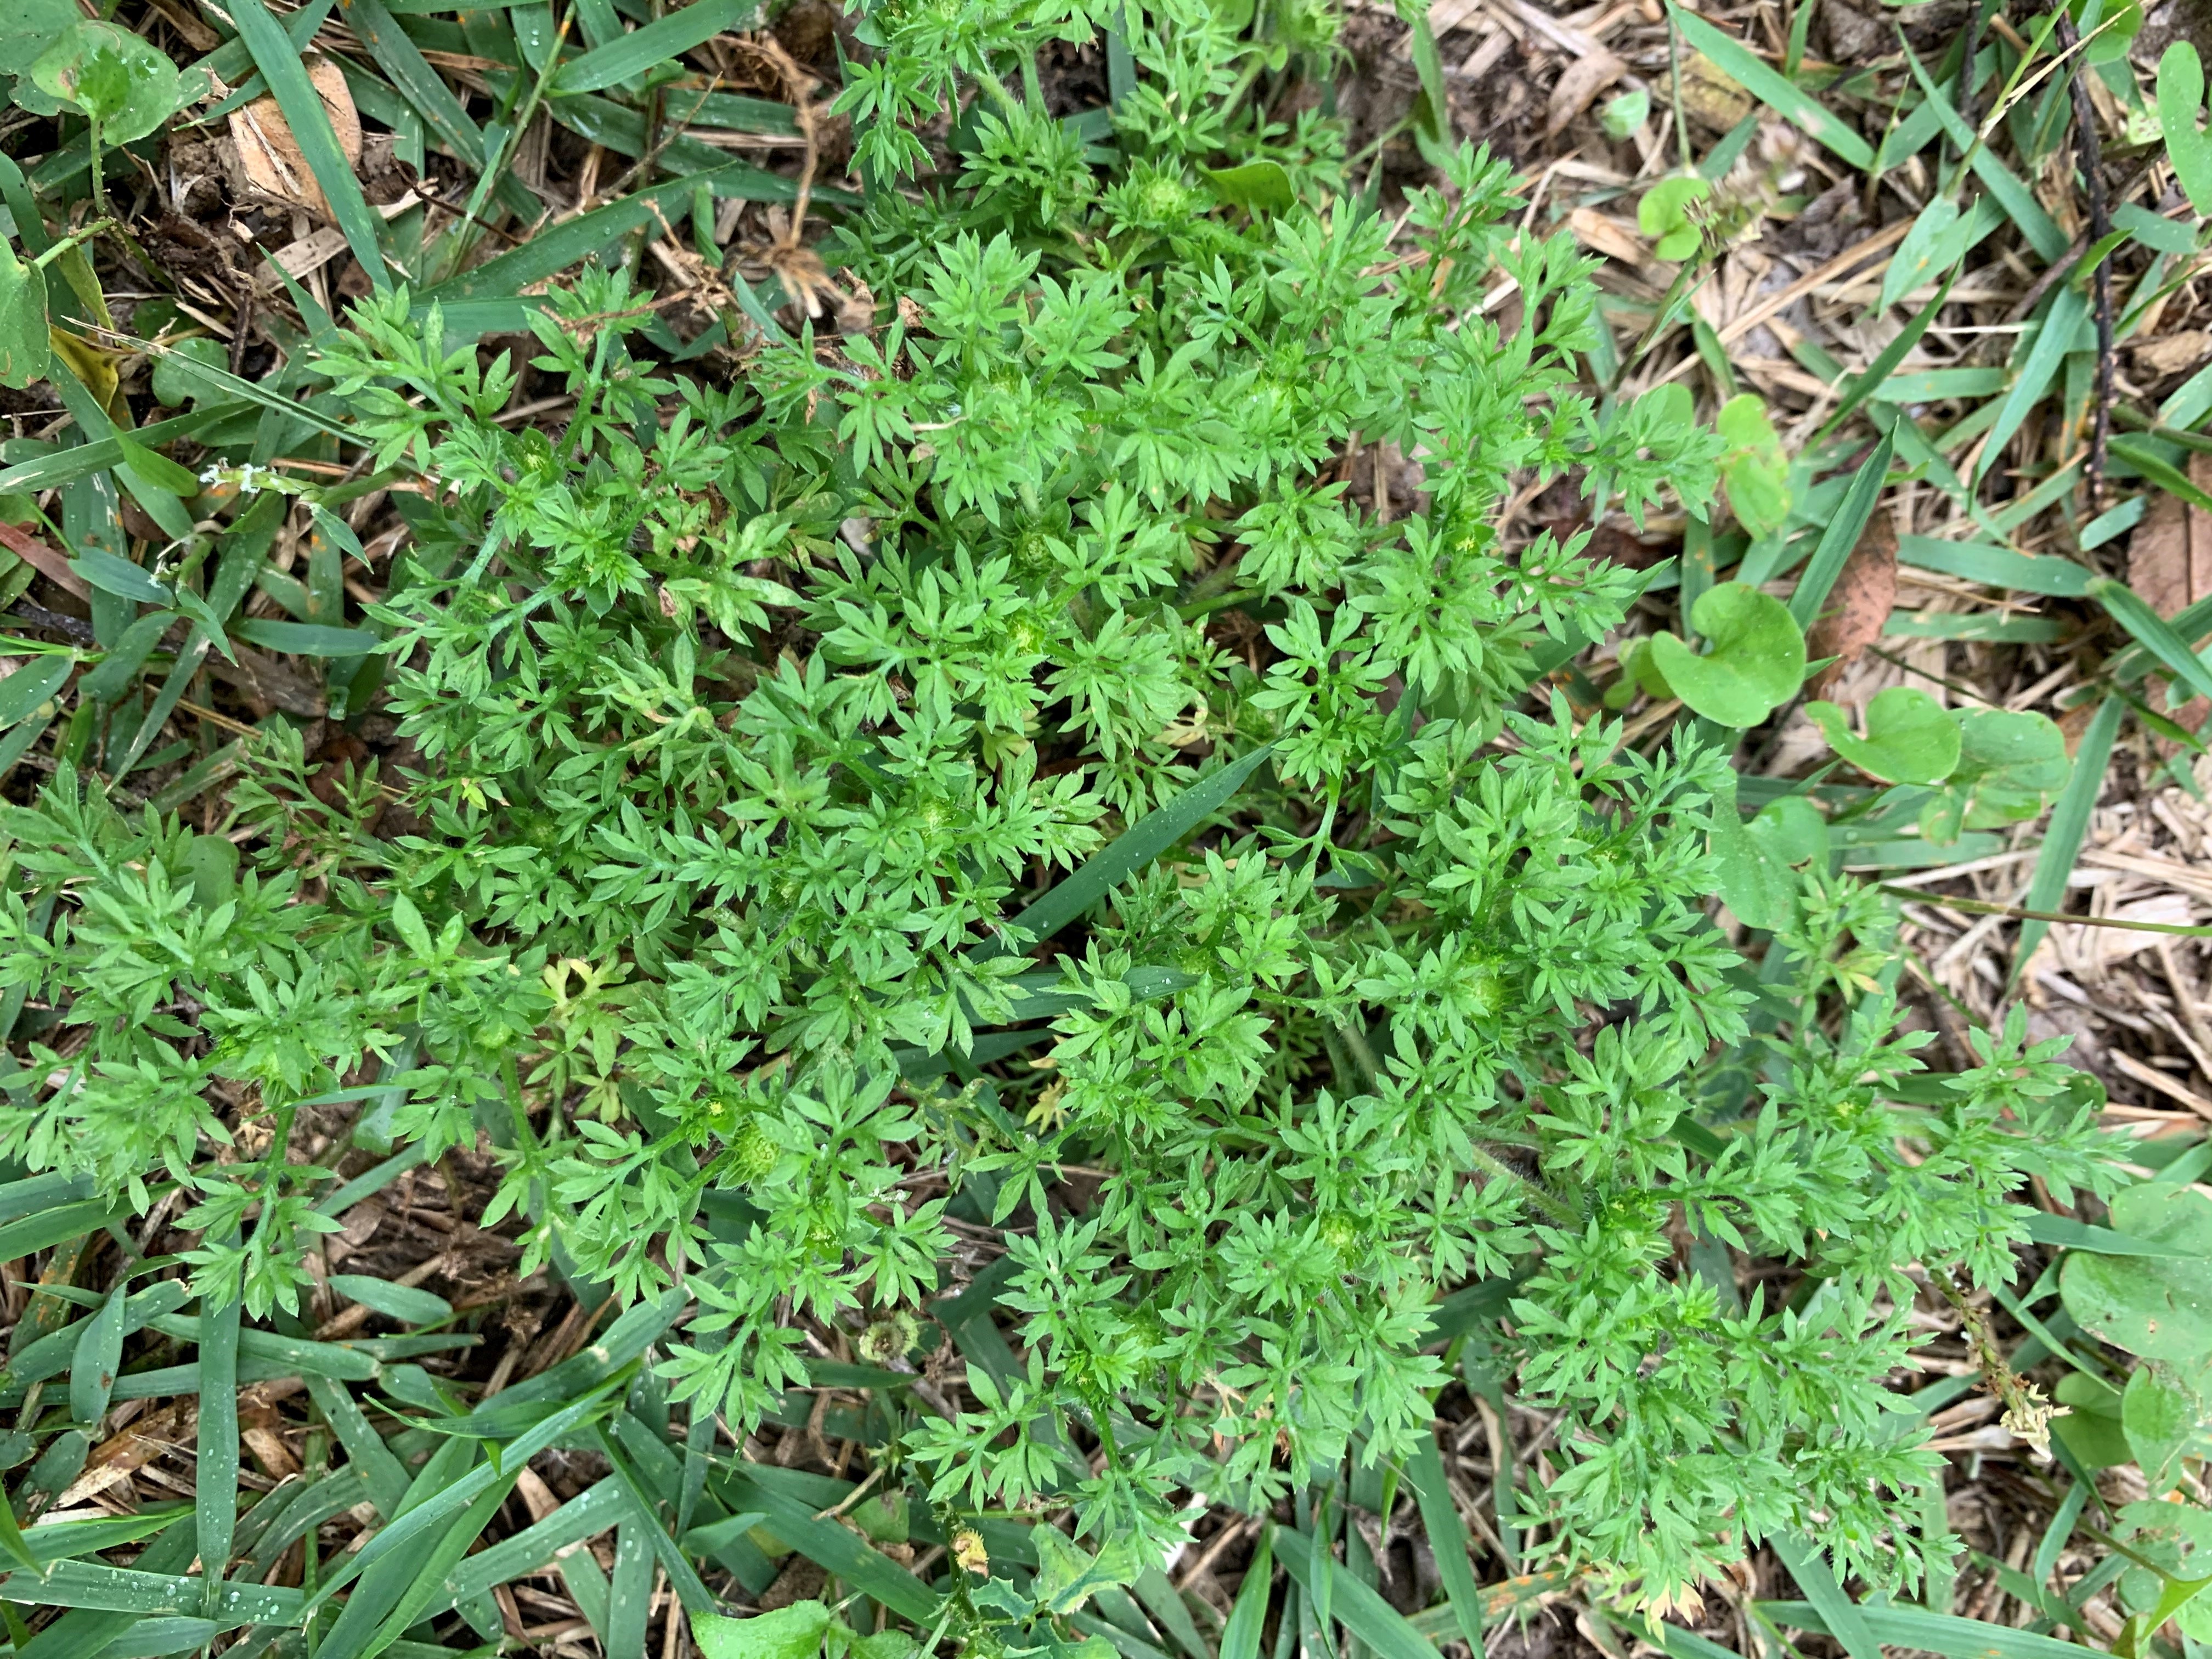
If you’ve ever walked barefoot through a patch of burweed, you know this is a very unpleasant experience. Lawn burweed, also called spurweed or stickerweed, is a low growing winter annual that produces hard, spiny burs that contains the plant’s seeds. These burs or stickers make walking on grass extremely painful for not only people walking barefoot, but pets as well.

Lawn Burweed. Photo: Danielle Williams.
Dealing with lawn burweed can be tricky. Because lawn burweed is a winter weed, seeds actually germinate when temperatures are cool in the fall (late October-November). It then remains unseen during the cold months but as temperatures warm up in the spring, lawn burweed initiates a period of rapid growth and forms the spiny burs which may be hard to see but are easily felt. At this stage, the plant has set seed for next year and killing the remaining foliage won’t remove the burs. Moving forward, there are some things to consider.
Cultural Control
Burweed tends to be prominent in high traffic areas or areas where grass is declining so it is important to prevent infestations by maintaining a healthy, dense lawn. This can be achieved by fertilizing and liming according to soil test results as well as mowing at the proper height and frequency for your specific turfgrass. A healthy lawn can outcompete burweed for light, water, and nutrients and reduce the level of burweed infestation. For more information on maintaining your lawn visit: https://hort.ifas.ufl.edu/yourfloridalawn/
If burweed is only in isolated areas, you can always dig it up and dispose of it. Be sure to wear gloves and watch out for the stickers!
Chemical Control
Post-emergent control: Post-emergent herbicides are most effectively applied when burweed plants are young, actively growing, and haven’t set burs yet from December – February. Controlling burweed now is not impossible, but the burs have likely already formed and will remain present even after the weed dies. Additionally, since burweed is a winter annual, it will begin to die as temperatures reach 90 ◦F and above.
Look for herbicides containing the following active ingredients to help with post-emergent control:
- Atrazine – sold under many brand names and safe in centipede, St. Augustine, and bermudagrass. Do not use in zoysiagrass or bahiagrass lawns.
- Dicamba, mecoprop, 2,4-D – commonly sold in three-way formulations through many brand names. Generally safe in centipede, St. Augustine, bermuda, zoysia, and bahiagrass lawns.
- Metsulfuron – sold under several brand names and safe in centipede, St. Augustine, zoysia, and bermudagrass. Do not use in bahiagrass. Be careful if used around ornamentals.
- Thiencarbazone, iodosulfuron, dicamba. Safe in centipedegrass, zoysiagrass, bermudagrass, and St. Augustinegrass. Do not use in bahiagrass.
Pre-emergent control: If you are struggling with a lawn burweed infestation this spring, plan to do a pre-emergent herbicide application this fall. A herbicide containing the active ingredient, isoxaben can be used to control lawn burweed in centipedegrass, St. Augustinegrass, bermudagrass and zoysiagrass. In order for a pre-emergent herbicide application to be effective, it must be applied before the plant sprouts. For burweed, isoxaben can be applied in October or once temperatures fall to 55-60 ◦F and winter weeds begin to germinate.
Of course, before using any type of herbicide, always read the label instructions! If you have questions about lawn burweed control, please contact your local Extension Agent.
For more information, please visit: ENH884/EP141: Weed Management Guide for Florida Lawns
by Sheila Dunning | Feb 19, 2025
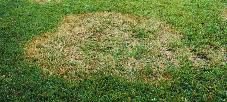
As the temperatures warm into the 60’s (or greater) and the rain chance remains good, keep an eye open for disease in your lawn. Large patch disease is common in turfgrass this time of the year. It is caused by the fungus Rhizoctonia solani. The fungus is present in the soil and thatch layer year-round. When the temperatures rise into the 60’s and 70’s it begins to spread. Large patch thrives under these conditions, especially when the soil is wet. With frequent showers the disease spreads quickly. The first symptom of large patch is circular, discolored areas within the lawn. The outer borders of the patches are orange to yellowish in color. In the center of the circle there are grass blades trying to green up again. They are usually unsuccessful, resulting in odd-shaped patches of dying grass that begin to connect to each other.
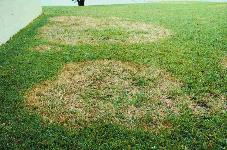
Picture from UF publication
A simple field diagnostic techniques to confirm large patch disease is to pull on the diseased grass shoots near the edge of the circle. The blades will come loose from the stolon easily. At the base of the leaves the stem and sheaths will appear dark brown and rotten. Yes, it is large patch.
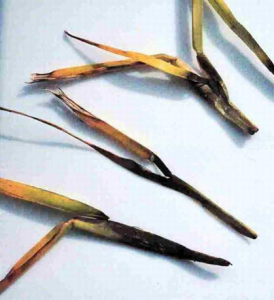
Photo from UF publication
If the weather gets colder or hotter very quickly, the disease will go back into dormancy. Looking at the long-range temperature predictions, the rest of February will be going up and down. Remember, the groundhog said six more weeks of winter. So, start looking for a fungicide or two or contact your pest control service. However, remember fungicides don’t cure existing problems. They are utilized as a protectant for the unaffected portions of the grass. When favorable conditions are present, the turf should be sprayed in order to keep the fungus from penetrating the grass blades. Repeat applications will be needed for as long as the weather is cool and wet. Check the product label for the correct intervals. Several cultural practices promote large patch infection including over-fertilization, over-irrigation, low mowing height, poor drainage and excess thatch. This spring, after the grass has greened-up on its own, is a good time to look at these factors and make corrections. Keep a close eye because as soon as the temperatures drop again in the fall, large patch can reappear if the corrections were not complete. For more information: https://edis.ifas.ufl.edu/lh044
by Joshua Criss | Jan 9, 2025
Well folks, the earth has made yet another trip around the sun, and we find ourselves in another of hopefully many a new year. The weather has been cold, but it’s important that we spend a few moments plotting a strategy for our lawns in the coming year. Lawncare is a subject which is shrouded in myths and often misunderstood. Luckily, a little bit of knowledge can help you achieve stress free healthy turfgrasses.
Lifecycle
The first thing homeowners should understand is how turfgrass grows throughout the year. Turfgrass is split into warm and cool season species. You may have guessed that in the Florida Panhandle, warm season grasses are dominant. These grasses perform well in warmer weather going dormant when temperature begins to fall. During this dormant period, these grasses turn brown and may appear to have died. The grass itself is alive and well, but the roots have died back significantly.
Fertilizers
Why is this an important piece of information? There is no point in applying fertilizers to turfgrasses with no ability to absorb them. Instead, waiting until mid-April (think Tax Day) for fertilizers provides two key benefits. First, it allows time for the grass to develop a thick mat of roots. As roots are the main tissue for nutrient entry into plants allowing your lawn to utilize the applied nutrition. Second, waiting until a little later evades late season freezes. Cold weather may harm early season growth which stresses your lawn which could cause die back allowing weeds to take over.
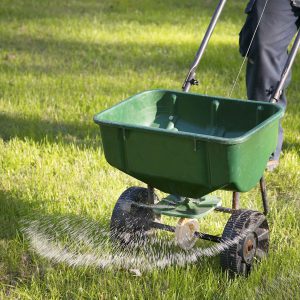
UF/IFAS photo: GI-BMP
Weed Prevention
The subject of weeds brings us to a critical cultural practice in terms of lawncare. The application of preemergent herbicides. These herbicides are designed to create a barrier in the top 1/2 inch of soil which prevents shoot and root growth after weed seed germination.
Now, it’s important to understand, there are hundreds of thousands of weed seeds in the top layers of soil all over the world. Weeds take advantage of open spots in your lawn as does any plant in any ecological system.
A preemergent herbicide prevents weed from being able to fill those spaces, by preventing their growth. Given the proper watering and fertilization, your grass may now fill these voids. Your lawn will outcompete the weeds and become its own preventative.
Selecting and application of a pre-emergent herbicide does have some nuance. Not every product is compatible with every grass type, consult our Weed Management Guide to select a product that will work for your lawn. Another concern is application timing and frequency. Multiple applications will likely be required in the spring due to those triggers which break seed dormancy combined with product efficacy timelines. Local extension offices are a great resource for specificity, but generally application will need to be mid-February with a second application 6-8 weeks later based on the product label. Also important to note is that this is a long-term process. It may take a few years of spring and fall application to eradicate the weeds in your lawn.

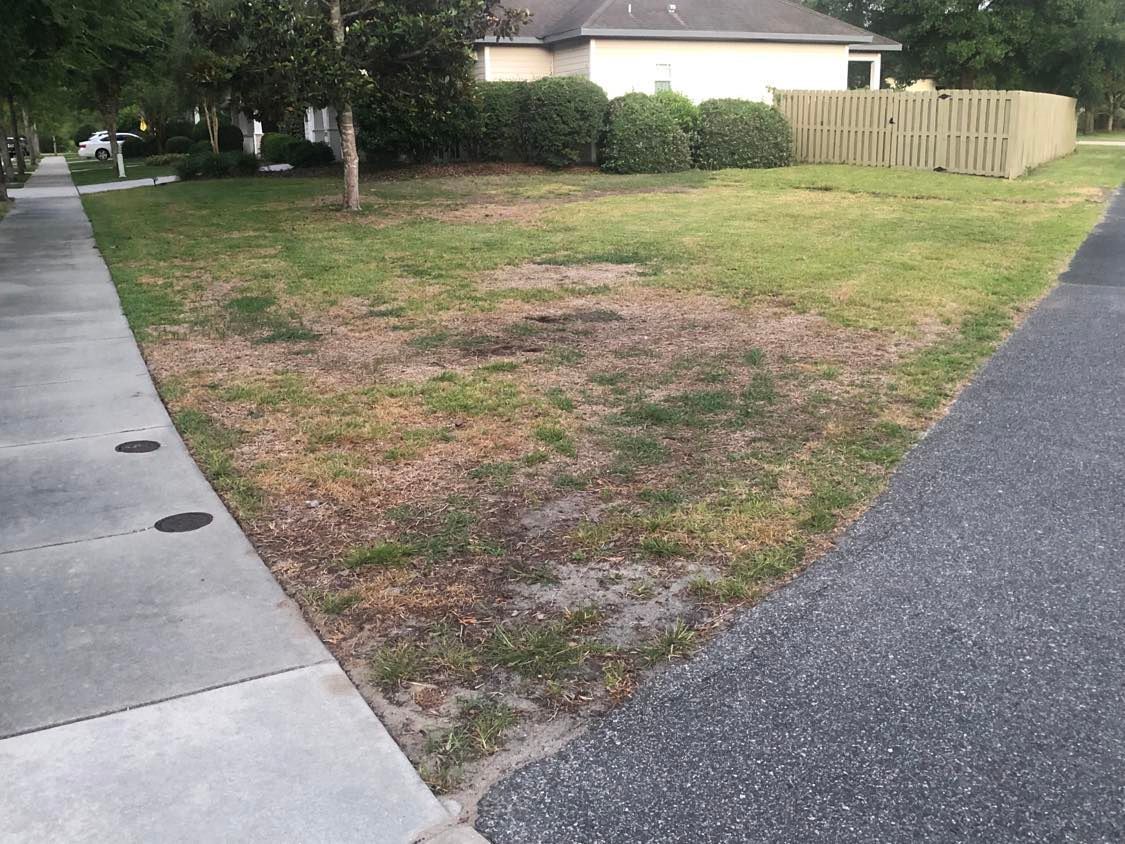
Lawn decline from weed infestation UF/IFAS Photo: Pawel Petelewicz
To Sum Up
Turfgrasses make excellent groundcovers and are look best when grown as stress free as possible. In the early parts of the year that entails holding off on fertilization and adding a layer of protection for summer weeds. Getting to know your turfgrass and familiarizing yourself with proper cultural practices will go a long way to making a healthy lush lawn. For more information you may read through our Florida Lawn Handbook or consult your local Extension Agent.
by Sheila Dunning | Nov 6, 2024

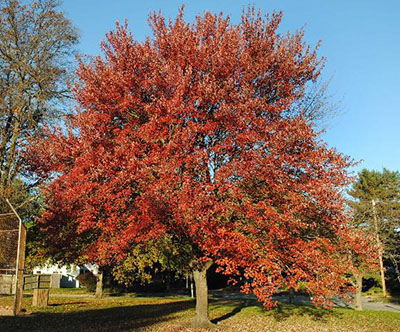
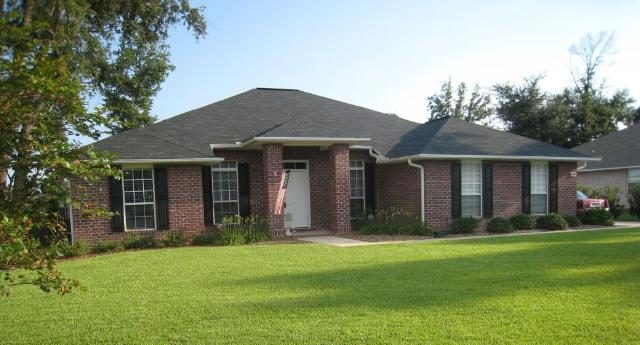
Red Maple structure IFAS Photo: Hassing, G.
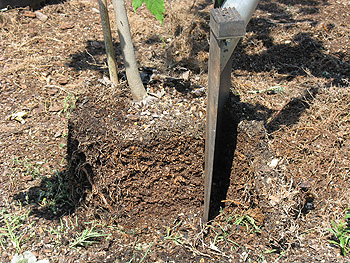
Though the calendar says November, the weather in Northwest Florida is still producing summer or at least spring-like temperatures. The nice days are wonderful opportunities to accomplish many of those outside landscape chores. But, it is also a good time to start planning for next month’s colder temperatures. Since we don’t experience frozen soil, winter is the best time to transplant hardy trees and shrubs. Deciduous trees establish root systems more quickly while dormant; versus installing them in the spring with all their tender new leaves.

Remove an inch or more for extremely rootbound trees.
Here are a few suggestions for tasks that can be performed this month:
- Plant shade trees, fruit trees, and evergreen shrubs.
- Do major re-shaping of shade trees, if needed, during the winter dormancy.
- Check houseplants for insect pests such as scale, mealy bugs, fungus gnats, whitefly and spider mites.
- Continue to mulch leaves from the lawn. Shred excess leaves and add to planting beds or compost pile.
- Replenish finished compost and mulch in planting beds, preferably before the first freeze.
- Switch sprinkler systems to ‘Manual’ mode for the balance of winter.
- Water thoroughly before a hard freeze to reduce plants’ chances of damage.
- Water lawn and all other plants once every three weeks or so, if supplemental rainfall is less than one inch in a three week period.
- Fertilize pansies and other winter annuals as needed.
- Build protective coverings or moving devices for tender plants before the freeze warming.
- Be sure to clean, sharpen and repair all your garden and lawn tools. Now is also the best time to clean and have your power mower, edger and trimmer serviced.
- Be sure the mower blade is sharpened and balanced as well.
- Provide food and water to the area’s wintering birds.
Mowing a lawn. Photo Credit: University of Florida/IFAS