On a daily basis, it is not unusual for our Extension Office to get calls, emails, and walk-ins with questions about insect identification. Sometimes we even get questions about imaginary insects! The overwhelming opinion by our clientele is that the insects in question are harmful to their landscapes and gardens. This is not always the case since there are more than 100,000 species of insects found in the United States, but less than 1% are harmful.
Recently I received a call about an abundance of bugs in a client’s newly installed sod. He was concerned that the insects were taking over his yard. Luckily, he was able to submit some good quality photos so the University of Florida/IFAS Extension Service could help him identify the insects.
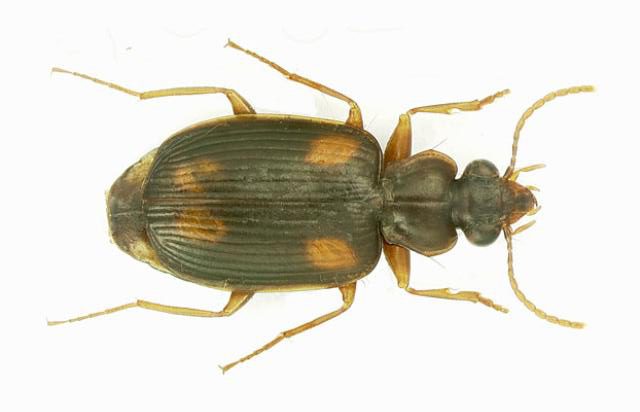
An adult ground beetle (Mochtherus tetraspilotus). Photo Credit: Michael C. Thomas, Florida Department of Agriculture & Consumer Services
The photos were sent to a University of Florida Entomologist for identification verification. It turns out the insects were ground beetles (family Carabidae). Adult ground beetles are slender and range between 1/4″ and 3/8″ in length. Their head and thorax are much narrower than their abdomens. Ground beetles are beneficial insects that feed on moth eggs and larvae. They are known predators of soybean loopers, cabbage loopers, and velvetbean caterpillars. It is suspected that the beetles found by the client came from the sod farm and were living in the thatch layer of the sod. They were possibly feeding on sod webworms or other moth larvae.
Accurate identification is the first step of integrated pest management (IPM). In this case, the insect found wasn’t a pest at all. If you need help identifying an insect, feel free to contact your local Extension Agent. For more information on beneficial insects, visit these publications found at edis.ifas.ufl.edu.
Why are the plants we are trying not to grow so hard to kill? Weeds can be quite frustrating to home gardeners as they struggle to get them under control. There are a few things you can do to help make your efforts more successful.
Identify the weed. It might seem like it doesn’t matter what the plant is if you know you want to get rid of it, but a big part of your strategy should be figuring out why that plant is being so difficult. Below are the reasons why weed identification is so critical in your fight to control it.
Which plant are you favoring with your maintenance routine? All plants have similar basic needs: water, sunlight, nutrients, and a space to grow, but some perform better with varying amounts of each of these inputs. Sometimes we can influence these factors in a way that favors one plant over another. The best example is how we irrigate our landscape. If you plant drought tolerant shrubs, such as Indian Hawthorne, which can survive with little to no irrigation after establishment, and then continue to water 2-3 times a week, is it any wonder that you get water loving weeds such as dollarweed, torpedograss, or sedge? Only apply inputs that support your desirable plants and nothing more.
Recognize the weed type. There are three main types of weeds we typically encounter: broadleaf, grass, or sedge. Some herbicides are broad-spectrum, which means they kill any type of plant, while others are selective. Selective herbicides generally target either broadleaf, grass or sedge weeds and have minimal impact on the other types. This can be very important information to have if you are shopping for an herbicide.
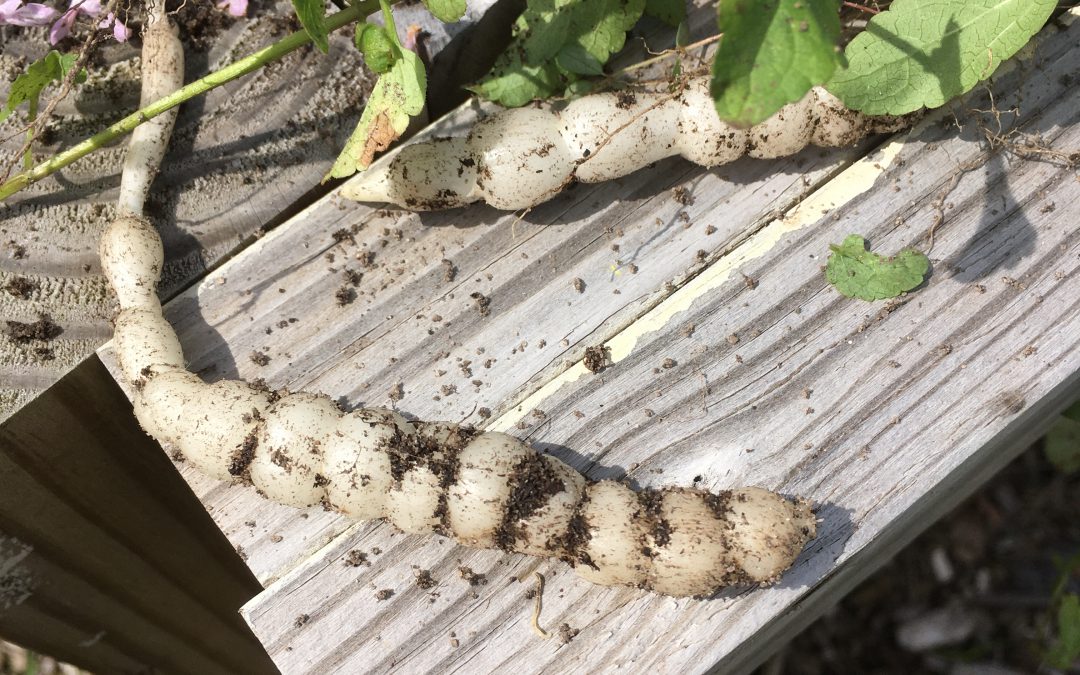
Understand the life cycle. Herbaceous plants fall into three main life cycle categories: annual, perennial, or biennial. Annuals and biennials tend to reproduce primarily from seed. The annual plant completes its entire life cycle in one season or year and a biennial takes two years. When targeting these two, your goal is to get rid of the plant before it flowers and sets seed to reduce future crops. If you miss that window and the weeds go to seed, plan to use a pre-emergent herbicide prior to their next scheduled germination date (usually the next season). Perennials live for more than 2 years and tend to be tough to manage. They may reproduce by seed but many also multiply by vegetative means. To put this simply, they store everything they need in tiny pieces of the plant and if left in place, it will generate more plants. So, that little tiny root fragment from dollar weed you didn’t pull up – yep, it’ll grow a whole new one in its place!
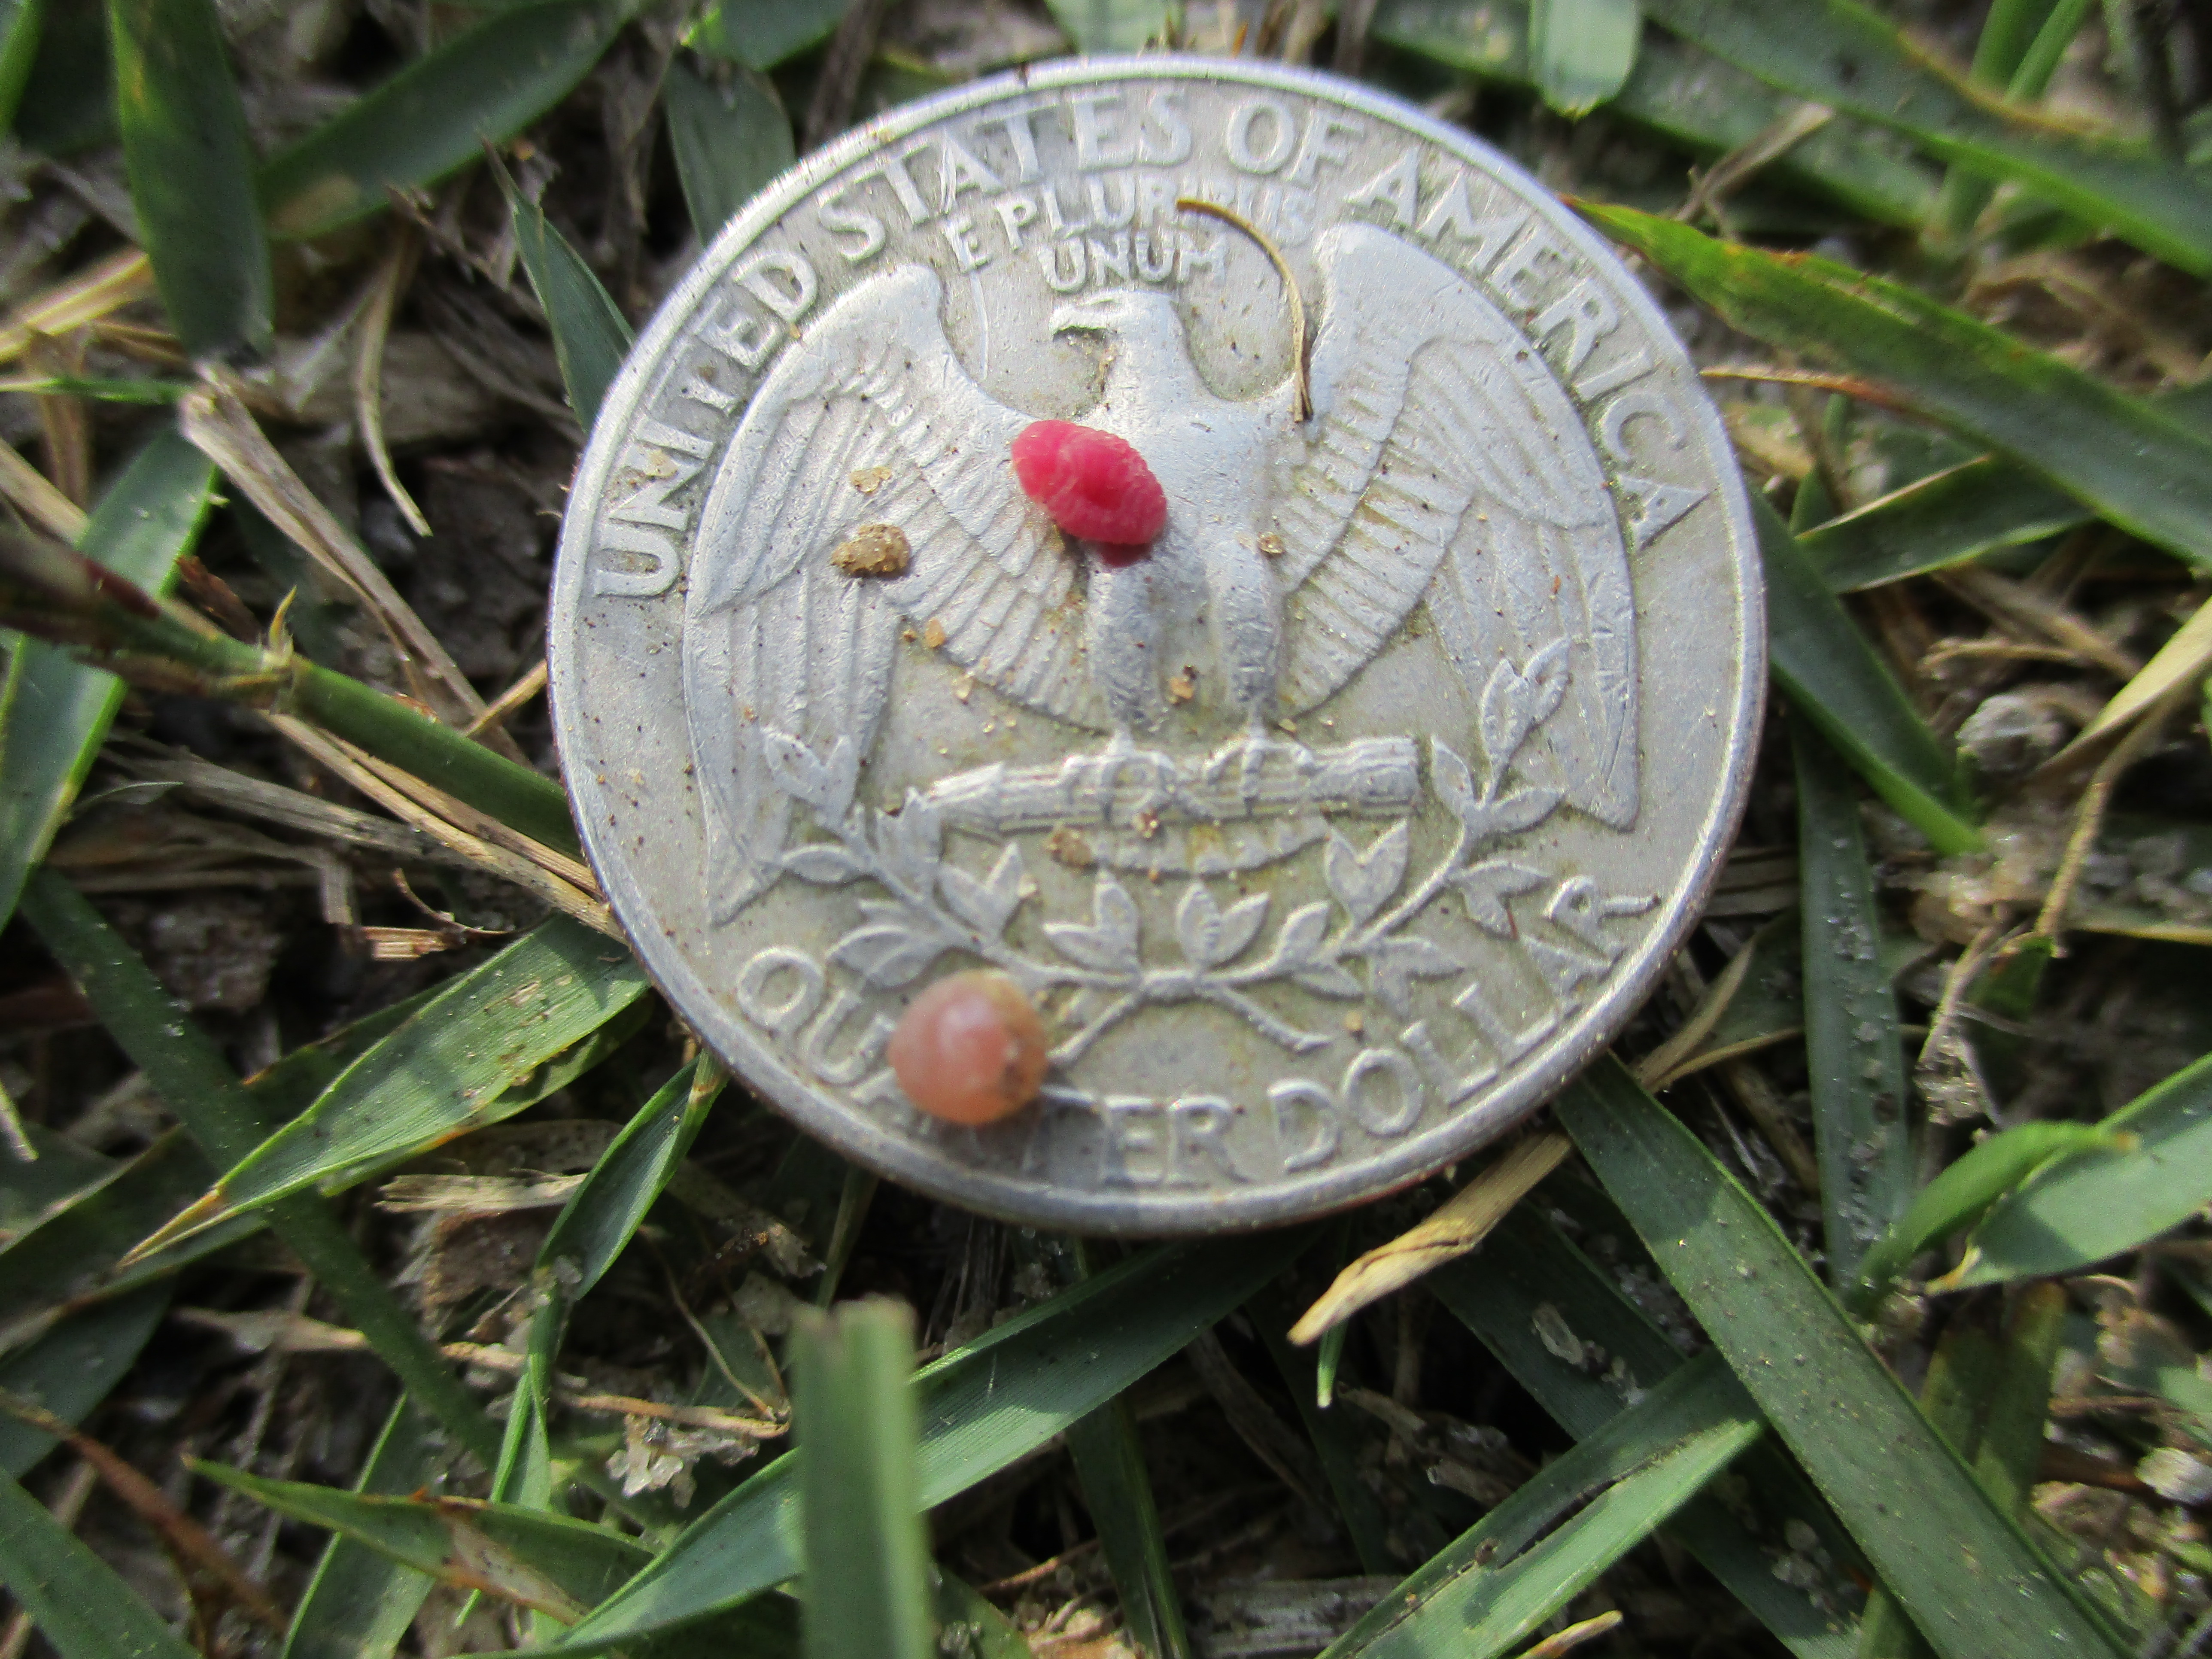
The insect ground pearls can damage many types of turfgrass in North Florida. Learn to identify ground pearl damage and find the insects in your soil with Larry Williams, Horticulture Agent with UF IFAS Extension Okaloosa County.
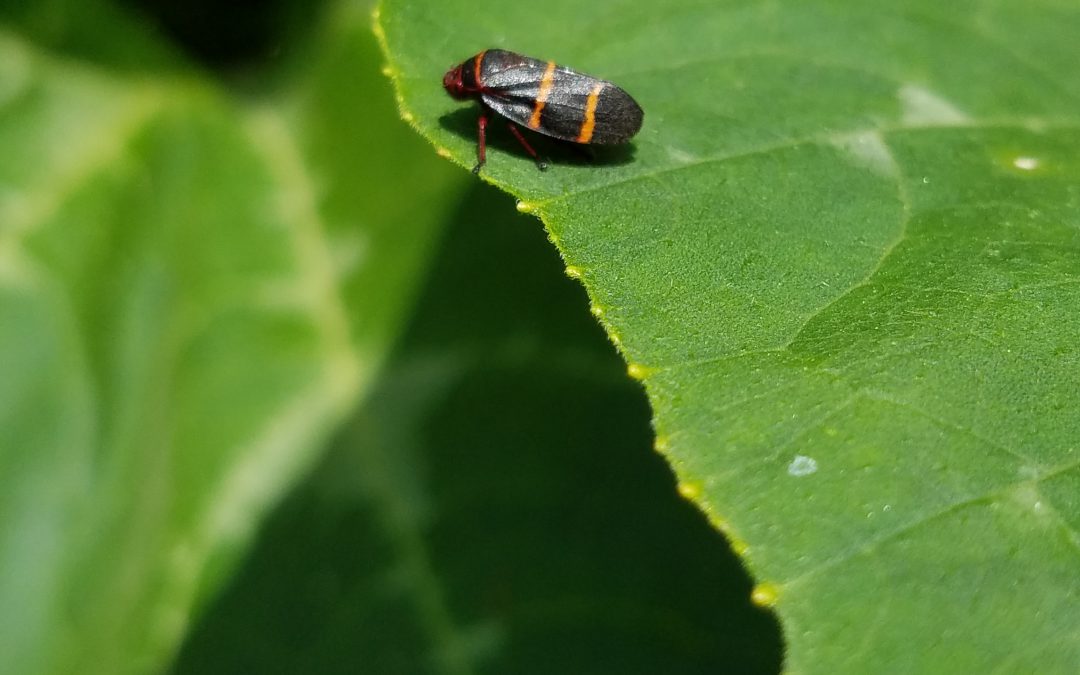
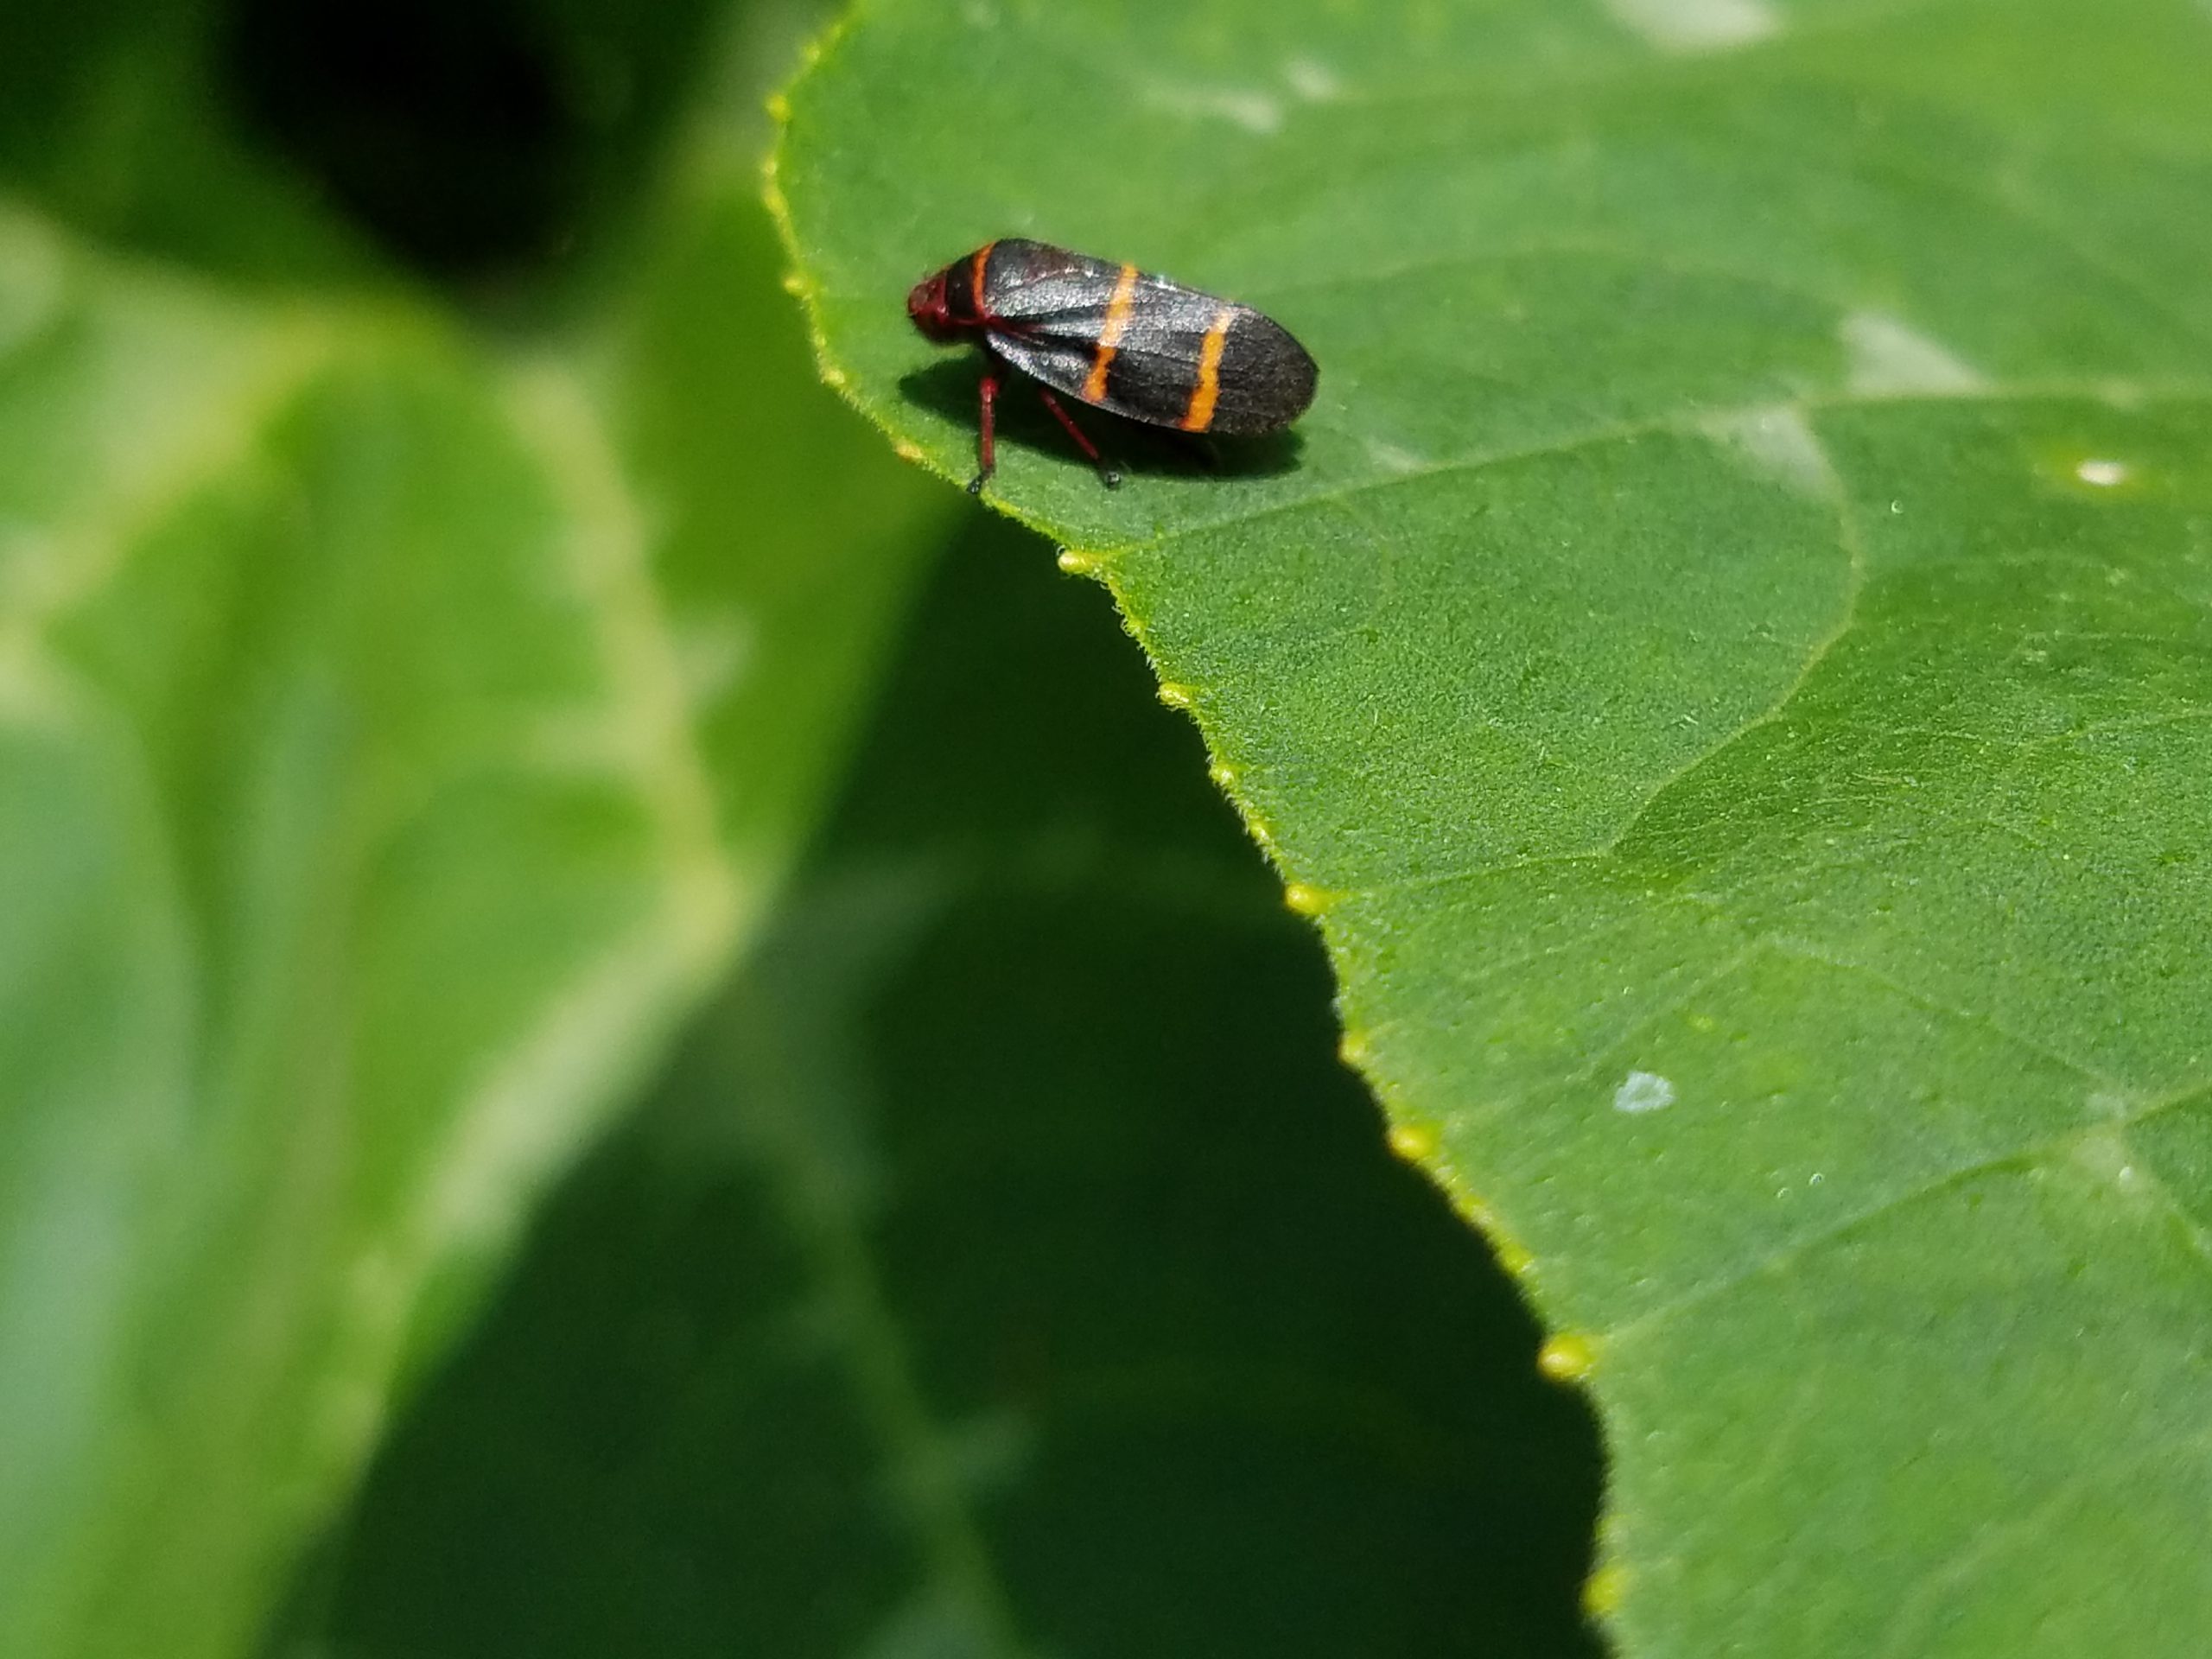
Two-Lined Spittlebug. Photo courtesy of Evan Anderson.
Problems with turfgrass come in all shapes and sizes. One that may affect your lawn is an insect that has two very distinct life stages. Named for the two distinct stripes on its back, the two-lined spittlebug looks like a plant or leafhopper during its adult life. When it is young, however, it is often camouflaged and not readily visible. The small green nymph hides in a mass of white froth or spittle that it secretes for protection.
The two-lined spittlebug is not a picky eater, though it cannot harm people or pets. It feeds on a variety of plants, piercing the stem or leaves with its mouthparts and sucking out the juices within. While it may not be picky, it does have favorites. Holly bushes are one food of choice for this pest and centipedegrass is another, so those growing this grass should keep an eye open. The protective spittle masses are usually close to the ground, so they may not be readily visible from above.
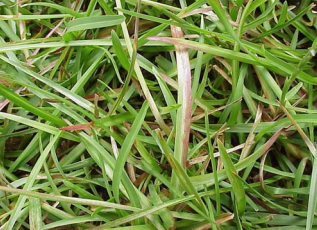
Centipedegrass displays feeding injury from spittlebugs in the form of purple or white striping along its leaf blades. If infestations are particularly heavy, the grass may turn yellow, then brown, and eventually curl up as the leaves die. Populations of the adults that cause most of this damage are typically largest in June, with another spike around August or September as the year’s second generation matures. Years with excess rainfall in spring and summer will see increased numbers of spittlebugs.
Spittlebug damage on Centipedegrass. Photo courtesy of Larry Williams, Okaloosa County Horticulture Agent.
If you are having a problem with these pests, make sure you are keeping your lawn as healthy as possible with good cultural practices. Proper watering, fertilization, and mowing to the appropriate height can all help to keep grass strong enough to withstand pests. Remove excess thatch, as it holds moisture and can favor the growth of spittlebugs.
Insecticides may be used to help with control as well. Options for Florida include pyrethroids such as bifenthrin, permethrin, and cyfluthrin. Products with the active ingredients imidacloprid and carbaryl are other options. Read the label of any product you choose. If you have questions or need help in identifying a pest problem in your lawn, contact your local Extension office.
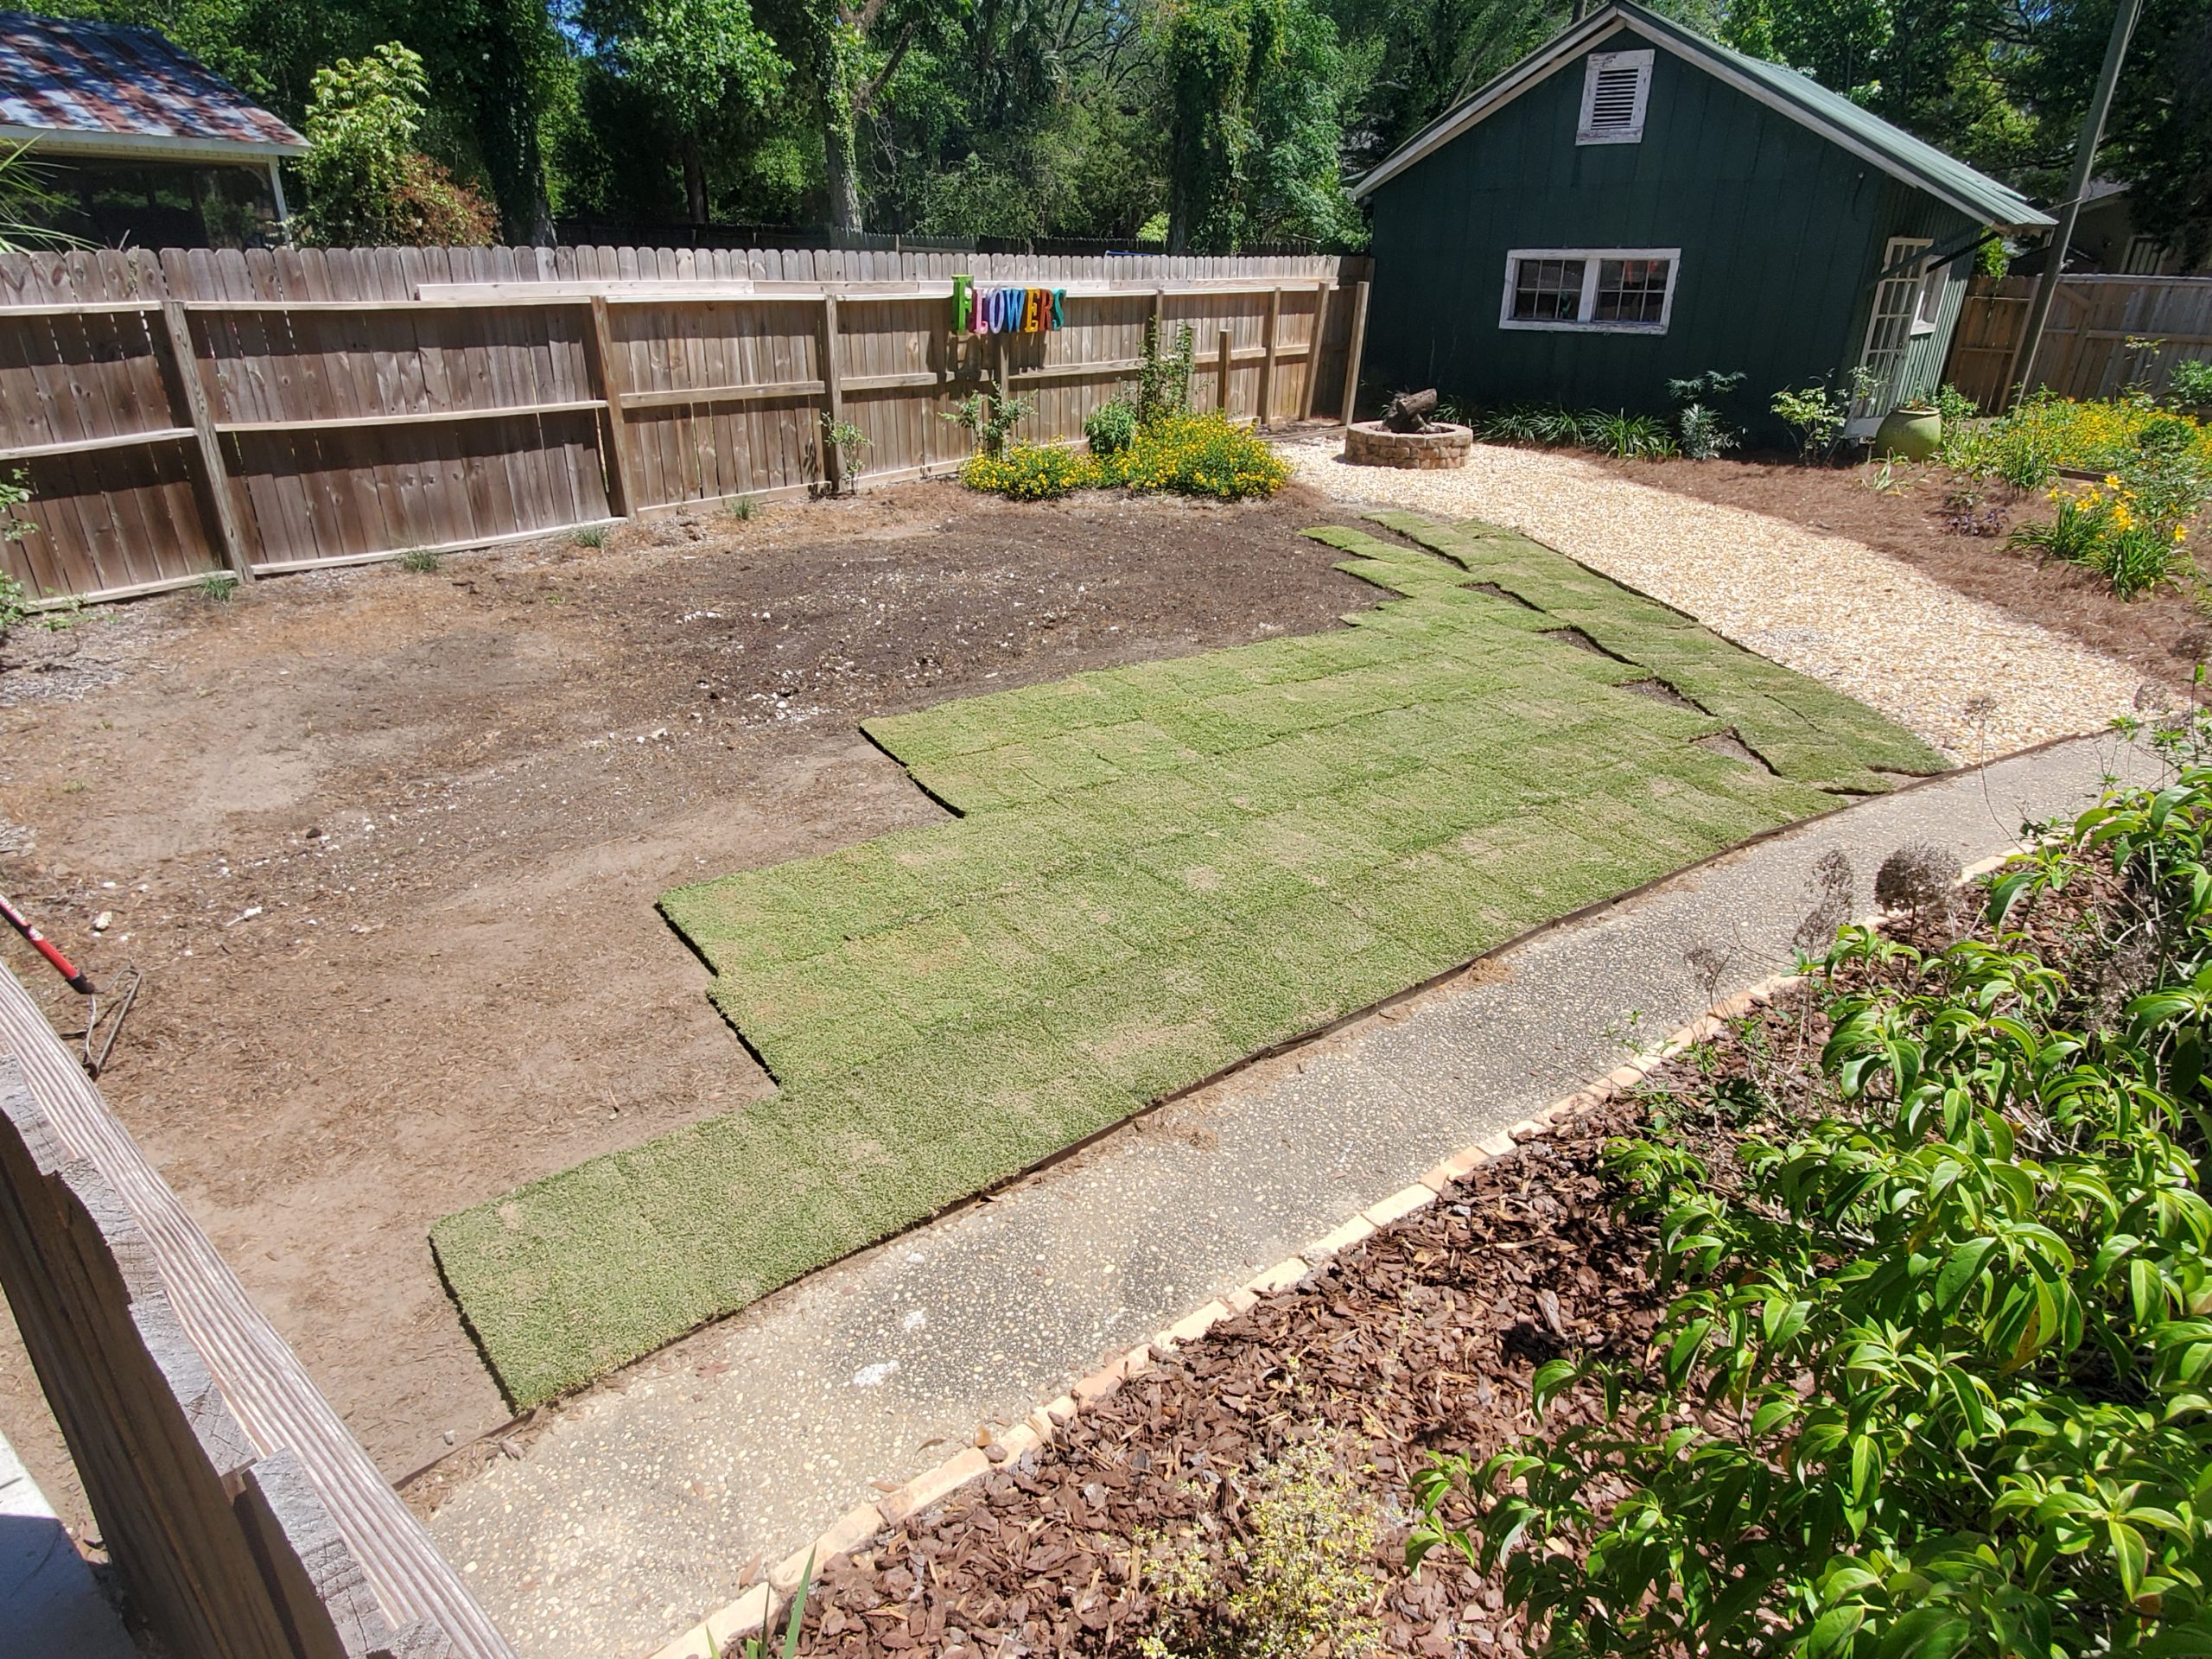
Nearly everyone dreams of having a perfectly lush, green turfgrass lawn in the backyard. Indeed, lawns provide many benefits to homeowners! A well-managed lawn is an excellent filter of chemical and nutrient runoff, builds soil through the breakdown of clippings, thatch and organisms that exist in turf systems, is aesthetically pleasing and increases property values, reduces ambient air temperatures and provides a durable surface for pets and play! However, none of these turf benefits can be realized if you don’t install and establish sod correctly.Remember these ten tips when planning, installing, and establishing sod to realize your perfect lawn dream!
Choose the Correct Species for Your Site. Not every site is equal. Is irrigation present, or will the turf be on its own? Are you willing and able to provide a higher level of care or will you sacrifice some aesthetic appeal for a lower maintenance turf? These and other questions need to be answered before you buy! Do some homework before settling on a particular grass species and cultivar; they all have merits and drawbacks.
Prepare the Site. Ensure the area you’ll be installing your new sod is weed-free, not compacted, and smooth. Several weeks before installation, apply a non-selective herbicide to “clean” the site of weeds. After existing weeds die, it’s a good idea to till the area or at least “rough it up” with a heavy rake. This helps alleviate site soil compaction which allows easier root initiation from sod to soil. Finally, smooth the site to ensure good root to soil contact and prevent a bumpy surface later.
Time for some water! ‘Tiftuf’ Bermuda sod ready for a mid-lay watering. Hot and dry conditions demand sod be kept moist. Photo courtesy of the author.
Buy Quality Sod. Research where the dealer you purchase sod from sources their grass. Ensure you’re buying turf from a respected operation that follows Sod Production Best Management Practices. Not all farms are equal.
Lay it Quickly. If buying from a retail dealer, make sure their sod is fresh. Sod quality declines rapidly after 48 hours from cutting. Ideally, sod is installed the same day it’s cut on the farm, but not later than the next day.
Water periodically during installation. If installing a large area of turf, periodically wet sod you’ve already laid. Think about the day the sod you’ve laid has had. It was ripped from its home soil, windblown on a trailer en route to your site, laid onto a warm, bare soil surface and is currently baking in the sun waiting on you to finish laying the rest. That’s stressful and a good way to have a crispy brown patch in the new lawn! Ease the sod’s stress by periodically wetting as you lay it. It’s also not a bad idea to lightly moisten the site prior to laying the new sod. Avoid making it muddy.
Mound Soil Around Edges. This prevents the edges of freshly laid turf from drying quicker than the rest of the grass and browning out. It doesn’t have to be a lot, just take a heavy rake and fill in the gap between the soil surface and the leaf blades. Think of it as hiding exposed roots from the sun and wind. Trust me, this step keeps you from having a nice brown ring circumventing your new green lawn!
Pack it Down. You can be fancy with a drum roller partially filled with water or simply use a rake or tamping tool to lightly tamp the grass down. This helps ensure good root contact with the soil, prevents dry patches in the establishing sod, and quickens rooting time.
Almost finished! Remember to tamp down and mound soil around the roots of the edge pieces. Photo courtesy of the author.
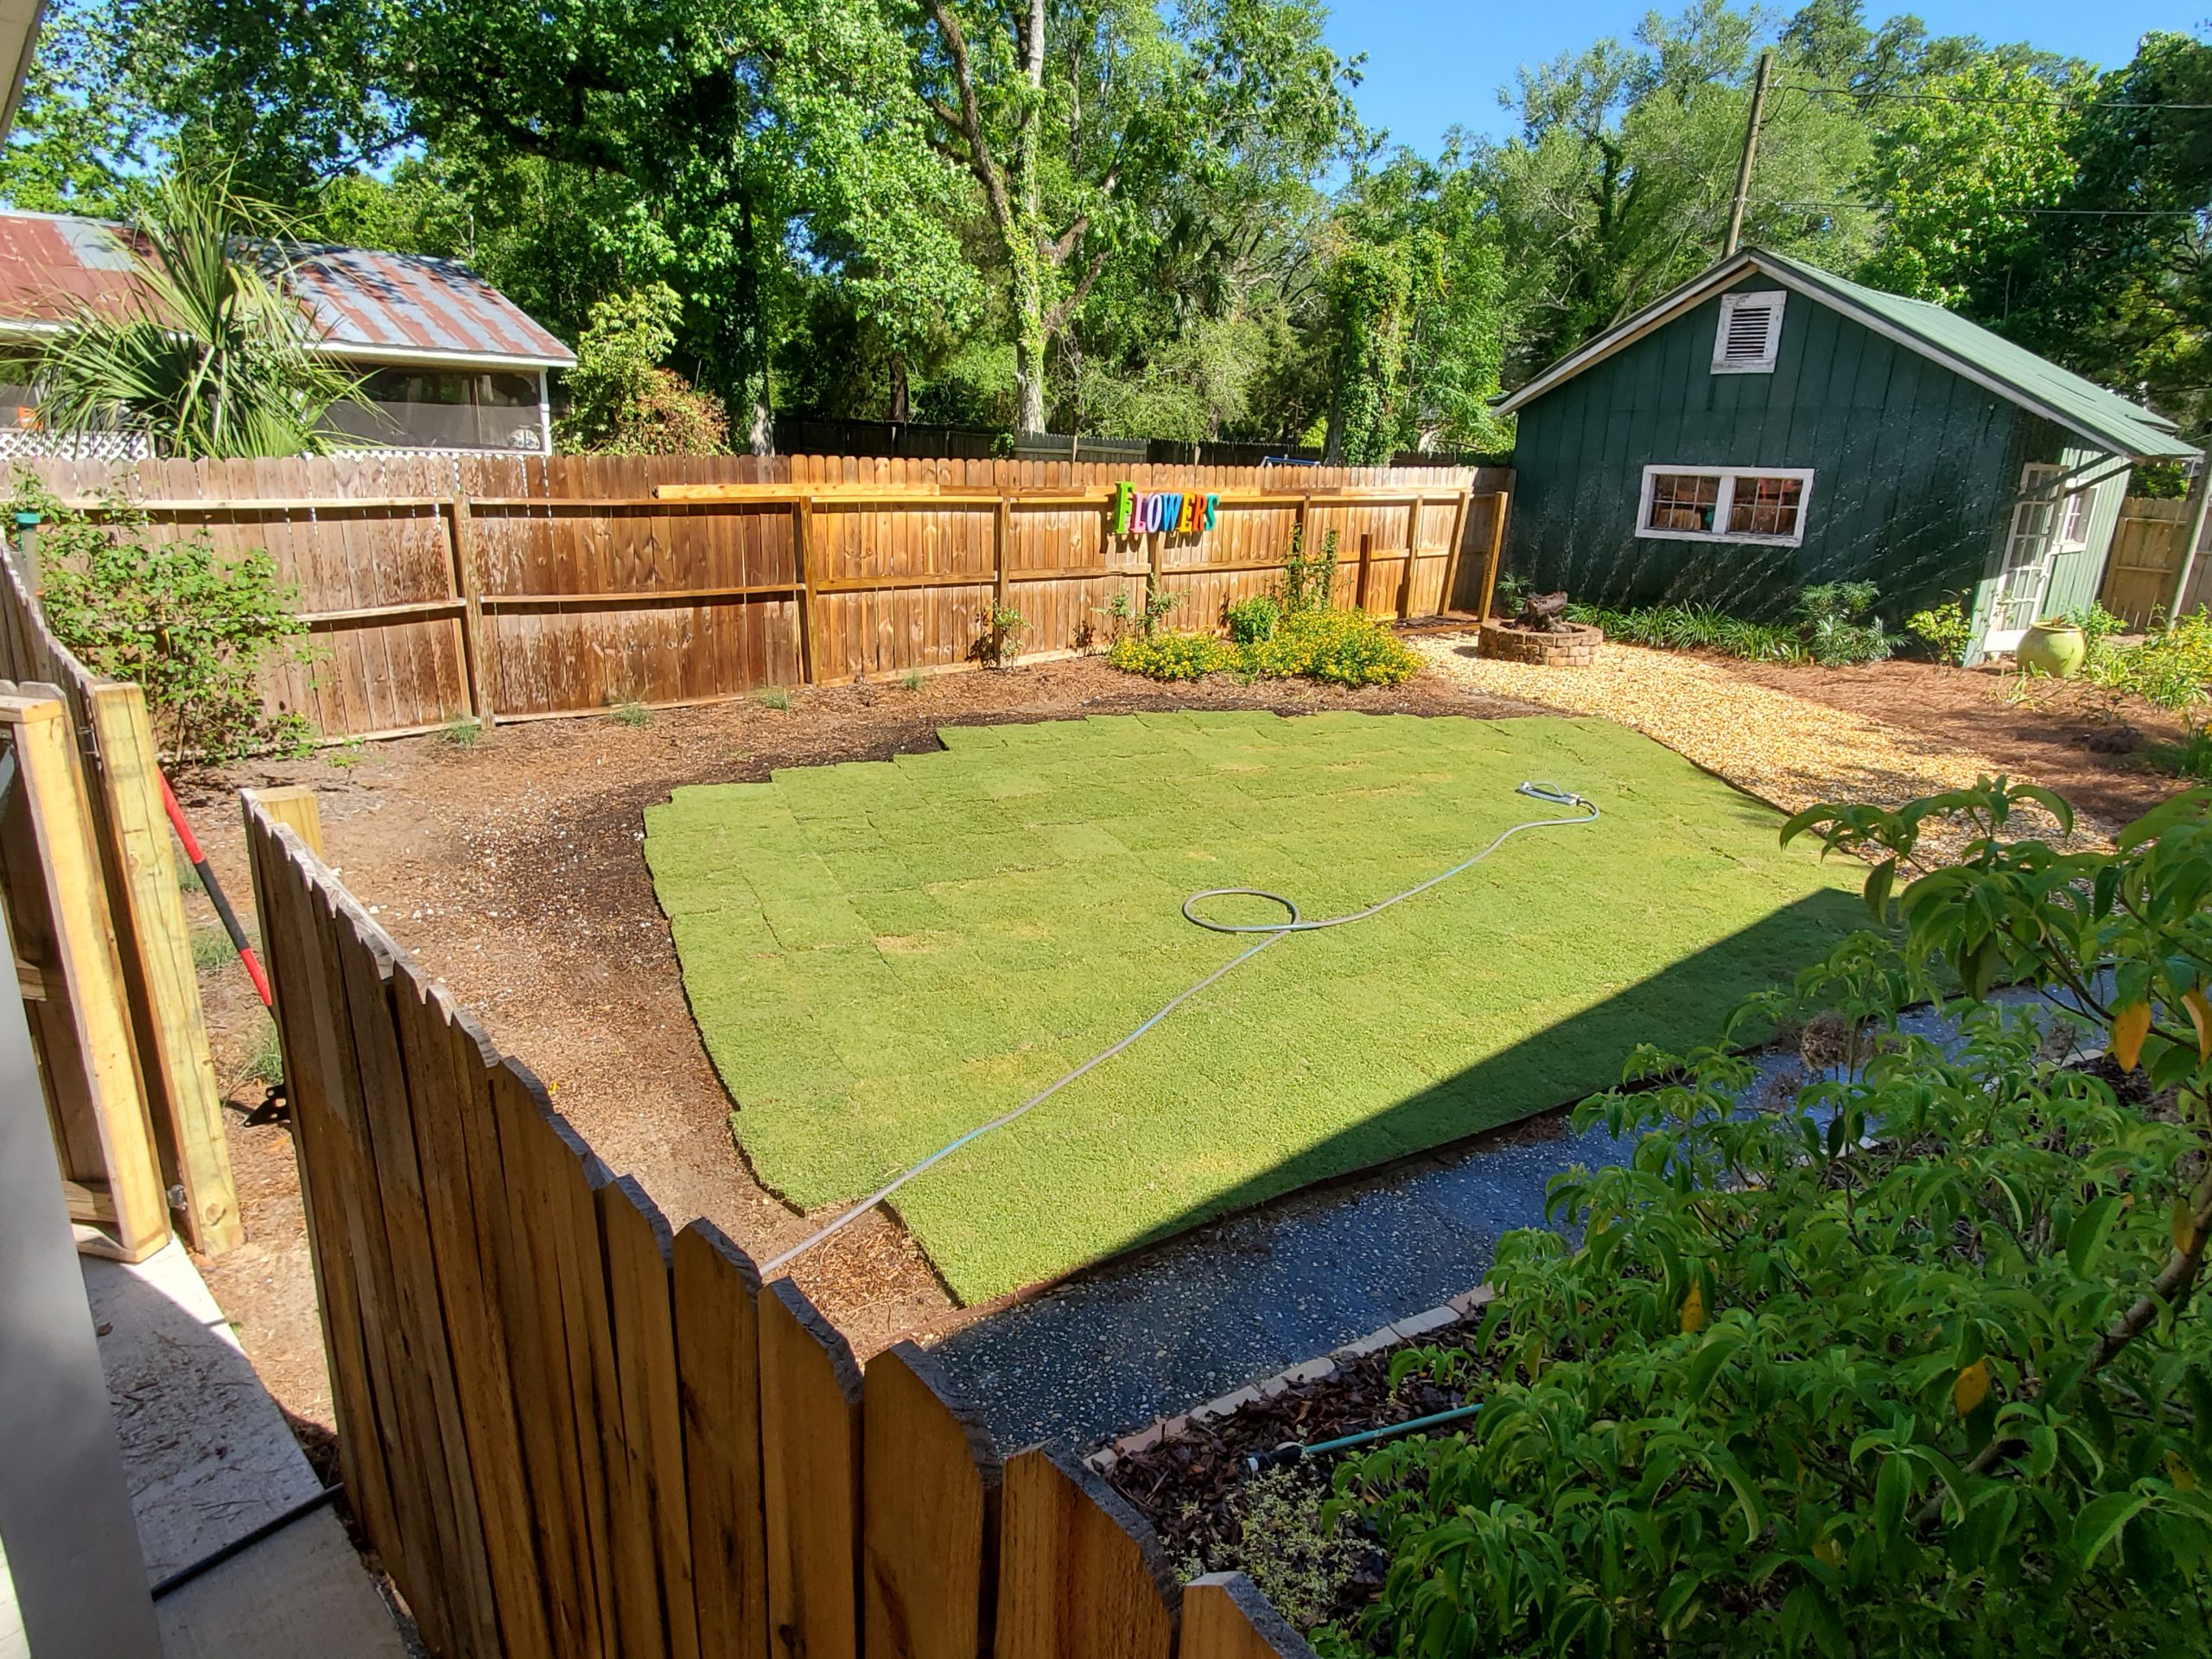
Water Correctly. Your new sod needs to be thoroughly watered daily for the first 10-14 days after installation. Remember how stressful the sod laying process is to turf. It takes a little while for sod to recover and initiate rooting into its new home. Don’t miss a day! Following this initial 10-14 day period, back off to once every couple of days for another two weeks or so. After that, the sod should be rooted in nicely and be able to rely on regular, as needed, lawn irrigation intervals.
Stay Off It! Minimize traffic on new sod for several weeks after installation. Roots are establishing during this time and are extremely vulnerable to disturbance until anchored. I know you’re ready to enjoy your new lawn, but you’ve come too far now to mess it up!
No Fertilizer for 30-60 days! Plants without roots have a hard time taking up nutrients. Therefore, it makes sense that until sod has firmly anchored into place and established a new root system, fertilizer application should be withheld. Fertilizer applied during the initial establishment period will likely be wasted and leach through the soon-to-be rootzone and could even burn fragile new roots. Also, avoid using a starter fertilizer for the same reason – there aren’t any roots to take up the nutrients.
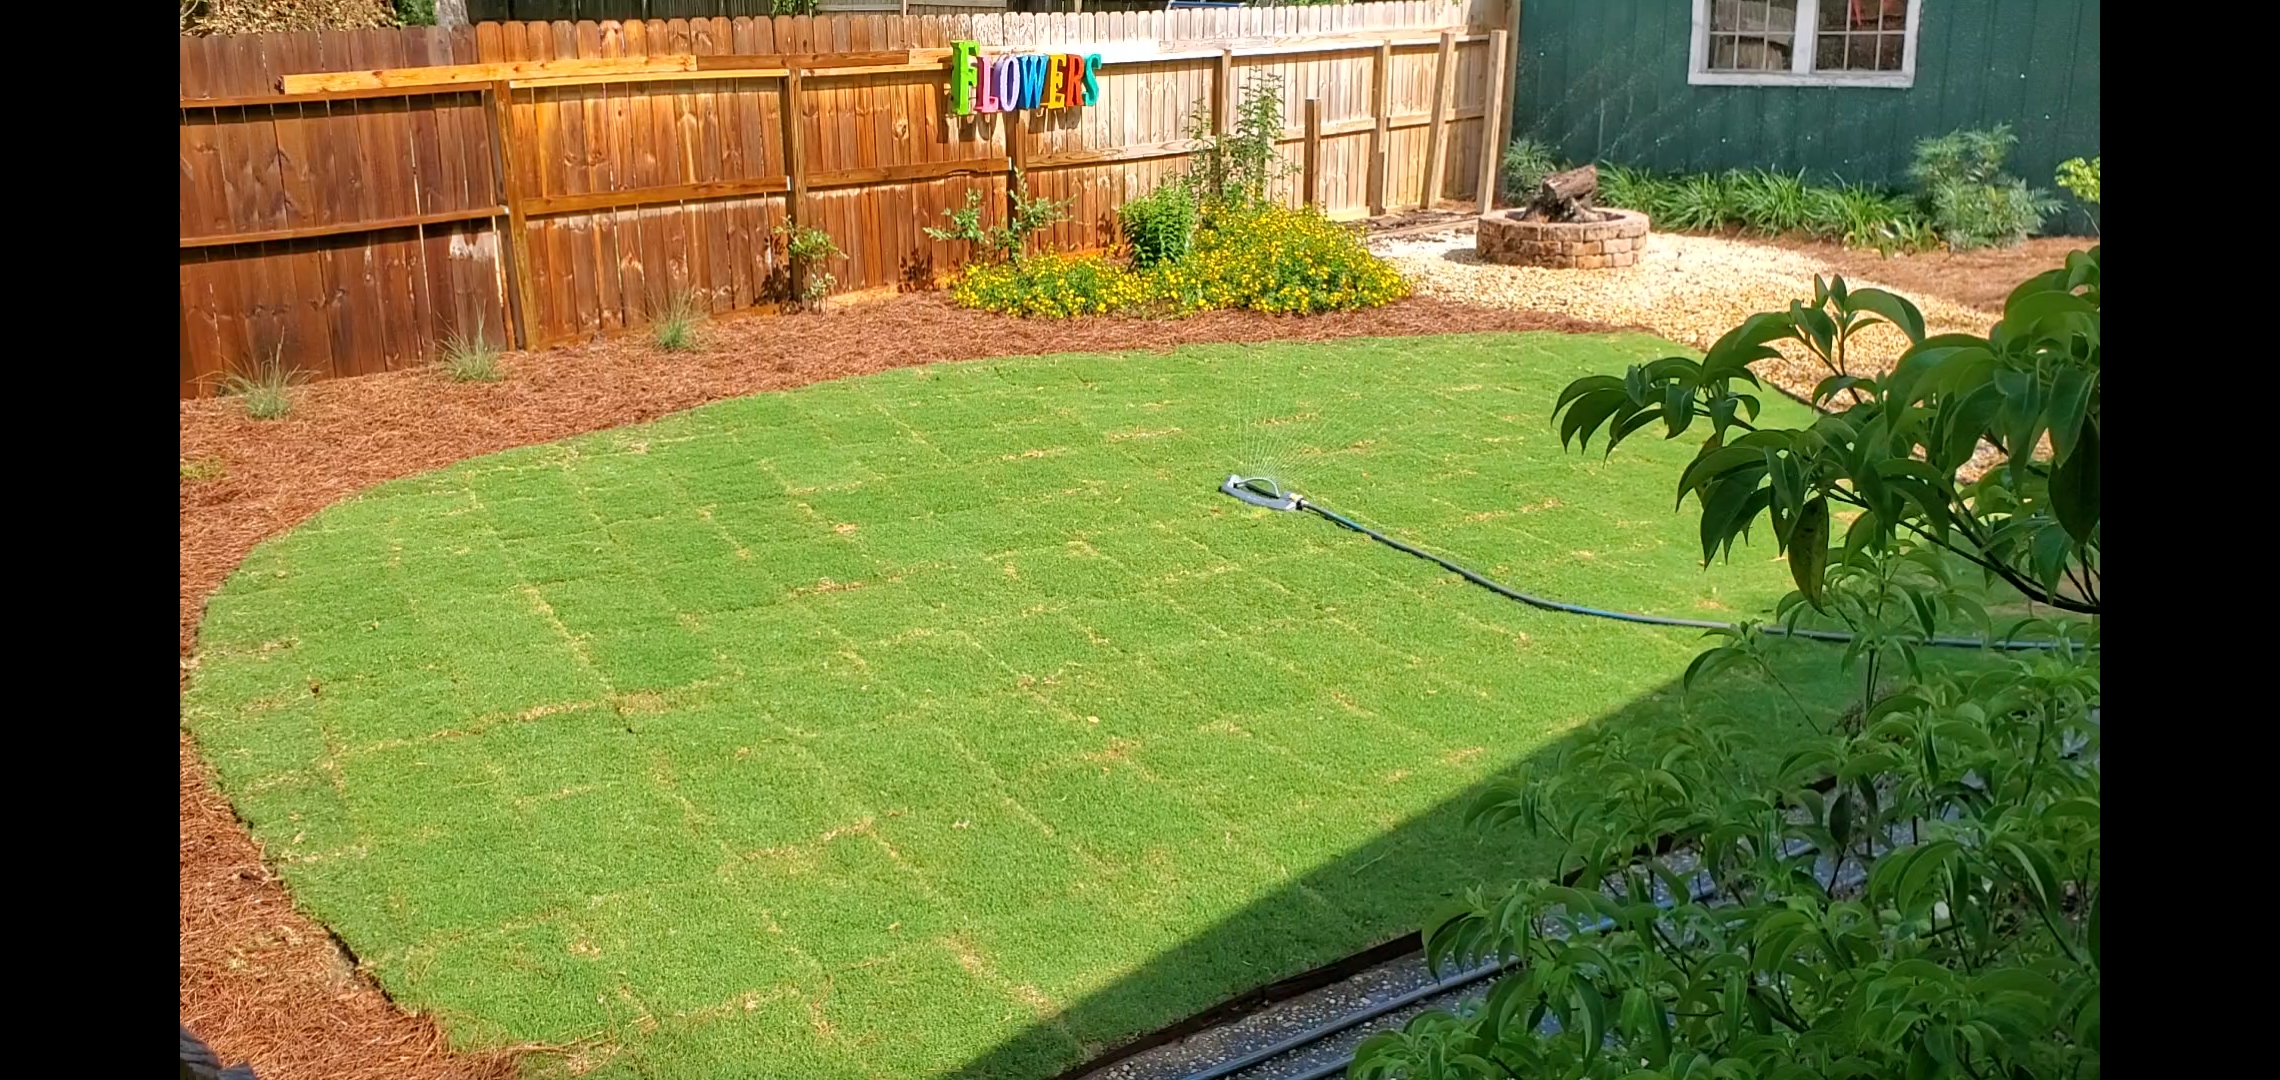
‘Tiftuf’ Bermudagrass sod being watered after installation is finished. Do this daily for 10-14 days following installation. Photo courtesy of the author.
By following these ten tips, you’ll be well on your way to a perfect lawn! For more information on these and other lawn care topics, contact your local UF/IFAS Extension Agent and consult The Florida Lawn Handbook, a research-based publication written by UF/IFAS Extension specialists.