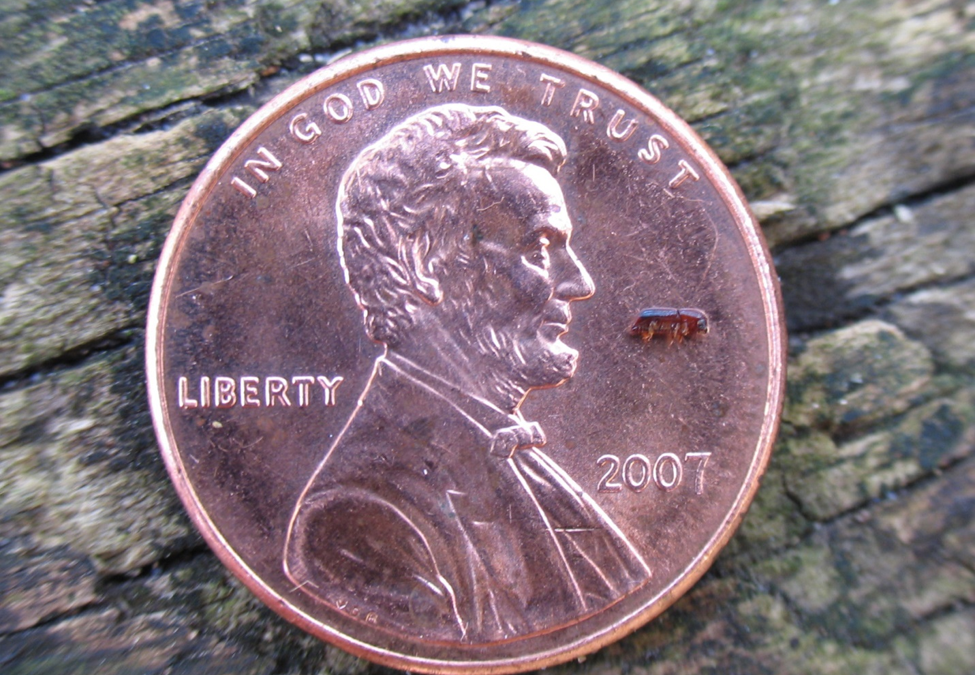
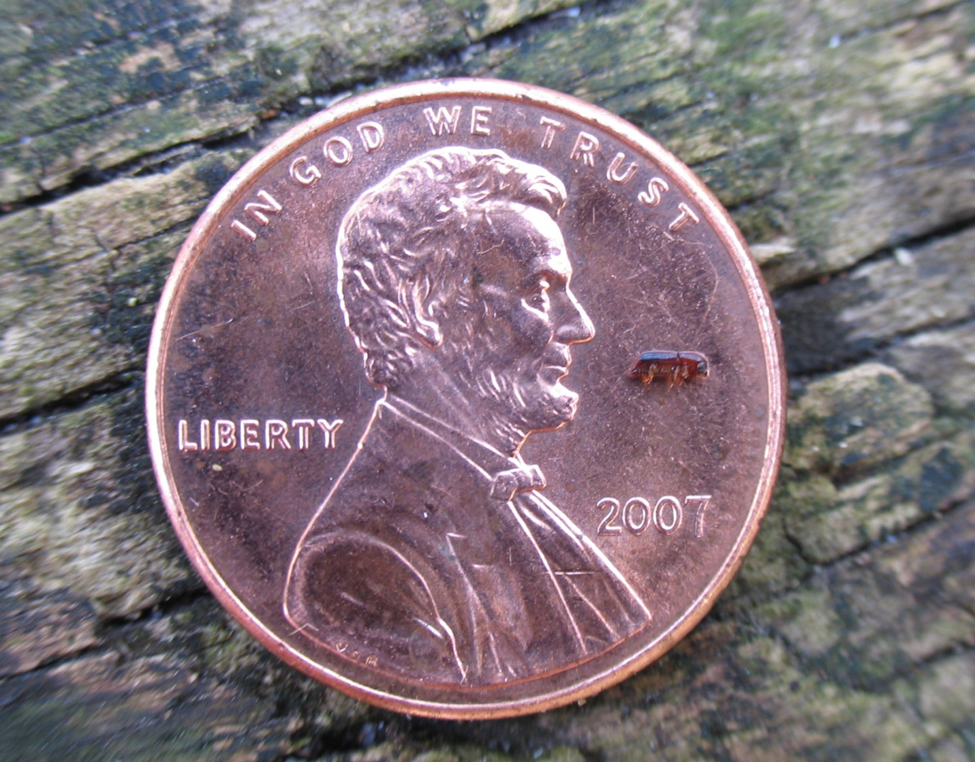
Fig. 1 An adult redbay ambrosia beetle compared to the size of a single penny. Credit: UF/IFAS File Photo.
While most bark beetles are important in forest ecology by recycling fallen dead trees and eliminating sick and damaged trees, some of them may impact healthy trees. A group of bark beetles that has become a major concern to forest managers, nurseries, and homeowners is the ambrosia beetle. Ambrosia beetles are extremely small, 1-2 mm in length, and live and reproduce inside the wood of various species of trees (Fig. 1). Ambrosia beetles differ from other bark beetles in that they do not feed directly on wood, but on a symbiotic fungus that digests wood tissue for them. Every year, non-native species of ambrosia beetles enter the United States through international cargo and we have now nearly forty non-native species of ambrosia beetles confirmed in the United States. Among them, the redbay ambrosia beetle (Xyleborus glabratus), originally from Southeast Asia, is the vector of the fungal pathogen causing laurel wilt, a disease that devastated the Lauracaea population in the southeastern USA, killing millions of redbay, swamp bay, sassafaras and silk bay.
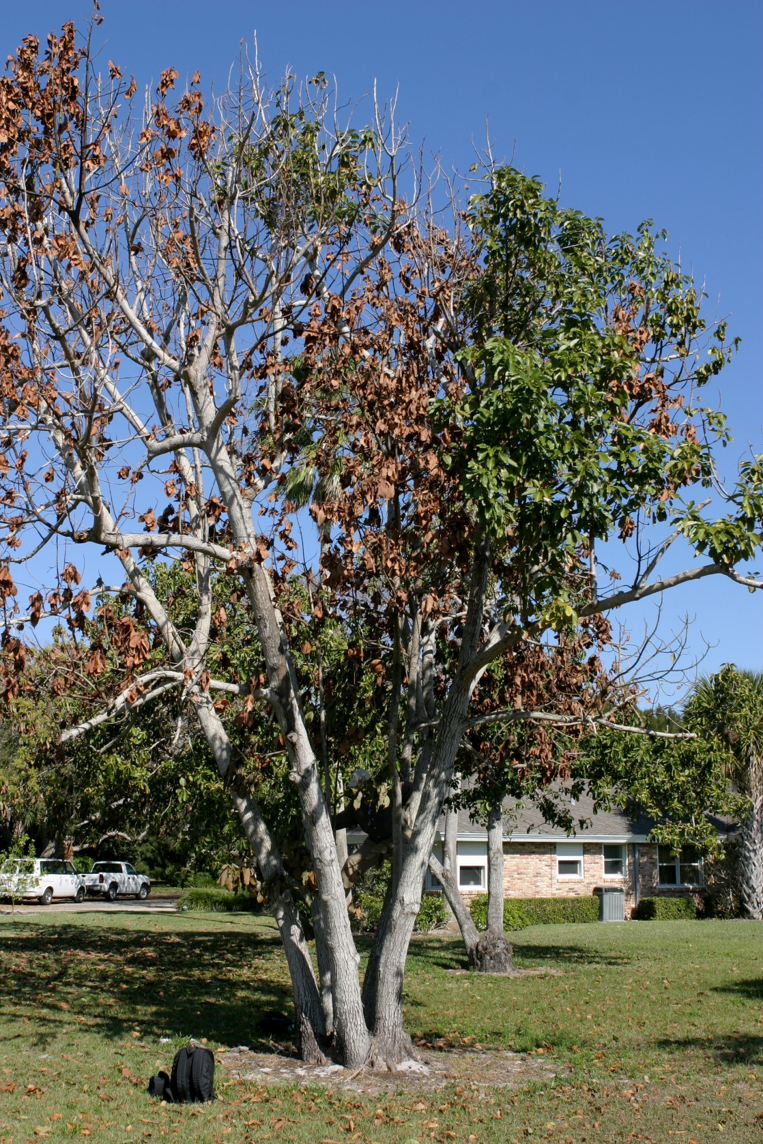
Fig. 2: A mature dooryard avocado tree with large sections of dead and missing leaves, caused by laurel wilt disease. Summer 2009 Impact Magazine image. Credit: UF/IFAS File Photo.
When these beetles attack a laurel tree, the symbiotic fungus is vectored to the tree’s sapwood after the beetle has tunneled deep into the tree’s xylem, actively colonizing the tree’s vascular system. This colonization leads to an occlusion of the xylem, causing wilting of individual branches and in a matter of weeks progresses throughout the entire canopy, eventually leading to tree death (Fig. 2). The laurel wilt disease has spread rapidly after the vector was first detected in Georgia in 2002. The redbay ambrosia beetle was first detected in Florida in 2004, in Duval County, attacking redbay and swamp bay trees. At this point, it is estimated that more than one-third of redbay in the U.S.A., 300 million trees, have succumbed to the disease.
Starting in 2017, we examined the efficacy of verbenone against redbay ambrosia beetle in live laurel trees in a natural forest setting. Verbenone is an anti-aggregation pheromone that has been used since the 1980’s to protect lodgepole pine. Verbenone also has the potential to be used over large areas and is currently being used to protect ponderosa pine plantations from the Mountain Pine Beetle in the western US.
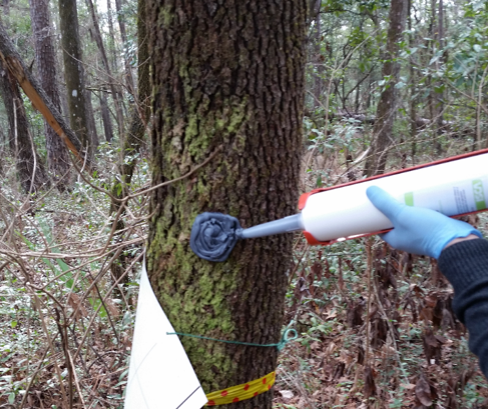
We have found verbenone to be an environmentally friendly and safe tool to prophylactically protect laurel trees against redbay ambrosia beetle. Our protocol consists of the application of four 17 g dollops of a slow-release wax based repellent (SPLAT Verb®, ISCA technology of Riverside, CA) to the trunk of redbay trees at 1 – 1.5 m above ground level (Fig. 3). The wax needs to be reapplied every 4 months during fall and winter and every 3 months during spring and fall when temperature is higher. When compared to the control trees without repellents, we found that trunk applications of verbenone reduced landing of the redbay ambrosia beetle on live redbay trees and increased survivorship of laurel trees compared to untreated trees (Fig. 4). Verbenone should be considered as part of a holistic management system against redbay ambrosia beetle that also includes removal and chipping of contaminated trees.
If you have Redbay or other bay species on your property and are concerned about Laurel Wilt Disease or Redbay Ambrosia Beetle damage, contact your local UF/IFAS Extension Agents for help!
This article is courtesy of Dr. Xavier Martini and Mr. Derek Conover of the UF/IFAS North Florida Research and Education Center (NFREC) in Quincy.
Fig. 3: Application of SPLAT Verb on a redbay tree during a field trial
Figure 4: (A): Cumulative capture of redbay ambrosia beetles Xyleborus glabratus following a single application of verbenone vs untreated control (UC). (B) Survivorship of redbay and swamp bay trees treated with verbenone on four different studies conducted in 2017 and 2018.
The insect ground pearls can damage many types of turfgrass in North Florida. Learn to identify ground pearl damage and find the insects in your soil with Larry Williams, Horticulture Agent with UF IFAS Extension Okaloosa County.
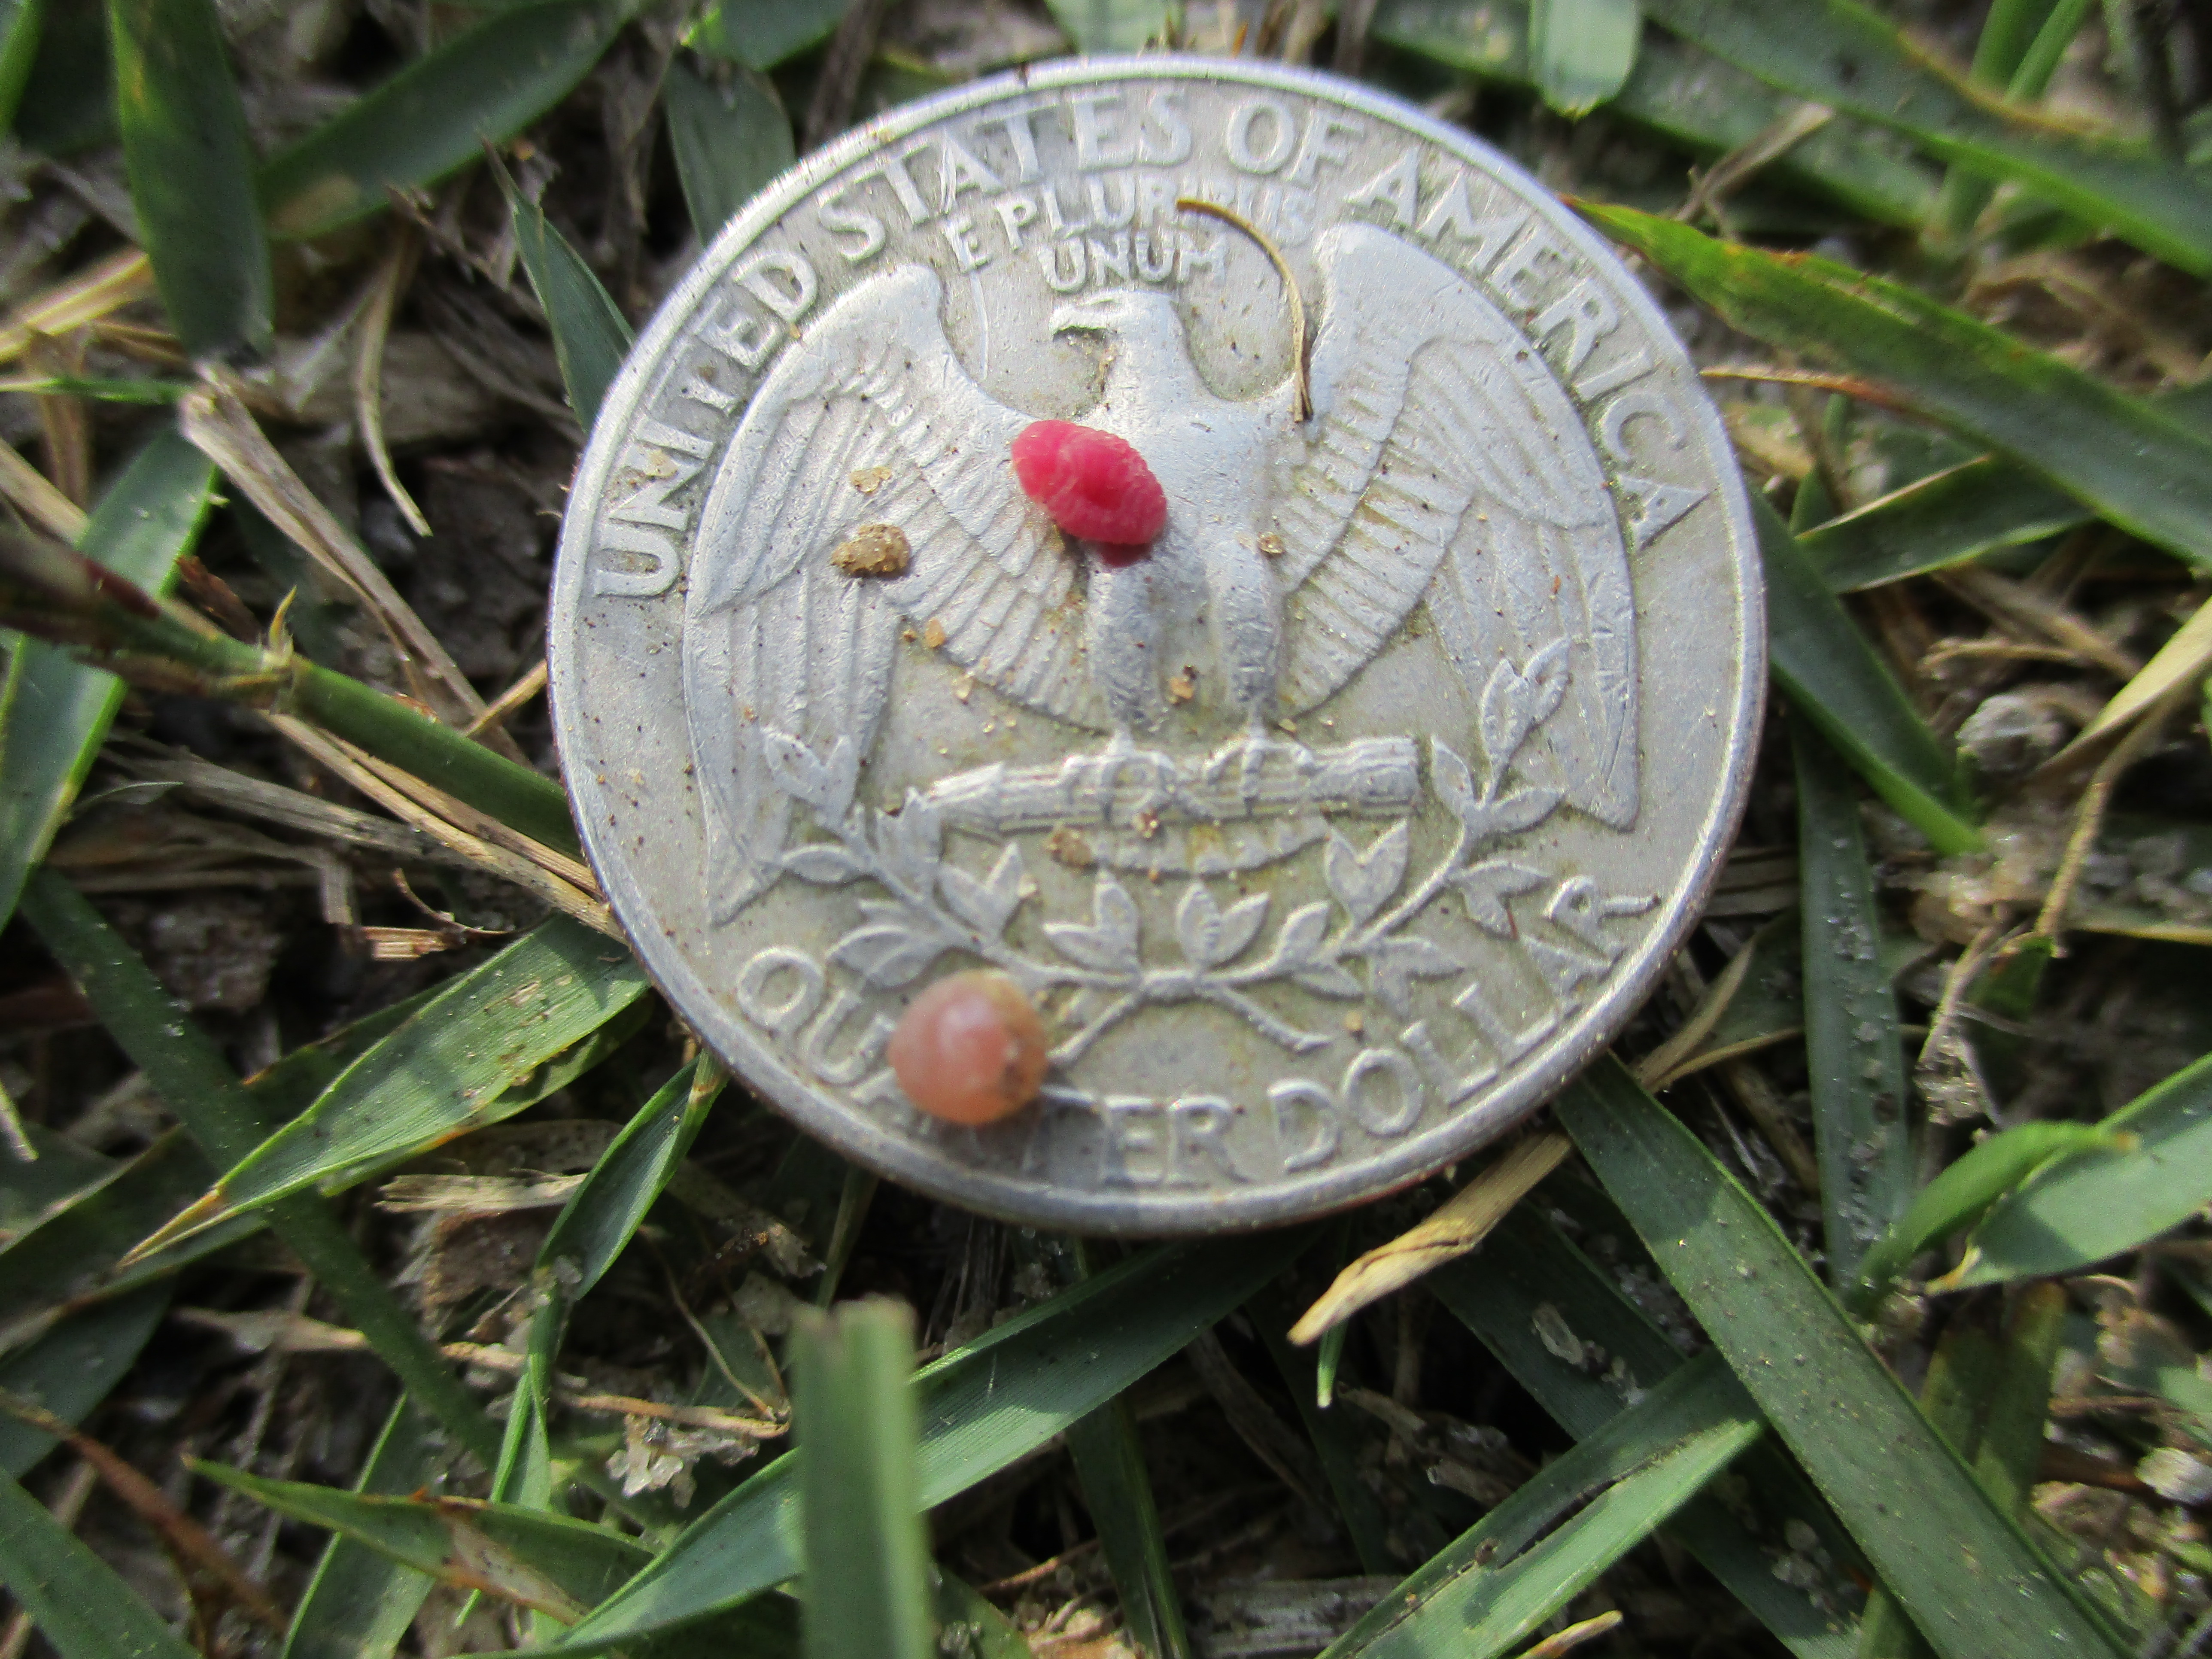
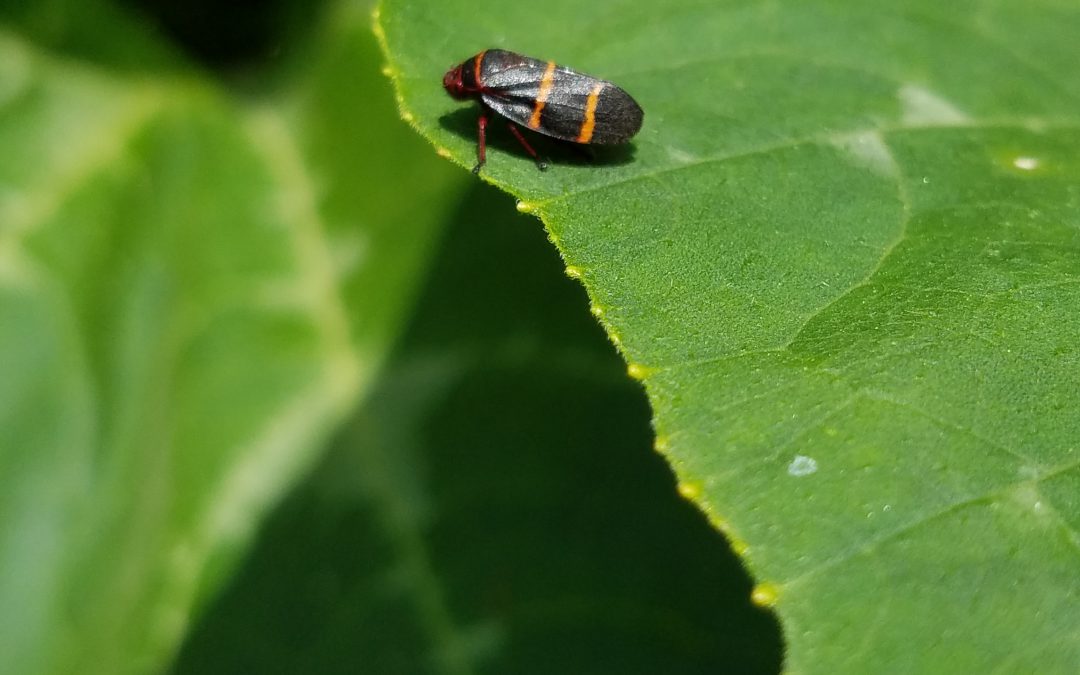
Two-Lined Spittlebug. Photo courtesy of Evan Anderson.
Problems with turfgrass come in all shapes and sizes. One that may affect your lawn is an insect that has two very distinct life stages. Named for the two distinct stripes on its back, the two-lined spittlebug looks like a plant or leafhopper during its adult life. When it is young, however, it is often camouflaged and not readily visible. The small green nymph hides in a mass of white froth or spittle that it secretes for protection.
The two-lined spittlebug is not a picky eater, though it cannot harm people or pets. It feeds on a variety of plants, piercing the stem or leaves with its mouthparts and sucking out the juices within. While it may not be picky, it does have favorites. Holly bushes are one food of choice for this pest and centipedegrass is another, so those growing this grass should keep an eye open. The protective spittle masses are usually close to the ground, so they may not be readily visible from above.
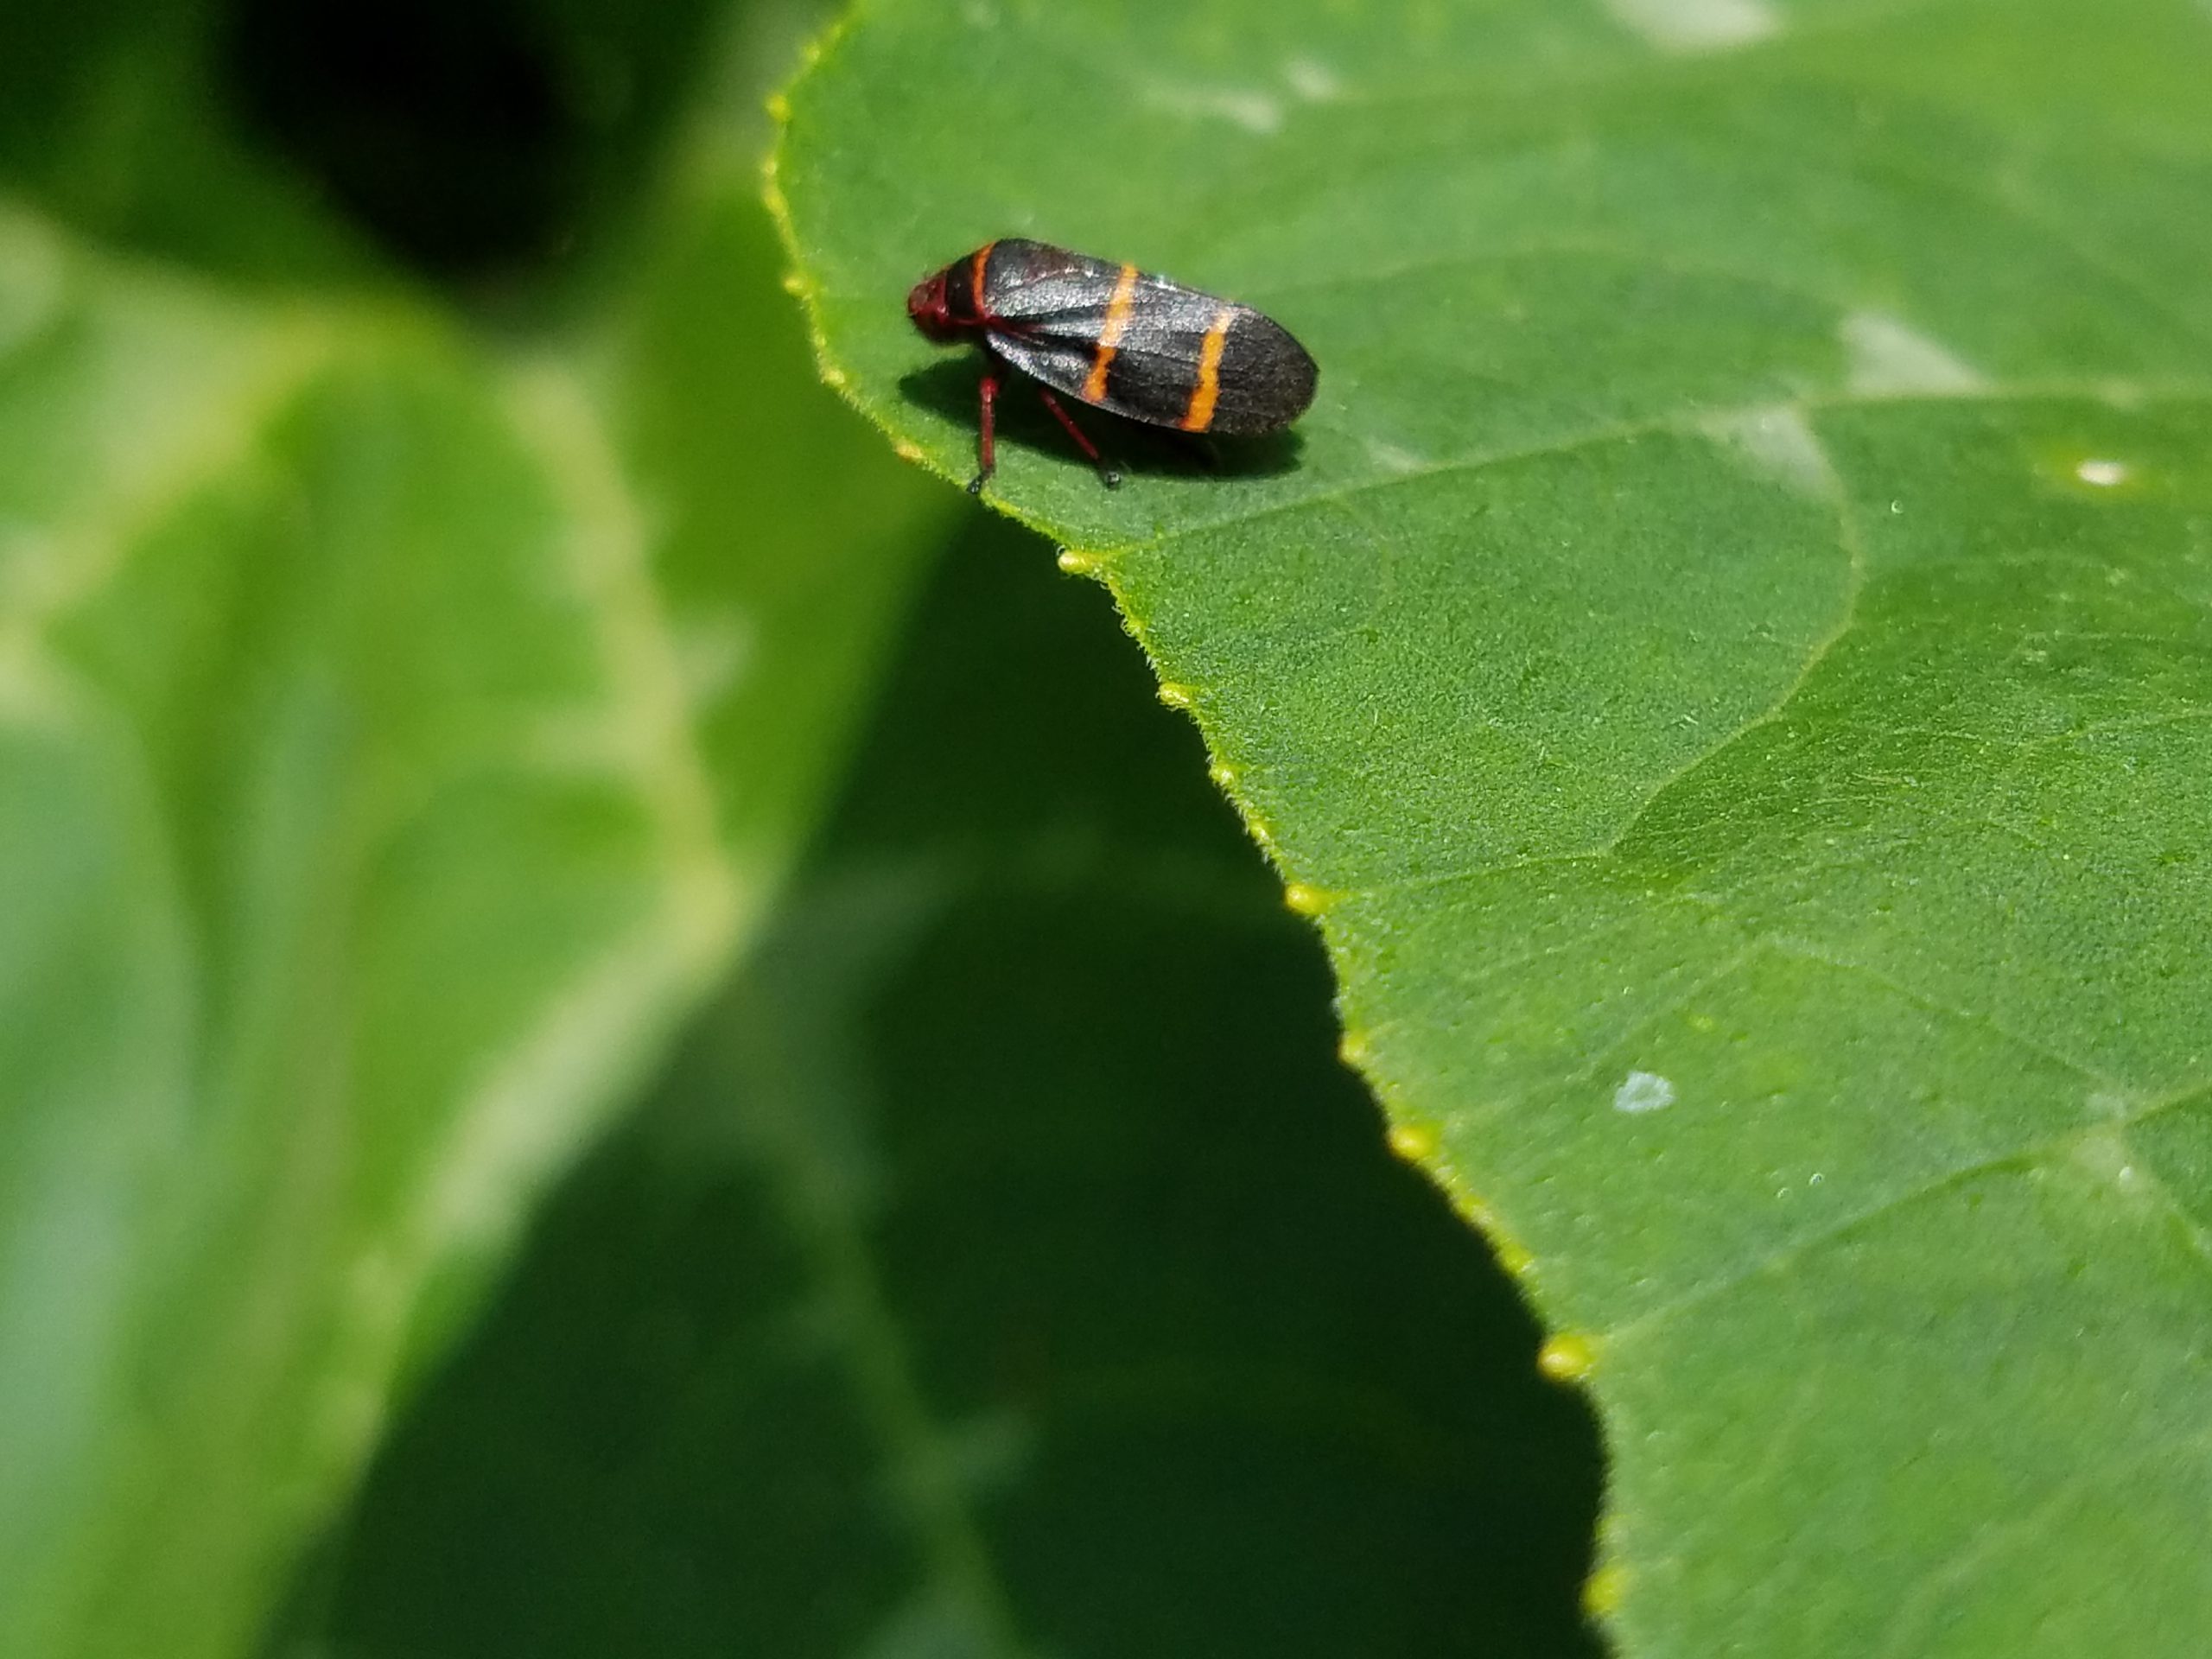
Centipedegrass displays feeding injury from spittlebugs in the form of purple or white striping along its leaf blades. If infestations are particularly heavy, the grass may turn yellow, then brown, and eventually curl up as the leaves die. Populations of the adults that cause most of this damage are typically largest in June, with another spike around August or September as the year’s second generation matures. Years with excess rainfall in spring and summer will see increased numbers of spittlebugs.
Spittlebug damage on Centipedegrass. Photo courtesy of Larry Williams, Okaloosa County Horticulture Agent.
If you are having a problem with these pests, make sure you are keeping your lawn as healthy as possible with good cultural practices. Proper watering, fertilization, and mowing to the appropriate height can all help to keep grass strong enough to withstand pests. Remove excess thatch, as it holds moisture and can favor the growth of spittlebugs.
Insecticides may be used to help with control as well. Options for Florida include pyrethroids such as bifenthrin, permethrin, and cyfluthrin. Products with the active ingredients imidacloprid and carbaryl are other options. Read the label of any product you choose. If you have questions or need help in identifying a pest problem in your lawn, contact your local Extension office.
Next week (May 18-22) is Florida Invasive Species Awareness Week! Join us online for an educational video each day at 9:00 am CST on invasive species that are important in our area and what to do about them. See the flyer below and join us on Facebook at https://www.facebook.com/PanhandleOutdoorsNews/ for the event!
Invasive species are living things that are not from an area and have adverse affects on people, whether it is their health, the economy, or the environment we live in. The more people who can identify and control these species, the healthier we can keep ourselves, our businesses, and the world around us!
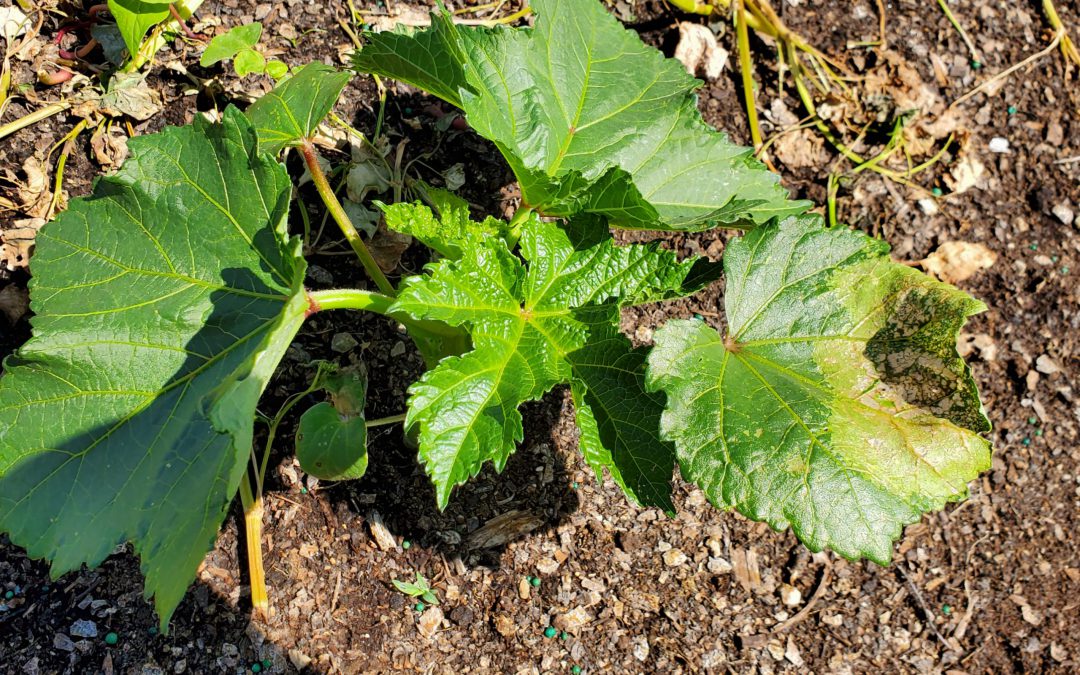
It’s been a challenging spring in this guy’s garden! Despite getting the normal early start required for successful gardening in Florida, I’ve been affected by Bacterial Leaf Spot stunting my tomatoes, cutworms that reduced my watermelon plantings by half, and an eternal test of my patience in the form of a dog that seems to think my raised beds are merely a shortcut to a destination further out in the yard. My latest adversary is the most potentially destructive yet, an outbreak of Southern Armyworm (Spodoptera eridania).
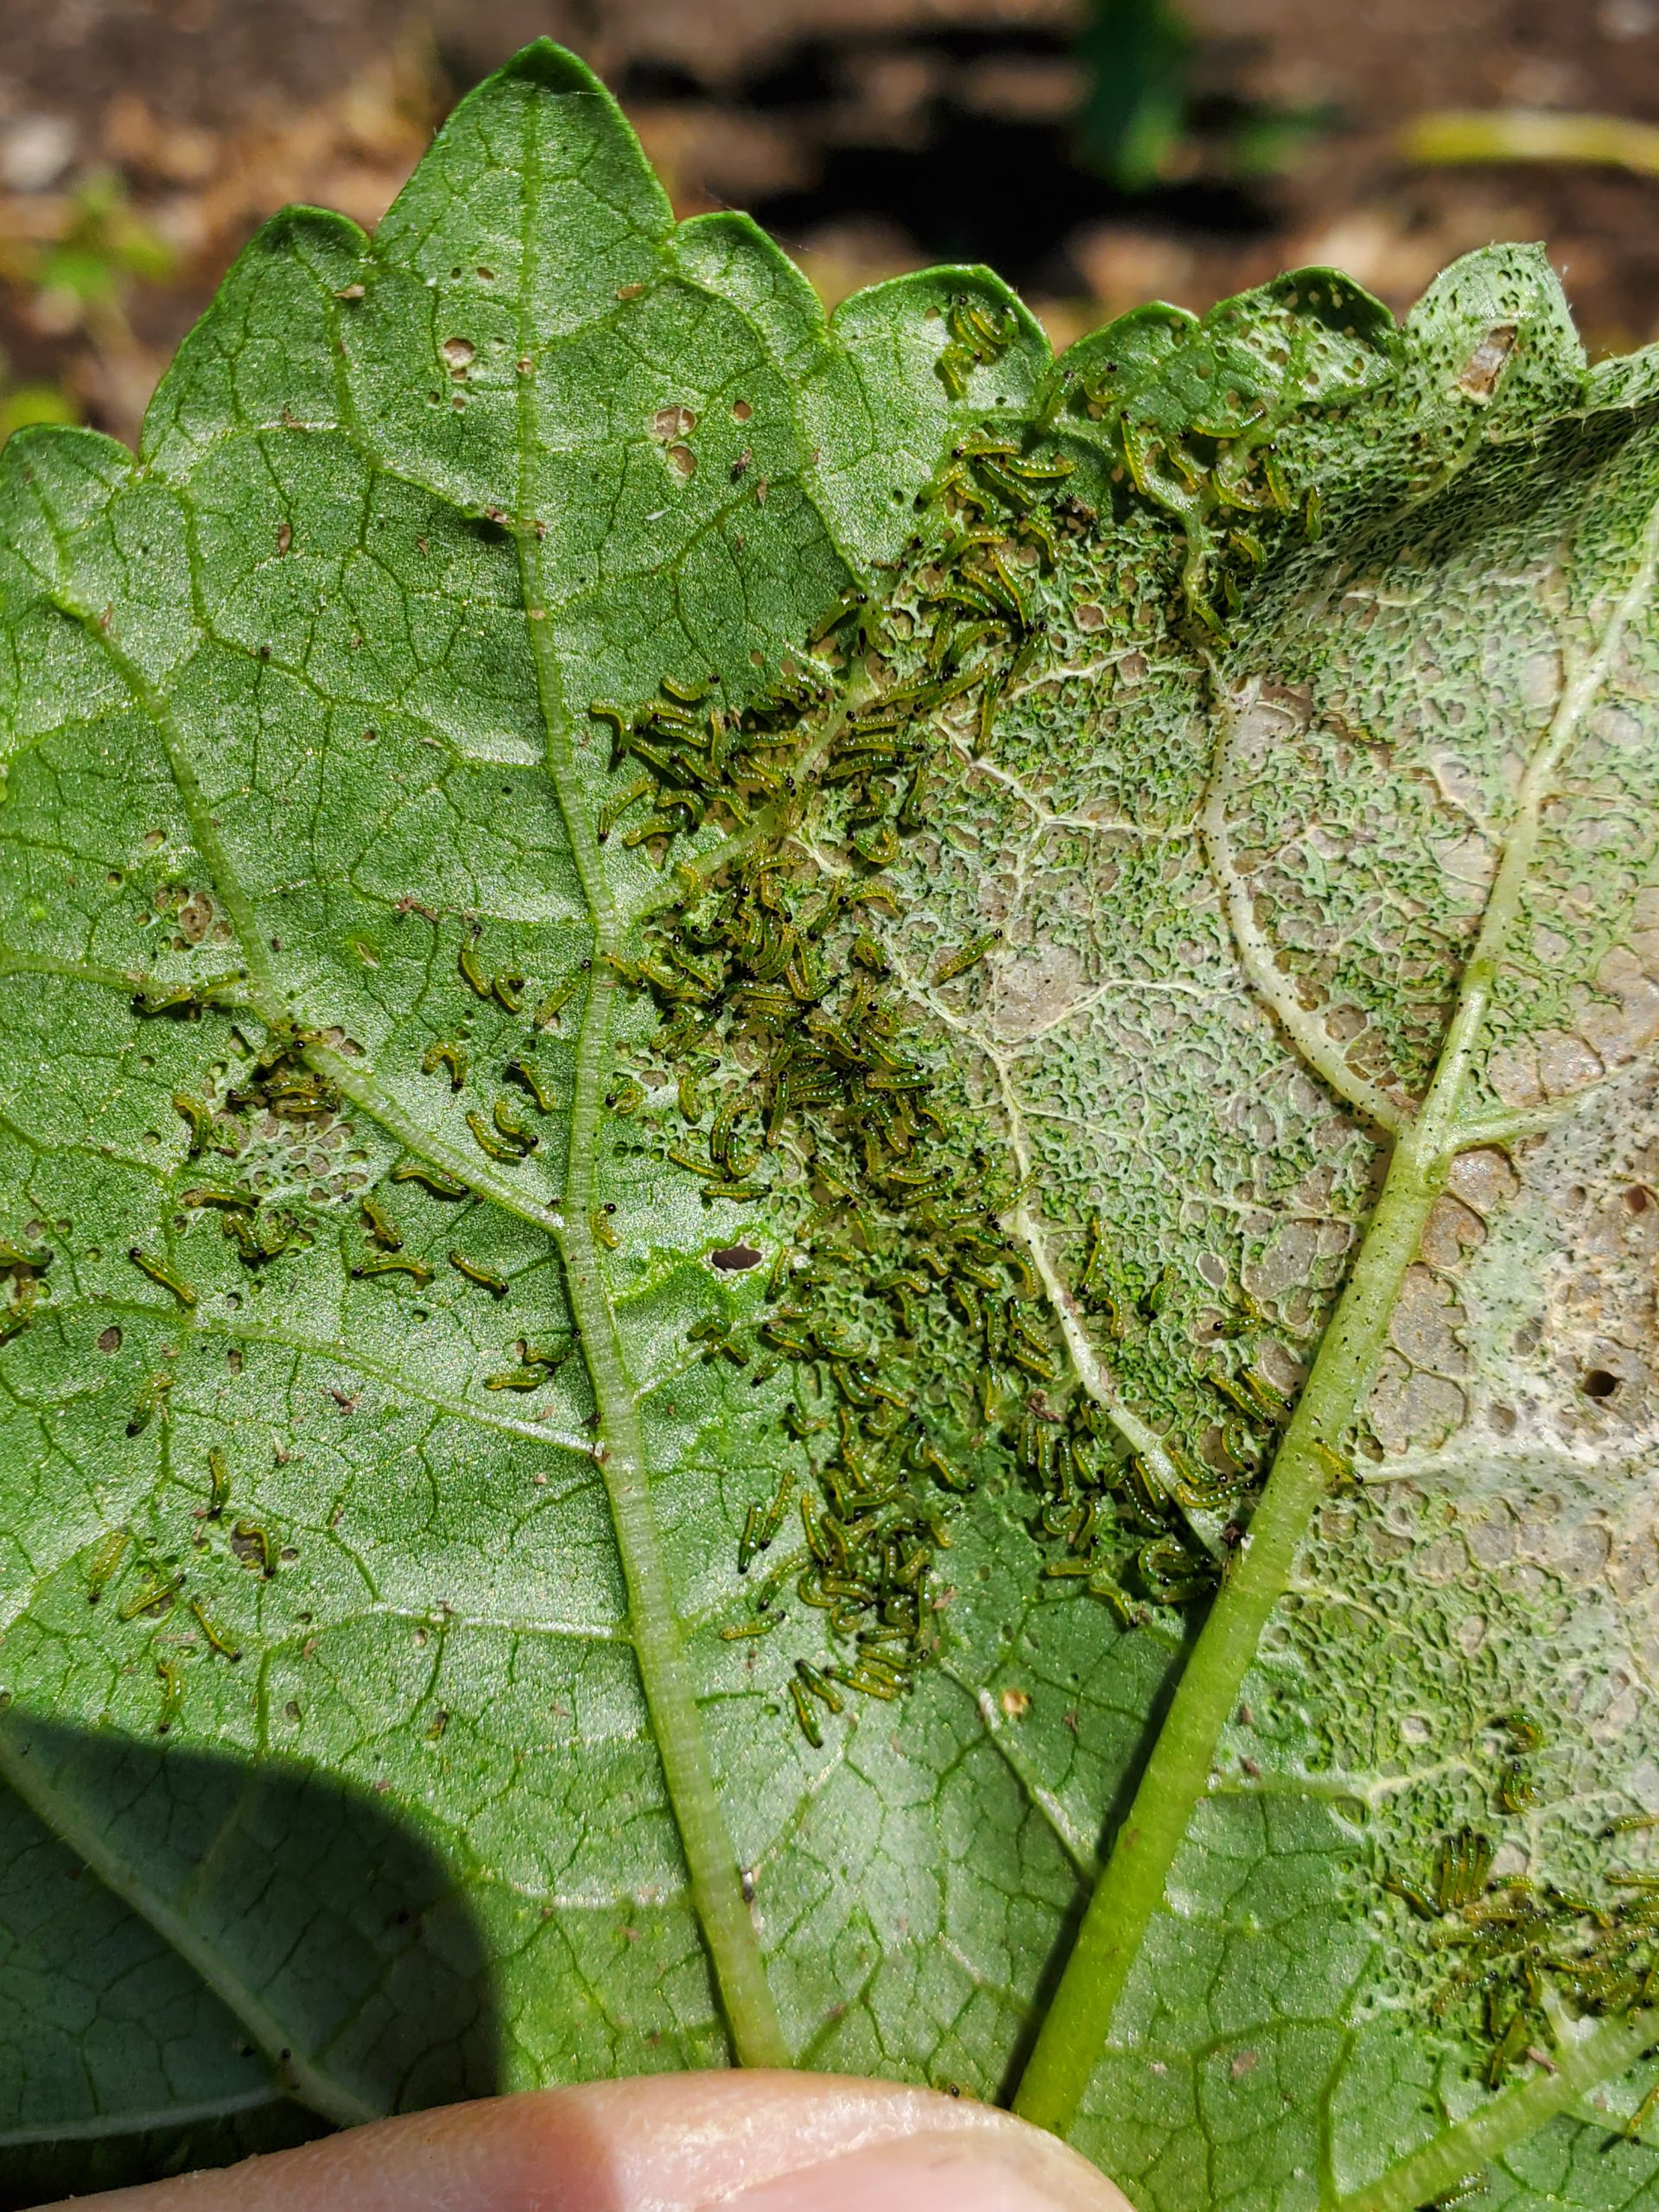
Early Southern Armyworm damage on Okra seedlings. Photo courtesy of the author.
Unlike some serious garden pests that wait until the heat of summer to emerge, Southern Armyworms begin appearing in spring gardens around the end of April. Adult moths can survive mildly cold weather and venture into the Panhandle as soon as warmer spring weather arrives. Once the adult moths arrive, egg masses are then laid on the undersides of leaves and hatch in a little under a week. Once loosed upon the world, Southern Armyworm larvae (caterpillars) become indiscriminate, voracious feeders and congregate in extremely large numbers, allowing them to destroy small, developing garden vegetable plants in a manner of days. Young larvae feed on the undersides of leaves and leave little but a skeleton. As larvae grow larger, they become solitary and begin to bore into fruit. Once they’ve eaten the good stuff (leaves and fruit), large larvae turn to branches and even plant stems!
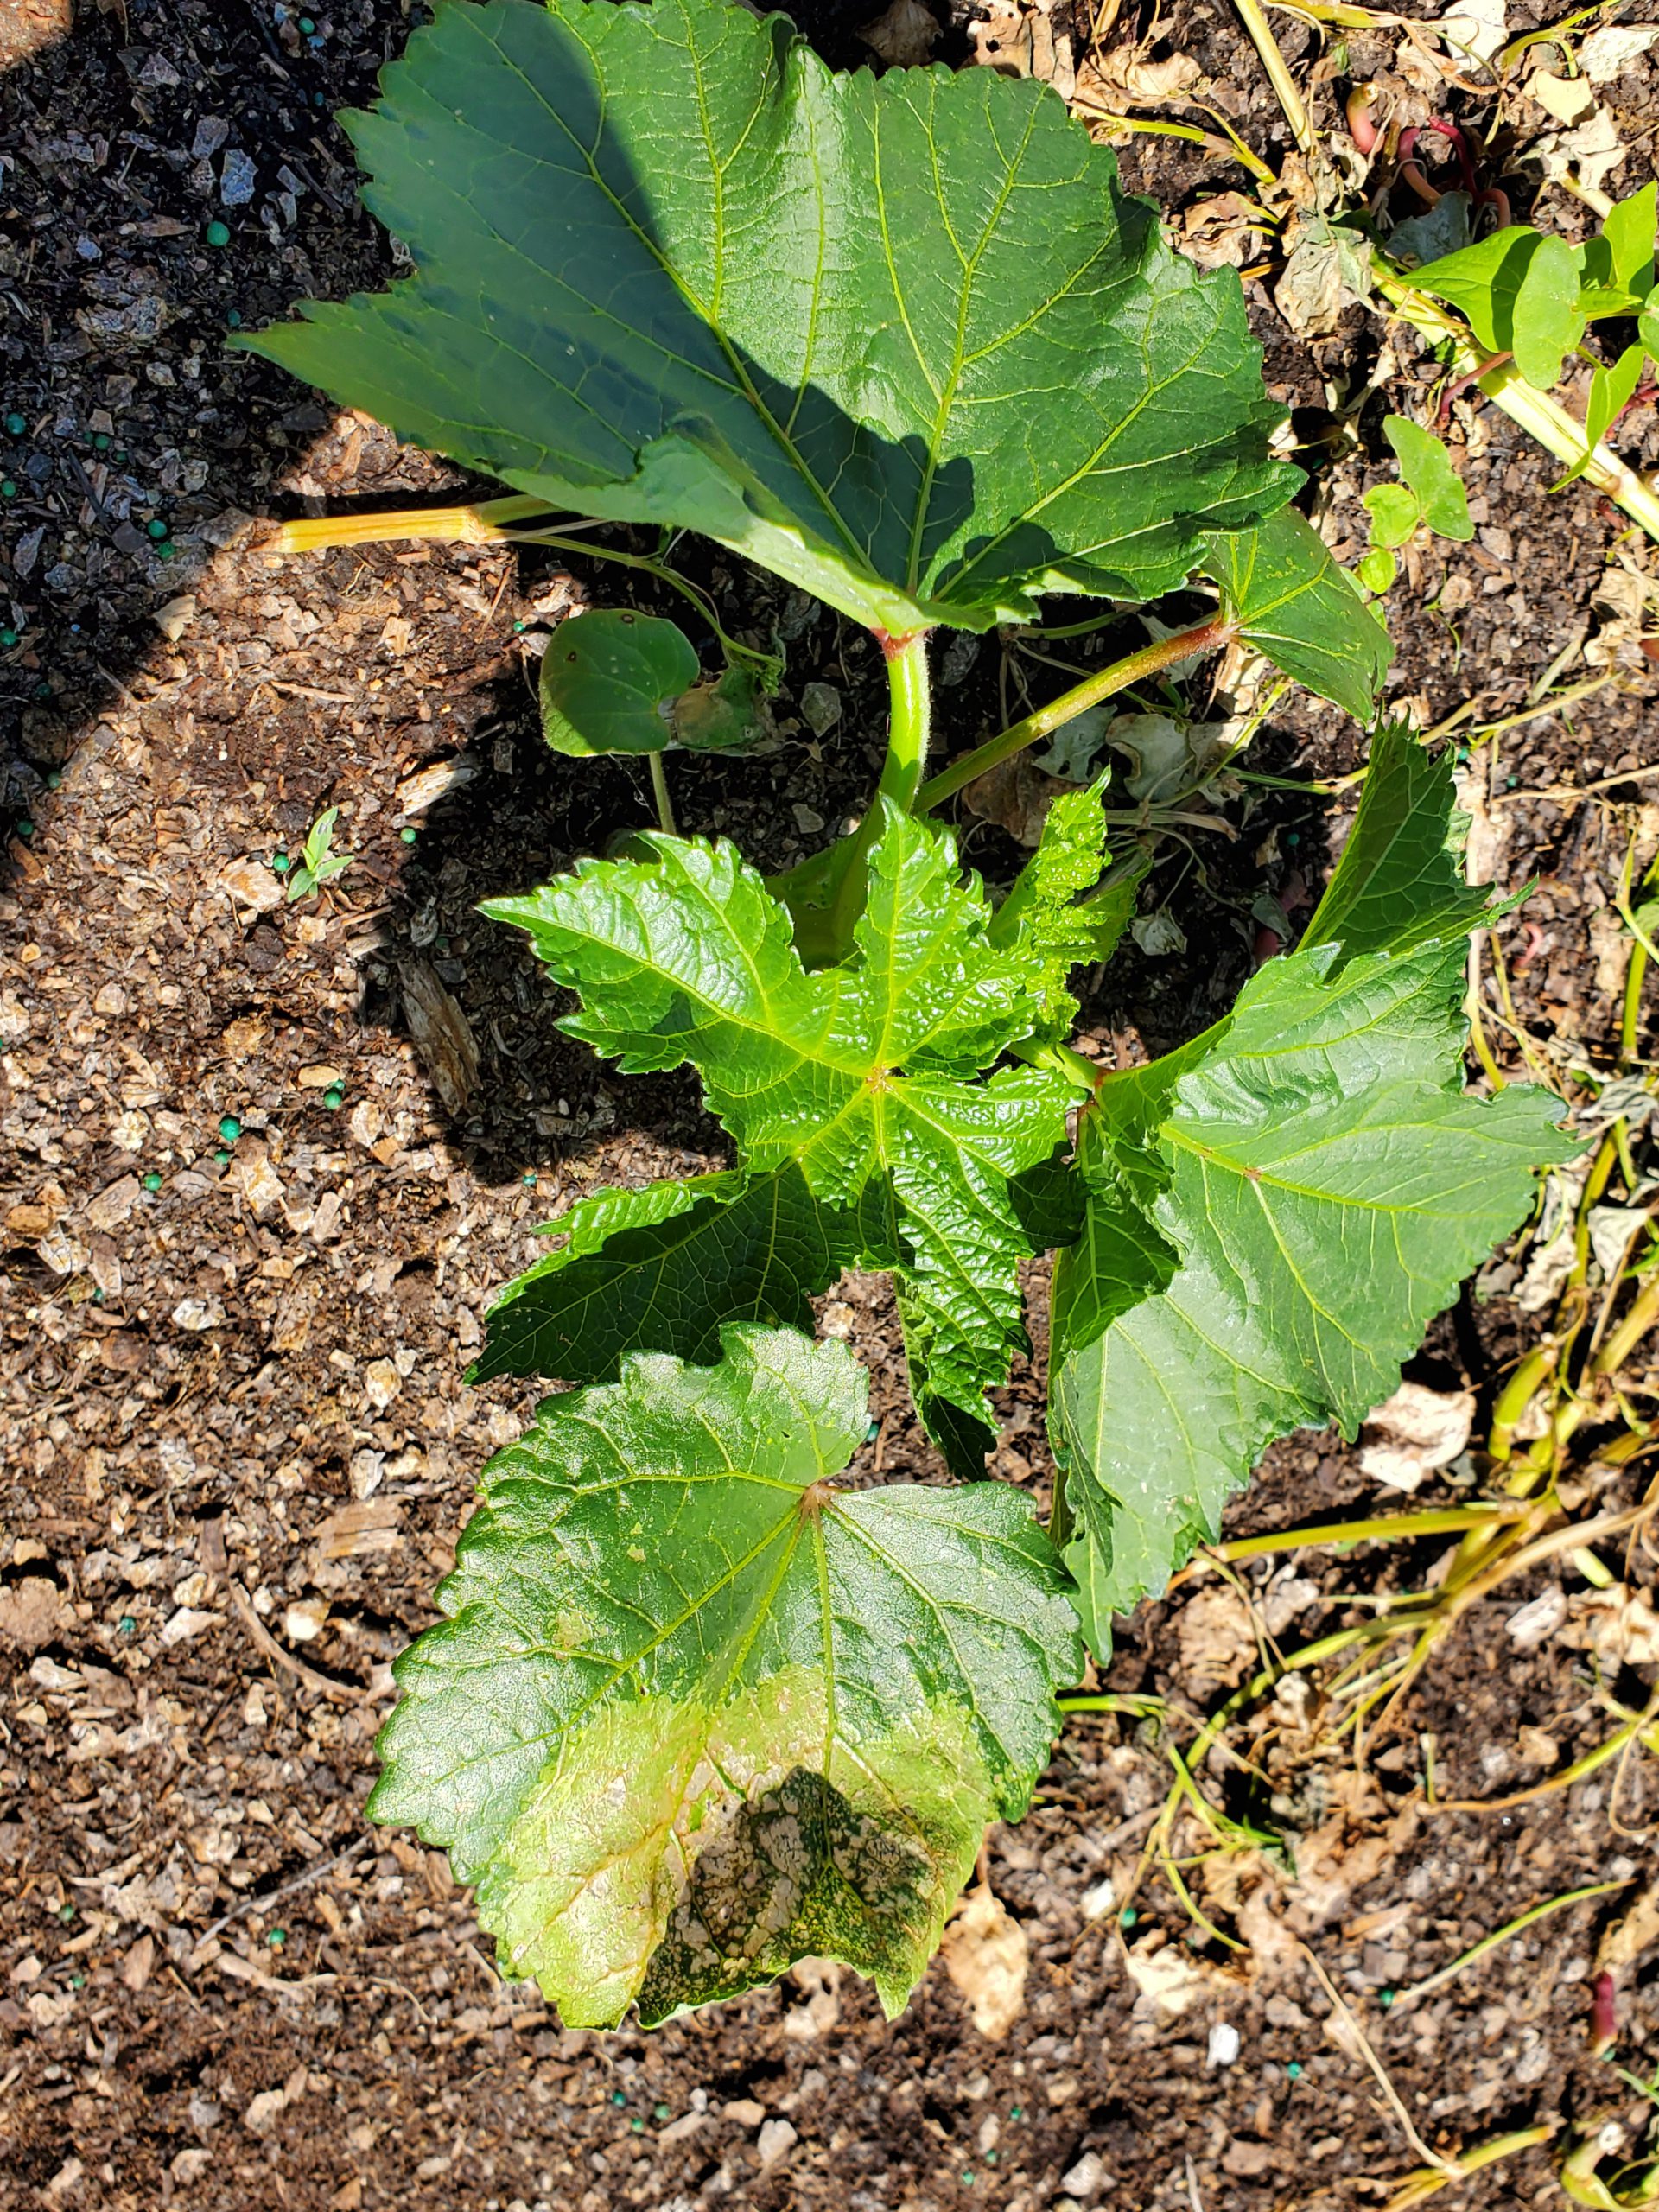
Southern Armyworm larvae feeding on Okra leaves. Photo courtesy of the author.
The good news for gardeners is that Southern Armyworm, and most other caterpillar pests, are easily controlled if outbreaks are caught early. Scouting is critical for early detection and good control. Armyworm damage generally appears from above as brownish-gray sections of affected leaves with a yellowish ring surrounding these sections, this ring indicates the current feeding zone. Affected areas will appear transparent and “lacy” due to the skeletonizing effects of larval feeding. If you see leaves that look “off” in the manner just described, check underneath for the presence of a horde of tiny greenish worms.
If found in this early stage, an application of Bacillus thuringiensis (Bt), a biological pesticide utilizing a bacterium destructive to caterpillars, is extremely effective. Bt has to be ingested by caterpillars with leaf tissue to work; thorough coverage of leaf surfaces is critical for maximum control. I generally follow up with a sequential application of Bt a day later to ensure that I achieved good coverage of the plant surfaces and, therefore, good control. Unfortunately, Bt is much less effective on older larvae. Infestations not caught early require harsher chemistries like carbamates, pyrethroids and organophosphates for adequate control.
Don’t let armyworms or other caterpillar pests destroy your garden, get out there daily and scout! You have a short window for easy caterpillar control with a harmless to people, natural product, Bt. Don’t waste it!
For more information about Southern Armyworm, other caterpillar pests, Bt, or any other horticultural topic, please consult your local UF/IFAS Extension Agent. Happy Gardening!