by Stephen Greer | Mar 11, 2021
Landscaping with native plants brings opportunities and challenges while adding diversity and beauty to the home. There are many factors that come into play to successfully grow plants. As gardeners, we all want things to look exceptional for all to enjoy. Native plants have evolved over long periods of time naturally in a given region without intervention, bringing much needed diversity to natural areas and landscapes. A big plus for natives are the flowers presented for the local bee populations and other pollinators assisting in the continuation of the plant species potentially established over thousands of years.
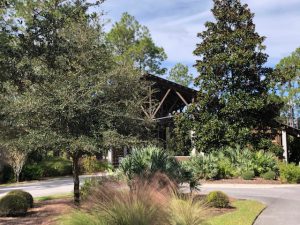
Landscape of Native Plants. Photo Credit: Stephen Greer, UF IFAS Extension Santa Rosa County
Native plants have evolved in natural communities and are found to be interdependent not only plant to plant yet with soil type, soil microbial activity through bacteria and fungus, specific site location and others though biodiversity of these living communities. Part of this community is often referred to as the soil web creating the connections of billions upon billions of organisms in the critical survival of the plants, insects and other animals we see. The first steps when considering native plants for your landscape are to do your research and contact your local Extension office. Some questions to consider may include: Does it grow best in well drained sand or wet soils or require high in organic matter? Will full sun, part-shade to full shade be needed?

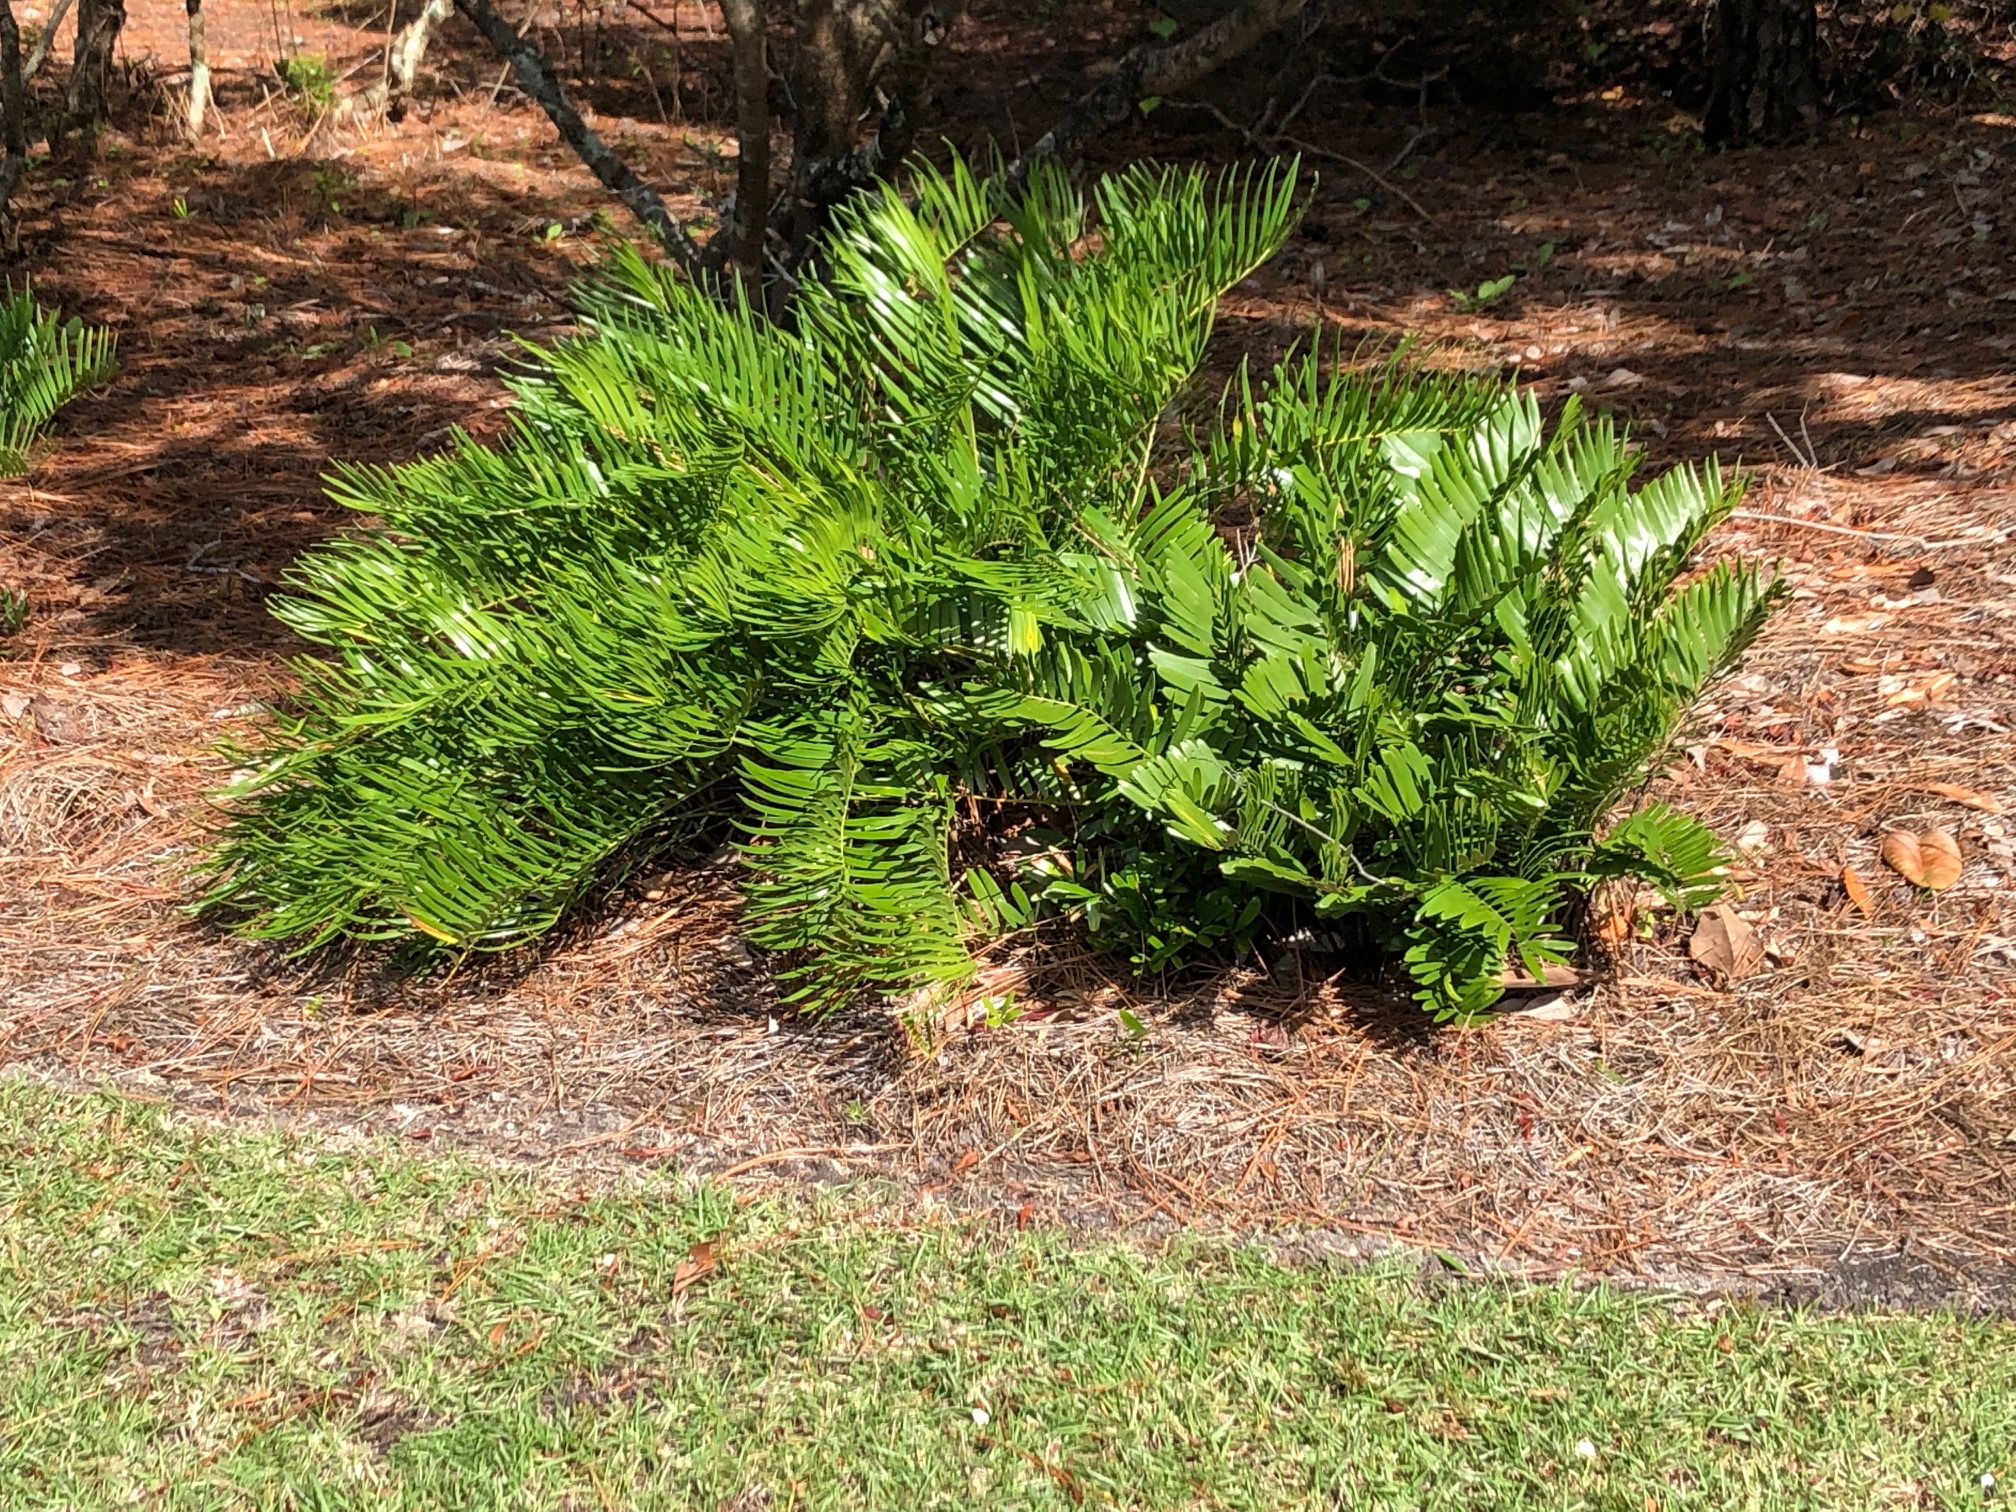
Coontie Palm in Landscape. Photo Credit: Stephen Greer, UF IFAS Extension Santa Rosa
Plants that are native and non-native are often seen in the same landscape setting. Consideration should be taken to determine if either of the groups are aggressive in expanding beyond the intended plant setting. Before moving on, non-native is in reference to plants that are introduced to a plant community that came from a totally different plant location. An example of that location being hollies from southeast Asia or South America or even a different area of the United States. Many have been researched and observed for many years under managed situations before being introduced into the local landscape nursery markets. Once in a while a plant is introduced that has not gone through a long rigorous study and can become naturalized outside of its normal plant zones and establish as an invasive species. This highly adaptable aggressive habit can, and often will colonize a given location out competing the native plants. Kudzu is a good example of an invasive exotic plant that is naturalized in the southeastern U.S.
As gardeners there are opportunities to have positive impacts on some of these diminished native habitat areas that can be threatened by growth of urban and rural areas in Florida. Establishing native plants areas into the landscape with proper soil preparation, managed water needs and more gives that chance for this interdependent system of plants, animals and nonliving elements to remain established with big impacts.
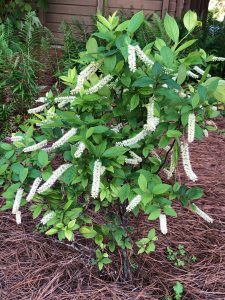
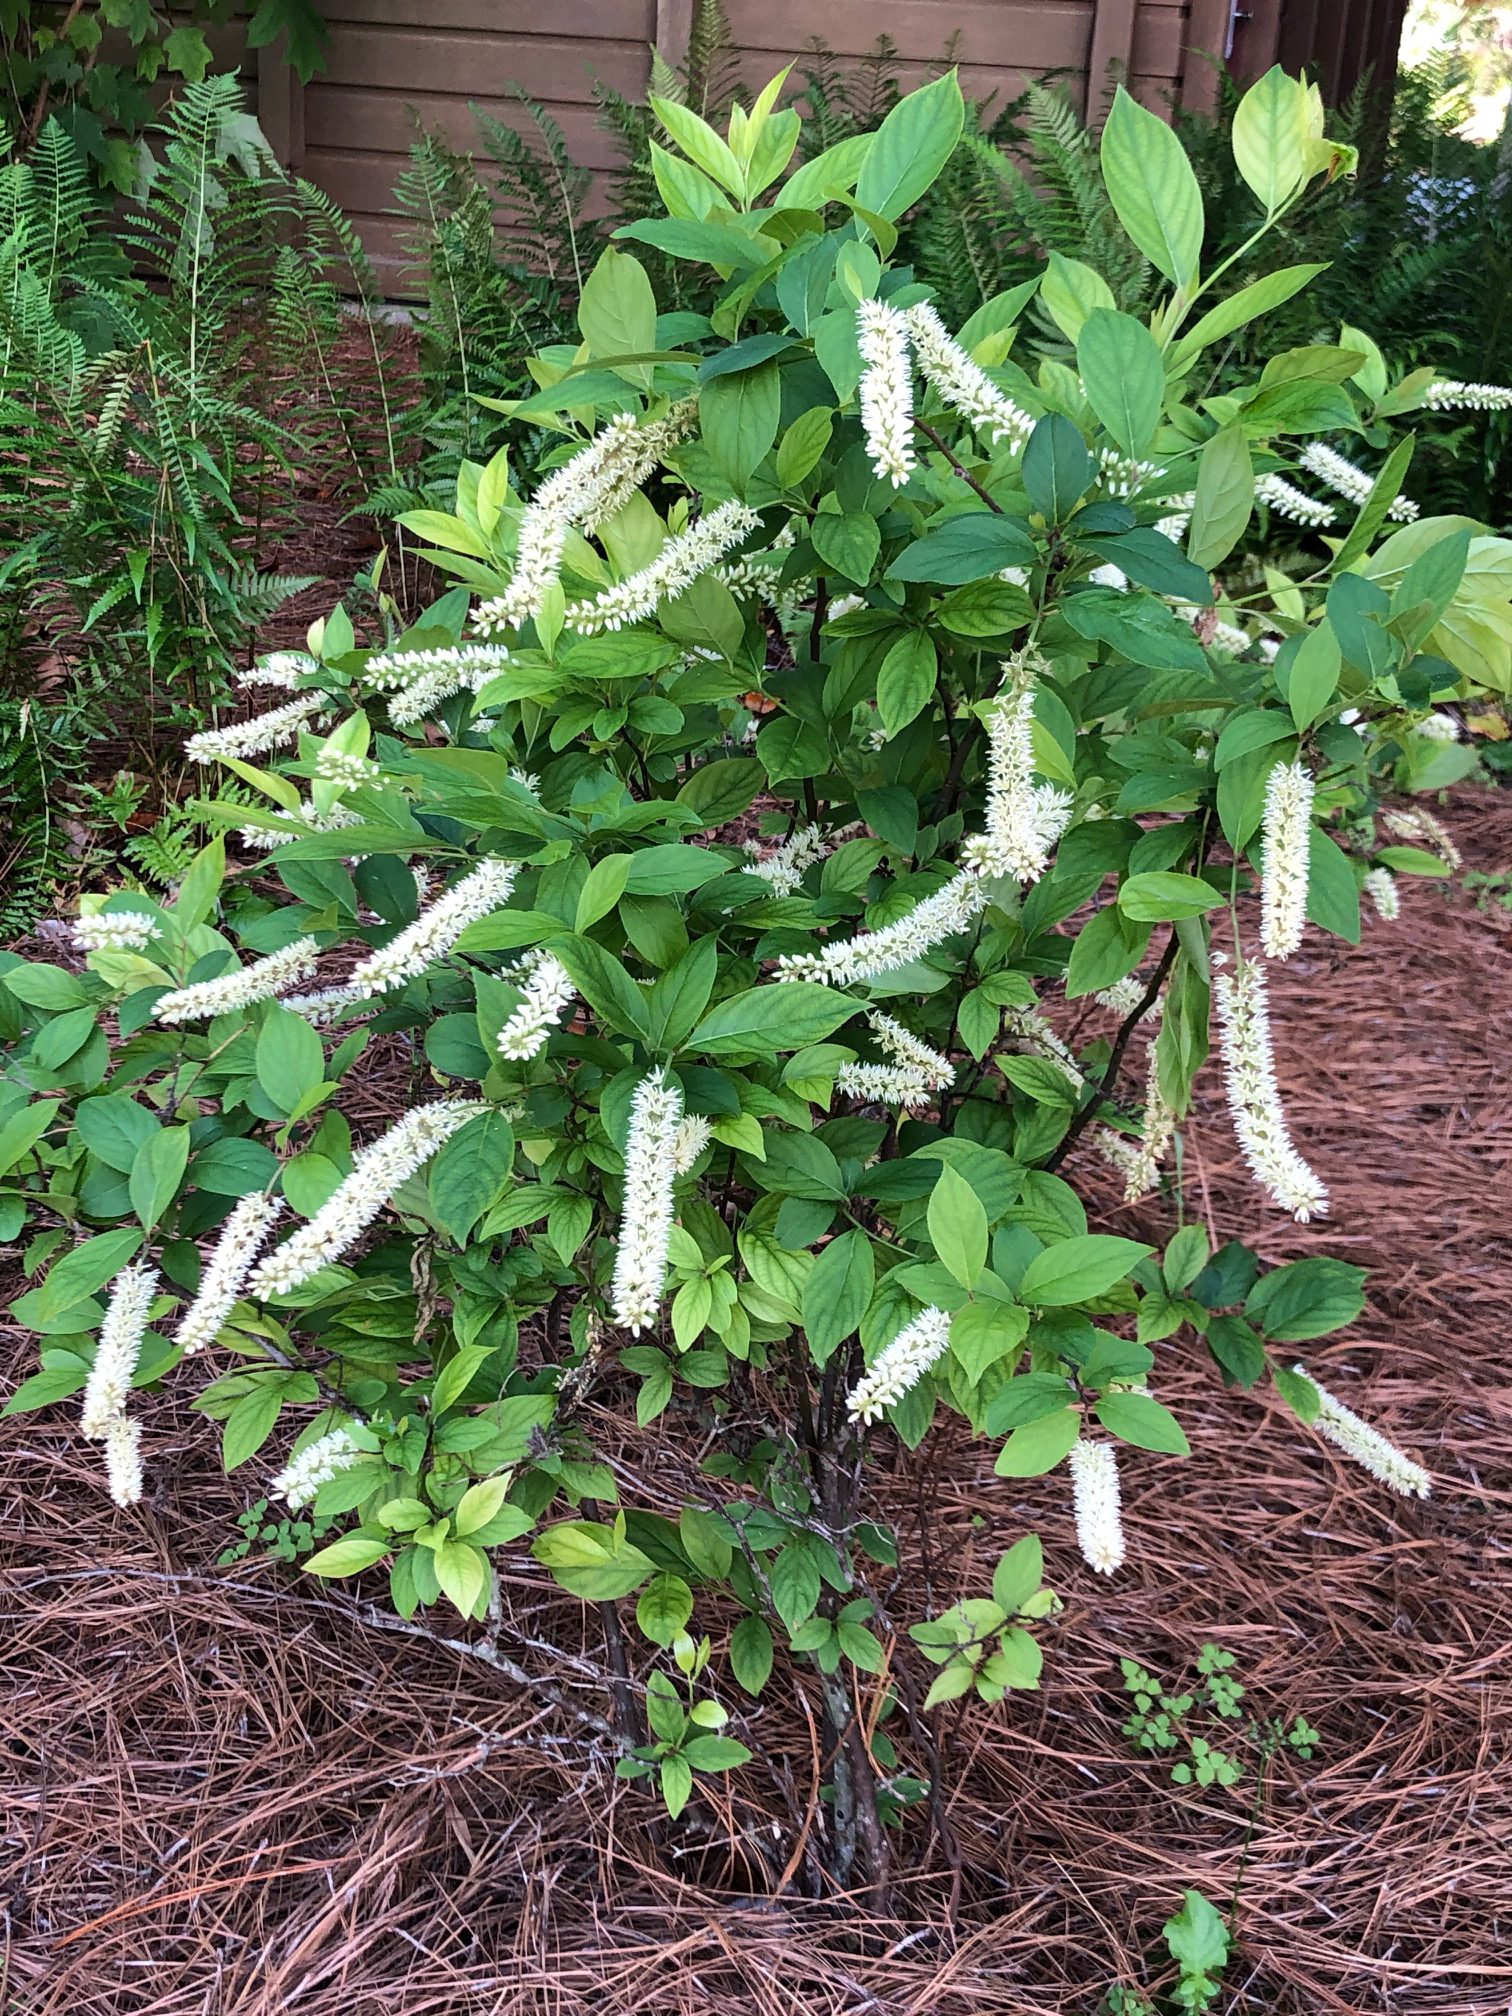
Virginia Sweetspire. Photo Credit: Stephen Greer, UF IFAS Extension Santa Rosa County
Native plants can be a working part of the garden from wonderful flowers, season color change, leaf foliage of multiple sizes and shapes to feed the insects that feed the birds, leaves and nuts that feed so many other animals for us to enjoy seeing. Balance is such a big part of being a successful gardener. Remember not all native plants are suitable for landscape spaces, do your research and ask for assistance from the experts to determine if it is the right plant for the right place.
by Matt Lollar | Jan 13, 2020
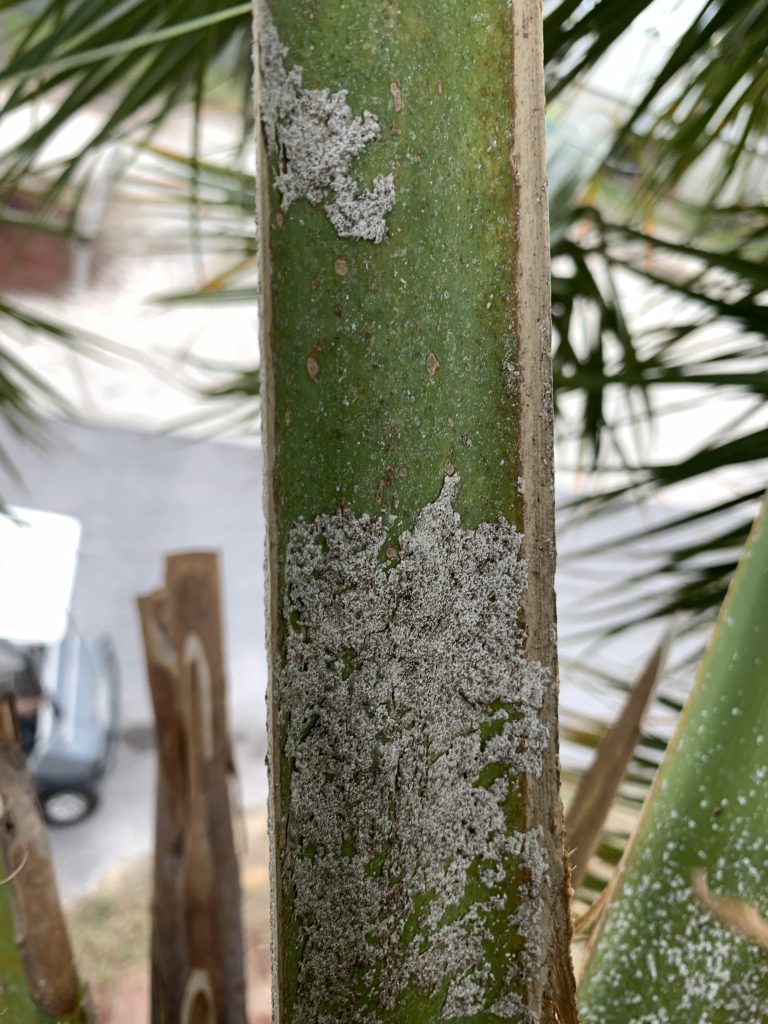
Scale insects on a cabbage palm (Sabal palmetto). Photo Credit: Matt Lollar, University of Florida/IFAS Extension – Santa Rosa County
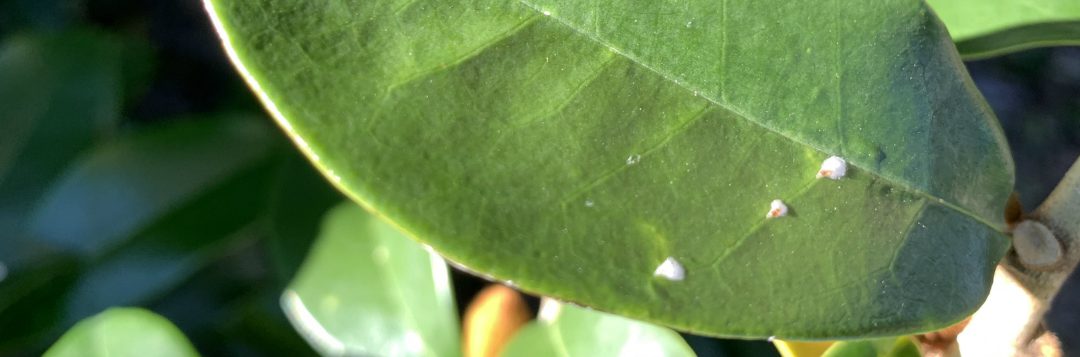
This week I was on a couple site visits to look on some cabbage palms (Sabal palmetto) and some banana shrubs (Michelia figo). The palms had a white, waxy substance on their frond petioles and the banana shrubs had white specs on the tops of their leaves. Upon further investigation, I realized the waxy substance and specs were both different species of scales. Scale insects are serious pests of a number of ornamental plants. Here in Florida there are 13 different families of scales with the most common being armored scales, soft scales, and mealybugs. Scales have piercing-sucking mouthparts which they use to siphon fluids from the leaves, stems, and sometimes roots of many ornamental plants. Heavy infestations cause extensive leaf yellowing, premature leaf drop, branch dieback, and eventually plant death.
Scale Biology
The life cycle of a scale begins with eggs being laid beneath wax coverings or beneath the adult female. Eggs typically hatch in 1 to 3 weeks. The newly hatched nymphs, called crawlers, move around a plant until they find a spot to feed. Once a feeding site is located, their piercing sucking mouthparts are inserted into the plant and the crawlers begin to feed and grow. The males of many scale species develop wings as adults and fly to other plants to reproduce.
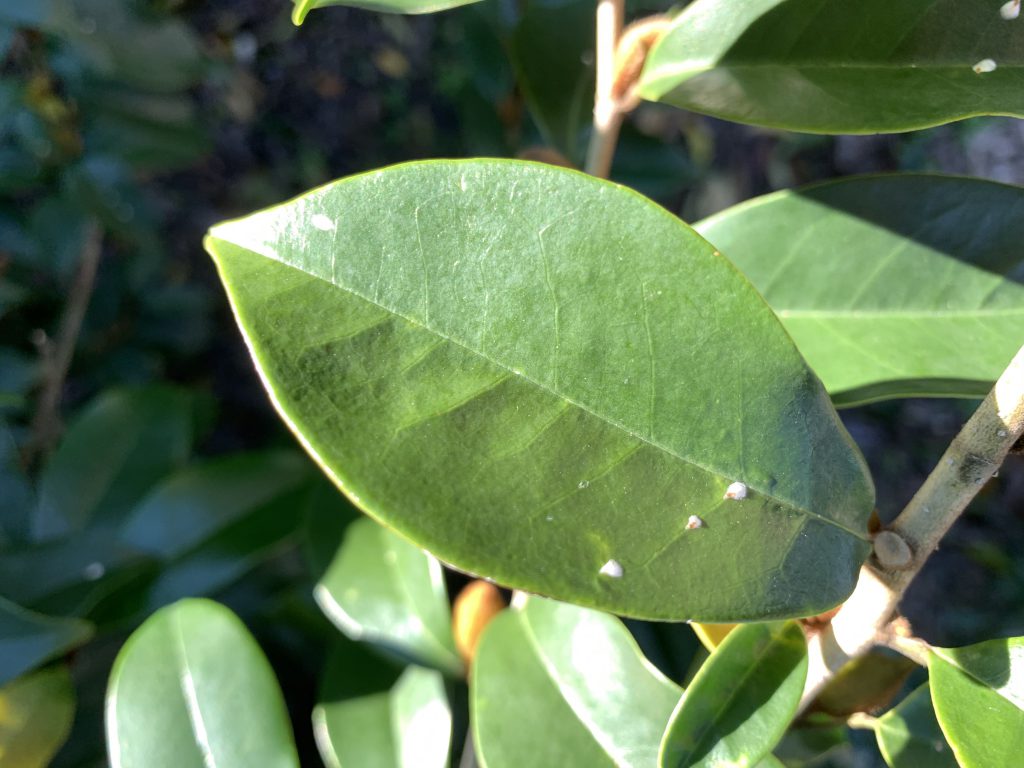
Magnolia white scales on a banana shrub (Michelia figo). Photo Credit: Matt Lollar, University of Florida/IFAS Extension – Santa Rosa County
Armored Scales
Armored scales get their armor by secreting a waxy covering over their bodies that is not attached. The scale lives under this covering and uses it as a protection to feed under. Armored scales can be almost any color or shape and range anywhere from 1/16 to 1/8 inch in diameter. For females, these shapes range from circular to oval to long and slender. The males typically have coverings that are more elongate and smaller than the females. As adults, the males are tiny, winged, gnat-like insects and are rarely seen.
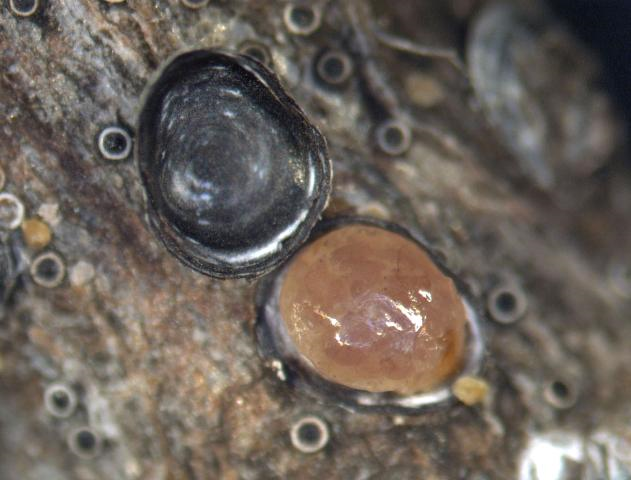
Gloomy scale (Melanaspis tenebricosa) with armored covering removed. Photo Credit: A. G. Dale, University of Florida/IFAS
Soft Scales
Similar to armored scales, soft scales secrete a waxy covering, but it is attached to their bodies. Soft scales can be a number of colors, shapes, and sizes and range anywhere from 1/8 to 1/2 inch in diameter. Their shapes vary from spherical to nearly flat.

Population of adult and immature tuttle mealybugs (Brevennia rehi) on a blade of zoysiagrass. Photo Credit: Lyle J. Buss, University of Florida/IFAS
Mealybugs
Mealybugs are soft-bodied insects that possess a covering of flocculent, white, waxy filaments. They are about 1/8 inch in length and usually pinkish or yellowish in color. Mealybugs have piercing-sucking mouthparts which they use to siphon fluids from the leaves, stems, and sometimes roots of many ornamental plants. Mealybug damage produces discolored, wilted, and deformed leaves.
Scale and Mealybug Management
- Cultural Control – Plant inspection prior to purchase or installation is the first line of defense against a scale or mealybug population. Make sure to inspect the undersides of leaves and plant stems. Infested sections of plants can be pruned and plant material should be cleaned from the planting area and discarded. Also, you can increase air flow and decrease humidity by proper installation and pruning. Over-fertilizing can also increase pest populations.
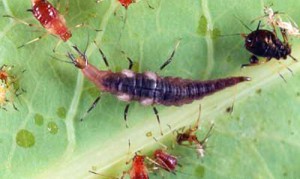
Larva of a brown lacewing. Credits: Lyle Buss, University of Florida.
- Biological Control – Predators, such as ladybugs and green lacewings, are usually present in large enough numbers to suppress scales and mealybugs to a desirable threshold. However, broad-spectrum insecticides and bad weather can reduce predator numbers. Look for signs of predation by inspecting dead scales for jagged holes in their waxy coatings. If predation signs are present, use more selective chemical controls and oils as opposed to broad-spectrum products.
- Chemical Control – Timing is everything when it comes to managing scale and mealybug insects. Crawler activity is more pronounced with the flush of new plant growth in the spring. Before application, prune infested plant parts off first to promote greater penetration of insecticides into the foliage. Dormant Oils are often used in the winter to smother scale insects. These are good choices to implement because they don’t harm non-target or beneficial insects. Care must be taken to read the label and use them at the correct temperature, since use in hot weather may burn foliage. Contact products (acephate, bifenthrin, carbaryl, etc.) must be applied to inhibit the crawler stages of these insects and systemic products (acetamiprid, imidacloprid, thiamethoxam, etc.) can be used on the sessile growth stage. Plants should be sprayed thoroughly to the point of drip or “run off” from leaves, twigs, and stems. Repeated applications may still be necessary even if the timing is right, as crawler populations are often large and crawlers like to hide under old waxy scales. Systemic drenches are also a viable option. With good spray coverage, horticultural oils can kill scales at all stages of growth. Refer to the product label for phytotoxicity and temperature guidelines. Even after successful treatment, the outer coatings of the scales may remain on the plant material for weeks, which can be unsightly. The best way to determine if scales are dead is to squeeze them. They will be dry when squeezed if they are dead and they will ooze liquids if they are living (they were at least alive to the point of being squashed).
For insect identification and additional information on scale control, please see:
A Guide to Scale Insect Identification
UF/IFAS Featured Creatures
Your County Extension Office
by Julie McConnell | Jun 21, 2019
My obsession with plants started with the purchase of my first house in Waverly, Alabama in the late 90s. I bought a house with seven acres and of that about 1.5 acres was a fenced yard. The landscape was not very appealing, so I was on a mission to make it beautiful yet functional for my dogs. The only problem was, as a new homeowner, I had very little expendable income for my burgeoning plant habit. This dilemma forced me to be a resourceful gardener.
Shop the discount rack at garden centers
- Many retail garden centers (especially mixed use stores with limited plant space) will discount plants simply because they are no longer flowering. Plants look perfectly healthy but are just not considered “retail ready” anymore, so rather than hold them over until they bloom again and appeal to most shoppers the stores tend to mark them down.
- Plants are either growing or they are dead, so it is common to find some outgrowing their container and are getting “potbound” which means the root system is outgrowing the pot. Potbound plants are hard to keep watered without wilting and the solutions are to transition to a larger pot or plant in the ground. Most garden centers are not equipped to pot up overgrown plants to larger containers, so the easier solution is to sell them quickly. If you purchase a plant with circling roots be sure to trim the bottom and score (slice) the root ball to encourage roots to spread laterally.
- Avoid plants that appear diseased (leaf spots, brown stems, mushy parts, rotting odor) or have active feeding insect activity.
Compliment other gardeners’ plants
- When you get gardeners together, they inevitably start swapping plants. I really don’t have an explanation for this other that good old southern hospitality, but I’ve noticed over the years that when you express appreciation of plants to other people they tend to end up in your own yard. Ask if you can take a pinch (for cuttings) or offer to divide a clump of crowded perennials and you are on your way to a trunk full of plant babies.
- I can’t recommend this for multiple safety reasons, but I have been known to photographs plants in my travels then strike up a conversation with a homeowner who insisted I take one home.
Experiment with basic propagation techniques
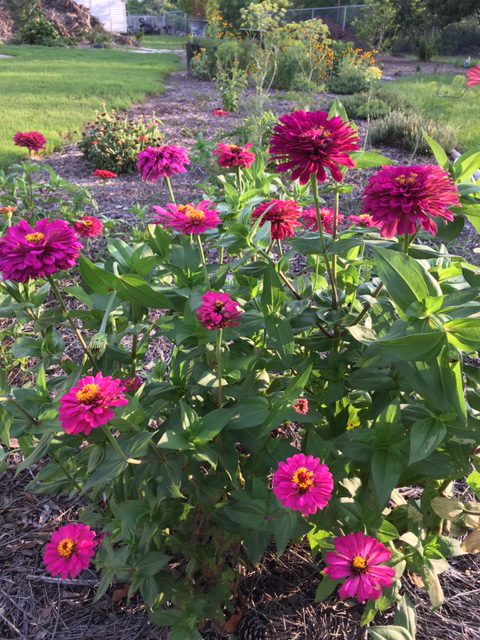
- Grow flowers from seed. Either purchase seeds (usually under $2/pack) or collect seed heads from spent flowers in your own garden. After flowers fade, allow them to set seed then either crush and distribute in other parts of your garden or store in a cool, dry place until you can swap with friends.
- Division – clumping perennials such as daylilies, cast iron plant, iris or liriope can be dug up and cut into smaller pieces with a shovel or machete. You only need to be sure to have buds on top and roots on the bottom to make a new plant. Other plants create offshoots that can be removed from the parent plant. Examples of these are agave, cycads, and yucca.
- Cuttings – the list of plants that can be propagated from stem cuttings is endless but a few that are very easy are crape myrtle, hydrangea, and coleus.
- Patented plants can not be propagated.
For more information read Plant Propagation Techniques for the Florida Gardener or contact your local UF/IFAS Extension Office.
by Julie McConnell | Nov 22, 2016
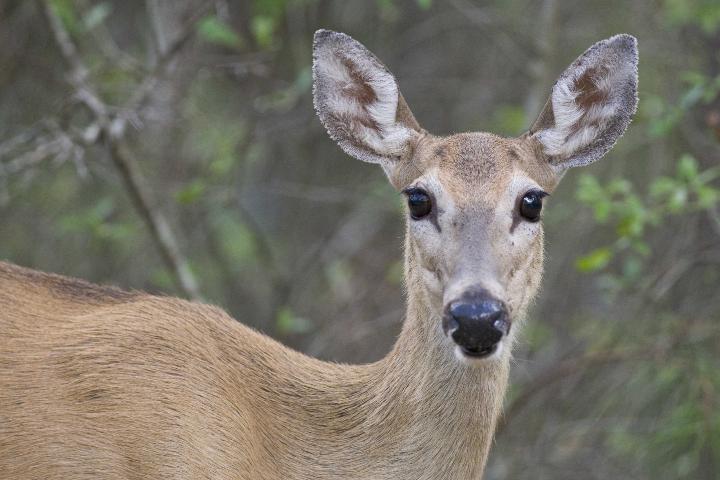
 Missing rose buds, pulled up pansies, and damaged tree trunks are all signs that something has been visiting your garden while you are away. But what could it be? Most gardeners are familiar with leaf spots caused by fungal diseases or minor feeding damage by insects, but to see half a shrub or an entire flower bed demolished overnight indicates a different type of pest.
There are several mammals that visit home landscapes and may cause damage, especially in times of drought when natural food sources are limited. Because we provide water for our landscapes, our plants tend to have lush new growth at times when plants in natural areas have slowed growth because of a lack of water or other stressors that managed gardens do not face. So, it’s no surprise that herbivores will be attracted to our landscape for a midnight snack.
It is important to determine what is causing damage so that you can employ protective tactics if possible. Some things to look for to try to figure out who the culprit is are footprints, dropping, feeding clues (bite marks, scrapes, etc.), or other distinctive damage. For more details about how to tell the difference between damage caused by multiple pests see How To Identify the Wildlife Species Responsible for Damage in Your Yard.
Once you have determined what is causing the damage you can try some different strategies to deter future feeding. Some plants may be impossible to protect, but before you spend your money and time check out these recommendations by wildlife specialists at the University of Florida in How to Use Deterrents to Stop Damage Caused by Nuisance Wildlife in Your Yard
by Beth Bolles | Nov 22, 2016
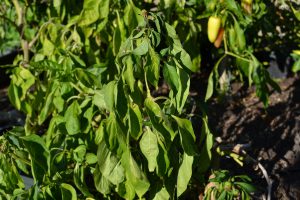
Leaf wilt may indicate more than just dry soil. Photo by Beth Bolles
Plants have specific ways of telling gardeners that there is a problem, but not all plant symptoms lead us directly to the cause. During drier conditions, we often use wilting leaves as an indicator that water is needed. This can be a reliable symptom that the soil is lacking moisture but it is not always the case. Wilting leaves and herbaceous branches actually tell us that there is not adequate water in the plant. It does not necessarily indicate lack of moisture in the soil.
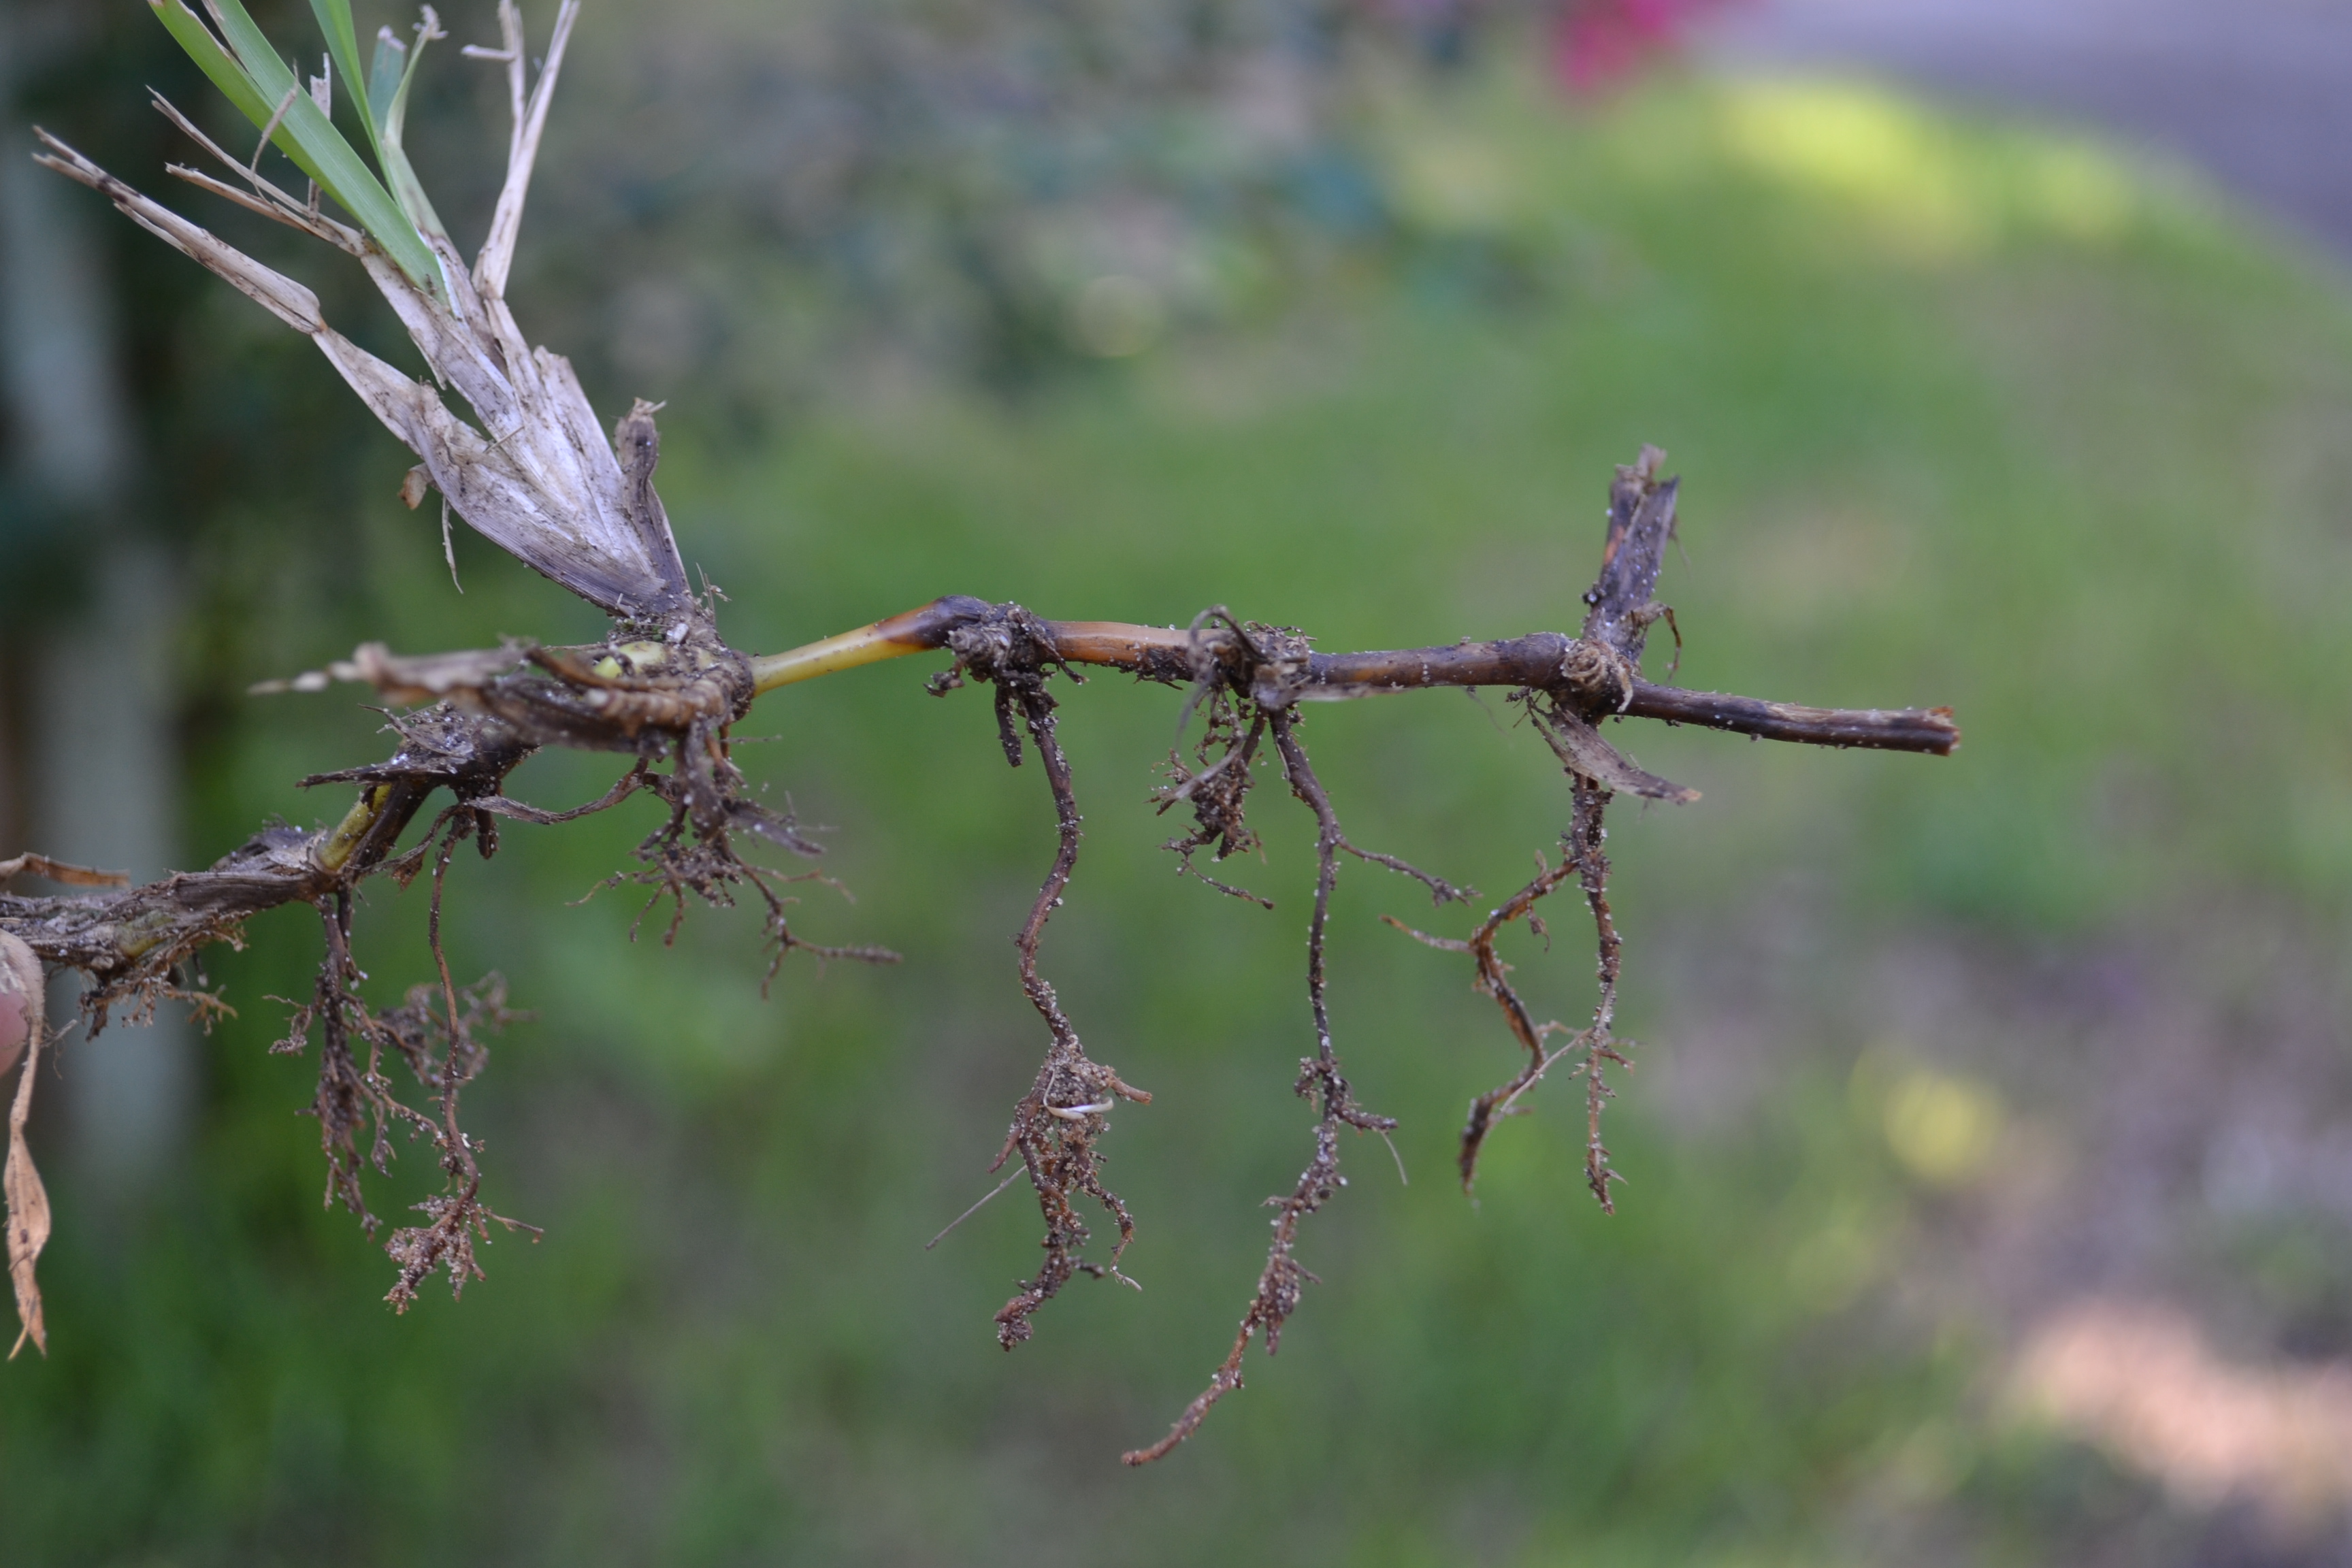
There can be many reasons why water is not being absorbed by roots and moved to tissues in the plant. The obvious place to start is by checking soil moisture. If soil is powdery several inches deep around the plant, water is likely needed. However, if you ball the soil up in your hand and it holds together, there may be another reason for lack of water reaching the upper plant parts. The harder part is determining why the root system is not taking up water. Causes can be a rotted root system from too much water, a poorly developed root ball that has circling or kinked roots, and even problems in the soil such as compaction. Insects, diseases, and other pathogens can also injure root systems preventing the uptake of water.
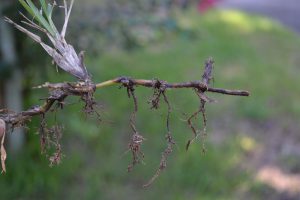
Too much water can cause roots to decay, preventing the uptake of water. Photo by Beth Bolles
So before automatically grabbing the hose or turning on the sprinkler, do a little soil investigation to make sure that the plant wilt is really indicating lack of water in the soil. If you need help in your diagnosis, always contact your local Extension office.