by Sheila Dunning | Dec 16, 2015
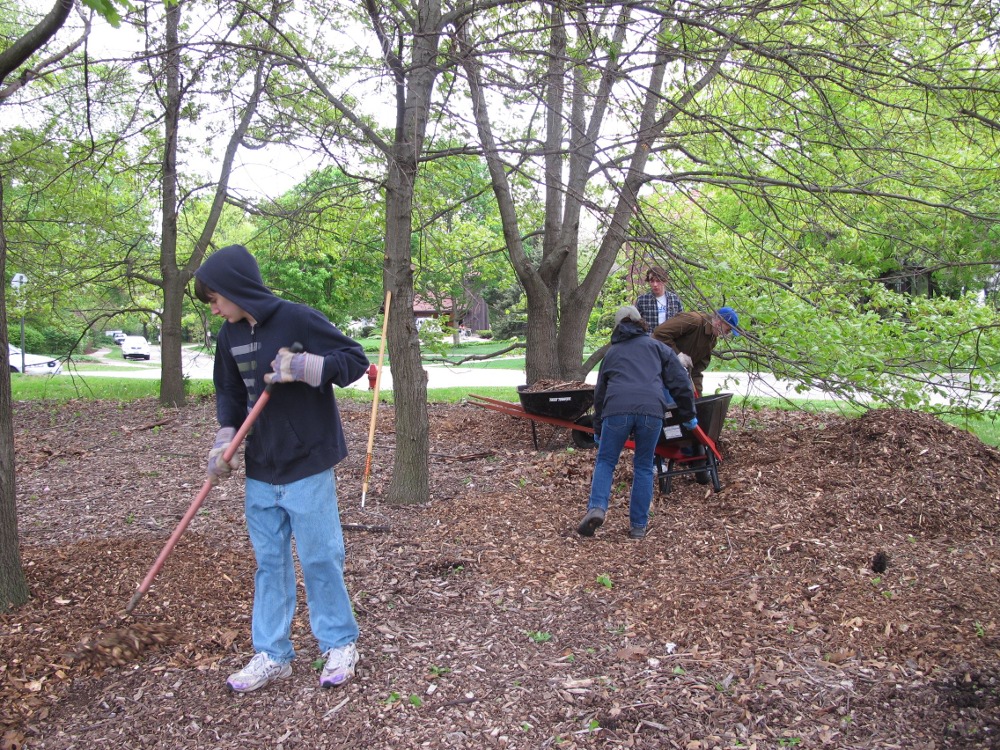
 Though the calendar says December, the weather in Northwest Florida fluctuates between winter and spring temperatures. The nice days are wonderful opportunities to accomplish many of those outside landscape chores in preparation for spring. But, it is also a good time to start planning for next month’s colder temperatures. Since we don’t experience frozen soil, winter is the best time to transplant hardy trees and shrubs. Deciduous trees establish root systems more quickly while dormant; versus installing them in the spring with all their tender new leaves. Here are a few suggestions for tasks that can be performed this month:
- Plant shade trees, fruit trees, and evergreen shrubs.
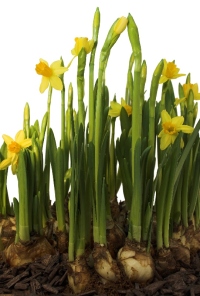
- Plant pre-chilled daffodil and narcissus bulbs (late December/early January).
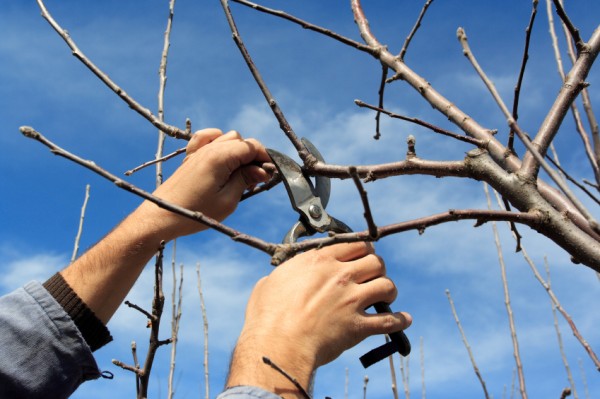
- Do major re-shaping of shade trees, if needed, during the winter dormancy.
- Water live Christmas trees as needed and water holiday plants such as poinsettias as needed.
- Check houseplants for insect pests such as scale, mealy bugs, fungus gnats, whitefly and spider mites.
- Continue to mulch leaves from the lawn. Shred excess leaves and add to planting beds or compost pile.
- Replenish finished compost and mulch in planting beds, preferably before the first freeze.
- Switch sprinkler systems to ‘Manual’ mode for the balance of winter.
- Water thoroughly before a hard freeze to reduce plants’ chances of damage.
- Water lawn and all other plants once every three weeks or so, if supplemental rainfall is less than one inch in a three week period.
- Fertilize pansies and other winter annuals as needed.
- Protect tender plants from hard freezes.
- Be sure to clean, sharpen and repair all your garden and lawn tools. Now is also the best time to clean and have your power mower, edger and trimmer serviced.
- Be sure the mower blade is sharpened and balanced as well.
- Provide food and water to the area’s wintering birds.
by Mary Salinas | Dec 4, 2015
The cooler weather in the wintertime makes it a great time to plant trees and shrubs. That is why Arbor Day in Florida is the third Friday in January. In 2016, that event is January 15.
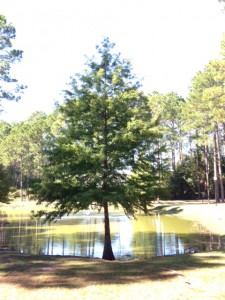
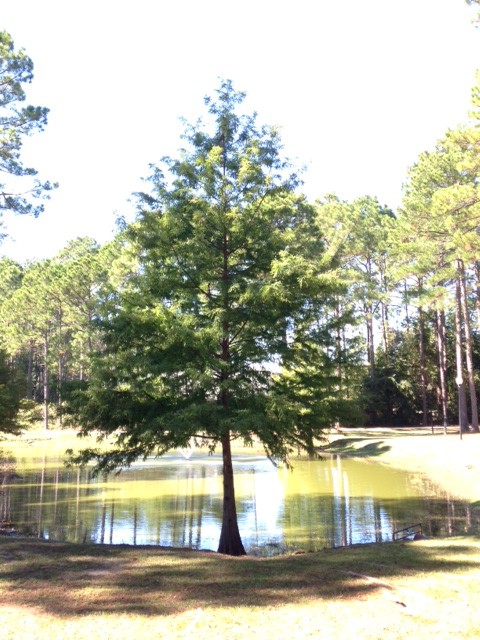
Baldcypress growing at the edge of a pond. Photo: Julie McConnell, UF/IFAS
Start your planning now with doing a site assessment on your landscape, then choosing the right trees and shrubs for your particular environmental conditions.
Here are some great sites that offer online tools for finding just the right species:
Florida Tree Selector
The Florida-friendly Guide to Plant Selection & Landscape Design
Florida Native Plant Society Locator
And if you want to find out just how much your established trees are worth, use this National Tree Benefit Calculator!
For more information:
Planting Trees in the Landscape
Arbor Day Foundation: Florida

by Larry Williams | Sep 3, 2015
Tropical storm season officially ends November 30. I’m not predicting a storm but even with our average winds during a typical thunderstorm, you’d be wise to prepare.
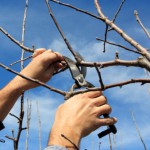
Falling trees and flying landscape debris during a storm can cause damage. Evaluate your landscape for potential tree hazards. Pruning or removing trees once a hurricane watch has been announced is risky and tree trimming debris left along the street is hazardous.
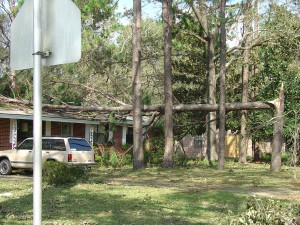
Photo credit: Larry Williams, UF/IFAS.
Now is a good time to remove dead or dying trees and to prune decayed or dead branches Also inspect trees for signs of disease or insect infestation that may further weaken them.
Professional help sometimes is your best option when dealing with larger jobs. Property damage could be reduced by having a professional arborist evaluate unhealthy, injured or questionable trees to assess risk and treat problems. Hiring a certified arborist can be a worthwhile investment. To find a certified arborist in your area contact the International Society of Arboriculture (ISA) at 217-355-9411 or at www.isa-arbor.com. You also may contact the Florida Chapter of ISA at 941-342-0153 or at www.floridaisa.org.
Consider removing trees that have low wind resistance, are at the end of their life span or that have potential to endanger lives or property. For example, laurel oaks are relatively short-lived, usually showing considerable dieback as they reach 50 years. They tend to lose their strength and stability faster than most other oaks and have low wind resistance. Consider removing a big, old laurel oak within falling distance of your home before the next storm.
Tree species with the lowest wind resistance include pecan, tulip poplar, cherry laurel, Bradford pear, southern red oak, laurel oak, water oak, Chinese tallow, Chinese elm, southern red cedar, Leyland cypress, sand pine and spruce pine.
Pine species vary in their wind resistance, usually with longleaf and slash pines showing better survival rates than loblolly and sand pine. However, when pines become large, they may cause damage if located close to homes or other valuable structures.
by Blake Thaxton | Aug 19, 2015
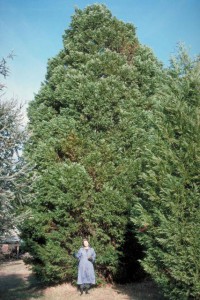
Photo Credit: Ed Gilman, UF/IFAS
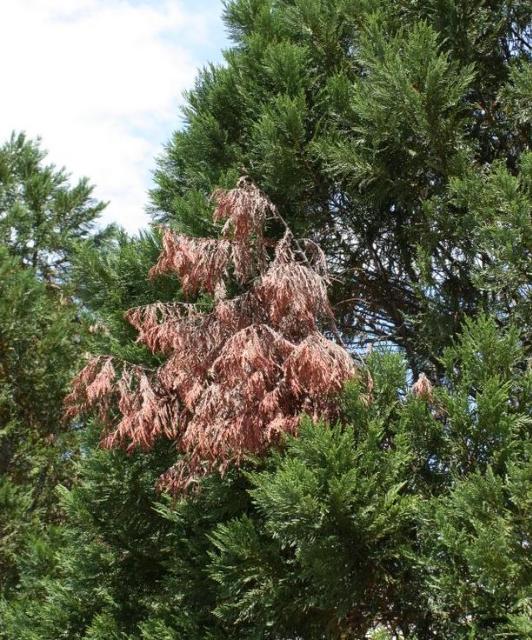
Leyland cypress, x Cupressocyparis leylandii, has been hugely popular over the past 20 years as an ornamental landscape tree. It has the reputation of being a beautiful evergreen that can grow at a rate of up to 3 to 4 feet per year. Sounds like the perfect option for someone looking to make their back yard more secluded and private. Because of these traits, it has been planted widely throughout the southeastern US, including the Florida panhandle, only to succumb to intense environmental conditions and disease pressure.
UF/IFAS suggests that other species be used in place of Leyland cypress because of the damaging effects of Seiridium canker. The disease is a fungal organism that attacks the tree after periods of drought while the tree is under stress. Once the stress has occurred and rain does arrive the fungus attacks the vulnerable trees in the wetter periods. The major symptom is “flagging” or branches that have turned brown that can be scattered throughout the tree. This is caused by a canker further up the brown branch that has been girdled,cut of from the flow of water and nutrients to the branch by diseased tissue.
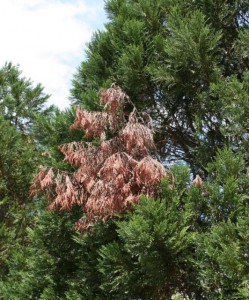
Flag branch on Leyland Cypress. Photo Credit: UF/IFAS
What are the options for Florida panhandle landscapers and homeowners? If you have a tree exhibiting symptoms of Seiridium canker, pruning the “flag” branches out several inches below the canker can prolong the life of the tree but is very unlikely to save it. The only long term sustainable option is to replace Leyland cypress with species that are resistant to the disease. The following are good examples of species that could be considered:
|
Common Name
|
Scientific Name
|
|
Atlantic white cedar
|
Chamaecyparis thyoides
|
|
Southern red cedar
|
Juniperus silicicola
|
|
Arizona cypress
|
Cupressus arizonica var. glabra
|
|
Mexican cypress
|
Cupressus lusitanica
|
|
Oriental arborvitae
|
Platycladus orientalis
|
|
“Green Giant” arborvitae
|
Thuja x ‘Green Giant’
|
|
Kashmir cypress
|
Cupressus cashmeriana
|
|
Chinese funeral cypress
|
Cupressus funebris
|
|
Chinese cypress
|
Cupressus chengiana
|
|
Hinoki cypress
|
Chamaecyparis obtusa
|
|
For more information read the University of Florida publication, Seiridium Canker of Leyland Cypress.

by Carrie Stevenson | Jul 27, 2015
Late summer brings hot, humid temperatures, and many Floridians are retreating from the heat into their air-conditioned homes. Unfortunately, those comforts of home also come with a price tag. When people think about energy efficiency, practices like turning off lights, purchasing energy-efficient appliances, good insulation and windows, and managing A/C temperature settings are the first things that come to mind. These are very important steps to take, not only to save money but also to conserve energy. The US Department of Energy has an excellent publication that can take you step-by-step through a home evaluation, and many energy companies offer a similar walk-through energy audit for free.
However, there are many best management practices that can be done outdoors to offset expensive home power bills. Planting trees is one example. Department of Energy studies have shown that when compared to a home in full sun, a shaded home may experience up to a 25% decrease in energy for cooling.
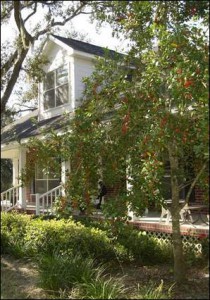
This home uses passive cooling from a front porch and numerous shade trees. Photo credit: Carrie Stevenson
Trees planted to shade eastern and western facing walls of your home can be the most effective, as these areas receive direct sun in the morning and afternoon. By preventing heat from entering your home, you prevent straining an air conditioning system that would otherwise have to counteract that heat. It is also helpful to provide shade over an air conditioning unit. Deciduous trees are ideal, as they have leaves to provide shade in the summer but drop them by winter, when you might want sunlight to passively heat your home.
In addition to shade, transpiration—the process of plants emitting moisture as they release water from leaf pores—creates cool spaces around vegetation. Grasses and shrubs along the edges of a home, or vines on nearby trellises, can cool walls and windows in this manner.
Finally, consider sprinkler systems. A home irrigation system can use a significant amount of energy to pump water throughout your yard. Calibrating your system and even reducing run time or frequency can also conserve water and reduce water bills.
For more information on energy-efficient landscaping, please visit www.myfloridahomeenergy.com or contact your local Extension office.