by Judy Biss | Feb 3, 2016
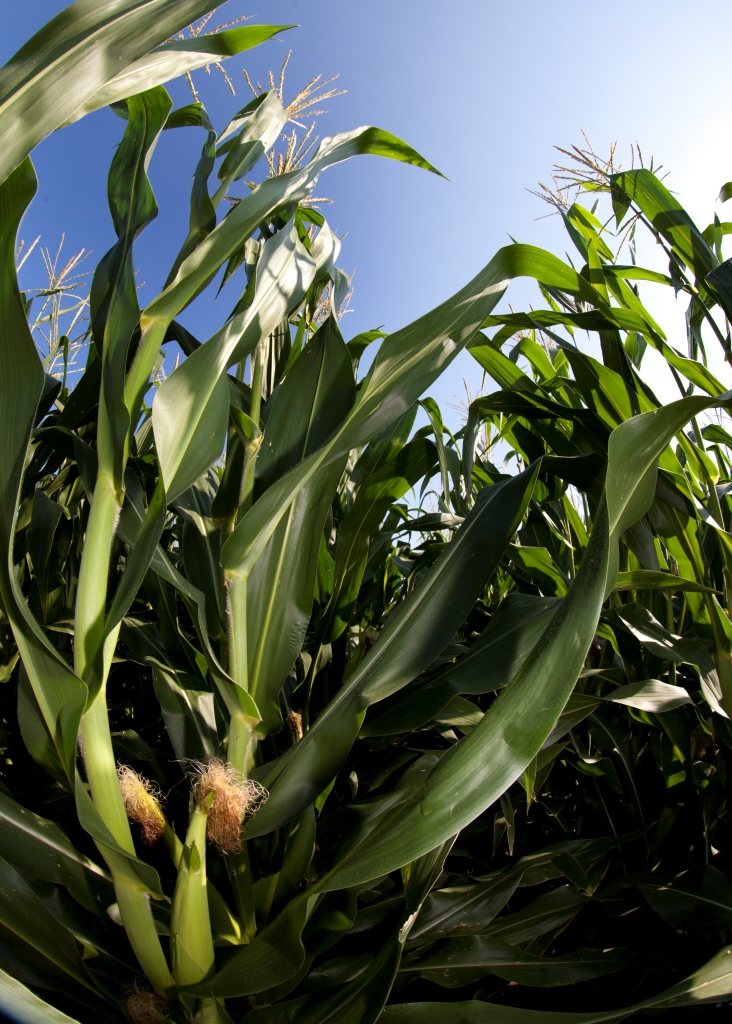
Corn tassels at the top provide the pollen needed to produce the perfect ear of corn on the stalk below. UF/IFAS Photo by Tyler Jones.
It won’t be long until row crops and vegetable gardens are planted and thriving once again next spring. A sometimes taken for granted, yet critical element of any prosperous crop is successful pollination. Most of us know what “text book” pollination means, but did you know in cucurbit plants, (squash, melon, pumpkin) at least 1,000 grains of pollen must be evenly deposited in each bloom to produce a uniform marketable fruit? Or, to grow our favorite summer delight, each watermelon flower must be visited by a honeybee a minimum of 8 times? And how about the fact that each silk in a corn flower is connected to one kernel on the ear of corn, and for the kernel to develop properly pollen must travel down the silk through a pollen tube to the waiting kernel? Add to these facts the dizzying variety of pollen and flowers, bloom times, pollination dynamics, weather conditions, plant growth, and availability of pollinator insects, then one can begin to see how amazing pollination is, and how critical it is to our food supply.
What are the basics of pollination?
The first step of fruit or vegetable reproduction takes place when flowers emerge. Plant flowers can be male, female, or perfect flowers. The male flowers produce pollen. The female flowers have ovaries which, when fertilized, become the fruit or vegetable. “Perfect” flowers have both male and female parts within a single flower. Most garden vegetables such as beans, peppers, and tomatoes have perfect flowers, whereas cucurbits like squash, pumpkins and watermelon, have separate male and female flowers on the same vine. For successful pollination to occur, the male pollen must reach the female ovaries in order for the fruit or vegetable to be produced.
Methods of Pollinating
Transfer of pollen to the plant ovaries for fruit and vegetable production, whether in the same “perfect” flower, or in another separate female flower, occurs in several ways. Some plants, like corn, depend on wind to transfer pollen to the silk, and ultimately ovaries, of the female flower. Other plants, like squash depend on the help of pollinators like insects to deliver the pollen to the ovaries. Plants that produce perfect flowers can self-pollinate, but still benefit from contact with pollinators. In small backyard gardens, many crops in the cucurbit family (squash, melons, etc.) or those that have separate male and female flowers, can be pollinated by the gardener by hand. In the absence of insect pollinators in dooryard gardens, hand pollination will increase yields.
The Importance of Bees
Obviously, in production agriculture, hand pollination of crops is not feasible, and although some crops are wind pollinated, most crops need insect or animal pollinators to accomplish the job. As we know, bees are one of the most important pollinating insects, and it is well documented that yields of many fruit and vegetable crops increase in both quality and quantity when pollinated by honey bees. According to the UF/IFAS publication Minimizing Honey Bee Exposure to Pesticides:
The Business of Pollination
Because they are so critical to increased quality and quantity yields, managed honey bee colonies are used across the country in a thriving contractual pollination industry. According to the UF/IFAS publication Sample Pollination agreement,
The business of pollination is crucial to the agricultural industry in the United States. In Florida, the major need for pollination is in fruit and vegetable production.
And according to the UF/IFAS publication Minimizing Honey Bee Exposure to Pesticides,
Rental of honey bee colonies for pollination purposes is a highly demanded service and a viable component of commercial beekeeping and agriculture. Bee colonies are moved extensively across the country for use in multiple crops every year. There are also over 3,000 registered beekeepers in Florida, managing a total of more than 400,000 honey bee colonies and producing between 10–20 million pounds of honey annually.
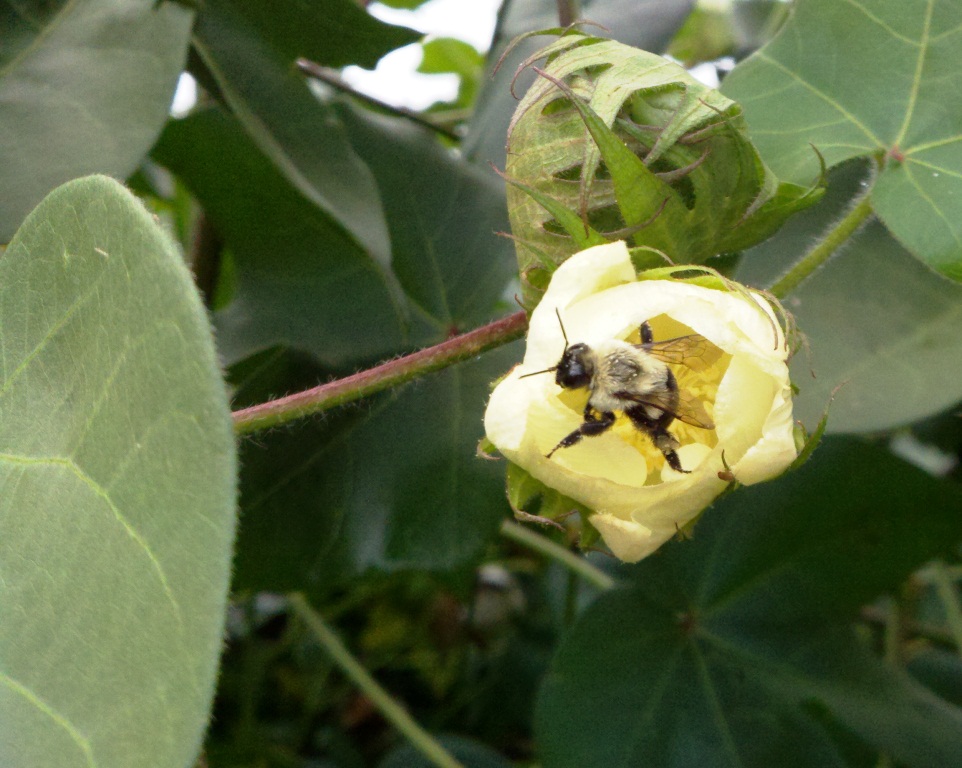
Cotton is largely self-pollinating, but attractive to bees. In some cotton varieties, pollination by bees can increase seed set per boll. Source: University of Georgia Pollination: Crop Pollination Requirements. Photo by Judy Biss
Crop Pollination Requirements
The dynamic of pollination is a fascinating and critical component of both dooryard and production agriculture. Research on plant health, varieties, growth, and potential, as well as research on honey bee colony health and management, all play a role in producing sustainable food yields. The University of Georgia has summarized pertinent literature related to common fruit and vegetable crop pollination requirements (Apple, Blueberry, Cantaloupe, Cucumber, Squash, Watermelon, Other Crops). This comprehensive resource provides the recommended number of beehives per acre for each crop, plus additional information on plant variety characteristics, and other useful information related to maximizing pollination and yield. Check it out: Pollination: Crop Pollination Requirements
So whether you have a dooryard garden or a large farm, it will benefit you to learn all there is to know about your crop’s pollination requirements to maximize yield and quality potential.
For more information on this topic, please see the following publications used as resources for this article:
by Blake Thaxton | Jan 20, 2016
It is cold right now…at least it is this week. Even though the winters in northwest Florida do not have consistent cold temperatures, it is not warm enough to grow warm season vegetables all year around. The cold spells come and go but will soon be gone and spring will have sprung. With spring comes birds chirping, flowers blooming, and spring vegetable gardening. Now is the time to begin to prepare for what is ahead. Here are a few things to begin to think about before the work begins:
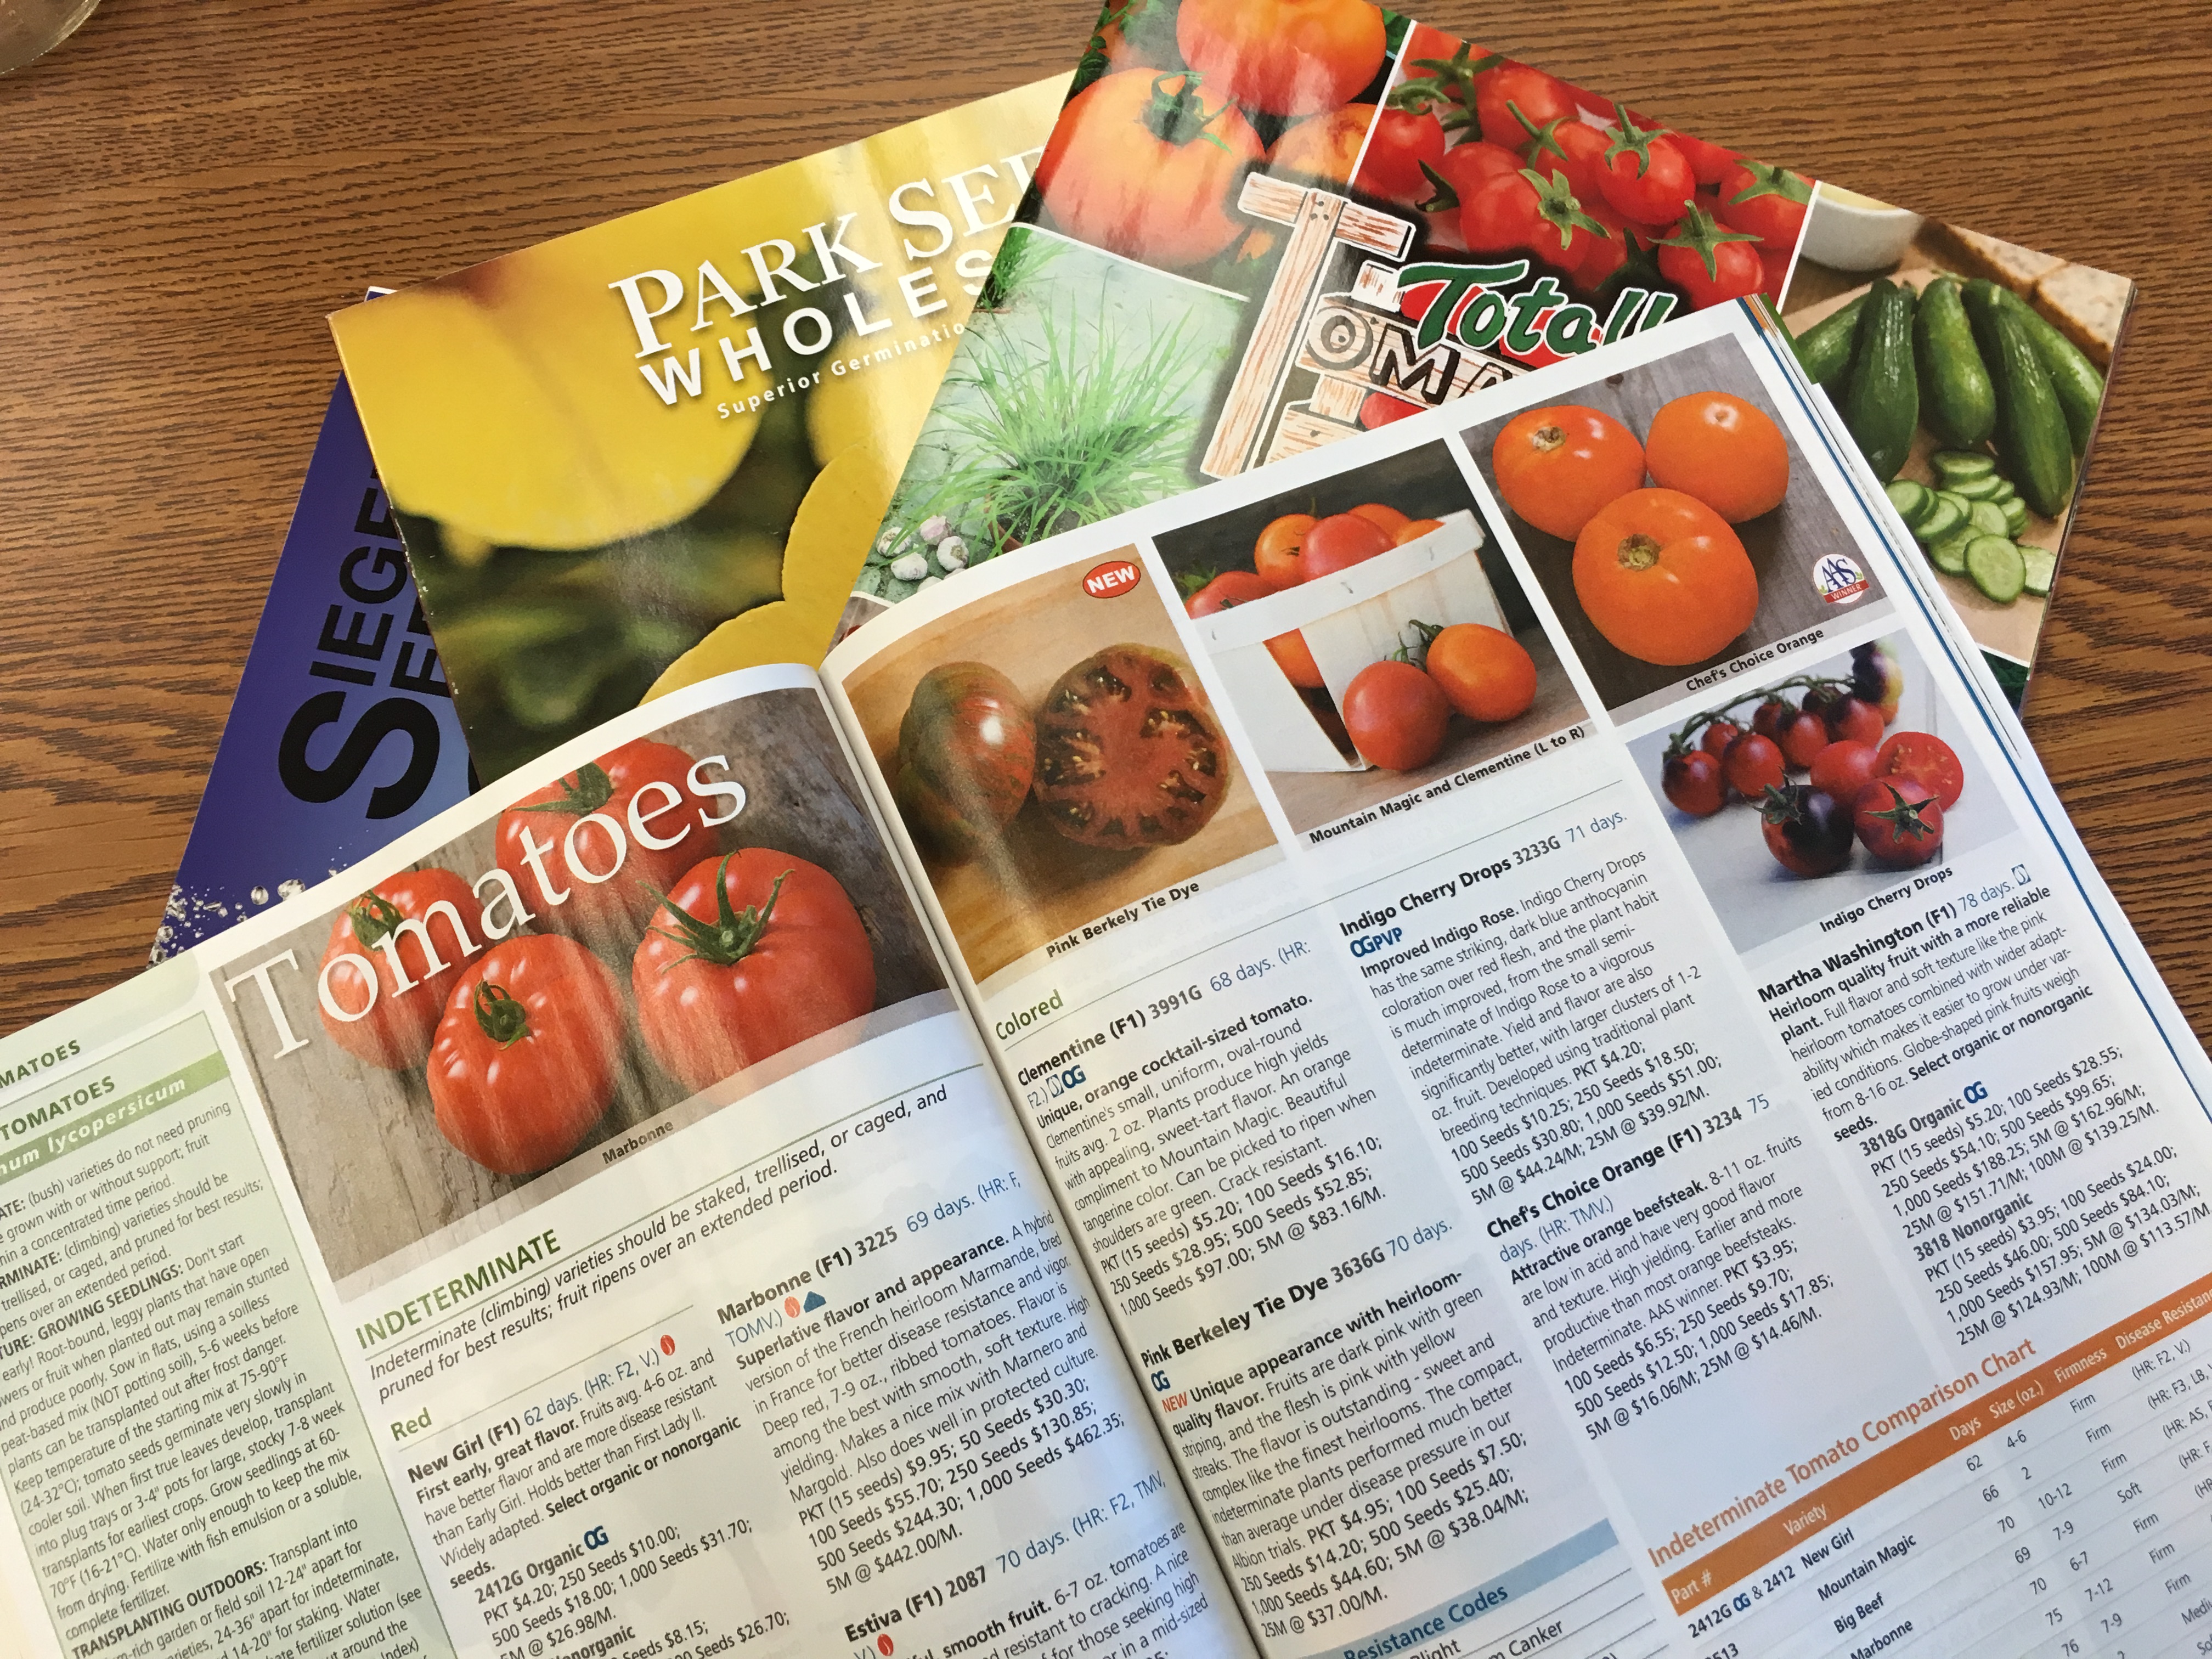
- Variety Study – This is a great time of year to sink into a seed catalog and pick out the different vegetables and fruits to try this year. Make sure to explore University of Florida/IFAS recommended varieties before making final selections. Think of problems that have occurred in past years and search for varieties that tolerate these conditions. Look through the Florida Vegetable Guide to see recommended varieties.

Seed Catalogs.
- Seed Searching – Recommended varieties are not always available at the local seed and feed store and sometimes take a little bit of searching. Of course, the internet can assist greatly in finding desired varieties. A simple search engine inquiry could help in locating and purchasing desirable selections.
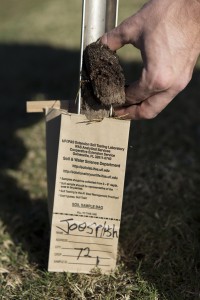
A man taking a soil sample with an auger. UF/IFAS Photo by Tyler Jones
- Soil testing – Soil testing is the cornerstone of having a healthy garden that has been fertilized correctly. Although it would not be appropriate to put out fertilizer this early before the crop, the pH should be adjusted through liming if there is an indicated need on the soil test. This will give time for the pH to begin to adjust before the crops are planted.
- Starting transplants – Another activity that can begin before the actual planting in the garden takes place is seeding inside. Transplants are vegetable and fruit seedlings that begin in potting soil in small containers. This can happen in make shift containers made out of Styrofoam coffee cup with drainage holes or multi celled commercial plastic trays. Seeds can be started in the house and moved inside and out of the climate control depending on the weather or in a greenhouse. Wherever they are, they need to be in high light conditions to prevent plants from becoming stretched and weak. Learn more about Starting the Garden with Transplants.
Now It’s time to start thinking of consistent warm days. The vegetable garden tasks will be overwhelming soon enough. Go ahead and get an early start with some of the winter tasks of spring vegetable gardening.
by Molly Jameson | Sep 3, 2015
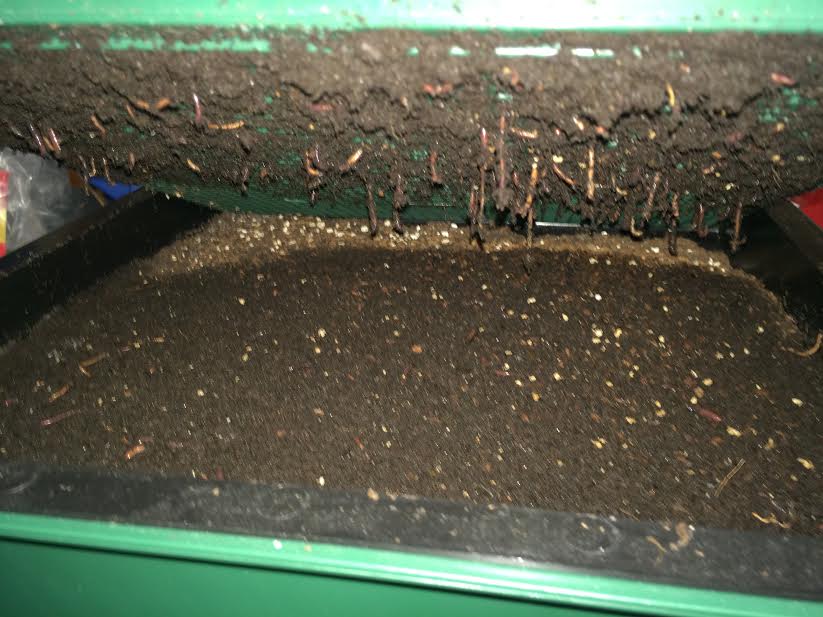
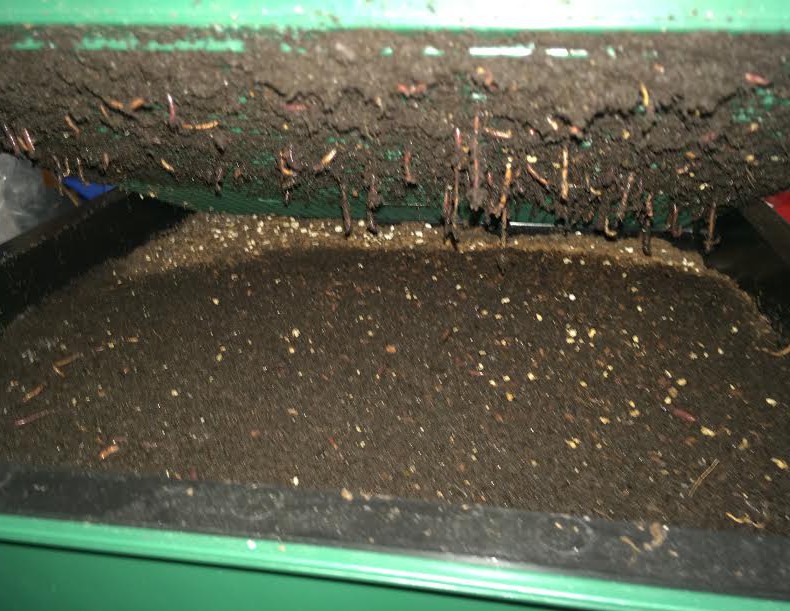
Red wigglers hanging through the bottom bin of a “Worm Factory” vermicompost system. Photo by Molly Jameson.
What if I told you there was a way to create compost indoors? No pitchfork required, no hot steamy temperatures, a simple mix of ingredients, and it would fit right under your kitchen sink? As long as you can convince your family to have worms in the house… you can start vermicomposting.
Vermicomposting uses a type of worm called red wigglers. These worms specialize in digesting organic matter, can digest their own body weight in food each day, and can double their population within months. It is, therefore, a wonderful way to responsibly dispose of food waste and can reduce your garbage by more than a third. Microorganisms inside the worms are actually doing most of the work, and the “castings” excreted are teaming with beneficial microbes and nutrients that will condition your soil and make the plants in your garden shine.
You can easily construct a vermicompost bin at home, but you can also purchase one online. Bins should hold about five gallons for one to two people or ten gallons for three to four (Rubbermaid containers work nicely). Your container should not exceed 12 inches in depth, as red wigglers do not like to burrow deeply. You will also want good aeration, so drill holes in the bottom of the bin and either place the bin in another container or put the bin on bricks and use a tray underneath to capture escaped materials. Either way, you will want a lid – as worms do not like light and need moisture – but they also need to breathe, so make sure it is not airtight. Be sure your bin is never in direct sunlight or in a location that regularly exceeds 80°F.
To get started, you will need about 1,000 worms, which weighs about one pound. Red wigglers can also be purchased online, at local nurseries, and some bait shops. Better yet – if you know vermicompost enthusiasts, they may be happy to share.
Before you purchase your worms, you want to prepare your worm bedding. Shredded newspaper and coconut fiber (coir) – which you can find at your local nursery – work great. You will also need to add a small scoop of garden soil to inoculate your bin with microbes. To get started, lightly moisten your bedding material and fill your bin about two-thirds full.
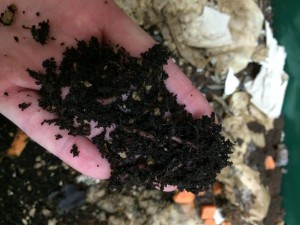
Finished worm castings will be dark, slightly moist, and will have an earthy smell. Photo by Molly Jameson.
Now it is time to add the food. Worms love vegetable scraps, most fruits, moldy bread, coffee filters and grounds, tea bags, and crushed eggshells. Chop their food into small pieces for fastest consumption. Foods to avoid include meat, dairy, large amount of citrus, and onion peels. Start out slow, and put the chopped food in the corner of your worm bin. Once your worms are settled, maintain the bin as half bedding, half food scraps. If your bin looks too dry, add more food. If your bin looks too wet, add more bedding or hold back on food a few days. Bad odors will develop only if the worms are overfed.
Give your worm bin about three to four months, and then you can begin to harvest. Add a handful of castings to potting mix or a thin layer directly to your garden. Give vermicomposting a try – your plants will thank you, your trash will not stink, and you will reduce your global impact.

by Julie McConnell | Sep 3, 2015
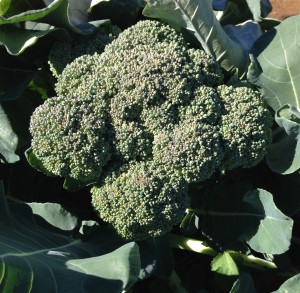
Broccoli, a popular winter vegetable. Photo by Mary Derrick, UF IFAS
As the days get shorter and temperatures decrease, it is time install your cool season vegetable garden. Many vegetables can be grown in Florida, but it is important to understand what the climatic requirements are for each crop to have the most success.
To get the most of your garden space know the recommended months for planting and the turnaround time for harvest so that you can stagger plantings or change out crops as needed.
September is the ideal time to plant cabbage, beets, kale, lettuce, mustard greens, onions, and radishes. After the New Year some options include eggplant, potatoes, English peas, and turnips.
Many gardeners start their tomatoes and peppers as early as February, but they are frost sensitive and early planting carries some risk of cold damage.
If you are interested in learning more about fall vegetable gardening, join the UF/IFAS Bay County Master Gardeners on Friday, September 18th for a free vegetable gardening workshop. This class will be held at the Bay County Extension Office at 2728 E. 14th Street in Panama City. To register please call 850-784-6105 or email bay@ifas.ufl.edu. Fall-VegMG2015
For more information and a full chart of what to plant when see Florida Vegetable Gardening Guide.
by Matt Lollar | Aug 26, 2015
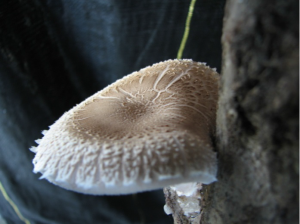
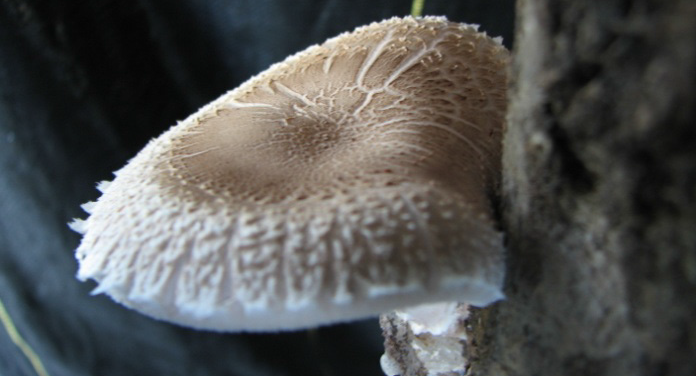
A shiitake mushroom growing on a log. Credit: Clay Olson, UF/IFAS Extension – Taylor County
Mushrooms are an excellent low calorie food with a high fullness factor (they fill you up). But the “common” or “button” mushroom lacks natural flavor. On the other hand, shiitake mushrooms have all the benefits of button mushrooms, but offer a flavor punch and a higher fiber content. However, they are a bit more expensive. Wouldn’t it be great if you could grow mushrooms in the home garden? Growing mushrooms may be easier than you think.
Mushrooms are fungi that grow on rotting organic matter. Shiitake mushrooms are best grown on hardwood logs. Oak logs are generally used for a mushroom food source, but sweetgum, red maple, and poplar can also be used. Logs ranging from a diameter of 2” to 7” and 3’ to 4’ long are recommended. Once the logs have been cut to size, the fungus inoculation process can begin. Holes are drilled into the log and the spawn are inserted. Spawn is a fancy name for the mixture of mushroom roots (mycelium) and a growing substrate (usually made up of compacted sawdust or a wooden dowel). The plugged holes are sealed with wax. The inoculated logs should be placed in a cool, moist, well ventilated place. It can take anywhere from 6 to 18 months for the mycelium to inhabit the logs. This process is called “spawn run” or “incubation”. Mushrooms grow best within a temperature range of 50-70°F, so the fruiting process is a spring or fall event.
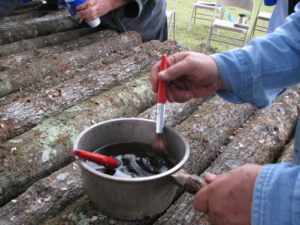
Capping the spawn plugs. Credit: Clay Olson, UF/IFAS Extension – Taylor County
The recommended mushroom strains for Florida are: CS-41; CS-15; CS-24; CS-125; CS-16; CS-11; and CS-118. Favorable conditions are strain-specific, so please do some research before purchasing strains. A list of supply dealers can be found at the North American Mycological Society webpage.
Mushroom production is a fun activity, but it is extremely labor intensive. This article is just a brief summary of process. For more information on producing your own mushrooms, please visit the UF/IFAS Small Farms Mushroom Production webpage. Mushroom production is not a recommended business venture for Florida, but can be a fun hobby.